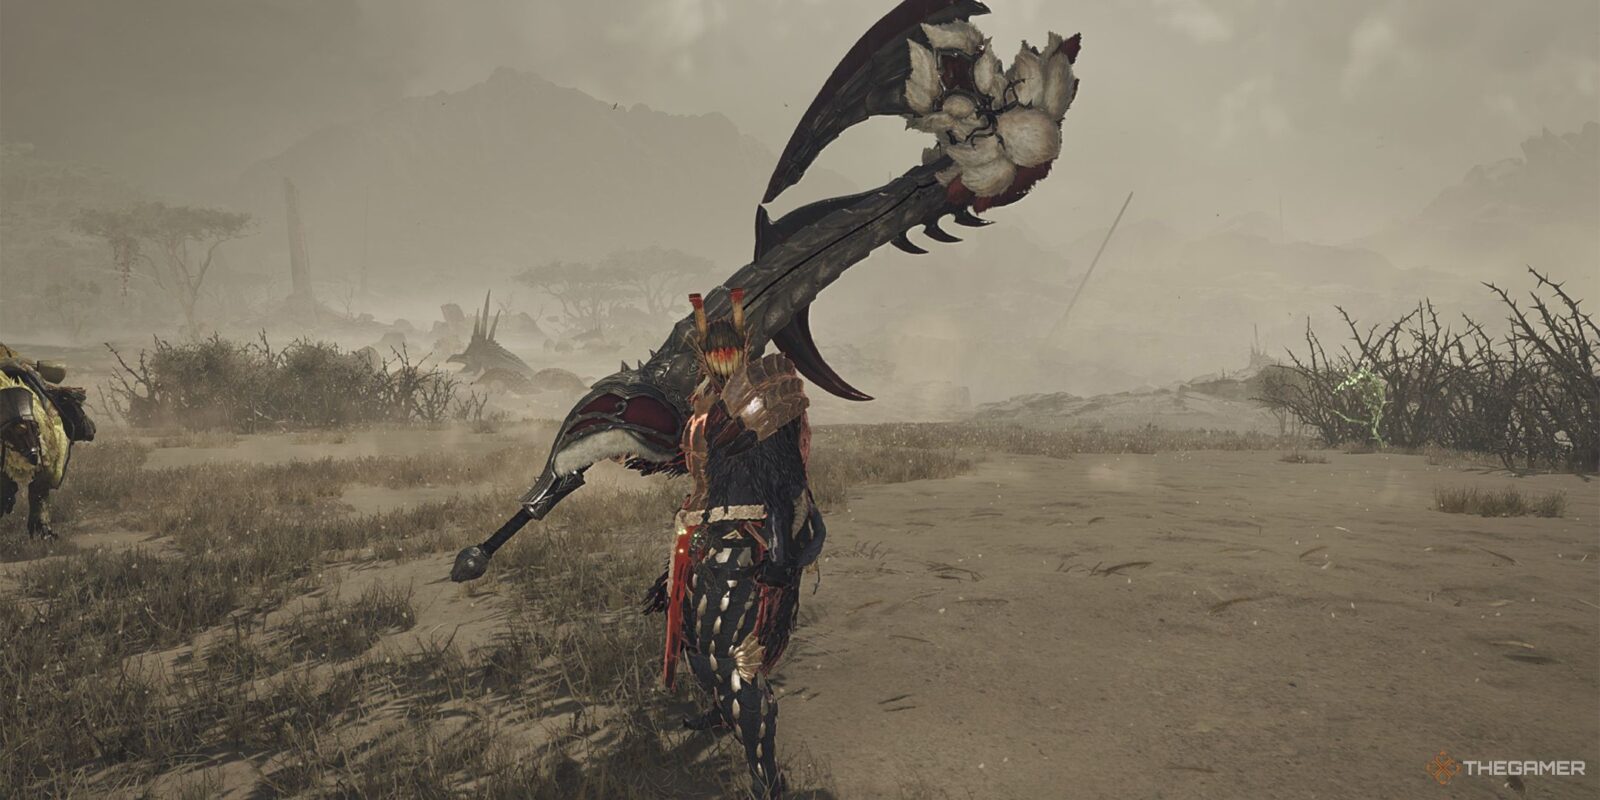
The Switch Axe is a weapon in Monster Hunter Wilds that lets you switch between a slow axe form and a fast sword form, utilizing each to take down the toughest monsters. In axe form, your attacks will charge the weapon’s gauge, which will then let you switch to sword form and begin powering up the weapon.

Related
Monster Hunter Wilds: Complete Switch Axe Weapon Guide
Master the Switch Axe, switching between its modes with ease using this guide.
Despite its multiple forms, the Switch Axe isn’t the most technical weapon in the game, and isn’t as hard to get the hang of as something like the Charge Blade or Hunting Horn. With that, the Switch Axe also has a fairly straightforward build that focuses on bringing out the full potential of the weapon’s damage, which we’ll take a look at below.
Switch Axe Build Overview

This Switch Axe build primarily focuses on increasing the weapon’s damage as much as possible, utilizing the Full Release Slash combo to deal the highest damage. This is done through the Gore Magala armor set that inflicts you with Frenzy when fighting Large monsters. This, paired with the Antivirus skill, lets you recover from Frenzy quickly, then gain a boost to Affinity.
The Switch Axe does the most damage in Sword form, and due to Full Release Slash’s high damage, you won’t really find yourself swapping between Axe and Sword too frequently. Because of this, this build does not include Rapid Morph. That said, if you prefer that playstyle, you can opt for that skill instead.
In general, this build is a fairly standard DPS build that can be utilized by several weapons in the game, so a lot of these pieces of equipment can be versatile.
Switch Axe Build Guide

Switch Axe Build Skill Overview
- Critical Boost Level 5
- Agitator Level 5
- Maximum Might Level 3
- Antivirus Level 3
- Critical Draw Level 2
- Evade Extender Level 2
- Constitution Level 2
- Critical Status Level 1
- Paralysis Attack Level 1
- Counterstrike Level 1
- Weakness Exploit Level 1
- Flayer Level 1
- Partbreaker Level 1
- Flinch Free Level 1
Gear And Skills Explanation
In the weapon slot, we are using the Lala Barina weapon  Lala Selenocosmi
, with its 700 base attack, 15 percent Affinity, and 200 Paralysis. It also has on each of level three, two, and one Jewel slots, which we will slot in a Critical Jewel 3, Critical Jewel 2, and Paralyzer Jewel 1.
Artian Weapons have the potential to be stronger than the highest level craftable weapons, but getting these will take several attempts to roll the right skills. Until you are able to roll an Artian Switch Axe with better stats than the Lala Selenocosmi, just the latter weapon instead.
Other elemental weapon types may be used in situations where Paralysis is ineffective, or if you prefer the design of a different weapon.
In the Head slot, we are using the Guardian Fulgur Anjanath helm, which provides two points of Agitator and one level two Decoration slot. In this slot, we have a Counter Jewel 2, which is used to gain a small boost to attack when countering with Counter Rising Slash in Sword form.
If you don’t use the Switch Axe’s counter, you may want to swap this Decoration out for something else, like a point in Evade Window or another point in Evade Extender.
In the Chest slot, we have the Arkvulcan Mail beta from HR Arkveld. This chest piece provides one point of Weakness Exploit, as well as Decoration slots for Flayer and Maximum Might, two important skills for increasing DPS.
In the Arms slot, we are using the G. Fulgur Vambraces beta from Guardian Fulgur Anjanath, which provide another level of Maximum Might, and two level two Decoration slots. We have two Evade Extender jewels in these slots, which will increase the distance of the Switch Axe’s side hop, but you can put any quality-of-life skills you want into these slots, such as Earplugs.
In the Waist slot, we are using the Gore Coil beta from Gore Magala, which provides two levels of Constitution and the first piece towards the Gore Magala’s Tyranny set bonus. In the Decoration slots, a Destroyer Jewel and a Mighty Jewel provide the highest boost to damage.
In the Legs slot, we have the Gore Greaves beta, filling out the first part of the Gore Magala set bonus, as well as a level in Antivirus, to help cure Frenzy. For Decoration slots, a Level three Challenger Jewel provides the third level for Agitator, and two Sane Jewels provide the final two levels for Antivirus, which give a 15 percent boost to Affinity when Frenzy is cured.
Finally, we are using the Challenger Charm 2 for the last two points in Agitator. This skill greatly boosts attack and Affinity when the monster is enraged, and makes up one of the highest increases to damage achievable through equipment skills.
For the highest DPS increase, we are also using the Corrupted Mantle, but using this effectively can be tricky, as it will lower your maximum health while equipped. For a safer option, consider any of the other three Mantles.
Tips For Playing The Switch Axe Build

This build has a few conditional skills to keep in mind as you fight the monster. The first is the Frenzy inflicted by Black Eclipse from the Gore Magala set. Unlike other status effects that cure on their own over time, Frenzy needs you to actively attack the monster to cure it.
As you hit the monster, the gauge will fill. If you deal enough damage before the timer expires, you will cure the Frenzy and gain a buff, which is further amplified by the Antivirus skill, which also makes it easier to cure Frenzy. However, keep in mind that before curing Frenzy, you’ll take more damage and healing is less effective, so you’ll need to play aggressively to overcome it.
The second conditional skill is Maximum Might, which increases Affinity if you keep your stamina gauge full for three seconds. The Guardian Fulgur Anjanath set bonus skill Second Wind makes this fairly easy to achieve, as depleting the second Stamina gauge does not count towards Maximum Might.
Your third conditional skill is Agitator, but you don’t need to actively keep track of triggering this one. Instead, Agitator will automatically activate when the monster enrages, providing a massive DPS boost. When the monster is enraged, this is the time to go on the offensive. Make use of Counter Rising Slash to stay on the offensive while protecting yourself from damage.
Be sure to pop any Wounds that appear on the monster, as the Partbreaker skill provides a decent damage boost when you do so. This Skill also makes it easier to inflict Wounds.
Overall, playing as aggressively as you can will prove the best course of action for this build. Staying on top of popping Wounds and inflicting lots of damage will keep the monster pinned down, making it easier to hit your Full Release Slashes.

Next
Monster Hunter Wilds: Gunlance Build Guide
This guide details everything you need to know about the Gunlance to become an expert.