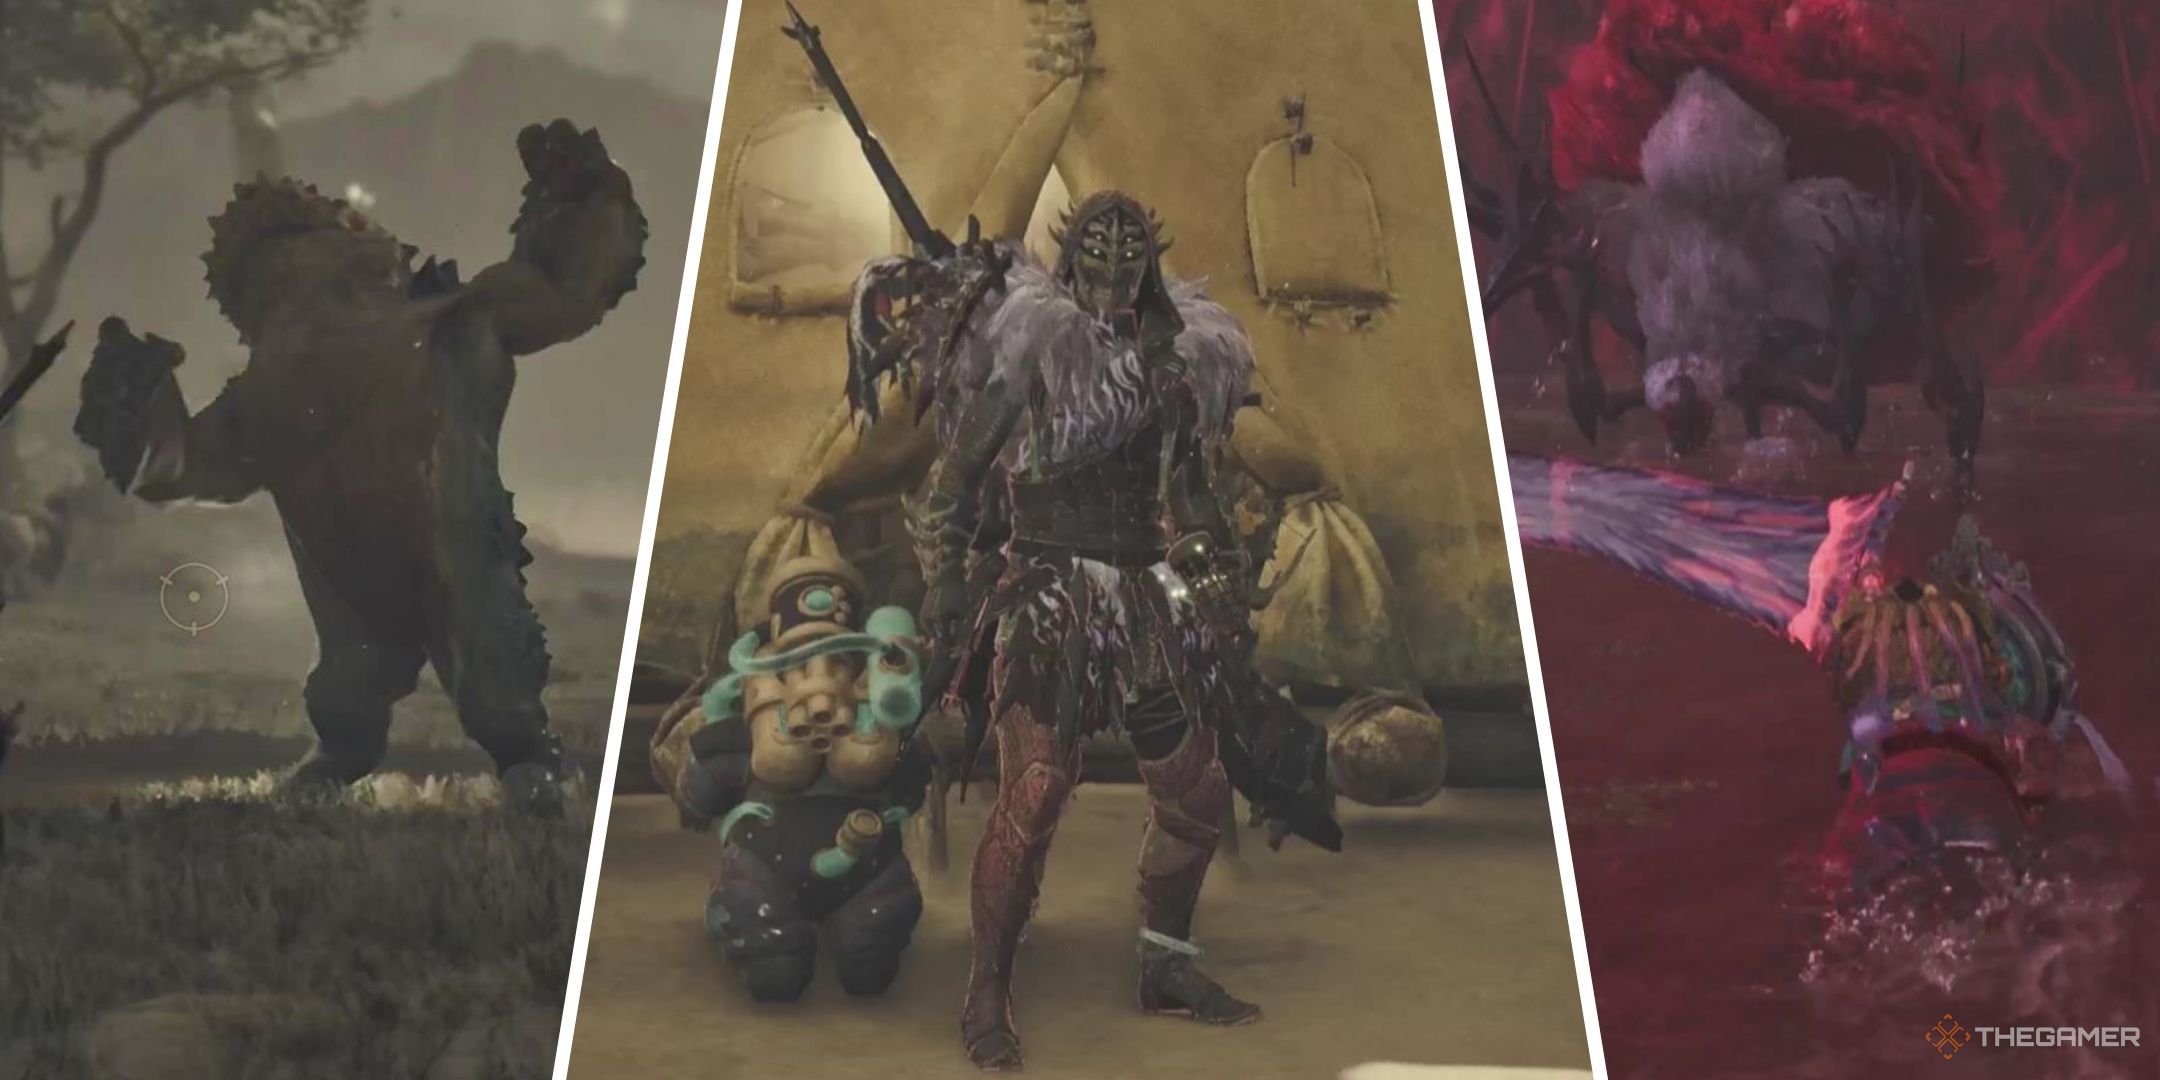
Progressing through the High Rank (HR) of a Monster Hunter game can be an extremely satisfying endeavor, and Monster Hunter Wilds is no different in that regard. Getting into HR opens up a whole new world of possibilities and systems, and it’s exciting to start exploring different builds with your character.
A Hammer build is going to generally go with the intent of dealing as much damage as possible in every single blow. It’s more of a medium-speed weapon, but the biggest hits with the Hammer hit quite big, indeed. Maximizing that damage, while covering up some of the Hammer weakspots, is going to be our goal.
Builds and ideas are still developing for Monster Hunter Wilds; so, this guide is not intended to be the best Hammer build possible. Instead, it’s going to provide a good foundation for you to take the knowledge from this build, and attempt to expand upon it to match your playstyle, and for your next hunt.
Hammer Build Overview
The Hammer is not one of the quicker-hitting weapons in the game, and that puts it behind average when it comes to inflicting many status effects. It’s not that it isn’t capable of it, just that it’s less capable of doing it compared to many other weapons.
Hammer Status Effects And Stun
Luckily for the Hammer, it comes with what is essentially a built-in status effect: stun. Hitting a monster in the head with blunt damage is going to build up the stun meter on a monster (though this meter is invisible), and when it reaches maximum value, the monster is going to be stunned.
This stun effect is similar to paralysis or sleep, in that it puts the monster in a state where it does not attack or defend itself. This allows you to get a ton of hits in without fear of taking damage yourself.
Because the Hammer has this built-in status effect, we can go with two schools of thought: accentuate that with a second status effect like paralysis or blast, or forego including a status effect and instead focus entirely on damage and critical chance.
For this build, we’re going for the second approach, and are foregoing focusing on including a status effect on our Hammer. That’s not to say that you personally shouldn’t, just that this build is not going to make particular use of one.

Related
Monster Hunter Wilds: Gunlance Build Guide
This guide details everything you need to know about the Gunlance to become an expert.
Hammer Build Guide
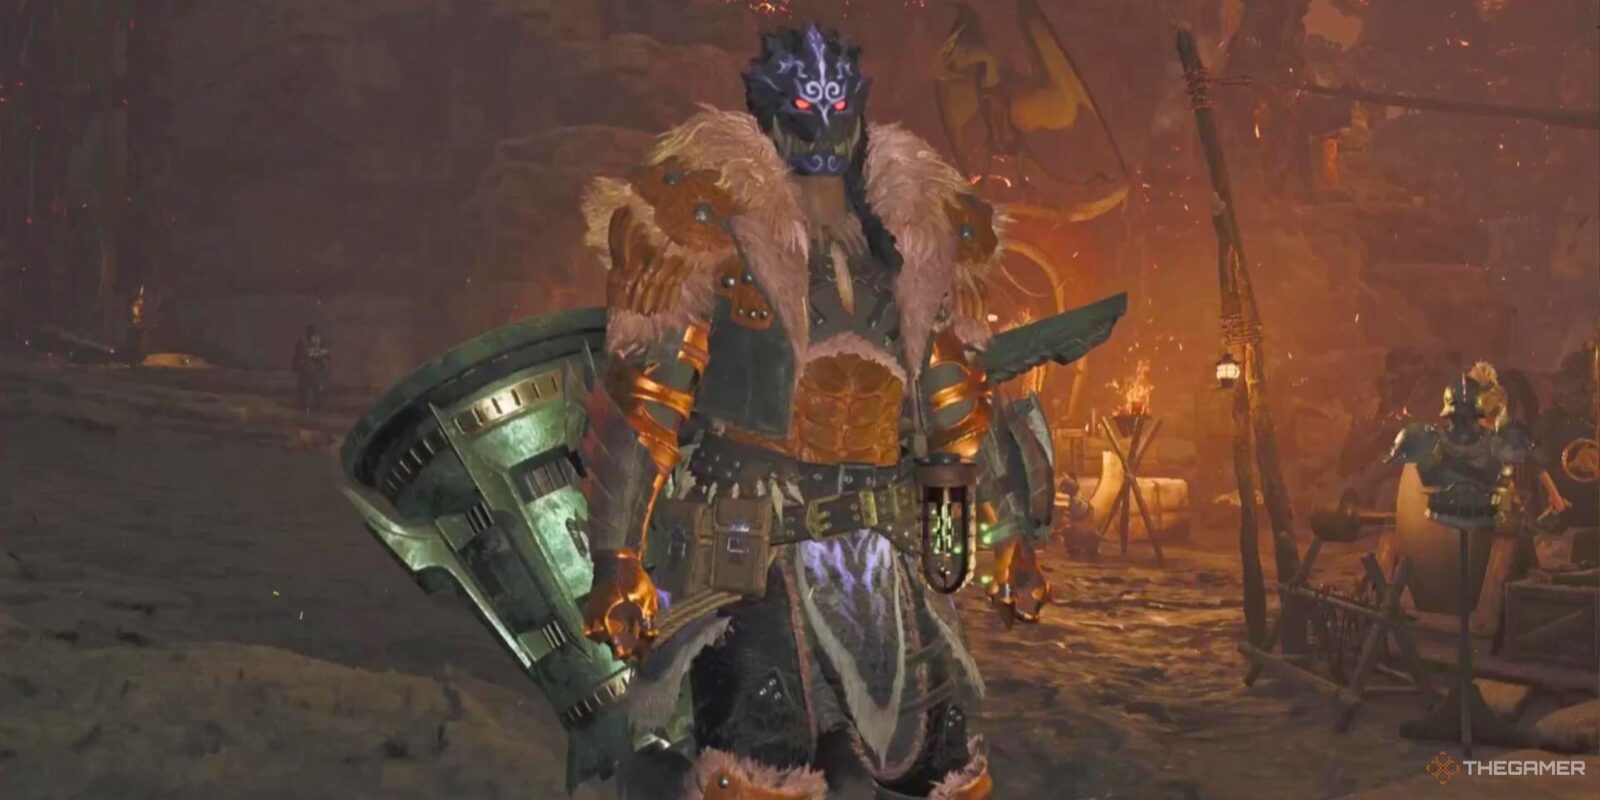
For our Hammer build, we’re going to be using specific armor and decorations that provide particular skill effects. For many builds, it won’t matter if you swap some of the gear, as long as the Equipment Skills match up.
But for this build, it’s going to require four specific pieces of gear in order to gain a Bonus Skill set. The fifth piece of gear, the chestpiece, is less crucial and can be experimented with more freely.
|
Slot |
Item |
Effect |
Decorations |
|---|---|---|---|
|
Weapon |
Artian Hammer |
Affinity Boost Focus |
Critical Jewel | Critical Jewel | Critical Jewel |
|
Head |
Guardian Ebony Helm B |
Burst II | Ebony Odagaron’s Power II |
Evasion Jewel |
|
Chest |
Udra Miremail A |
Burst I | Resentment I |
Destroyer Jewel | Destroyer Jewel |
|
Arms |
Guardian Ebony Braces B |
Burst I | Divine Blessing I | Ebony Odagaron’s Power II |
Evasion Jewel | Jumping Jewel |
|
Waist |
Guardian Ebony Coil B |
Burst I | Ebony Odagaron’s Power II |
Jumping Jewel | Evasion Jewel |
|
Legs |
Guardian Ebony Greaves B |
Divine Blessing I | Earplugs I | Ebony Odagaron’s Power II |
Destroyer Jewel | Refresh Jewel |
|
Talisman |
Counterattack Charm |
Adrenaline Rush I |
Armor Skill Effects
As for our armor, we’re going to get the following effects from this:
- Burst V, which provides a significant stat increase after landing multiple hits on a monster.
- Burst Boost II, which provides a longer window where Burst will stay active. This is extremely important for the Hammer, which hits a bit slower than many other weapons utilizing Burst.
- Resentment I, which provides a small damage bonus while attacking with a red portion of health that’s recovering.
- Divine Blessing II, which provides a chance of a 30 percent damage reduction on incoming damage
- Earplugs I, which provides protection from the roar effects of weak monsters.
The most important effect here for us is going to be Burst, which is going to stay active more or less all the time because of our Burst Boost unique to this armor set.
The important thing about this is going to be keeping the pressure on the monster as much as you possibly can. This is going to be made easier by the decorations that we’ve included in this build, which we’ll go over next.
Decoration Skill Effects
The skill effects that our decorations provide are going to be dependent on what level of decorations you use in each slot. You’ll gain access to higher-level decorations as you progress through HR, and the gear here is going to have slots for both level one and level two decorations.
Our decoration boosts are going to include:
- Evasion Jewels, which will lengthen our window of invulnerability while dodging.
- Jumping Jewels, which will increase the distance we move when we dodge.
- Destroyer Jewels, which will increase the damage we do to monster parts and increase the damage we do when hitting wounds with a Focus Strike.
- A Refresh Jewel, which will increase our stamina recovery.
- Critical Jewels, which will increase the damage that our critical attacks do.
The goal with these decorations is mostly to increase our ability to dodge monster attacks. The easier time we have dodging, the less damage we’re going to take. This means we’ll be spending less time healing, and more time keeping Burst active by attacking the monster.
The increased distance we move while dodging means we can improve our positioning in a fight with fewer dodges. This will make it easier to reposition ourselves to attack a monster in the head, which is crucial for causing stun.
The critical attack damage boost we get from jewels is also going to be important, because of the way we’ve chosen to build our Hammer.
Hammer Choice
For this build, it does not particularly matter what effect you choose when building your Artian Hammer; Sleep and Paralysis are probably the most ideal, but what’s more important is choosing Affinity Boost, as opposed to Attack Boost.
This is going to increase the chances of scoring a critical hit when attacking a monster; the more we score critical hits, the more extra damage we scoop up with our Critical Jewels we’ve attached to it.
How To Play This Hammer Build
This Hammer build is all about keeping the pressure on your target. It’s intended to put a lot of tools at your disposal for easily dodging attacks, and that is going to be accentuated by experience fighting each particular monster. This build is going to shine particularly bright in skilled hands, but is not going to help an inexperienced hunter quite as much.
In terms of attacks, the Hammer is pretty free-form. You can Big Bang combo regularly, and those attacks are going to come out quick enough that they do a great job at keeping Burst functional.
Keep attacking a monster’s head as often as you can in order to get that stun off as often as possible, and when that happens, go to town with as much damage as you can muster.
Our Partbreaker skill is going to help us break monster parts a bit easier than we otherwise would, and help us make use of wounds even easier. We’ll have a small damage buff built-in right after we take damage with the Resentment skill, so even if you do get thrown out of a rhythm, you can punish the monster for it.
All in all, we’ll be able to keep a monster from being as offensive as they’d like, particularly over time, with stuns and by exploiting wounds.
For your Palico, it’s usually helpful to have them bring along a weapon that can inflict Paralysis or Sleep; this is essentially going to combo with your stun effect, creating multiple instances where you can deal damage unimpeded.

Next
Monster Hunter Wilds: 7 Items To Bring To Every Hunt
A few items are so helpful that they belong in your pack in every single hunt in Monster Hunter Wilds.


Leave a Reply