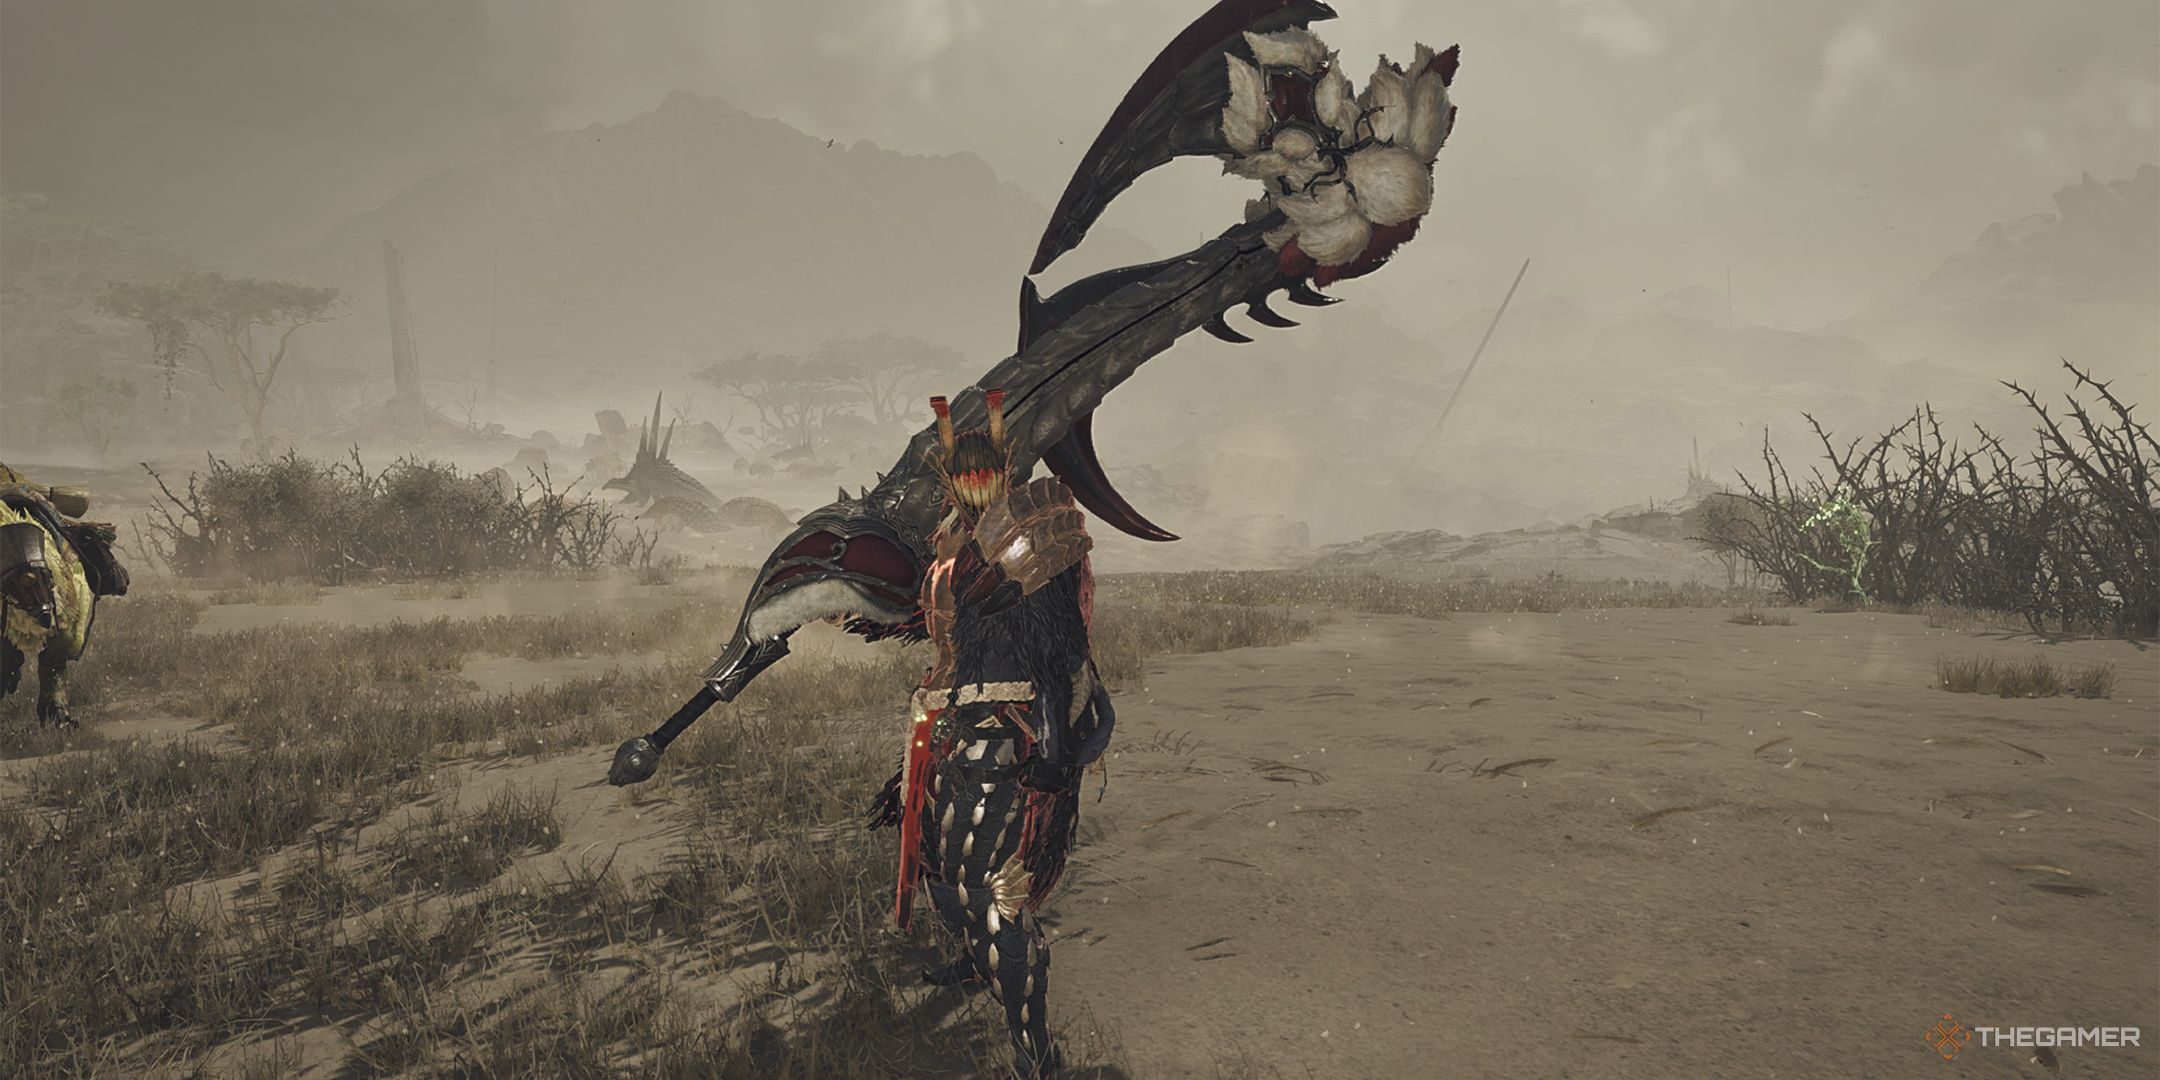
The Sword & Shield is one of the most iconic and traditional weapons that you can pick up in Monster Hunter Wilds. It is simple and easy to use, but it is extremely powerful and gets the job done for you, regardless of the difficulty.

Related
Monster Hunter Wilds: Complete Sword And Shield Weapon Guide
The Sword and Shield make for a basic weapon set that is easy to learn and very rewarding to master in Monster Hunter Wilds.
It doesn’t matter whether you are a new player or a veteran, Sword & Shield is the one trusty friend that will make sure your hunts are a breeze. If you are looking to pick up Sword & Shield and want to have an easy time in the game, here’s a detailed build that will prepare you for the endgame.
Monster Hunter Wilds is a relatively new game, and builds are still being adjusted as players are figuring out optimal buffs that deal the most damage. As such, builds are subject to change and that goes the same with the following Sword & Shield setup as well.
Sword & Shield Build Overview
Sword & Shield is very simple to use, but when it comes to getting the build ready, you need to put both parts of the weapon to use. The Sword will be your damage option, and you will need offensive buffs like Critical Boost and Weakness Exploit to make it work.
However, when it comes to the Shield, you will need Offensive Guard to ensure that blocking attacks rewards you with a damage boost. Additionally, you will have to learn to perfect guard and, whenever it is necessary, perform a power clash against a monster. As a rule of thumb, whenever there is a shield involved, Offensive Guard is a skill that will benefit you.
It is also important to remember that Decorations are restricted in Monster Hunter Wilds, and they are separated based on armor and weapons. As such, you will have to spend a lot of time farming to gather all the Decorations needed to get this build ready.
Ideally, it is recommended to farm Tempered Arkveld and Tempered Gore Magala for the best loot.
Sword & Shield Build Guide
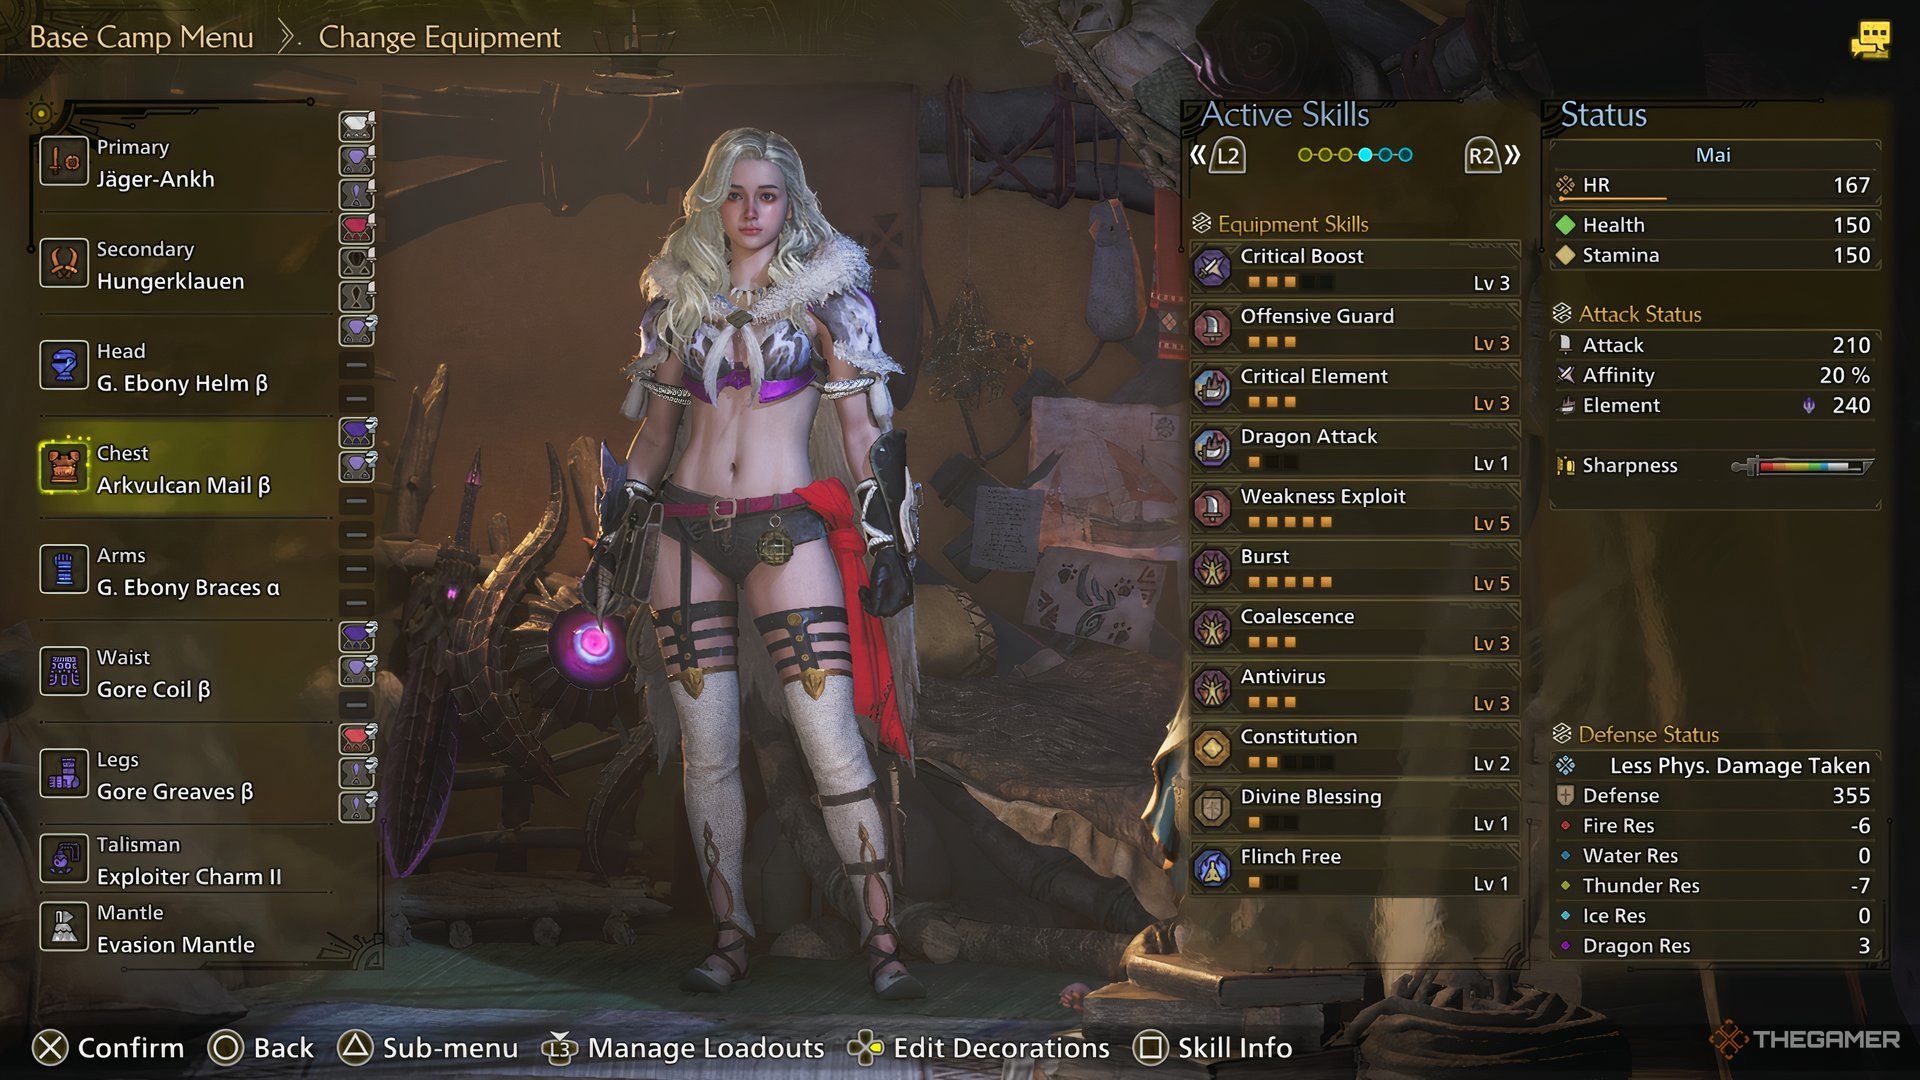
Here’s a rundown of your armor and Decorations for an endgame Sword & Shield build:
|
Gear Slot |
Gear Name |
Decorations |
|---|---|---|
|
Weapon |
Jager-Ankh (Gore Magala Weapon) |
Guardian/Dragon Jewel (3), Critical Jewel (2), Critical Jewel (1) |
|
Head |
G. Ebony Helm Beta (Guardian Odogaron Gear) |
Phoenix Jewel (2) |
|
Chest |
Arkvulcan Mail Beta (Arkveld Gear) |
Tenderizer Jewel (3), Phoenix Jewel (2) |
|
Hand |
G. Ebony Bracers Alpha (Guardian Odogaron Gear) |
– |
|
Waist |
Gore Coil Beta (Goro Magala Gear) |
Tenderizer Jewel (3), Phoenix Jewel (2) |
|
Legs |
Gore Greaves Beta (Gore Magala Gear) |
Chain Jewel (3), Sane Jewel (1) x2 |
|
Charm |
Exploiter Charm 2 |
– |
In the weapon slot, go for Jager-Ankh, the Gore Magala Sword & Shield, and it comes with a Level Three, Level Two, and Level One Jewel slot. You will need to attach Guardian/Dragon Jewel Three to it, which will give you Offensive Guard Level Three and Dragon Attack Level One. Critical Jewel will give you Critical Boost, which enhances your damage significantly. Additionally, Artian Sword & Shield is also very strong, and if you want to min-max your damage even further, you can go with that instead of the Gore Magala weapon.
If you really want to go overboard on Dragon Attack, you can remove the Guardian/Dragon Jewel and go with Dragon Jewel Level Three. However, the Offensive Guard buff is essential since you can make the most out of the shield when blocking.
In the head slot, go for G. Ebony Helm Beta, which comes with a Level Two Jewel slot. Here, you will slot in Phoenix Jewel Two, which comes with the Coalescence buff, and it increases your elemental damage and status build-up whenever you cleanse a debuff. While fighting monsters such as Arkveld, you will often get afflicted by blights, which makes triggering this skill extremely easy.
In the chest slot, go with Arkvulcan Mail Beta, which comes with a Level Three Jewel slot and a Level Two Jewel slot. Here, you need to slot in a Tenderizer Jewel Level Three for Weakness Exploit and another Phoenix Jewel Level Two to increase the level of Coalescence. This armor piece also provides Weakness Exploit Level Two.
In the hand slot, you will need the G. Ebony Bracers Alpha, and it comes with Burst Level Two alongside Divine Blessing Level One. However, it doesn’t have any Decoration slot, but you don’t need one either, since the armor buffs are the important ones here.
In the waist slot, go with Gore Coil Beta, which comes with a Level Three and a Level Two Jewel slot. Here, you need to attach another Tenderizer Jewel Level Three and a Phoenix Jewel Level Two to increase the levels of Weakness Exploit and Coalescence.
Finally, in the legs slot, go with Gore Greaves Beta, where you need to attach a Chain Jewel Level Three and two Level One Sane Jewels. The Chain Jewel Level Three helps increase the Burst level, and Sane Jewel provides the Antivirus buff. If you want, you can drop Chain Jewel Level Three and instead go for Challenger Jewel Level Three for Agitator which buffs up your attack and Affinity when monsters are enraged.
The Exploiter Charm gives you Weakness Exploit Level Two, which helps max out the buff for the highest possible Affinity when hitting weak monster parts. However, if you aren’t hitting wounds and weak parts but want more attack and Affinity in general, you can also go with Challenger Charm 2 for the Agitator buff.
The Gore Magala Gear comes with the Black Eclipse buff, which inflicts the player with Frenzy. Curing it gives you a 10% Affinity boost and also triggers Antivirus, which further gives a 15% Affinity boost. All you need to do is attack a monster aggressively to clear the Frenzy debuff.
Sword & Shield Build Skill Overview
The skill overview for the Sword & Shield build is as follows:
- Critical Boost Level 3
- Offensive Guard Level 3
- Critical Element Level 3
- Dragon Attack Level 1
- Weakness Exploit Level 5
- Burst Level 5
- Coalescence Level 3
- Antivirus Level 3
- Constitution Level 2
- Divine Blessing Level 1
- Flinch Free Level 1
Tips To Play This Sword & Shield Build
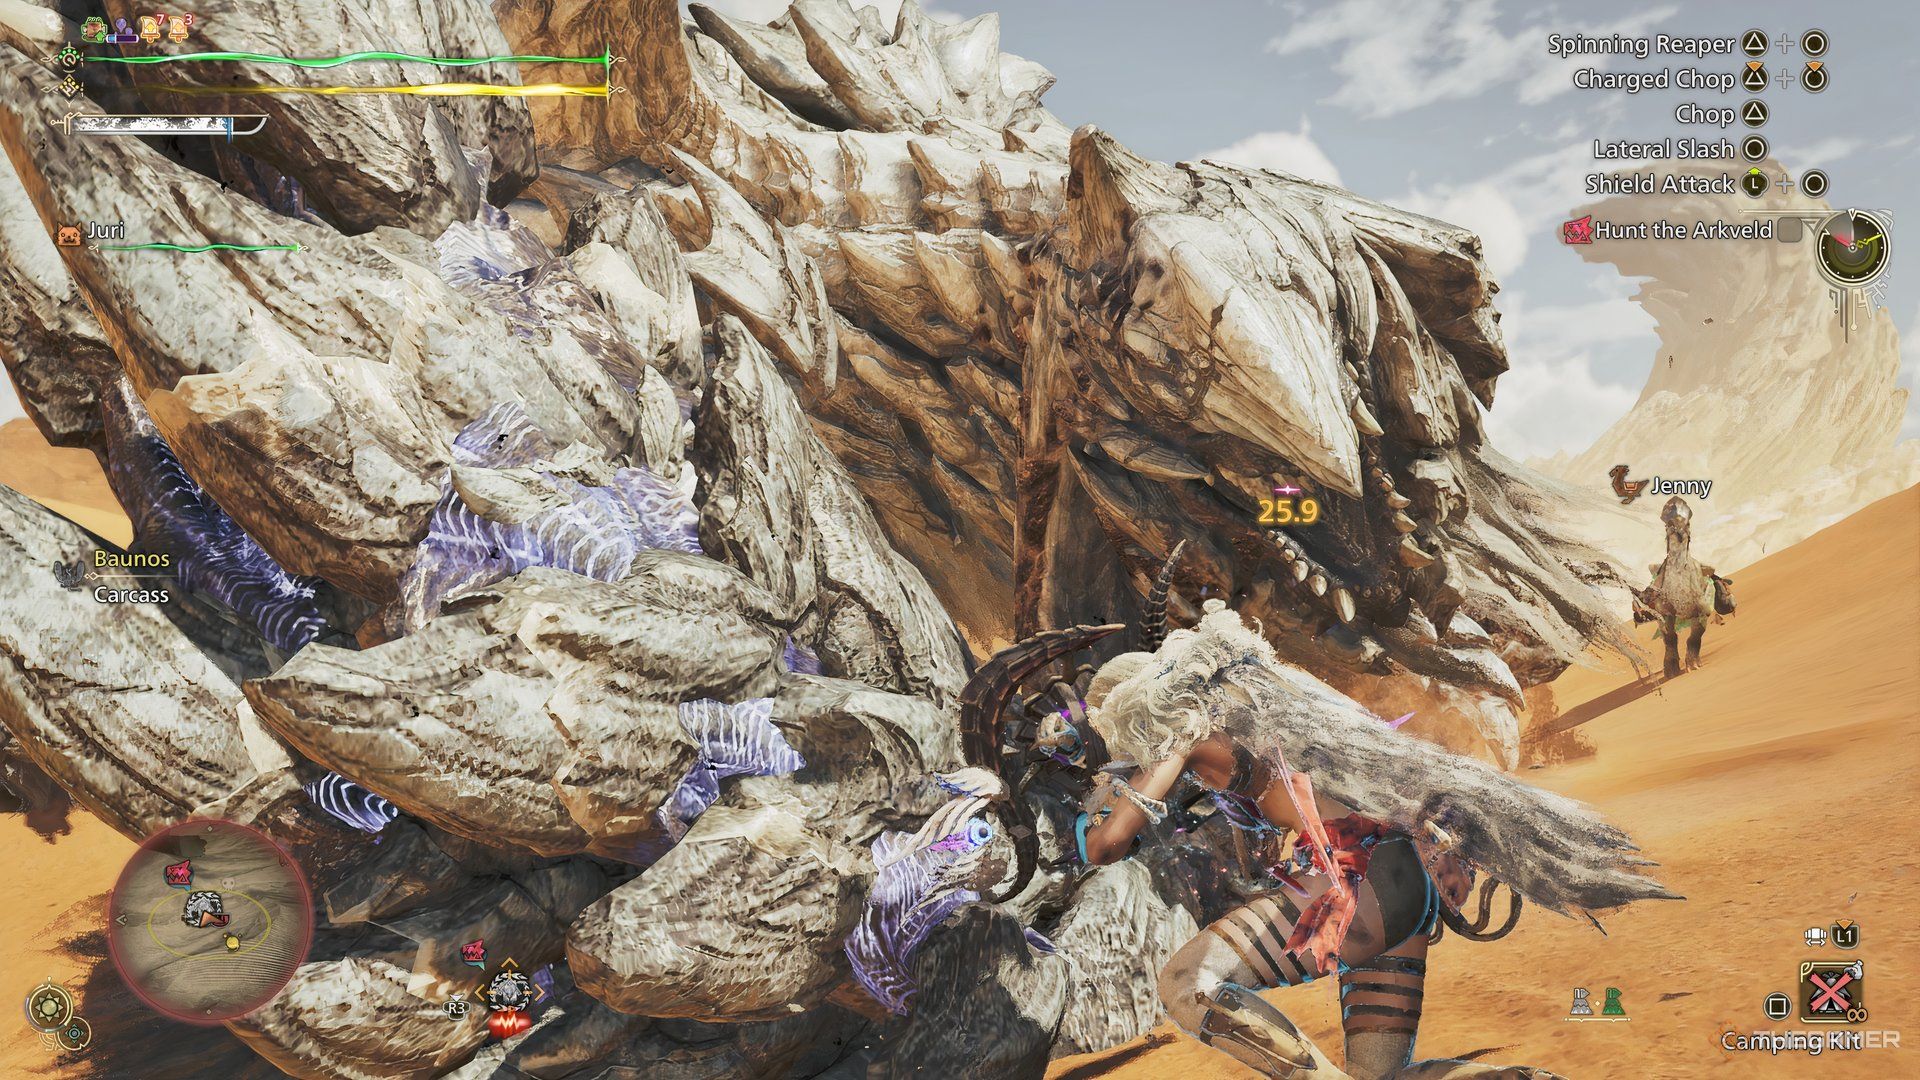
The Sword & Shield is pretty simple to play, as the only learning part here is to parry monster attacks and perform a perfect guard. This will trigger Offensive Guard for you, which in turn will increase your attack massively.
Additionally, you will need to learn some basic combos with your Sword & Shield so that you can continue cutting through the monster consistently. One of the biggest advantages of this weapon is that it is extremely low risk but comes with a high reward.
One of the issues with Sword & Shield is that you lose out on Sharpness extremely fast. As such, you can use Razor Sharp instead of Critical Boost if you want. Otherwise, it’s better to keep sharpening your weapon occasionally.
You get the speed of Dual Blades and the defensive strength of a Greatshield, but your combos and attacks don’t have a lot of commitment, which means you are never at the threat of death. If things ever look bleak, simply block, and you will hopefully survive long enough until you can find an opening to heal.

Next
Monster Hunter Wilds: Switch Axe Build Guide
Maximize the Switch Axe’s damage output with this build in Monster Hunter Wilds.


Leave a Reply