As you make your way through Zoe’s fantasy and Mio’s sci-fi worlds in Split Fiction, you and your co-op partner will eventually go up against the Factory Warden. It’s a massive, multi-legged robot found in Chapter 4’s Test Chamber. Your team will need to time your moves and pull off combos with Mio and Zoe’s Shield Busters to take it down.
3:30

Related
Split Fiction: How To Defeat The Ice King
Here’s how to save the realm from the Ice King in Hazelight’s Split Fiction.
In this guide, you’ll find everything you need to know to defeat the Factory Warden, from its attack patterns and phase mechanics to how you can use the environment to your advantage and the best strategies to counter its moves.
How To Start The Factory Warden Boss Fight
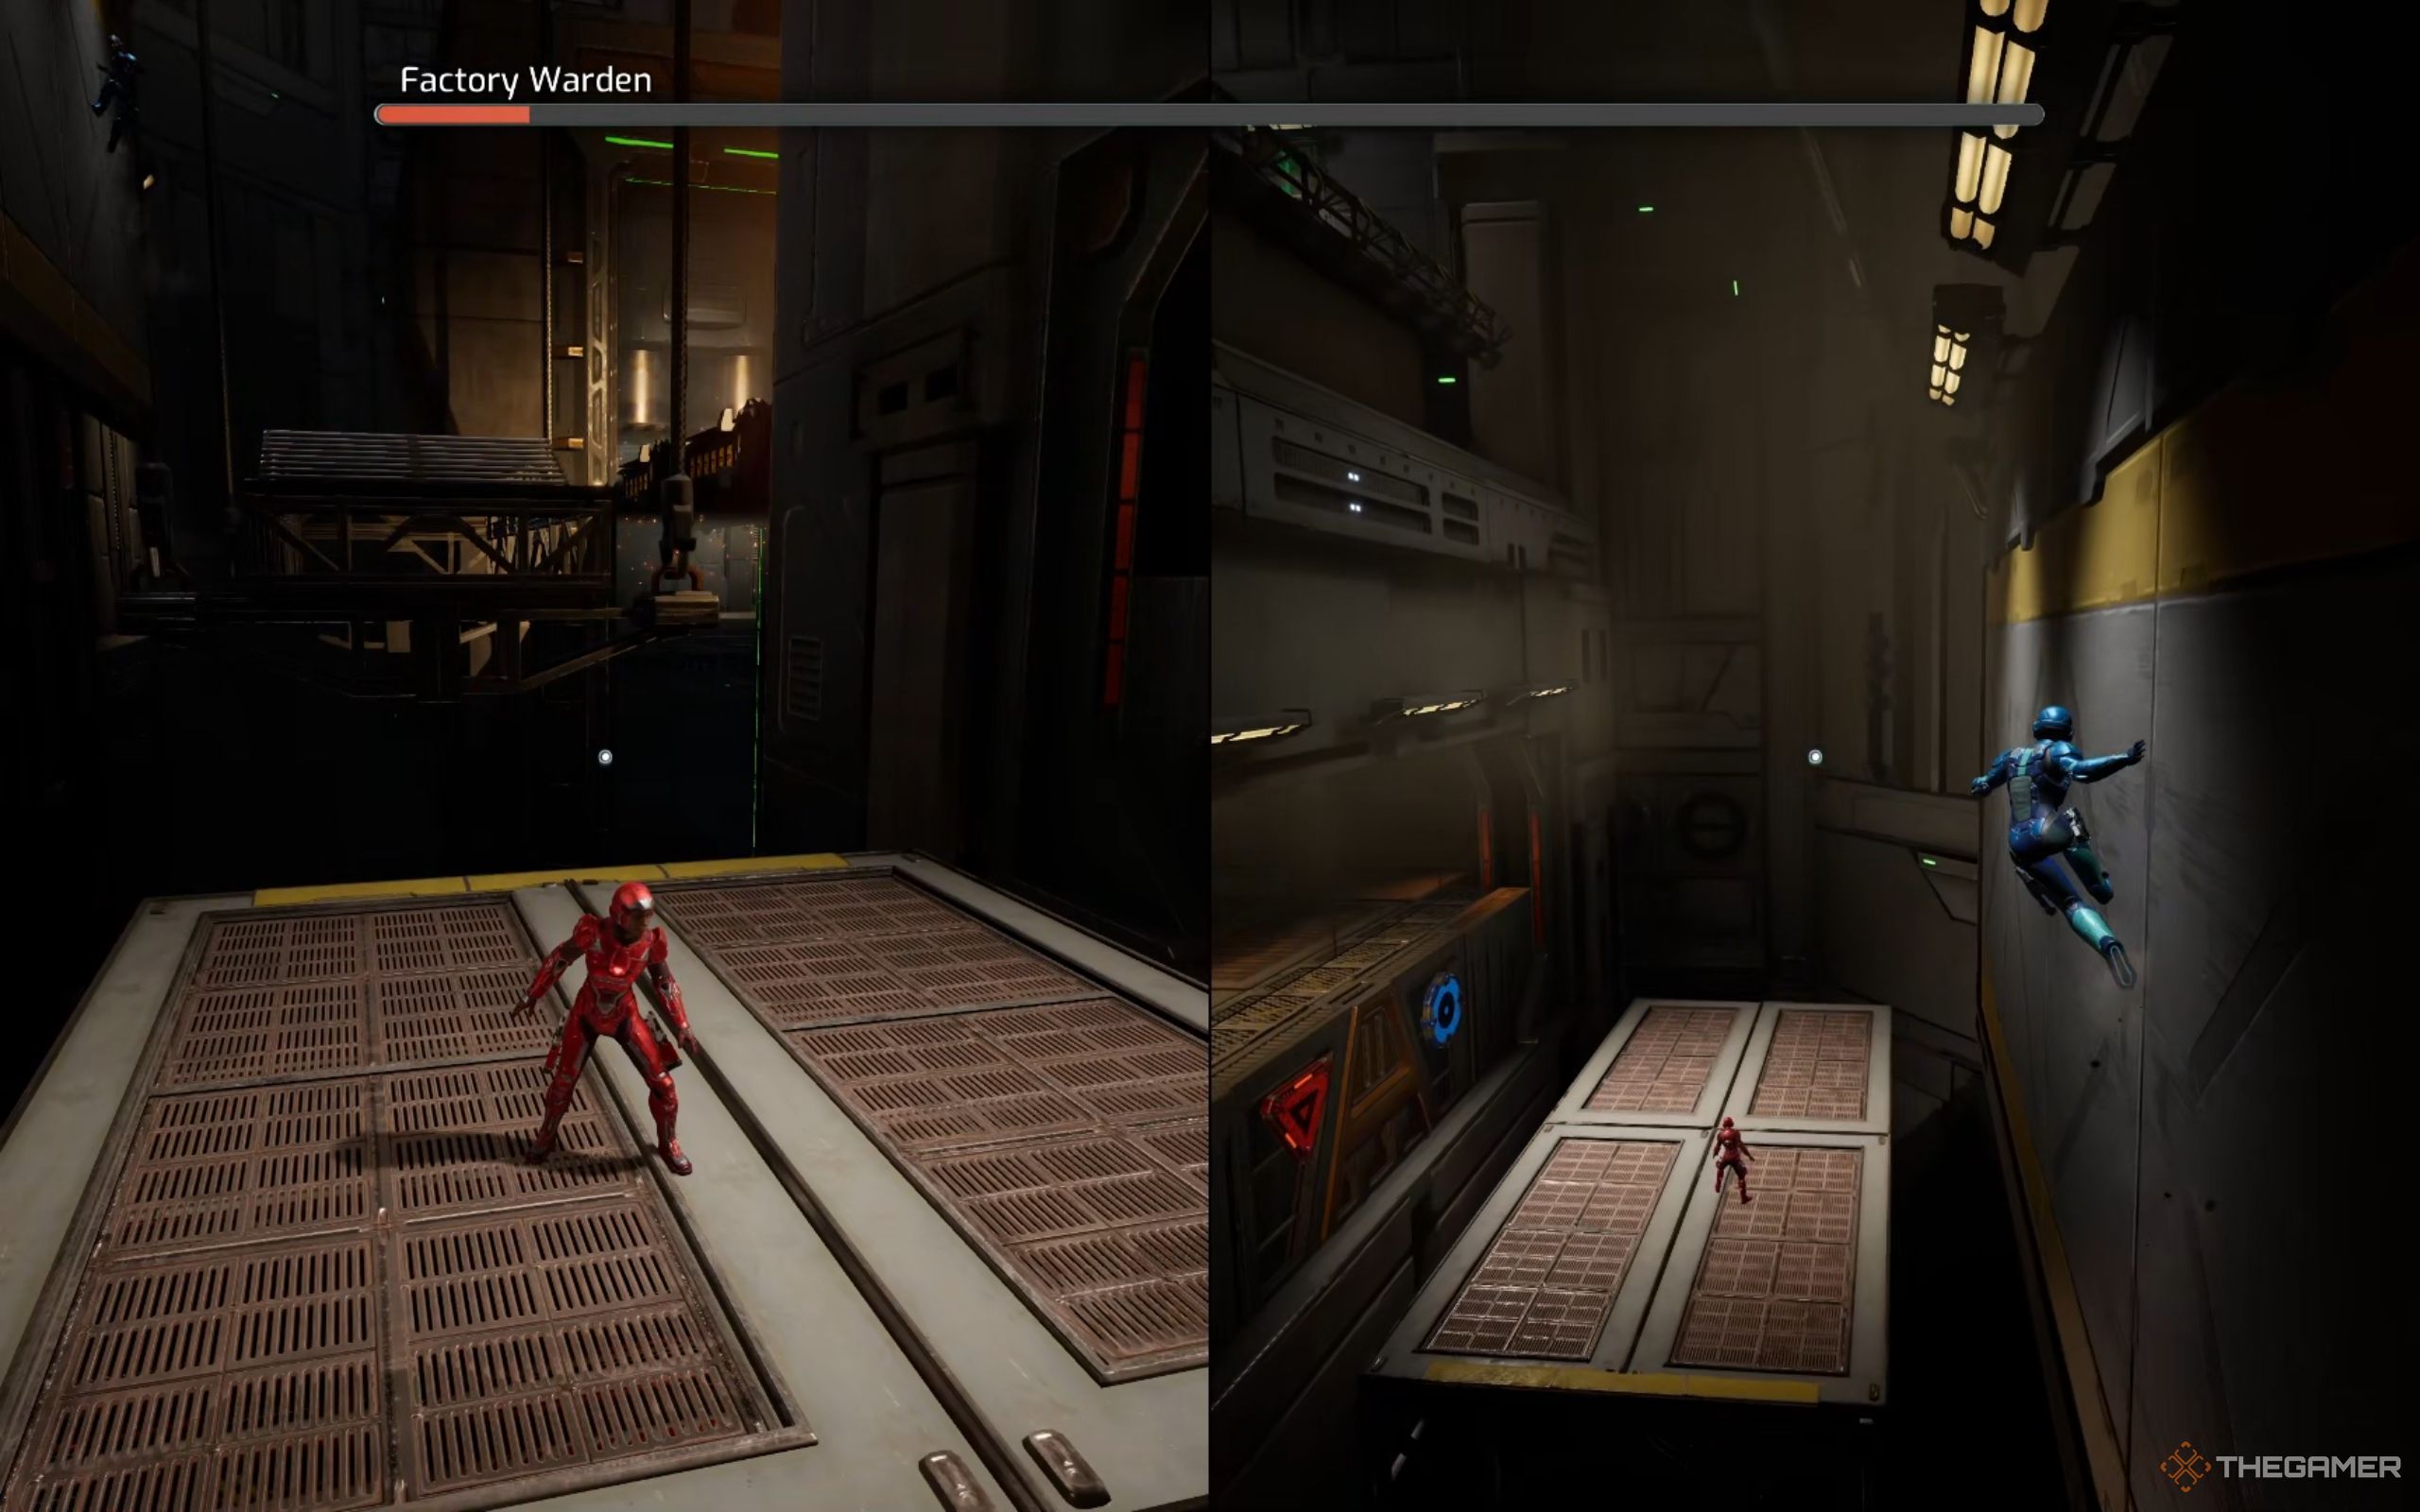
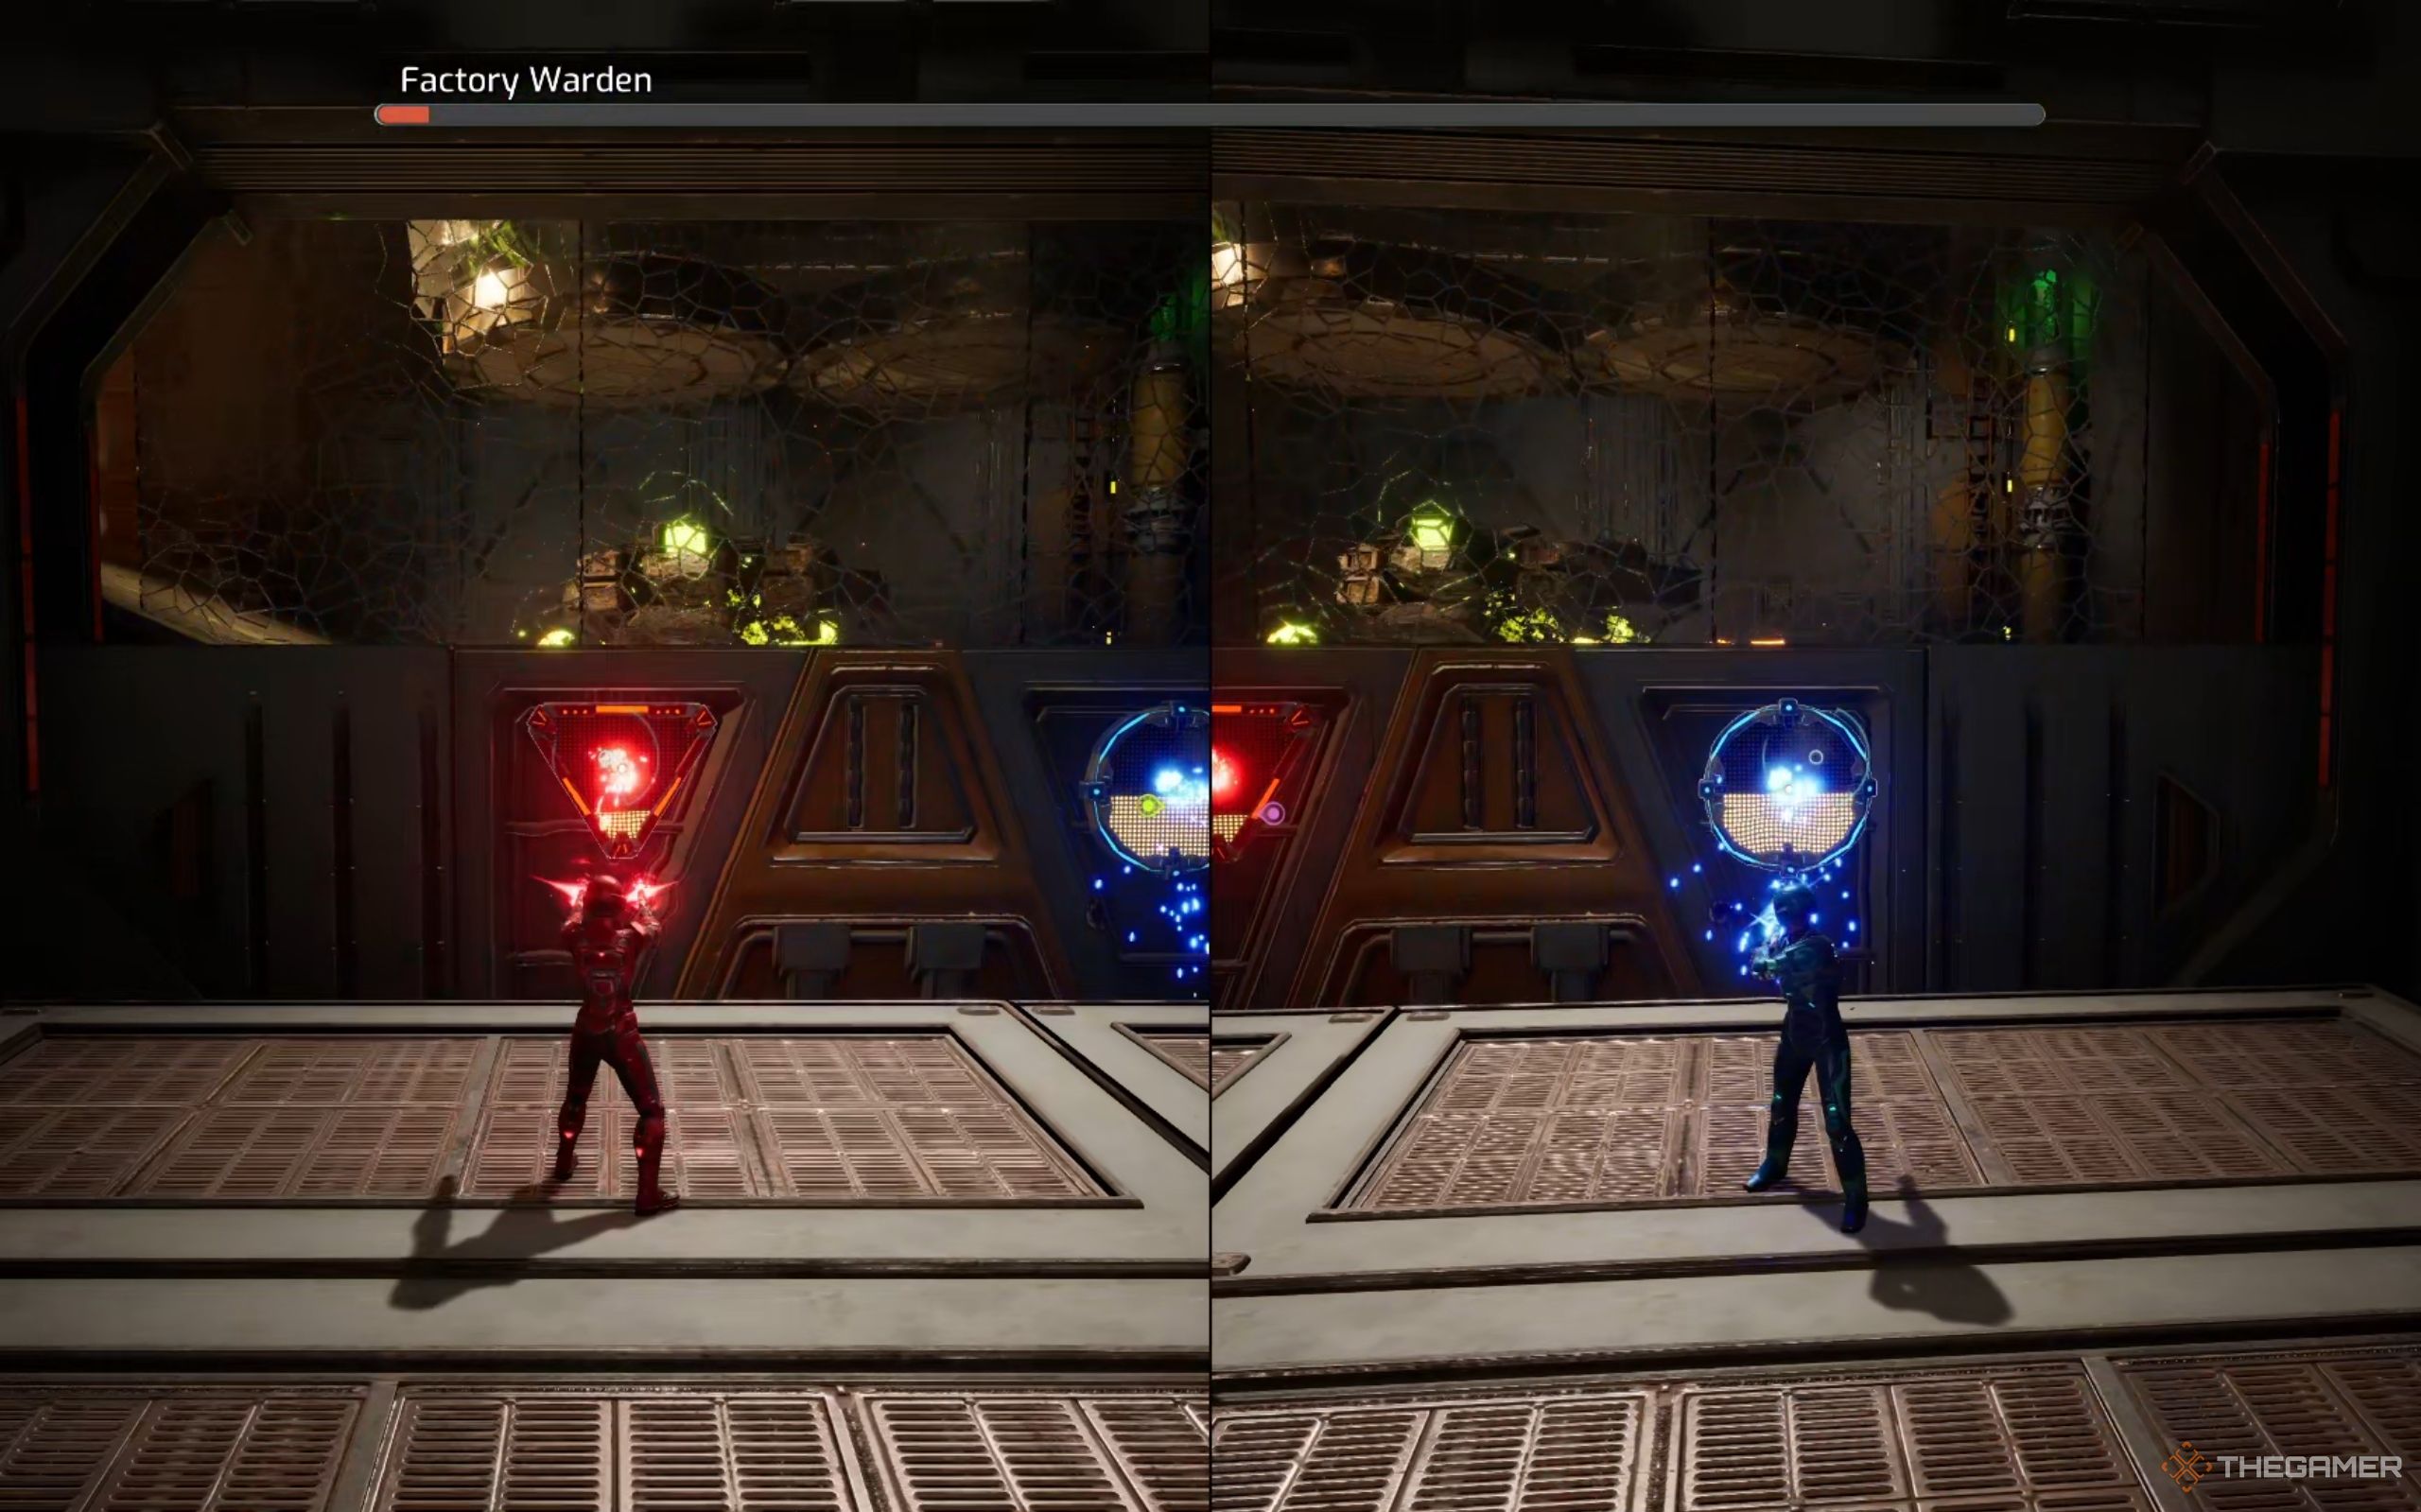
As soon as you enter the Factory Warden’s boss room, you’ll notice two box-like areas hanging above: One red and one blue. On the ground, there are two color-coded launch pads: Red for Mio and blue for Zoe.
To start the fight with the Factory Warden, you’ll need to activate the two stations behind those blocks by following these steps:
- Zoe should place her Shield Buster on the blue box, then return to her blue launch pad.
- Mio stands on Zoe’s launch pad to get launched toward the blue box.
- Zoe shoots the switch to send Mio flying. Just as Mio is about to reach the blue box, Zoe detonates her Shield Buster to open the entrance, allowing Mio to get inside.
- Mio activates the station. Once it’s activated, Mio will automatically drop back down.
- Repeat for Mio’s station.
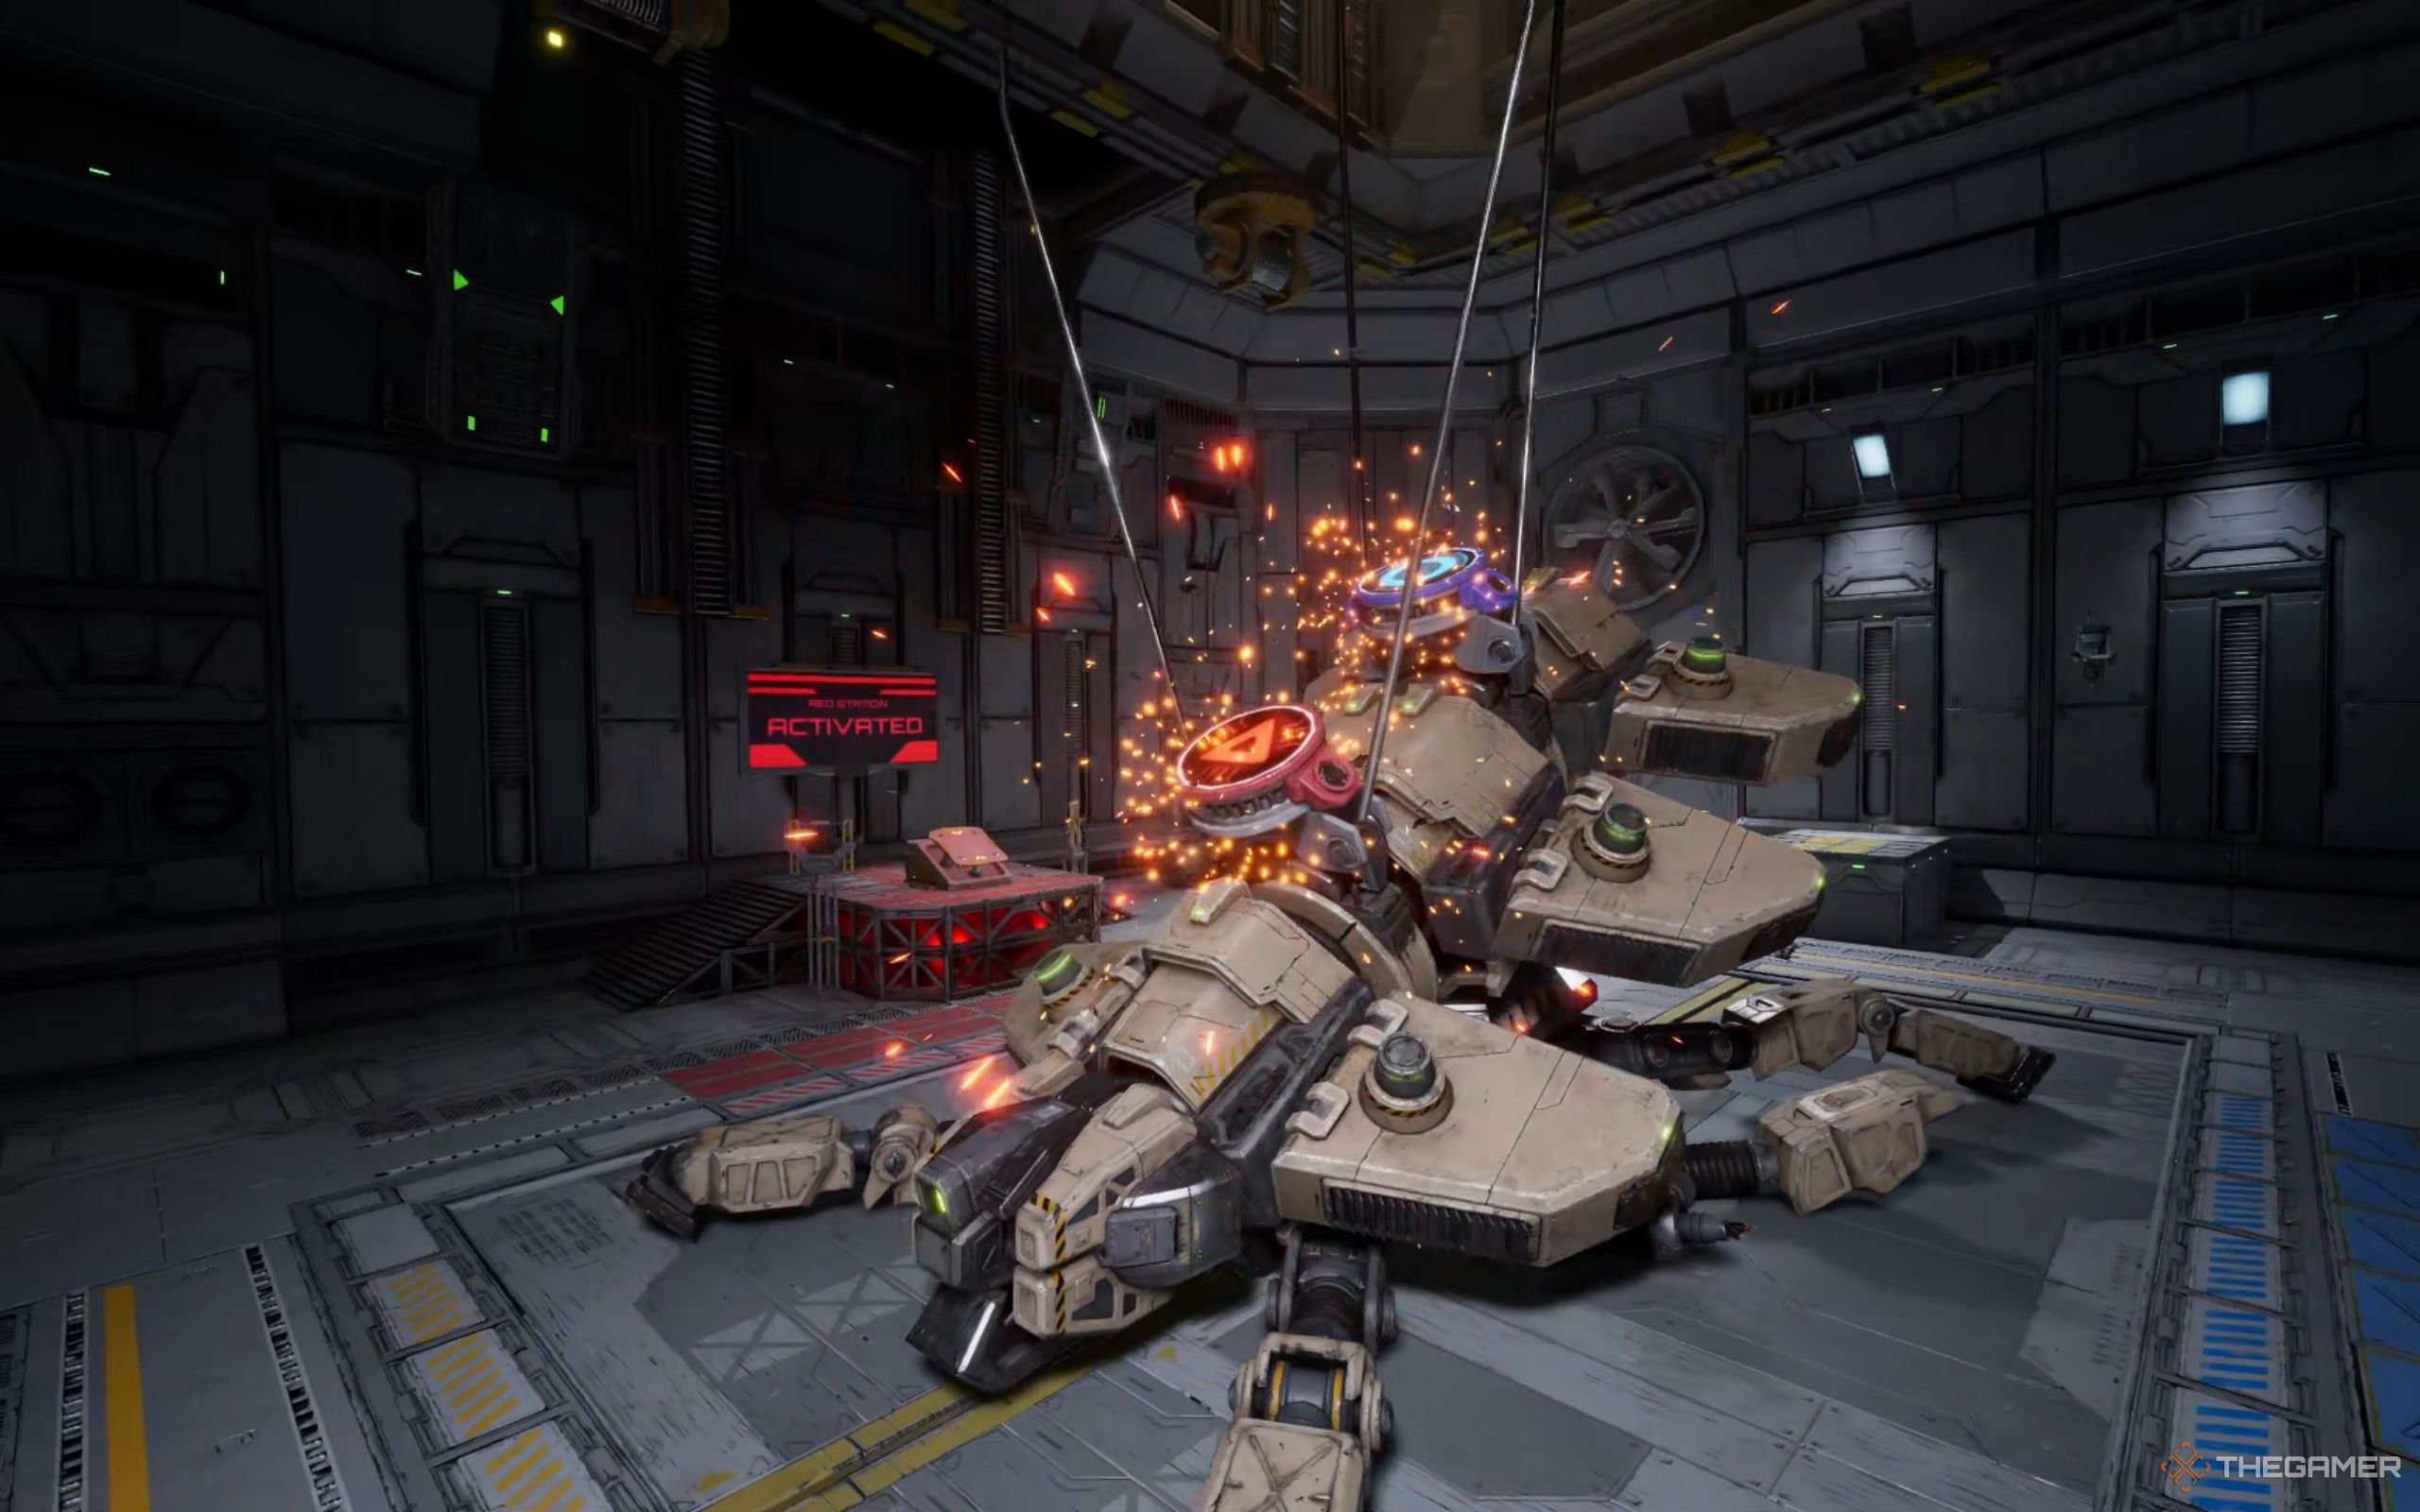
After both stations are activated, the Factory Warden will appear, beginning the boss fight.
Mio should wait until Zoe is as close to the red shield as possible. Unlike Mio, Zoe won’t be dropped down automatically, so the shield needs to stay open long enough for her to jump out after activating her station.
If Zoe doesn’t make it in time, the Warden will shove its head into the box and roast her with fire, instantly one-shotting her.
Phase One
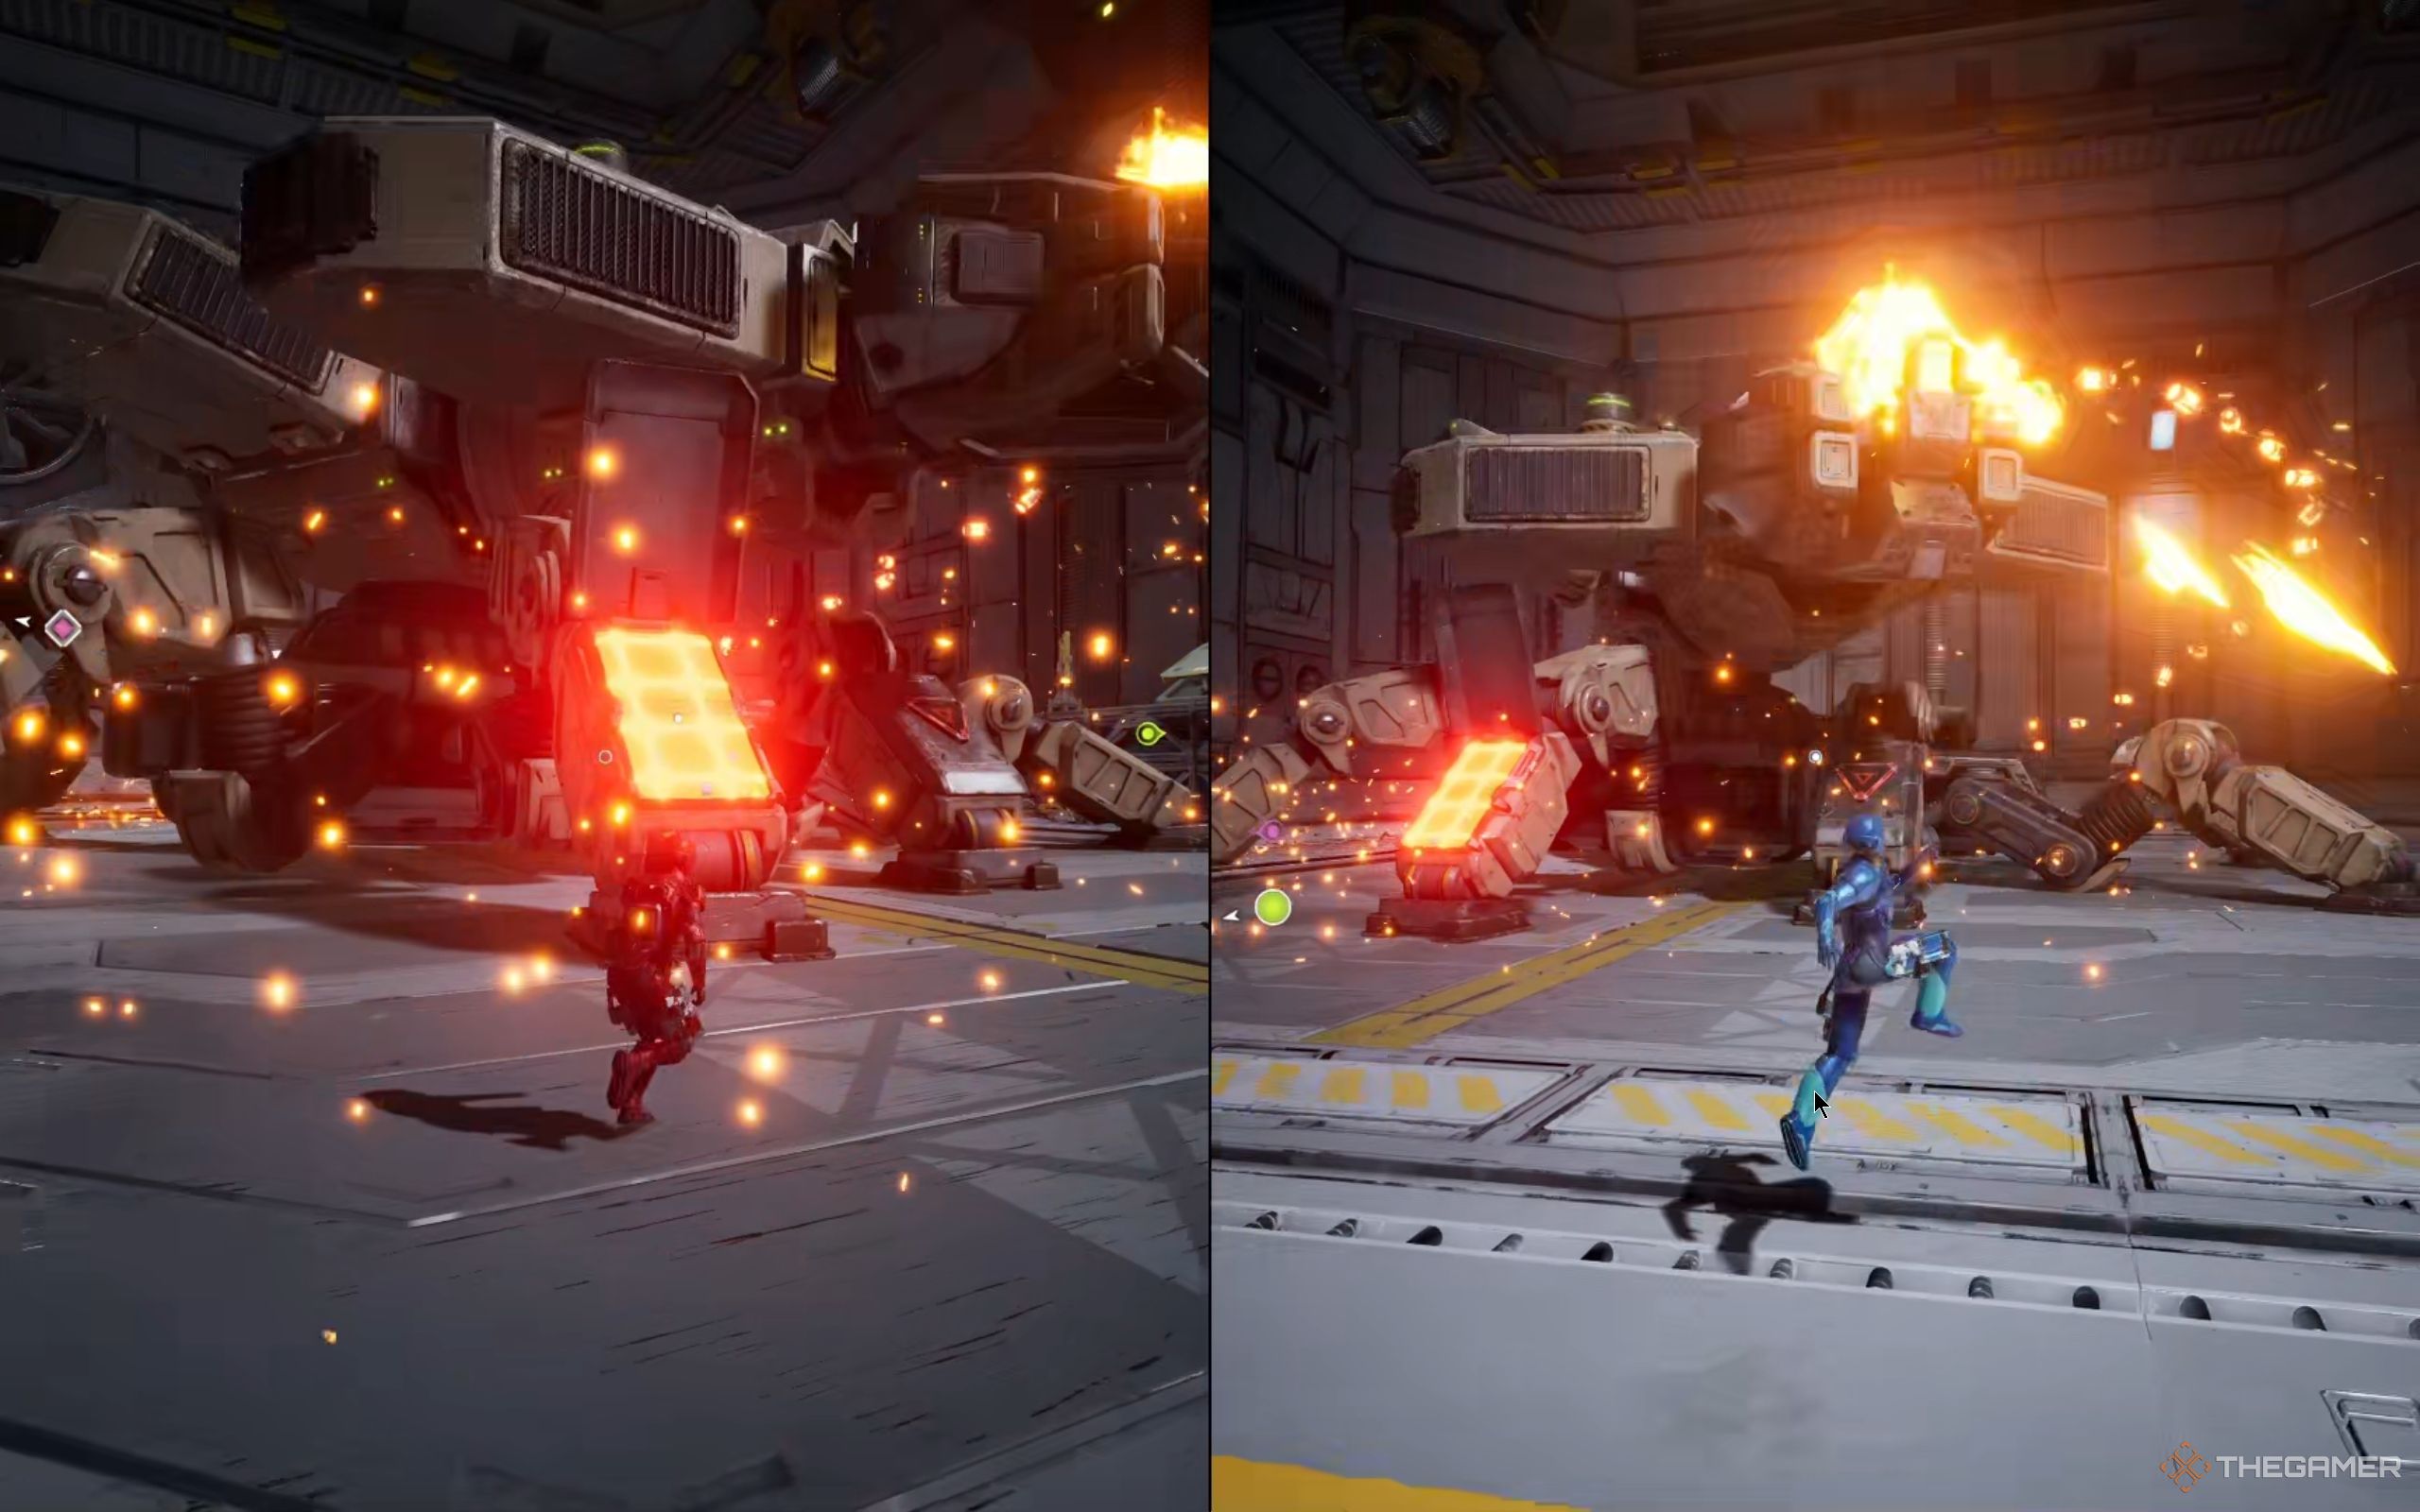
The Factory Warden has eight legs, but you only need to focus on two: one with a blue circle and another with a red triangle. Each leg has three layers: a metal plate, a shield, and two switches.
To destroy a leg, you and your co-op partner need to coordinate in the following order:
- One player shoots the marked spot to open the metal plate.
- The other player destroys the shield inside.
- Both players shoot their respective switches to finish the sequence.
For example, if you’re Zoe, shoot the blue circle to open the plate, revealing a red shield. Mio then destroys the shield, exposing a red and a blue switch. Both of you must shoot your respective switches to take down the leg.
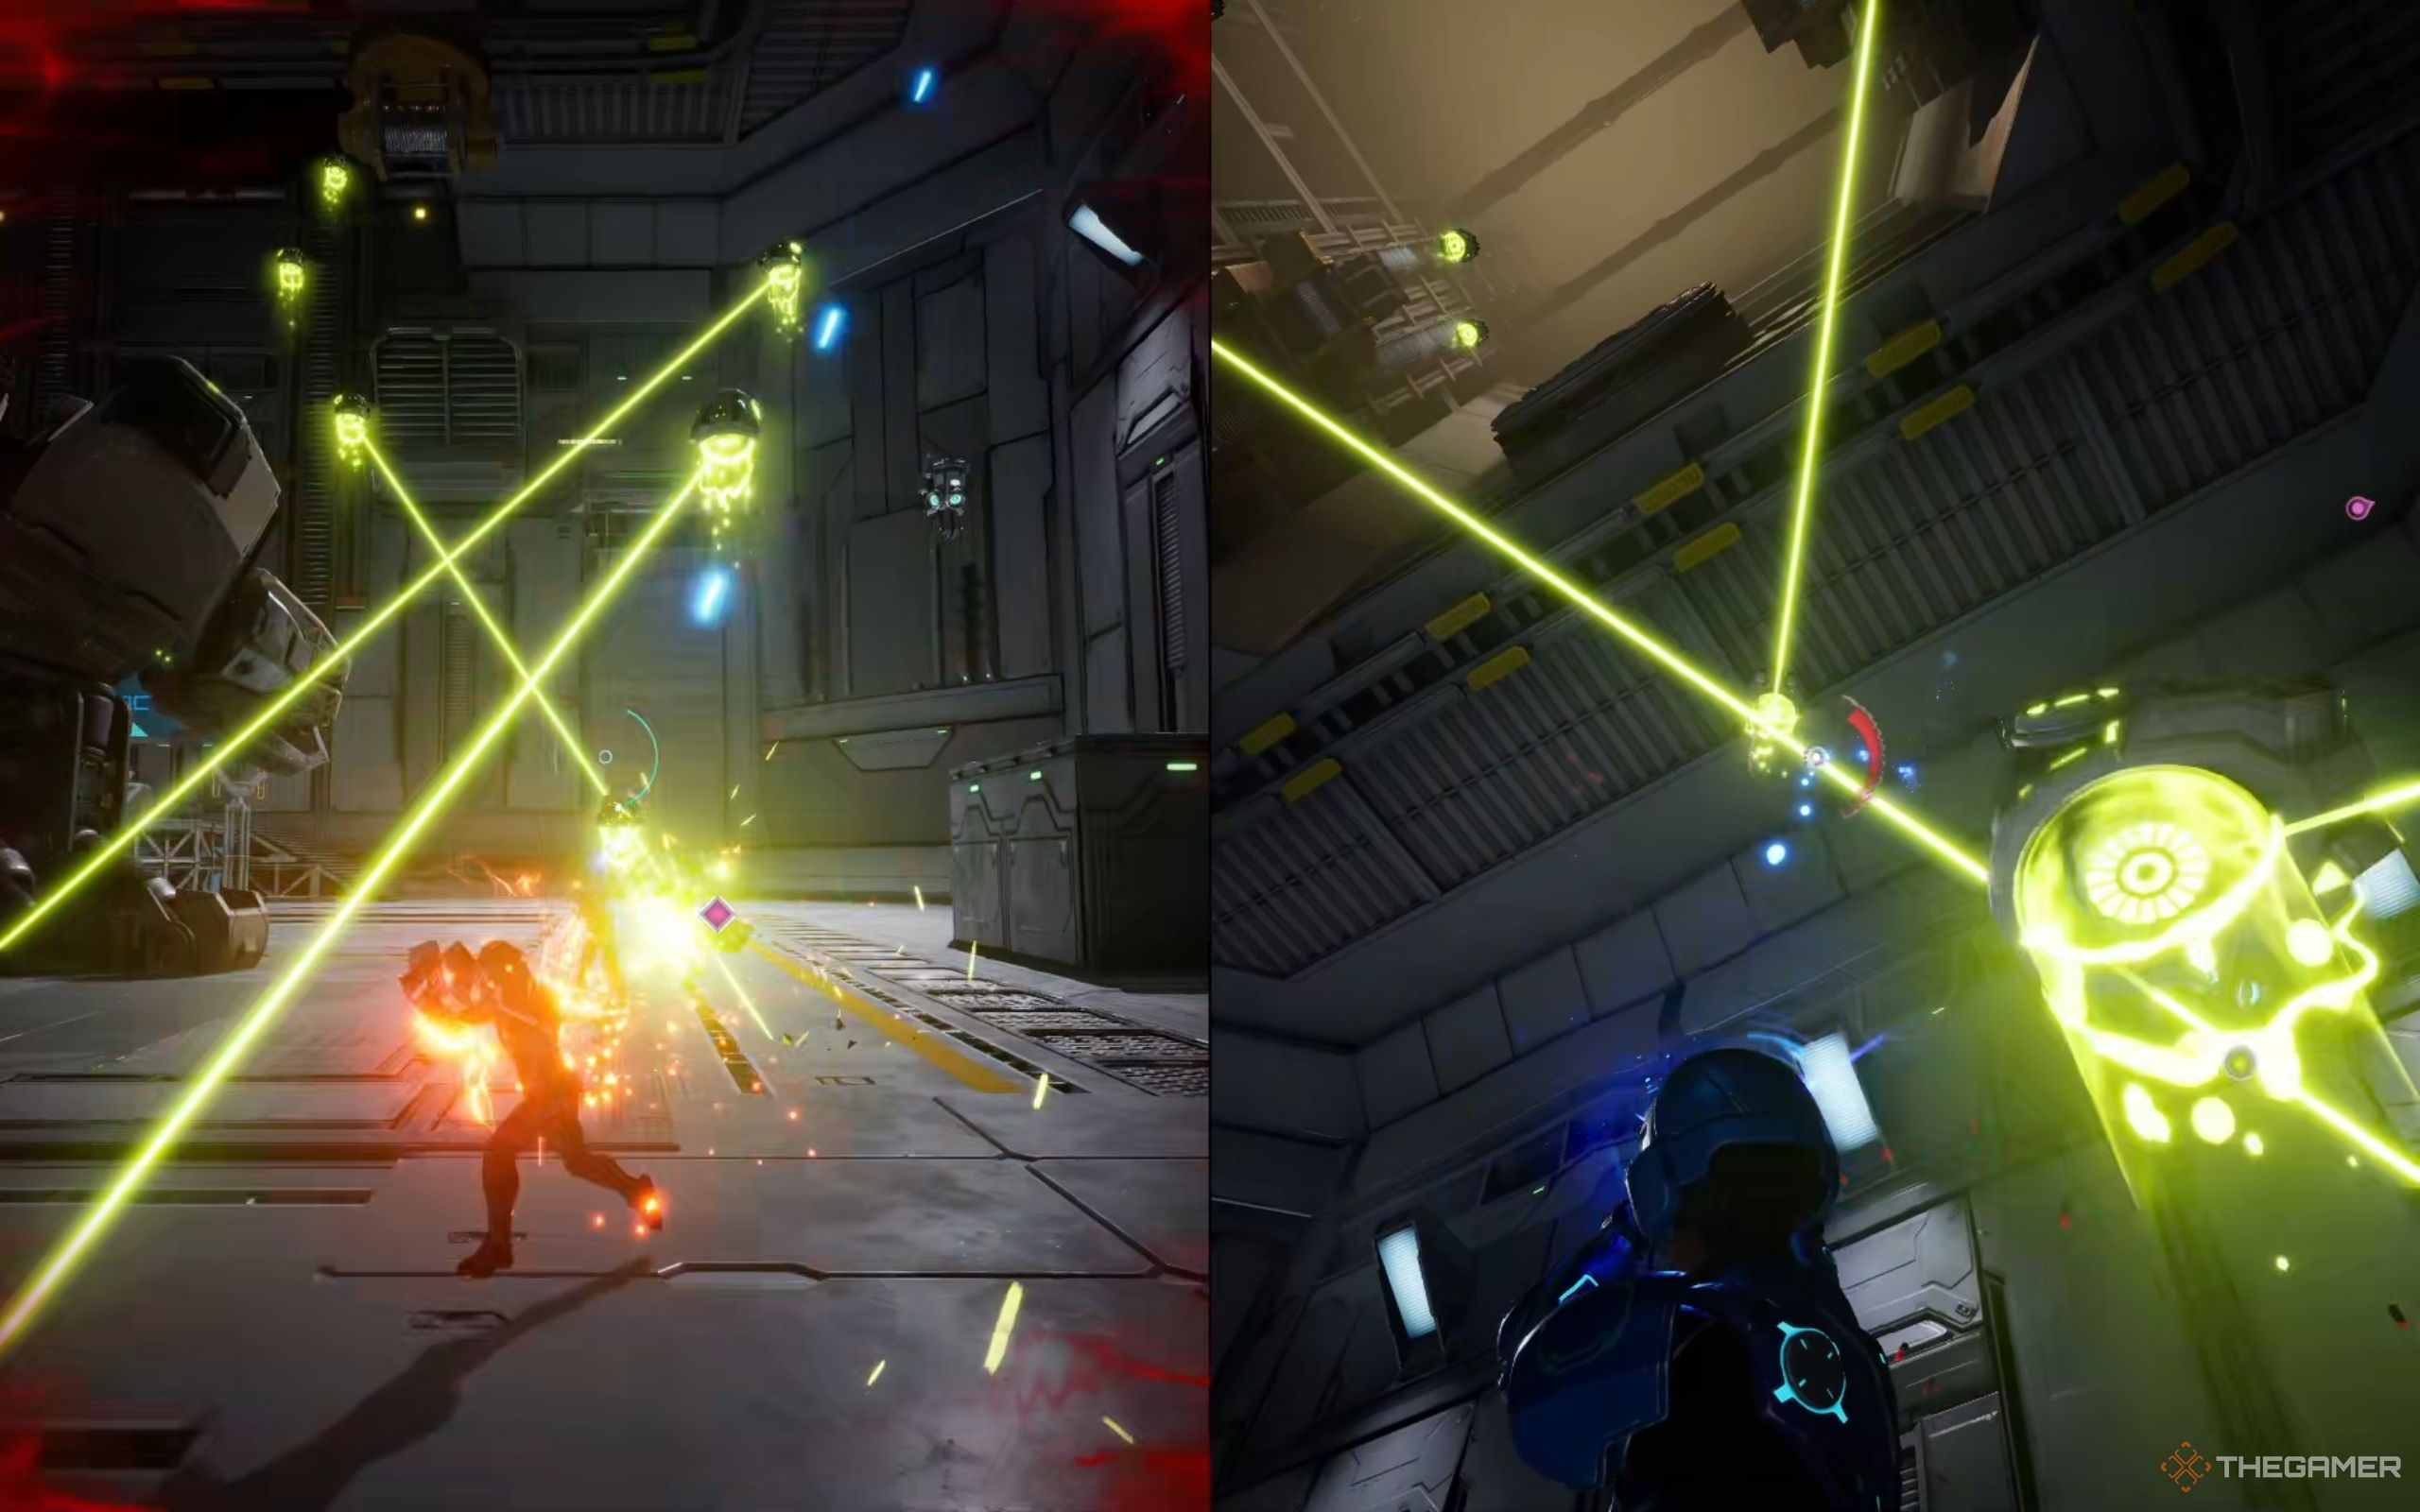
When a leg is destroyed, the Factory Warden will be forced into its curled-up stage, where it retracts all its legs and starts spawning drones. These drones fire lasers and move around, so take them out quickly to avoid getting overwhelmed.
Other than the drones, here are the Factory Warden’s other moves and how to counter them:
|
Ability |
Description |
How To Counter |
|---|---|---|
|
Fire Beam |
The Warden breathes fire in a straight line. |
Dash out of the way. |
|
Bullet Spin |
It stays in place, spinning its head while firing bullets. The falling bullet casings drop in a circular pattern around the Warden. |
Watch out for its head and stay aware of the bullet casings’ landing spots to avoid getting caught in the crossfire. |
|
Leg Stomp |
The Warden slams a leg down. |
Dash out of the way. |
|
Jump Slam |
It leaps into the air and crashes down, creating a ring of fire that expands outward. |
Jump over the flames to stay safe. |
Destroy the rest of its legs until it falls on the ground. The tricky part here is to time your action with your player two, since it’ll be a sequence that needs to be completed one after another within a limited time. If you don’t finish the sequence quickly enough, the shield will reset or the metal plate will close, forcing you to start all over again.
Phase Two
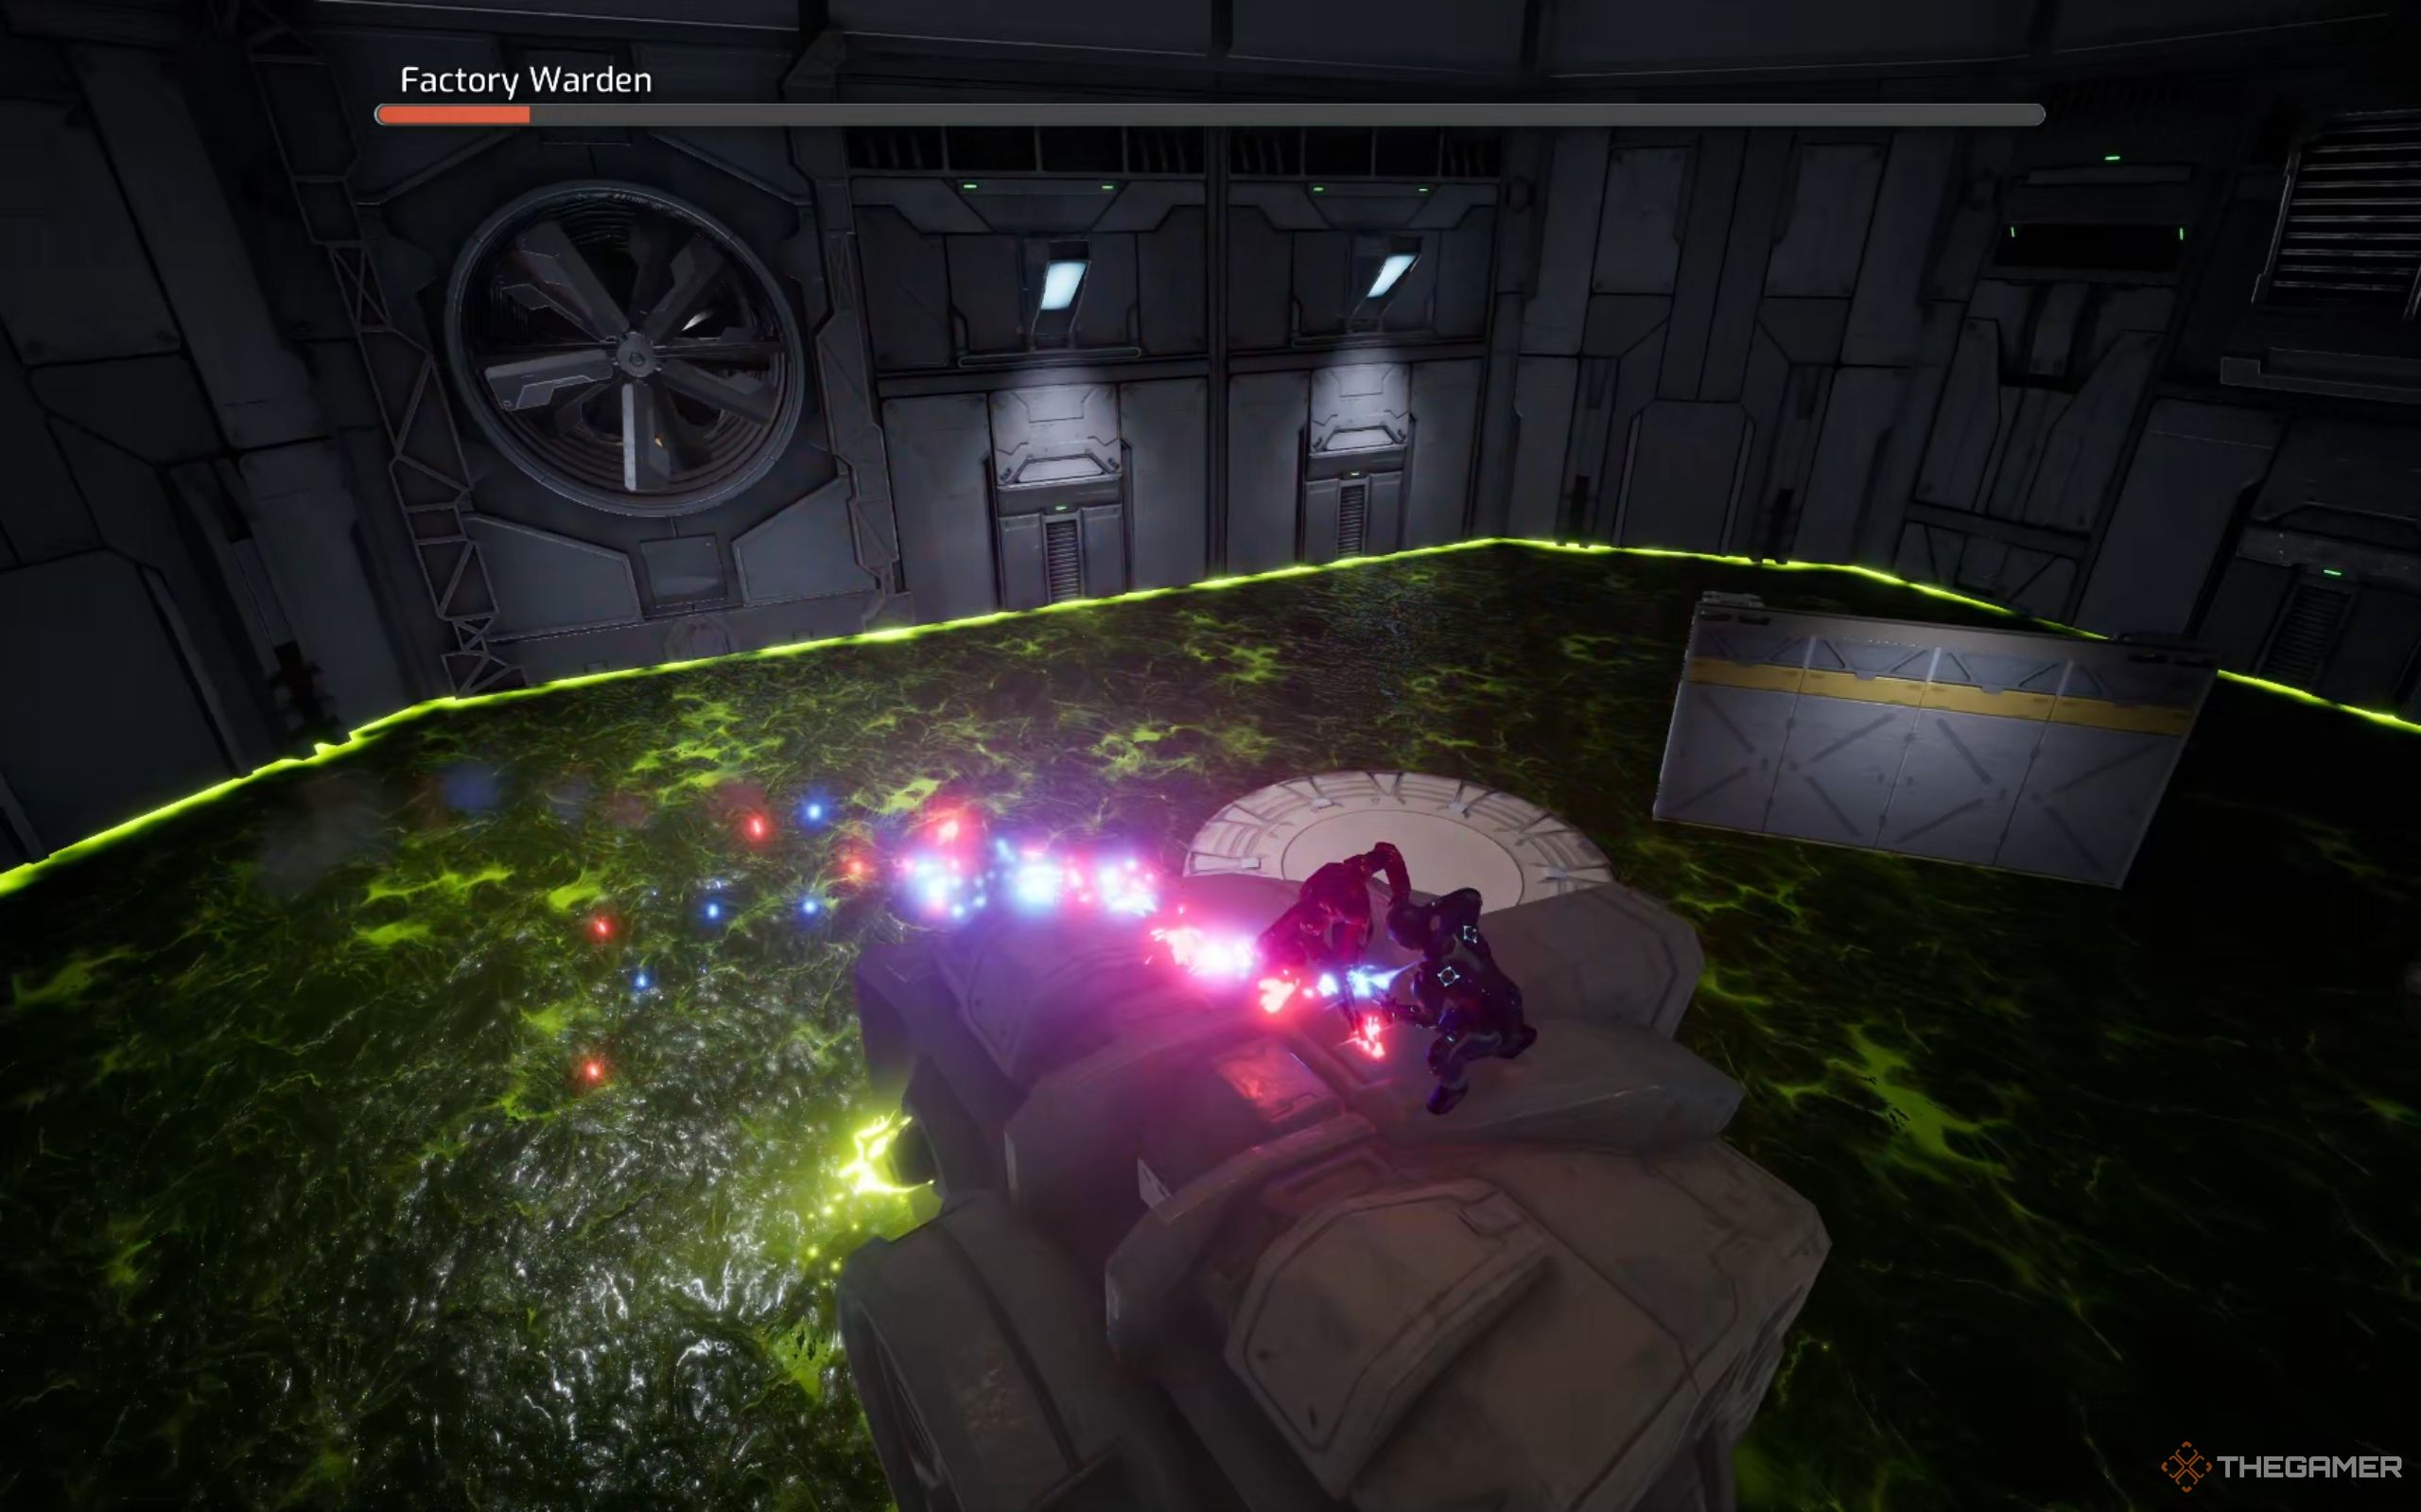
Once all the Factory Warden’s legs are destroyed, a short cutscene will play, and two giant red and blue switches will be placed on its back. The center of the room will also open up, revealing toxic water beneath.
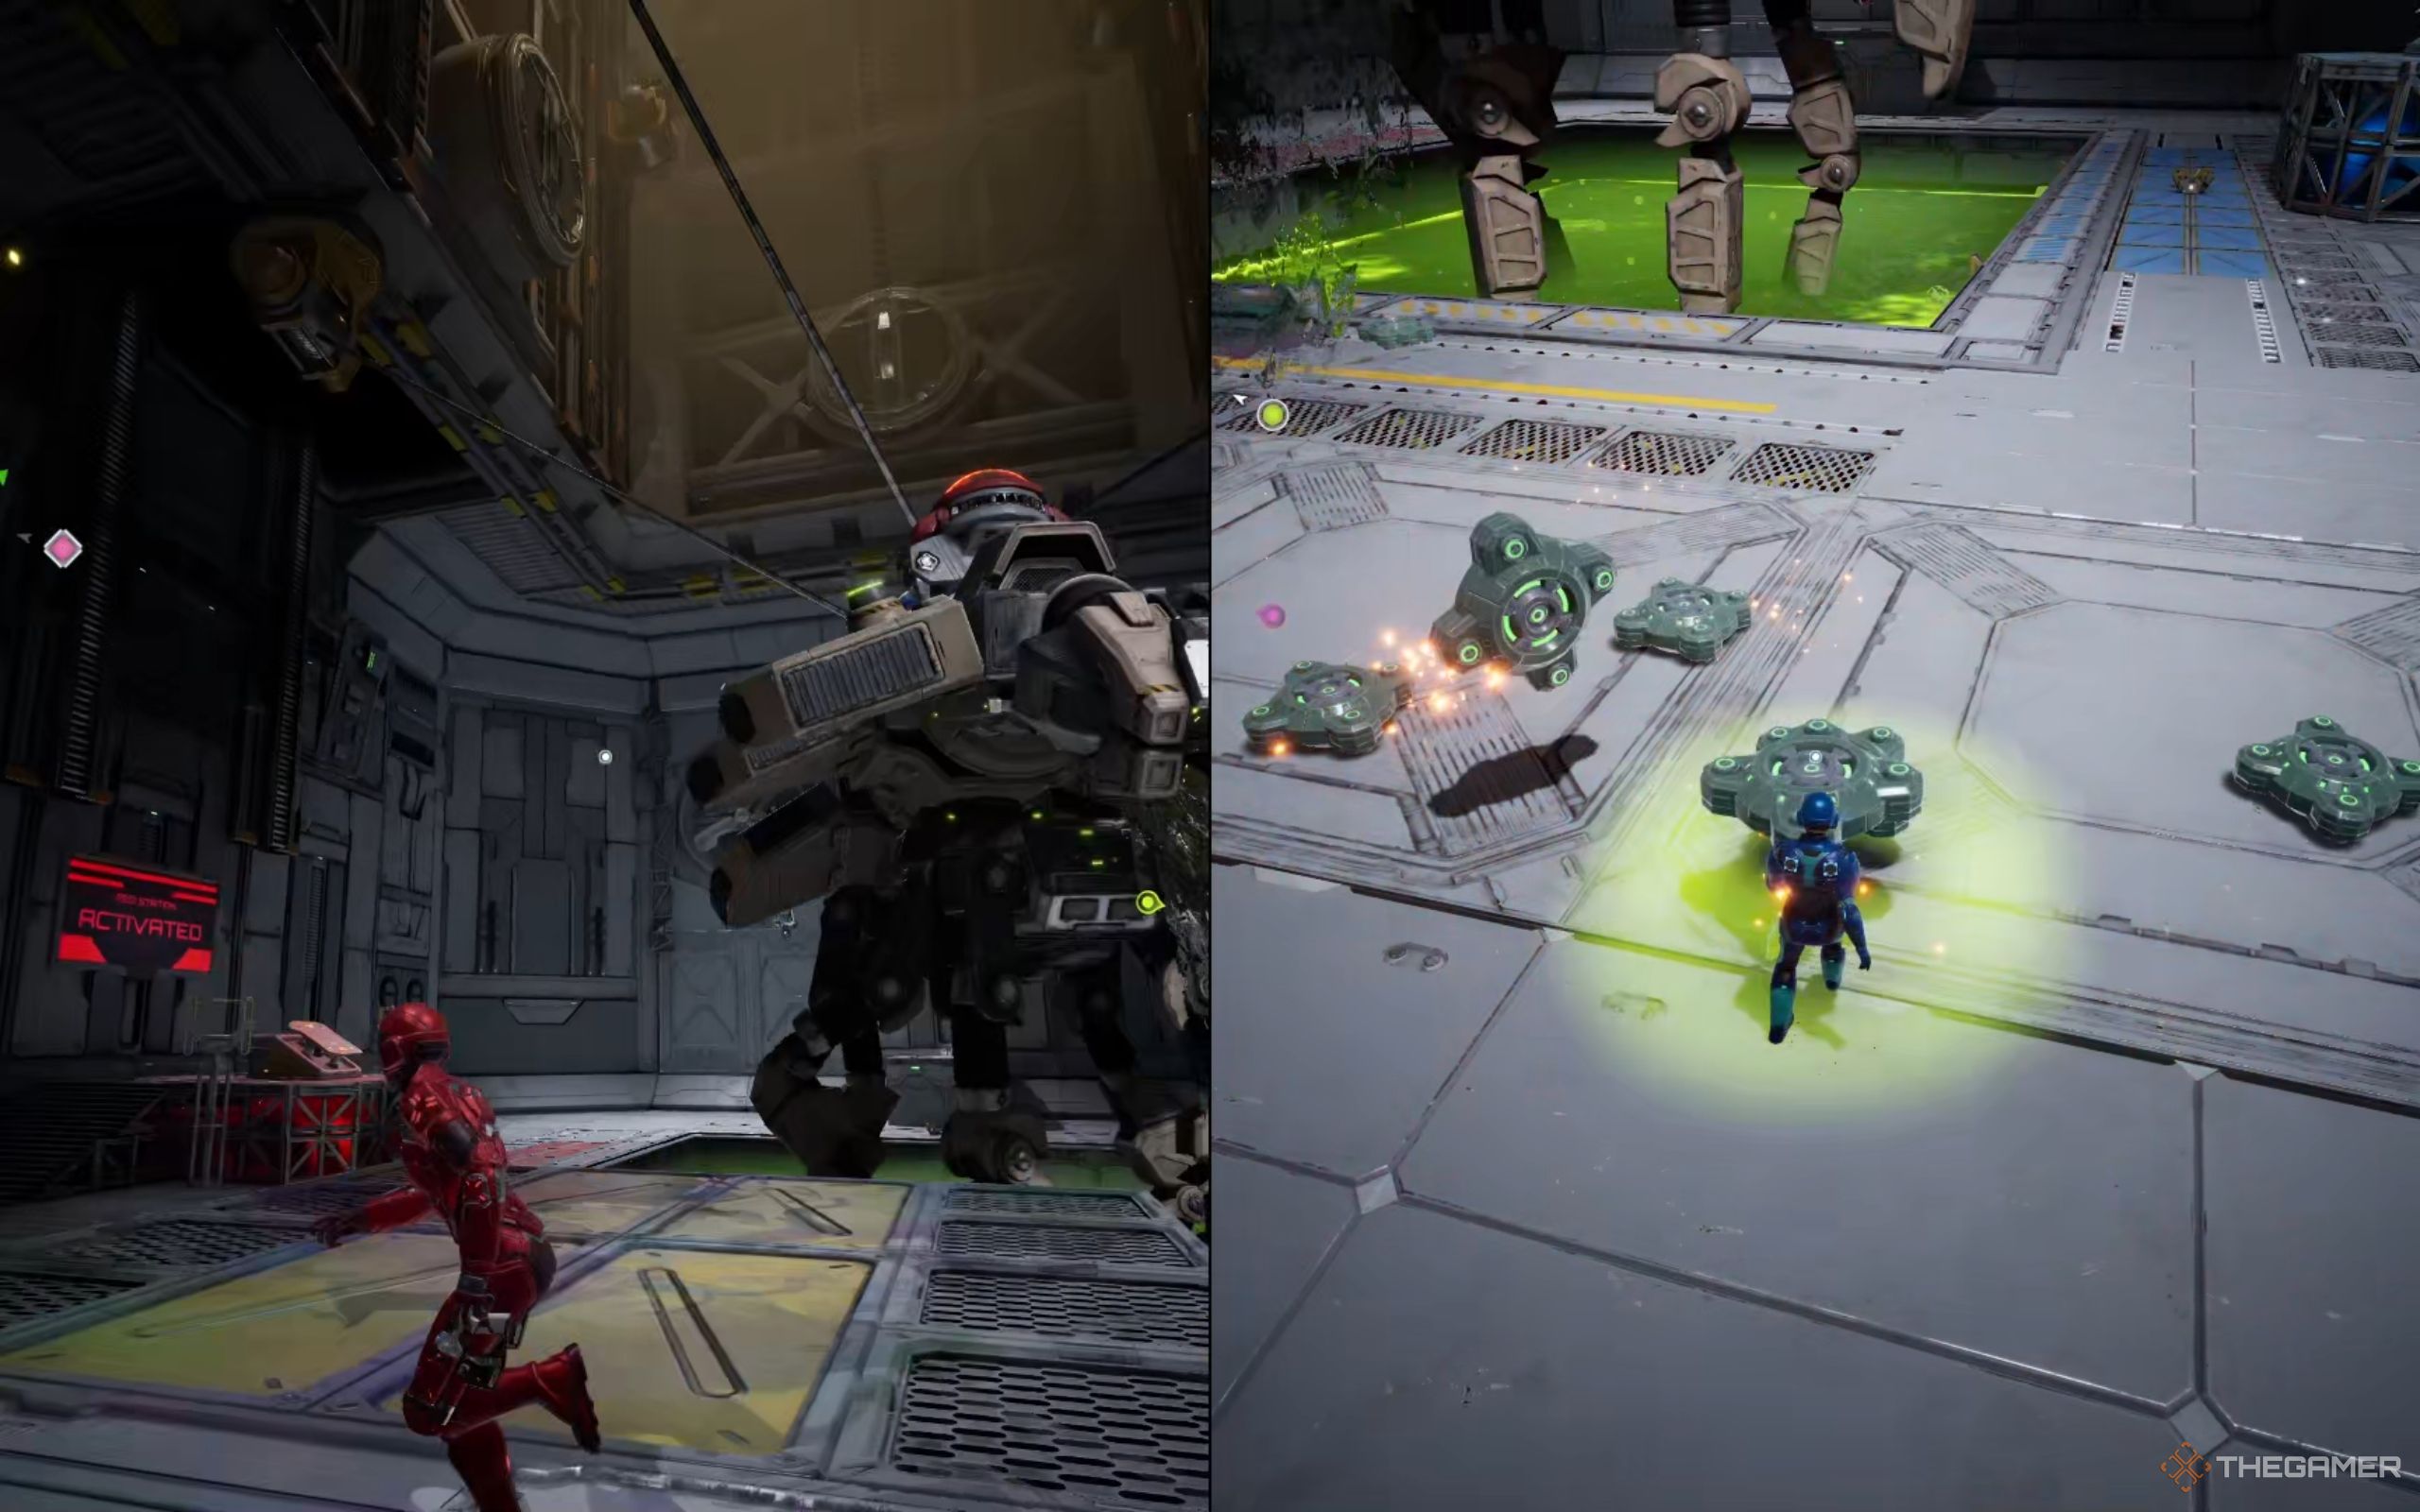
The Factory Warden will be hung in one place. However, it can still spew green toxins to coat the ground, then ignite the affected area with its fire beam.
Also, it can shoot out land mines that can move and track Mio and Zoe. Be sure to shoot the mines before they get too close and detonate. If you let them stack up, you’ll have a tough time moving around without dying.
To hit the two switches on the Warden’s back, you need to use the launch pads just like you did earlier to trigger this fight. While airborne, you’ll enter slow motion, giving you more time to aim and shoot.
You can use the grapples around the area to move faster between two launch pads. There are two grapples near the launch pad, and four on the ground.
Usually you only need to press the right shoulder button three times to reach the other side: Once to reach the nearby grapple, once to get the one on the ground, and once to grab the opposite launch pad’s grapple.
After activating both switches, the Factory Warden will crash into the toxic water, entering phase three.
Phase Three
The Factory Warden emerges from the toxic pool with only its head remaining, now protected by a color-shifting shield. Pay attention to its color and match it with the correct Shield Buster to break through its defenses.
Once weakened, it will collapse and emit pulses of green fire. Jump to dodge and close in. Both players must jump onto its head, mash buttons to pry open the metal plate, and start shooting.
The Warden will take off and start flying, but don’t stop shooting. Eventually, the top of its head will explode, triggering the sewage doors to drop. You’ll hear “Initiating solution: Pollution” as the toxic water floods the arena, drastically reducing your safe space.
Falling in the toxic water means instant death, so stay on the doors. You’ll also notice floating square platforms, but they won’t hold above water for long, so only use them to move between doors.
Meanwhile, the Warden will continue diving and spewing green toxin. Watch for the highlighted danger zones and keep attacking when you get an opening. When it collapses again, grapple onto it and shoot again.
The Warden will take off, this time, slamming into the ventilator and landing on a moving conveyor belt with two hydraulic presses. Time your dashes carefully to avoid being crushed.
Eventually, you’ll reach a wall of fire. The Warden can pass through it, but you can’t. You’ll need to go around, either wall-run or double jump and dash to reach the other side.
For the final blow, both players must shoot your respective switches, activating the hydraulic presses to crush the Warden three times.
Once that’s done, it’ll be reduced to a pile of glowing green scrap. Congratulations! You’ve defeated the Factory Warden and are ready for your next adventure!
2:51

Next
Split Fiction: Mr Hammer Boss Guide
Here’s how to dominate the dancefloor and defeat Mr Hammer in Split Fiction.






Leave a Reply