Summary
- Executioner’s Chariot can be made easier by raising a gate in Dark Souls 2.
- Defeat Yhorm The Giant in Dark Souls 3 by using the Storm Ruler weapon.
- High Lord Wolnir in Dark Souls 3 requires avoiding darkness and smashing bangles.
Dark Souls is a series full of amazing and difficult boss fights that will push players to their very limits. Players relish the idea of taking out these imposing challenges by employing everything they’ve learned to survive by the skin of their teeth.
Related
10 Hardest Demon Bosses in the Dark Souls Series
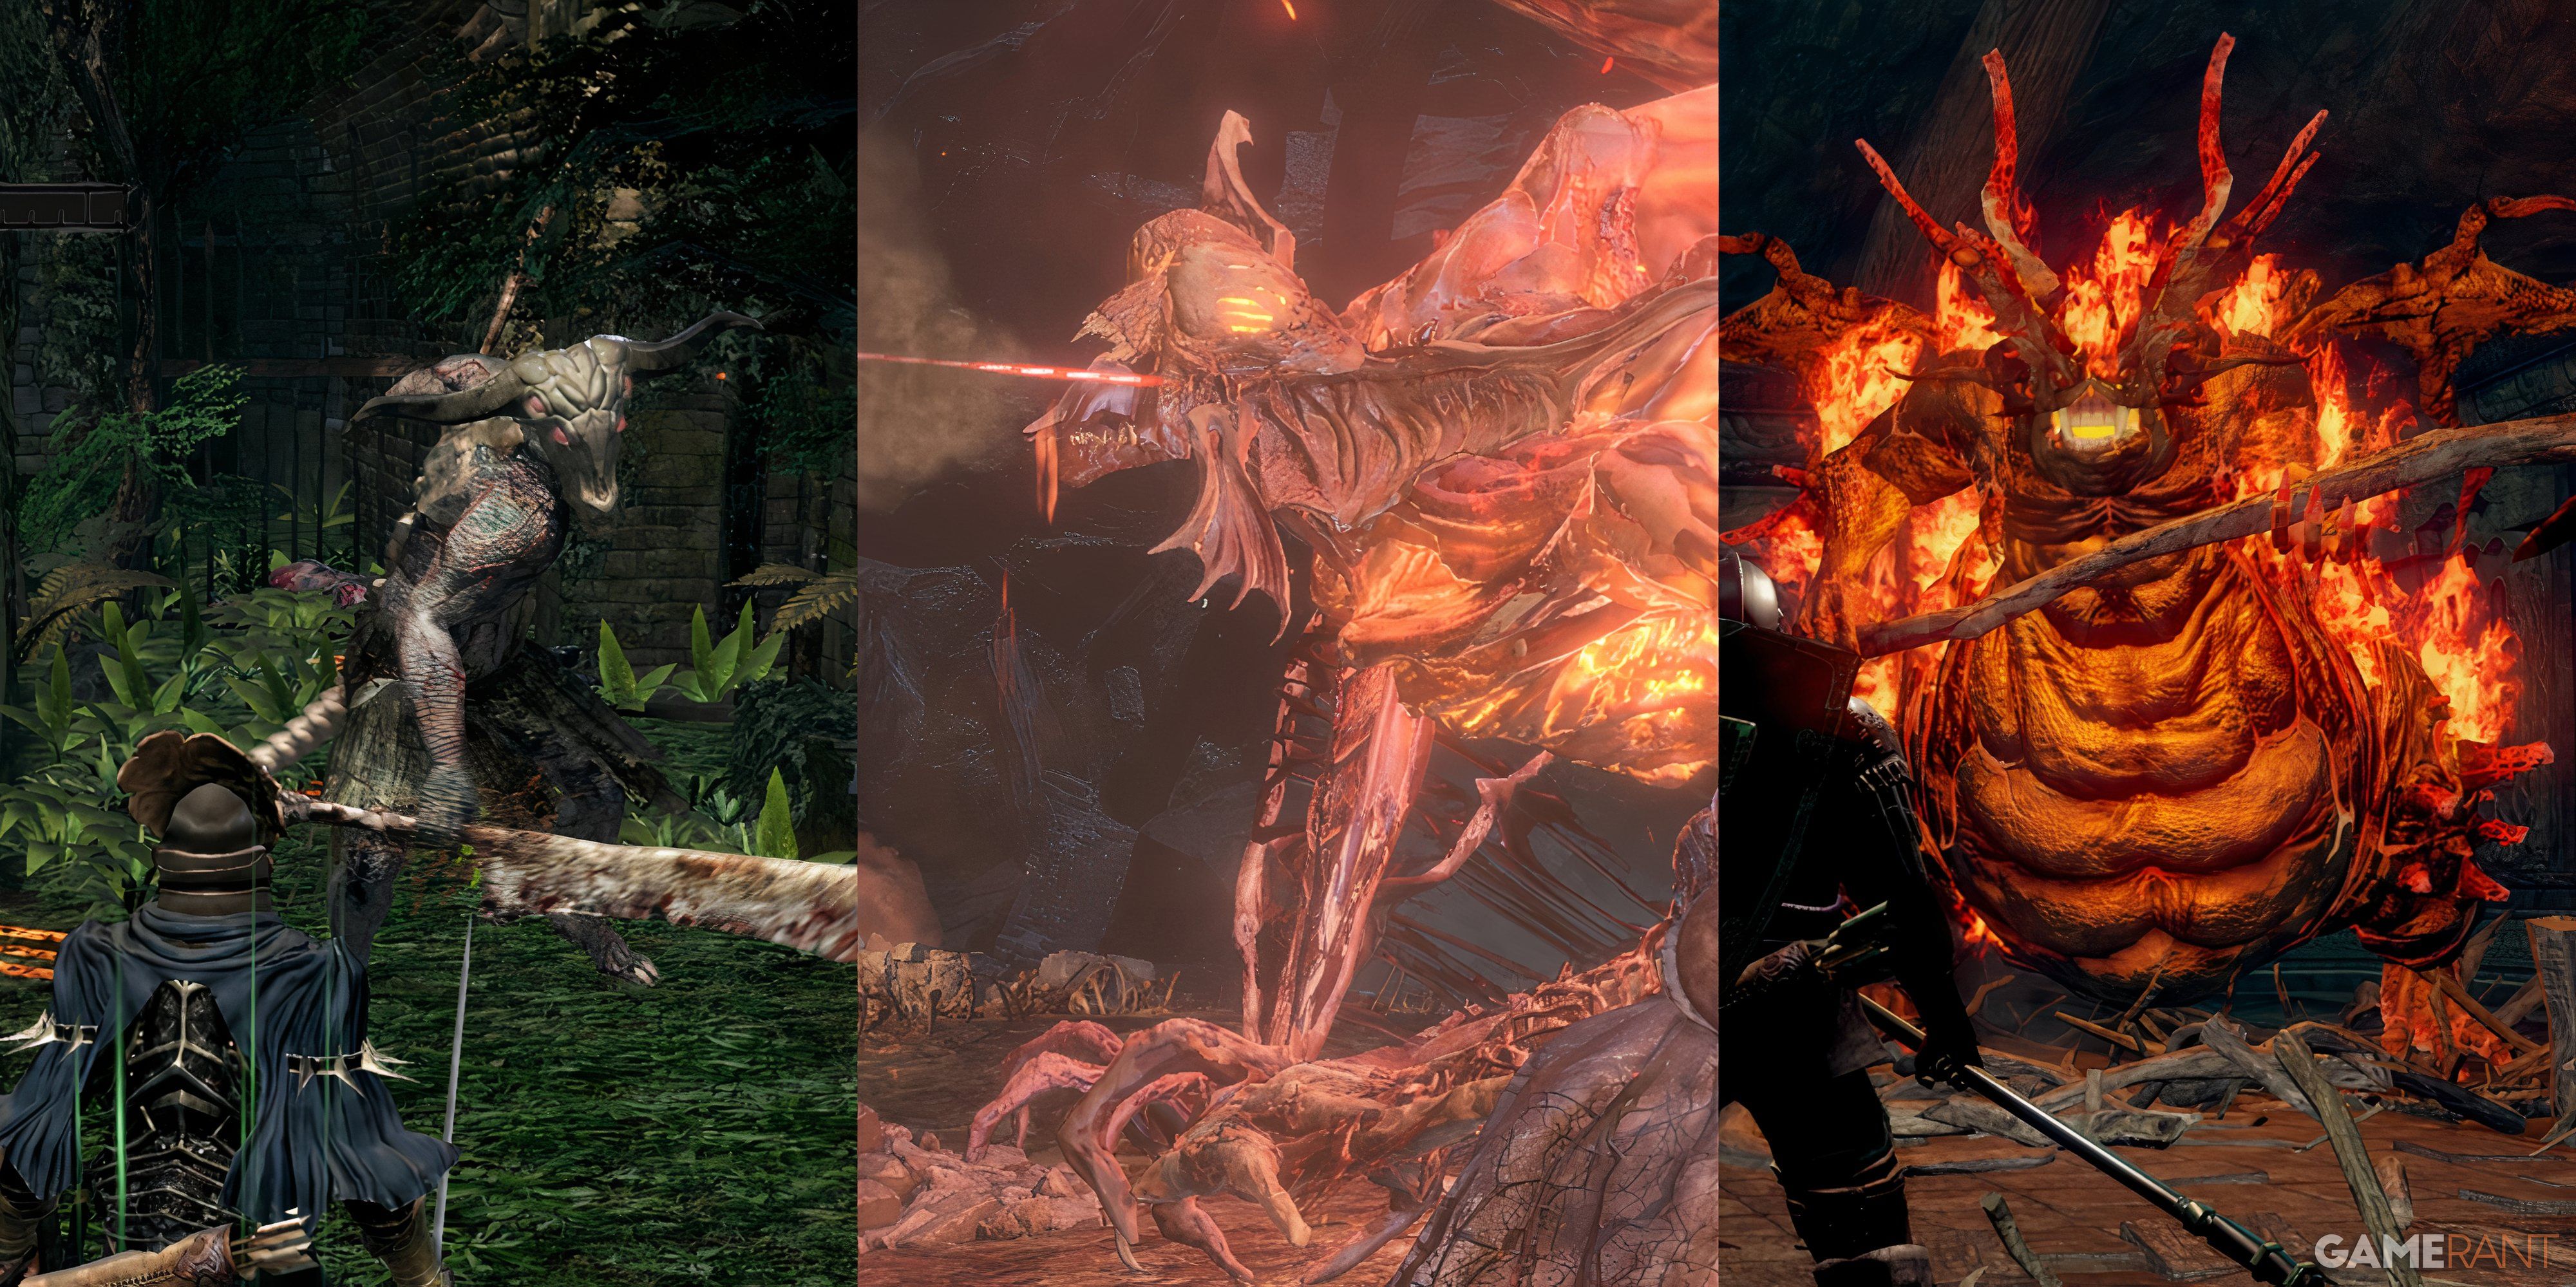
Across the Dark Souls games, there are plenty of horrifying demons that players must face.
However, some bosses in the Dark Souls trilogy boast gimmicks that must be worked around for players to defeat these foes. Most of these gimmick battles can be annoying, but certain puzzle bosses in Dark Souls are more engaging than they have any right to be.
6
Executioner’s Chariot
A Boss That Can Be Made Easier By Raising A Gate
|
Appears In |
Dark Souls 2 |
|---|---|
|
Health |
4,140 |
|
Souls |
19,000 |
|
Location |
Undead Purgatory |
|
Drops |
Executioner’s Chariot Soul |
Dark Souls 2 may be lambasted for an overabundance of boss fights, but there’s no denying that some of these challenges are fun to take on. Such is the case against the Executioner’s Chariot, an imposing boss fight who looks pretty intimidating until players know how to deal with this boss.
First off, players should take out the necromancers reanimating the skeletons in this boss fight before raising a gate that the chariot crashes into to lose its rider. After this, the second phase of the battle becomes a traditional boss fight where players must read their enemy’s telegraphed attacks and make the most of the damage windows afforded to them.
5
Yhorm The Giant
The Storm Ruler Is A Must To Defeat This Boss
|
Appears In |
Dark Souls 3 |
|---|---|
|
Health |
27,822 |
|
Souls |
36,000 |
|
Location |
Profaned Capital |
|
Drops |
Soul of Yhorm the Giant, Cinders of a Lord |
Dark Souls 3 had some serious guts to turn a fight against a Lord of Cinder into a boss fight. Despite being rather slow, Yhorm the Giant boasts impressive defense and seems downright impossible to defeat without a protracted battle unless players pay attention to the lore and figure out how to defeat this boss.
Players must find the Storm Ruler and use its special attack to incapacitate this boss in no time. If players made progress in the Siegward of Catarina questline, then he’ll arrive to assist the Ashen One too.
4
High Lord Wolnir
Players Must Avoid The Darkness And Destroy The Boss’ Bangles To Defeat It
|
Appears In |
Dark Souls 3 |
|---|---|
|
Health |
15,041 |
|
Souls |
22,000 |
|
Location |
Catacombs of Carthus |
|
Drops |
Soul of High Lord Wolnir |
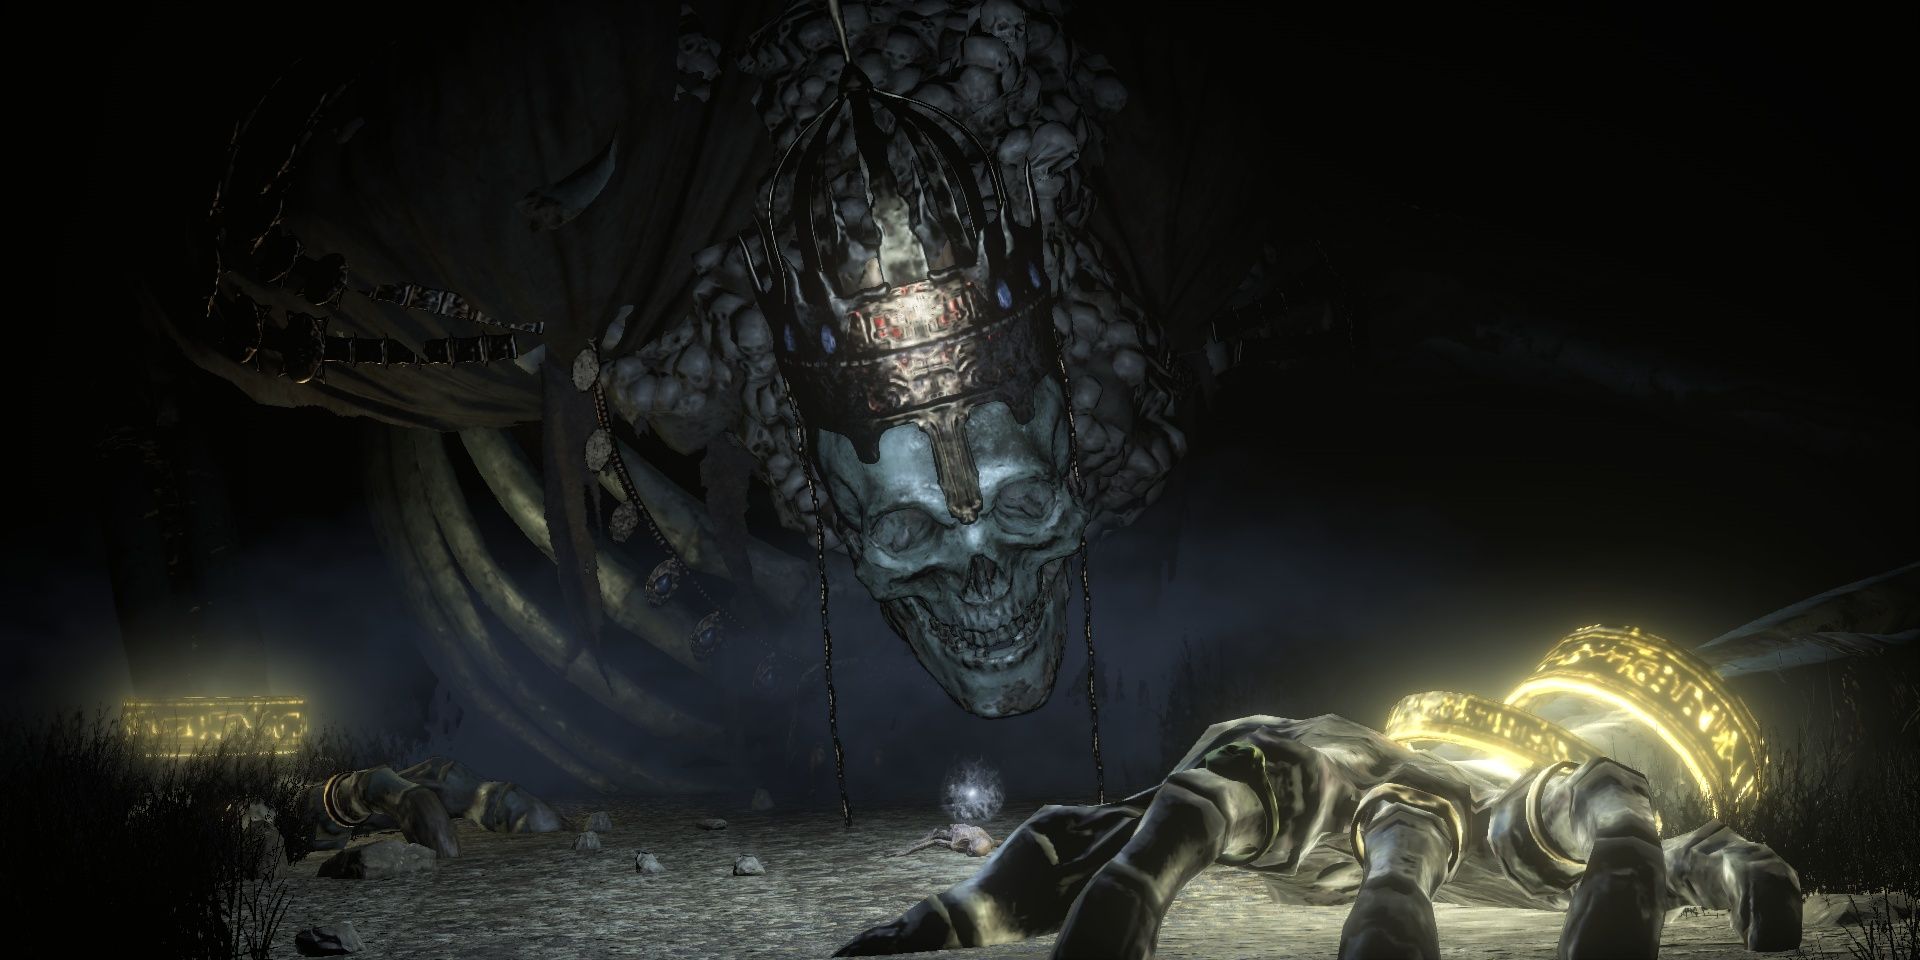
A sinister boss fight who’s easier than fans anticipate, players must understand the gimmick of the boss arena when facing High Lord Wolnir. They must stay in the light and not succumb to the darkness, since doing so can lead to them dying after taking too much damage.
Related
FromSoftware: Hardest Beast Soulsborne Bosses, Ranked
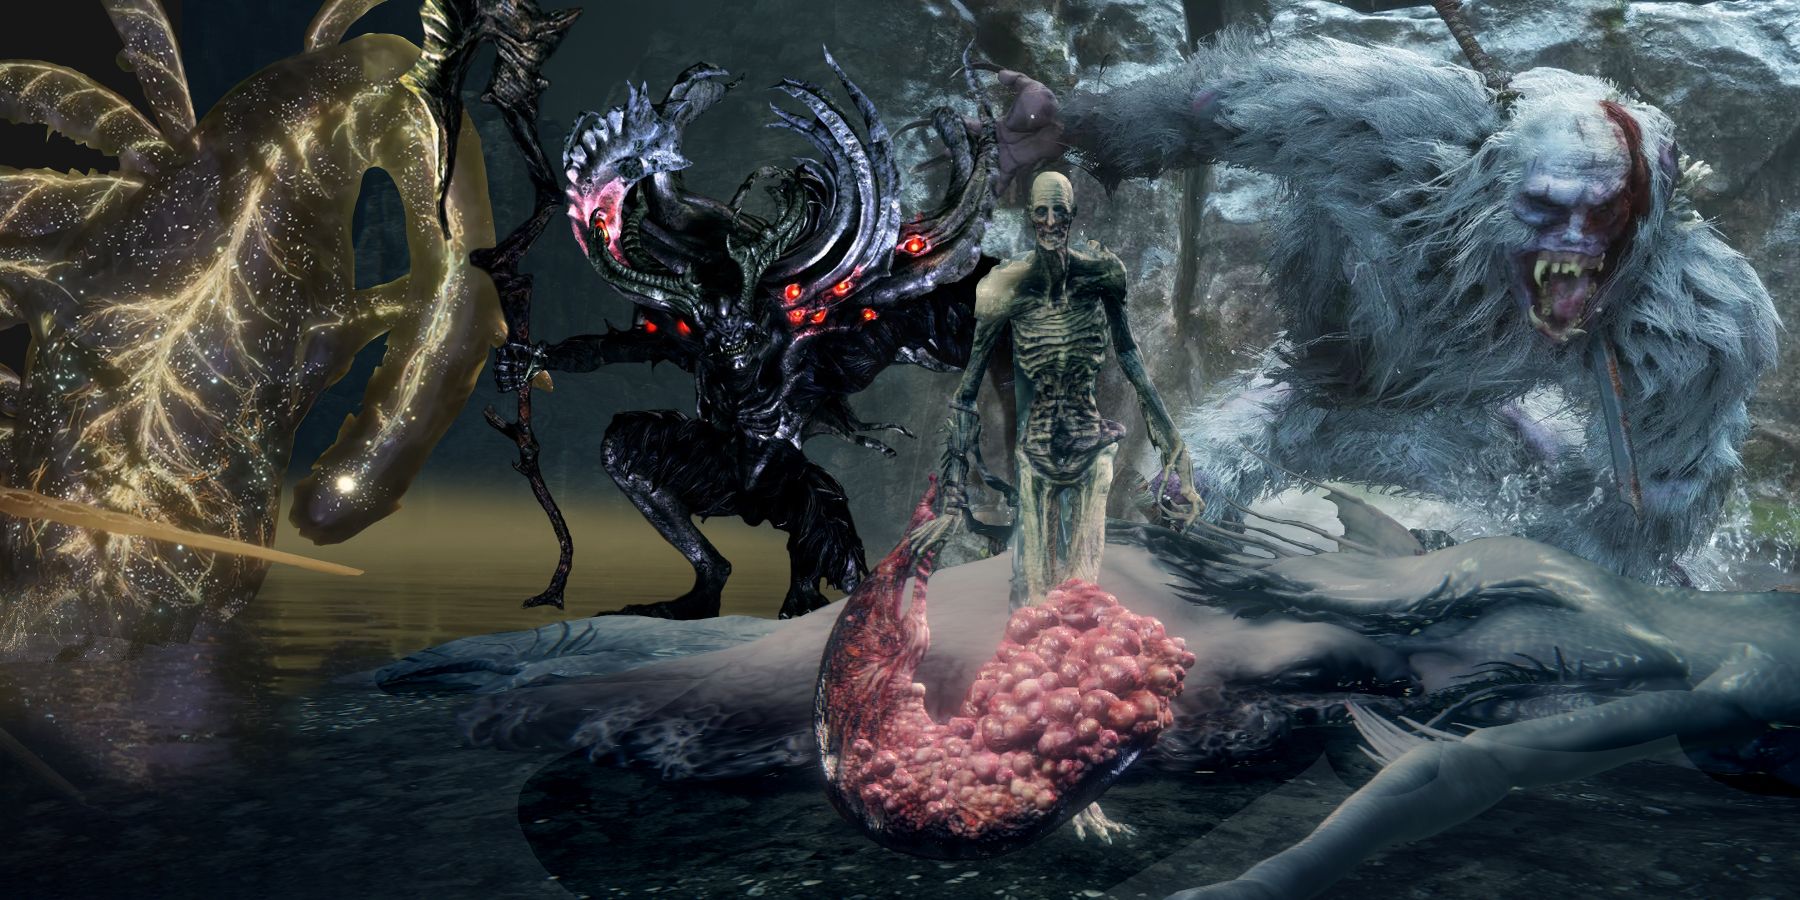
FromSoftware’s Soulsborne games are known for their difficult boss fights. The following eight animalistic beasts are among their toughest.
Players smash his bangles to deal damage, with the boss being relatively easy to handle as long as they avoid his slow attacks. As easy as this boss may be in the eyes of many, High Lord Wolnir is a bit of a pushover once players work around his gimmick.
3
Ceaseless Discharge
Players Can Run To The Start Of The Boss Arena To Trivialize This Encounter
|
Appears In |
Dark Souls |
|---|---|
|
Health |
4,200 |
|
Souls |
20,000 |
|
Location |
Demon Ruins |
|
Drops |
Humanity, Homeward Bone, Gold-Hemmed Black Armor |
Ceaseless Discharge can seem a bit too hard when players step into this boss arena for the first time, with this massive foe smashing players with high-damage attacks that give them no time to breathe. However, once players see how far back the Fog Gate is, they will figure out another easy way to exploit this boss’ gimmick.
All players need to do is run back to the start of the arena, prompting Ceaseless Discharge to leap towards them only to miss the landing and hang by one arm. After hitting this appendage a few times, Ceaseless Discharge’s grip weakens and he falls to his doom not long after.
2
Ancient Wyvern
Players Must Land A Plunging Attack To Take Out This Boss For Good
|
Appears In |
Dark Souls 3 |
|---|---|
|
Health |
7,873 |
|
Souls |
70,000 |
|
Location |
Archdragon Peak |
|
Drops |
Dragon Head Stone |
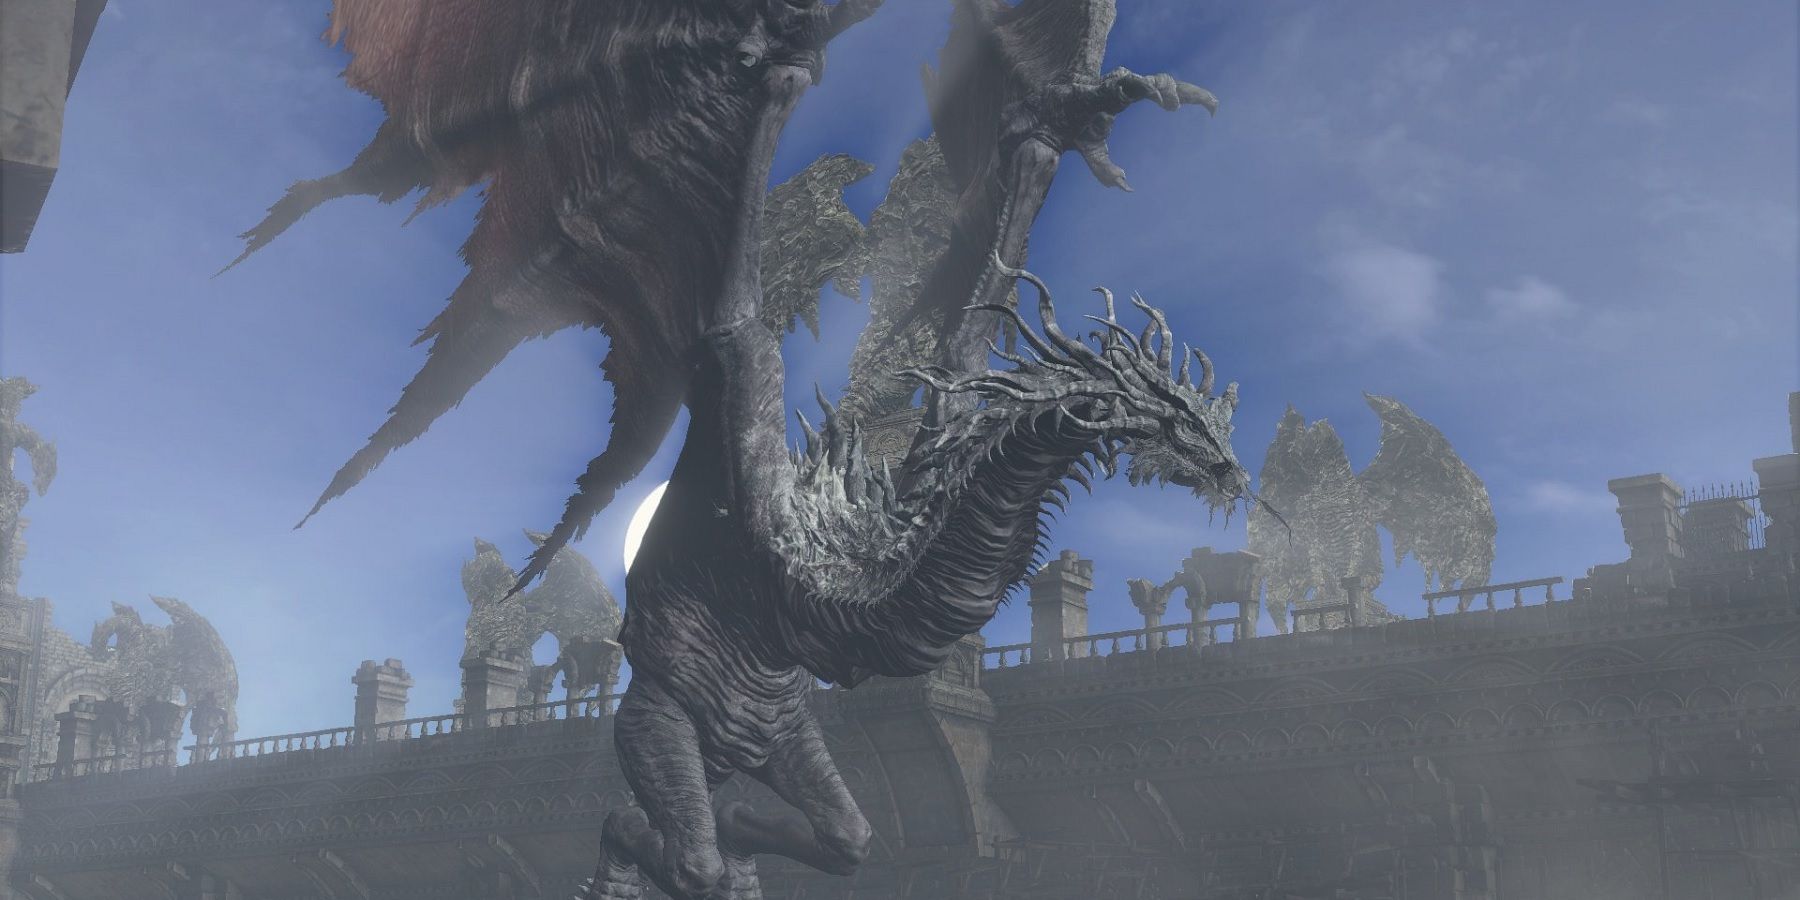
Despite the boss being killed rather easily, fans can’t help but appreciate how epic the encounter against the Ancient Wyvern is. Most Dark Souls fans will have a weakness for dragons, and the seemingly impossible hurdle put up by this boss may make it seem that there’s no way to get past this threat.
However, once players see the suspiciously-placed ladders in the arena, they’ll figure out that they need to climb up and position themselves above the Ancient Wyvern to unleash a plunging attack that takes out this boss for good. It’s a fun gimmick that serves as a throwback to the same move that players are encouraged to pull off against the Asylum and Taurus Demon in Dark Souls.
1
Burnt Ivory King
Players Must Recruit Loyce Knights To Close The Portals That Spawn Endless Foes In This Battle
|
Appears In |
Dark Souls 2 |
|---|---|
|
Health |
8,040 |
|
Souls |
92,000 |
|
Location |
The Old Chaos |
|
Drops |
Soul of the Ivory King |
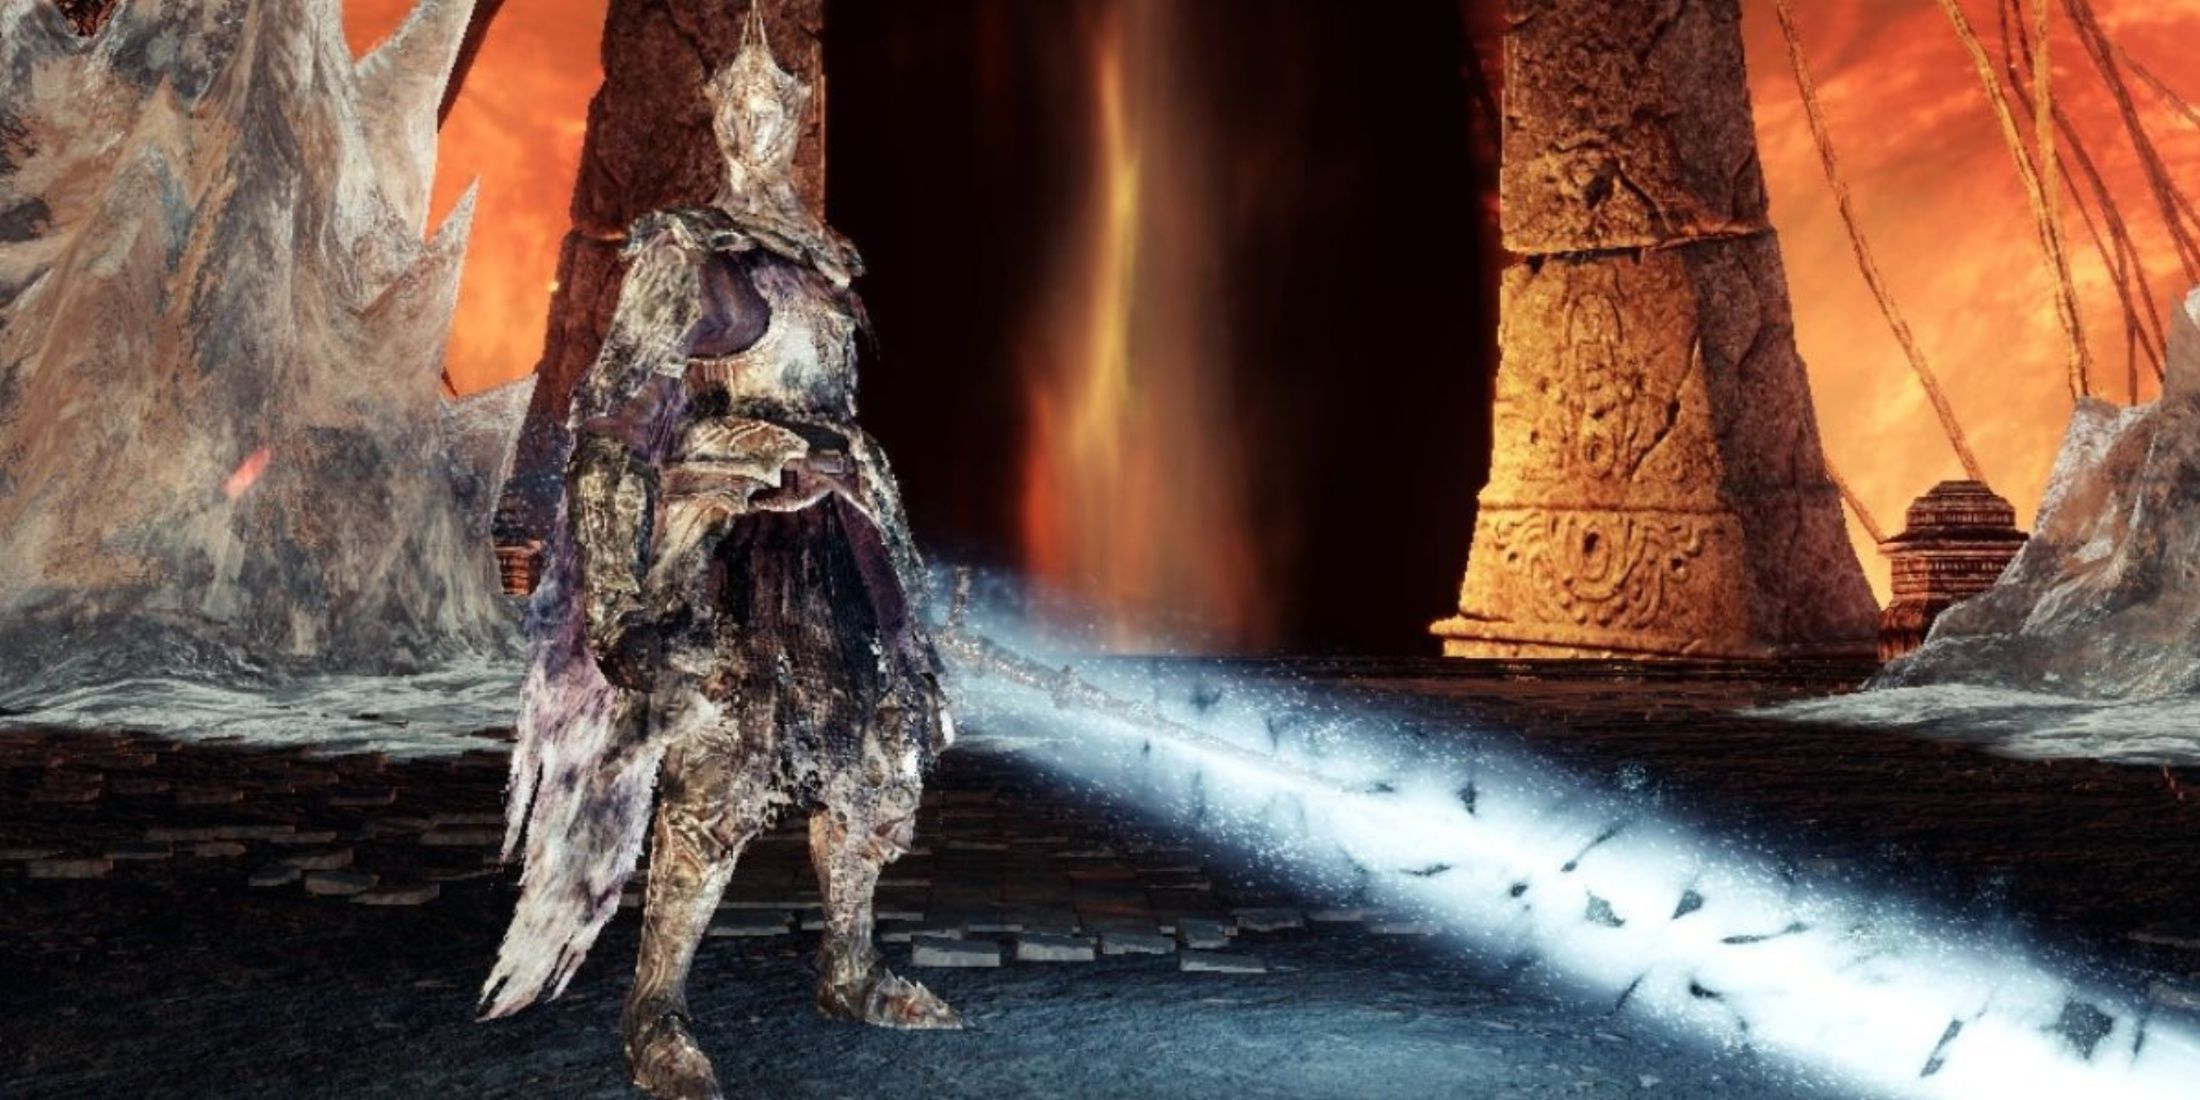
An example of a good gimmick boss fight that doesn’t skimp out on the challenge, players who don’t enter this boss fight with at least three Loyce Knights will be in for a rough time. They’ll be bombarded by a wave of Charred Loyce Knights for a while before the Burnt Ivory King makes an appearance.
However, if players find and recruit the Loyce Knights before this encounter, they’ll sacrifice themselves to seal the portals spawning the Charred Loyce Knights. This causes the boss to spawn sooner, initiating an epic and difficult encounter that will push Dark Souls 2 players to their limits.
-
- Released
-
September 22, 2011
- OpenCritic Rating
-
Mighty
- ESRB
-
M for Mature: Blood and Gore, Partial Nudity, Violence
-
- Released
-
March 11, 2014
- OpenCritic Rating
-
Mighty
- ESRB
-
T for Teen: Blood and Gore, Mild Language, Partial Nudity, Violence
-
- Released
-
March 24, 2016
- OpenCritic Rating
-
Mighty
- ESRB
-
M for Mature: Blood Violence








Leave a Reply