Dawntreader is a huge side quest in Avowed that takes you deep into the Eothasian dungeon filled with tough enemies, loot, and lore about the gods of this world. As you search for the lost Aedyran expedition, you’ll uncover secrets about another godlike and face choices that can lead to drastically different consequences.

Related
Avowed: Cabin Fever Quest Walkthrough
Everything you need to complete the Cabin Fever side quest: Dehengen’s location, her cabin, the enemies you’ll encounter, Tazaraak, and the rewards.
In this guide, you’ll find everything you need to complete the Dawntreader quest, including where to start, how to heal a specific NPC, what to do with the Oracle Sargamis, and whether you should give The Voice what it wants.
How To Start Dawntreader?
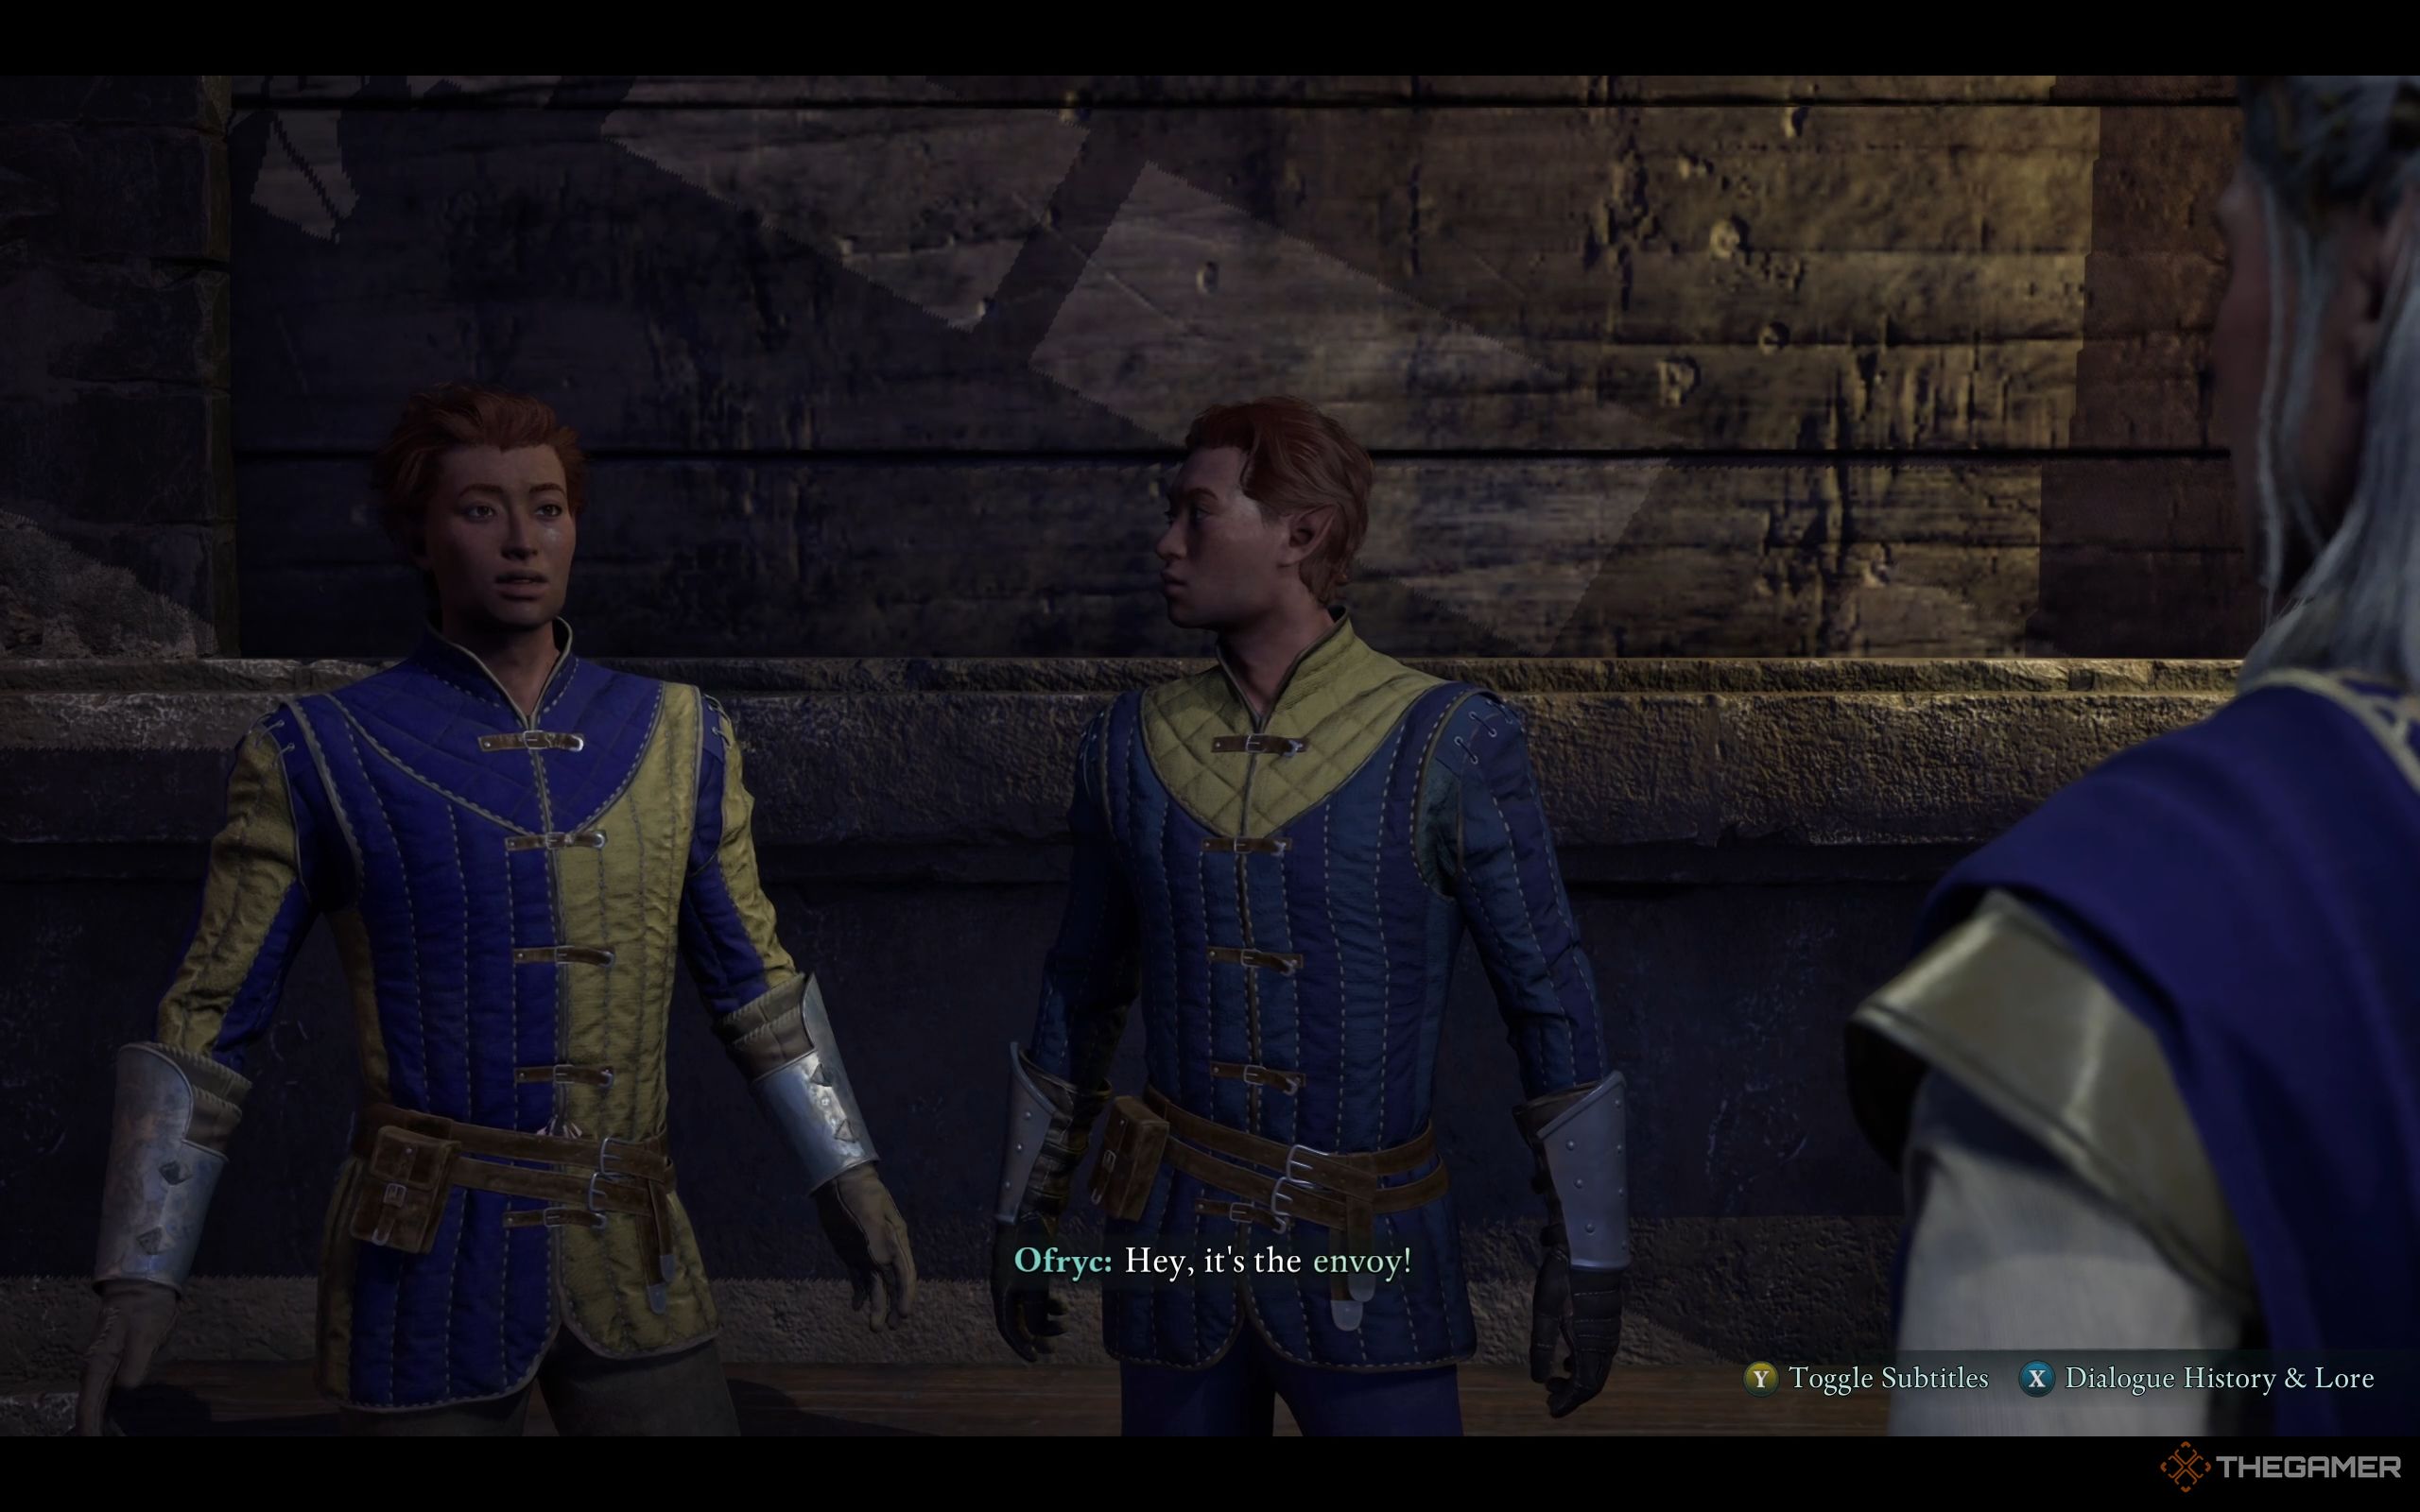
To start the Dawntreader quest in Avowed, you need to find Ofryc. He’s right outside the Aedyran Embassy in the Southern Paradis Administration District, wearing a blue and yellow outfit. The nearest Fast Travel point to Ofryc is the Administration District Beacon. Talk to him, and you’ll learn that he, his brother Caedmon, and the rest of The Free Expeditions Corps were exploring a temple north of the city, searching for the Oracle.
This mysterious godlike was touched by Eothas. He possesses a powerful holy relic: a bone from Eothas himself. Rumor has it that this Splinter of Eothas
relic can heal the sick, even those afflicted by the Dreamscourge.
Their mission went sideways, and Ofryc was sent back to get help. However, the people in the embassy are all too busy, so you’re his only hope. He’ll point you toward a route off the Pilgrim’s Path, north of the city. He’ll give you a name – Secgwin, who’s guarding the entrance to said temple. And with that, your Dawntreader side quest begins.
Make sure to stock up on consumables. You’ll be facing plenty of fights on the way and inside the dungeon.
The Pilgrim’s Path
Northern Farms Beacon is the closest Fast Travel point to the Pilgrim’s Path and the Eothasian Temple. You can get there from either the east or west exit of Southern Paradis. Deal with the enemies along the way. When you spot a pack of Xaurips and a black bear guarding an entrance between two tall rocks, you’ve reached the Pilgrim’s Path.
Take out the Xaurip Elder first to prevent it from healing the others. Once the area is clear and you step onto the path, Kai will comment that this must be the route Ofryc mentioned, confirming you’re on the right track. Follow your quest marker, and soon you’ll come across Secgwin arguing with Kauia.
You can find Kauia’s journal nearby.
You can exhaust the conversation to get extra information, but for the most part, Secgwin just repeats what Ofryc has already told you about the Free Expedition Corps and their mission. However, there are some new pieces of information:
- Inquisitor Lodwyn was the one who tipped off Gjeda, the expedition leader, about this temple.
- The Corps’ mission was only supposed to last a day. They’ve been in there for three. So that’s not a good sign.
Regardless of your dialogue choices, Secgwin won’t let you through unless you say, “Don’t make me bring this back to Ambassador Hylgard.” That line gets you access to the cave leading to the temple.
The Eothasian Temple Walkthrough
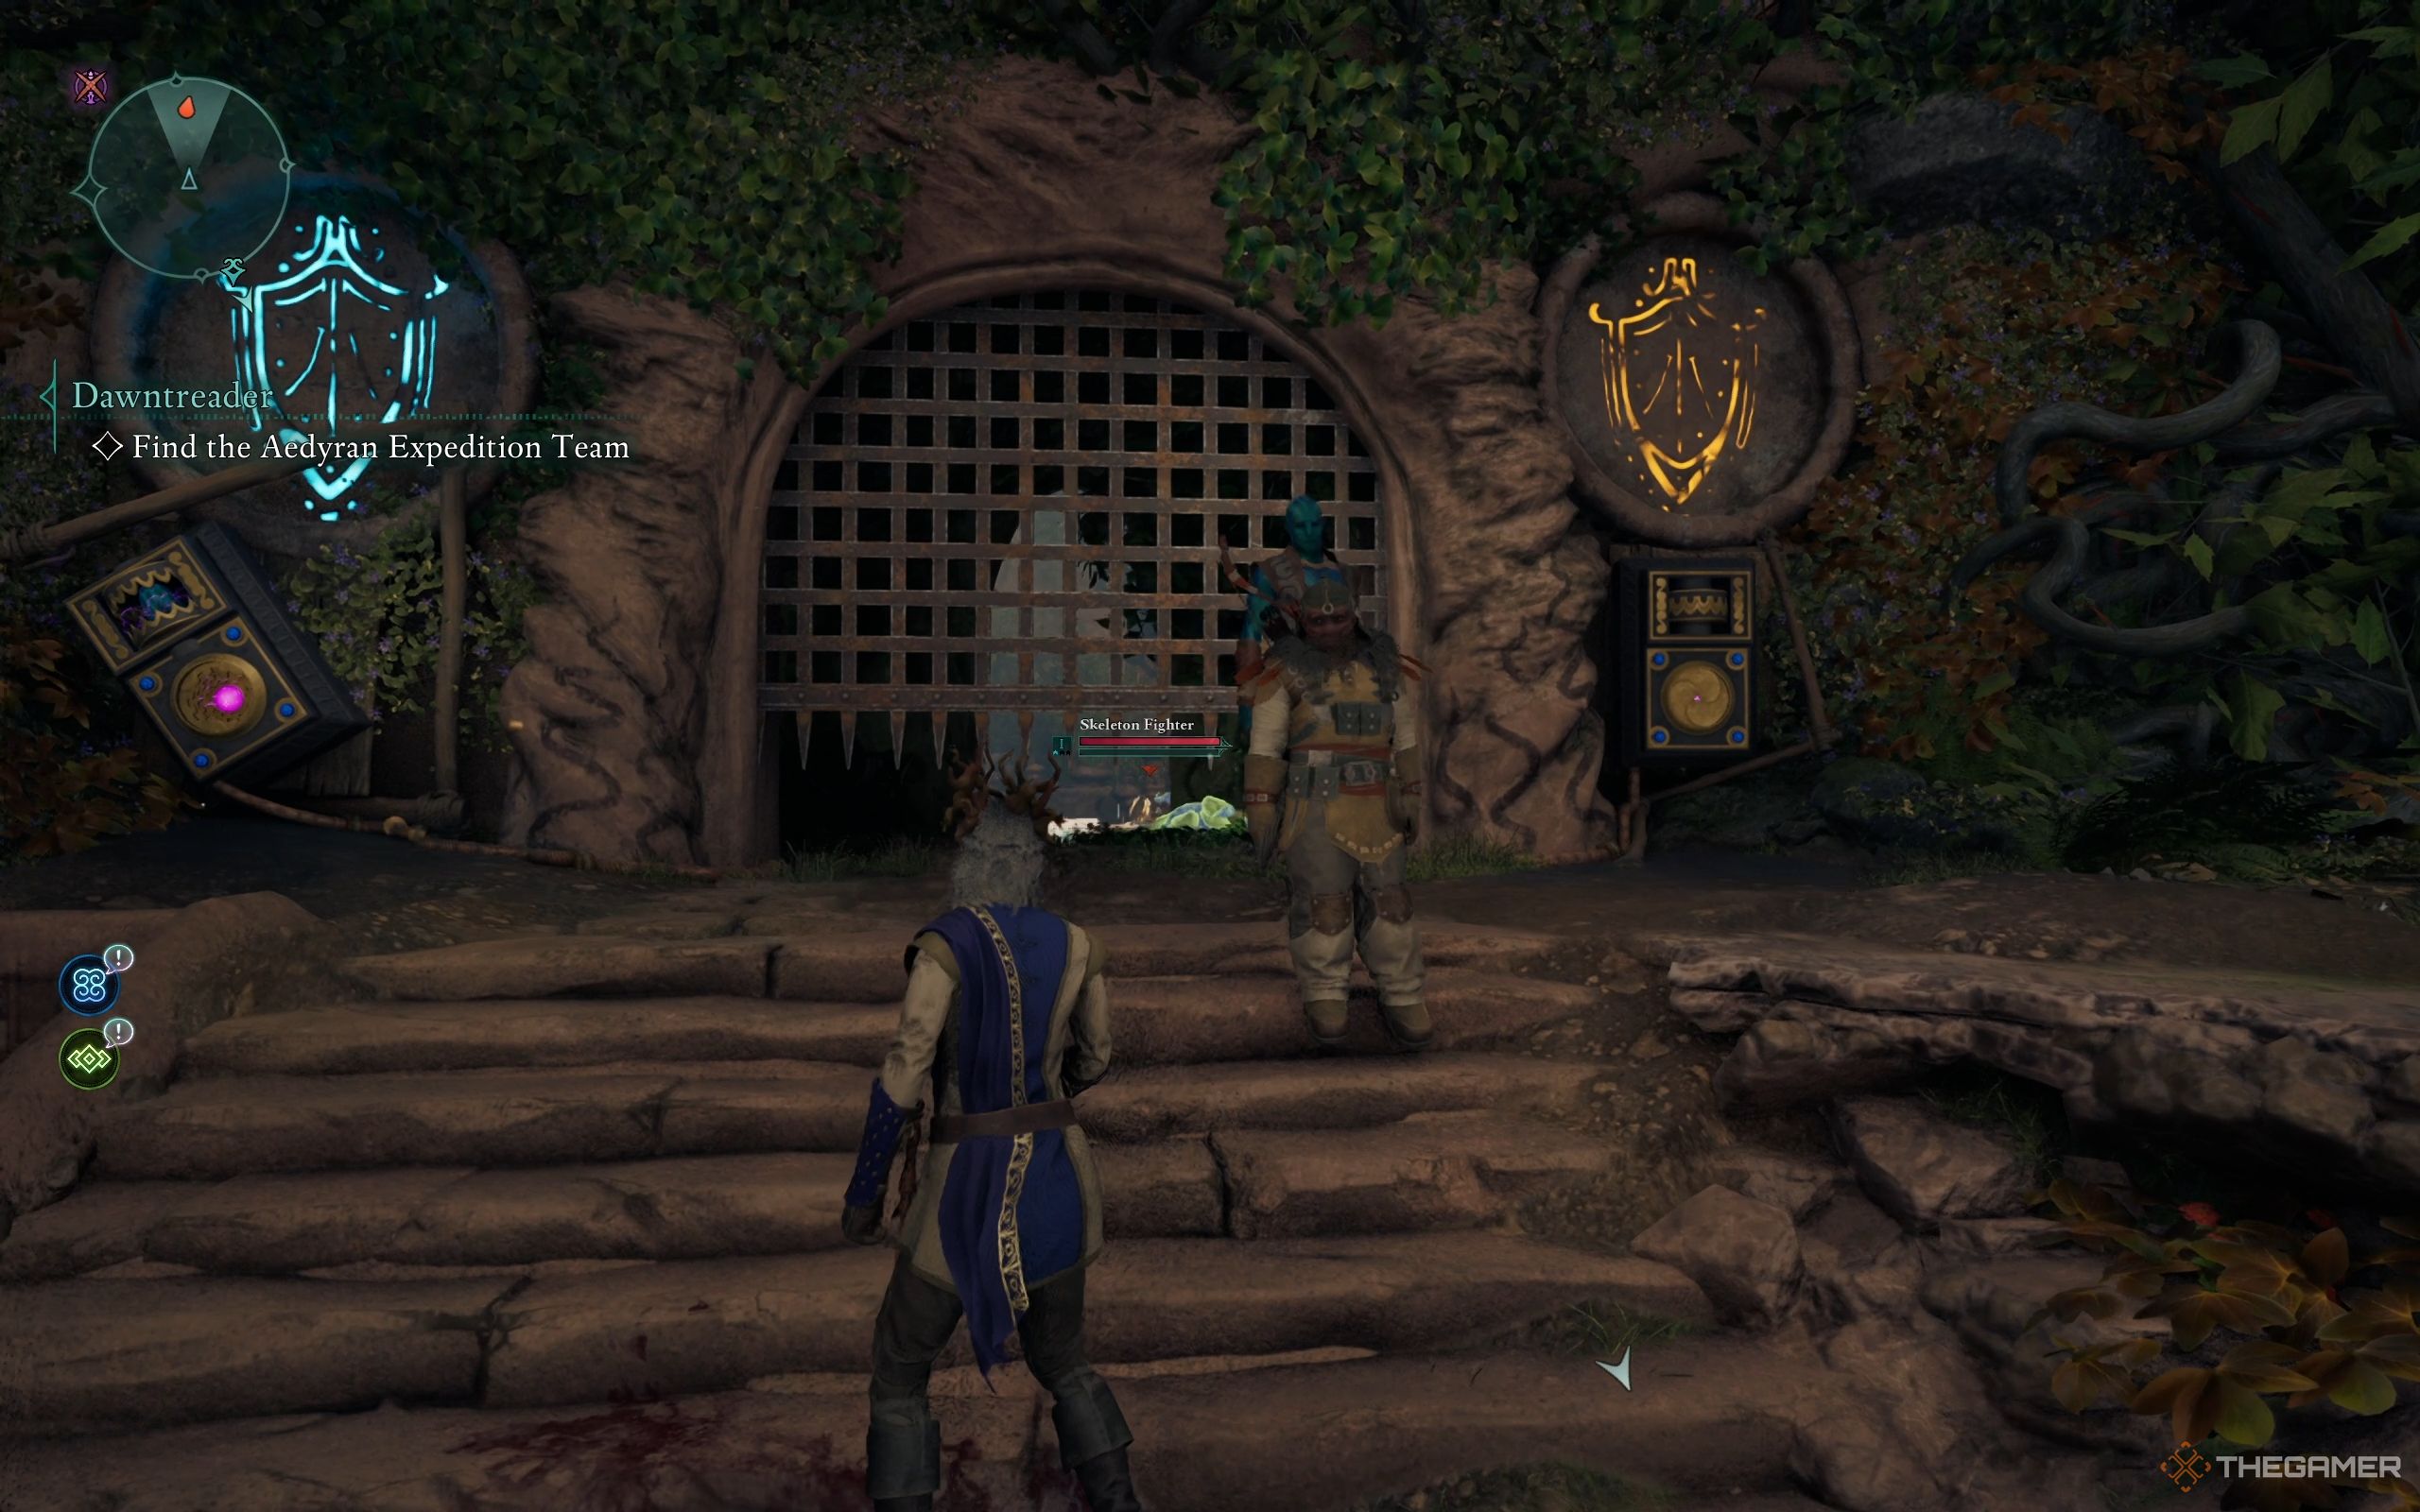
As soon as you enter the cave and reach the first open area, you’ll spot two paths. One leads to a half-open gate with two glowing symbols—one blue, one orange. The other is some stairs leading deeper into the temple, marked by a dead bear sprawled on the steps.
Start with the room on the left. Pick up the two Electric Lily Seeds on either side of the room. Head to the half-opened gate and throw an  Electric Lily Seed
at the receiver on the right, where the orange symbol is. You can also shock it with your Electric spell if you have any. This will turn it blue and fully open the gate.
Pick up any Electric Lily Seed you see, especially if you don’t have an Electric spell. You’ll need them to solve similar puzzles throughout the dungeon.
Inside the newly opened room, you’ll face a Skeleton Fighter and two Skeleton Monks. Take them down and loot their remains. There’s also a Book of Verses on a table about Sargamis and Harmke. Nearby, a backpack containing Silver Fenning,  Awakened Wood
, an  Iron Chunk
, Pelt, and a  Health Potion
.
Return to the open area and take the stairs where the dead bear lies.
Run past it and gather the  Springberries
ahead. Keep going, drop down, and collect the  Skaenbone
. Turn right, drop down again, and run toward the light to find a  Paradisan Ladder
. Following the path, you’ll get a clear view of the statue of Eothas.
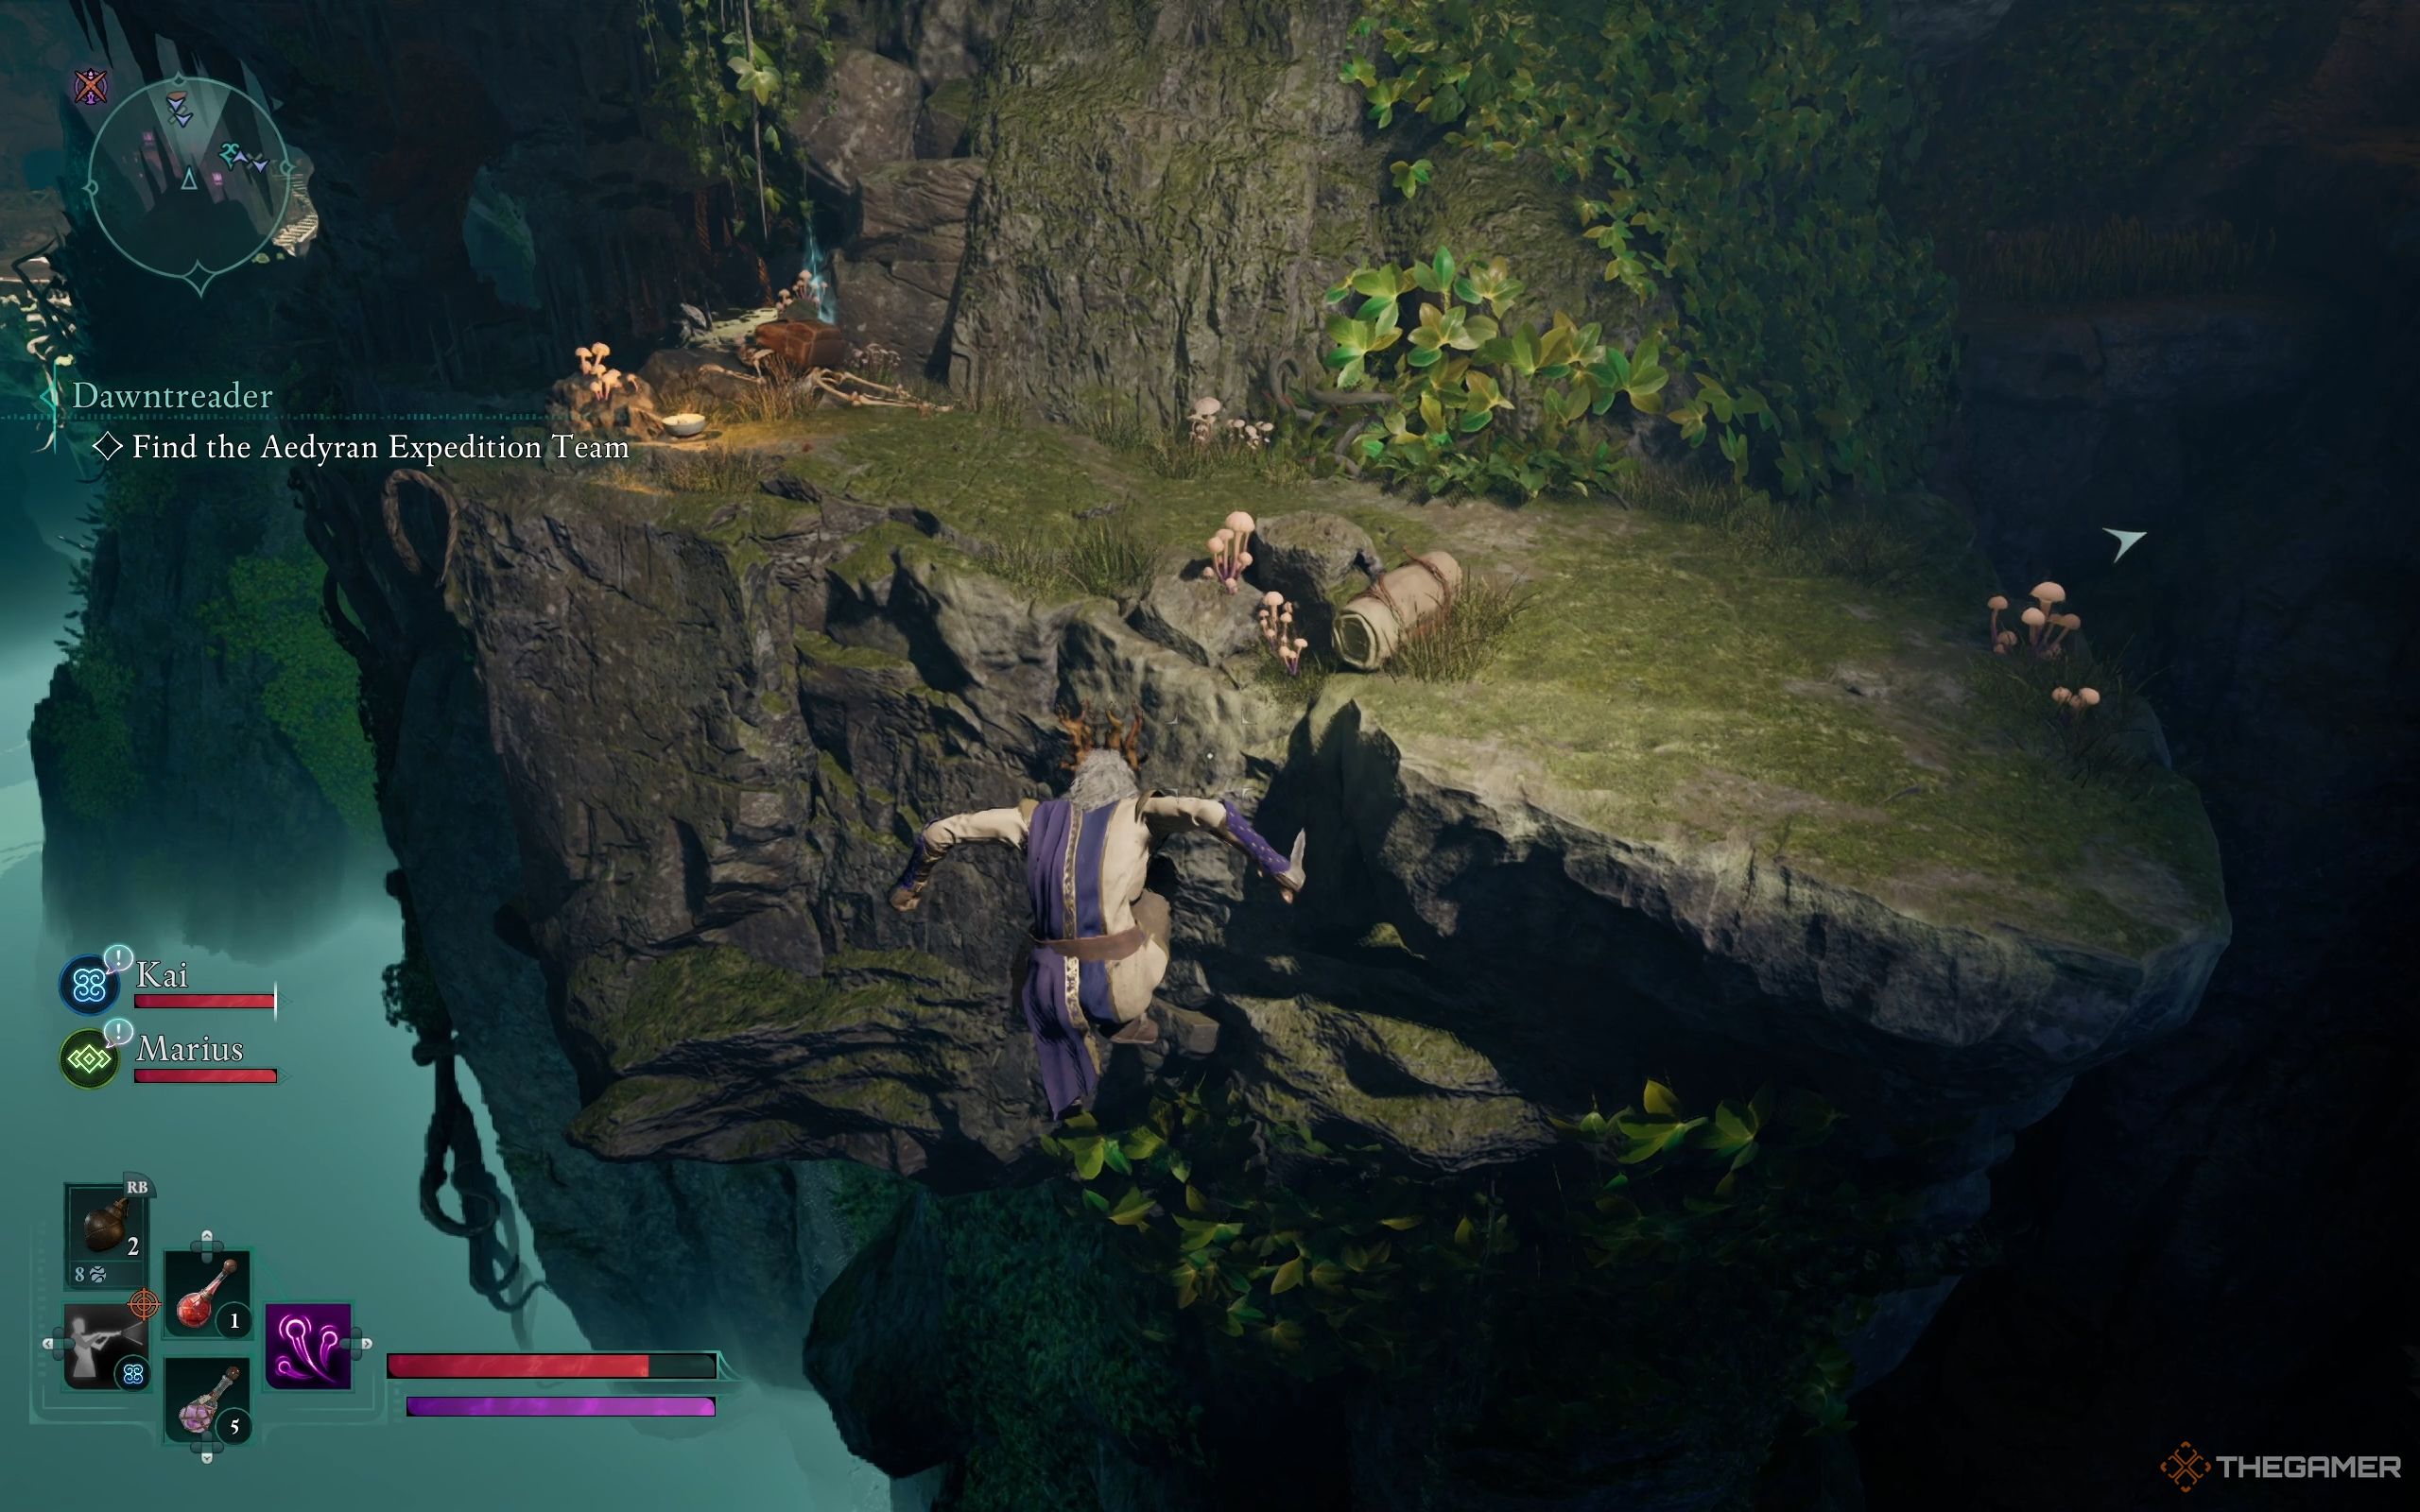
Continue forward, crouch through the hole, and jump across. Prepare to fight, as there are Xaurips ahead. You can either sneak past or take them on directly. Once the Xaurips are dealt with, you have two options: Enter the opening near the Xaurip wall painting or jump across the scaffoldings.
If you enter the opening near the Xaurip painting, follow the path and take out the Xaurip Guard. In the next room, loot the backpack for Copper Skeyt,  Pelt
Pelt
,  Softwood Branch
, Iron Chunk, and  Bear Claw
. You can throw an explosive at the cracked wall to open the way to the scaffoldings outside. The wooden-plank-blocked door can also be broken down to exit.
If you take the scaffolding route, the second scaffolding gives you a view of the room that opens if you destroyed the cracked wall earlier. By the third scaffolding, you’ll reach the same spot as if you had broken through the wooden planks. And here’s where the two paths merge.
Climb up, look left, and jump across to loot another backpack containing Copper Skeyt, a  Common Pistol
, Softwood Branch, and a Letter to Karlodh.
Back to the scaffolding, go ahead into the area with the blue light. Watch your step as there’s a trigger. If you step on it, a dart will shoot out from the bookcase. You can read the Daily Affirmations of Focus and Efficiency.
Can You Heal Caedmon?
As you approach, you’ll hear Caedmon calling out, mistaking you for Ofryc. To reach him, you must make your way through the electrified water. Jump onto the dry platform beneath the window, then leap onto the stairs leading up. At the top, you’ll find Caedmon, and he’s dying. You have two choices:
- Heal him using a Healing Potion or your Dream Touch ability. If you do, he’ll survive and later reunite with Ofryc. Also, he’ll give you the Delver’s Caution ring as a reward.
-
Ask him for as much information as possible, leave him to die, then loot the
 Delver’s Caution
ring.
Either way, you’ll learn that Gjeda and the team abandoned Caedmon after he was injured. And worse, Gjeda might be affected by the Dreamscourge.
Meeting Sargamis
Keep moving forward, taking down the Xaurip and Xaurip Forager along the way. Climb the steps, and you’ll find Inquisitor Lodwyn’s letter to Captain Gjeda.
Cross the wooden bridge, and before you stands Sargamis, a godlike of Eothas. Speaking with him reveals the secret behind his immortality. You’ll hear him talk about his purpose here, why he’s building the statue of Eothas, and many other philosophical topics. While you can ask about Gjeda’s team, he won’t share anything worth noting.
Sargamis then gives you a task: retrieve the Splinter of Eothas, a sliver of shin bone from Eothas himself. With that, you can now loot and read anything in sight. Some key points of interest are Sargamis’s journal at the top level of the statue where the wheel is and a path near the statue’s foot. Follow the path, you’ll see a Lockbox containing Copper Skeyt, Pelt, Iron Chunk, and  Spirit Residue
.
After that, jump to the other side. Sargamis is to the left, while to the right, you’ll find an Electric Lily Seed. When you’re ready, enter the water-filled tunnel to continue your journey.
Getting The Splinter Of Eothas
Dive down and swim toward the light. You’ll emerge in a flooded room with a cracked wall. Throw explosives to break it. Dive into the water and loot the chest for Silver Fenning, Pelt, Iron Chunk, and Spirit Residue.
Next to the broken wall is an opening leading deeper into the temple. Jump into the water and swim forward. The next room is a library filled with books. Defeat the Ivory Spinner and its two spiderlings. You’ll find an Electric Lily Seed near the schematic of the Eothas statue. As for the cobweb near there, burn it using any fire spell, Kai’s Firestarter, or  Magran’s Fury
.
Continue along the path until you encounter Xaurips and Water Beetles. As always, take down the Xaurip Elder first. At the far side of the room, near the glowing mushrooms, loot a backpack for Silver Fenning,  Vessel Flesh
, Iron Chunk, Pelt, and Softwood Branch.
Enter the earth dome to loot a skeleton for  Durable Greaves
and Iron Chunk. Nearby, you’ll also find an Electric Lily Seed and the book Purification of the Pilgrim.
Once you’ve looted everything, make your way toward the ramp in the middle of the room and jump across to the broken stairs.
To the right, interact with the Consecration Prayer if you want. Go straight, and you’ll reach a large opening. At the center, you’ll see the Splinter of Eothas, but don’t pick it up yet, as doing so will trigger the boss fight.
Open The Door With Two Orange Shield Symbols
To the left of the Splinter of Eothas, there’s a locked room with two glowing orange symbols. To open it, you need to activate two receivers:
- One is near the glowing mushrooms. There’s a hole in the wall. Shock the receiver inside with your spell or an Electric Lily Seed.
- The other receiver is in the same room as the relic, to the right.
Once both are activated, the door will open, allowing you to loot the Sarcophagus for  Turquoise
,  Primal Flame
, and a  Common Round Shield
.
Open The Barred Door Near The Splinter Of Eothas
Near the Splinter of Eothas, there’s a barred door. To enter, you need to destroy the rightmost vase near the altar since it’s blocking a hole that leads inside. Continue breaking pots and vases until you can pass through the room filled with Sarcophagus.
Eventually, a Skeleton Monk will appear; defeat it and loot it for Copper Skeyt. Open the Lockbox behind it for Silver Fenning, Iron Chunk, Pelt, and a  Common Wand
. You can either open the barred door from the inside or backtrack through the previous path to return to the relic.
Picking Up The Splinter Of Eothas
The moment you grab the Splinter of Eothas, the cave starts shaking, and enemies start spawning in four waves:
|
Wave 1 |
Two Skeleton Monks. One gets crushed by falling debris. |
|---|---|
|
Wave 2 |
Two more Skeleton Monks. |
|
Wave 3 |
A Skeleton Fighter, two Skeleton Rangers, and another Skeleton Monk. |
|
Wave 4 |
The Godless Executioner enters the battle with reinforcements: More Monks, Rangers, Soldiers, and a Skeleton Priest. Take out the Priest first to stop it from healing the others. |
To defeat the Godless Executioner, you can stack your abilities with your companions to quickly fill up his stun meter and deal massive damage to him. Once the battle is over, loot everything before heading back.
Find The Aedyran Expedition Team
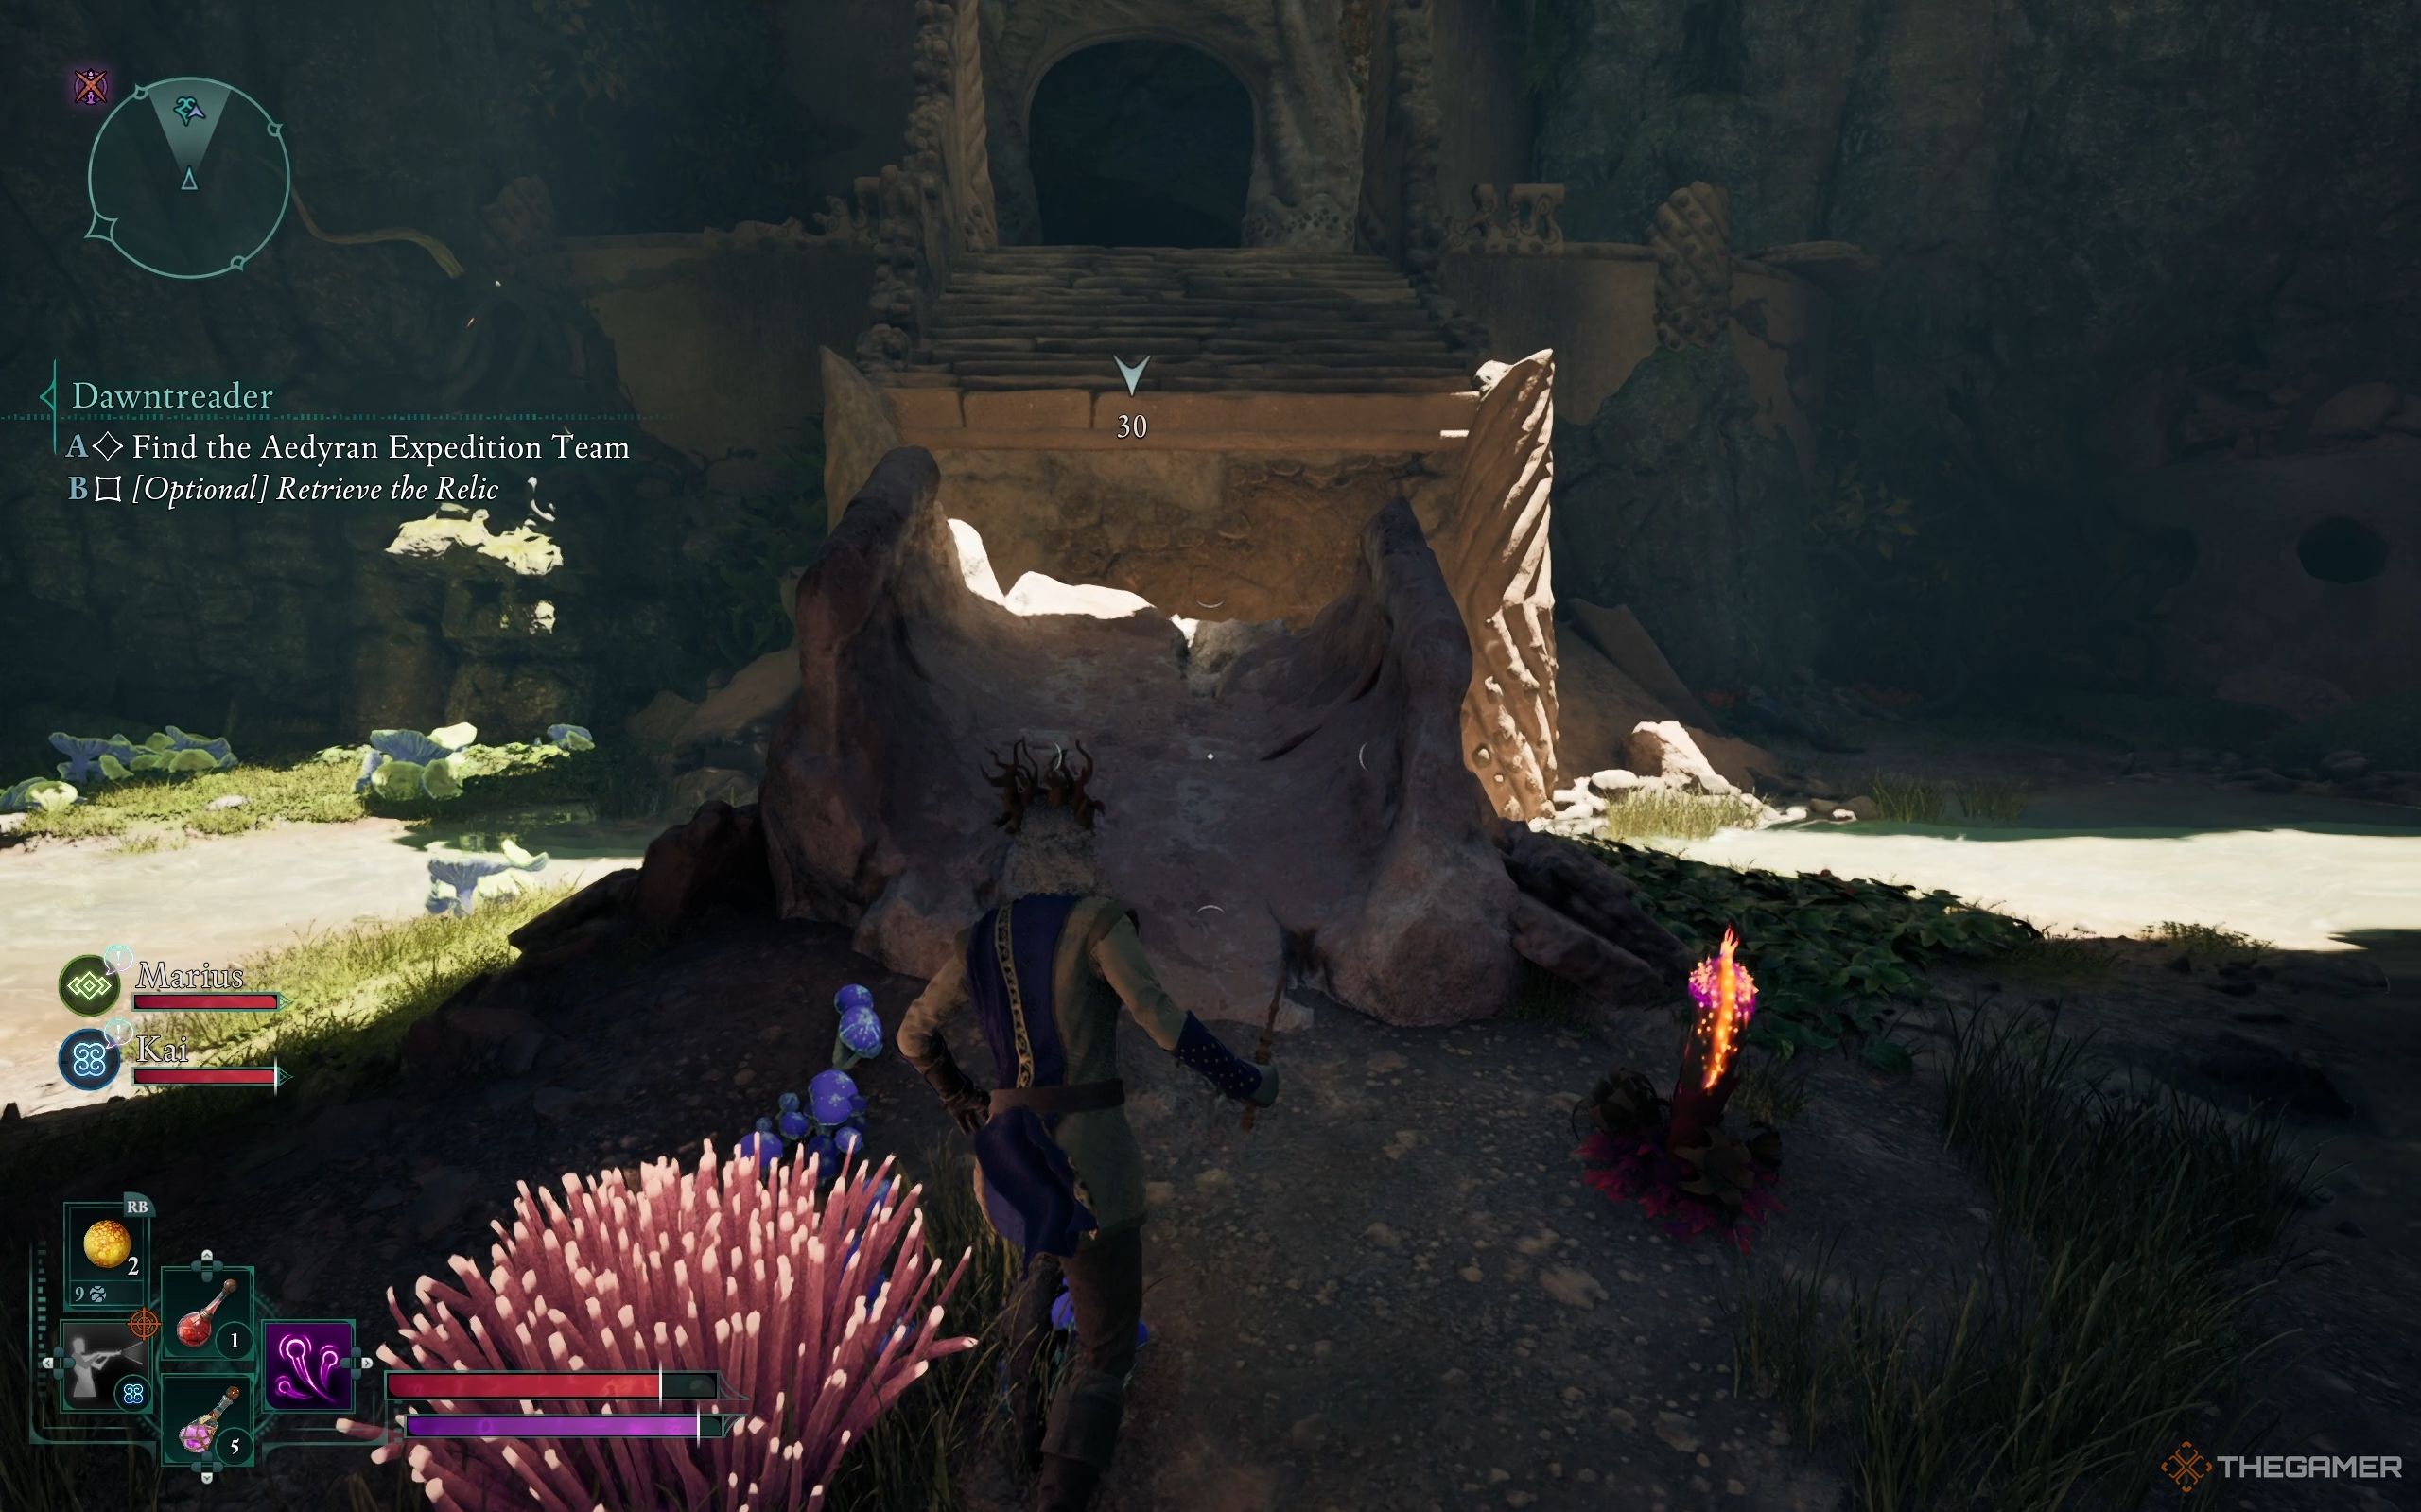
The area is now flooded, and your only way to go to other parts of the temple is by using the giant tree trunk. Climb up, then hop left when you spot a nearby platform to reach an earth dome with an orange shield symbol. Shock the nearby receiver to open it and loot the chest inside.
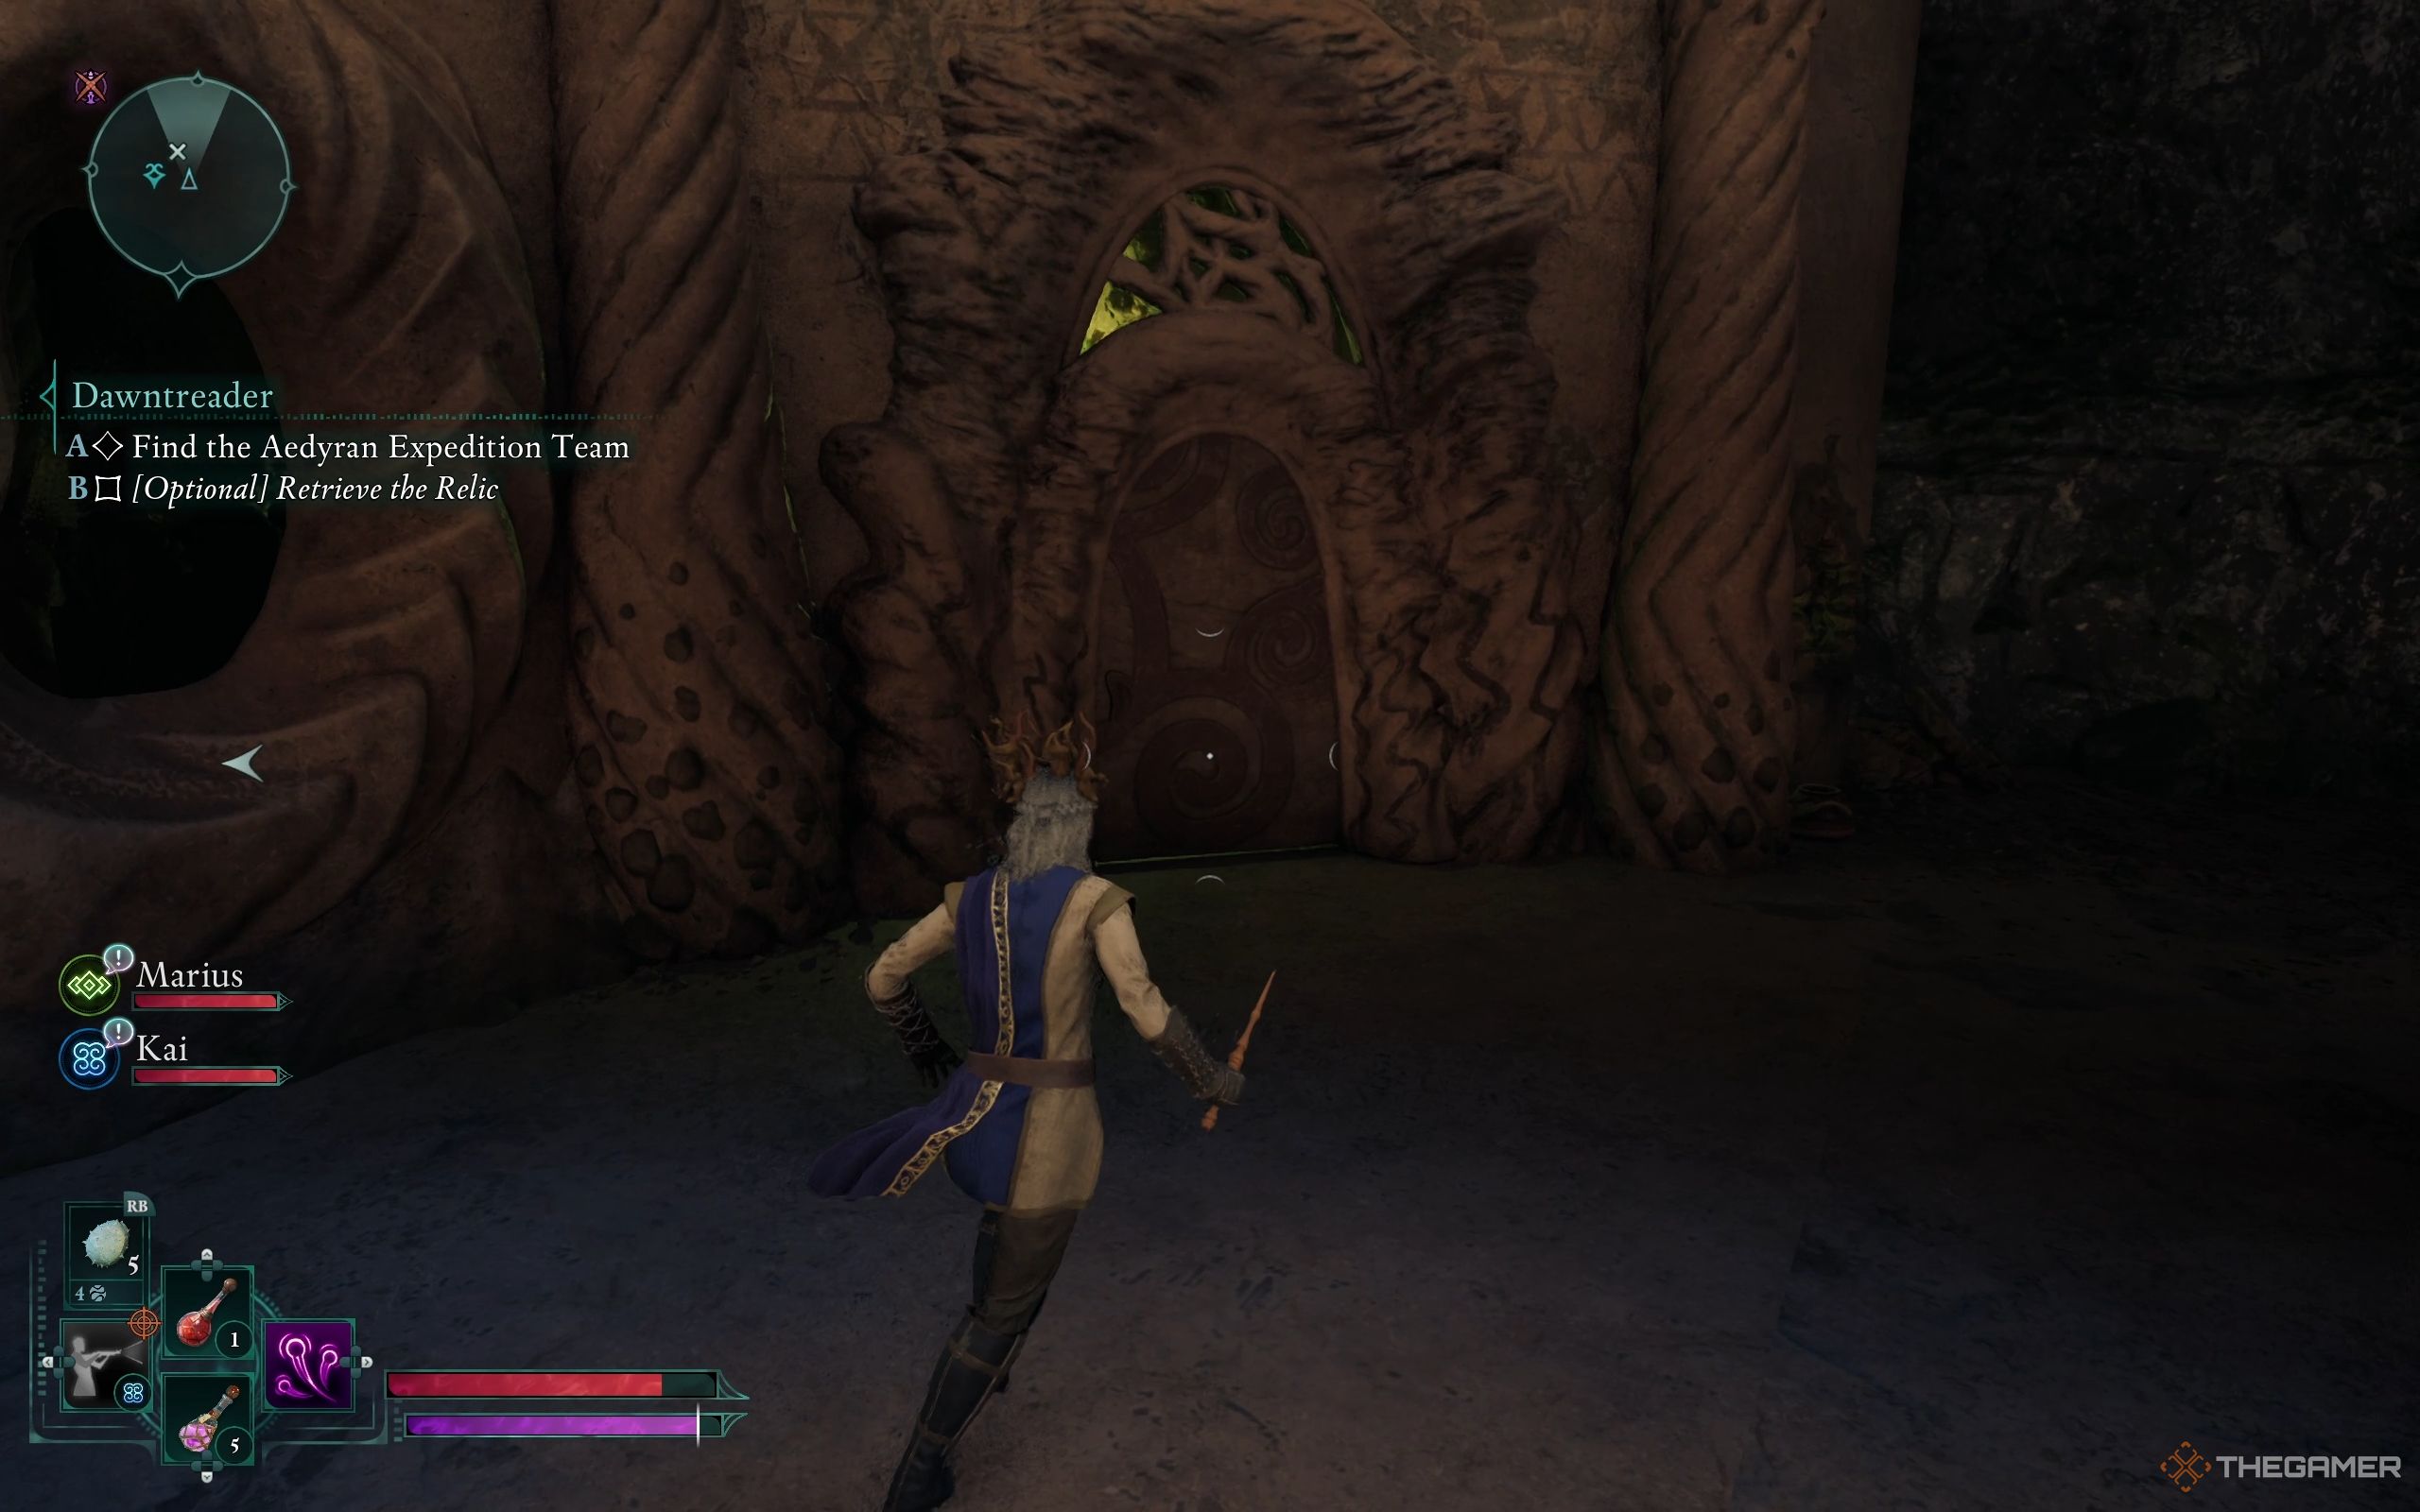
Return to the trunk, follow it to the end, jump across, and climb the rock. Jump to the right and climb up. Keep going until you spot a purple hole. Crouch and squeeze through. You’ll soon see another purple hole on the ground. Drop down.
You’ll soon come across a stone door with a switch, as well as a room behind the curtains. Inside, you’ll find the entire Free Expeditions Corps dead—including Gjeda. As you inspect the scene, Kai will comment that they haven’t been dead for long, maybe just a few hours. Marius will add that their deaths don’t appear natural. Unfortunately, there’s nothing more you can do for them.
Before leaving, loot everything. Read Gjeda’s journal. Break the nearby pots to reveal a Lockbox containing a Health Potion, a Pelt, a Softwood Branch, and some Copper Skeyt. You can also read On the Binding of Souls to learn more about what happened to the Corps’ souls. Once you’ve gathered everything, use the switch to open the stone door, then head up the stairs to return to Sargamis.
Speak With Sargamis
You can confront Sargamis about the fate of the Free Expeditions Corps, ask for more details, or get your companions’ opinions. If your Perception is high enough, you’ll uncover that Sargamis took the souls of Gjeda and the others to power the statue and bring back Eothas.
At this point, you have four choices that can affect the consequences: Try to lie about not having the relic, attack Sargamis, help him complete his plan, or tell him he’s wrong and spare him.
Lie To Sargamis
If you claim you must have misplaced the relic, Sargamis will simply wait for you to find it, ending the conversation. You can talk to him again, chat with him briefly, and try to deceive him when he asks, “Do you carry the relic I asked you to collect?” But he won’t be fooled. He won’t turn hostile, but the situation won’t change until you admit the truth.
Attack Sargamis
You can attack Sargamis right after confronting him about the Corps, or you can let him speak his mind by going through all his dialogue options and then choose to fight him.
Sargamis isn’t a tough opponent. His HP is low, and if you stack your abilities with your companions’, you can take him down almost immediately. Most of the time, you won’t even see the full extent of his moves; that being said, here’s a breakdown of his abilities and how to counter them:
|
Ability |
Description |
How To Counter |
|---|---|---|
|
Summon Fire Blight Minions |
Sargamis always opens the fight by summoning two Fire Blight Minions that spit fire. He can summon more during battle, but only two at a time. |
Take out the Fire Blight Minions as soon as they appear to keep the fight under control. If they stick around, dodging Sargamis’s other attacks will be harder. |
|
Fire Projectiles |
Sargamis fires homing projectiles. |
Sprint sideways to avoid them. |
|
Sword Dash |
Sargamis raises his sword before dashing forward to strike. |
Wait for him to charge, then dodge sideways at the last moment to avoid the attack. |
|
AoE Explosion |
Sargamis casts a large AoE explosion with himself at the center |
Get out of the blast radius. |
When Sargamis dies, you can loot his sword, called the  Last Light of Day
.
Help Sargamis
If you give Sargamis the relic, he’ll ask you to place the Splinter of Eothas relic in the wheel. He’ll attempt to power up the machine, but it won’t work. Sargamis will then try to convince you to sacrifice your soul. Here, you have two choices: Give your soul to the machine, or tell Sargamis to sacrifice his soul instead.
If you choose to give Sargamis your soul, your companions will be strongly against this idea. Once you step into place, the machine will activate, draining your soul and killing you. The game will reload, and you’ll earn the achievement ‘Get in the Statue, Envoy.’
If you tell Sargamis to sacrifice his soul, he’ll realize that he is the missing piece preventing the machine from working. He’ll die, but the machine won’t work anyway. On the bright side, you can loot the Last Light of Day sword off of him and enjoy your companions’ banter.
Tell Sargamis He’s Wrong
If you’re an Arcane Scholar, you can tell Sargamis his plan won’t work. He won’t back down easily, though. To fully convince him, you’ll need 4/4 Intellect to break down the flaws in his outdated thinking. At first, Sargamis will accuse you of lying, but don’t worry. At this point, any choice of dialogue will make him question his beliefs. He’ll struggle with what to do next, and you’ll have three options to guide him:
- Counsel the people of the Living Lands.
- Help the people in the Deadfire.
- Seek out the other godlikes.
Later, you’ll meet Sargamis again on your way up the elevator as you leave the Eothasian Temple. This time, Sargamis will have made up his mind and will follow the path you suggested. As a reward, he’ll give you his sword, Last Light of Day.
Should You Give The Statue To The Voice?
Yes, you should give the statue to The Voice. This choice primarily impacts Avowed’s ending cutscene, which includes spoilers. So, let’s not go into detail. Instead, let’s explore what happens if you choose to give The Voice a vessel or destroy it.
Give The Statue To The Voice
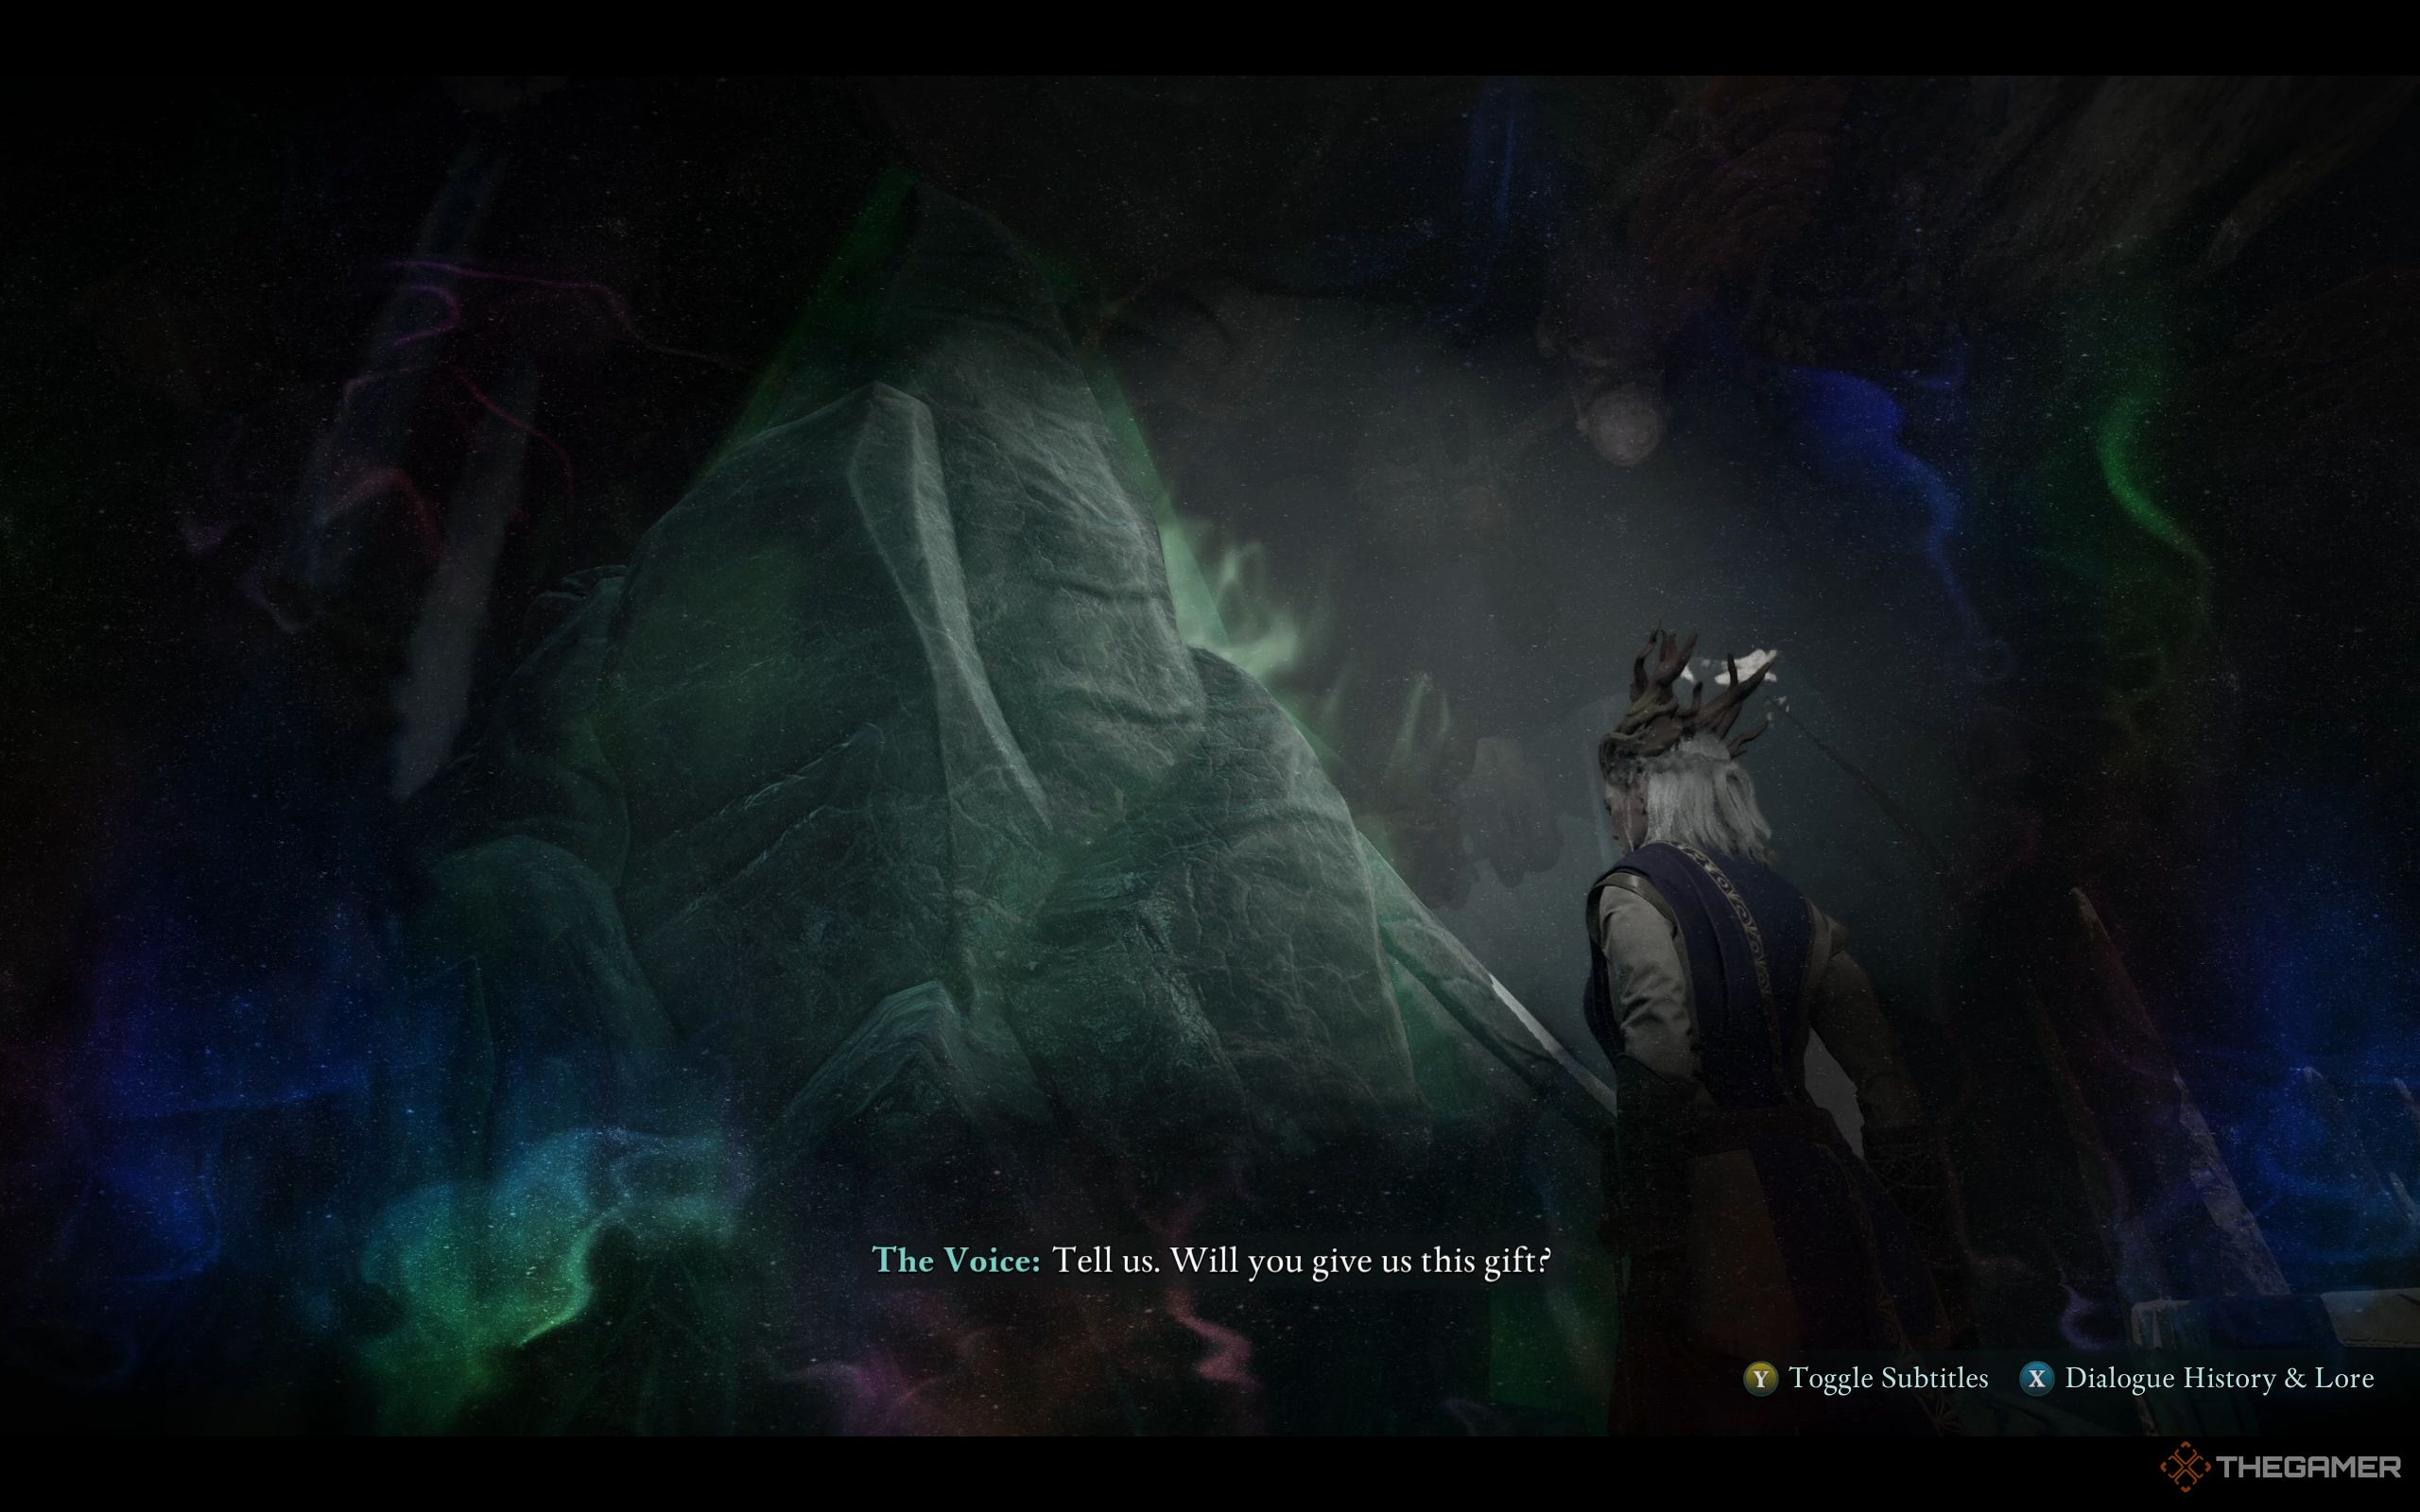
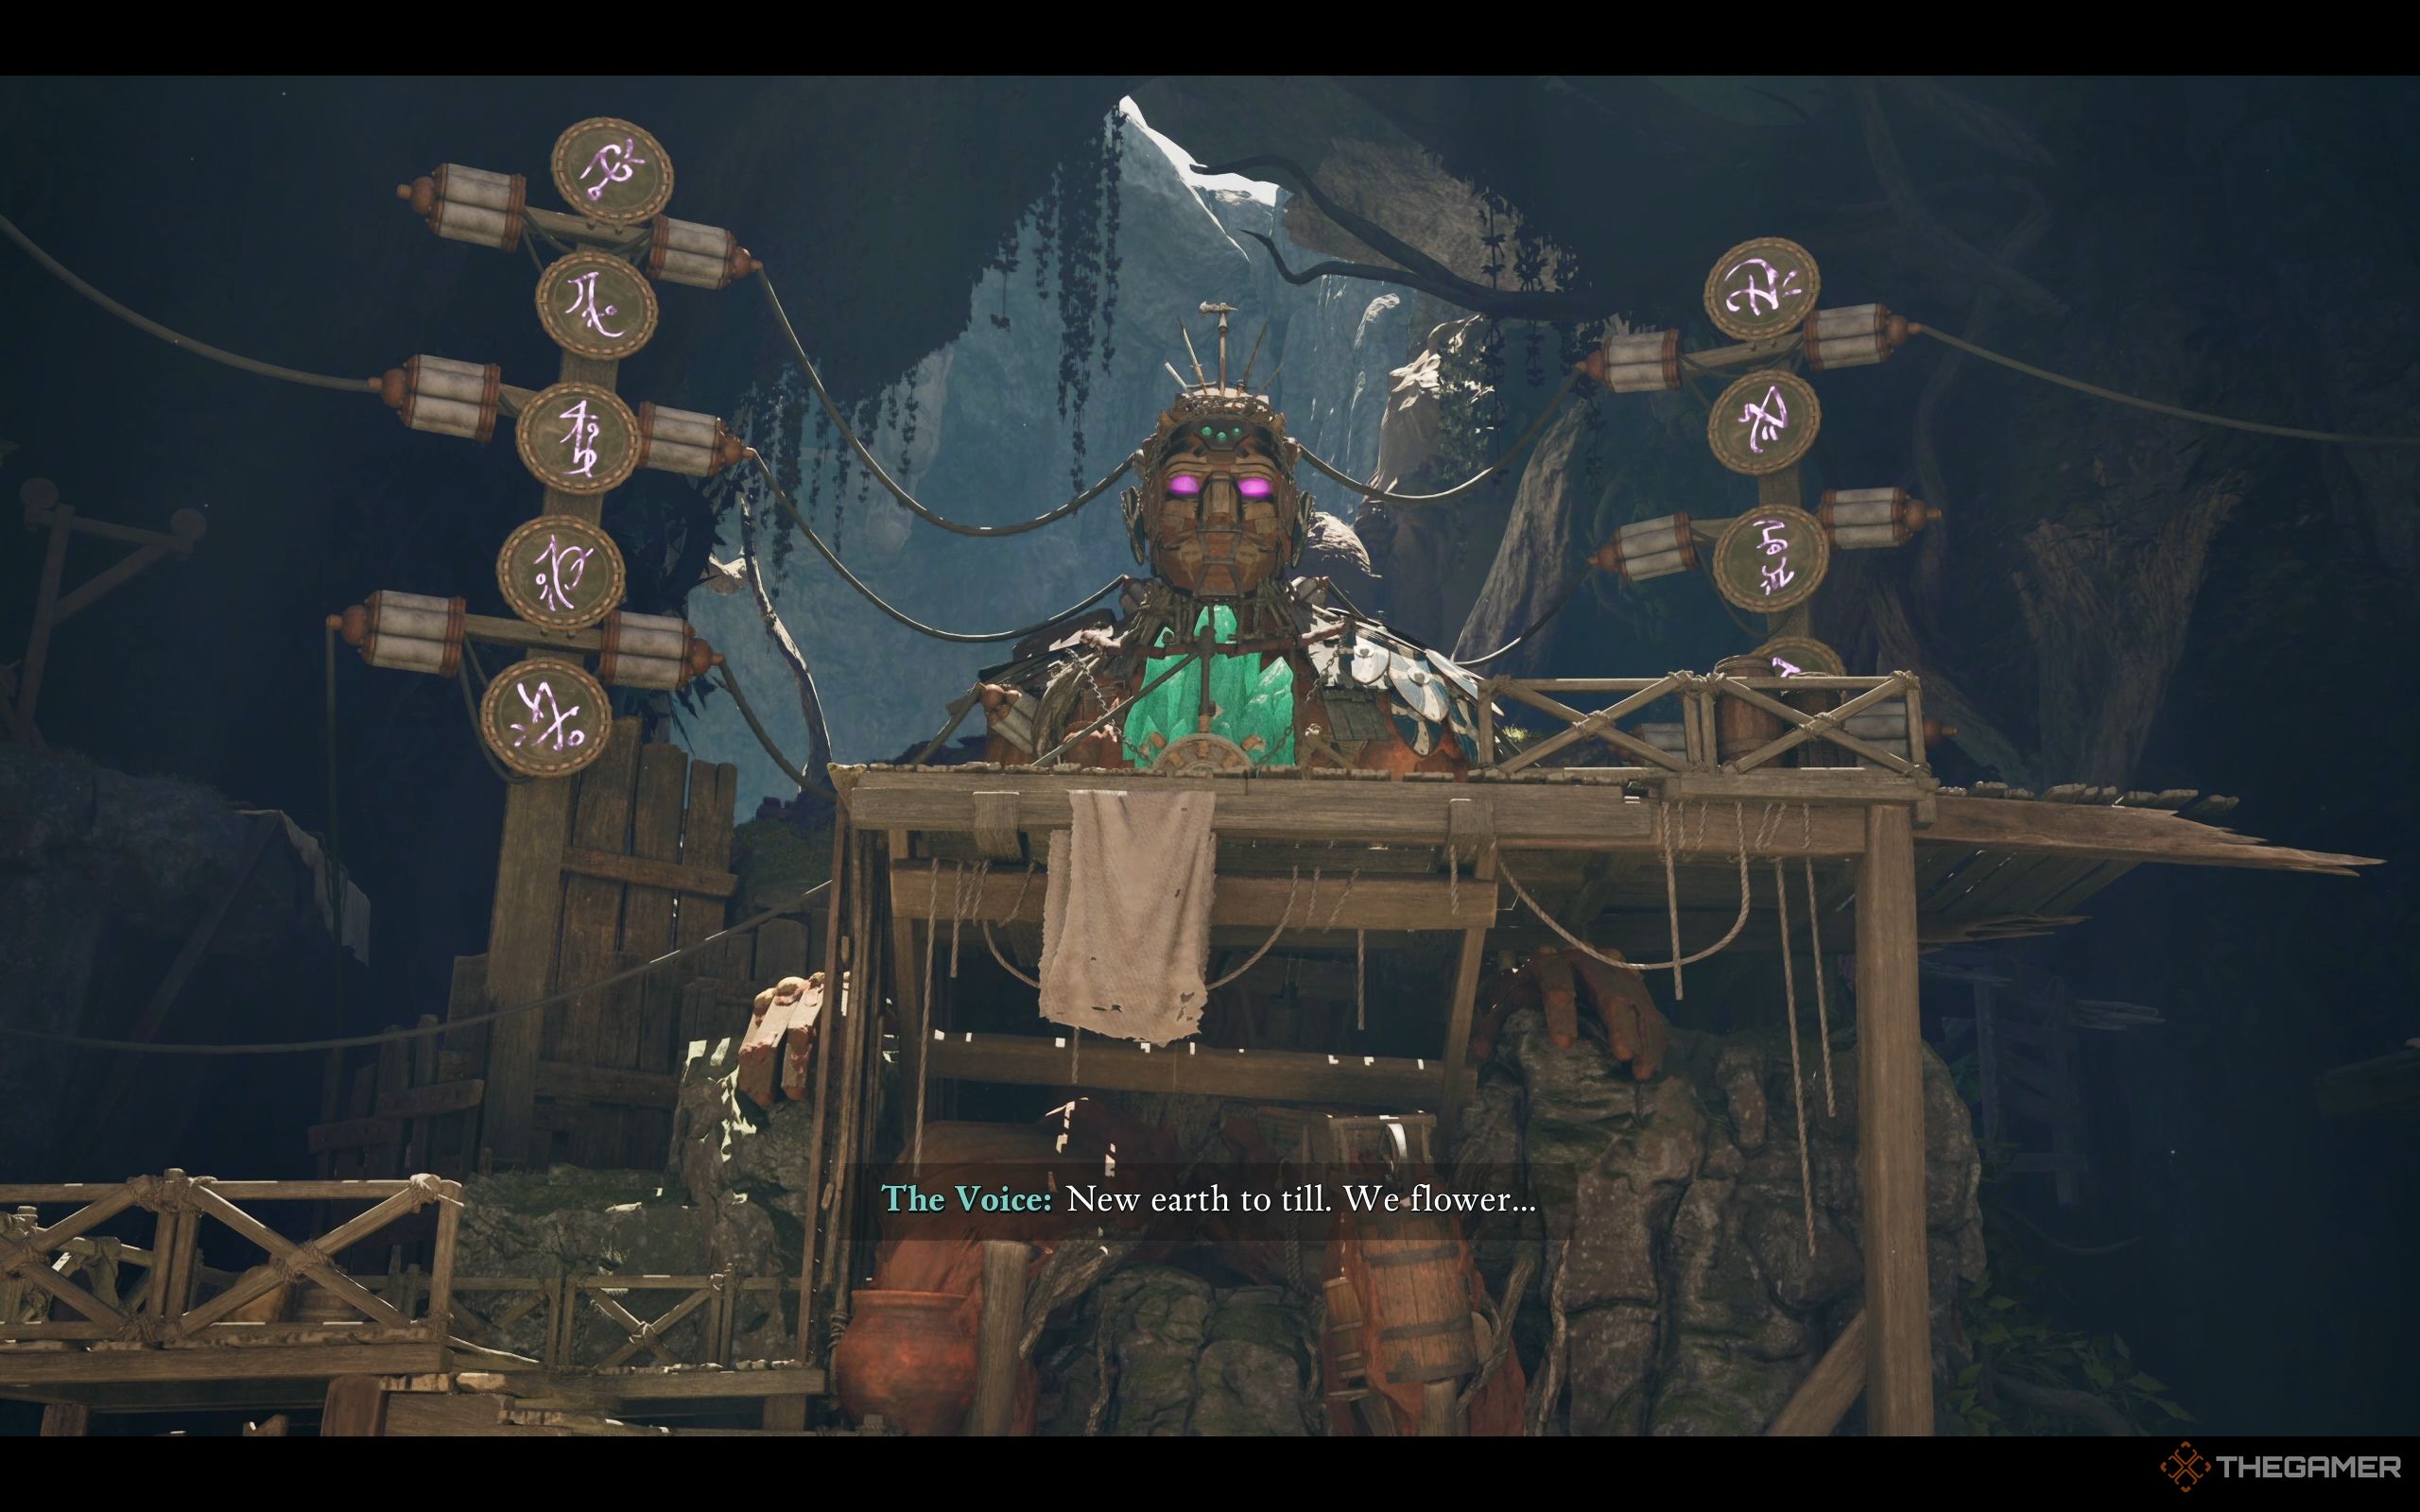
If you give the statue to The Voice as a vessel, you’ll need to start the process by pulling the lever. Unlike Sargamis’s experiment, this time, it’ll work. The Voice will appreciate your choice and take a moment to consider the situation.
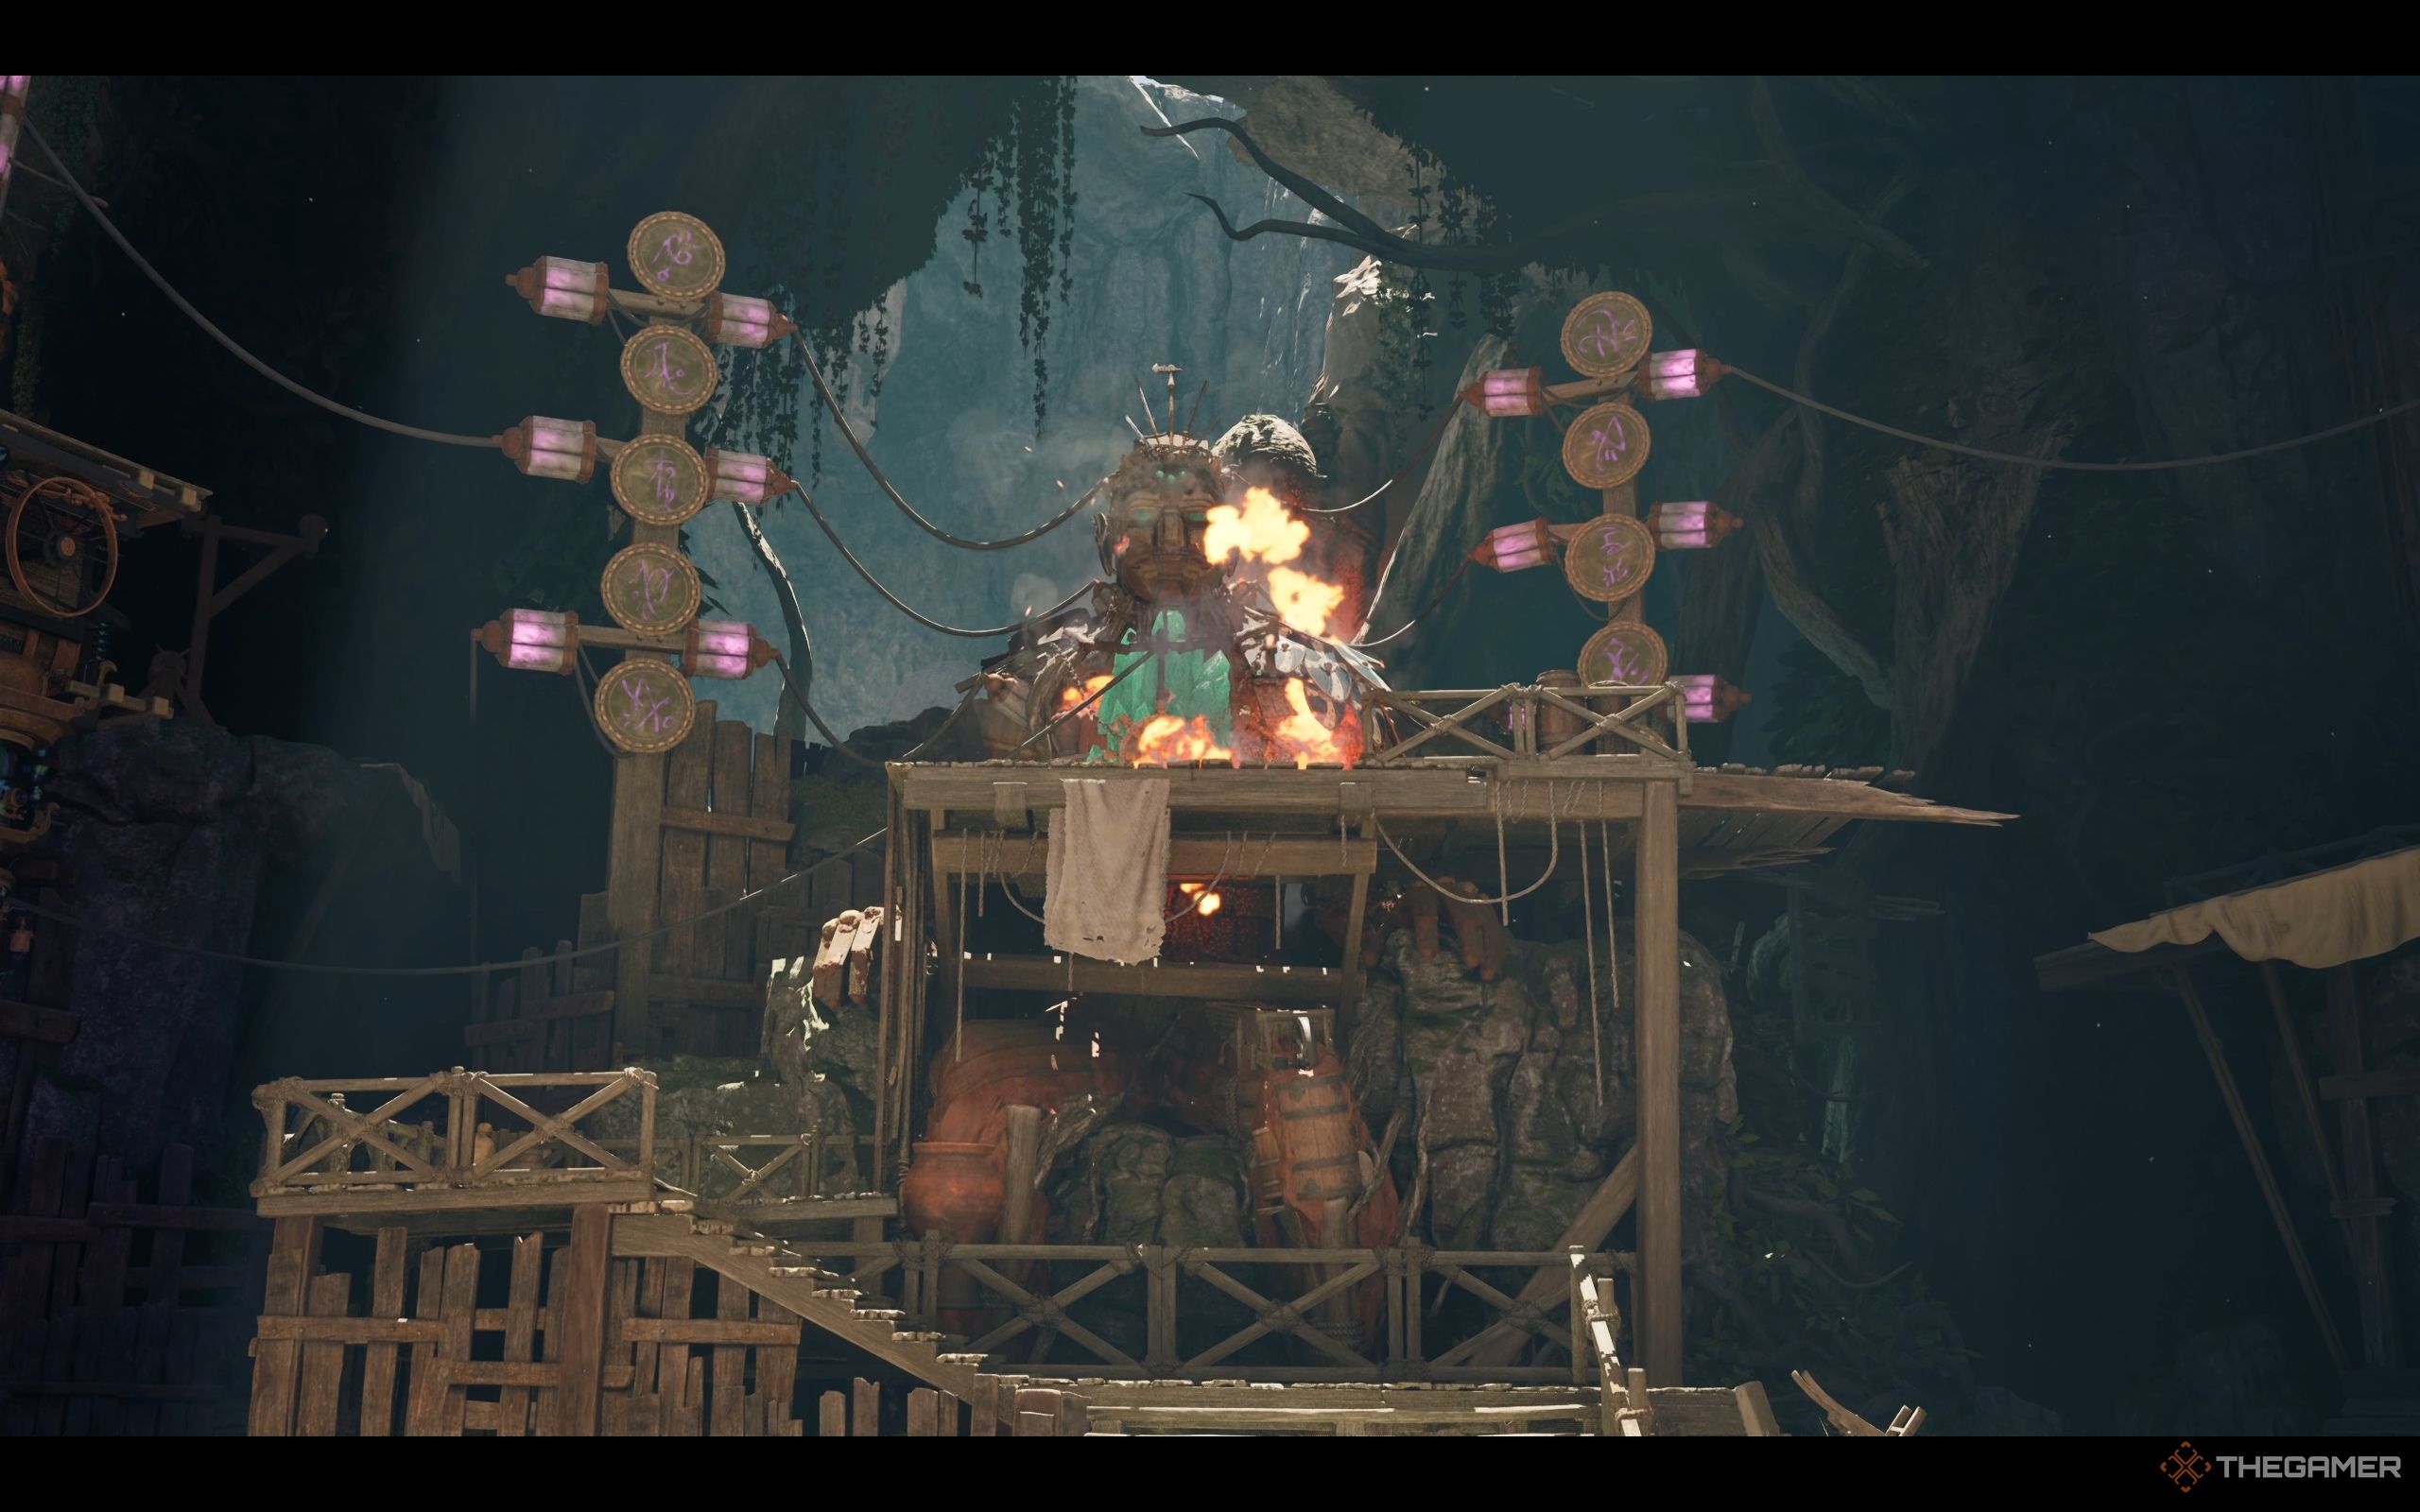
Destroy The Statue
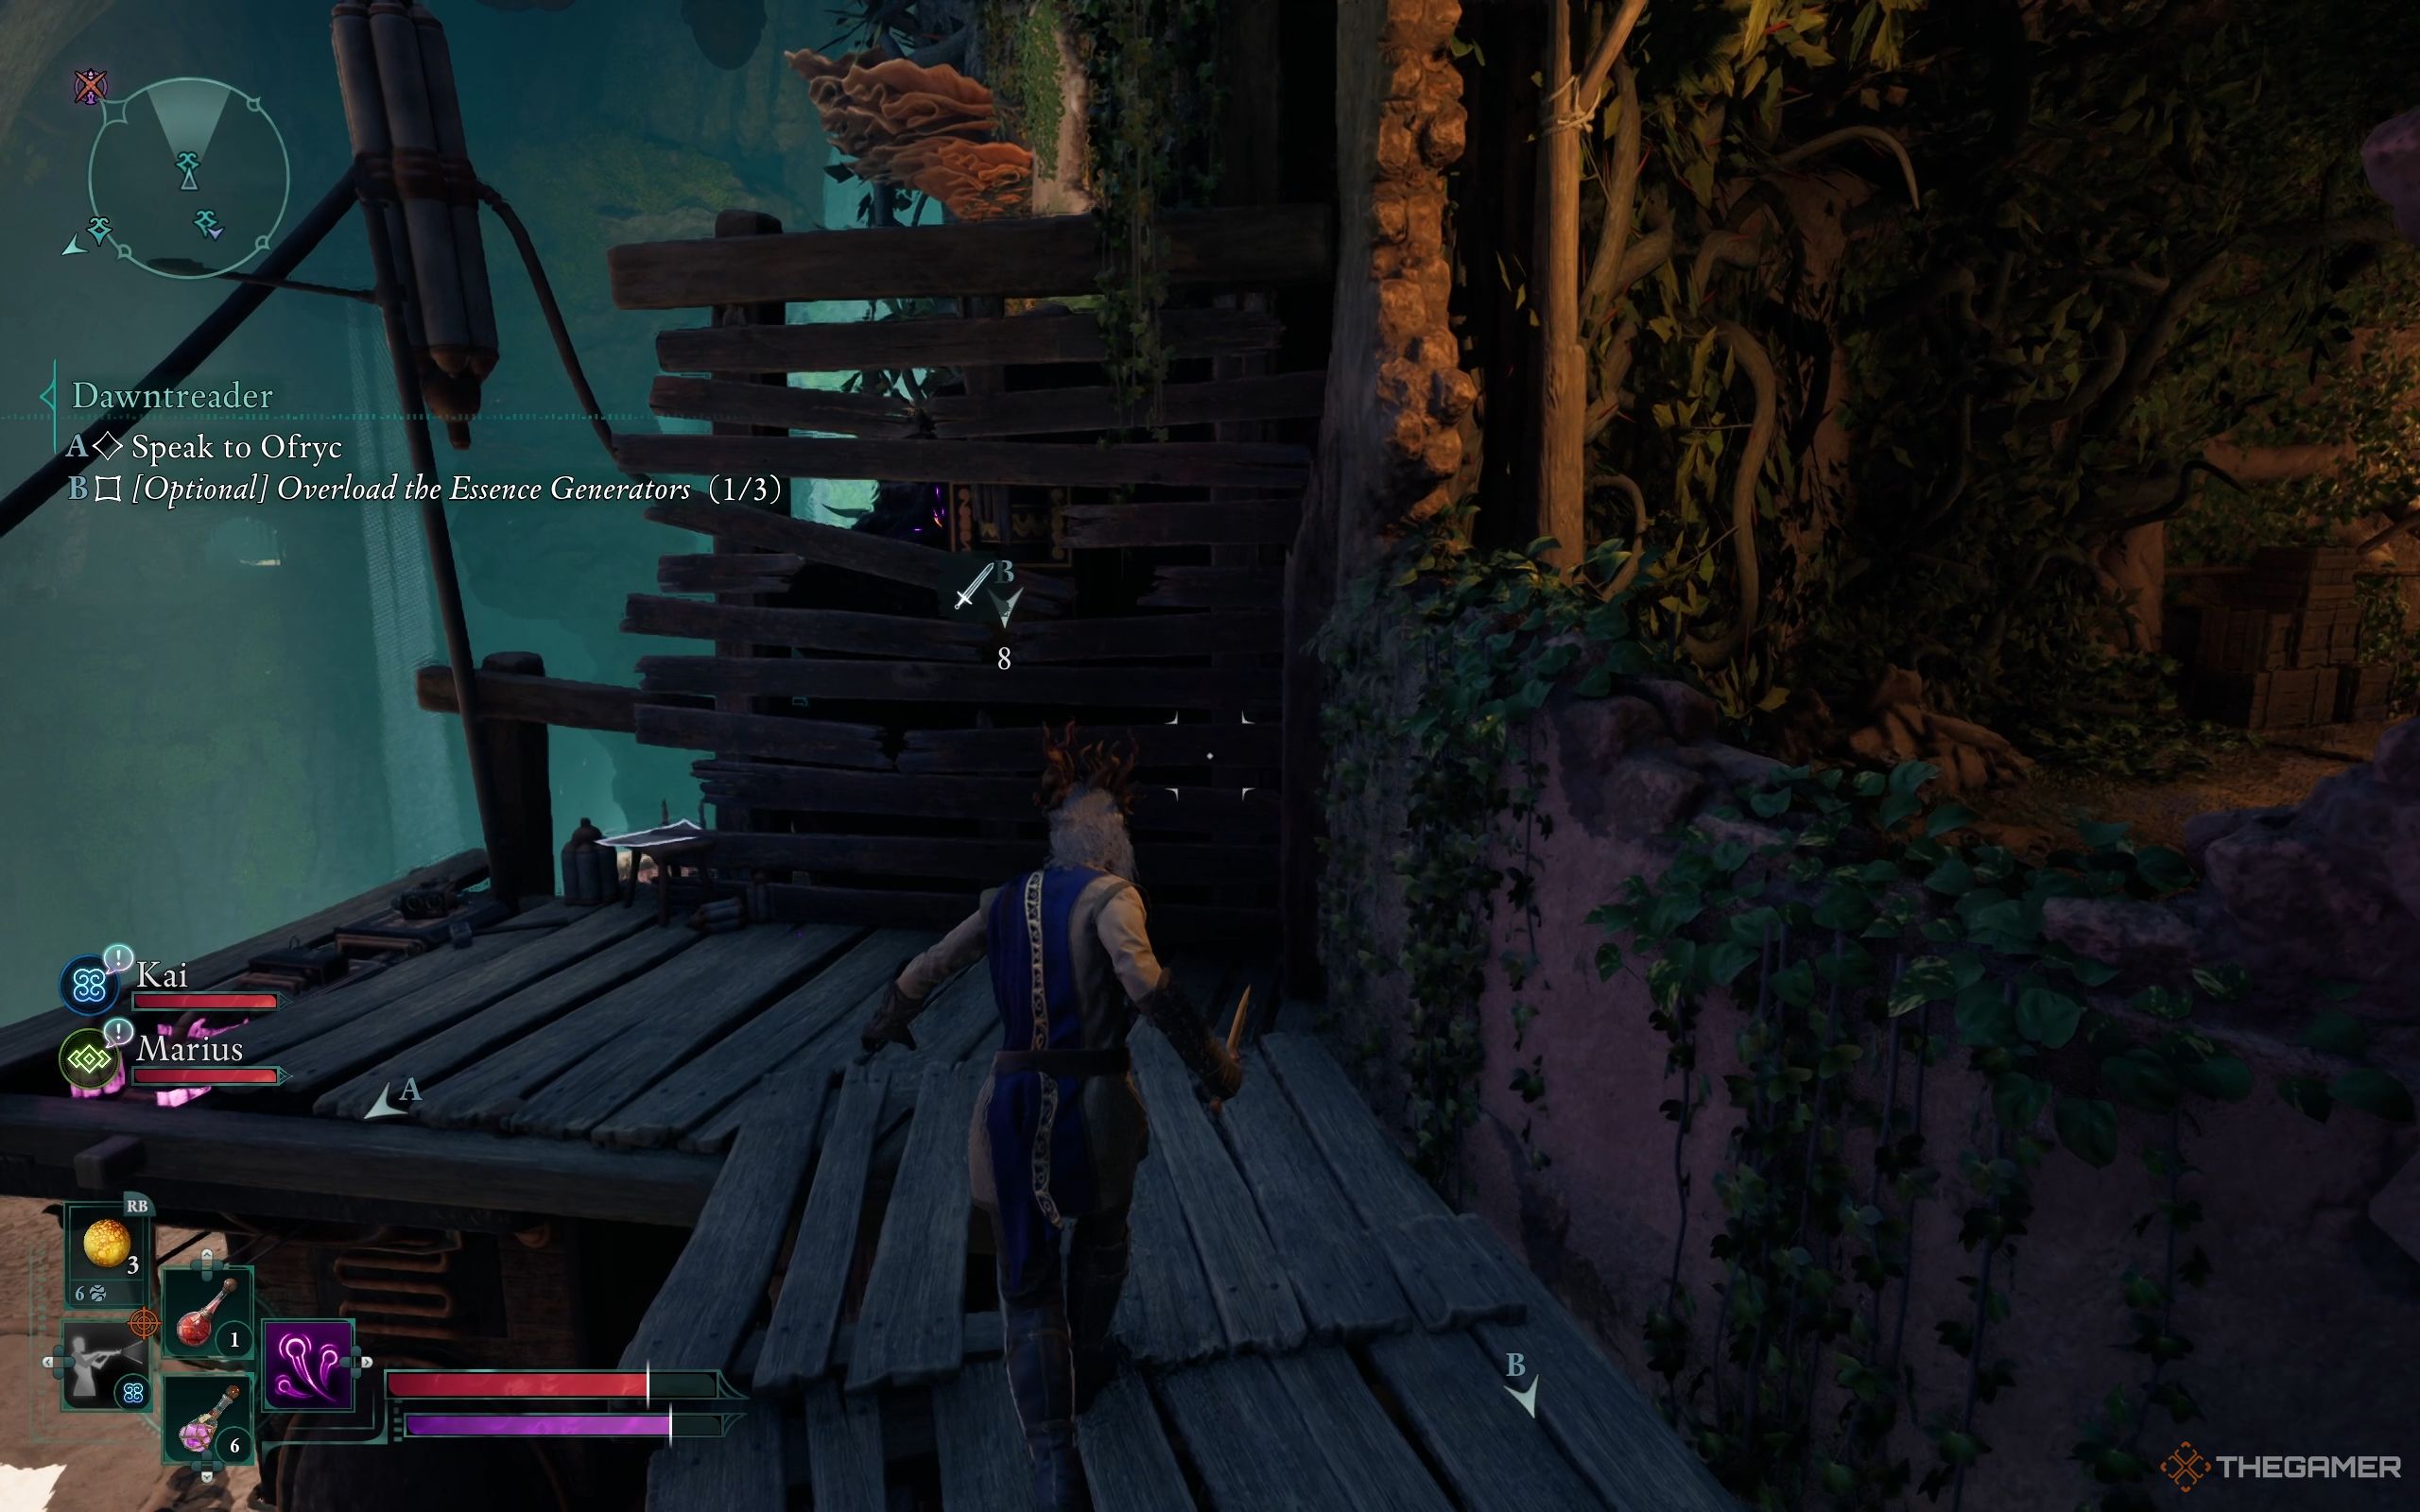
The first generator is to the right of the statue, behind a set of destroyable wooden planks.
The second generator is higher up. So climb up to where the wheel is, then jump to the platform on the right. Jump again to another scaffolding that goes around the statue and run to the end. Jump once more to the next platform. Climb up, and you’ll find another receiver behind some breakable wooden planks. Destroy them and shock it to overload the receiver.
The third generator is located near the statue’s foot, along the path where you previously looted the Lockbox when first meeting Sargamis. It’s also hidden behind wooden planks. Break them to shock the receiver.
Dawntreader Ending
To end the Dawntreader quest, return to Ofryc. You’ll see that Caedmon has joined him. They’re happy to see you and appreciate your help. Ofryc asks about Gjeda and the rest of the team. You can stay silent, lie, or tell the truth about their deaths. If you’re honest, Ofryc will get worked up and accuse you of not even trying, but Caedmon will calm him down and ask for details. You can explain, stay silent, or say it won’t help them to know the truth.
If you tell the truth of what the Oracle did to the Expeditions Corps and admit to killing the Oracle, they’ll be glad justice was served. If you didn’t kill the Oracle, they’ll be baffled but will ultimately accept that there’s no need for further bloodshed.
Either way, they reward you with the ring called Delver’s Caution. Speak to them if you want to know about their plans. Once the conversation ends, so does the Dawntreader quest.

Next
Avowed: Best Controller Settings
Avowed’s default controller settings can feel unresponsive, with issues like input lag and stick drift.
















Leave a Reply