One of the best features of ghost hunting in Phasmophobia is the diversity and flexibility of available challenges, whether they’re crafted by the developers or by players themselves. The game’s aptly-named Challenge Mode is a testament to that, as it offers an impressive variety of difficult scenarios for investigators to test the limits of their paranormal skills and knowledge.
One such scenario in Phasmophobia is the Sanity Survival Challenge which, as you can guess, completely bends the rules when it comes to sanity preservation. If you’re trying to figure out the best strategy to tackle this challenge, then you’ll need to know what to expect and the best tips to go about it.

Related
Phasmophobia: Scariest Ghosts, Ranked
Phasmophobia is home to an array of terrifying entities; here are the scariest ghosts players can come across in the game.
What is Challenge Mode in Phasmophobia?

Challenge Mode is a uniquely difficult weekly task in Phasmophobia intended to test the limits of any players who wish to tackle it. These challenges place you in a specific scenario where you’re often at a heightened disadvantage against the ghost haunting the designated location. Each challenge takes place on a different map, and must be completed in full on that particular map.
Since it’s technically a weekly task, Challenge Mode resets every week on Sunday to a new map and objective. To take on your current weekly challenge, go to your difficulty settings in the main menu and scroll until you see the Challenge Mode preset. Select ‘Apply’ and then go to the Map board left of the main menu. Look for the map that the challenge requires and select it.
Go back to the main menu, where it will indicate that you’ll be given a preset loadout at no cost to you. As with any scenario in Challenge Mode, this loadout cannot be manually altered in any way. You must complete the challenge with the items that you’re given.

To receive full credit for any weekly challenge, you must complete the investigation three times on the required map. During those investigations, you only need to correctly guess the identity of the ghost, nothing else. Completing optional objectives is indeed entirely optional here, along with other tasks such as taking photos and finding the bone.
Once you complete all three investigations for the challenge, you will receive a base reward of $5,000, plus any other credit you accrue from other investigation objectives, daily task bonuses, etc. This all must be done within the weekly time limit before the challenge resets the following Sunday.
How to Complete Sanity Survival Challenge in Phasmophobia
Sanity Survival is one of Phasmophobia‘s most difficult weekly challenges because, as the name suggests, sanity deprivation is the main ploy. The challenge’s description reads: “Sanity is a scarce resource with no pills or lights. Be careful finding this Nightmare ghost.” As if the situation wasn’t stressful enough, the ghost you are dealing with is on par with the game’s Nightmare difficulty.
Sanity Survival Challenge Rules

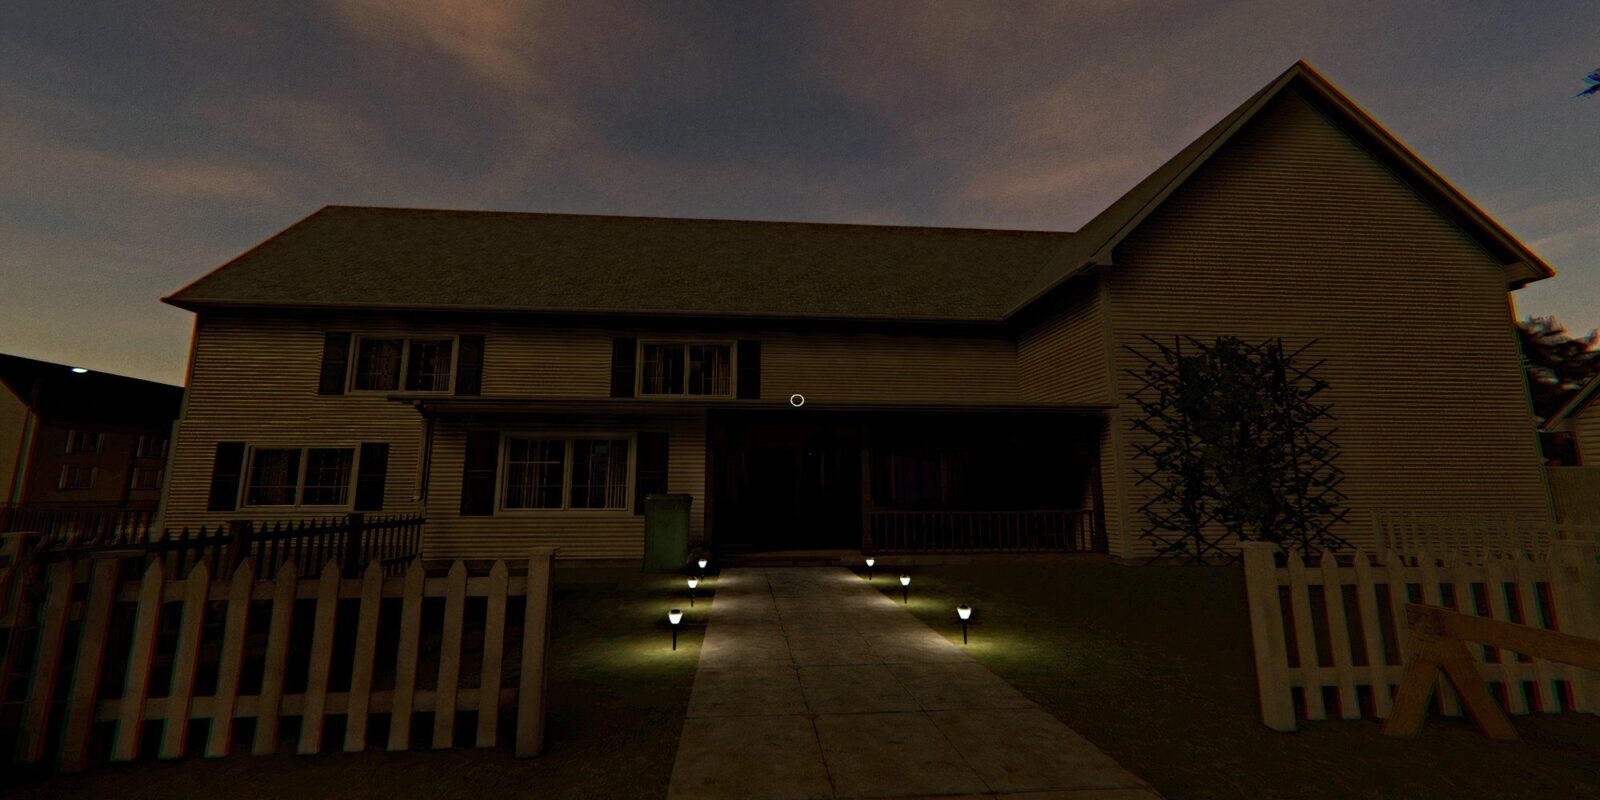
This challenge must be done on the 10 Ridgeview Court map, which is a standard two-story house map that includes a basement level. Upon arriving, you will receive two seconds of “setup time”, which normally triggers from the moment you open the front door and allows you a set grace period to safely track down the ghost’s room and bring in equipment. Instead, the ghost’s activity will start almost immediately, and you will be susceptible to hunts more quickly.
On top of that, the house’s fuse box is permanently broken, meaning that you can’t restore power and use the map’s lights for navigation and sanity preservation. Most doors in the house will also start open by default, meaning you can’t use that as an indicator for the ghost’s location.
While in the van, you’ll notice that the sanity monitor is broken (as seen above), which normally allows you to track your sanity’s current level. You do start this challenge with approximately 75% sanity, but you won’t be able to track it or restore it. This means that you have to make the most of what sanity you do have before it drains to dangerous levels and puts you in range of hunts by most ghosts.
Sanity Survival Challenge Loadout and Cursed Objects

The equipment loadout you’re given for this challenge consists of a mixture of Tier 1 and Tier 2 equipment, and you’ll find certain items more helpful than others, depending on your personal strategy.
The first thing to notice is that you are given Tier 2 flashlights along with Tier 2 firelights, which, when lit, can help preserve your sanity when you’re in proximity to them. Just keep in mind that since they’re candles, they will eventually burn down and then cannot be re-lit. Conveniently, they can also be used to test if your ghostly culprit is an Onryo, as those react to the presence of three lit firelights in their favorite area by snuffing them out and then immediately hunting.
Other means of protection from the ghost are fairly limited, as you’re only given one Tier 1 Crucifix. This means that you have the ability to prevent one hunt attempt, if the Crucifix is placed in the correct area. There is also no Incense given, meaning that you can’t “smudge” the ghost to prevent it from hunting for an extended period, or use it to protect yourself during a hunt.
You’re also provided all the fundamental equipment for detecting standard evidence. However, because the ghost is set to Nightmare level, it will only provide 2 pieces of evidence at most, and you’ll need to use your intuition to fill in the gap.

You can do this by paying close attention to the ghost’s passive behaviors, such as how it interacts with throwable objects or doors. Also, pay attention during its hunts by listening to its movement speed, as various ghosts move at different speeds.
Furthermore, if you’re able, observe other traits such as the ghost’s “flicker rate” and whether its model changes in any way. These can sometimes serve as giveaways to certain ghost types, such as Obake, Oni, or Phantom.
Finally, you’re given access to two specific Cursed Objects for this challenge – Tarot Cards and Voodoo Doll. The Tarot Cards are considerably riskier as you don’t know what you’ll draw from the deck. Meanwhile, the Voodoo Doll can help provoke ghost behavior and even certain pieces of evidence, including Ultraviolet prints and EMF 5 readings.
Sanity Survival Challenge General Tips

All in all, similar to other Phasmophobia challenges where sanity is minimal or taken out of the equation altogether (such as the Gotta Go Fast challenge), your goal is to be as efficient as possible with finding the ghost’s location and determining evidence.
Use certain tools like the EMF Reader, Parabolic Microphone, and Motion Sensors to detect the ghost’s location rather than the Thermometer, because since the fuse box is broken, temperatures are much harder to gauge. Use a Video Camera to help detect Ghost Orbs or otherwise view the ghost’s behavior from a safe vantage point.
Also, consider completing challenges like this in a group, as more boots on the ground means you can ferry equipment more quickly and get more eyes on the ghost and its behavior.

- Released
-
October 29, 2024
- ESRB
-
T For Teen // Blood, Use of Drugs, Violence
- Developer(s)
-
Kinetic Games
- Publisher(s)
-
Kinetic Games
- Multiplayer
-
Online Co-Op
- Engine
-
Unity
- How Long To Beat
-
36.5 hours (solo) / 28 hours (co-op) / 33 hours (vs.)
- Steam Deck Compatibility
-
Verified
- PS Plus Availability
-
N/A
- Supported VR Headsets
-
PlayStation VR 2 Headset
- Number of Players
-
4
- OpenCritic Rating
-
Strong
- Early Access Release
-
September 18, 2020
- PC Release Date
-
September 18, 2020
- PS5 Release Date
-
October 29, 2024
- Xbox Series X|S Release Date
-
October 29, 2024
- PSVR2 Release Date
-
October 29, 2024