Dual Blades in Monster Hunter Wilds are the perfect example of aggression with style, as you shred through monsters with breakneck speed. One of the best advantages of Dual Blades is that while veterans can make the most out of it, even new players can play it with high efficiency.
Related
Monster Hunter Wilds: Complete Dual Blades Weapon Guide
The Dual Blades are both the simplest and most satisfying weapon in Monster Hunter Wilds. here’s how to use them.
However, Dual Blades also have very specific build requirements, and it takes more investment than other classes to make this weapon functional.
Dual Blades Build Overview
One of the most important aspects of Dual Blades is that this weapon is heavily dependent on elements. If you are using this weapon without investing in an elemental setup, especially when fighting against big monsters, you will feel way too weak. As such, your Dual Blade should feature a counter element when fighting a monster while boosting it through various Decorations.
Apart from that, Dual Blades consume stamina very fast, which is one of the core properties of its gameplay. As such, you will need Decorations that can help reduce stamina depletion or recover it faster so that you can keep up with the aggression.
Finally, the Decoration restrictions for armor and weapons hold true in the case of Dual Blades, similar to every other build, so you will have to spend some time deciding which buffs are important and what you can sacrifice to make the build perform better.
Dual Blades Build Guide
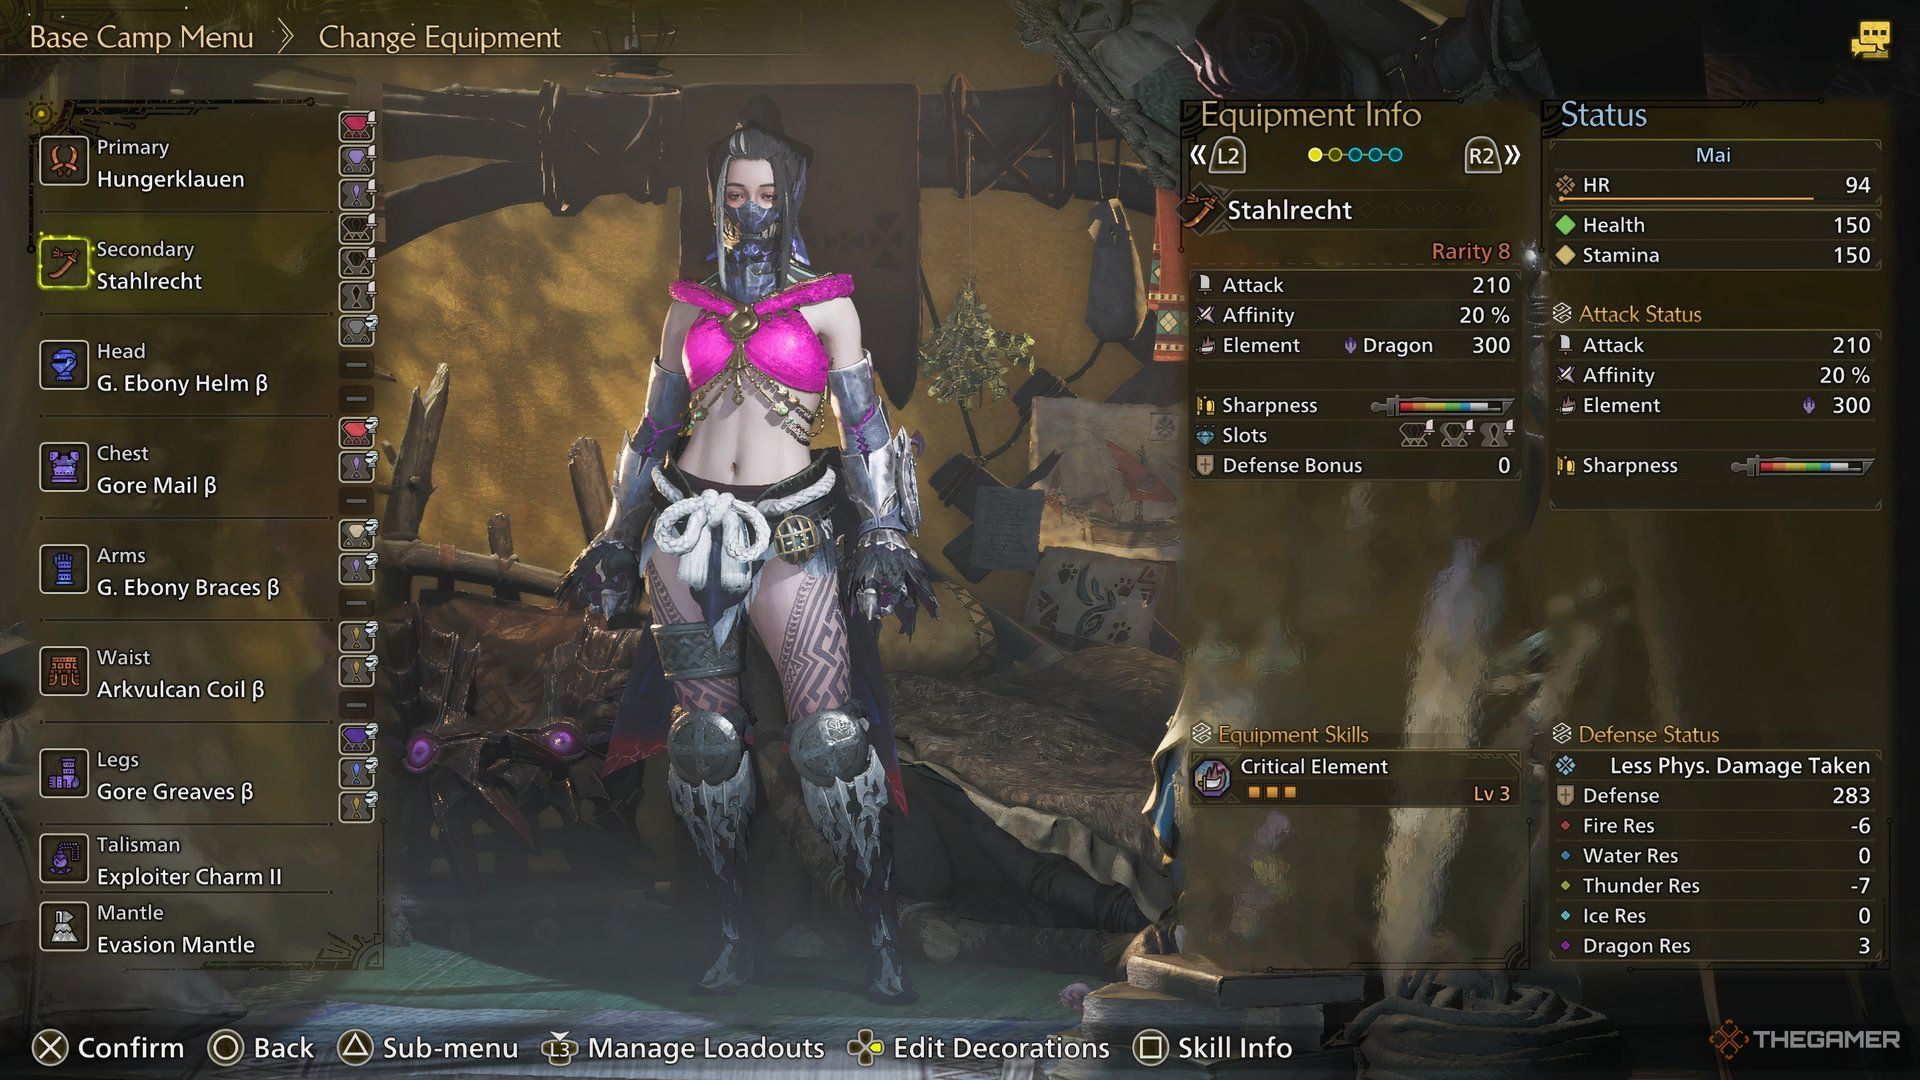
Here’s a rundown of how the build should look once it’s ready:
|
Gear Slot |
Gear Name |
Decorations |
|---|---|---|
|
Weapon |
Tiltkreise (Artian) |
Dragon Jewel (3), Critical Jewel (3), Critical Jewel (2) |
|
Head |
G. Ebony Helm Beta (Guardian Ebony Odogaron Gear) |
Destroyer Jewel (2) |
|
Chest |
Gore Mail Beta ( Gore Magala Gear) |
Chain Jewel (3), Sane Jewel (1) |
|
Arms |
G. Ebony Braces Beta (Guardian Ebony Odogaron Gear) |
Refresh Jewel (2), Sane Jewel (1) |
|
Waist |
Arkvulcan Coil Beta (Waist) |
Sprinter Jewel (1) x2 |
|
Legs |
Gore Greaves Beta (Gore Magala Gear) |
Tenderizer Jewel (3), Protection Jewel (1), Sprinter Jewel (1) |
|
Talisman |
Exploiter Charm 2 |
In the weapon slot, Artian Dual Blades will be your go-to choice as they offer multiple elements along with three Level Three Jewel Slots. The reason why Artian works well, especially for Dual Blades is because you can slot in any elemental Decoration as long as it matches the element of the weapon and run with it. For instance, a Fire Artian Dual Blade can use a Fire Decoration, and now you have massive Fire damage.
If you don’t have an Artian weapon, you can use Hungerklauen, which is the Gore Magala Dual Blade. It comes with the Dragon element and works in a wide range of situations, especially against the likes of Arkveld and Gore Magala.
In the head slot, the Guardian Ebony Odogaron piece is crucial as it provides a Level Two Burst skill and comes with a Level Two Jewel slot. You can slot in a Destroyer Jewel here to deal more damage to monster parts. Ideally, Dual Blades aren’t the best to break monster parts, so Partbreaker helps out a bit in that regard.
In the chest slot, you will need the Gore Magala gear for the first part of the Gore Magala’s Tyranny buff. You will need to slot in Chain Jewel Level Three for Level One Burst and a Sane Jewel Level One for Level One Antivirus buff. Both of these are extremely crucial for this build, and you should farm until you can find these Decorations.
No matter which element you choose to make this build work, Burst is the most essential skill here, since attacking enemies continuously increases both the attack and elemental damage of your weapon.
In the arms slot, you will need Guardian Ebony Odogaron gear once again, as it comes with Burst Level One. Additionally, you will need to attach Refresh Jewel to it since it provides the Stamina Surge buff, which helps increase the recovery speed of the stat. You can also attach a second Sane Jewel here to increase the level of Antivirus.
In the waist slot, you will need Arkveld gear as it comes with Level Two Weakness Exploit, which is another valuable stat for this build. You also need to attach two Level One Sprinter Jewels to it as they come with the Marathon Runner buff, which reduces the stamina drain for actions that continuously require this particular stat. This buff synergizes perfectly with Dual Blades.
Finally, in the legs slot, you will need Gore Magala Gear once again as it provides Antivirus Level One, taking the total to Level Three, along with the Sane Jewels from the previous pieces. You will need to attach Tenderizer Jewel Three for Weakness Exploit in this gear piece. You will also need another Sprinter Jewel to take Marathon Runner to Level Three, and you can add a Protection Jewel for some Divine Blessing buff.
In the Charm slot, you will need Exploiter Charm II for the Weakness Exploit buff. This will help you deal additional damage to the weak parts of the monsters, including their wounds.
Gore Magala’s Tyranny is the set bonus for the Gore Magala armor set, and two pieces of it provides the Black Eclipse 1 buff. This buff inflicts you with Frenzy when facing Large monsters, but cures itself as you aggressively strike your foe. This triggers a 10 percent Affinity boost for you while also triggering the Antivirus buff that provides an additional 15 percent.
Dual Blades Build Skill Overview
Here’s how the skills will look once your build is ready:
- Critical Boost Level 5
- Dragon Attack Level 5
- Weakness Exploit Level 5
- Burst Level 4
- Marathon Runner Level 3
- Antivirus Level 3
Tips To Play With The Dual Blades Build
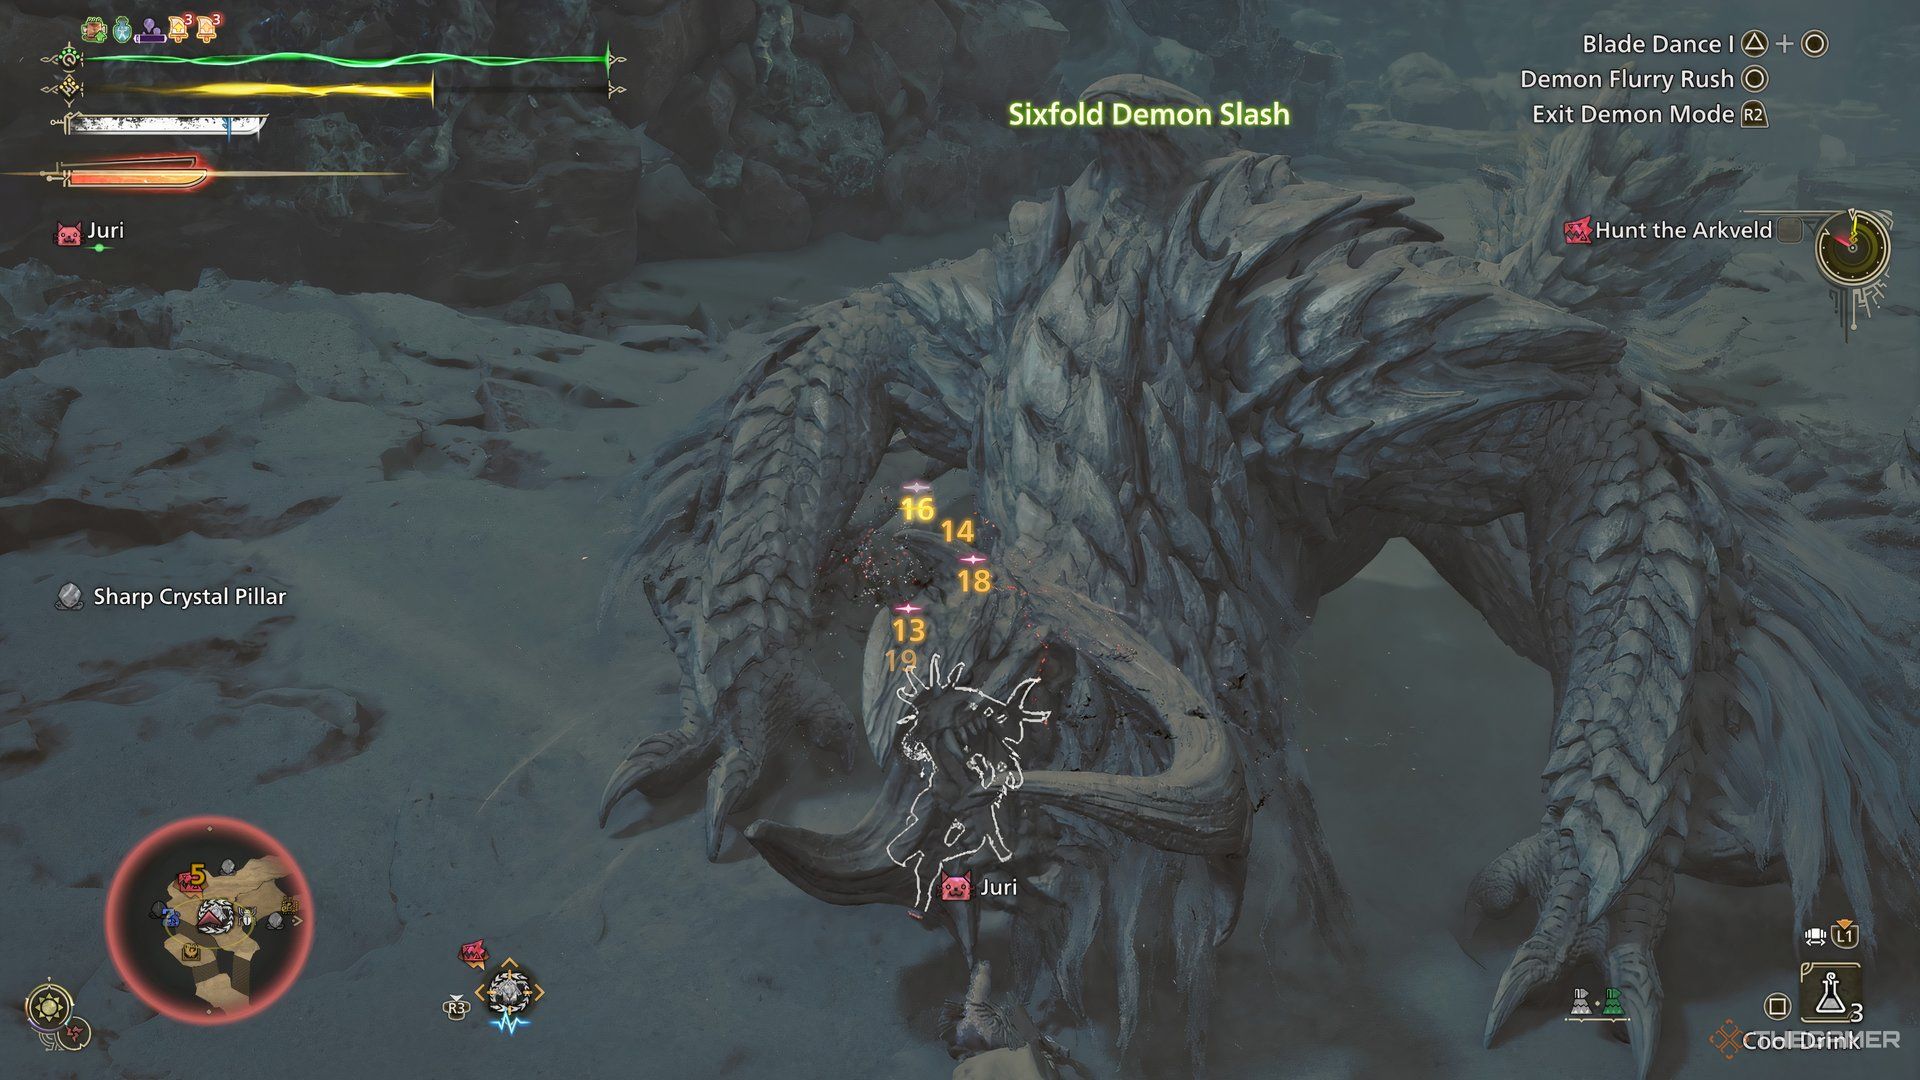
Playing with this Dual Blades build is pretty easy since most of your buffs will activate passively. As you hit the monster, buffs like Dragon Attack and Burst will be triggered, and wherever there is a weak spot, Weakness Exploit will do its job.
However, you need to be aware of the Antivirus buff, as you will have to be aggressive to ensure the Frenzy debuff is cleared. Additionally, if you’re playing Dual Blades, you must stay aggressive regardless, as otherwise, you will be missing out on a lot of damage.
Finally, make sure you get accustomed to the basics of Dual Blades so that you can use the various modes optimally while making the most out of the Demon Guage.
Next
Monster Hunter Wilds: How To Get Monster Hardbone
Here’s how to get Monster Hardbones to forge High Rank weapons and armor in Monster Hunter Wilds.





Leave a Reply