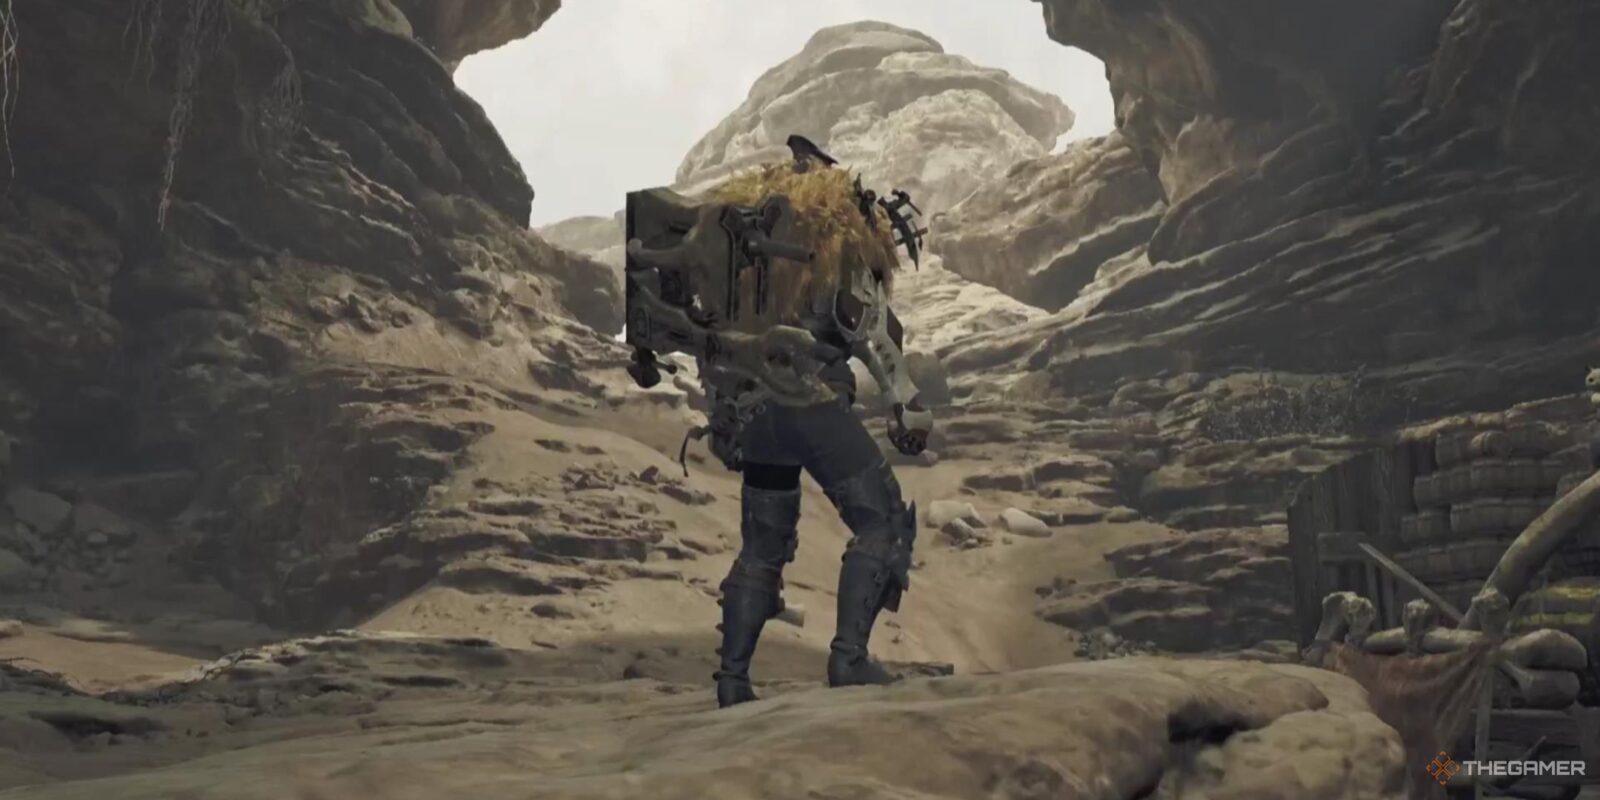
Most weapons in Monster Hunter Wilds are either simple to understand how to use, or mechanically dense. Those that are mechanically dense usually have a big learning curve when it comes to understanding how to be successful with them, but have very high ceilings.

Related
Monster Hunter Wilds: Complete Guide to The Slinger
The Slinger returns in Monster Hunter Wilds with more utility than ever. Here’s how to use it best!
The Heavy Bowgun is a bit of an enigma when it comes to this classification: it’s both a mechanically dense weapon, but is also possibly the easiest-to-understand weapon in the game, save perhaps for the Hammer. That’s because most of the mechanics with the Heavy Bowgun come in the preparation, and the actual fighting bit with it is extremely straightforward.
Heavy Bowgun Overview
The Heavy Bowgun has a lot to consider when you’re both interacting with the open-world, and when you’re deciding what monster you’re hunting. Understanding what different types of ammo affect a monster is crucial when going after some of the tougher prey, and so preparing and loading your Heavy Bowgun up properly is going to make all the difference.
But when it comes to the actual fight itself, the Heavy Bowgun is very, very simple. It’s going to impede your movement quite a bit, and it can be particular when it comes to effective range. But it’s also easy to consistently maintain heavy damage with it, particularly shining when playing with another Hunter that’s using something melee.
The Heavy Bowgun is going to transform your dodge into a less capable variant, so keep that in mind when preparing to dodge monster attacks.
Guard/Auto-Guard
Your Heavy Bowgun can Guard, allowing you to block some damage from incoming attacks. The Heavy Bowgun can also Auto-Guard when not performing most actions, though this is only effective from the front.
You cannot perform a Perfect Guard from Auto-Guard; you’ll need to manually Guard immediately before a monster attack lands for a Perfect Guard, which will automatically attack a monster back.
Heavy Bowgun Ammo Types

There are a ton of ammo types for the Heavy Bowgun; these are all crafted through a variety of things you find in different biomes. The ammo types include:
|
Ammo Type |
Materials |
Effect |
|---|---|---|
|
Normal |
N/A |
N/A |
|
Pierce Ammo |
N/A |
Pierces armor, dealing damage to some creatures multiple times. |
|
Spread Ammo |
N/A |
Low-range, high-damage ammo. |
|
Slicing Ammo |
Slashberry |
Can sever tails. |
|
Sticky Ammo |
Blastnut OR Bomb Arowana Scale + Normal Ammo |
Sticks to monsters and explodes, stunning on a headshot. |
|
Cluster Bomb |
Bomberry |
Splits into multiple shells when impacting a monster. |
|
Wyvern Ammo |
Dragonstrike Nut + Normal Ammo |
Low-range, high-damage ammo. |
|
Poison Ammo |
Toadstool + Normal Ammo |
Poisons monsters. |
|
Paralysis Ammo |
Parashroom + Normal Ammo |
Paralyzes monsters. |
|
Sleep Ammo |
Sleep Herb + Normal Ammo |
Puts monster to sleep. |
|
Flaming Ammo |
Fire Herb + Normal Ammo |
Deals increased damage to monsters that are weak to fire. |
|
Water Ammo |
Flowfern + Normal Ammo |
Deals increased damage to monsters that are weak to water. |
|
Freeze Ammo |
Snow Herb + Normal Ammo |
Deals increased damage to monsters that are weak to ice. |
|
Thunder Ammo |
Thunderbug Capacitor + Normal Ammo |
Deals increased damage to monsters that are weak to thunder. |
|
Dragon Ammo |
Dragonfell Berry + Normal Ammo |
Deals increased damage to monsters that are weak to dragon. |
|
Recover Ammo |
Blue Mushroom + Normal Ammo |
Creates a healing cloud on impact. |
|
Demon Ammo |
Might Seed + Normal Ammo |
Creates an attack strengthening cloud on impact. |
|
Armor Ammo |
Adamant Seed + Normal Ammo |
Creates a defense strengthening cloud on impact. |
|
Exhaust Ammo |
Exciteshroom + Normal Ammo |
Depletes a monster’s stamina. |
|
Tranq Ammo |
Tranq Bomb + Normal Ammo |
Used to capture monsters caught in traps. |
All of these ammo types are going to be more useful in a variety of situations; for instance, the Recover Ammo is going to be especially useful when playing with other Hunters, allowing you to heal multiple people without anybody using a potion.
The more you fight certain monsters, the more you’ll learn about their weaknesses. Once you’ve defeated them once, you can check your Monster Field Guide to see what kinds of effects are going to be particularly useful, and what kinds a monster is immune to.
How To Customize Your Heavy Bowgun

You can customize your Heavy Bowgun by going to the Smithy, navigating to Equipment Menu, and down to Customize Bowgun. From here, you can customize any Heavy or Light Bowgun that you’ve crafted; this includes customizing their mods and their special ammo.
In the case of mods, they mostly revolve around increasing ammo capacity for certain magazine types like Elemental, Spread, and more, along with various mods that improve the Ignition Mode.

Heavy Bowgun Combos And Tips
There aren’t too many different combos with the Bowgun; primarily, you just shoot gun. But, where you choose to stand while you shoot your Heavy Bowgun is going to be largely determined by what ammo type you’re using. Every ammo type has a certain range that it’s effective in, and shooting from outside that range is going to do significantly less damage.
You can tell if you’re in your ammo type’s ideal range by going into Focus Mode and looking at your reticle. If the reticle has turned orange and changed shape slightly, you’re in the ideal range.
Basic Attacks

Basic Attacking with your Heavy Bowgun fires whatever ammo you’ve selected to use. You can aim this by holding Focus Mode, so that you ensure you’re hitting exactly where you’d like to hit.
By default, this is going to fire the normal version of your Heavy Bowgun, using the ammo that you’ve crafted or selected, and not Special Ammo. Your ammo count is going to be displayed near the bottom right of your screen.
When you’ve emptied your magazine, you can reload by pressing the fire button, or the Basic Attack button.
You can change the ammo loaded into your Heavy Bowgun on the fly so that you can adapt to a situation as it changes; just keep an eye on your ammo count for the ammo types that are not infinite.
Ignition Mode

Switching into Ignition Mode is going to swap you from using the ammo that you’ve crafted/default ammo, and change into Special Ammo. Special Ammo is an unlimited resource, but it cannot fire indefinitely; it recharges by dealing damage and spending time in the regular mode.
There are multiple types of Ignition Mode, and this is customizable on your Bowgun in the Bowgun Customization screen.
- Wyvernheart Ignition fires continuously, dealing a constant supply of damage to a monster.
- Wyvernpiercer Ignition deals increased damage the longer you damage your target.
- Wyrverncounter Ignition is a close-range blast that can knock enemy monsters off-balance.
- Wyrvernblast Ignition hits a wider area, and is best used at mid-range.
In general, if you’re on the defensive, it’s best to be in the regular mode of the Heavy Bowgun. If you’re on the offensive and have the charge for it, it’s best to be in Ignition Mode. There are exceptions to this, but usually only when you’ve got a particular plan with your crafted ammo.
Your Heavy Bowgun will suffer recoil when firing in this mode, so you’ll need to compensate for that to stay on target.
Focus Blast: Wyvern Howl Shot

The Focus Blast for every weapon is meant to be aimed at a monster’s wound; when it hits a wound, the attack is going to deal significantly extra damage.
For the Heavy Bowgun, you can perform this attack at range, launching one of your three charges for this attack, which refills automatically. When in normal mode, this will only fire one of these, still dealing very good damage.
In Ignition Mode, you can charge this ability, allowing you to fire two or three charges at once, dealing exponentially more damage. Just be sure that this attack hits, because those charges don’t come back very quickly.

Next
Monster Hunter Wilds: Complete Gunlance Weapon Guide
The Gunlance is a powerful, destructive weapon in Monster Hunter Wilds – here are our combo tips!