After a prickly encounter with the elves in the Suikoden 1 HD Remaster, you’ll need to speak to the dwarves. While they’ll receive you a touch more warmly, you’ll still need to jump through a few hoops if you are going to convince them to help you to combat the deadly Burning Mirror that General Kwanda is threatening to use.

Related
Suikoden 1 HD Remaster: Lepant’s Mansion Walkthrough
If you’ve reached Lepant’s Mansion in the Suikoden 1 HD Remaster, you may have questions about the odd traps. Well, we’ve got answers!
This will mean that you’ll need to work through the puzzle-filled Dwarves’ Vault dungeon. But it isn’t just puzzle solving, you’ll also gather some tantalizing treasures to uncover, and a two-headed, two-torsoed Gigantes to battle. We’ll help you work through it all.
The Dwarves’ Vault
You’ll find the Dwarves Vault directly north of the Village of the Dwarves. Once you arrive, talk to the guard and head down the stairs until you reach a section with switches and orbs. Each switch you flip will shift the orbs. The object is obviously to lower enough of them to create a path that will take you to the other end of the room. On the right path there is also a treasure chest that contains a Sunbeam Orb.
You will want to flip the switches in this order. Flip the center switch, then flip the switch on the left, and, finally, flip the switch on the right. You’ll now be able to snake your way down the path, starting from the left side.
I absolutely matters what order you flip the switches in!
You’ll head down another set of stairs, and now you’ll start encountering Death Machines and Crimson Dwarfs. Thankfully, neither are particularly tough. You’ll enter a room with a number of dividing walls. If you head up the center, there’ll be a treasure chest with medicine on your left. If you keep following this path up and to the left, it will hook around and lead you to a treasure chest with a Magic Robe inside.
To reach the exit, head to the right along the bottom of this room. You’ll run into a chest with a Blue Ribbon inside. Keep following the path up and to the right in order to reach the next section.
In the next room, standing on the platforms with bronze lining them will cause the platforms to move. Take the platform on the far right, and it will travel down to the section south of this one. Take the platform on the west side, and it will take you to the section northwest of you. Finally, take the platform on the south side, and it will take you to the treasure chest with the Lightning piece.
Go back the way you came to the island north of the one with the treasure chest. Now, take the platform on the west side of the island. Then, when you are on the island southeast of that one, take the southern platform. It will take you to the end of this area.
Head south and down the stairs. Now, in the next room, there will be a pointy hat in the chest to the right of the room’s entrance, a DEX Rune Piece north of the entrance, and if you curve around the left side of the room, and head, traveling along the perimeter as you reach the right side, you’ll find medicine in a chest.
From there, follow the path until you reach the section on the east side of the room, leading up. You’ll come to a room with a massive tablet that reads “beep, boop, boop, beep, beep, beep, boop, boop.” The switch on the left is the “beep”, the switch on the right is the “boop”. So, follow the pattern of left switch, right switch, right switch, left switch, left switch, left switch, right switch, right switch.
North of that room, there is a path on your left, right, and another leading upward. The left path will take you to a chest with a mega medicine, the right path will take you to a chest with 5,000 Potch, and the one headed upward is the way forward.
In the next area, the path to your right is a dead end. There is an Escape Talisman in the southwest corner of the map. The southeast corner has a staircase that leads to another dead end. The path forward is the southern staircase in the center of the room. Follow the staircase down, but be on your guard. The boss is at the end of the next hall, so make sure everyone is fully healed, has medicine on them, and is equipped properly.
Boss Battle: Gigantes
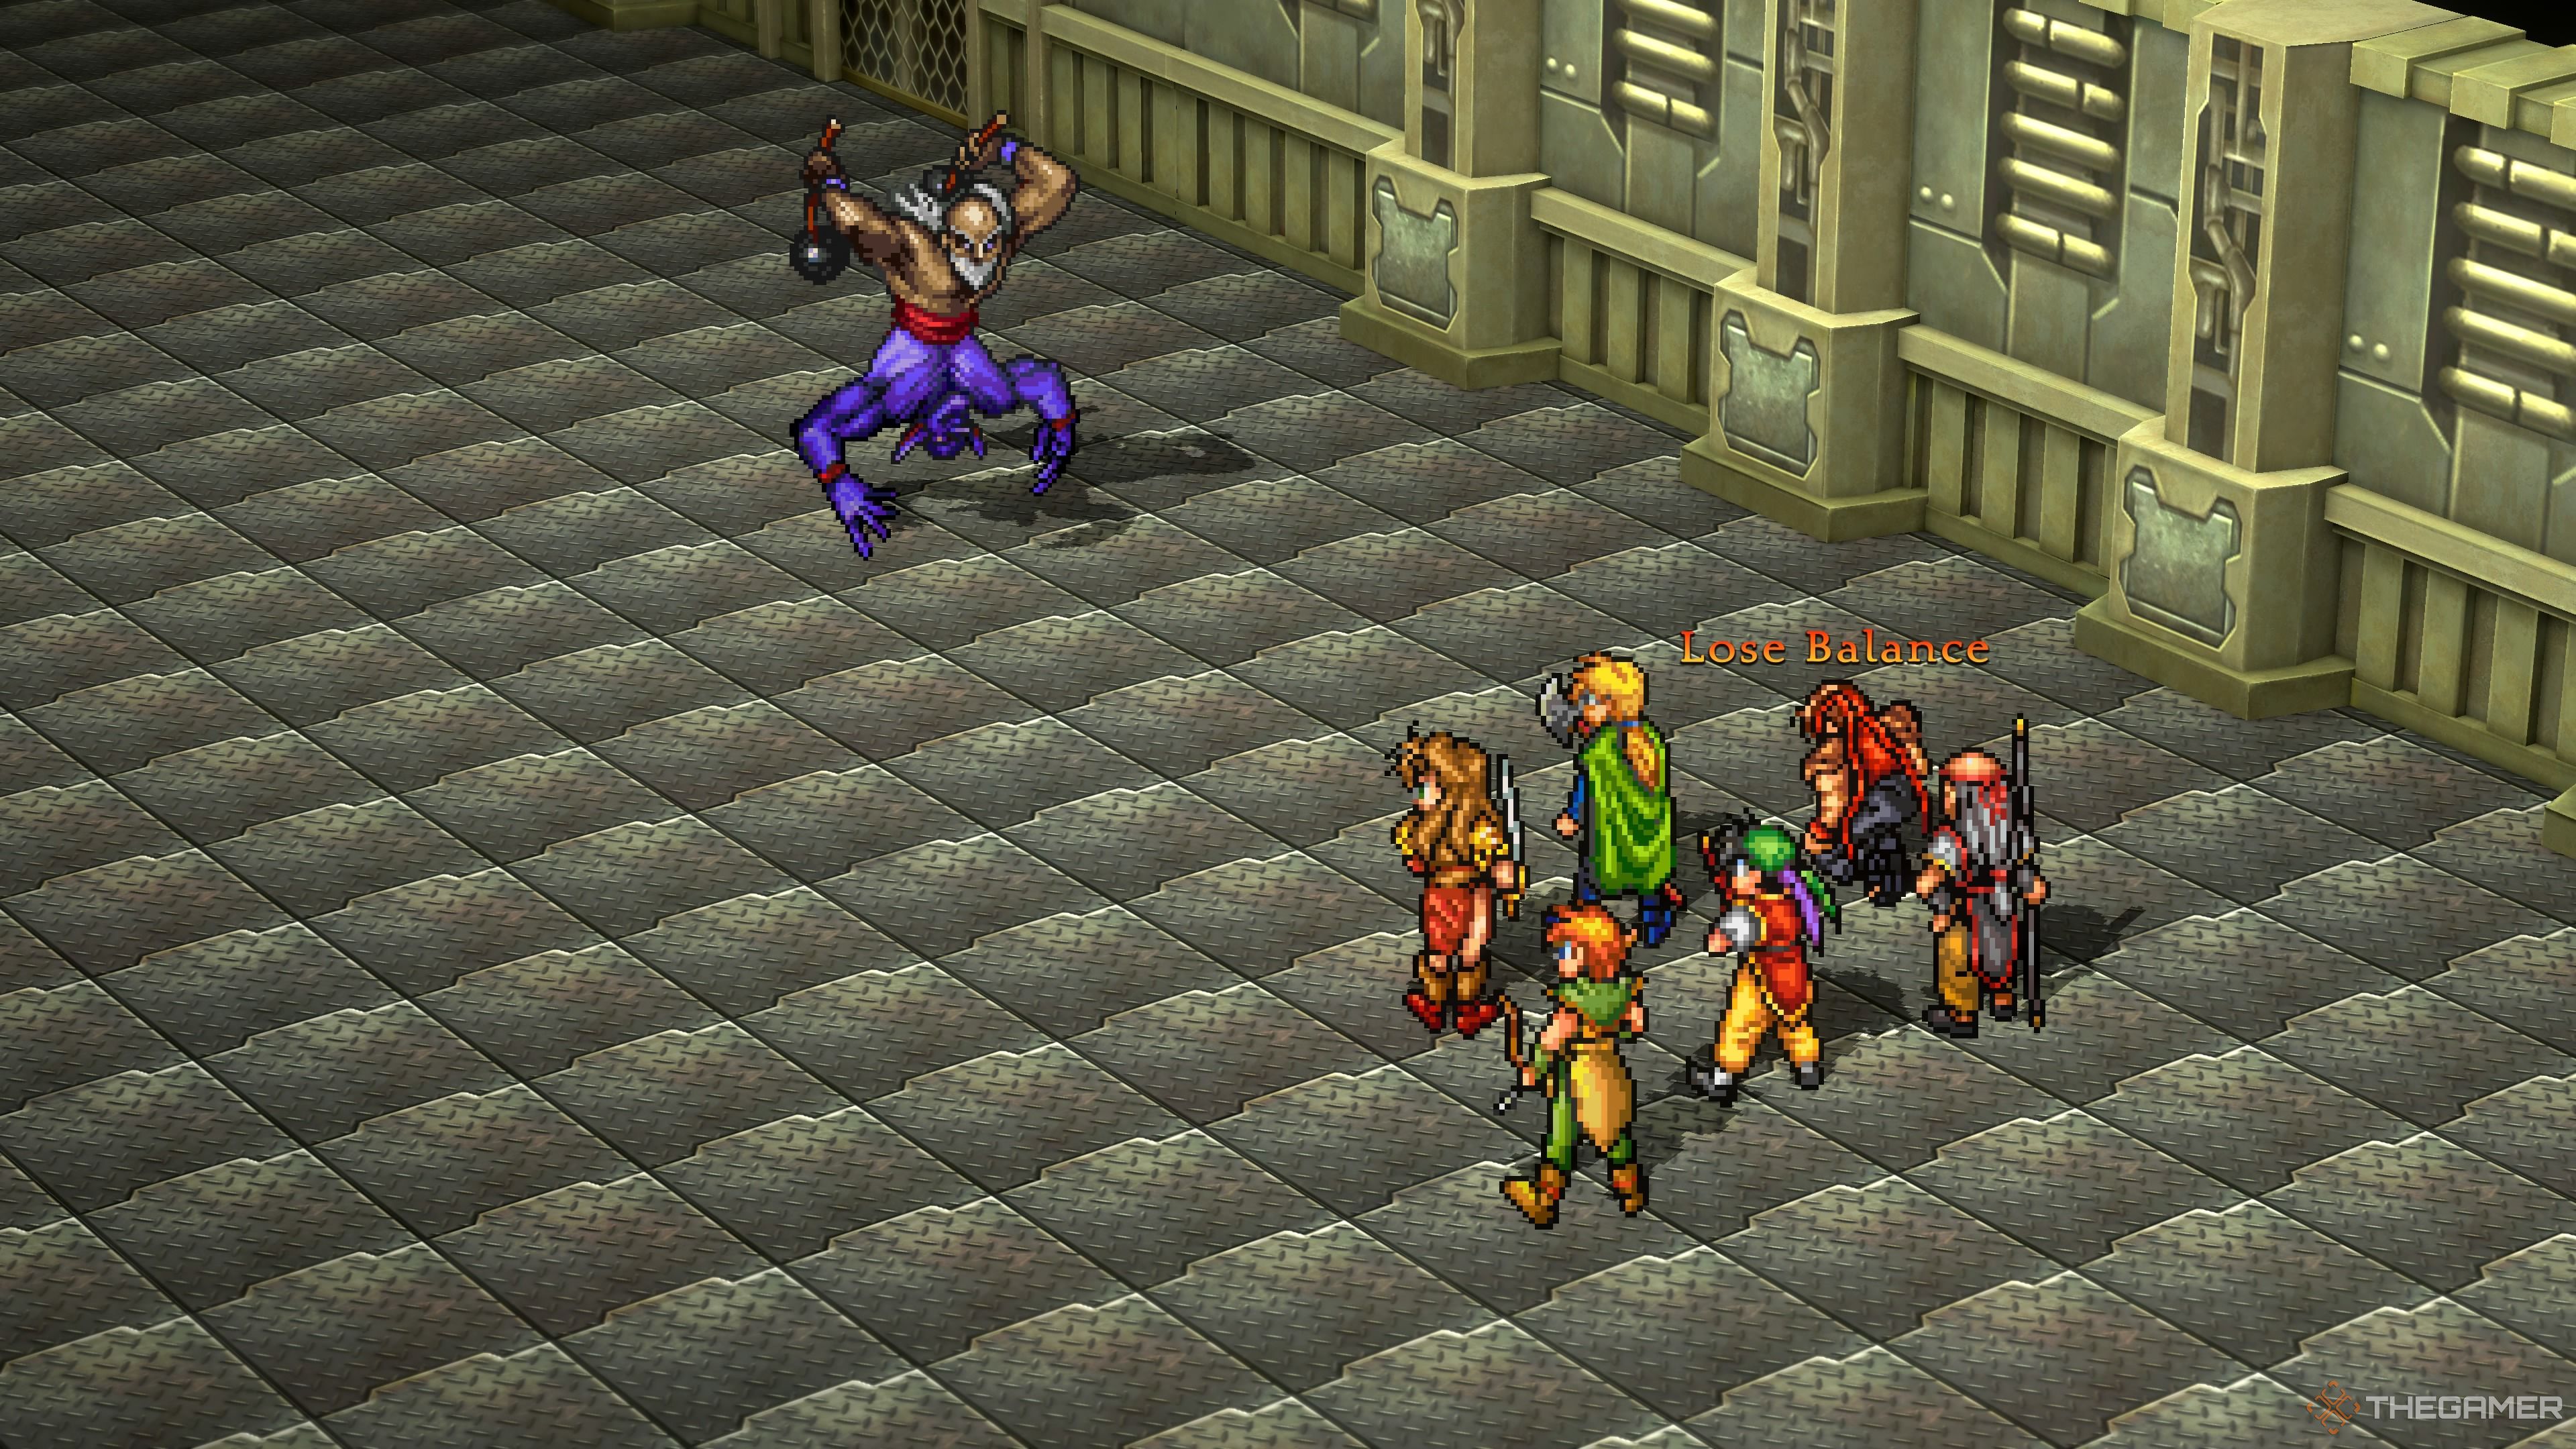
This two-bodied man has two attacks. Gigantes will either target a single fighter, and deliver a physical attack, or they’ll summon a ring of fire to hit the entire party. The Gigantes fight is very similar to the Zombie Dragon fight. However, there is one big difference: he’s strong against fire attacks. So, unlike in that fight, you’ll want to avoid using fire spells.
In every other way, you’ll want to follow a similar strategy and heal up whenever a character is below half-health. If you are appropriately equipped the attack that hits your entire party isn’t too heavily damaging. That makes this fight a little more manageable than the Zombie Dragon, even if RNG isn’t on your side, and you are hit by multiple group attacks in a row.
Once you beat Gigantes there’ll be a few more rooms to explore. In the next area, there are three paths. The left path will take you to a chest with the PROT Rune Piece, the right path is a dead end, and the Center path will take you to a chest with the Flowing Water Cane.
Now leave the dungeon. I’d strongly recommend using the Escape Talisman you found a little earlier. All that is left to do now is to talk to the Chief of the Dwarfs, and deliver the good news to the elves of the Great Forest. I’m sure they’ll receive you warmly.
Next
Eiyuden Chronicle: Hundred Heroes Vs. Suikoden 2 – Which Game Is Better?
Eiyuden Chronicle: Hundred Heroes takes quite a bit from Suikoden 2, but the question remains, which game is better?







Leave a Reply