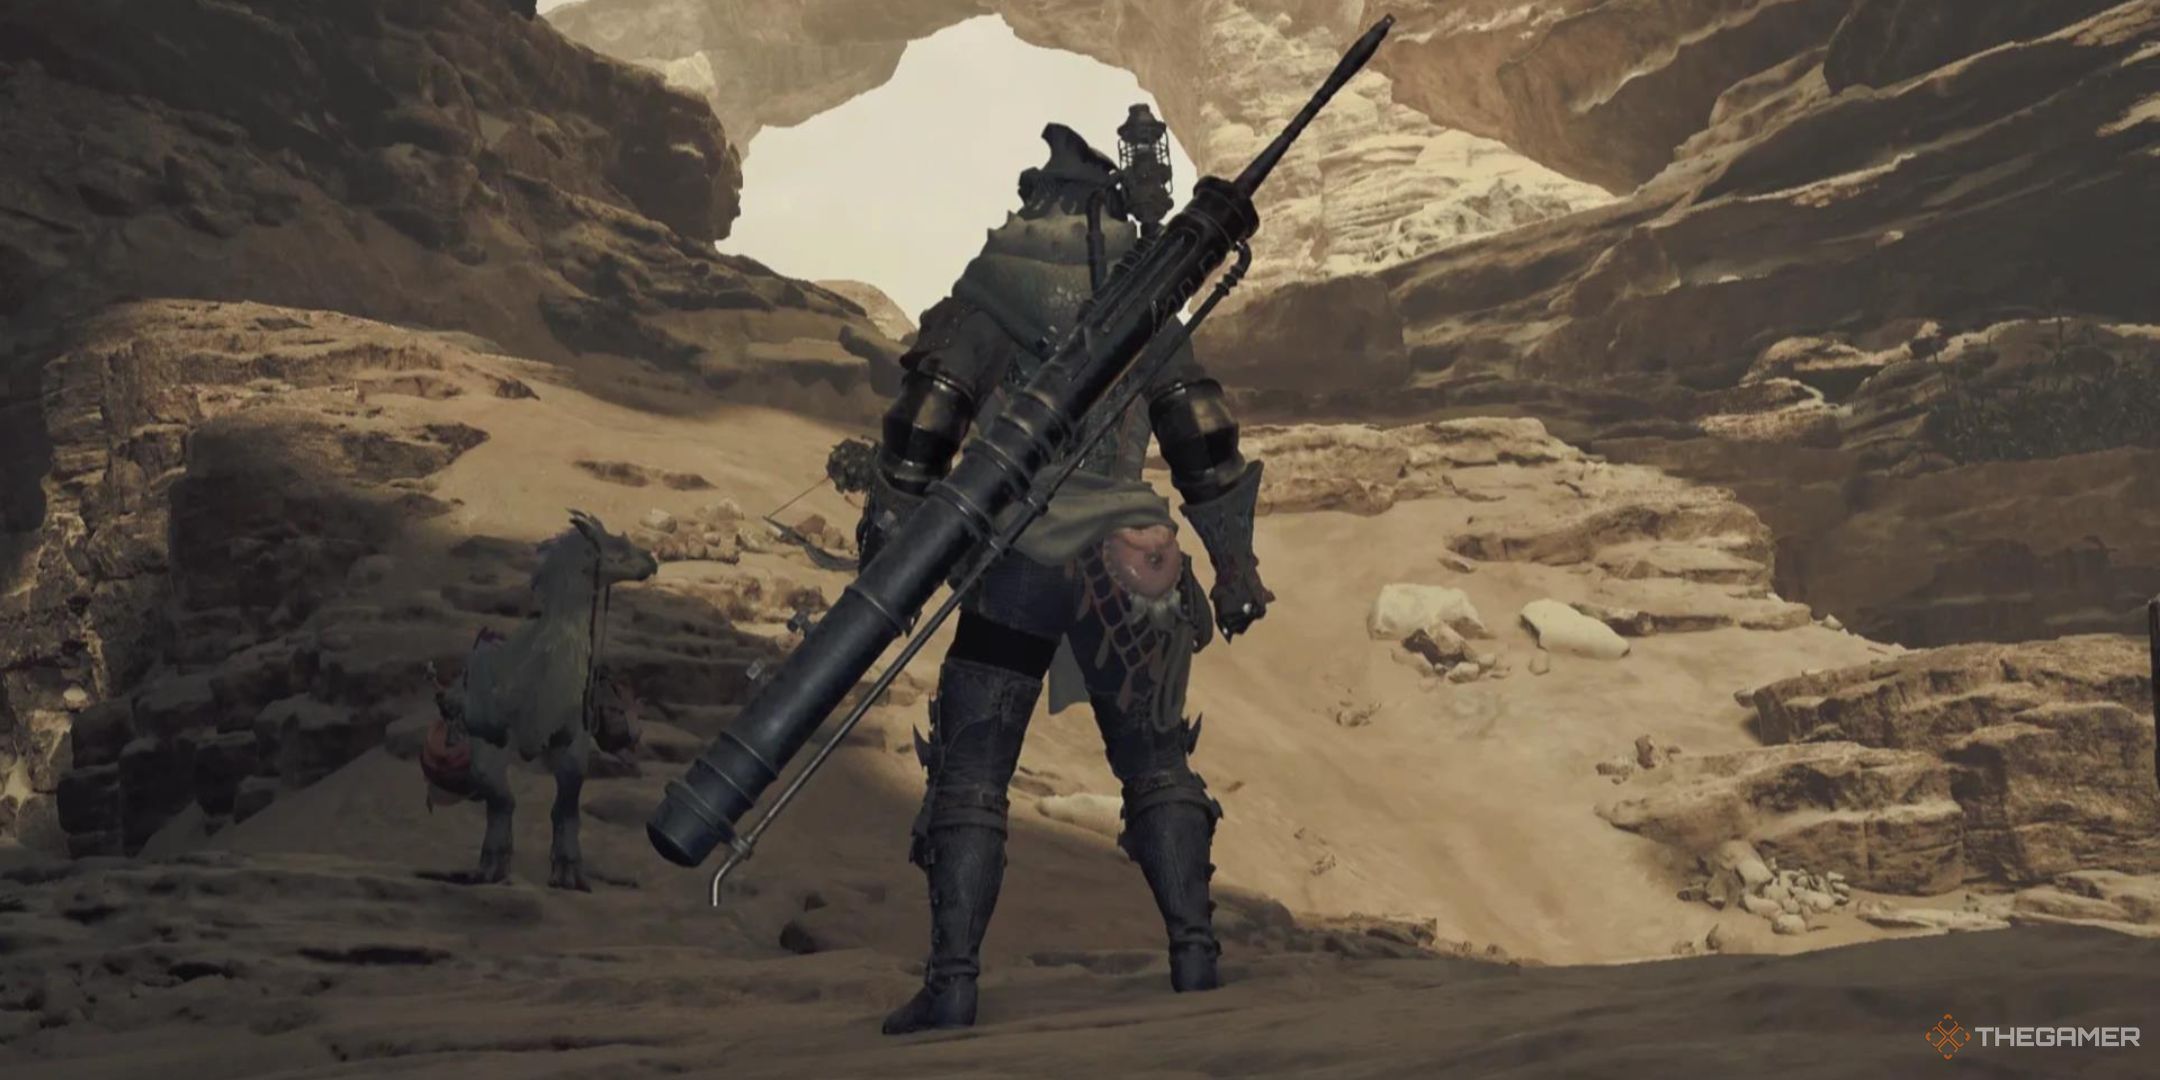
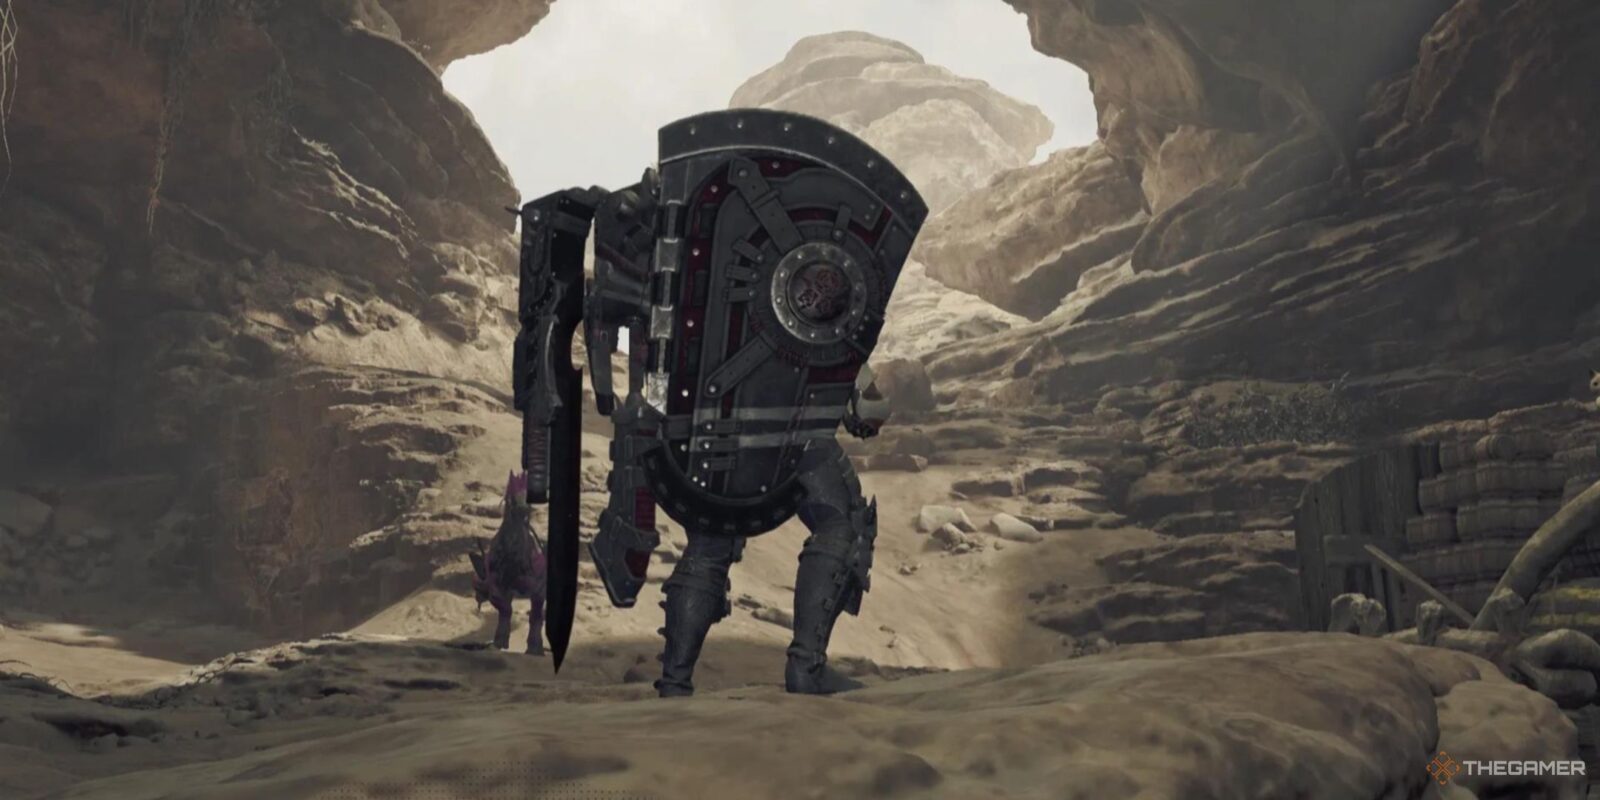
Monster Hunter Wilds has two weapons that share similar names: the Lance, and the Gunlance. You can be forgiven for thinking that the Gunlance is simply a variation on the Lance, because when it comes right down to it, in their simplest explanations, that is the case.

Related
Monster Hunter Wilds: Complete Switch Axe Weapon Guide
Master the Switch Axe, switching between its modes with ease using this guide.
But the Gunlance is a weapon that’s likely to appeal to a different set of players than the Lance will, because they are two weapons that feel pretty distinct from one another. The Gunlance is a much chunkier weapon, with slower-heavier hitting attacks, and more complex mechanics that make it a weapon with a bit of a learning curve.
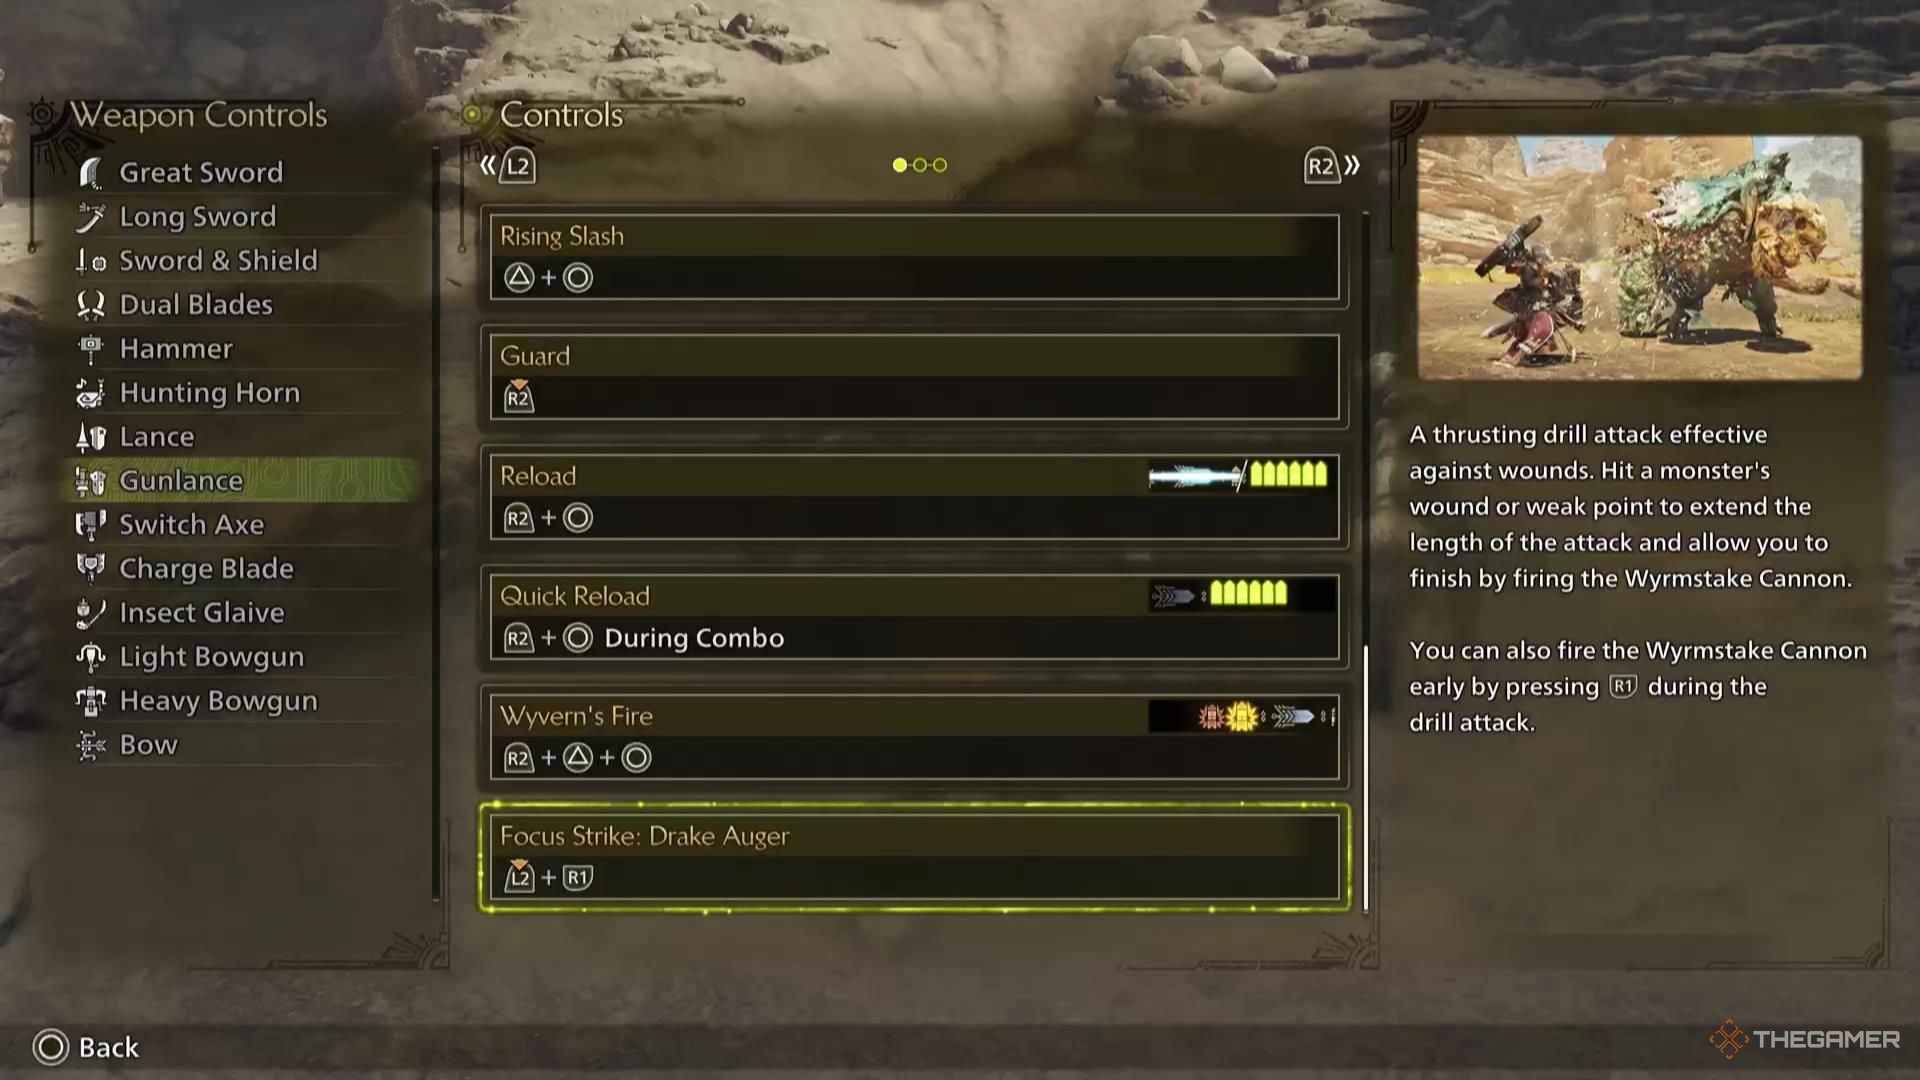
You can see the specific Gunlance controls for your platform by going into Settings > Info > Play Guide > Weapon Controls > Gunlance.
Gunlance Overview
The Gunlance can seem like an overwhelming weapon to begin with, and might not be the best place for a new player to start. For one, it has three different shelling types to get used to, some of which reload in different ways.
For another, it’s a fairly slow weapon. It can lock you in some of the longest animations of any weapon in the game, and if ill-timed, those animations are going to cause you to take a hit from a monster that you should not be taking.
But in the right hands, the Gunlance can unleash an incredible amount of damage, with a great amount of versatility and more offensive potential than the traditional Lance.
Shelling Types
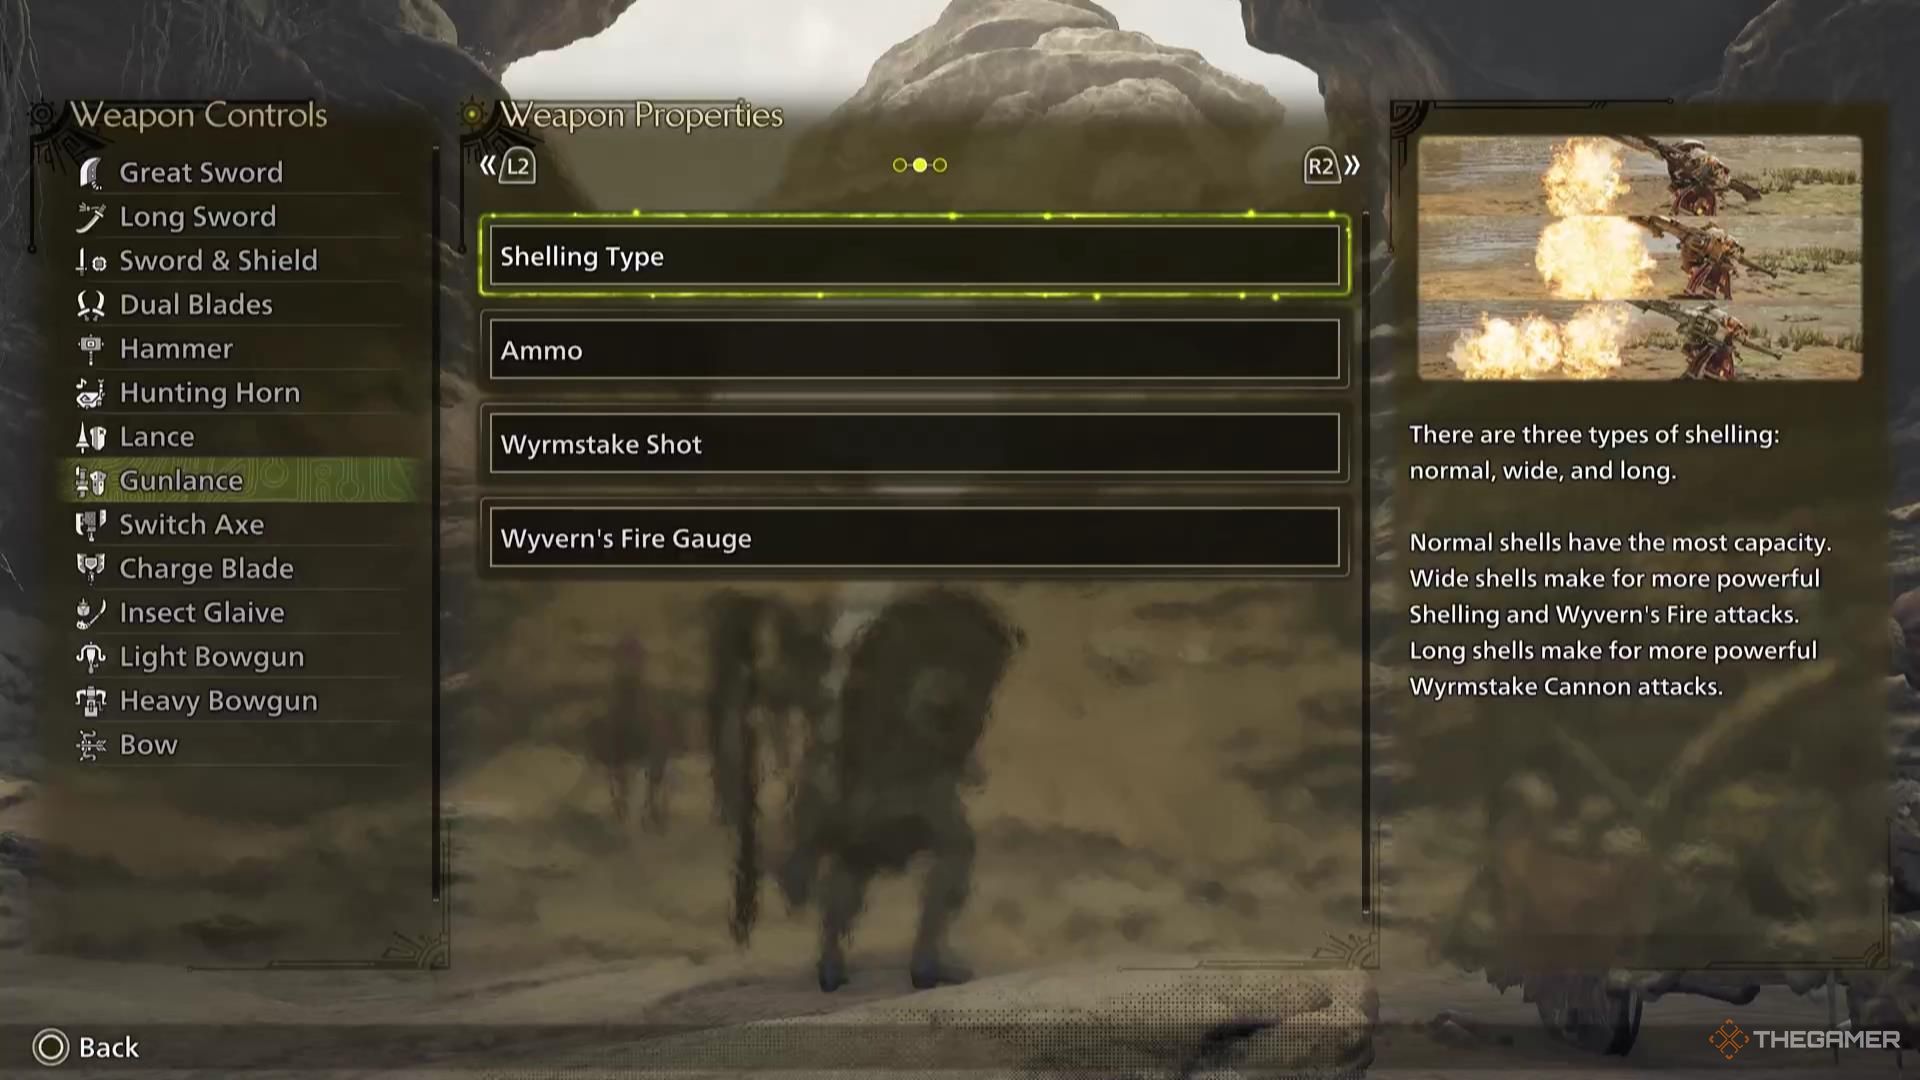
There are three different Shelling types with the Gunlance:
- Ammo – Reloaded manually, whether your shield is on Guard or not.
- Wyrmstake Shot – Reloaded manually, specifically only when your shield is on Guard.
- Wyvern’s Fire Gauge – Reloads automatically over time. This only reloads while actively fighting and landing hits on a monster, and does not reload while idle.
We’ll go over how to attack with each of these shelling types below, but understanding how each of them refreshes is key to consistently attacking with them when you mean to.
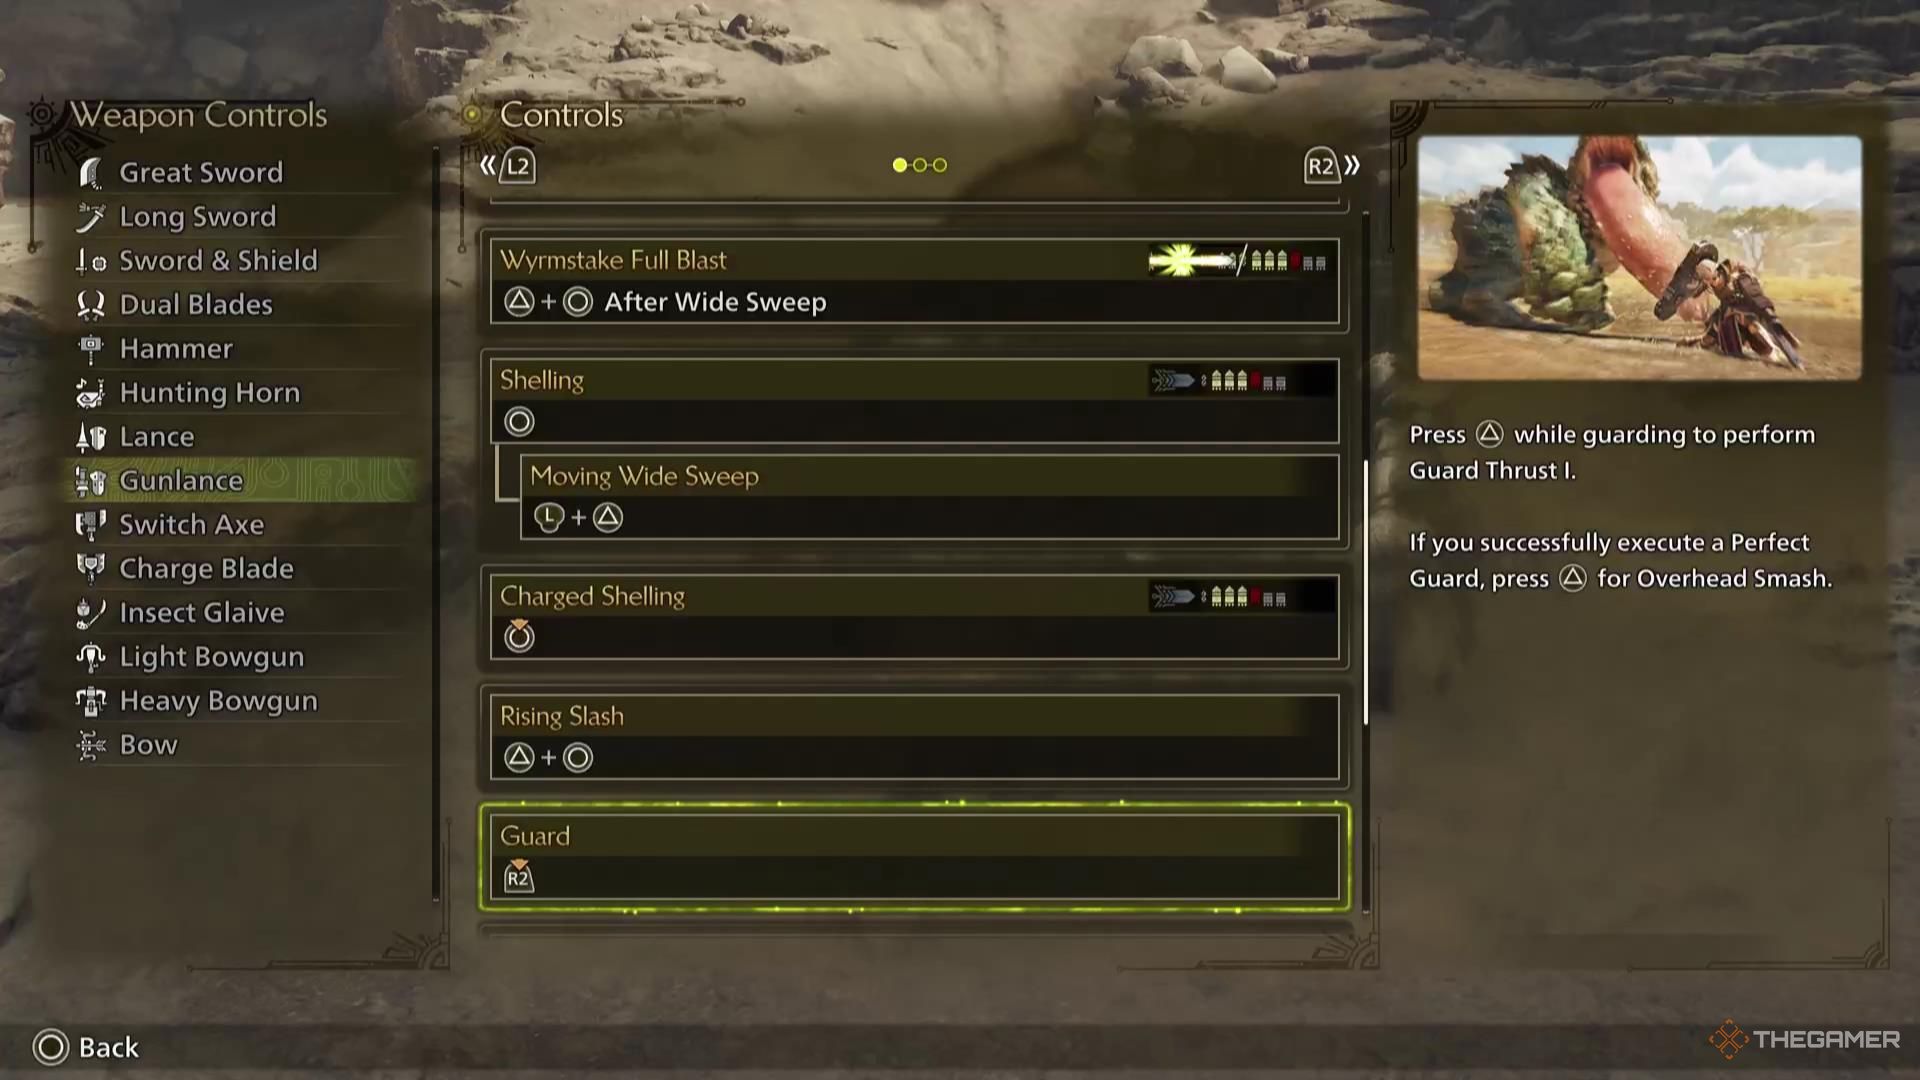
Guard
The Gunlance is capable of Guarding, much like the Lance is. The Gunlance does not have as many mechanics built around Guarding as the Lance, but it does share some similarities.
The most important thing about Guarding, other than it blocking much incoming damage, is that if you block immediately before a monster attack lands, you’ll perform a Perfect Guard. A Perfect Guard is going to automatically perform a counter-attack on a monster, working as a punishment-style attack.
Gunlance Combos And Tips
The Gunlance has some of the more complicated combos of any weapon in the game, but once you get into a rhythm of understanding how all the Gunlance attacks fit together, you can be a force to be reckoned with.
Basic Attack Combos
The Gunlance has a bit of a different situation when it comes to Basic Combos, compared to many other weapons.
- One of its attack combos is fairly normal, starting with Lateral Thrust and ending in Wyrmstake Cannon. This is going to deal damage first directly in front of you, then in a cone, and finally fire the Wyrmstake cannon, which will stick in the monster that you’re facing before exploding.
- As for the other Standard Attack button, this is going to fire a shell from your Ammo reserves. You can fire these one at a time by tapping the button, or you can hold it and charge multiple up at once; holding it for the maximum time fires all six. You can move, albeit slowly, while this is charging.
Generally, the first combo here is going to be useful in more situations than the second.
For one, Lateral Thrust into Wyrmstake Cannon is going to deal more damage at its ceiling. But it also deals damage in chunks throughout the combo, meaning if you get interrupted, you aren’t walking out empty-handed.
Even charging a full-blast of Charged Shelling, it is almost always going to deal less damage than the alternative, and take longer for any damage to come into play.
An alternative to ending the first combo in Wyrmstake Cannon is to end it with Wyrmstake Full Blast, which fires all remaining Ammo and the Wyrmstake Cannon simultaneously.
Shelling/Charged Shelling > Moving Wide Sweep
While Shelling and Charged Shelling might be a little lackluster on their own, they can be combo’d into a Moving Wide Sweep, and the same attacks can be chained after this Wide Sweep variation as the normal one.
This means you can combo from Shelling > Moving Wide Sweep > Wyrmstake Full Blast, which makes for a particularly quick way to get to that powerful final attack. This is going to usually do slightly less damage overall than the alternative combo above, but is quicker if you’re just looking for Wyrmstake Full Blast.
The thing to keep in mind with the Gunlance is that so many different attacks can combine into each other. It’s a weapon that can be extremely fluid in that way, but in order to have all of your options open, you’re going to need to stay on top of keeping multiple aspects of the weapon reloaded.
Lunging Upthrust > Burst Fire | Wide Sweep
This combo is a bit more of a complex one, and branches off into two directions that you can end up in.
The first two attacks are always the same: Lunging Upthrust into Overhead Smash. This is going to close a small gap between you and the monster, with two melee attacks starting things off.
After this, you can either use Burst Fire, which is going to use whatever Ammo you currently have loaded to fire what is essentially a slightly less powerful Charged Shelling, or Wide Sweep, which is a melee attack that acts as the third attack of the Lateral Thrust combo.
- If you choose Burst Fire, then purely comparing that to Wide Sweep, Burst Fire is usually going to deal more damage, as long as you have at least five Ammo loaded.
- If you choose to use Wide Sweep, it’s usually going to do less damage than Burst Fire, but Wide Sweep can combo into Wyrmstake Cannon, as long as it’s loaded.
- Furthermore, if you choose to use Wide Sweep, you can instead combo into Wyrmstake Full Blast, which fires all remaining ammo and the Wyrmstake Cannon.
Burst Fire can also combo into Wide Sweep, but in this case, you’ll have used all of your Ammo, and Wrymstake Full Blast won’t be nearly as effective as if you’d entered into it using Wide Sweep to begin with. Doing it with Burst Fire will do similar damage throughout the entire combo, but will spread that damage over a longer time period.
This means that the highest possible damage combo in this chain would end in Wyrmstake Full Blast, though it does require having at least some Ammo loaded and your Wyrmstake Cannon loaded. After this, you’re going to need to reload both.
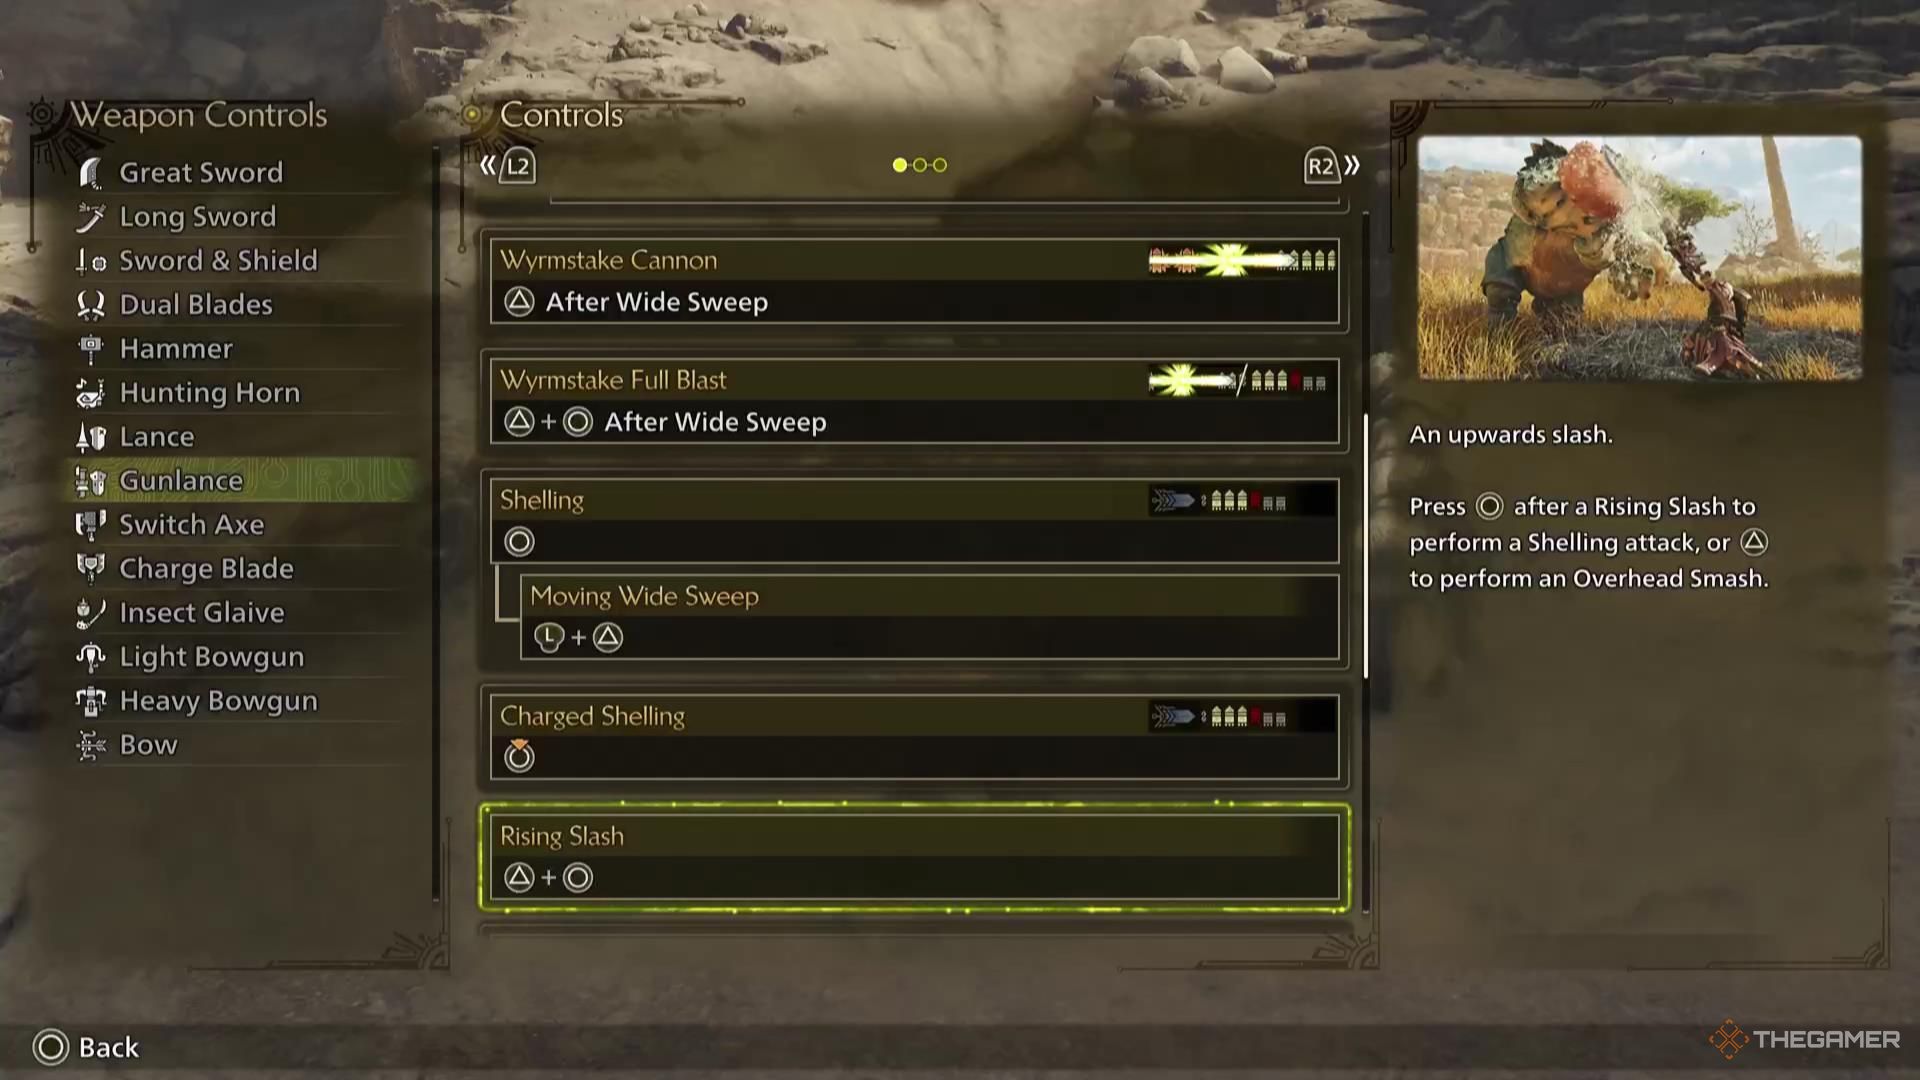
Rising Slash
Rising Slash is a fairly simple attack that is an upward thrust with your Gunlance. On its own, it’s an unimpressive attack that is overshadowed by most other options.
But, you can combine Rising Slash into either Overhead Smash or a Shelling attack. This means that, either way, you can move this into Wide Sweep or Moving Wide Sweep, and then again into Wyrmstake Full Blast.
Much like the last combo, this makes for a relatively quick way to get to Wyrmstake Full Blast.
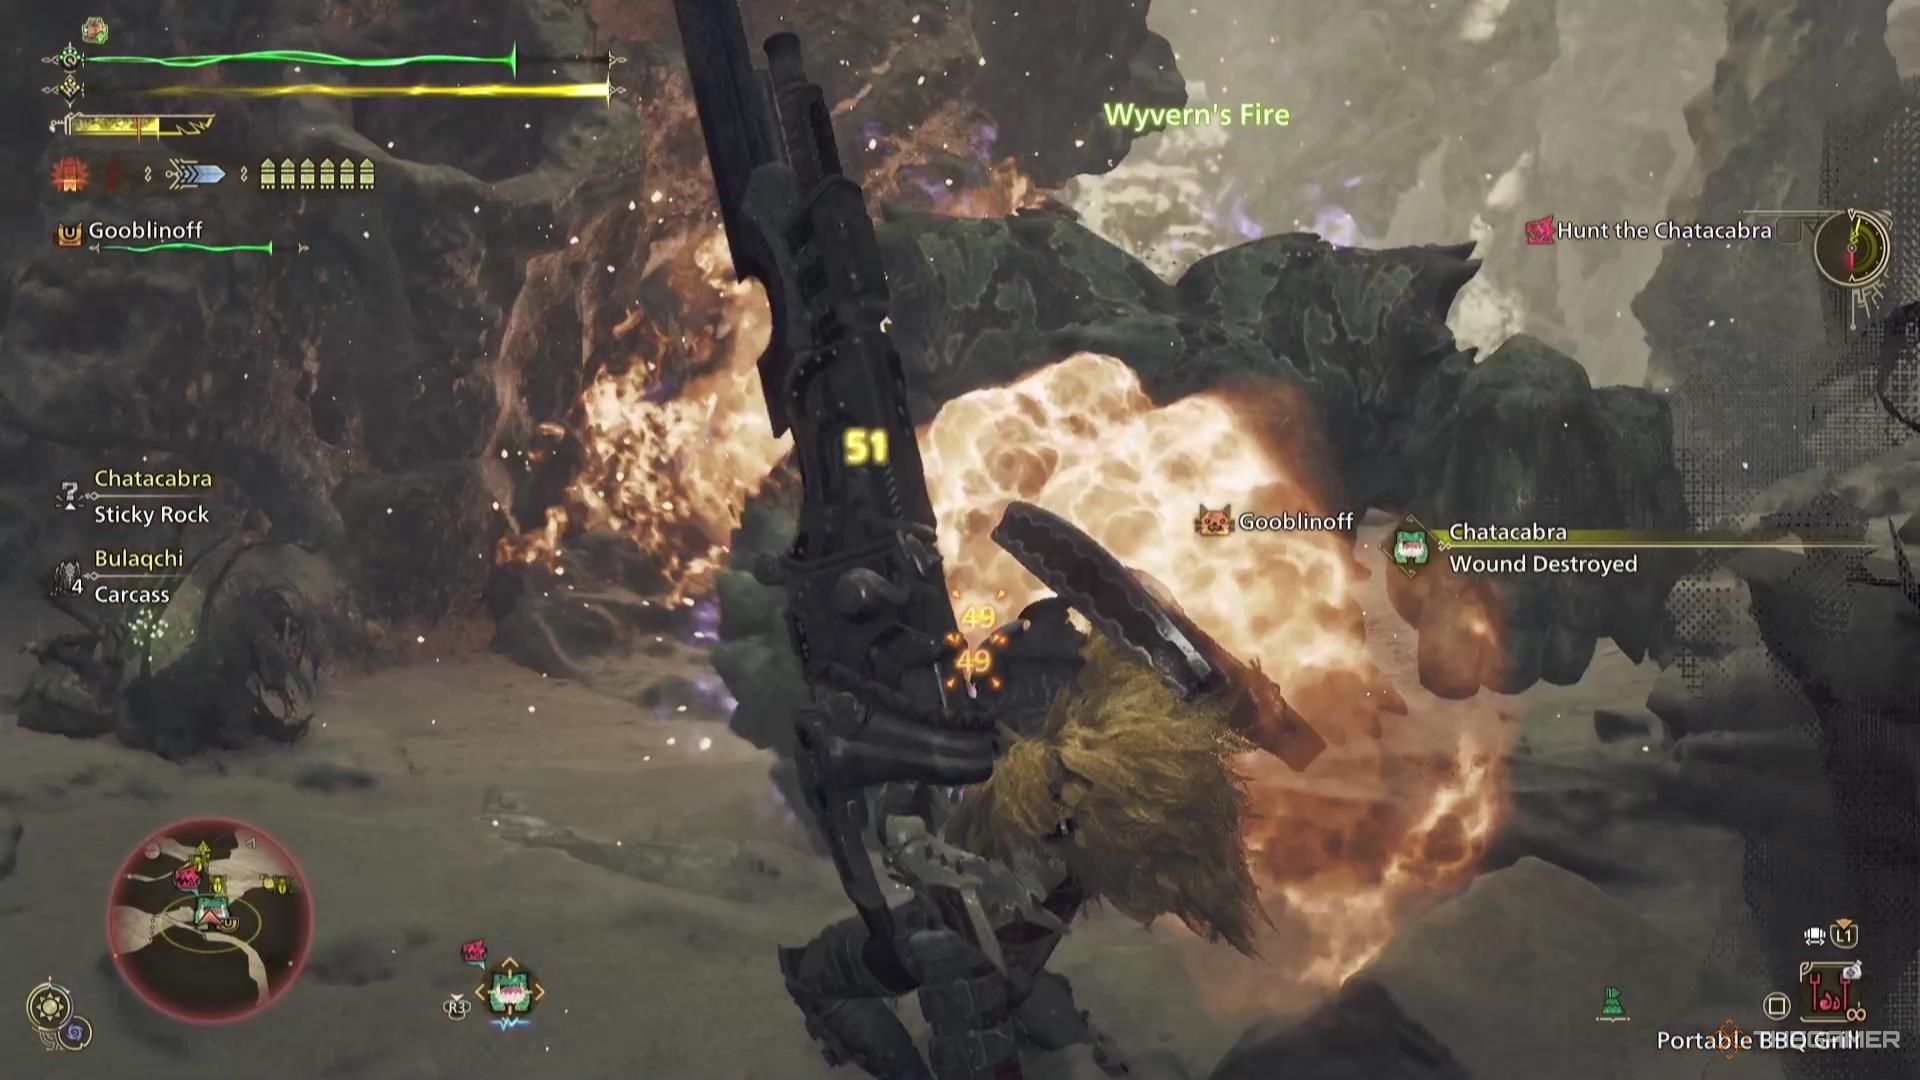
Wyvern’s Fire
Wyvern’s Fire is how you use your final Shelling type. You can only activate this attack while Guarding, though while the shot charges, you will be open to attack.
This attack deals a huge amount of damage, but it does have a very considerable charge time. This is best used when a monster is either otherwise occupied, or in some way incapacitated. You can time it in between easily-telegraphed monster attacks, but that is going to be a higher-risk scenario.
Focus Strike: Drake Auger
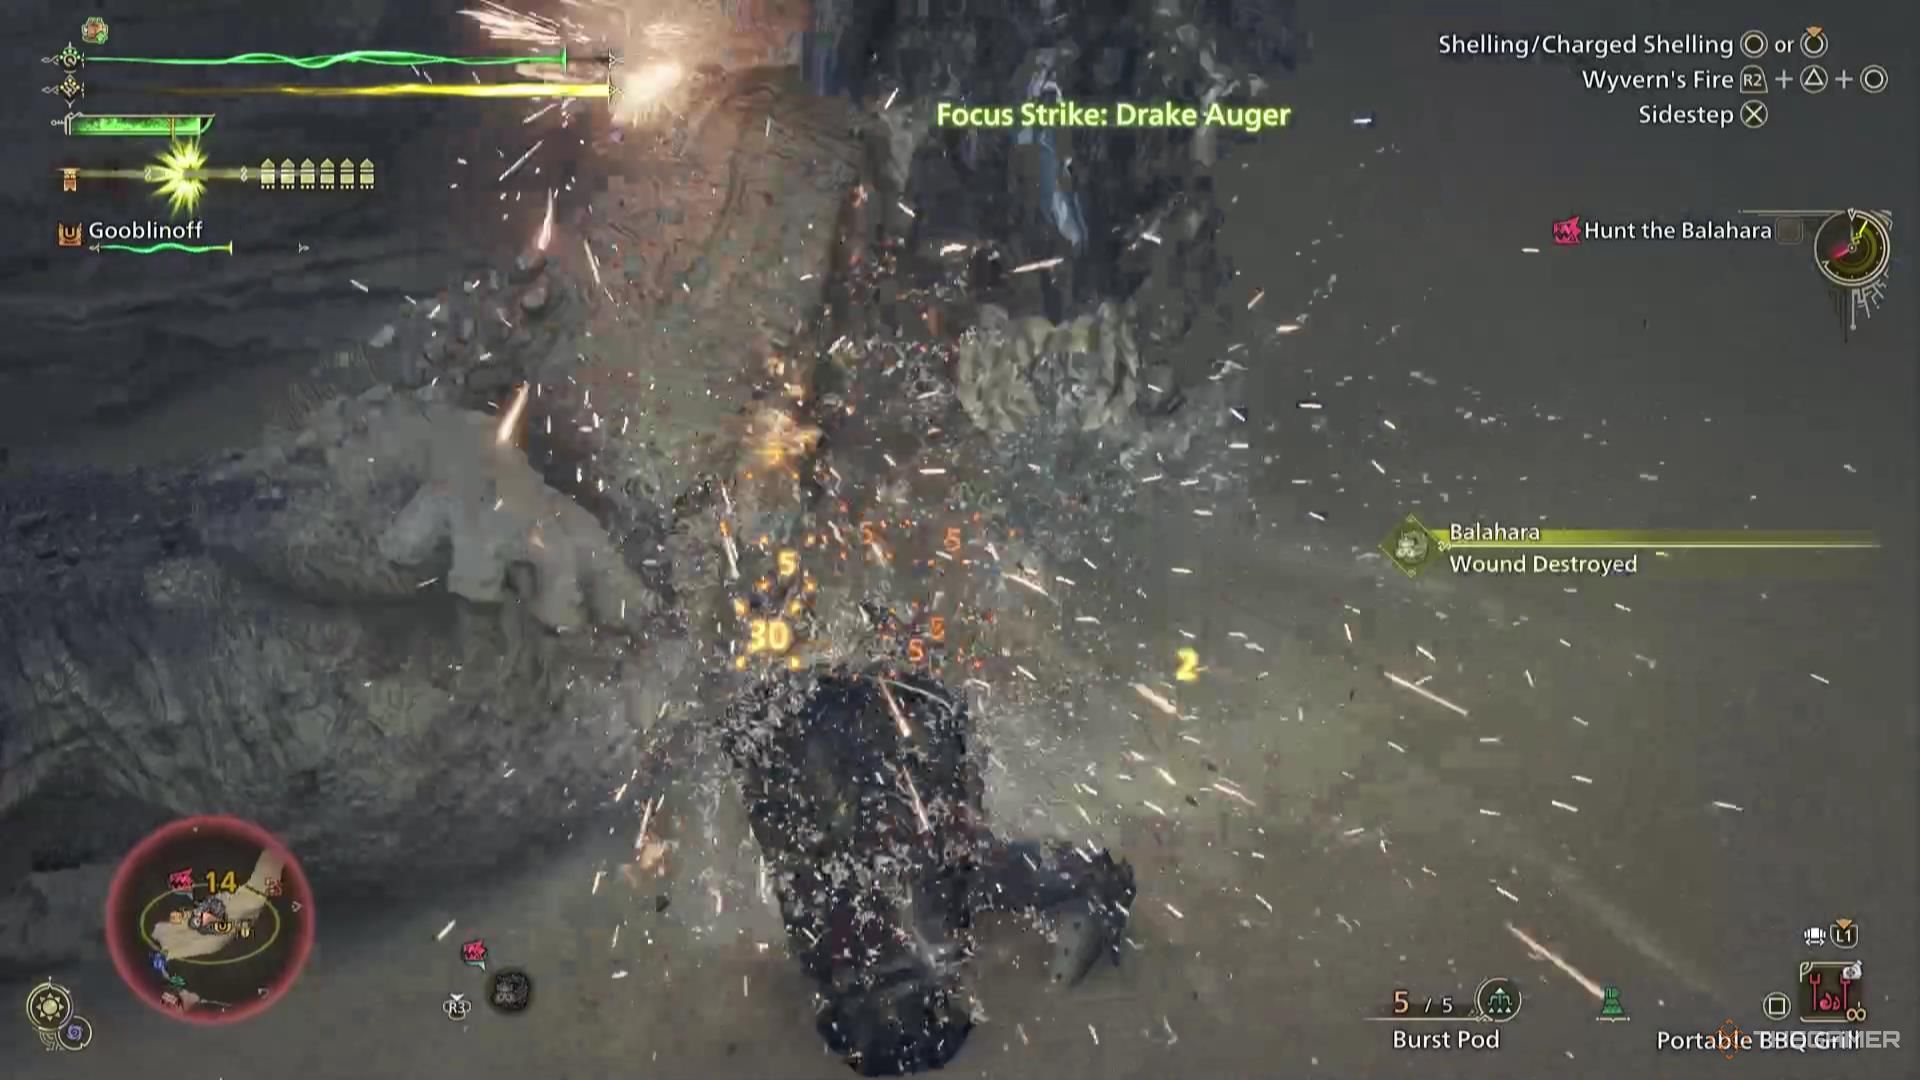
The Focus Strike for the Gunlance is a particularly strong one.
Focus Strikes are attacks dealt while in Focus Mode, allowing you to aim exactly where you’d like to hit. Focus Striking on a monster’s wound will cause the attack to have a significantly more powerful, automatic combo.
When hitting a monster’s wound, Drake Auger automatically reloads the Wyrmstake Cannon, charges your Hunter forward, dealing constant damage on contact with the monster, and then fires the Wyrmstake Cannon directly into the monster’s wound.
Next
Monster Hunter Wilds: Complete Long Sword Weapon Guide
Master the mighty Long Sword in Monster Hunter Wilds.








Leave a Reply