With 14 different weapons to try, and all of them being complex and totally viable, Monster Hunter Wilds has a huge variety of gameplay styles to experience. You might be drawn to a ranged option so you keep your distance from the beasties, or maybe something complex and impressive-looking, like the Switch Axe.

Related
Monster Hunter Wilds: Complete Hammer Weapon Guide
The best tips, tricks and combos for Hammer users.
If you’re here, though, you might see the appeal of the humble Sword And Shield, which is an effective, user-friendly, monster-unfriendly weapon that is perfect for beginners but isn’t as one-note as you might initially think. There’s a lot more to this weapon than you might initially think.
You can see the specific Sword and Shield controls for your platform by going into Settings > Info > Play Guide > Weapon Controls > Hammer.
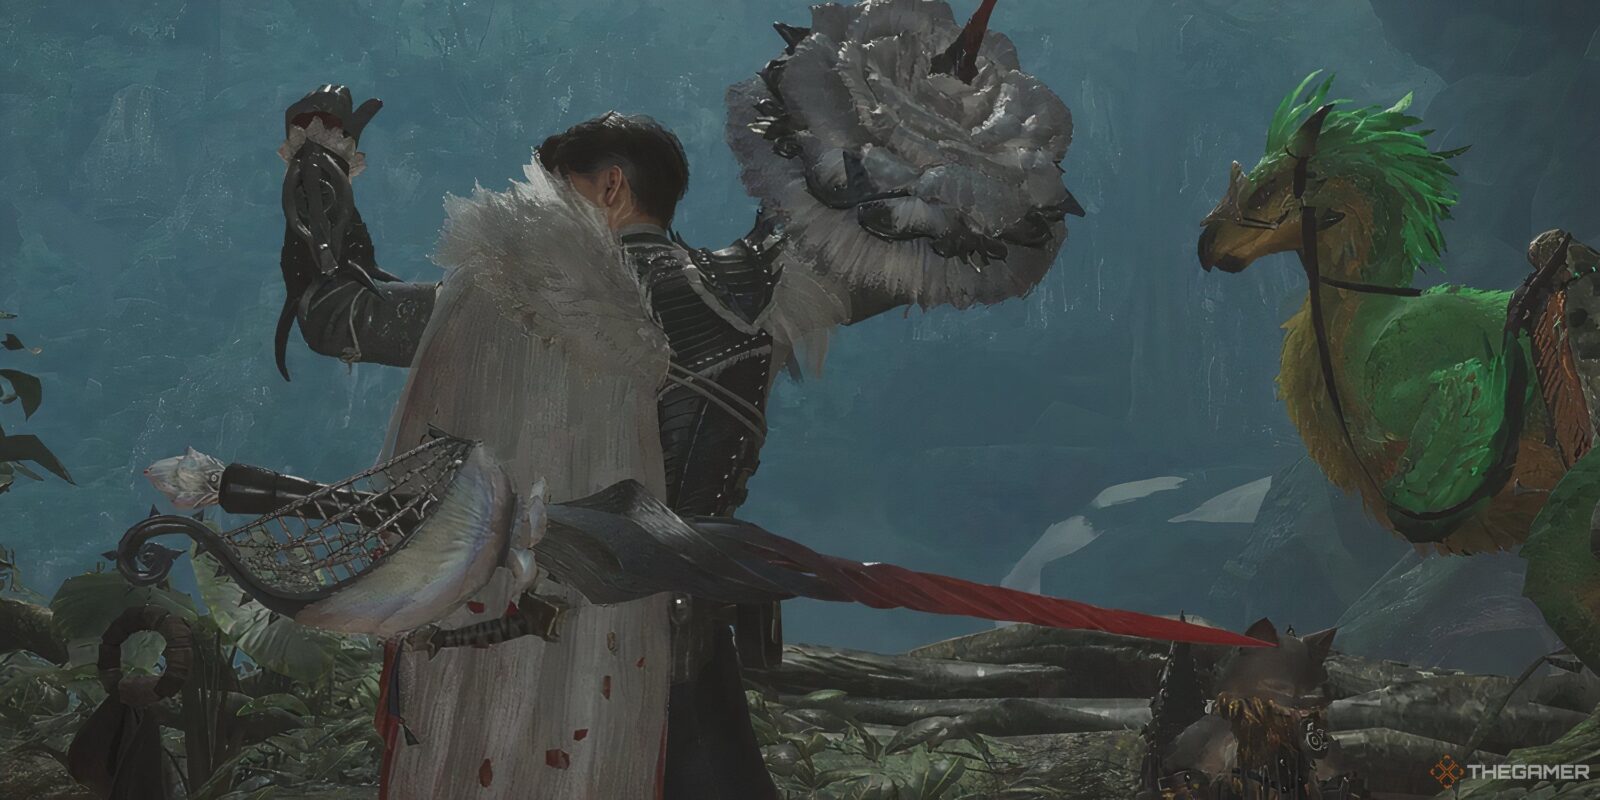
Sword And Shield Overview

Versatility is the watchword when it comes to the Sword and Shield. A skilled user of this weapon set will be able to dart around monsters easily, know when they don’t need to dart around them, and deliver flurries of attacks with nimble grace.
The basic attacks from this weapon are speedy, if rather short-range. The attacks come out very quickly and are also very reactive to any movement inputs – you will be very mobile while attacking, and can even attack out of some monster attacks if your timing is keen.
While this is a massive boon, it’s also important to be aware of your movement inputs during a combo, as it’s very easy to accidentally end up out of range thanks to some hesitancy or subconsciously moving your hunter away from the big dangerous monster in front of you.
Blunt Attacks
A key aspect of the Sword and Shield is its ability to inflict both severing and blunt damage. Attacking using the Circle/B button while moving will have your hunter swinging with their shield, rather than their sword. These shield smacks deliver the blunt damage that, if they hit the enemy monster’s head enough, will eventually cause a knockdown.
Learning to weave shield bashes into your combos whenever you have access (and the safety!) to reach your foe’s head is a great way to improve your monster hunting efficiency.
Item Use
The second big selling point for this weapon is the fact that you don’t have to sheath your weapon to use items, such as Potions or Antidotes – even your Whetstone can be used with the weapon drawn.
To do this, you’ll first need to hold R2/RT to raise your shield, and then press the item-use button. Using the item-use button in any other situation will just lead to you sheathing your weapon like normal.
Defending

Holding down R2/RT while using this weapon will have your hunter raise their shield in a defensive position. You can attack from this position with some low mobility but safer positions, but the main use for this technique is to reduce the damage from an incoming attack.
It’s important to note that the shield this weapon provides is not the big hefty shield that other weapons might have – don’t expect this shield to be able to defend against a monster’s strongest attacks. Use it when you’re up against light attacks, such as a Rompopolo’s light jabs.
Sword And Shield Combos And Tips

While simple and rather easy to learn, there are some really great ways to really level-up your Sword and Shield gameplay – it’s capable of some neat tricks.
Charged Attacks
The Sword and Shield has access to two attacks that require some charging to be used to their fullest efficacy.
The first is a very simple one – Charged Chop. This can be used by holding down Triangle/Y and Circle/B at the same time, but only as a followup attack (in other words, you cannot begin a combo with this move). Your hunter will crouch and charge a short time before performing a leaping attack forwards.
The Charged Chop is a really great way to deal a ton of damage to a focused area, which is great for inflicting wounds or cutting tails. It’s quite quick for a charged attack, too, so you don’t necessarily need a huge opening in a monster’s attack patterns to execute it.
The second charged attack is Charged Slash, which follows a Backstep. To execute this, you’ll need to perform a shield bash while locked on to an enemy and holding the directional button backwards, away from the monster. Keep the shield bash button (Circle/B) held and you’ll charge for a while before performing a leaping attack.
If the leaping attack actually hits an enemy, you’ll launch off of it into the air. This allows you to follow up with one of two aerial moves – one slashing with the sword, one blunt with the shield.
Sliding Swipe (which is performed by hitting Triangle/Y while blocking and pressing the directional button) can also have the hunter launched into the air if they slide into a wall or ledge. Use this to your advantage with positioning and getting some aerial attacks into a fight!
But also be wary of this aspect of the ability, as getting launched into the air when you’re not expecting it can be disorienting – we recommend practicing this move in the Training Camp before taking it out for a real hunt.
Charged Slash takes a bit more spacing and timing to pull off perfectly, but it’s a fantastic move for damaging a knocked over monster or even attempting a mount.
Elements And Status Effects

Not all weapons are suited to elemental affinities or status ailments, but the Sword and Shield is particularly great. This is due to the weapon being very good at delivering a very high number of attacks in a small period of time. This is especially true for status ailments.
If you’re a dedicated Sword and Shield user, to the neglect of any other weapon types, a good strategy is to have two different Sword and Shields as your primary and secondary weapons. You could either stock two elements, two status ailments, or either a status or element and a strong non-elemental option. You’ll have a really great flexibility with this without having to sustain your skills in more than one weapon type!
Focus Strike
This weapon’s Focus Strike (which is used to destroy monster wounds and deal a lot of damage) is, shockingly enough, a flexible one. The initial strike into a wound (which is performed by aiming with L2/LT and then pressing R1/RB) will anchor your hunter onto the monster.
You can then follow the Focus Strike up with either a slashing attack with Triangle/Y that deals a lot of damage, or a blunt attack with Circle/B that also launches the hunter into the air and allows for a followup attack.
Learning when to use each variation of these attacks is a good way to really level up your gameplay with this weapon, but we’ve found that there’s often no downside to sticking with the slashing attack variants.

Next
Monster Hunter Wilds: Complete Dual Blades Weapon Guide
The Dual Blades are both the simplest and most satisfying weapon in Monster Hunter Wilds. here’s how to use them.