Sundered Doctrine, the dungeon from Episode Heresy in Destiny 2 takes players back to Rhulk’s Pyramid ship in Savathun’s Throne World. However, with Rhulk defeated back during the Vow of the Disciple raid, the question arises on what secrets it holds.
Related
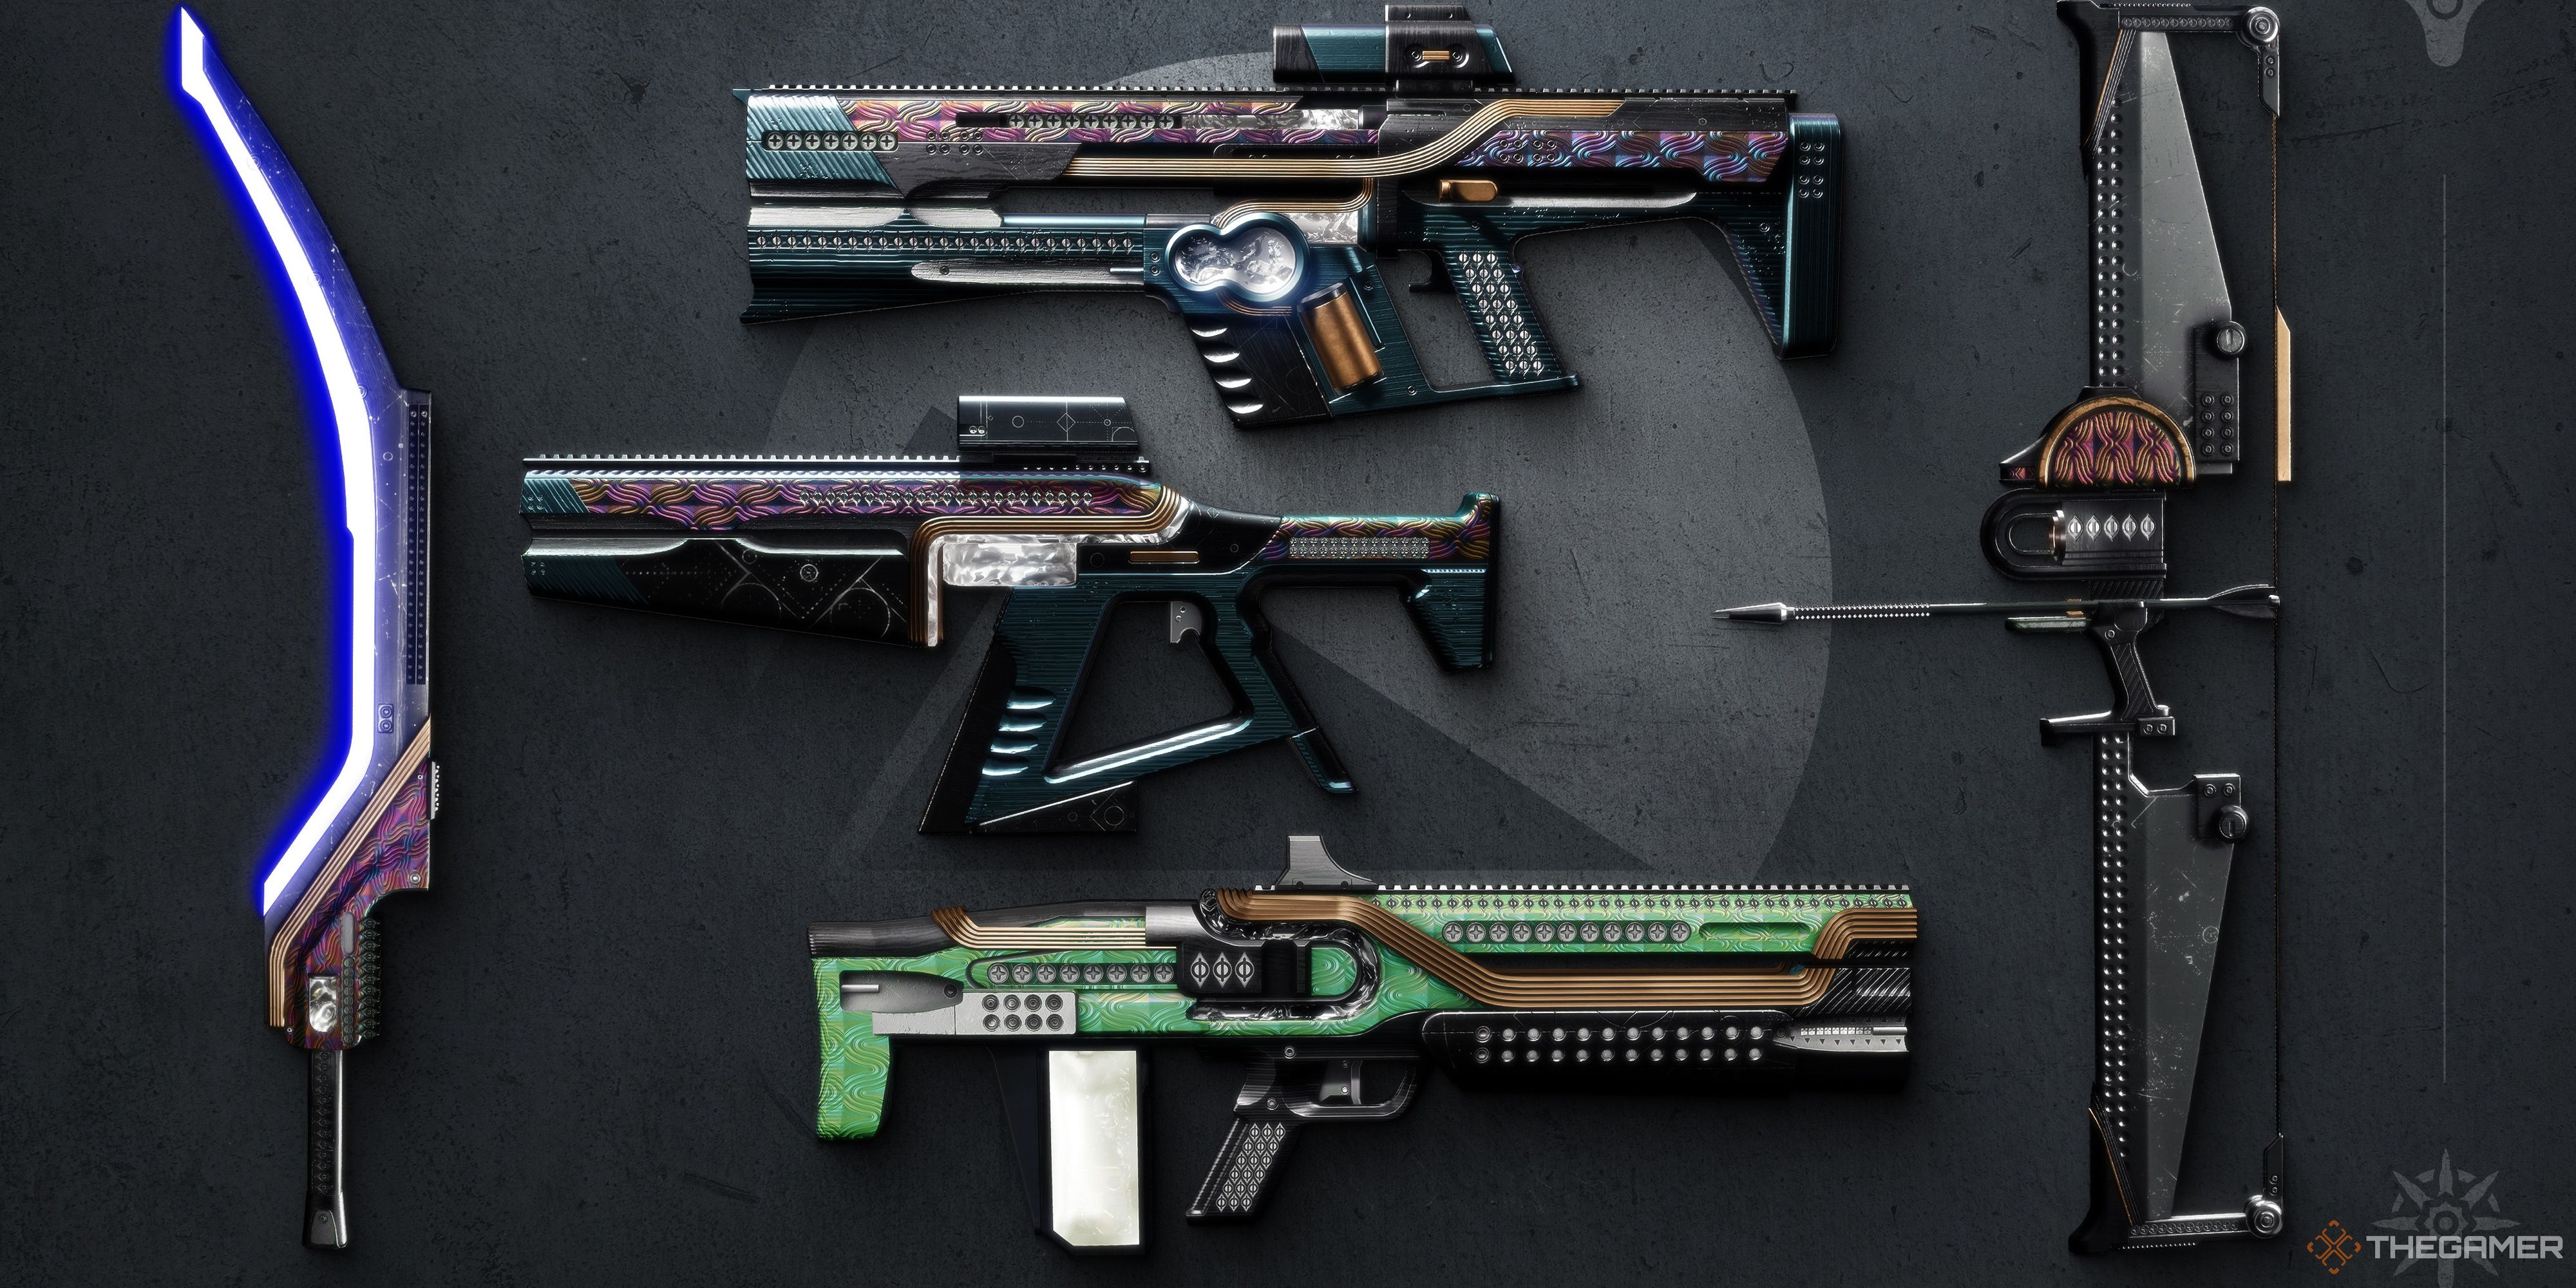
Destiny 2: Heresy – The Best Rolls For The Reissued Season Of Arrivals Weapons
From Cold Denial to Hollow Words, these are the best rolls you can earn on the reissued Season of Arrivals weapons in Destiny 2: Heresy.
There’s no doubt that among the dungeons that Bungie has done in the past few years, Sundered Doctrine is probably the most complex. If you’re looking to jump into the dungeon and get a full clear with both a team and solo, here’s a detailed guide that will give you an understanding of the mechanics and make it easy to go through the encounters.
Before starting the dungeon, it’s important you revise the symbols from Vow of the Disciple. If you’re a new player, spend some time learning the symbols, otherwise the dungeon will feel extra difficult.
Recommended Loadouts
Sundered Doctrine has complex mechanics, but one thing that makes it even more difficult is the enemies. It is the first Dread dungeon in the game and enemies will shred you to pieces if you don’t have good add-clear loadouts. In the first encounter you won’t need much, but just go for ad-clear including the Psychochomp grenade launcher and Thunderlord Machine Gun. Going with Arc weapons is better on account of the various Arc buffs from the seasonal artifact.
If you’re using Arc, make sure to unlock Defibrillating Blast from seasonal artifact as it heals you Bolt Charge stacks are full.
In the second encounter, you will need a DPS loadout with either Thunderlord or Sleeper Simulant in the heavy slot. The boss in the second encounter is quite tanky and you will need a lot of damage if you want to clear it in two phases. Extending the phases isn’t worth it, since the encounter can get chaotic as you will read in the following sections and the longer you go, the higher your chances are of getting wiped.
In the final encounter, Warlocks can run Divinity, not just for boss DPS, but also to generate ammo for the rest of the team. You can use  Well of Radiance
in addition to the  Cenotaph Mask
helmet for that and tag all the big Hive Knights and Subjugators. Titans and Hunters should run DPS, with  Thundercrash
being the priority for the former and  Gathering Storm
for the latter. Additionally, Thunderlord will be the best DPS option here, since with Divinity you can shred through the boss.
When it comes to survivability, Warlocks can run Phoenix Dive, Healing Rift, and Healing Grenades which will help keep the entire team alive. This is especially valuable in the second encounter where Warlocks can go with the  Speaker’s Sight
helmet to heal the entire team, though in the final encounter, Cenotaph offers more value. Titans and Hunters will be using the Arc subclass, so they will have access to the Amplified buff, which provides a lot of damage reduction. Finally, Titans can also use Knockout to heal up whenever their HP goes critically low.
Solve The Riddle
The opening sequence of the dungeon is very simple as unlike Vesper’s Host there are no mechanics. All you have to do is kill a few Dread enemies and make your way to the first encounter, where you need to Activate the Symbols.
Encounter Synopsis
- Look at symbols on the wall in the opening room.
- Search for a Truthspeaker enemy to drop a missing symbol.
- Defeat Subjugators to pick up a Lens.
- Place the Lens in holsters.
- Activate the light in the opening room and shine it on the lens.
- Direct the light in the room with the symbol dropped by the Truthspeaker enemy.
- Shine the light on the dial that has the symbol in the appropriate room..
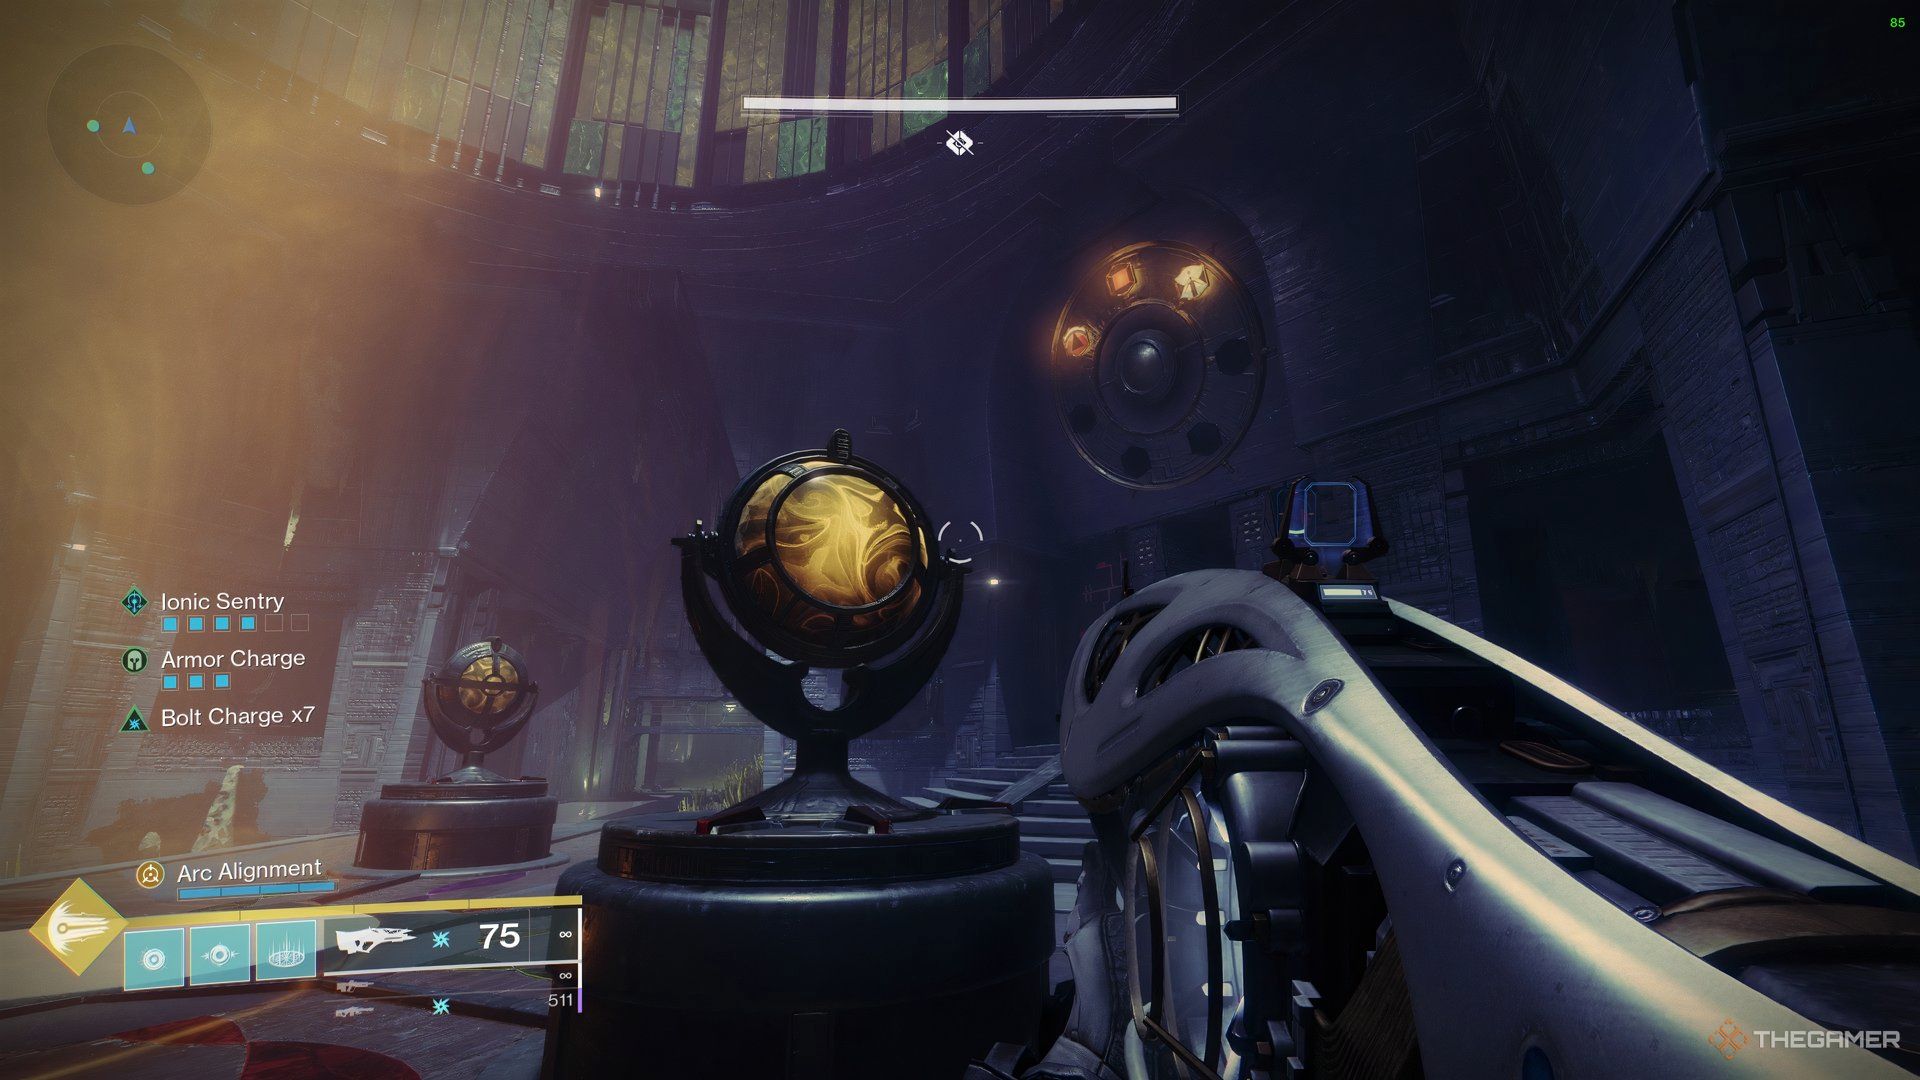
This is common knowledge that when you shine a light on a mirror, it is reflected in a particular direction. The first encounter is pretty much the same thing, but a lot more nuanced. The first time you enter the room, you will see four passageways, three big light sources, and two symbols on the wall in front of you, with the third one missing.
The passageways will lead to rooms with enemies in them and a massive dial on the wall with symbols on them.
Now, your objective is to first find out the third symbol, so that you can complete the sentence. The symbols will always be placed in order such as Guardian and Kill being the first two and the third one will be missing. The third symbol in all probability will be Witness which finishes the sentences that Guardian Killed the Witness. However, the question is how to find the third symbol.
Once the encounter starts, you need to look for a Grim enemy with a special name called the Truthspeaker. You can find it in any one of the rooms, and once you defeat it, the final symbol will drop. Upon dropping, your objective is to look for the room that has the wheel with the symbol on it. Once you find it, it’s time to start the actual mechanics of the first encounter.
There is no time limit, so you can experiment a bit with the Lens and light directions. However, once you place the Lens on a Holster, do not turn off the light from the central room.
You can rotate the Holsters to match the correct direction, but if you turn off the primary source of light, the Lens’ disappear, and you will have to start over once again.
Some of the Lens and Holsters will be fixed, such as the ones hanging from the ceiling or placed inside the walls. You can’t touch them, but you’ll need those to complete the reflecting chain.
In every room, you’ll find Subjugators, who upon defeating will drop a Lens. In the opening room, when you activate one of the light sources, a beam of light will be released. You can also rotate the light source to match the correct direction. Your objective is to place the Lens you picked up from the Subjugator on empty holsters and shine the light from the first room on it.
There will be multiple such empty holsters, and you will need about two to three Lens at most to reach the target room.
If you shine the light on a wrong symbol, a Tormentor will spawn and you don’t want to deal with that.
Setting up the Lens is a bit of trial and error, but once you find the right direction and the light shines on the wheel with the correct symbol, the first round is over. When the next round starts, you will now have to light up two wheels instead of one as there will be two empty slots.
The mechanics are the same, as you will have to seek out a Truthspeaker Grim enemy, look at the symbol, pick up Lens, and shine the light in the correct rooms. In the third round, you have to do the exact same thing three times and once that is done, the encounter will complete.
You must remember that in the second and third rounds, after activating every symbol, you will have to look for the Truthspeaker Grim for the next symbol.
Unlock The Door
Once the first encounter is complete, go through a couple of maze-like pathways which are pretty easy to traverse. However, after you have crossed through those sections, you will eventually reach a room that you’ll have to open to access the second encounter.
Now, as you enter this room, you will notice two big wheels on two sides of the room similar to how you saw them in the first encounter. However, this time, there are multiple symbols on those wheels instead of one. These wheels will also have a darkness switch on top of them and a deposit box in front of them.
The question is which symbol to match and how to do it. For the time being forget about the wheels and walk forward in the room.
You will then see a right, which you must take to see the locked door. However, the point of interest here is the two symbols on both sides of the door, one on each side. Now get back to the wheels, and you will notice that one of the symbols is present in both of them. If you shoot at the Darkness Switch on top of the wheels, the needle will rotate in the middle in either the clockwise direction or the anti-clockwise direction.
You first need to look at which side of the wheel the symbols are located and at what position.
In other words, counting from the top of the wheel, you need to check if they are in the first position, second position, or third position, as the buff you will deposit will depend on where the symbol is placed.
Make sure you learn the buff collection and depositing parts properly as that will be key to the second encounter. Apart from that, before you deposit the buffs, make sure the needle as mentioned is rotated in the correct direction, clockwise or anti-clockwise.
If its rotation is in the wrong direction, the wrong buff will start glowing and you will have to work extra to get the correct symbol.
While you’re in this room, an Ogre will spawn, and after defeating it Witches will spawn. Once you defeat a Witch, they will drop a Knowledge buff. Here’s how the buffs are named depending on how many times you pick up:
- One Buff: Heightened Knowledge
- Two Buffs: Brimming Knowledge
- Three Buffs: Overflowing Knowledge
Depending on where the symbol is, you need to pick up either one, two, or three buffs at the same time and deposit them. Make sure you look at what kind of knowledge you have, as that will determine the number of buffs you are holding. Once you deposit the buffs, and the correct symbol is glowing, the door will finally open.
Defeat Zoetic Lockset
Encounter Synopsis
- Defeat Witches to collect Knowledge buffs.
- Activate the slabs with the appropriate symbols.
- Place Kill on one slab and Stop on the rest.
- Stand at the back of the room once DPS begins.
- DPS the boss until its out of HP.
This encounter is quite simple, but it can be extremely chaotic since the room is small, and you will be overwhelmed with Dread and Hive spawning constantly. Apart from that, you have the choice to make the encounter as easy or hard as you want, depending on the symbols that you choose to activate.
Before you entered the room, you encountered the small puzzle to open the door. That is the exact mechanic you have to use here as well, but there will be four wheels instead of two and way more enemies to deal with.
However, the symbols you need to activate aren’t written on doors. Instead, each symbol has a different effect on the encounter and the one you decide to activate will change how the fight responds.
Once you enter the room, you will notice four bosses, but all of them share the same healthpool. These aren’t exactly bosses, but they look more like the Eye of Sauron from Lord of the Rings and function exactly like that. What happens is, a buff will be shown at the top of your screen called Lockset Progression. Now from left to right, the boss will open one of its eyes and shine over its corresponding wheel.
When it shines, the Lockset Progression meter will start filling up and when it reaches 25 percent, 50 percent, 75 percent, and 100 percent, the eye adjacent to the previous one will open up and shine on its own wheel.
At every 25 percent, Witches will spawn that will drop the Knowledge Buffs. Apart from that, the topmost symbol of the wheel will glow, and when the boss shines its light on the wheel, this symbol will be reflected on the slabs you will find in the room.
The kind of symbol that appears on the slab will change the response of the encounter. The meaning of the various symbols in the encounter is as follows:
- Hive: Spawn 2 Ogres.
- Knowledge: Spawn Wizard and Knight.
- Commune: Spawns additional attacks from the boss.
- Stop: All Ogre and Witches stop spawning, though basic enemies will continue to spawn.
- Kill: Damage begins.
You must remember that the wheels are blank at the very start of the encounter and after a damage phase ends. However, the boss will keep cycling its gaze and after completing one full cycle, it will activate the next symbol on the wheel depending on whether its rotating clockwise or anti-clockwise.
Even though the boss activates the symbol that is there on the wheel, it will never automatically activate the Kill symbol on its own. If there is a Kill symbol during the mechanics phase, it will skip over it as you have to make it glow manually.
The way you place the Kill symbol will decide how long the damage phase continues. If you place the Kill symbol towards the very left, you receive the longest damage phase. If the Kill symbol is placed on the very right, the damage phase is significantly shortened.
Now, your objective is to get Kill on the left-most slab and Stop on the other three slabs. This is the ideal and the safest damage option. However, you also have to consider the fact that apart from the wheel that you manually activated to the Kill symbol, the others can still change right before the damage phase begins.
If you activate Stop on all three but leave them unattended, the wheels will change to the next symbol eventually and the boss will activate whatever is glowing at that moment.
You have to micromanage the wheels a bit before activating the Kill symbol, but it shouldn’t be an issue in a three-member team.
Zoetic Lockset DPS Phase
Once you have Kill on one slab, the DPS phase begins. At this stage, walk to the back of the room from where you entered and place a Well of Radiance. Remember the boss has four eyes, and it will open them at regular intervals. DPS the eye that is open with Linear Fusion Rifles or Snipers preferably. Titans can jump in with Thundercrash as well and Hunters can throw their Gathering Storm at the boss.
You have the option to Brute Force to DPS phase by forcing Kill on one slab and starting damage right away. However, this is not recommended as you have zero control over what happens in the other slabs.
If you force Kill in one, and if the other slabs automatically activate Hive, then the room will be filled with an armada of Hive Ogres that will shred you irrespective of how many Well of Radiance you might be carrying.
DPS as much as possible, and eventually, the boss will reset and damage will end. You will have to repeat everything as explained in the previous section to start DPS once more. Once the DPS phase ends, the boss’s eyes will drop down in the form of balls. You will notice a small cavity right where the chest spawns after the encounter is done.
Your job is to roll one of the destroyed boss eyes into the cavity to open the door to the next encounter. It is unclear why Bungie included this one, but if you are wondering why the doors are all locked even after the boss the dead, remember to roll the ball into the cavity.
DPS Cheese Spot
Once you start damaging the boss, there is a way where you can cheese the DPS for a quick one-phase without worrying about anything else in the room. If you look right under the boss, there is a small spot where you can sit on either side of the door. If you sit here, the boss will be right above you, and you can easily damage it without worrying about the other enemies in the room. Simply pop a Well of Radiance along with Titan barricades and use Anarchy, Thunderlord, or Linear Fusion to shut down the boss in just one phase.
Reach The Boss
Once you complete the second encounter, there is yet another traversal section. The traversing is pretty easy as you just follow the path that leads to new openings while defeating a few Dread enemies in between. However, the biggest point to note here is that you will come across yet another symbol puzzle.
Here, the mechanics are the same as the first encounter where you need to reflect the light by passing it through a Lens and shine it on the wheels. However, you need to match the symbols instead of simply shining on random wheels. The two symbols you need to match are Enter and Worm, both of which you will find at the bottom of the puzzle room.
From these symbols, reflect the light until it hits the wheels at the top of the room. Once both wheels are lit up, the puzzle is finished. However, there is one more thing you have to learn before you can reach the boss.
You will notice that even though the puzzle is complete, the door hasn’t opened. It’s because this is a special door that opens only when you shoot at it, but it doesn’t remain like that. So you shoot at it, the door opens for a few seconds and then it shuts close. If you are caught in the middle when it closes, you will die. Get used to this door mechanic as you will need to use it in the final boss.
Destroy Kerrev, The Erased
Encounter Synopsis
- Check the radial wheel behind the boss.
- Mentally split the wheel in half from 6’o clock to 12’o clock.
- Check the statements made by the symbols on both sides.
- The statement that is false needs to be turned on.
- Every other symbol that is on the true side needs to be turned off.
- Activate the wheel and the entire room will start burning.
- The boss’s shield will be depleted, but hide behind a pillar to protect yourself.
- DPS the boss once the shield is removed.
This is probably the easiest encounter in the entire Dungeon, but there are a few things you have to remember before you start the encounter. Behind the boss, you will notice a massive wheel that will have multiple symbols with three of them glowing. Split the wheel mentally from six to twelve, exactly like a clock. Now, on both sides of the wheel, the symbols will make a statement, similar to the first encounter.
For instance, the right side of the wheel might say Pyramid, Give, Darkness which is true. The left side of the wheel might say, Witness, Drink, Light, which is false. This is just an example, and yours will be different, but you get the idea. Your objective is to light up all the symbols that are making a false statement and turn off all the symbols that are making a true statement. There is also a second way to do this, which is looking for the Truthspeaker Grim, similar to the first encounter.
The Truthspeaker Grim will drop a symbol which will always be the first one of the true statement. This means, that whichever side the Truthspeaker symbol is present will be turned off and the opposite side will be turned on. Now, once you know which side to be turned off or on, its time to locate the symbols around the boss room.
In the rooms on the left and the right, a Subjugator will spawn. The boss room and the one below, you will find a yellow health bar Hive Knight.
The Warlock-wearing Cenotaph can tag these enemies and generate Special ammo for themselves and Heavy ammo for the rest of the team. It is crucial you do this, as ammo will be a problem against the boss.
The entire room is divided into four sections. Considering spawn as the starting point where you place the Rally Barricade, there is one room on the left, one of the right, there’s the boss room, and there’s one small room right below the boss. The left room is separated by a door that needs to be opened by damaging them, similar to how it was explained previously. The one below the boss can be accessed via a couple of stairs.
The symbols are spread across the various rooms, and here’s a list of where to find them:
|
Consider Spawn as the starting point where you place the Rally Banner |
|||
|---|---|---|---|
|
Left Room |
Right Room |
Boss Room |
Below the Boss |
|
Witness |
Worm |
Drink |
Stop |
|
Hive |
Witch Queen |
Kill |
Give |
|
Guardian |
Darkness |
Worship |
|
|
Traveler |
Light |
||
|
Pyramid |
|||
Now, as you start moving to the left and the right rooms, you will notice some of the light sources are tied by Strand threads. First, you need to defeat the Stasis Scion that spawns in those rooms and receive the Unwritten Empowerment buff. This will allow you to break the Strand Threads from the light sources and start either shining the light or removing it depending on the wheel behind the boss room.
Once the correct symbols have been turned off and on, you need to activate the deposit box right in front of the main wheel in the boss room to begin DPS.
Kerrev, The Erased DPS Phase
As soon as you activate the deposit box, you have triggered DPS, but it doesn’t start just yet. First, make sure you hide in one of the shadowy regions of the boss room. This is because, a few seconds after you activate the DPS, the entire room starts burning. If you look at the boss’s HP bar, you’ll notice that his shield is depleting.
Once the shield goes to zero, place your Well of Radiance, and start damaging the boss. The boss doesn’t do much as long as you are standing inside the Well. However, he will occasionally use his Strand powers to pull you towards himself and place you in the middle of nowhere. You can always run back to your team, but if you stand behind a pillar or some cover, then the Strand webs won’t pull you anymore.
Keep damaging the boss, and eventually, the room will start burning once again, similar to how it was when the DPS began. The DPS phase will continue here, until the burning state is gone, and the boss’s shield is replenished. When that happens, repeat the mechanics once again until the boss is dead.
Once you defeat the boss, collect the chest; that is the end of the Sundered Doctrine dungeon.
Next
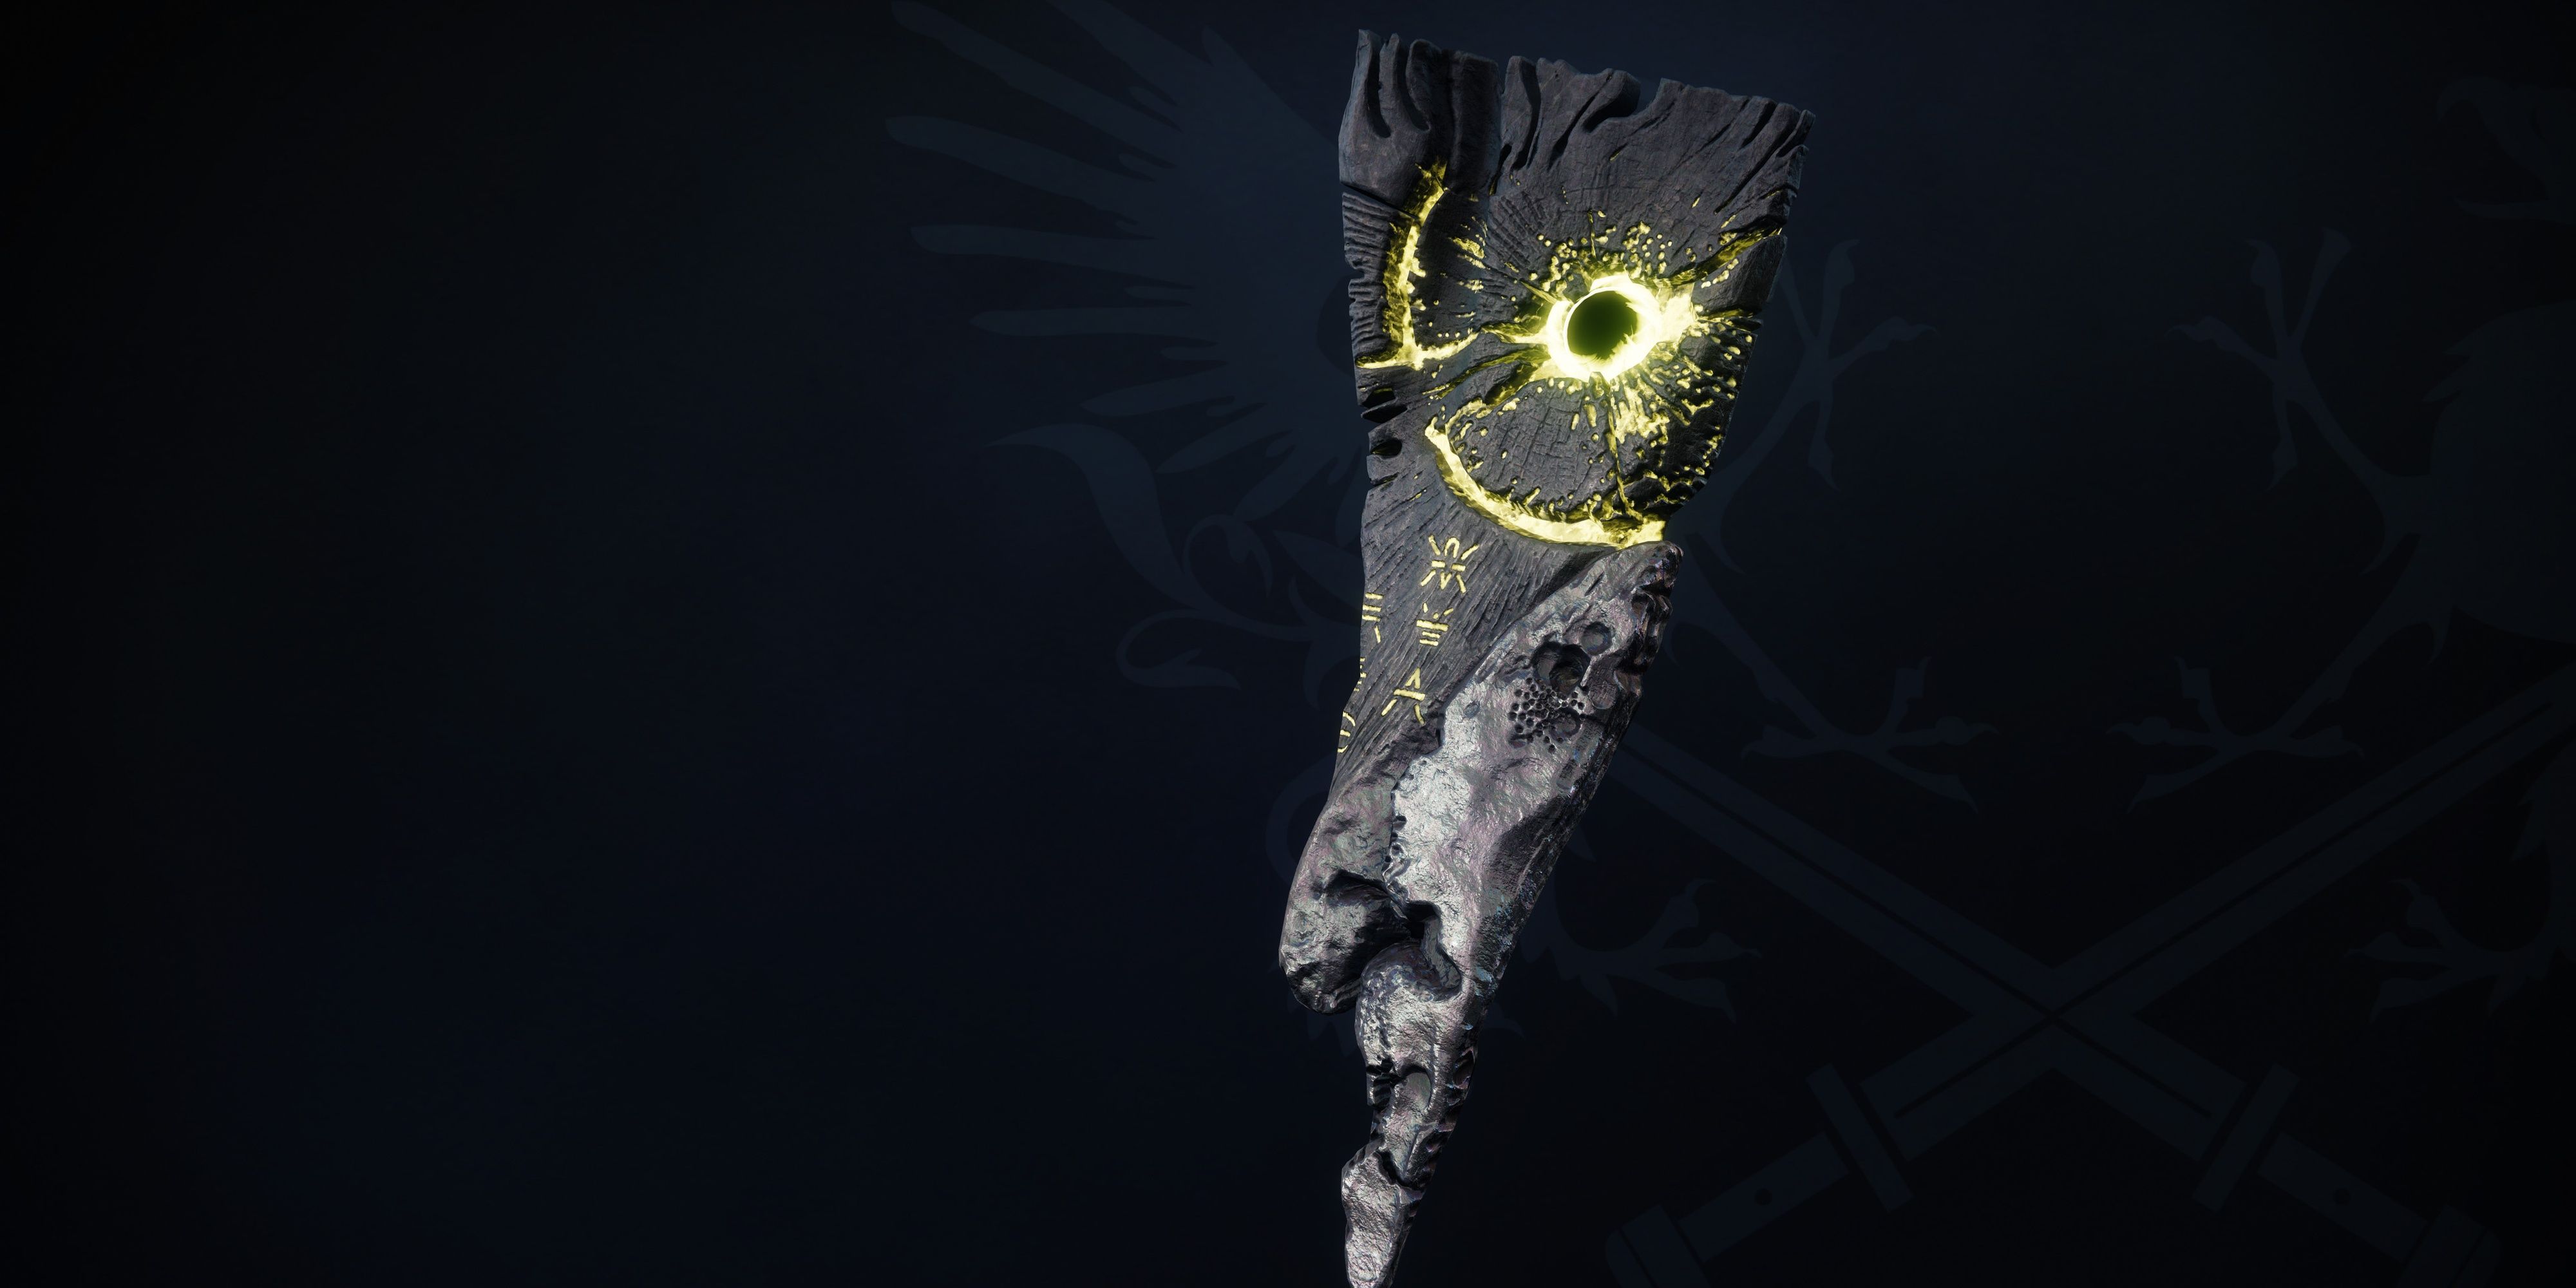
Destiny 2: Heresy – Tablet Of Ruin Artifact Guide
Particle Deconstruction, Horde Shuttle, and much more make a triumphant return in Episode: Heresy.








Leave a Reply