Baldur’s Gate 3 is a massive turn-based RPG where each decision and dialogue option matters, and thus each playthrough will be different. While some players slowly scour the map and find every location they can loot, the game isn’t designed for players to find everything at once.

Related
Baldur’s Gate 3: 10 Characters That Should Have Lived
Baldur’s Gate 3 allows players to change the course of the story for most characters but, unfortunately, some are just destined to die.
Instead, because of how the natural exploration works in BG3, there are loads of areas, even in Act 1, that players will miss. Thankfully, these can be seen as exciting prospects for future playthroughs. Be sure not to miss the following BG3 Act 1 secrets!
Updated March 1, 2025 by Joe Grantham: The sheer size of Act 1 of Baldur’s Gate 3 means there are many hidden areas, either underground or behind seemingly impenetrable doors. While players may find some of these locations easily thanks to hints from an NPC or through sheer luck, other areas can elude even the most attentive explorers.
With Game of the Year winner Baldur’s Gate 3 releasing on consoles, even more adventurers are curious about what secrets they may have missed in their first playthrough.
1
A Scuffed Rock Hiding Treasure By The Sea
Down A Cliff, Use A Strong Character To Move A Rock & Reveal Loot
-
Loot: 2x
 Potion of Speed
, Ruby, Agate, 13 Gold, Harper’s Map, Harper’s Notebook
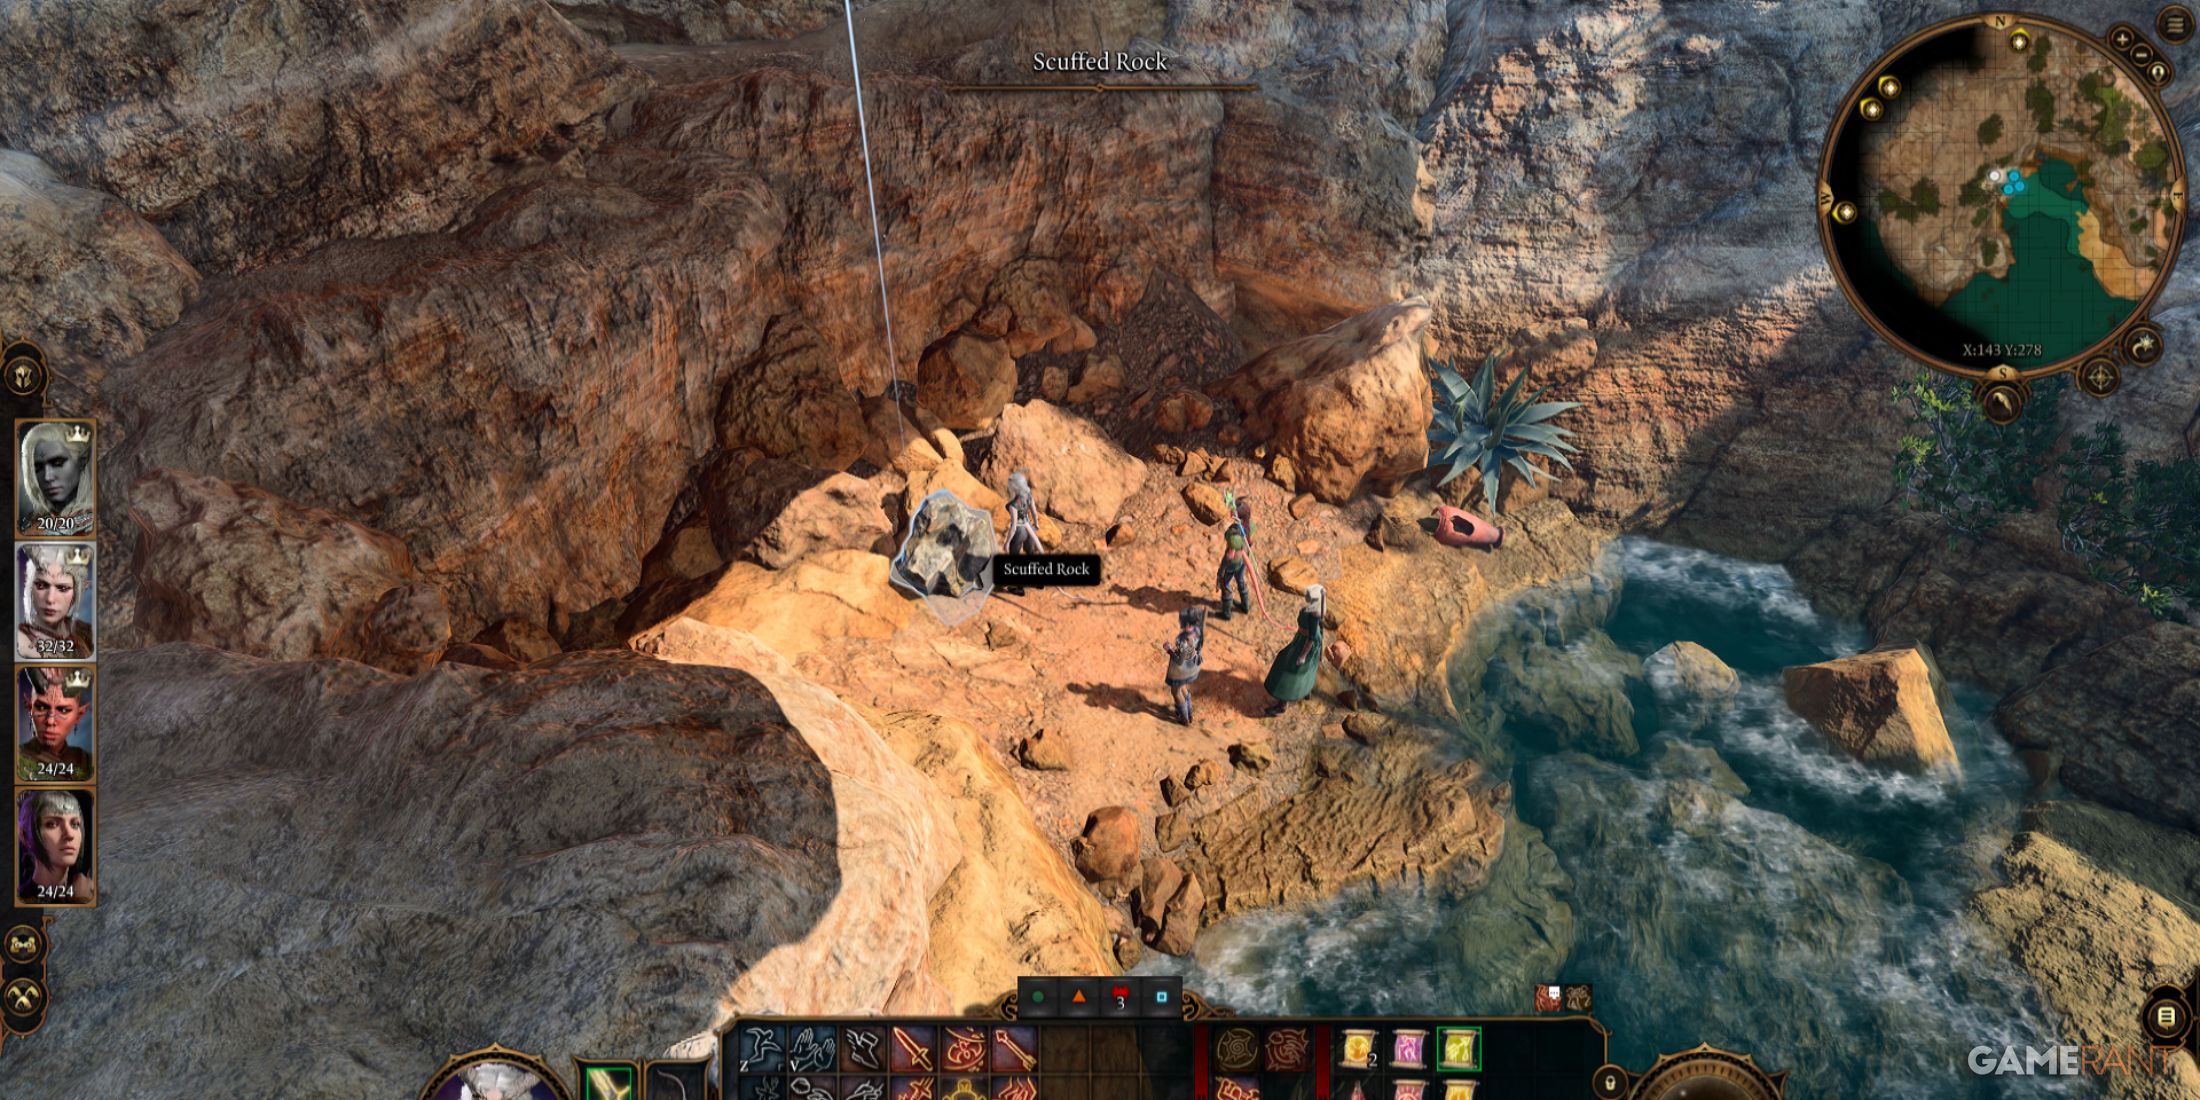
Finding all the possible loot in BG3 always feels good, and can come in handy for those playing on Honor Mode, where every little helps. At the very start of the game, there is one small and somewhat hidden beach where 2 Potions of Speed can be found.
Granting an additional action, more move speed, and other stats, Potions of Speed are incredibly useful in fights. From the Roadside Cliffs Waypoint, head southwest until you reach some cliffs jutting into the sea. You can use the rocks behind where Astarion spawns to climb down. Cross the water to the rocky alcove and then, with a character with high Strength, such as a Barbarian, hold and move the Scuffed Rock to reveal the loot.
2
Secret Tiefling Hideout – The Dragon’s Lair
A Hideout For Mol’s Gang Of Tiefling Children With The Emerald Grove
- Loot: Brass Locket, Mirkon’s Story, Gold
- Quest: Investigate the Beach, Find your Belongings, Return the Locket
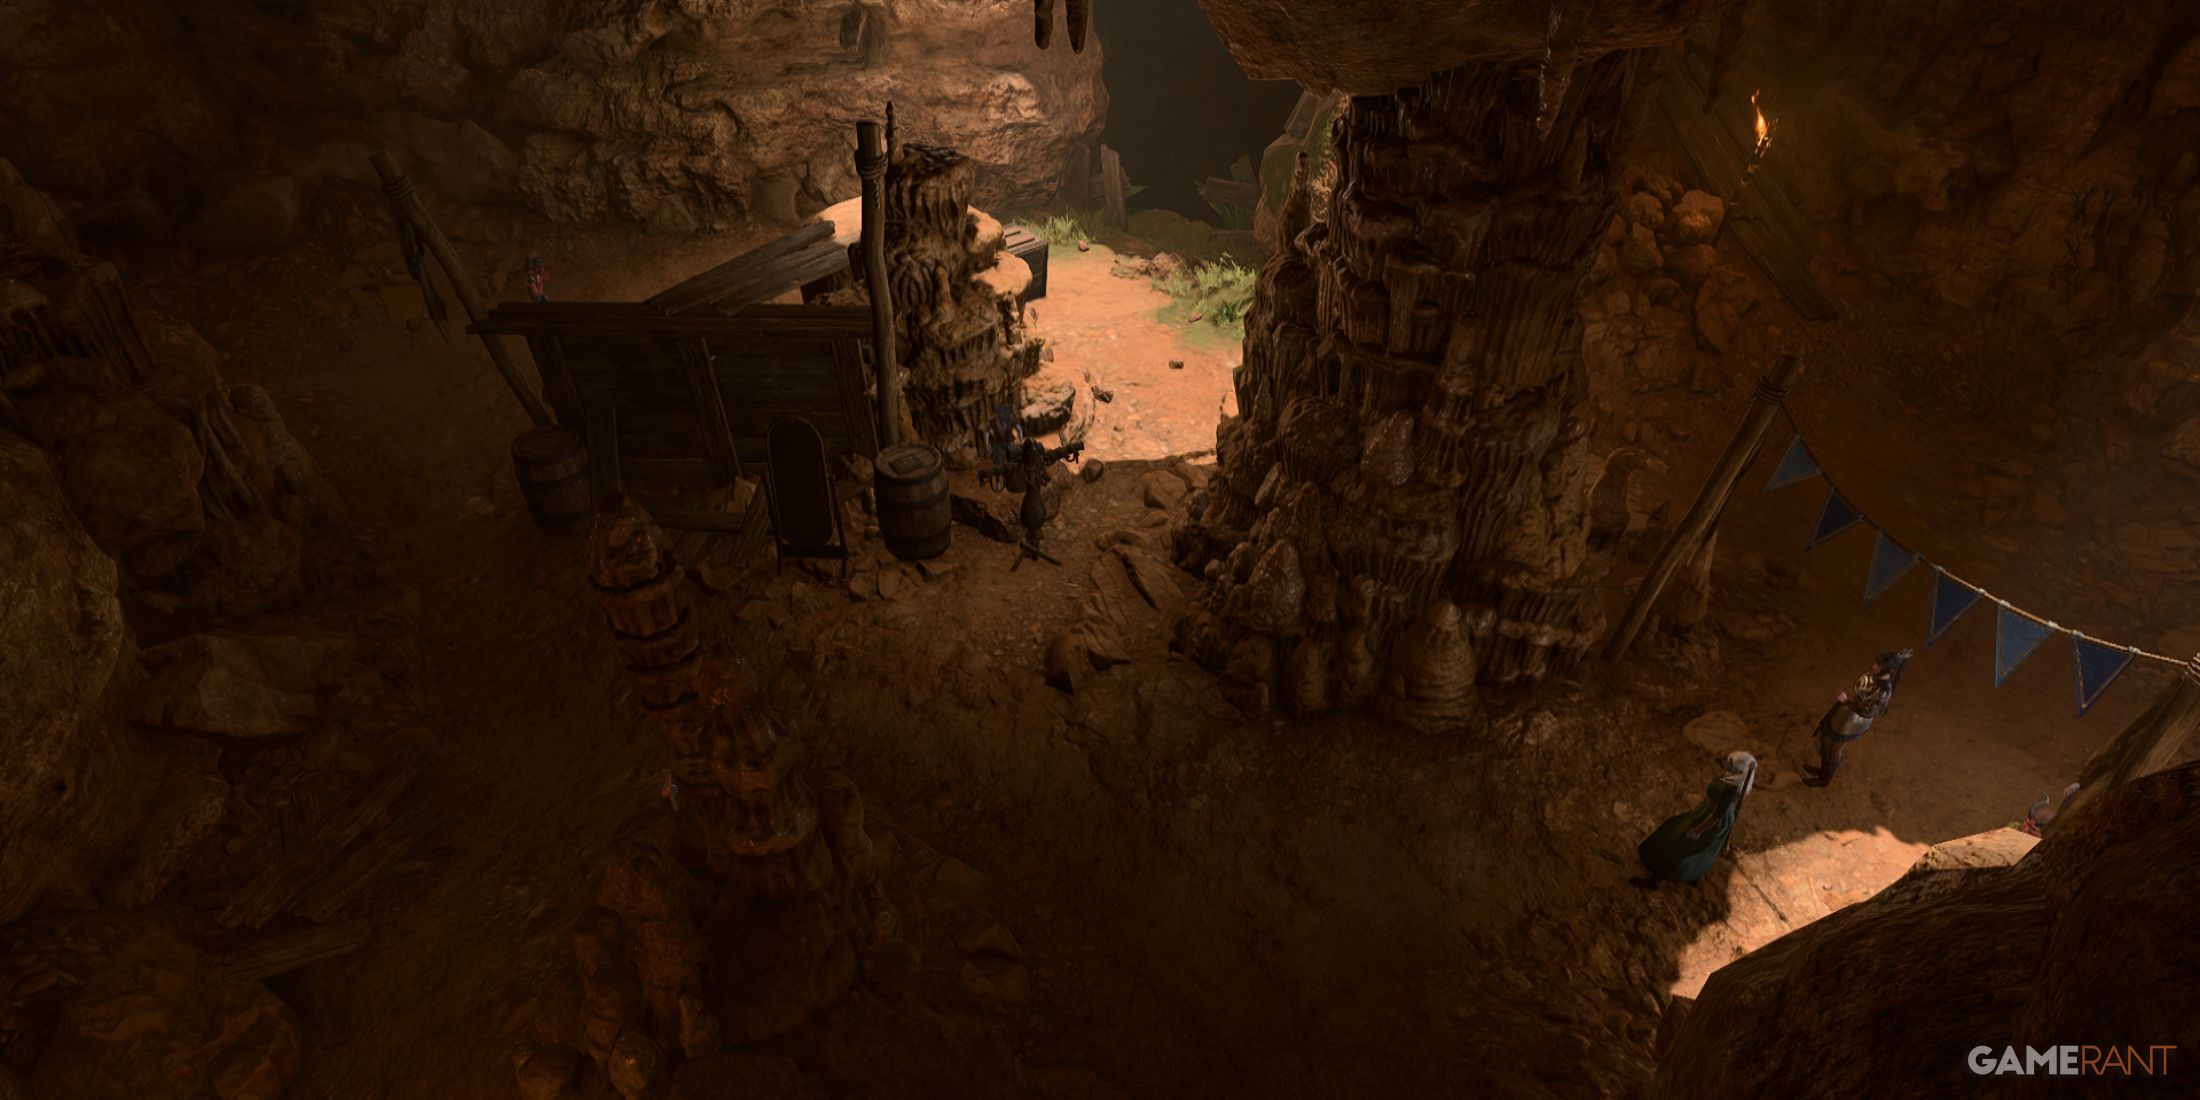
There are many secret locations within the Emerald Grove alone, one of these being a secret hideout for Tiefling children. There are many ways to gain access to these caverns. One is to simply speak to Doni, a Tiefling child found near the combat training and oxen.
He can reveal a concealed hatch just behind him that can be clicked on. Players may also find this hideout by saving Mirkon from the harpies on the beach. While there isn’t too much loot inside, there are plenty of interesting characters to talk to inside, such as Mol, and these conversations can tie up or start quests. For extra gold look for a chasm and use some form of long leap or teleport to jump across to a Wicker Basket.
3
Area Below The Risen Road Bridges With A Great Ring
Find The Smuggler’s Ring & Other Loot
-
Loot:
 Smuggler’s Ring
, Potion of Mind Reading, Silver Necklace, Holy Water, Gold
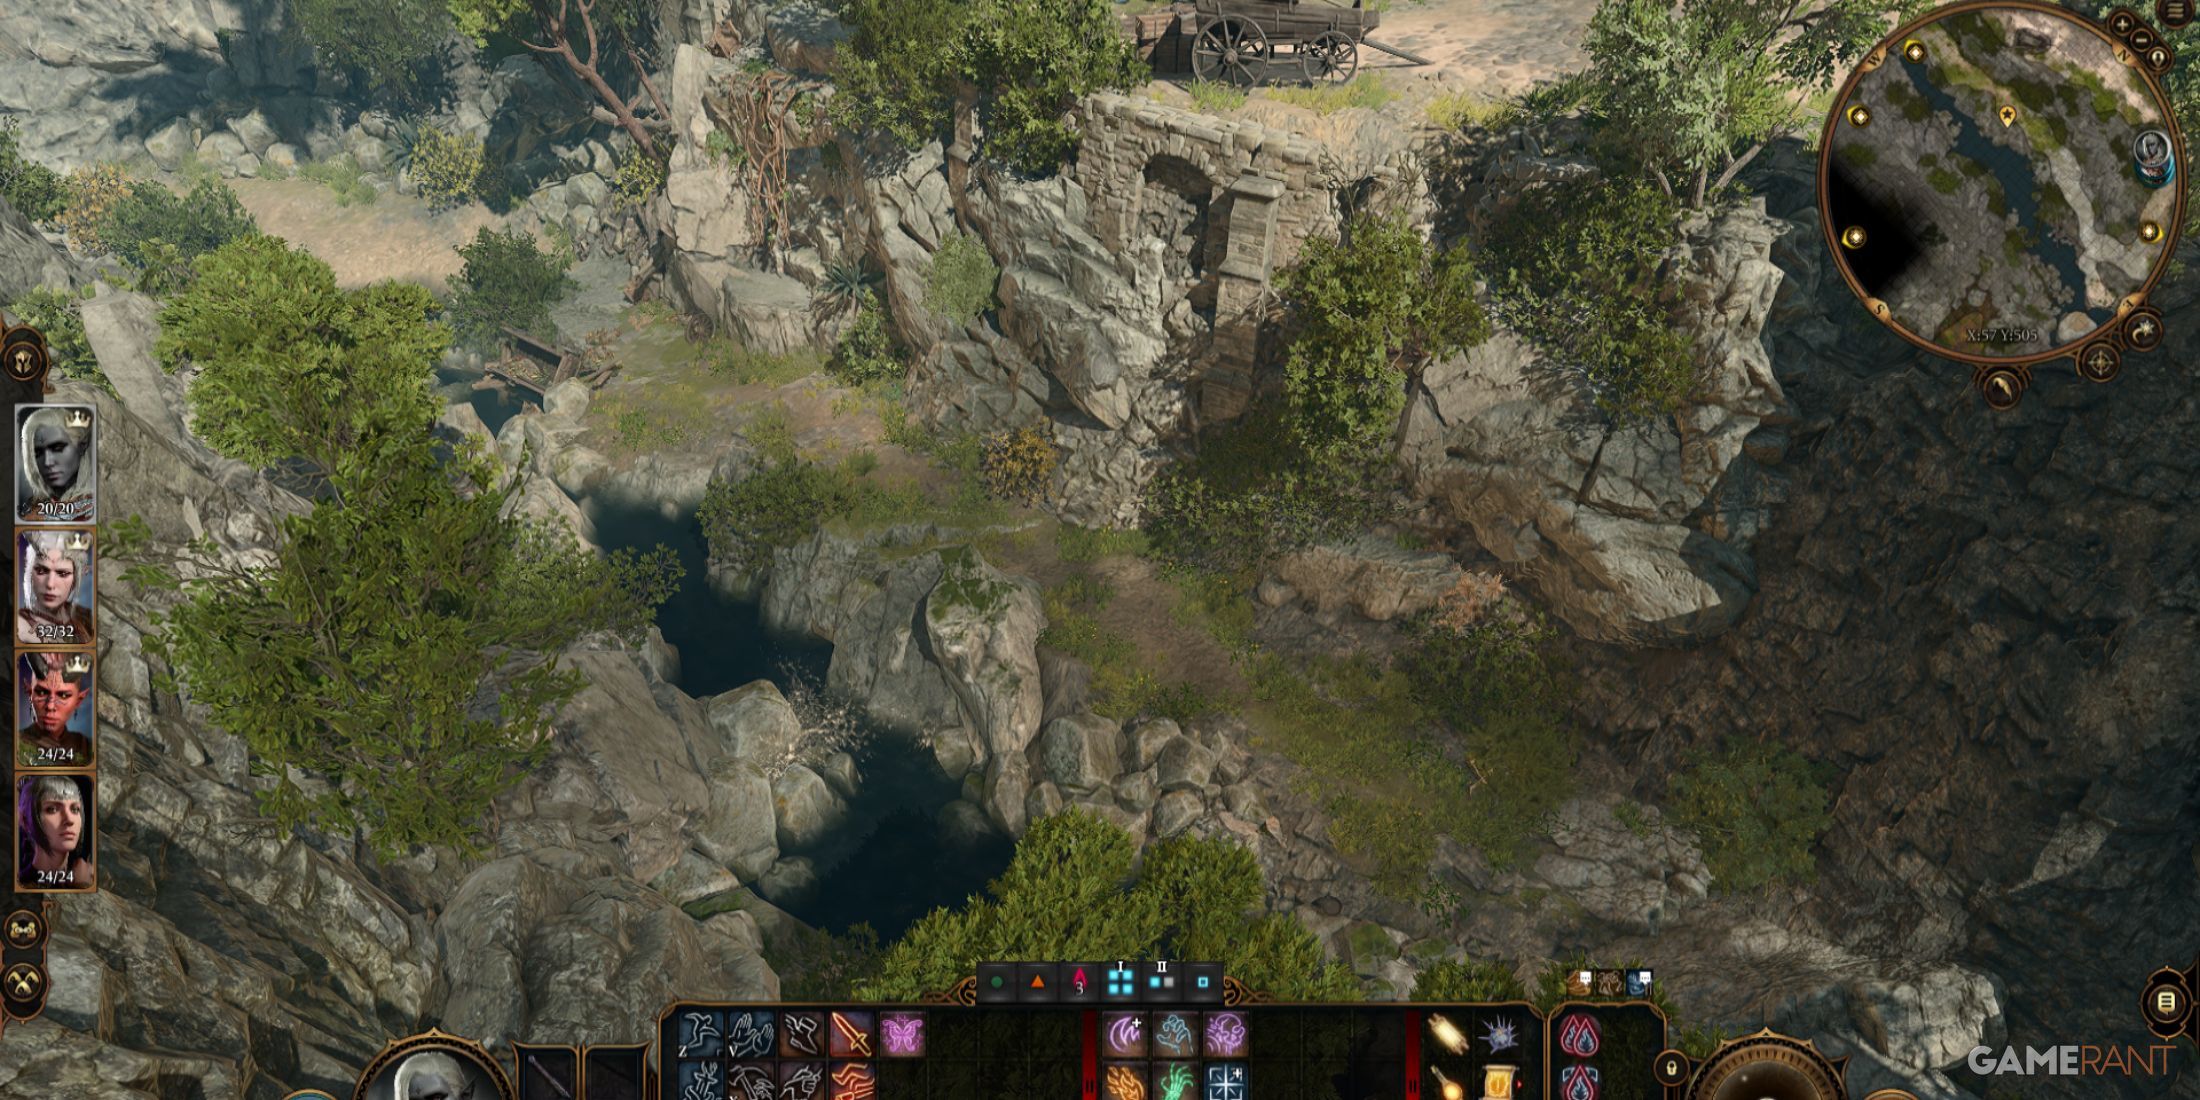
To find one of the best BG3 rings in Act 1, players will want to check out this easy-to-miss stretch of land, which contains other bits of loot too. It is somewhat beneath the Risen Road, running alongside a stream. Upon one of the skeletons, they will find the Smuggler’s Ring, which grants +2 Stealth and +2 Slight of Hand, making it a must-have for Rogues.
The easiest way to get here is to climb down a Cragged Rock to the left of the broken bridge that runs north of the Blighted Village to the Risen Road. Players may come from the other side naturally though. This route can also be used to dodge a nasty fight with Hyenas.
4
Secret Room In The Toll House Basement
Bonus Treasure For Those Who Figure Out How To Enter
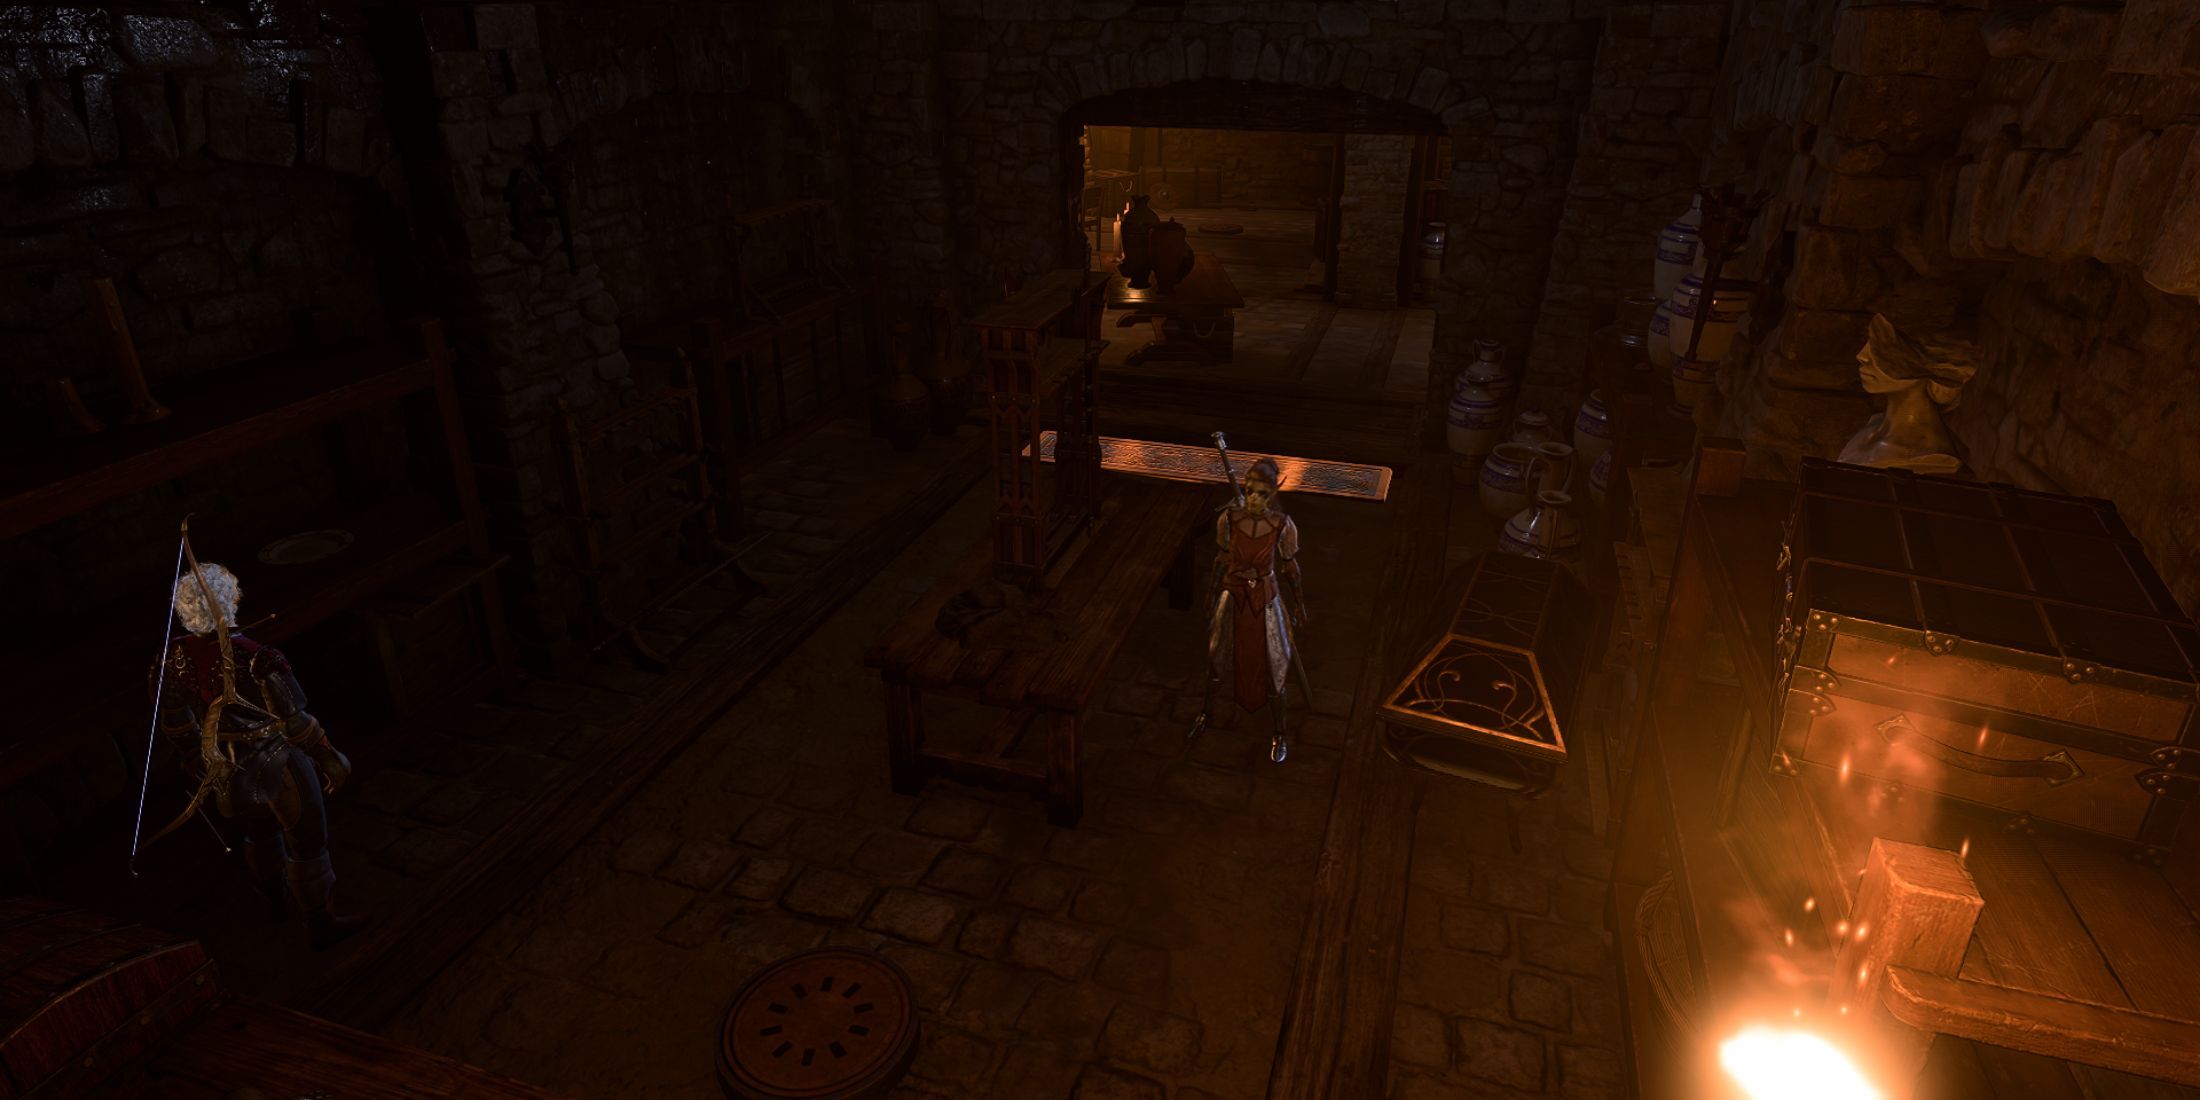
Players are likely familiar with the Risen Road Toll House in Act 1, where Anders and his crew are posing as Paladins in an attempt to hunt down Karlach. More adventurous players may have also found the Toll Collector Key, down near Karlach, and used it to enter the basement.
However, behind one of the basement walls, is a secret room filled with treasure. To enter this hidden area, players will need to split their party to have two members sit on the two thrones simultaneously. Once inside, players will need to be careful of traps, but the effort is worth it for the loot, especially the Gloves of Heroism, which are perfect for Paladins.
5
Secret Rooms At The Top Of The Abandoned Refuge
- Loot: Firestoker Crossbow & Elixers of Fire Resistance
- Enemies: Hellsboars & Merregon Legionnaire
The Abandoned Refuge is a location next to the Grymforge in the Underdark of Act 1 and many players will venture here naturally. However, not everyone looks up and wonders if seemingly out-of-reach places are accessible. Above, there are a series of lifts that can be controlled with levers, and these present one way to reach a hidden room at the top of the Abandoned Refuge. This initial room can be entered through a locked door.
There is also a way to jump up from another location using spells such as Misty Step, and this bypasses the need to unlock the door. Inside, players will find death and signs of Shar worshipers. By looting a hanging skeleton, players will find a key to another door, behind which they can expect a fight. If successful, they will be able to loot a Firestoker crossbow, as well as two Elixers of Fire Resistance, which should not be overlooked for certain fights.
6
Druid Sanctuary Island In The Sunlit Wetlands/Putrid Bog
A Great Source Of XP & Players Might Find A Huge Revelation About Kagha
The Sunlit Wetlands or the Putrid Bog (depending on whether the illusion has been dispelled) is the area where players can visit Auntie Ethel. However, it is very easy to go to her tea house and get lost in the unexpected adventure that awaits. As a result of this, many players miss an island on the edge of the map where there is a fairly big fight.
The island, known as the Druid or Decrepit Sanctuary, is reached by jumping over small channels of water onto rocks or anything resembling land. The fight is made up of Wood Woads and Mud Mephits, who explode upon death. After finishing combat, players will be able to find a letter revealing the true intentions of the new Druid leader, Kagha, at the Emerald Grove. The Sparkle Hands gloves found here are great for those with Lightning builds.
7
Ebonlake Grotto & The Myconid Colony
Protected By Exploding Mushrooms With Lots Of Quests & Loot
- Loot: Many magical items including boots, rings, amulets, circlets, gloves, and staffs
- Quests: Cure the Poisoned Gnome, Find the Mushroom Picker, Defeat the Duergar Intruders, Deliver Nere’s Head, Avenge Glut’s Circle, Help Omeluum Investigate the Parasite
- Enemies: The Myconid if attacked and possibly Duergar
The Underdark is truly full of mysteries, and one of the many locations hidden beneath the surface is the Ebonlake Grotto, which is home to the Myconid Colony. In many ways, this location isn’t all that hard to find, but it is also easy to miss or even overlook. Located northeast of the Sussur Tree, at the very north of the Underdark, players should come across a large mushroom minefield that can be destroyed at a safe distance using ranged attacks.
Once they have made it through the minefield, players will talk to the leader, Sovereign Spaw. There are many ways to convince this telepathic leader to allow the party through, although the best option is probably to tell the truth. Once inside the colony, players will quickly discover that it is on the edge of rebellion and whichever faction they side with will certainly have the upper hand. There are a multitude of quests in this location and two vendors who sell some of Act 1’s most unique items.
8
Secluded Cove
An Easy To Miss Location Behind The Emerald Grove With An Interesting Fight
- Loot: Ring of Color Spray
- Quests: Investigate the Beach
- Enemies: Harpies
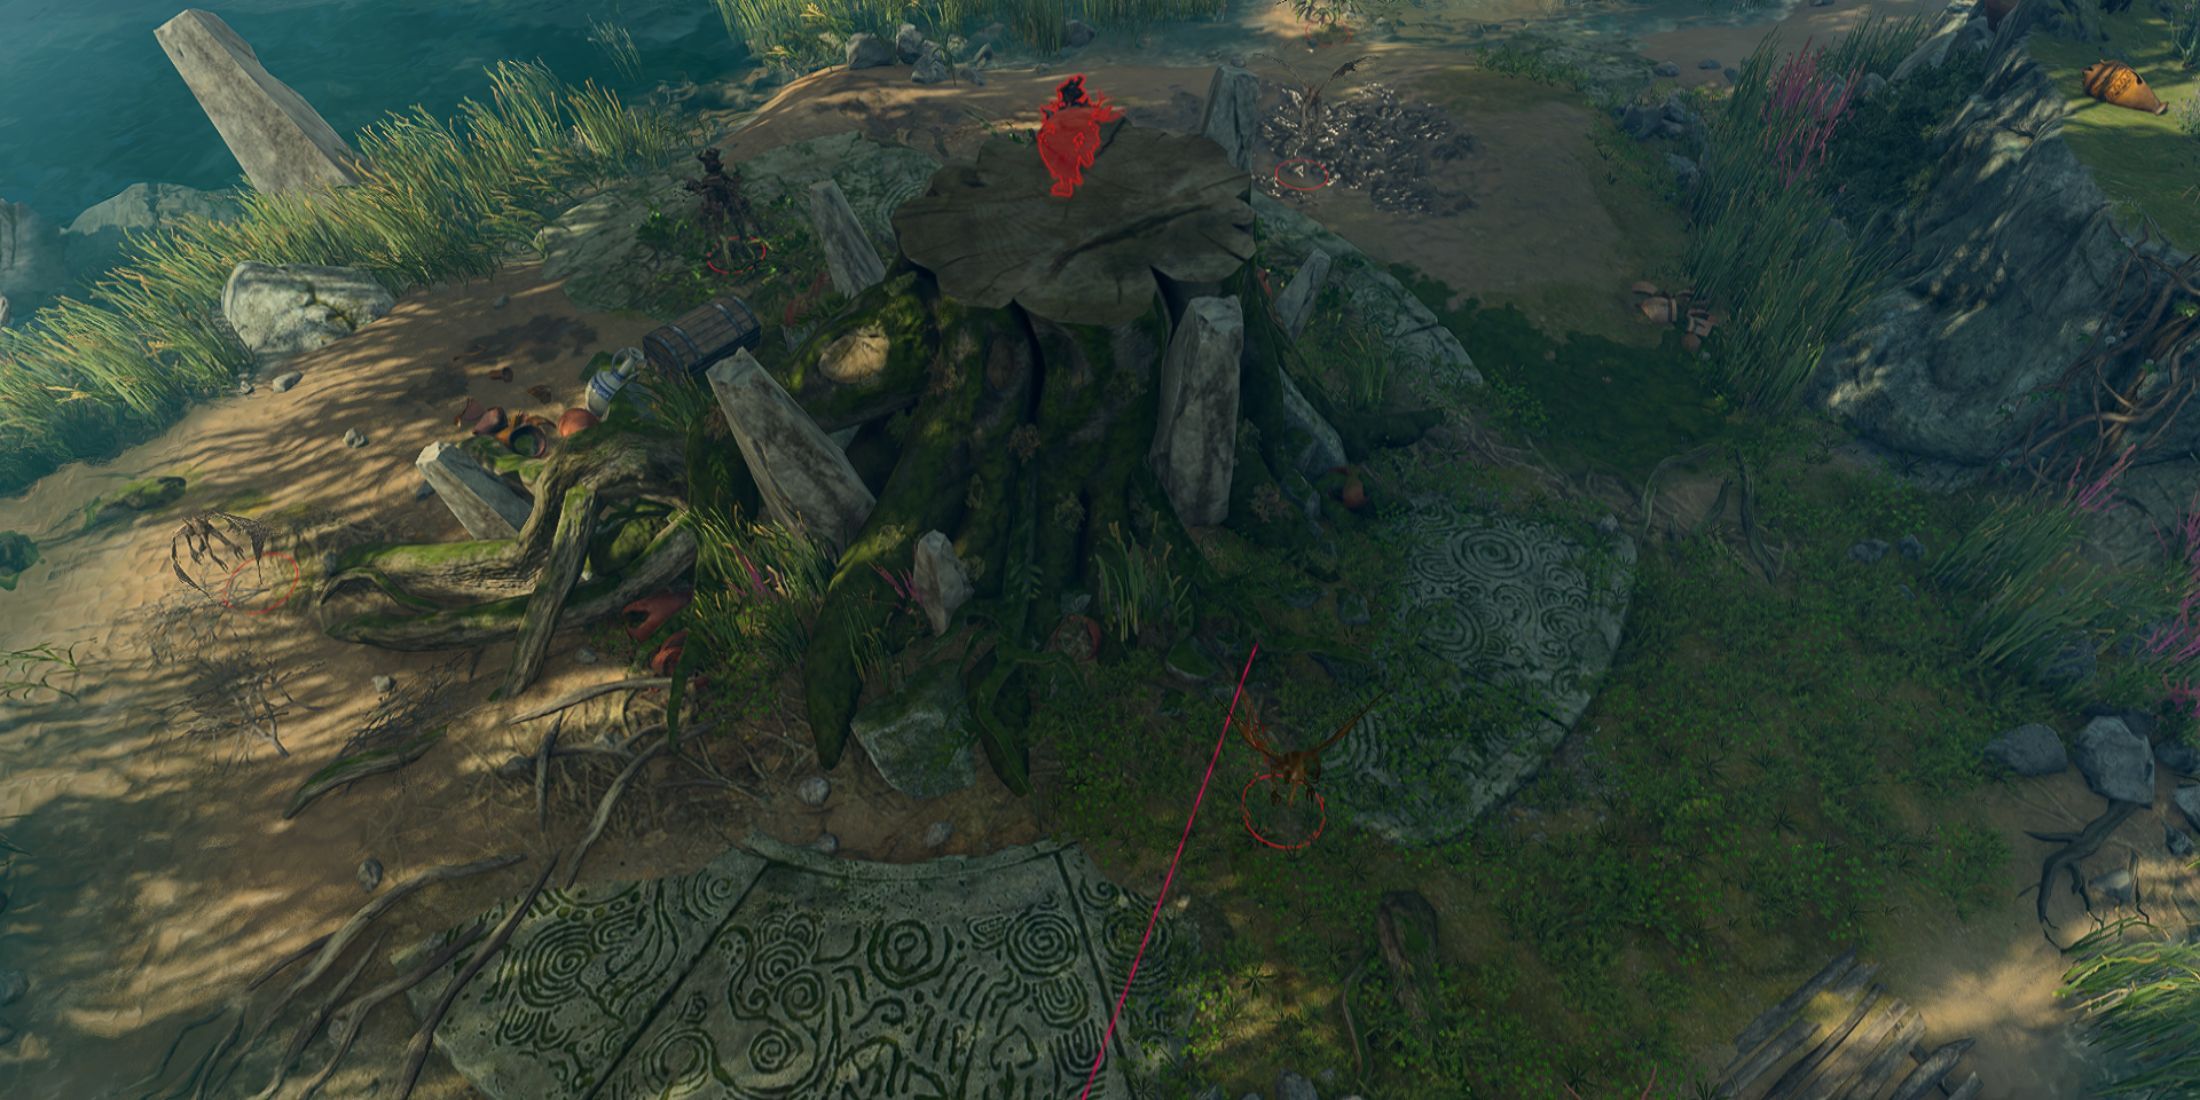
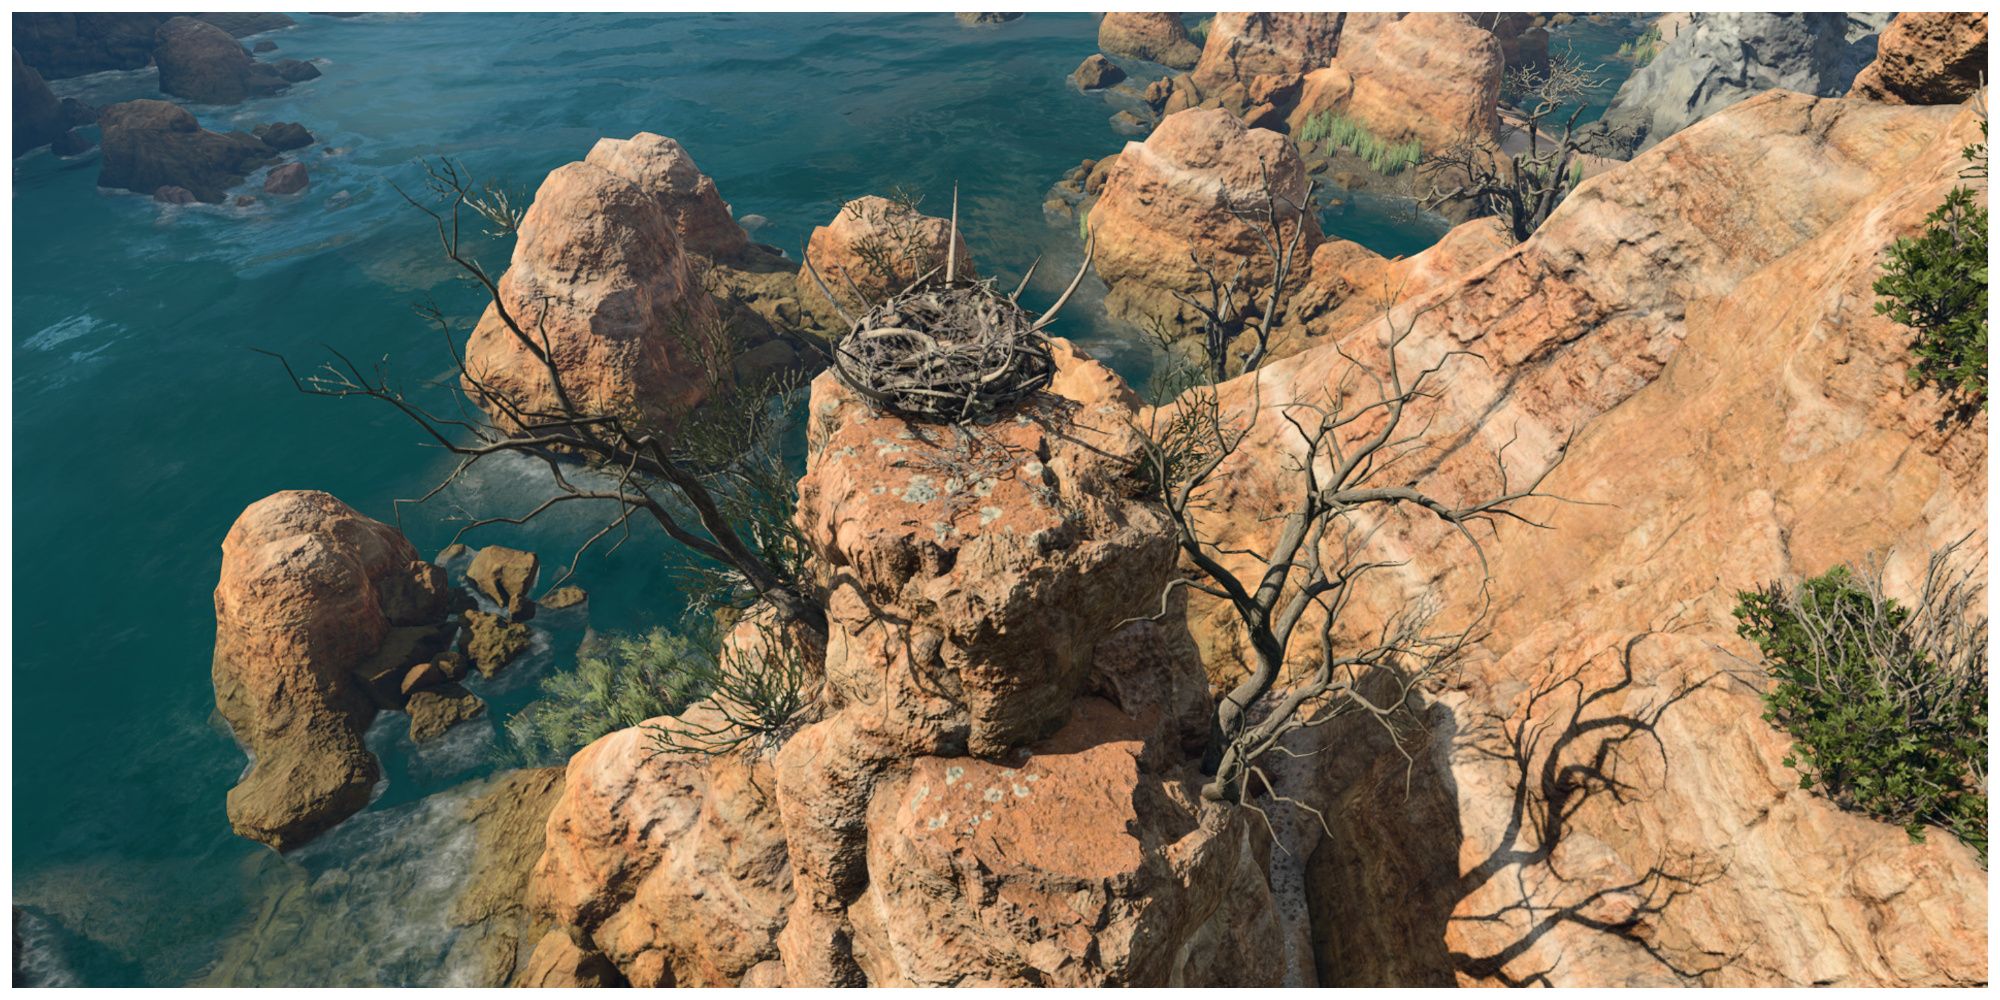
Due to the direction from which players approach the heart of the Emerald Grove, it can be easy to miss the entrance to the Secluded Cove, which is just next to where the Bard Alfira can be found. While there is not too much in terms of great loot, apart from a ring in the harpy nest, players do have the chance to save a Tiefling child and engage in a highly interesting fight against harpies.
Just like Alfira, these harpies also sing, and if they are successful with their melody, they will lure members of the party in, making them unable to take action. The fight is certainly not easy, especially if players have only just entered the Emerald Grove while still at a low level. After the fight, players will discover there are many hidden ledges and columns to jump to in the Secluded Cove, all of which are hiding small amounts of loot.
9
The Arcane Tower
Protected By Turrets & Full Of Surprises
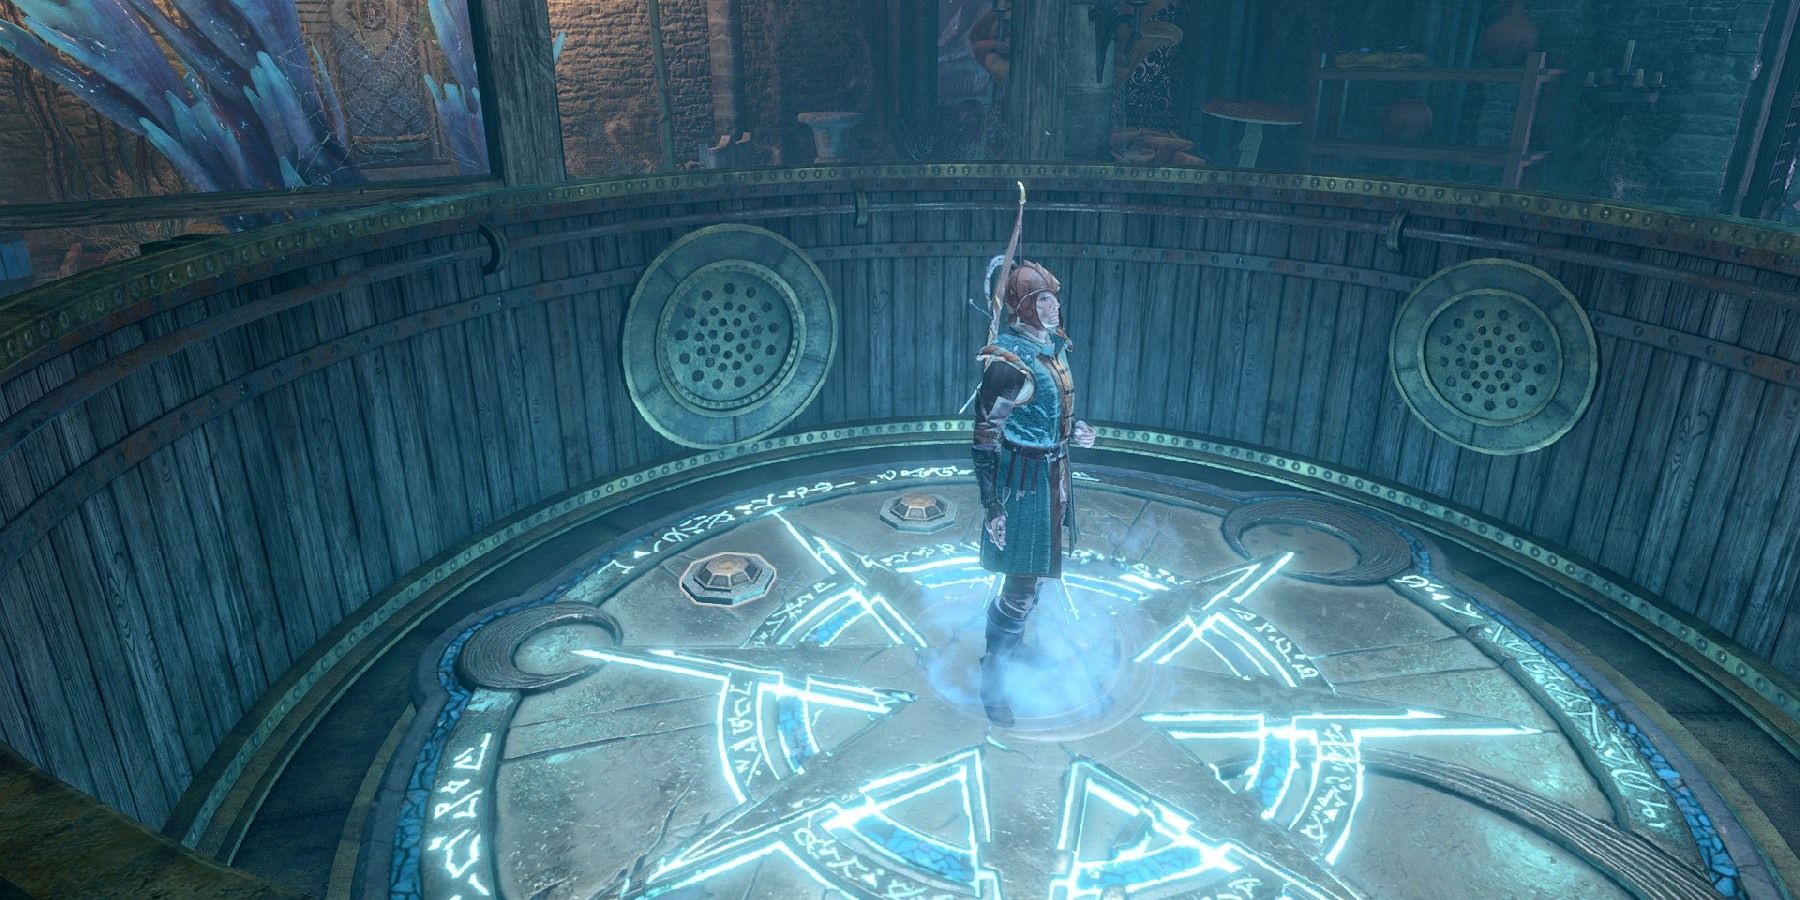
The Underdark is full of secrets and hidden areas, but one of the easier-to-find locations is the Arcane Tower, located in the southwest. However, while many players will spot it, getting inside isn’t easy. Arcane Turrets protect the tower from trespassers. To circumvent these turrets, players can use Misty Step or Feather Fall to jump onto mushrooms and find a different way into the tower. On the first floor of the tower, players can add Sussur Blossom to the generator, which will disable the turrets and activate the elevator.
Once inside the tower, players will find plenty of magical mysteries. The area is more about problem-solving rather than combat. At the top of the tower, however, players may be attacked if they do not give the guardian Bernard the correct answers. There is some incredible loot in the tower, including one of the hardest-to-find weapons in BG3, the Staff of Arcane Blessing.
10
The Adamantine Forge
Make Unique & Powerful Adamantine Items
-
Loot:
 Sentient Amulet
, and various Molds
- Forgeable Items: Adamantine Splint Armor, Scale Mail, Shield, Longsword, Mace, and Scimitar
- Quests: The Adamantine Forge
- Enemies: Grym, an Adamantine Golem
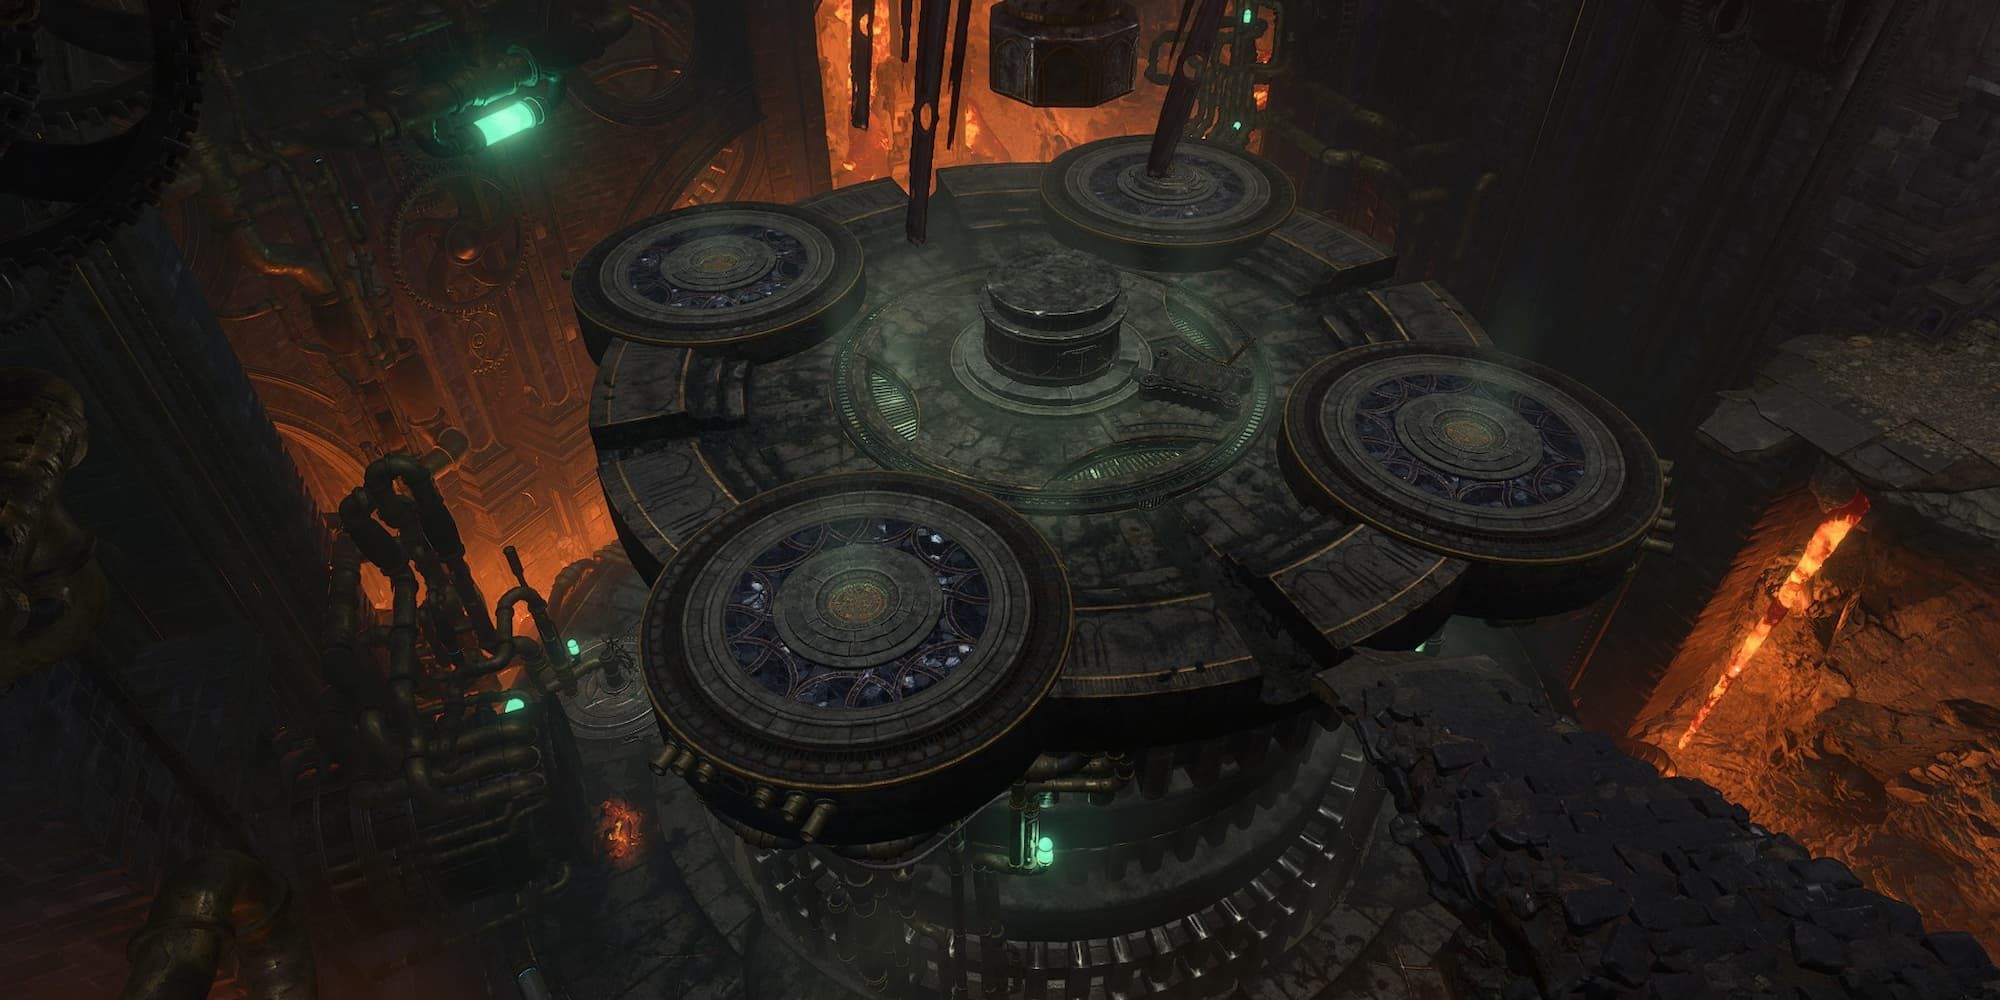
If players choose to travel through the Underdark to reach Act 2 of BG3, then they will inevitably pass through the Grymforge as the last part of their journey. Within the Grymforge, however, is a much harder-to-find location: the Adamantine Forge. Players might first stumble across some Duergar who are searching for the lost forge, and from here there is a passageway covered by rubble that the party must clear somehow.
3:58
Related
Baldur’s Gate 3: Hardest Classes To Master
Baldur’s Gate 3 features a nice variety of 12 different classes to choose from, but not all classes are equally simple to master.
Alternatively, some characters can use the Fly ability or an enhanced jump to reach a ledge, which leads to a fast travel point for the forge. Around this location, players will find Mithral Ore and various molds that can be used to forge special Adamantine weapons or armor. When players start up the forge by pulling the Lava Valve, an Adamantine Golem will spawn. Known as Grym, this golem is considered one the hardest bosses in Act 1.
11
Underground Passage To The Emerald Grove
A Secret Way Into The Emerald Grove
While players will find their way into the Emerald Grove easily enough, they may miss a certain hidden entrance that can be very useful, with unique loot waiting inside. To find the Underground Passage, approach the grove from the forest. If at least one character passes a Perception check, a Stone Door will appear.
Once inside, players will need to figure out how to stop the three Guardian Statues from attacking, especially if they want to find the Underground Passage treasure. This passage can also be used as an escape route for players helping Sazza flee, although she is not the first goblin to pass through. It is recommended that players enter Turn-Based Mode for this section, at least until the Guardian Statues have been turned off, as otherwise, they can burn through the party at an alarming rate.
12
Zhentarim Hideout At Waukeen’s Rest
Hidden Behind Crates And Multiple Skill Checks Or A Password
- Loot: Many great items from Trader Brem
- Quests: Find the Missing Shipment & Free the Artist
- Enemies: Zhentarim Mercenaries
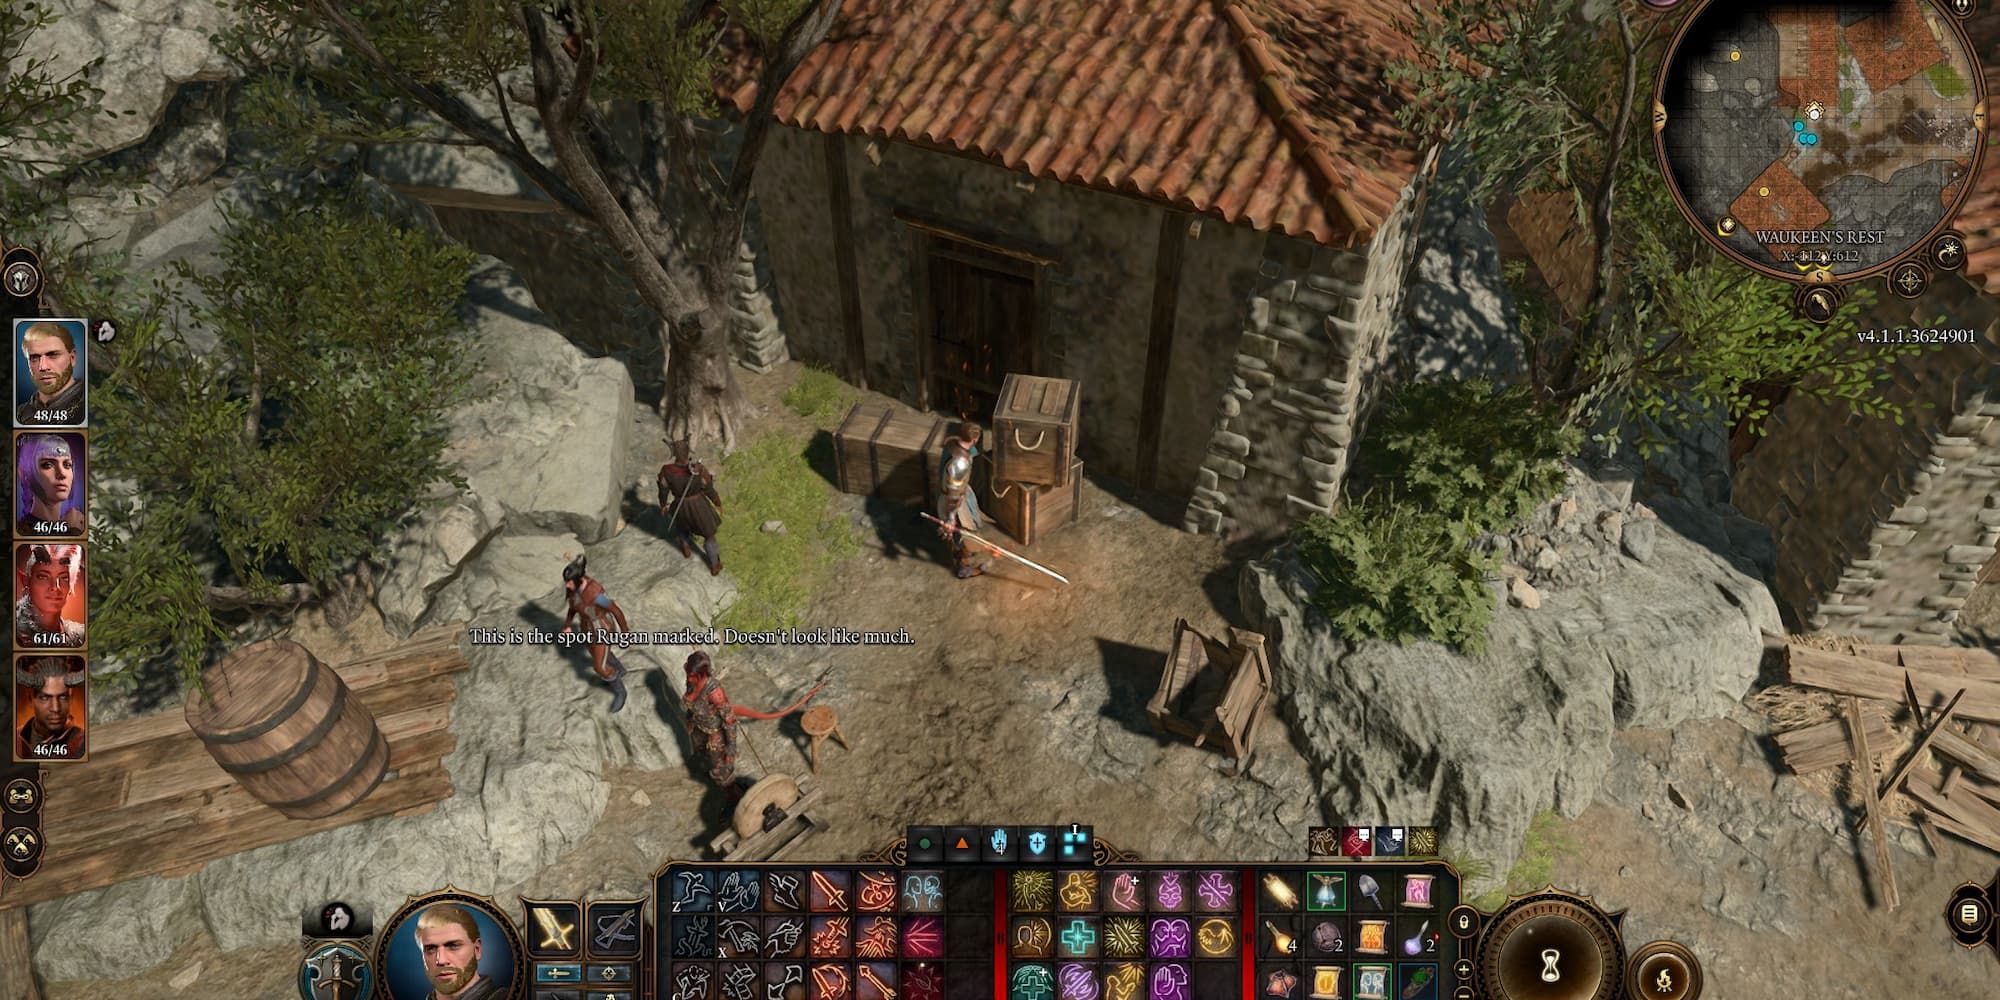
The Zhentarim Hideout is aptly named and does a successful job of concealing the Zhentarim mercenary group from many players in Act 1. Behind some crates at Waukeen’s Rest, there is a door. Once inside, players will either have to pass some Skill Checks or have already acquired the password from Rugan, who is found in a cave on The Risen Road.
4:56
Related
Baldur’s Gate 3: Most Underrated Classes, Ranked
Each class in Baldur’s Gate 3 is unique in one way or another. However, some great classes are often overlooked in favor of other, more obvious ones.
As players further explore the Zhentarim Hideout, further Skill Checks and discoveries await. How they approach the Zhentarim mercenaries is up to them. If players have previously found the missing shipment as part of the quest of the same name, then Trader Brem will sell some of the best items available in Act 1 of BG3. There is even an entrance to the Underdark in the Zhentarim Hideout.
13
Apothecary’s Cellar In The Blighted Village
A Normal Cellar Holds Dark Secrets
- Loot: The Necromancy of Thay
- Quests: Search the Cellar
- Enemies: Agile Guardians
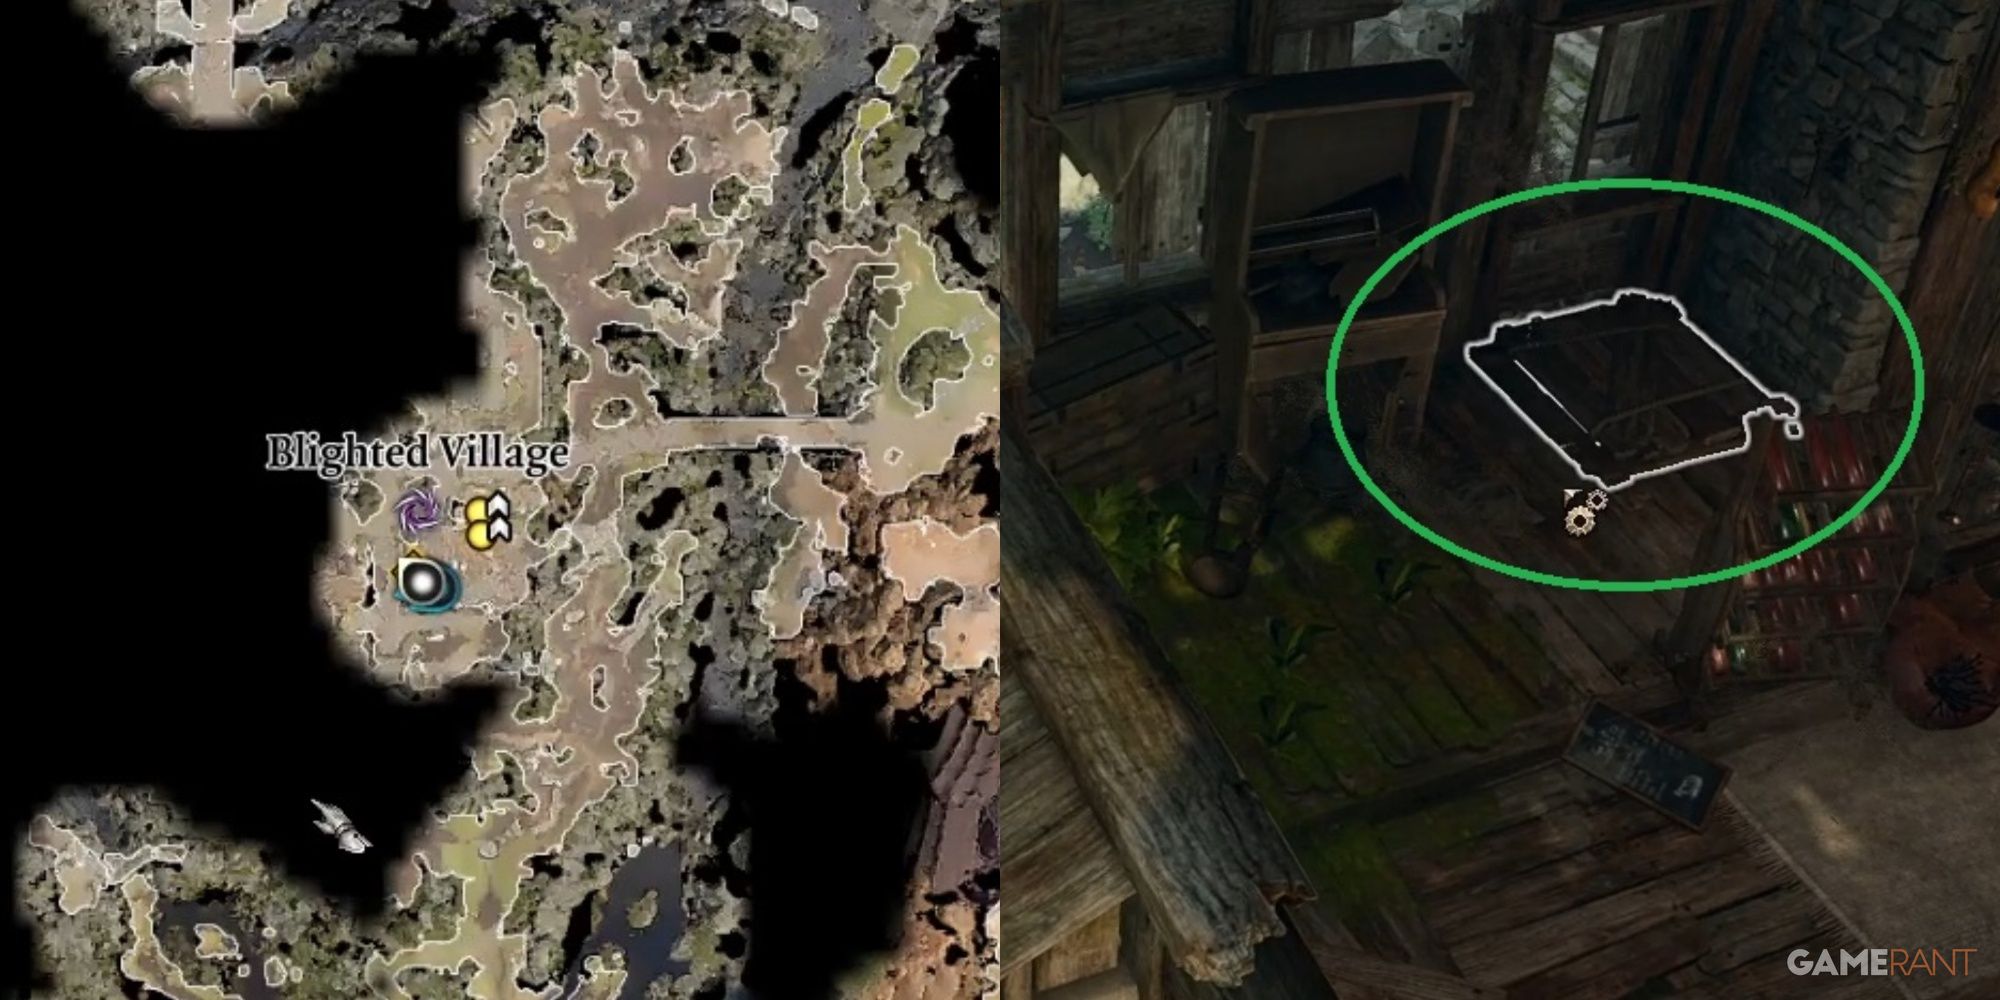
One location that many players miss in Act 1 of BG3 is the Apothecary’s Cellar, which can be accessed through a hatch in the house just south of the Blighted Village waypoint. At first, this cellar appears normal, and many players will feel like they’ve fully looted it. However, if the crates to the left of a bookcase are moved, a lever can be found opening up a whole new adventure.
This is all part of the Search the Cellar quest. What players find is rather dark, but interesting, with lots of puzzles to solve. Players might also have to fight their way out of an ambush if they look in the wrong places. Those who manage to reach the last room will find a dark and powerful tome, but what is to be done with The Necromancy of Thay is up to each individual. Naturally, this is a must-visit location for any wizards who have chosen the Necromancy subclass.
14
Whispering Depths Beneath The Blighted Village
Often Missed, As Players Must Interact With A Well
The Whispering Depths is another easy-to-miss area in Act 1, although interestingly, there are two ways to find this spider-infested lair. The first is by interacting with a well near the Blighted Village waypoint. Alternatively, players can burn the spiderwebs in the Blacksmith’s house in the same village.
Related
Baldur’s Gate 3: The Best Two-Handed Weapons
For a heavier offense, here’s which two-handed weapons are the strongest in Baldur’s Gate 3.
Inside, players need to be ready for lots of Phase Spiders, and eventually, they will come across the Matriach, who can be a tough boss for under-level players. She will drop the Poisoner’s Robes, one of the best robes in Baldur’s Gate 3, particularly this early on.
15
Festering Cove In The Underdark
One Of The Most Easily Missed Areas In The Game
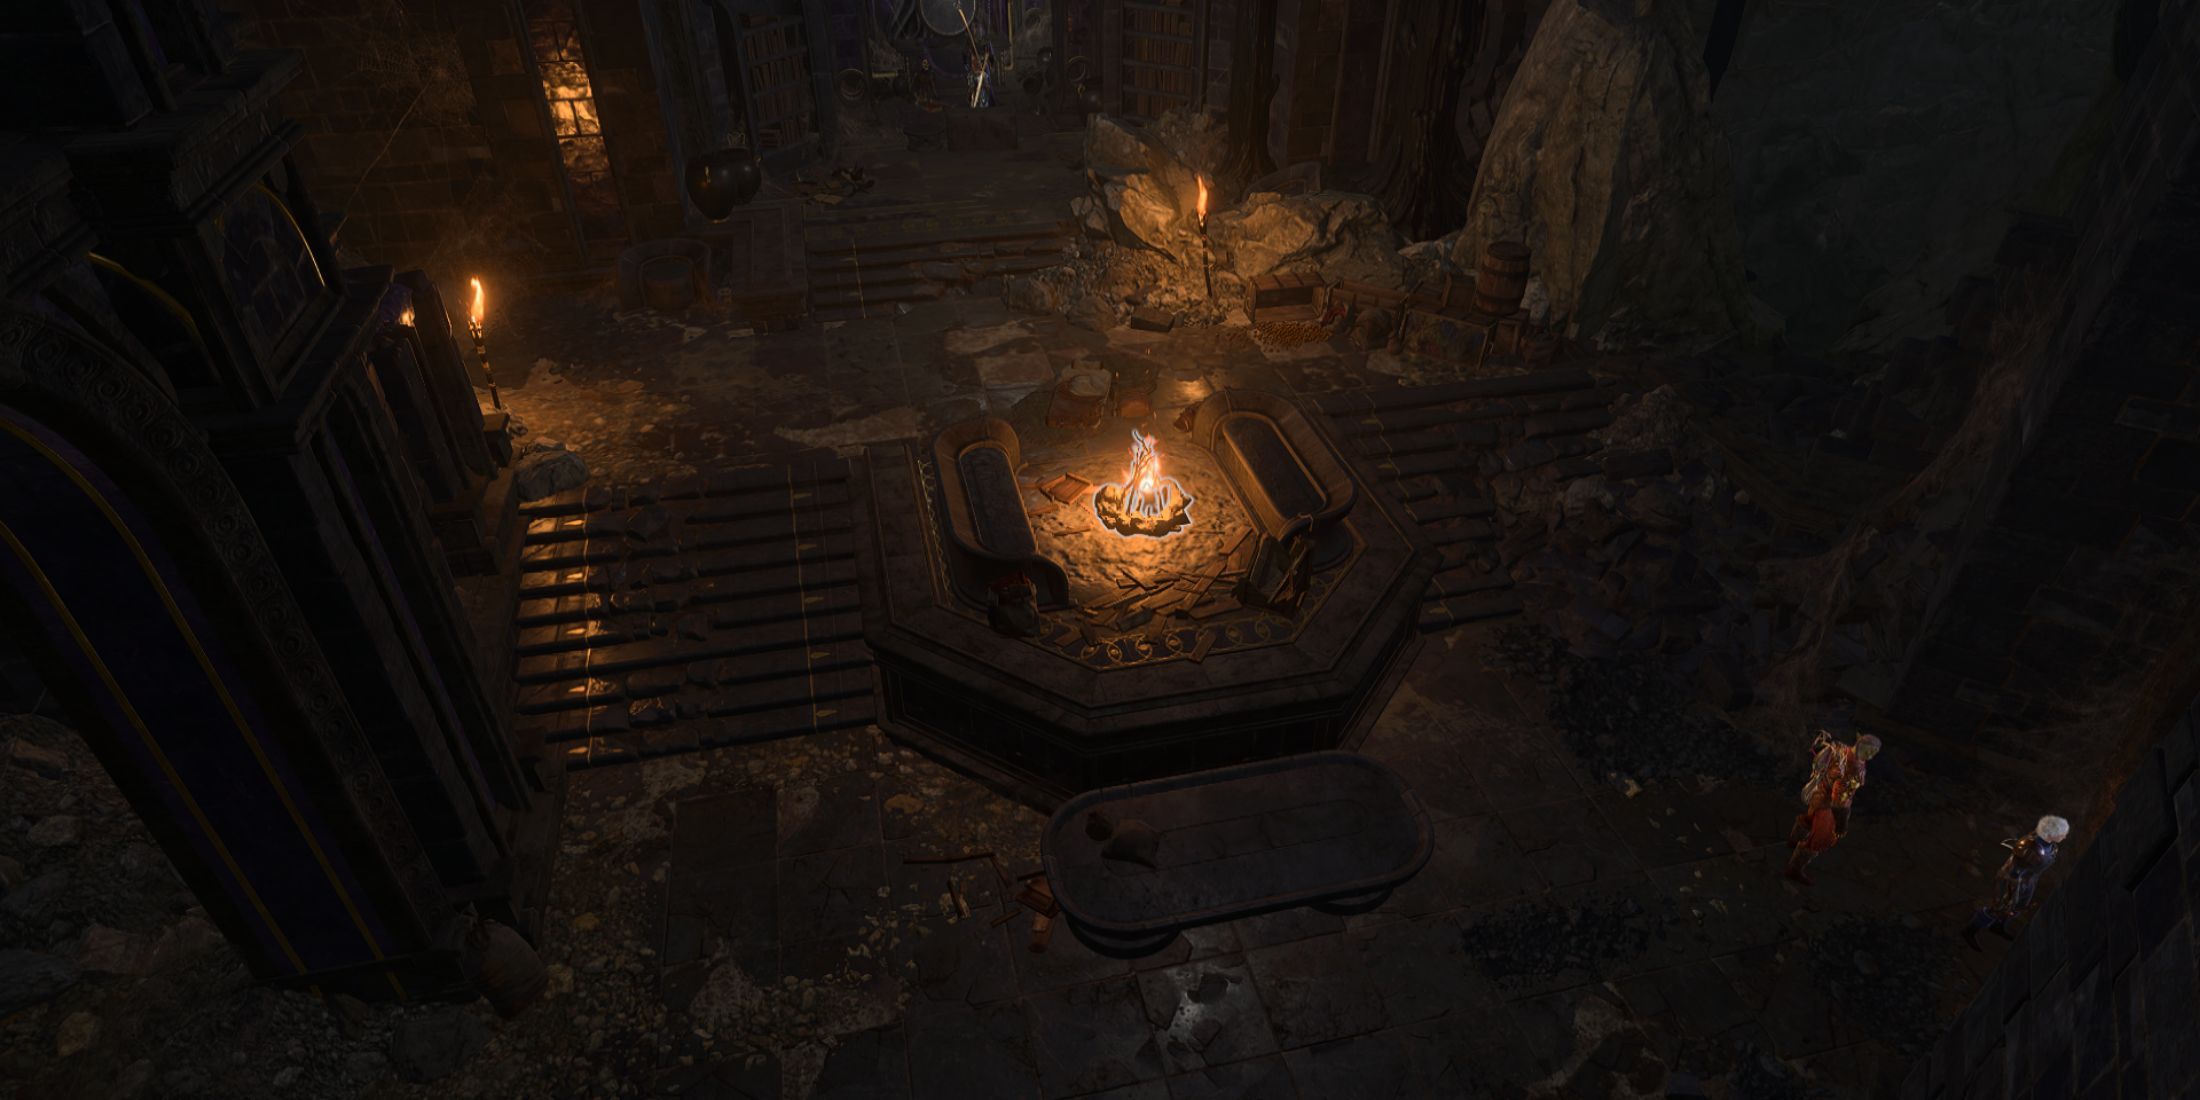
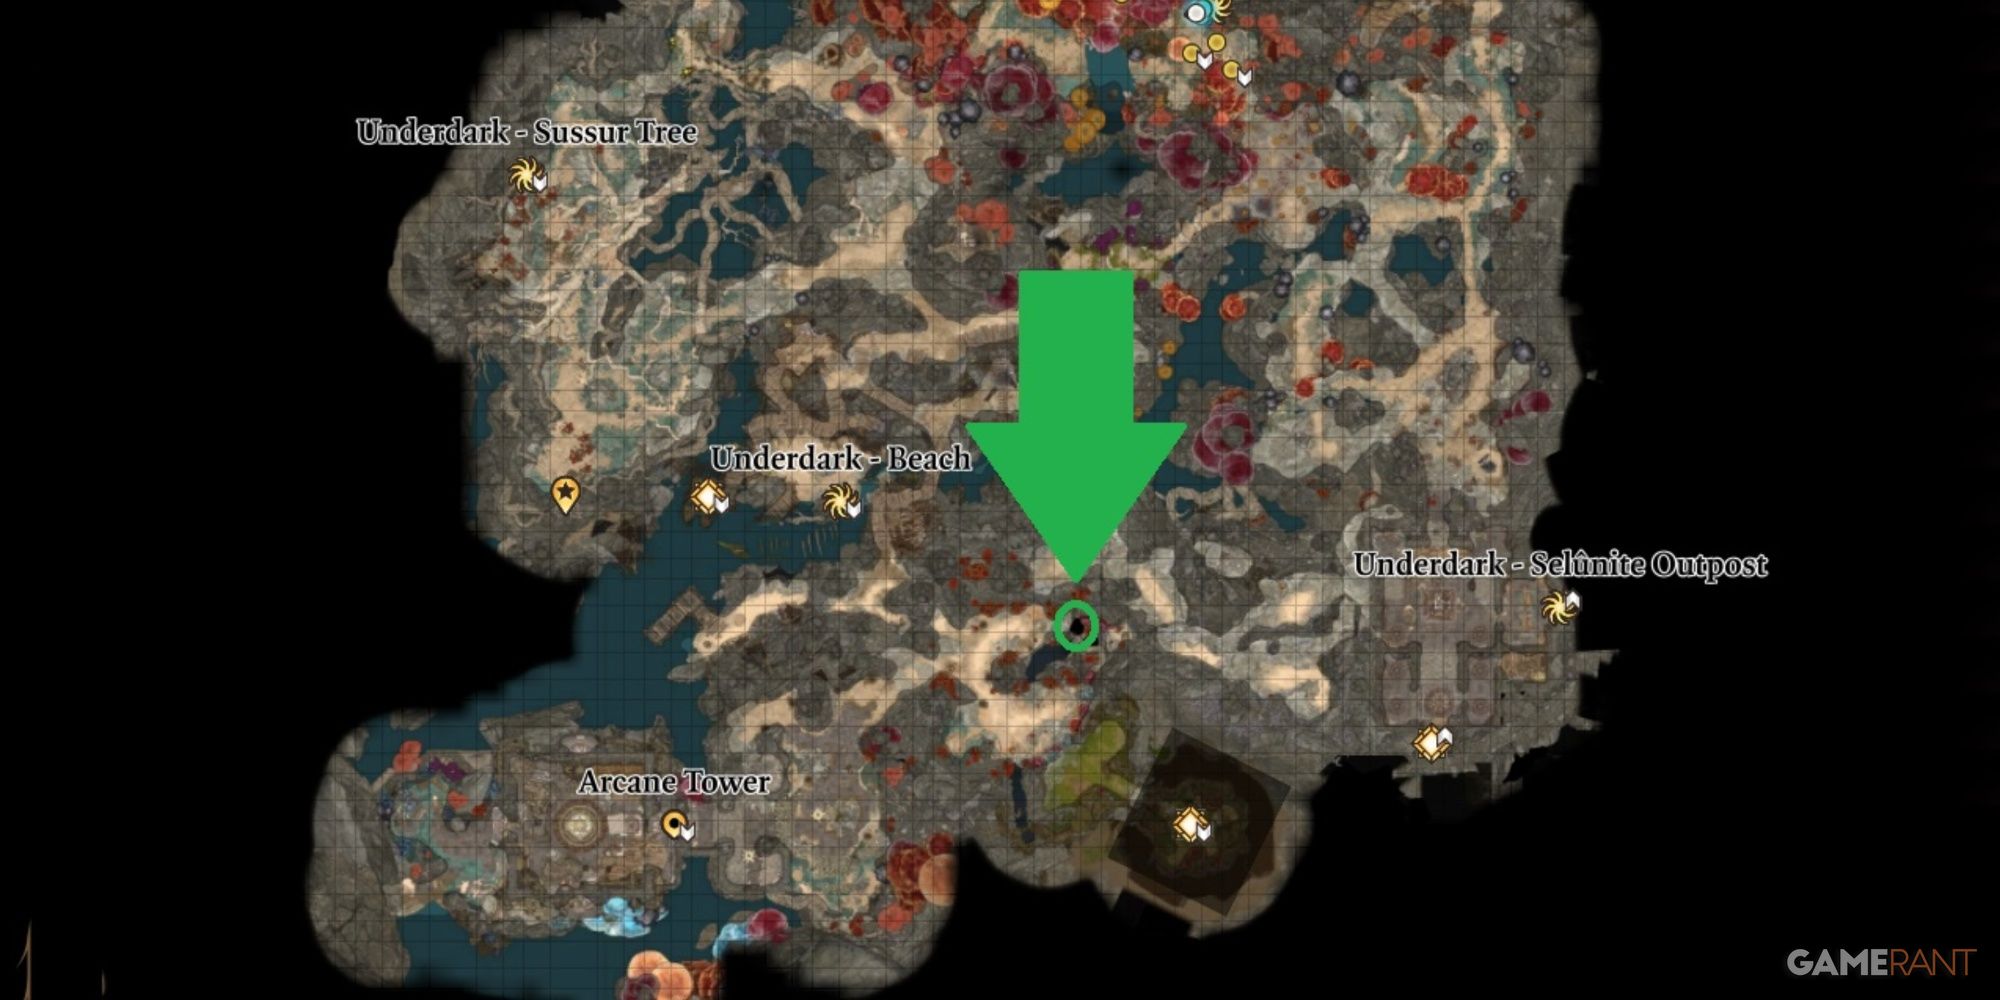
If there is one area in Act 1 that players haven’t heard of, it is the Festering Cove. By jumping down from next to the mushroom portals in Auntie Ethel’s Lair, players will find themselves in one of the game’s weirdest locations. The half-fish-like creatures known as the Kuo-Toa are even stranger.
These creatures worship a Redcap called BOOOAL and, as with anything in Baldur’s Gate 3, how players proceed is completely up to them. They might choose to save the Kuo-Toa, or they might sacrifice a friend. With so much on the line, this is definitely a location for lovers of the story to visit.











Leave a Reply