Summary
- Undead Bone Shards in Dark Souls 3 permanently increase the HP and FP recovery of Estus Flasks.
- Obtaining Undead Bone Shards is vital for survival in the game and can make the journey easier.
- The locations of Undead Bone Shards are scattered throughout different areas of the game, requiring players to explore and defeat enemies to acquire them.
In Dark Souls 3, Undead Bone Shards grant players a boost to an Estus Flask’s recovery amount, permanently increasing the number of hit points (HP) recovered from a regular Estus Flask and/or focus points (FP) recovered from an Ashen Estus Flask. The Dark Souls universe has a plethora of items that provide buffs and benefits to the player, but these are arguably among the most important of them. Given how imperative an Estus Flask is to ensure that players don’t have to chug multiple valuable healing items at a time, it only makes sense to grab as many of these rare items as possible to make the trek through this grueling game as manageable as possible.

Related
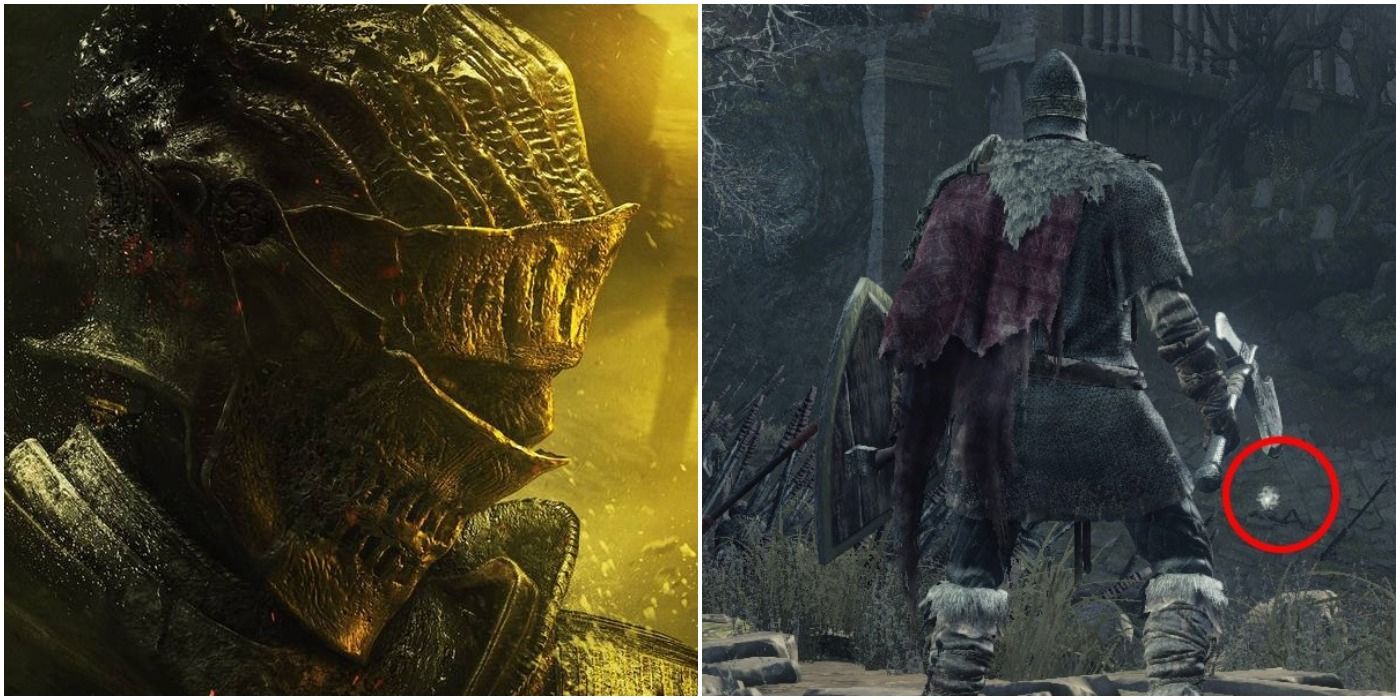
Dark Souls 3: The Best Rings In The Game
Dark Souls 3 has a lot of different rings to equip — today, we’re counting off the best of them.
Although Undead Bone Shards are vital to improving the likelihood of one’s survival in Dark Souls 3‘s unforgiving world, they are few and far between in the game. Therefore, one must be vigilant when traversing through the Kingdom of Lothric in search of Undead Bone Shards. Obtaining these items is the difference between life and death for many players who may be struggling at certain parts of the game.
Updated on February 28, 2025, by Gerardo Molina: In Dark Souls 3, it’s really easy to miss Undead Bone Shards, as players are most likely focusing on survival on their first playthrough. When several enemies are coming at them, players’ attention will likely not be locked onto exploring every corner of the area they’re in. However, given how important Undead Bone Shards are, those looking for the best chance of survival will have to shake off the stress of feeling stalked at all times and venture forth to obtain them. Some Undead Bone Shards are easy to get, as they’re simply lying around, but others will require careful exploration and a ton of patience, as death is almost always lurking around the corner in this amazing, yet frustrating title.
10
Undead Settlement
On A Platform To The Left Of The White Birch Tree Near The Dilapidated Bridge Bonfire

The Undead Settlement is one of the earliest locations of the game players come across, early being relative in this massive game. It makes sense for players to come across their first Undead Bone Shard here. From the Dilapidated Bridge bonfire, players find the item by going straight but not yet crossing the titular bridge. After dealing with a few enemies as they see fit, they will come across a tree in a field of arrows. To the right of the tree is a piece of earth that has broken off from the stone path. Players reach the Bone Shard by jumping to it.
9
Farron Keep
Near The Door That Opens With The Three Bonfires, In A Tower Surrounded By Slugs

Dark Souls 3 veterans know Farron Keep all too well. It’s the patented poison swamp area that has become commonplace in most FromSoftware games, and players need to equip themselves with enough Purple Moss Clumps to prevent this status effect from needlessly eating away at their precious health.
Amidst this swamp live the many denizens who mean players harm as they move through the bog with the speed of a slug. And slugs are actually the key to the next Undead Bone Shard’s location. From the Keep Ruins bonfire, players will make their way down the walkway toward the big double doors that lead to the Abyss Watchers boss fight. Turn to the right at the bottom of the walkway, and there is a tower filled with rotten slugs at the base. The Undead Bone Shard is among the slugs on the ground.
Players who don’t want to go through the trouble of obtaining as many Purple Moss Clumps as they can, might simply prefer to just roll, dodge, and pray to find a bonfire nearby. This is quite possible, and most veteran players who are familiar with the area and have completed the game more than once will certainly choose this method. Players should also be on the lookout for Darkwraiths, as there are a few in this area that can quickly kill them and cut their run short. Dodging their regular attacks isn’t too hard, but others can hit like a truck, so practicing efficient evasion beforehand is recommended.
8
Cathedral of the Deep
On A Tombstone In The Graveyard Near The White Birch Tree

The entirety of the Cathedral of the Deep is separated into two major areas: the surrounding graveyard and the cathedral itself. Fortunately, the Undead Bone Shard is located in the graveyard, so venturing into the cathedral won’t be necessary. From the Cleansing Chapel bonfire, turn around, head outside, and move up the stairs to the right. Traversing through the graveyard brings players to a small stone bridge. Players will come face-to-face with a Gravewarden after crossing the bridge and going up the stairs. After dispatching with or ignoring the Gravewarden, turn to the right. There is a large gravestone perched precariously at the edge of the cliff, and the Bone Shard is on that stone.
One of the most useful items for this area is the Torch, as it can burn away the leeches that players will be pestered with after being attacked by some of the enemies in this location. Otherwise, Bleed can quickly build up and cause players to lose a ton of health, which is less than desirable this early in the game—especially in such a challenging area.
7
Catacombs of Carthus
Drop Down A Series Of Platforms Near The Abyss Watchers’ Bonfire And Kill A Skeleton With A Hat Quickly To Make A Skeleton Ball Break Down A Wall With The Undead Bone Shard

After players fight the Abyss Watchers, the Catacombs of Carthus will open. The Catacombs of Carthus are filled with a cacophony of enemies that want to claim players’ lives. The Undead Bone Shard is found by heading down the stairs from the Abyss Watchers bonfire.
6:17

Related
Dark Souls 3: All Bosses, Ranked By Difficulty
The Dark Souls series is notorious for its difficulty, and these Dark Souls 3 bosses are prime examples of why that is.
Players go through the catacombs until they come across a long set of stairs. As they descend the stairs, a skeleton ball will roll through the doorway. After going through the door, a skeleton with a hat is hiding in the corner to the right. Killing it will cause the ball to smash into the barred door, and the Bone Shard will be on the ground. It’s one of the trickier Undead Bone Shards to secure in the game, and it’s easy to see why so many people miss out on the opportunity to bag this item when they visit the Catacombs of Carthus for the first time.
6
Smouldering Lake #1
Kill The Carthus Sandworm

The Smouldering Lake technically has two Undead Bone Shards in its surrounding area. The first Shard is found in the lake area itself. Getting this Bone Shard may be easy for some players, depending on their stats at this point in the game.
To reach it, players must kill the Carthus Sandworm. The sandworm can be seen moving around the lake. Finding it is not the hard part, but killing it potentially is. It may look imposing, but all players need to do is land a few hits and back away before the Sandworm can react to their assault. After killing the Carthus Sandworm, players pick up the Undead Bone Shard automatically.
Those who feel like they lack the patience or skill to hack away at the Carthus Sandworm regularly can take advantage of the frustrating giant ballista firing enormous bolts at them. All players have to do is make the sandworm appear and then try to get the bolts to hit it repeatedly. Granted, this is easier said than done, but it beats having to strike at the sandworm for ages, hoping it eventually succumbs to the damage inflicted to it.
5
Smouldering Lake #2
Kill Or Run Through The Long Room Full Of Enemies Near The Demon Ruins Bonfire

As stated in the previous entry, the Smouldering Lake area technically contains two Undead Bone Shards. The second Shard isn’t found near the actual lake, but it isn’t found back in the Catacombs of Carthus either. From the Demon Ruins bonfire, players will make their way through the demon catacombs until they enter a room filled with floating fireballs. At the end of that room is a demon corpse clutching the Bone Shard. This is one of the more difficult Undead Bone Shards to find because of the confusing corridors.
4
Irithyll of the Boreal Valley
Near The Church Of Yorshka Bonfire, Down The Hallway Stairs, Along The Cliff To The Right

The Irithyll of the Boreal Valley is a beautiful landscape filled with strange enemies and valuable loot. The Undead Bone Shard is quite a distance from the bridge into the city where the player first enters the game area. Before players continue to the Pontiff Sulyvahn boss fight, they will come across the Church of Yorshka. Players should then head down the stairs opposite the bonfire to the outside. Players will then turn right, toward the cliff. They should follow the cliff until they come across a large gravestone with an Irithyllian Slave seemingly praying at it. The Bone Shard can be found behind the gravestone.
Irithyll of the Boreal Valley is also home to a few other creatures that are the stuff of nightmares. They lurk in the shadows, and while they don’t do a lot of damage, they can quickly outnumber players. The golden rule for this area is to stay away from dark corners where whispering can be heard.
3
The Profaned Capital
On The Corpse Of Laddersmith Gilligan

The Undead Bone Shard found in the Profaned Capital is one of the easiest Bone Shards to find in terms of the number of enemies a player must get through to reach it from the beginning of the area.

Related
Dark Souls 3: The 10 Hardest Zones Ranked By Difficulty
Dark Souls 3 isn’t an easy journey, but these areas are harder than most, where players will need to bring brain and brawn to thrive.
Upon entering the Profaned Capital, players will cross a narrow bridge guarded by a gargoyle. This is the only enemy that stands between them and the namesake shard. The Bone Shard can be found by descending the rubble after the bridge. There is a ladder at the other end of the room. Ascending it brings players to a bonfire and a corpse that holds a player gesture and the Undead Bone Shard.
2
Lothric Castle
Under The Bridge Near The Two Dragons

The Undead Bone Shard at Lothric Castle is found underneath the bridge that is guarded by two dragons. Players will cross this bridge by going upstairs from the Dragon Barracks bonfire. If players are quick and nimble enough, they can avoid the dragons’ fire by jumping off the bridge to the right at the end. Doing so lands them below the bridge. Turning around, they’ll see a corpse under the bridge, lying with the bone shard.
1
Grand Archives
Near A Doorway Leading To The Three NPC Hunters

This Undead Bone Shard is the last of the Shards found in the game’s main storyline. Players must make their way through the Grand Archives until they reach the rooftops. If they continue across the rooftops as they normally would while progressing through the game they’ll find a broken window to jump through. The Undead Bone Shard can be found on a corpse in a chair located near the ladder shortcut.
