Across the Monster Hunter series, more and more weapons were consistently added up to Monster Hunter 4, when those weapons started to be diversified with each entry. In Monster Hunter Wilds, we have the same 14 weapons in the last few entries, though with some dramatic changes to fit the game’s new style.

Related
Every Monster Hunter Game In Chronological Order
Monster Hunter continues to be well and alive after almost two decades. With so many titles, it can be confusing to know how to play them in order.
The Charge Blade has always stood as one of the more complex weapons in the series, and that’s no different in Wilds. That said, any weapon is easy once you get the hang of it, and the Charge Blade let’s you unleash some absurd damage if you time it right, and Focus Mode makes that easier than ever.
For clarity, we are using Xbox button prompts for this guide.
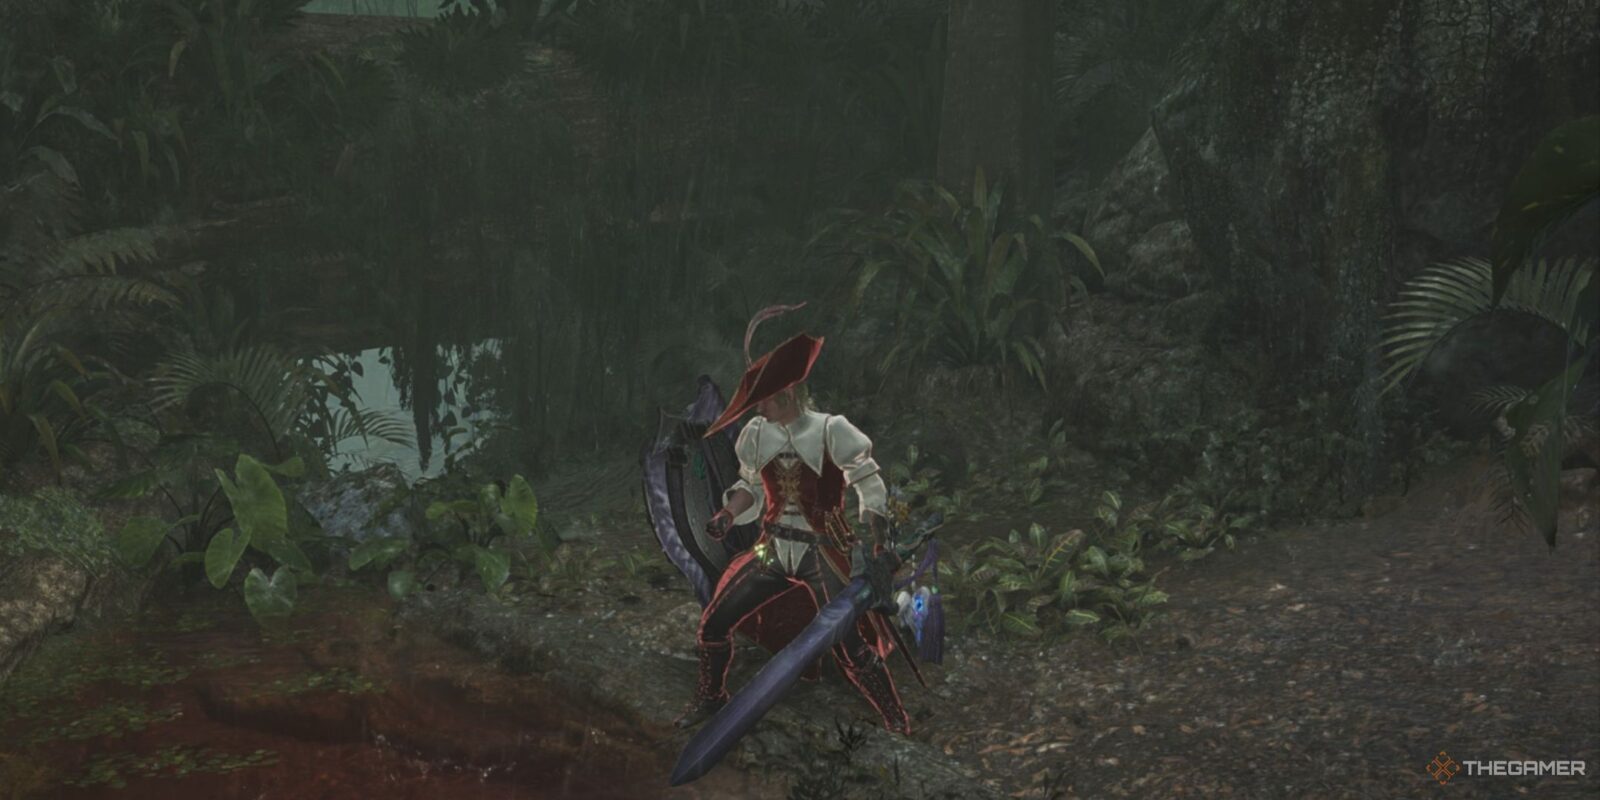
The Charge Blade
The Charge Blade is a weapon of balance, with you having to manage your time between the Sword and Shield mode, and the Axe mode. No mode can be used fully independently so it’s best to come to terms with the basics before you pick up this weapon. That said, each mode does have its unique advantages, so let’s discuss them.
Phials
Phials are the core of the Charge Blade, and can be slightly complex to wrap your head around at first. Put simply, attacking with the Sword builds up Phial Energy, which can be stocked into the weapon. This can be seen in the phials in the corner of the screen.
This is a staged process, which goes as follows:
- Empty – There is no colour on your weapon and no energy to stock.
- Yellow Energy – Your sword will begin glowing orange-yellow, and this energy can be stocked to fill three phials.
- Red Energy – Your sword will glow red, and this energy can be stocked to fill all five phials.
- Overcharged – Your Sword will glow an incredibly bright red and all your attacks will bounce off the monster. This energy can be stocked the same as Red Energy for five phials.
This is why it’s important to know how to use the Charge Blade, even in a rudimentary way. Gathering too much energy without expelling it will cause all of your attacks to simply bounce off and deal no damage. Expelling this energy is easy. You just press RT+B at the same time, or press B anytime while you’re blocking. This will transfer the energy from your Sword and put it into the phials.
Phials themselves have two stages of being filled as well, which are:
- Filled – Once a phial is filled, it can be used for Elemental Discharge. The more phials filled, the more elemental attacks you can do.
- Overfilled – After all five phials are filled, they can be filled again so that elemental attacks deal more damage and leave aftershocks.
Filled and overfilled phials can be mixed together, though it’s best to only use them when they’re fully filled or overfilled for consistency in your damage output.
In short, attack with your Sword until you have gathered red energy, then stock it into the phials, and repeat.
Sword And Shield Mode
As part of the Charge Blade, you have two modes. The default is the Sword and Shield Mode, which at its base is like a more limited Sword and Shield but with more charged attacks. However, it offers a massive degree of versatility compared to the Axe mode, letting you easily move around quickly and giving you the ability to block attacks.
The damage you can dole out in Sword mode is relatively low, though not irrelevant either. It’s greatest advantage is how much more freely you can move, and the versatility at which you can jump between moves. All of them come out quickly, and can typically all be woven into each other. A Shield Thrust can transition to Fade Slash, that to Charged Rising Slash, to another Shield Thrust. It’s great for actually giving you freedom, even if the damage is low.
It is also the only way to charge phials.
Axe Mode
On the opposite end of the Charge Blade, we have Axe Mode. This is incredibly slow, but deals a massive amount more damage. It doesn’t have any way of guarding against attacks, though it does offer a high degree of hyper armour during your attacks for some degree of protection.
However, without either being in Power Axe Mode, having no phials filled, or without powering up either the Sword or the Shield, Axe Mode is quite limited and should be avoided until it’s been boosted.
Also, with Sword and Shield Mode being the default, you can only access Axe Mode through attacks. The easiest way to do this is by blocking and pressing Y, though it can also be achieved by pressing Y+B after a Shield Trust or guarding against an attack. This automatically performs an Amped Elemental Discharge in the event of the latter, so be careful when using it.
Powered-Up Mode
There is a reason the weapon is called the Charge Blade and not the Switchaxe. While you can fill up phials to strengthen your elemental attacks with Axe Mode, this energy can also be used to boost the Sword and Shield separately. These weapons can be powered up in a few different ways, though the basics of it involving taking your energy and putting into into them rather than stocking them.
With Sword Energy available, being to transfer it to phials like you normally would, but keep holding B instead to power up the shield rather than stocking it in phials. After the Shield is powered-up, you can then do the same for the Sword. After you begin transferring Sword Energy, hold Y instead to begin a condensed elemental slash. Release this at the right moment and it will power up the Sword.
Don’t worry, the Condensed Elemental Slash doesn’t actually need to hit an enemy to power up the weapon. And if you over or undercharge the attack, the energy is transferred to your phials instead.
The Axe is powered-up differently, and can only be done in two specific ways – by performing a Perfect Guard and then pressing Y for a Savage Axe Slash, or by using Double Rend on a wound.
Here is what each weapon can do when powered-up:
- Sword – Attacks will not deflect no matter your sharpness, except when overcharged with Sword Energy, and will deal more damage overall.
- Shield – You can block more powerful attacks with staggering or taking damage, and allows Axe mode to use Super Amped Elemental Discharge.
- Axe – The Axe can now hold the attack button to perform multiple hits with a single swing. With overfilled phials, small explosions will also occur after each attack.
The powering-up process can be a bit confusing though. The Sword can only be powered up if the Shield is already powered up, while Power Axe can be used regardless of whether other parts are powered-up. However, the Sword can remain powered-up even after the Shield loses power, though cannot be recharged until the Shield is powered-up again first.
Charge Blade – Skills And Abilities
Now that we have the fundamentals of the Charge Blade covered, let’s look at some of the more complex mechanics it has, and the may ways in which you can weave the two modes together.
Charged Rising Slash
Charged Rising Slash is one of the basic moves of Sword Mode, and one of the most common attacks you will be using. It is performed by holding B while standing still, and then releasing at the right moment, just like Condensed Elemental Slash. This can be clearly seen by the colour of your blade and the sound effect during the charging process.
It is a decently powerful move, but most importantly is that it charges Sword Energy immensely quickly. Just two fully powered Charged Rising Slashes will give you Red Sword Energy, and it will take even less than that with the right skills.
Releasing the attack too early or too late has you perform the comparatively paltry Charged Slash instead, which is both weak and gains a negligible amount of Sword Energy.
Elemental Roundslash
Elemental Roundslash is an incredible move for speeding up the process of powering up the Charge Blade. It is performed by beginning an Amped Elemental Discharge, but then pressing RT to cancel into Elemental Roundslash. This performs a quick attacks that returns you to Sword Mode, but transfers any Sword Energy and stocked Phials into the Shield to power it up.
This means you can power up the shield without every having to stop attacking. A very good combo to practice is, once you have enough Sword Energy, to perform a Shield Thrust, which can be linked into an Amped Elemental Discharge, and then almost instantly back into an Elemental Roundslash.
Fade Slash
While Axe Mode is where you’ll be dishing out the majority of your damage, that comes in short bursts. You’ll still be spending a lot of time in Sword Mode, so it helps to have some survivability. This is what makes Fade Slash so powerful.
While it doesn’t deal much damage, it lets you quickly reposition around a monster and strike them by simply pressing B while holding the left stick in any direction. The ground you cover is incredible, able to move from the face of a monster to almost behind them with a single Fade Slash. The attack can be weaved into just about any combo, too, making it a very effective dodge.
It’s important to keep in mind however that there are none to very few invincibility frames during Fade Slash.
Super Amped Elemental Discharge
Where Charged Rising Slash is the bread and butter of Sword Mode, Super Amped Elemental Discharge is the equivalent for Axe Mode. This is what makes Charge Blade so flashy, and allows you to deal such incredible damage. It does require some extensive set-up though.
Typically shortened to SAED, this attack can only be performed while the Shield is powered up. Otherwise, the max you can do is Amped Elemental Discharge. With the Shield Powered Up, just press Y+B to perform SAED. There is an option for a follow-up attack, or you can jump right into the final strike.
This attack will deal a massive slam for high damage with no phials, will leave an explosive trail with filled phials, and will create aftershocks with overfilled phials. It does take some time to unleash though, so it’s best used against monsters that are locked in place, be they trapped or stunned.
With Focus Mode, you can change your aim on the fly, meaning you never have to whiff an attack again.
Perfect Guard
One of the great benefits of the Charge Blade is the fact that is has quite a high degree of defense in Sword Mode. Your Shield can already negate quite a large degree of damage and keep you standing, but a Perfect Guard pushes that even further.
By blocking just as an enemy attacks, you will negate the damage entirely and with a high enough Guard skill, won’t even be staggered. After a Perfect Guard, you have a few seconds to perform some follow-up actions:
- Savage Axe Slash – This is an attack that brings you into Power Axe Mode, and can be extended to deal even more damage.
- Super Amped Elemental Discharge – With charged phials and a powered-up shield, you can instantly transition to the final attack of SAED. This is great when the monster is also staggered by the Perfect Guard.
In certain cases, a Perfect Guard also begin a Power Clash with the monster. You just have to rapidly press Y to win, which has you stabbing the Sword for extra damage.
Double Rend
This is the Focus Attack of the Charge Blade, and can be performed in either Sword or Axe Mode. It covers a good distance, letting you close in on a wound from afar. Once it hits, it transitions to Power Axe Mode and starts ripping away at the wound. After the attack ends, you are left in Power Axe mode.
You can also use Focus Mode during Double Rend to move the attack to damage other parts of the monster.
This is a great way of entering Power Axe mode without having to worry about a Perfect Guard, and let’s you very quickly start dishing out high damage.
Charge Blade – Tips And Tricks

Now you know how the Charge Blade works, you have enough to succeed in any hunt. But truly mastering a weapon means getting to know every little piece of it, and the Charge Blade has lots of little intricacies that let you turn it into a much faster, even more aggressive weapon. Let’s look at a few below.
Use The Load Shells Skill
Filling phials is the main balancing act of the Charge Blade. Every SAED means another filling of the phials, ad infinitum. But what if you didn’t have to spend so long gathering? That’s where the Load Shells ability comes in.
At the first level, it has you charging up Sword Energy even faster, meaning less hits to get phials charged. At the second level, it makes it so that Yellow Energy can fill all five phials, and Red Energy will overfill them from empty. It dramatically speeds up combat and lets you unleash some much more damage.
Take Advantage Of Guard Points
The Charge Blade, alongside other weapons with blocking, have what are known as Guard Points. These fucntion the same as a block but happen mid-animation so you don’t get interrupted while still negating all damage. They are, however, incredibly difficult tp pull off.
In short, most animations where the Shield is placed ahead of you, such as during Elemental Boost, will act as guarding if timed right. While these don’t function as a Perfect Guard, they offer a utility that keeps combat moving smoothly.
Elemental And Impact Phials Work Differently
You might have noticed when choosing your Charge Balde that there are two types of phials – Impact Phials, and Elemental Phials. For the most part, this are almost identical except for when it comes to certain Axe Mode attacks and the SAED.
Impact Phials are focused on Stunning and Exhausting monsters, and dealing more of whatever ailment your weapon inflicts whenever you use an attack that uses up a phial. The same is true for Elemental Phials except for the associated element instead.
The other major difference is in the final attack of the SAED. For an Impact Phial, the subsequent blast will travel forward by the number of stocked phials, giving it more reach. For Elemental Phials, it will instead travel to the left and right, giving it more width. Make sure to choose one that fits both your playstyle and the monster you’re battling.
Learn Your Shortcuts
What separates a novice of the Charge Blade from a master is learning your shortcuts. You can deal great damage and charge the weapon fairly quickly with just the basics, but shortcuts turn the weapon into a real powerhouse that can swap between modes and charge with ease.
You have every piece powered-up? Just block an attack to swing right into the final hit of SAED. You need to power-up the shield still. Cancel into an Elemental Roundslash. Almost every move can be canceled into another with the Charge Blade, making it incredibly diverse if you memorise the right combo swings.

Next
Every Flagship Monster In Monster Hunter, Ranked
Every monster in Monster Hunter is memorable, but the flagship ones leave the biggest impression. Here are the best.