Quick Links
The Bow has been a part of the a hunter’s toolset in the Monster Hunter games since the early days, and Monster Hunter Wilds has introduced some significant changes to the weapon. It still fills the niche of letting you play at ranged while retaining mobility, but it’s been made a lot more aggressive this time around.

Related
10 Monsters We Want To See Return In Monster Hunter Wilds
We already saw a glimpse of many monsters in Monster Hunter Wilds, but some are yet to be seen or confirmed that we would LOVE to see make the cut!
In Wilds, the Bow feels like more than just training wheels towards the Bowguns, but a full-fledged weapon in its own right. Plenty of its new additions make it quite a different beast than renditions of the weapon that came before, so here is our comprehensive overview of this ferocious ranged weapon.
For the sake of clarity, we are using Xbox button prompts for our explanations.
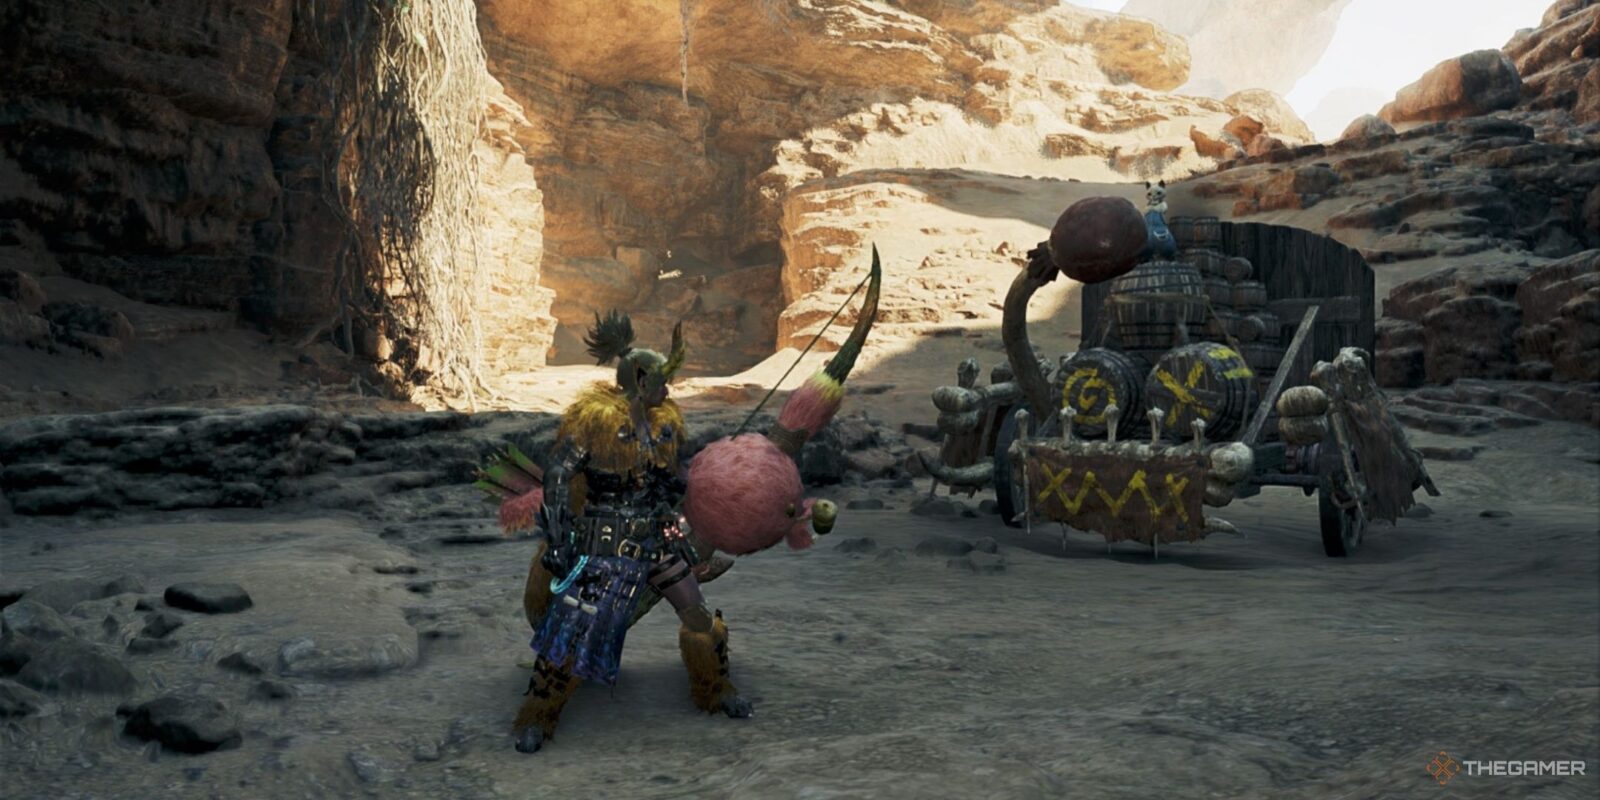
The Bow
Every weapon in Monster Hunter fits its own playstyle, and the Bow allows you to keep a distance from monsters while still being able to react quickly to any changes in the battle. Wilds makes the weapon even more active, promoting you to get up close to the monster and to be constantly on the move.
A lot of the base moveset is similar to previous versions, though with some key differences. Let’s check them out.
Charged Shots
The basic function of the Bow is firing off arrows. As you pull back an arrow, the longer you hold it for, the more damage it will deal when loosed. This happens across three distinct Charge Levels. There is the first charge level that you are on with no charging, where you have no colour. The second Charge Level has you glow orange, and the third Charge Level has you glow red.
To promote you keeping active, the Bow also has an ability called Charging Sidestep. As the name implies, if you do a dodge immediately after firing an arrow, you will charge to the next level rather than resetting. This means you can continually fire off arrows without even having to manually charge them.
After you reach the highest Charge Level through Charging Sidestep, the Charge Level will reset after the next arrow fired.
Your Charge Level is not exclusive to just your regular arrows though, and applies to every type of arrow you can fire. The Charge Level carries across your combo too, so you can fire a normal arrow with your first shot, and then a charged Tracer Arrow with the next, and finish it with a fully charged Arc Shot.
Coatings
Where Bowguns have specific ammo types, Bows use Coatings. These have had a pretty distinct change from previous games though, with Coatings no longer needing to be crafted. Instead, they are infinite, but use the Trick Gauge to apply instead. This means you can always use your Coatings without having to worry about conserving them.
There are eight distinct types of Coatings, which are:
- Close-Range Coating – Causes your arrows to deal more damage, but makes your effective range only work close to monsters.
- Power Coating – Causes all your arrows to deal more damage.
- Pierce Coating – Allows your arrows to pierce through a monster while the Dragon Piercer ability.
- Paralysis Coating – Causes a build-up of Paralysis, which freezes the monster in place.
- Poison Coating – Causes a build-up of poison, dealing damage over time.
- Sleep Coating – Causes a build-up of sleep, putting the monster to sleep when full.
- Blast Coating – Causes a build-up of Blast, which triggers and explosion when full.
- Exhaust Coating – Causes a build-up of Stun and Exhaustion on a monster.
When a Coating is applied, it works for the next ten arrows you fire. Provided you are playing aggressively, the Trick Gauge will fill quickly, letting you reapply a Coating as soon as it wears off.
However, not every Coating can be applied to every Bow. Each Bow comes with its own set of Coatings that can be used, which can be checked from the equipment menu. Always check which Coatings can be applied to a Bow before you craft it.
Trick Gauge
New to Monster Hunter Wilds is the Trick Gauge. This is a meter that allows you to use specialised abilities, namely Tracer Arrows and Coatings.
The Trick Gauge has three levels, and using a Tracer Arrow or applying a Coating takes one level each. The Trick Gauge is refilled in two ways – dealing damage, and performing a Discerning Dodge. The former will restore the meter slowly, while a Discerning Dodge will fill the entire meter back to the top.
With Coatings being such an important part of the Bow’s playstyle and Tracer arrows letting you hit even the most mobile monsters, it’s important to make sure you always have at least one level available in the Trick Gauge.
Fuse And Tracer Arrows
Two new types of arrows introduced in Monster Hunter Wilds are Tracer and Fuse Arrows. These both work in different ways, so let’s check them out.
- Tracer Arrows – These use a level of the Trick Gauge and can be shot at any part of the monster. All arrows you fire (excluding Arc Shots) will hit this Tracer, letting you deal incredible damage to one spot and worry less about aiming.
- Fuse Arrows – These arrows are somewhat random, and are triggered by Arc Shot. During the downfall of arrows during Arc Shot, a random number of arrows that hit the monster will be Fuse Arrows, which stick in the monster after the attack ends.
Tracer and Fuse Arrows can be both be destroyed with Hailstorm, Dragon Piercer, and Thousand Dragons. This will cause a large explosion of damage on the monster, with Fuse Arrows dealing more damage on detonation than Tracer Arrows.
Despite Fuse Arrows looking like Tracer Arrows, they do not have the tracking properties of the latter.
Bow – Skills And Abilities
Now that we know the basics of the Bow’s moveset, let’s get into everything it can actually do. The Bow is all about seamless movements, dashing around and weaving different moves into your combos.
Thousand Dragons
Thousand Dragons is a new move, activated by pressing Y+B at the same time while aiming and charging an arrow. It locks you in place for a few seconds as you load multiple arrows into your Bow and fire them out in an arc in front of you. This is great to use while in front of a monster, though can also deal incredible damage when used with a Tracer Arrow for it to lock-in on.
Dragon Piercer
Dragon Piercer is a classic Bow move. It is activated by pressing Y+B at the same time whenever, though it is better to use it while aiming to give you more control. As the name implies, Dragon Piercer fires off a single arrow that travels through the monster. As such, it is best to aim it from a position where it can travel through as much of the monster as possible to maximise damage.
Dragon Piercer can also be used in the middle of a combo to activate even faster.
Arc Shot
By pressing B while aiming and charging an arrow, you will swap to Arc Shot. This makes a circle appear, and it will change to an orange-red shade when it is positioned over an enemy. After releasing this shot, arrows will rain down on the spot it was aimed on. Regular arrows fall during this, as well as Fuse Arrows that stick in the enemy.
Arc Shots can also be charged, increasing the number of regular and Fuse arrows that drop during the attack.
Flying Swallow Shot
Flying Swallow Shot is a great move to let you very quickly reposition. By pressing Y during a Charging Sidestep, you will dodge in the direction you are holding and fire off an arrow. This covers quite a wide distance too, letting you easily weave around a monster or just get some distance from them.
Power Shot
After firing off a regular arrow, you can quickly follow it up by pressing B. This launches a small volley of arrows where you are aiming. You can then press B again right after a Power Shot to perform a Power Volley, which is a very effective combo ender. There is also Quick Shot, which fires off one arrow that cannot be charged, though it doesn’t have much utility.
Power Shot and Power Volley both retain the Charge Level of the final arrow you fired, so always use them as a combo ender.
Hailstorm
Hailstorm is the Focus ability of the Bow, and is activated by holding LB while aiming. This brings up a large circle on the screen from which you can lock-on to certain targets. The targets that can be locked-on to include Tracer and Fuse Arrows, and Wounds.
The number of arrows fired by Hailstorm is dependent on both the number of targets it can lock-on to, and how long you charge it. This is separate from the regular Charge Level, with every target you lock-on to in Hailstorm getting three notches that fill up over time.
Hailstorm can target up to ten items at once, and will fire a volley at each when it is charged to the highest level on each target. This includes wounds, monster weak points, Tracer Arrows, and Fuse Arrows.
Wounds in particular deal incredible damage as it leads to a follow-up attack that destroys the wound and temporarily stuns the monster.
However, Hailstorm will only lock-on to targets that are both visible and fit within the circle. If a Wound is on the opposite side of the monster, Hailstorm will not be able to reach it.
Bow – Tips And Tricks

Discerning Dodge
Discerning Dodge is an incredible new ability added with the Bow, letting you evade a monster’s attack at the last moment to completely refill your Trick Gauge. However, it also instantly brings your Charge Level to the highest, letting you fire off a flurry of attacks after the dodge for incredible damage.
There is no cooldown on Discerning Dodge either, so it’s worth being aggressive with the Bow. If you’re confident, keep close to the monster and you won’t have to worry about charging the Trick Gauge or your arrows ever again.
Always Use Coatings
Since Coatings no longer need to be crafted, you should always be using them. The utility afforded to the Bow by Coatings is incredible, and having an infinite source of Paralysis against a monster is an incredible resource, so make sure you constantly have Coatings applied.
In regards to the Poison and Paralysis Coatings, bear in mind that a monster gains more resistance to ailments the more they are inflicted with them.
Don’t Forget About Mounted Attacks
With the Bow being such a ranged weapon, it can be easy to forget you can still mount monsters with it, though this requires the help of your Seikret. While jumping off the Seikret to dismount, you can attack in the air to slash with an arrow, which gives you a chance to mount the monster. While mounted, you can inflict Wounds on the monster to give yourself a head start on damage.
Also in regards to mounted combat, you have access to the Bow’s basic moveset while mounted. You can apply Coatings and fire off regular arrows and build your Charge Level. It’s great to keep in mind while chasing a monster across zones.
Keep Distance In Mind
All Bows have an effective distance at which they deal the most damage. Too far away, and arrows won’t reach. Too close, and arrows can’t travel enough to deal high damage. The reticle will change colour to indicate the range at which you deal the most damage, filling with an orange circle. Always keep a close eye on the reticle to make sure you’re dealing the most damage that you can.

Next
All Monster Hunter Wilds Monsters
A look into the new creatures that’ll populate the world of Monster Hunter Wilds