Monster Hunter Wilds is finally here and, as always, there are so many new things to learn. Between the Seikret mount, new weapon combos, and of course, an entire menagerie of new monsters, your early hours playing Wilds will be filled with constant lessons and new discoveries. It’s a wild world out there.

Related
Some of the most entertaining NPCs you’ll meet in the Monster Hunter series.
While much of what Monster Hunter Wilds has to offer is brand new, there are still a few returning systems that long-time players will recognize. One such mechanic is the Melding Pot, a device hunters can use to create decorations. If you’re unfamiliar with the Melding Pot or just need a little refresher, read on to learn more about this handy vendor.
Where Is The Melding Pot?

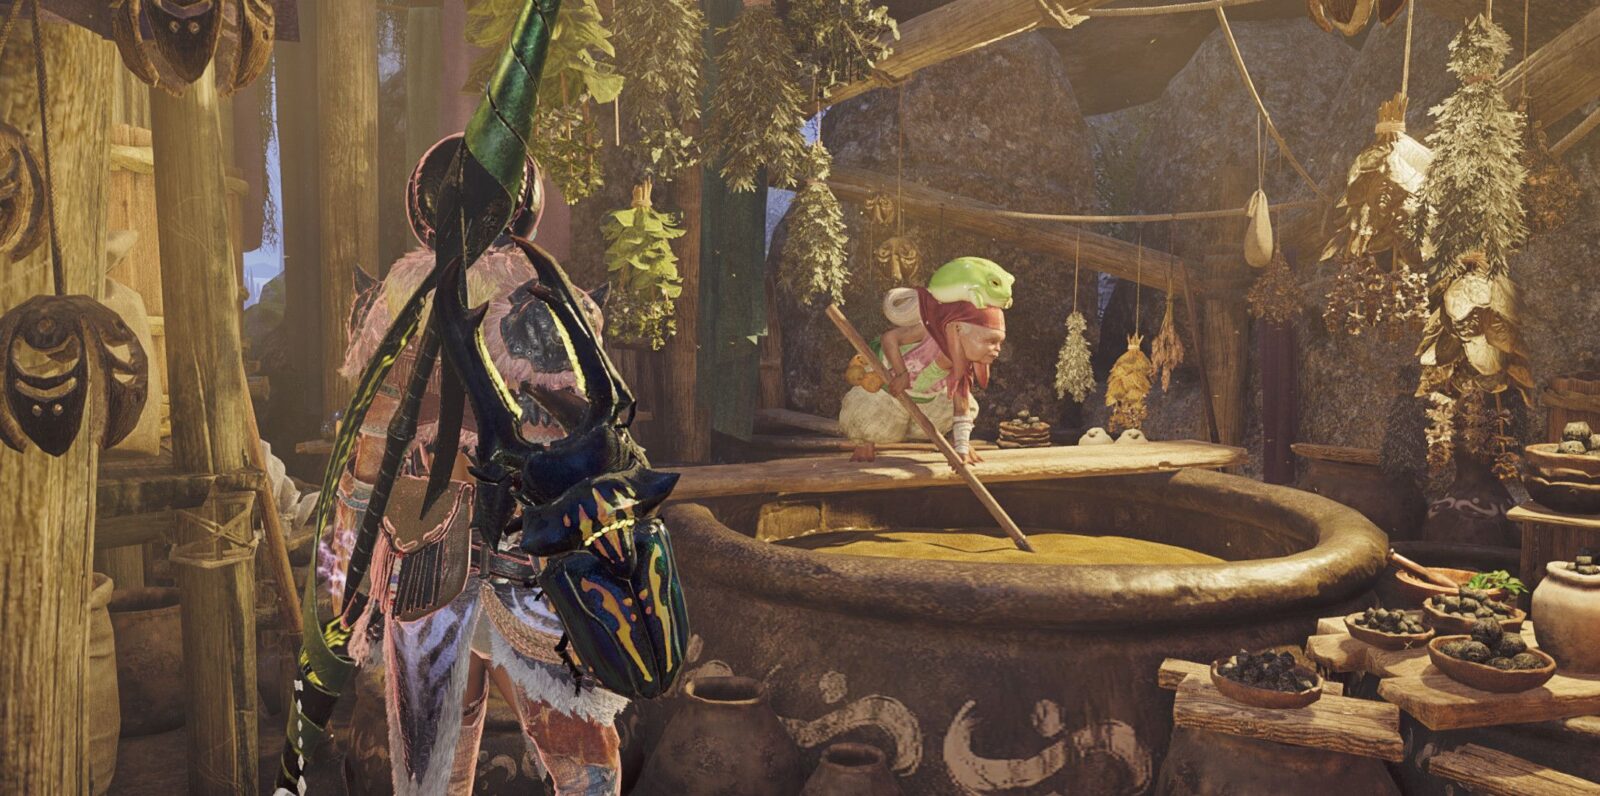
If you’re just starting out in the Forbidden Lands you won’t encounter the Melding Pot for quite some time. You’ll find Vio the Melding Pot Master in Suja, Peaks of Accord, a small camp on the eastern edge of the world map.
You’ll visit Suja for the first time at the start of Chapter 3-3: Through the Dusk. Suja is the camp nestled on the winding mountain path where you meet the Allhearken.
There is no all-encompassing base camp in Monster Hunter Wilds like the ones in previous games in the series. While most of the resources you need can be found in the Winward Plain’s base camp, you’ll need to fast travel to Suja anytime you want to use the Melding Pot. You’ll find it located in a tent on the left side of the camp across from the Smithy.
The icon on the map looks like a vase with six dots above it.
How Do You Use The Melding Pot?

The Melding Pot is a vendor that lets you convert decorations and other materials you don’t need into new decorations. When you first encounter the Melding Pot you’ll have access to two recipes: Mystery Orb – Sword and Mystery Orb – Armor. These are offensive (weapon) and defensive (armor) decorations, respectively.
In order to craft a mystery orb you’ll need to exchange materials of equivalent point value. After selecting which orb you’d like to create, you’ll then need to choose which materials you’d like to exchange for it.
There’s a meter on the left that shows the required melding points and how much more you’ll need to spend in order to meld the chosen orb. You can create as many orbs of the same type as you’d like, assuming you have enough materials to exchange. Both the Sword and Armor orbs cost four points to create.
So, for example, if you’d like to craft five Sword mystery orbs, you’ll need to exchange 20 points worth of materials. You can do this by adding any combination of material you’d like the order until you’ve reached a total of 20 points.
Be careful that you’re only exchanging materials with point values in multiples of four. If there are extra points left over you will discard the material for no reason.
Once you’re finished choosing your materials to trade, select Meld and you’ll be rewarded with all your new decorations at once. The idea is to use this system to get rid of excess decorations, and hopefully earn some powerful new ones while you’re at it.
Later on, you’ll also unlock the ability to convert unwanted Artian materials into random Artian materials through a very similar process. Here are all the Melding Pot recipes and when you unlock them.
-
Wyverian Melding
Recipe
Cost
Unlocks When
Mystery Orb – Sword
4pts
Visit Suja the first time
Mystery Orb – Armor
4pts
Visit Suja the first time
Glowing Orb – Sword
10pts
Complete 5-1: Storm-cold Vortex
Glowing Orb – Armor
10pts
Complete 5-1: Storm-cold Vortex
-
Meld Relics
Recipe
Cost
Unlocks When
Damaged Weapon Shard
5pts
Complete 5-1: Storm-cold Vortex
Which Decorations Should You Use?

A good rule of thumb is to only exchange decorations when you have more than you can use. Each skill has a maximum level that can’t be surpassed. For example, Iron Skin only goes up to level three, so you only need to keep a maximum of three Def Lock Jewels. If you have five, you can spend two of them on a new decoration.
In the Melding Pot menu, you can toggle between seeing the names of the jewels and the skills they give you. Setting it to the skill names makes it a lot easier to find what you’re looking for.
It’s typically safe to exchange decos if you’re certain you’ll never use them. Some decorations are weapon-specific, so they may not be useful to you. If you don’t use guns or bows, then you won’t need any Precise Jewels, which have the Ballistics skill. You may want to offload these decorations, unless you think you might like to try a ranged weapon later on.
You can also sell extra decorations to the Smithy for Zenny.
Here are the different kinds of materials you can exchange at the Melding Pot and how much they’re worth.
-
Wyverian Melding
Material
Value
One-slot Jewels
1pt
Two-slot Jewels
4pts
Crushed Crystal
20pts
Dalthydon Wool
20pts
-
Meld Relics
Material
Value
Wyverian Bloodstone Shard
1pt
Wyverian Bloodstone (S)
5pts
Broken Blade
1pt
Crushed Tube
1pt
Cracked Disc
1pt
Rusted Device
1pt
When Should You Start Using The Melding Pot?

When you first discover the Melding Pot in Suja, it’s very unlikely that you’ll have many extra materials to exchange. Once you complete the campaign and begin farming monster parts in High Rank, you’ll start to amass a lot more decorations – many of which won’t be useful to you.
You don’t need to worry about maximizing the Melding Pot until you’ve decided on a specific build that requires specific decorations. The Melding Pot is less efficient than simply farming High Rank monsters, so you should really only be using it as an extra way to get a few more decos here and there.
Compared to previous Monster Hunter games, the Melding Pot has definitely been de-emphasized here. It’s a good idea to use the Melding Pot when you know what decos you’re after, but otherwise, you don’t have to worry too much about missing out if you aren’t making frequent trips to this vendor.
Unless you just want to spend some quality time with, no one would fault you for that.

Next
Every Flagship Monster In Monster Hunter, Ranked
Every monster in Monster Hunter is memorable, but the flagship ones leave the biggest impression. Here are the best.