Portal 2 is nothing short of a masterpiece. The game looks great, has snappy controls, brilliantly designed puzzles, and its dialog is some of the best in video game history. The game also doesn’t pull any punches when it comes to its difficulty. Transitioning from one puzzle to the next prevents players from moving back and forth wondering where to go next. The puzzles are not overly complex, and everything the players do is at their disposal for each room.
There are some exceptions to this, such as Chapter 5. Players might not notice where to go or what to do. This guide will show players what they will need to keep an eye out for and how to progress through the chapter to its end. While there is a co-op mode for Portal 2, it does not follow the same puzzles featured in the single-player campaign.

Related
6 Valve Games With The Best Stories, Ranked
Valve has been the source of many remarkable video games. Here are some titles from the developer that feature incredible stories.
Reaching the Spiral Tube Room of Chapter 5 in Portal 2
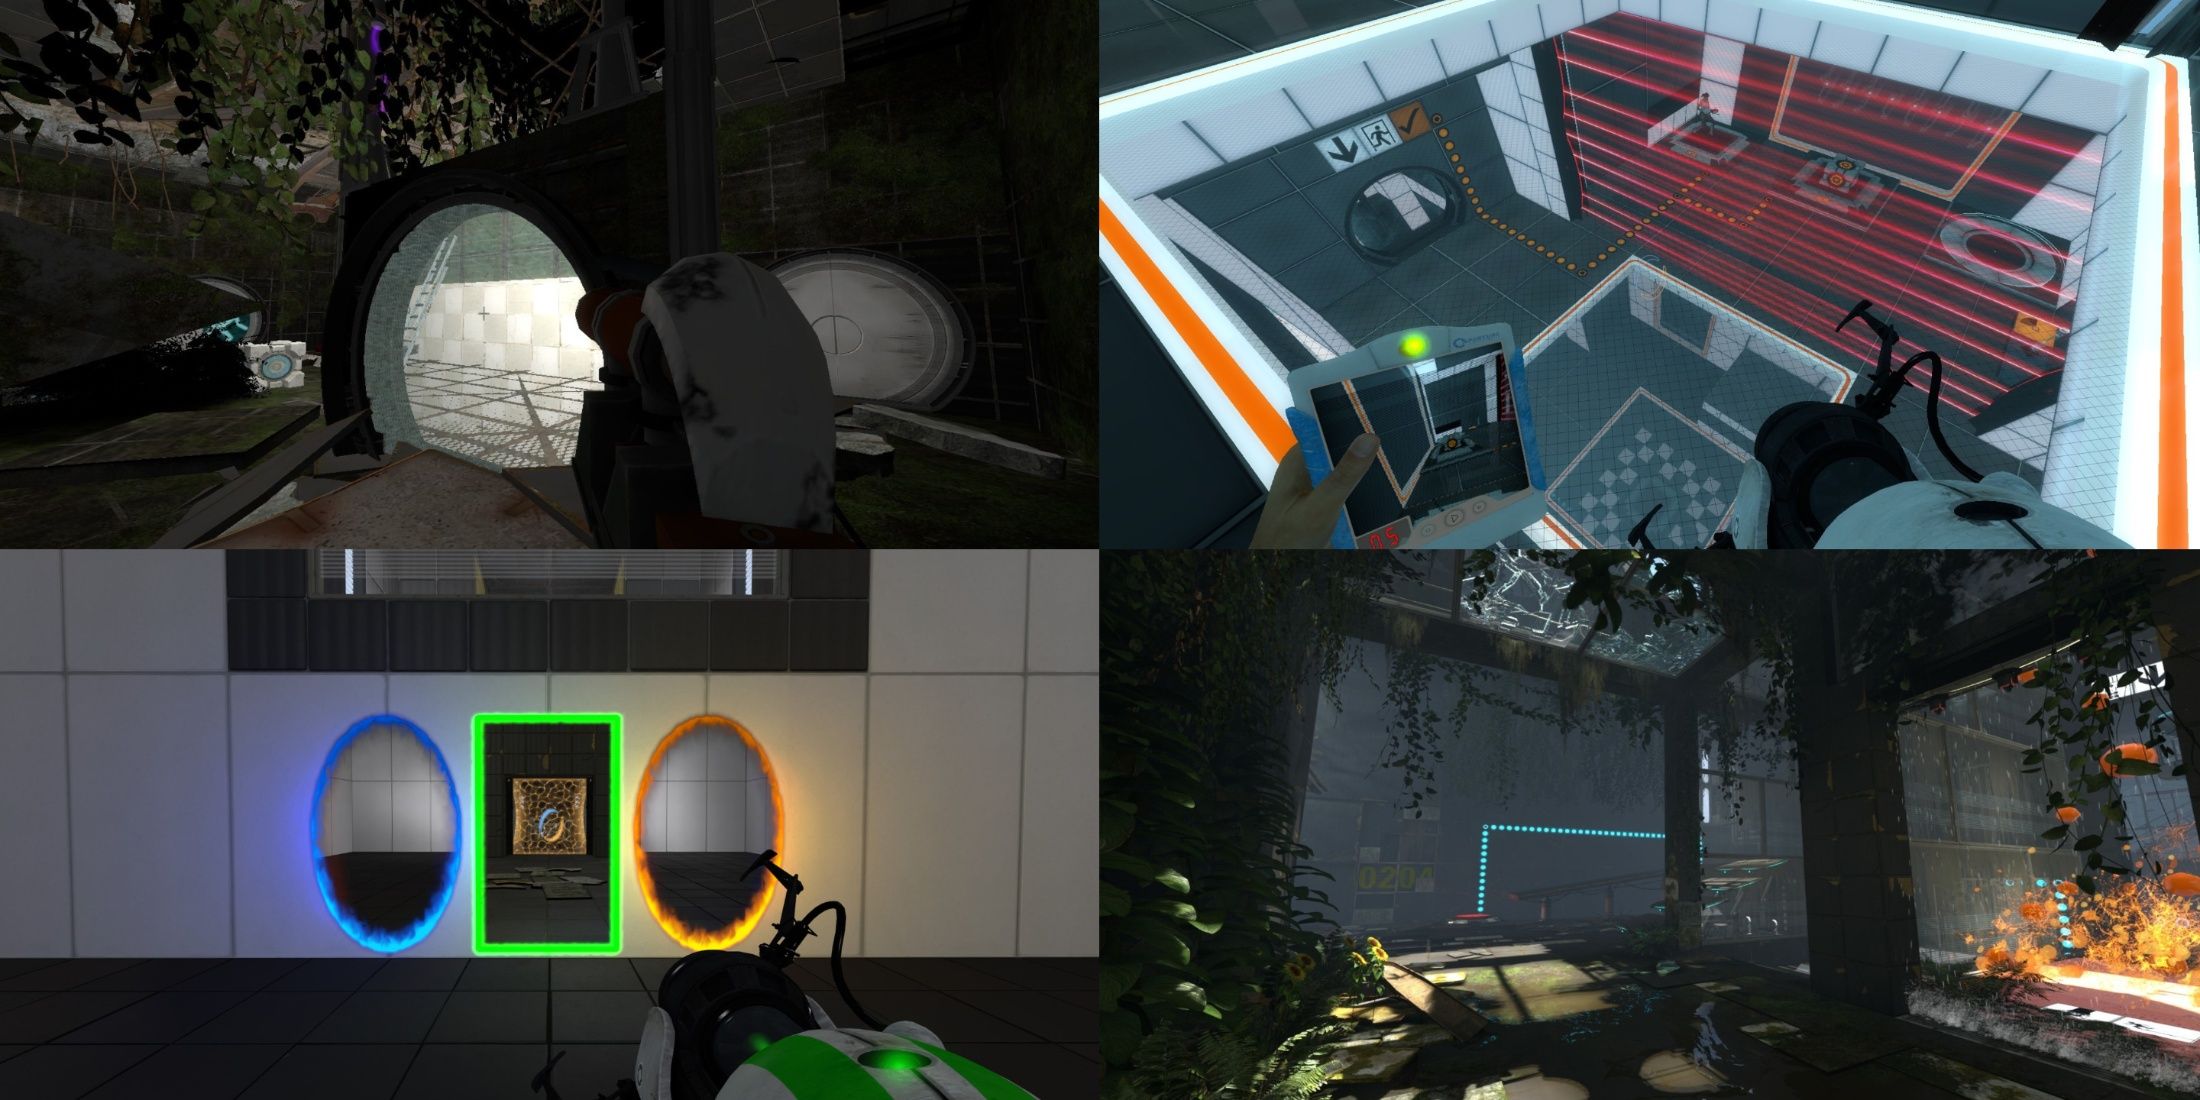
The first obstacle players will be faced with is a door that sticks before fully opening. Players will encounter this door at the very start of the chapter. Shoot a portal through its opening to the other side, and another portal on any of the white surfaces in the room you start in. While its use of portals may be what makes Portal 2 such an amazing puzzle game, but they see little use for this chapter. Leave this room through the door opening and onto a metal walkway. Wheatley will chime in once you do.
Following the rail that Wheatley moves along. The area will go dark, but Wheatley will turn on a light and continue moving along his rail. Keep following Wheatley until you come to a stationary conveyor belt. Hop onto this conveyor belt and follow it to the far end. There will be a platform on the left side of this conveyor belt. Keep following the metal walkway while Wheatley speaks, and you will come to a drop with a moving conveyor belt at the bottom.
Follow along this conveyor belt. There will be panels that move across it from time to time, but they are of no danger. Unlike the lasers at the other end. Watch along the left-hand side for an opening as you travel along this conveyor belt. Wheatley will sound off once you are near it. This area is easy to miss, almost as if it were a hidden area.
Move along this path while sticking to the left-hand side. You will eventually come to a broken portion of the walkway that you can jump across. After making this jump, take the first left and go up some stairs. Stop at the top of these stairs and shoot a portal on the wall in front of you. Look up and to the left to see an opening behind some railings. Shoot a portal up here and then go through the first portal you made to reach it.
Move to the railing at the other end of the room and wait for Wheatley to come along. He will shine his light on the wall for you. Shoot a portal on this wall, and then another portal anywhere in the room you are in. This will put you on a metal railing. Wheatley will then tell you where another wall is and shine his light. Shoot a portal where he shines his light, and portal travel to this spot. Follow along the walkway and take the first right. This leads to a room with a spiral tube. Walk along this spiral and then jump over the railing to the room just above the ground floor. This will lead you to a door that will open all the way.
Players can also just jump down to the bottom and make a portal on the white surface. Players can then look up to see the room with the railing and can make a portal to it.

Related
Portal 2: Best Community Co-Op Maps To Try
Looking to get more out of Portal 2 with a friend? Check out these maps made by fellow players.
Navigate the Assembly Lines of Chapter 5 in Portal 2
Players will end up in a monitor room. Portal to the moving conveyor belt and follow the pathway to the other moving conveyor belt. Walk to the far end and drop to the metal walkway below. Follow this path until you find a room with a turret shooting. Place a portal above this turret’s target and then another portal on the wall next to you. Shoot a turret behind the turrets that shoot at the target.
When it is safe, shoot another portal on the wall behind the target and move through it. Follow the metal walkway and go up some steps attached to it.
It is here you can grab a defective turret that is being catapulted into an incinerator. Grab it now to save time.
Keep following this path for Wheatley to show up again. Listen to his dialogue and look away for him to make an opening into the room. Use this opening to place a portal into the room and remove the master turret. Players will now be tasked with finding a new turret to use as the template.
Backtrack an use one of the defective turrets that are being catapulted. Exit the room once the door unlocks and progress through the hallways with Whetley. He will mention “Bring your daughter to work day” as you follow his rail. This will lead you to the next exit door with a loading screen. Back and forth thinking like this can make Portal 2 a great choice of game for escape room enthusiasts.

Related
Fans who want to make their next Portal 2 playthrough even better may want to consider the following mods.
Finding GLaDOS in Chapter 5 for Portal 2
Follow the path to an elevator that will take you up. You will see a laser hitting a wall. Place a portal here. Head all the way up the stairs to a room where you can see a large white pipe with many smaller pipes leading into it. There will be a white panel moving up and down on the left, and another white panel moving along the roof on the right. Use a portal to cause the laser from earlier to cut through all the smaller pipes. This will drop the neurotoxin levels to 0%. Using turrets and lasers is the primary method of dealing damage for a lot of puzzles in the game.
The white pipe will then buckle and implode before collapsing. Leave the level you are on and make a left turn into the room with the doors that break open. Head into this room, and you will be sucked into a pipe. Once you regain control, place a portal on one of the walls. Then move to the end of the walkway and look right. You will see a light blinking on a white surface. Place a portal on this surface and move through the first portal you placed. You will end up in a room with a door that claims to lead to an emergency shut-off for GLaDOS.
GLaDOS Emergency Shutdown and Cake Dispensary. Keep unlocked.
In typical Portal fashion, this was but a lie. GLaDOS will begin monologging as the walls start to close in on the player. Drop down once an opening appears, and you will be brought towards GLaDOS. A chain of events will now occur showing the fruits of the players’ sabotage throughout Chapter 5. Progress through this until there is mention of a core transfer.
Note: Many players do not realize just how massive GLaDOS actually is. Players who have seen this in VR are astounded by how intimidating she is up close in VR.
Carry Whetley and place him in the receptacle. Look between Whetley and GLaDOS with Whetley on the left. A door will open after mentioning a stalemate resolution button. GLaDOS will use panels to push the player away if they try to get close. Place a portal to the side of the button under the light, then another portal on the white floor panels.
There will now be panels that keep you from getting to the button. Put a portal on either side of the button, then run from one portal to the other and keep running until you get to the button and can press it. Place Wheatley onto GLaDOS’s body and enter the elevator when prompted. Now sit back and enjoy the rest of the chapter player out from inside the elevator and learn some new lore elements about the Portal universe.


Leave a Reply