PvP in Final Fantasy 14 might not be as popular as the PvE content, but it’s hard to deny that it has some great ideas, such as the recreation of each of the game’s Jobs for a completely different setting, keeping its core identity but also introducing some new elements.
Related
Final Fantasy 14: Guide To Playing Sage In PvP
Despite being a healer, Sage can be a pretty destructive force in FFXIV’s competitive modes.
Machinist is a prime example of this. While not always the hottest pick for High-End content, its PvP iteration is a huge powerhouse with high damage across the board, tons of utility, and one of the most fun to use (and frustrating to play against) Limit Breaks in this game mode.
Overview
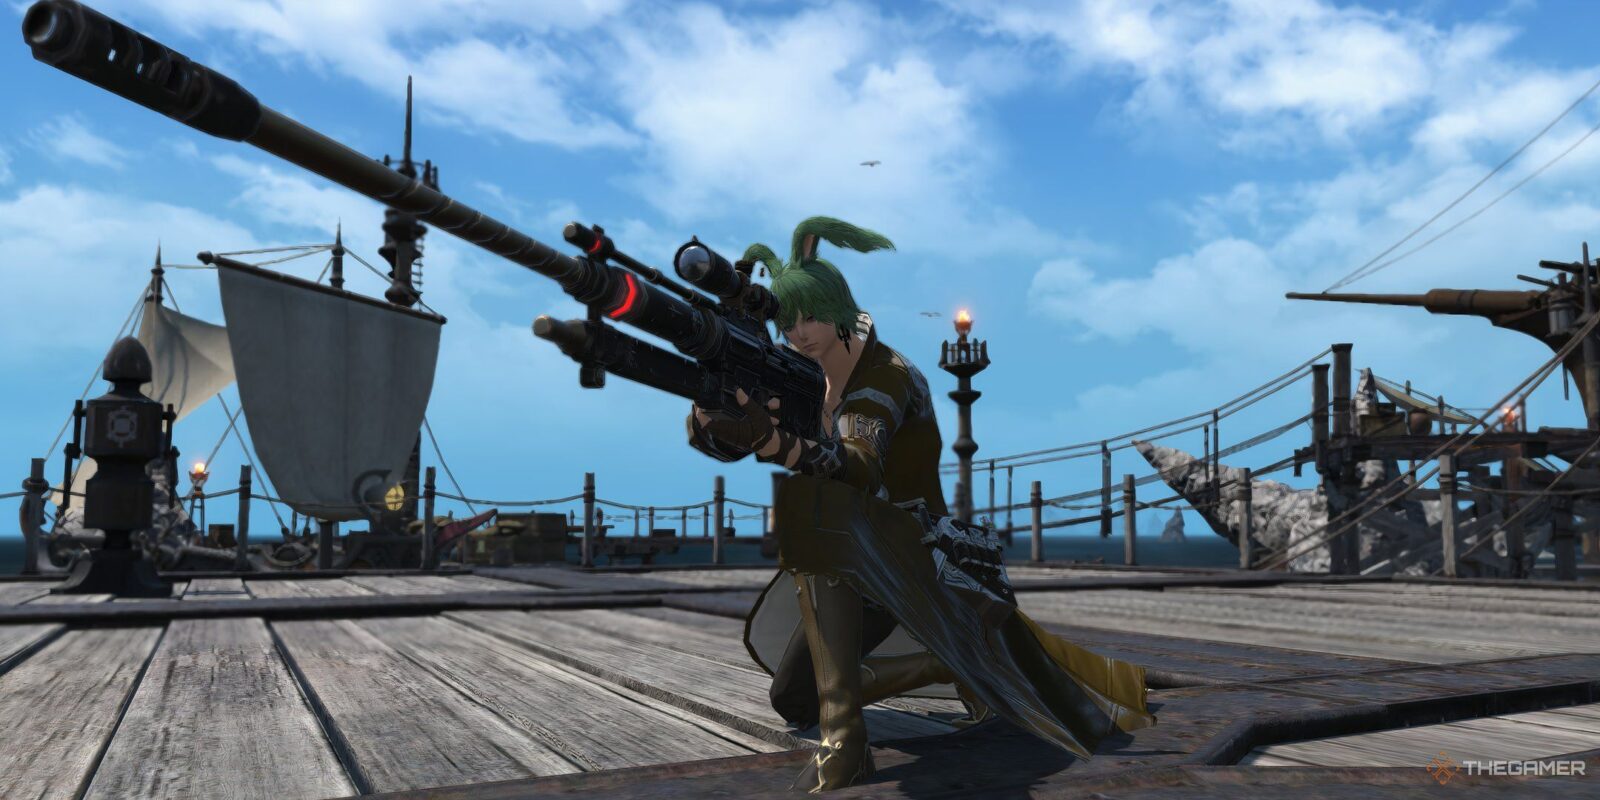
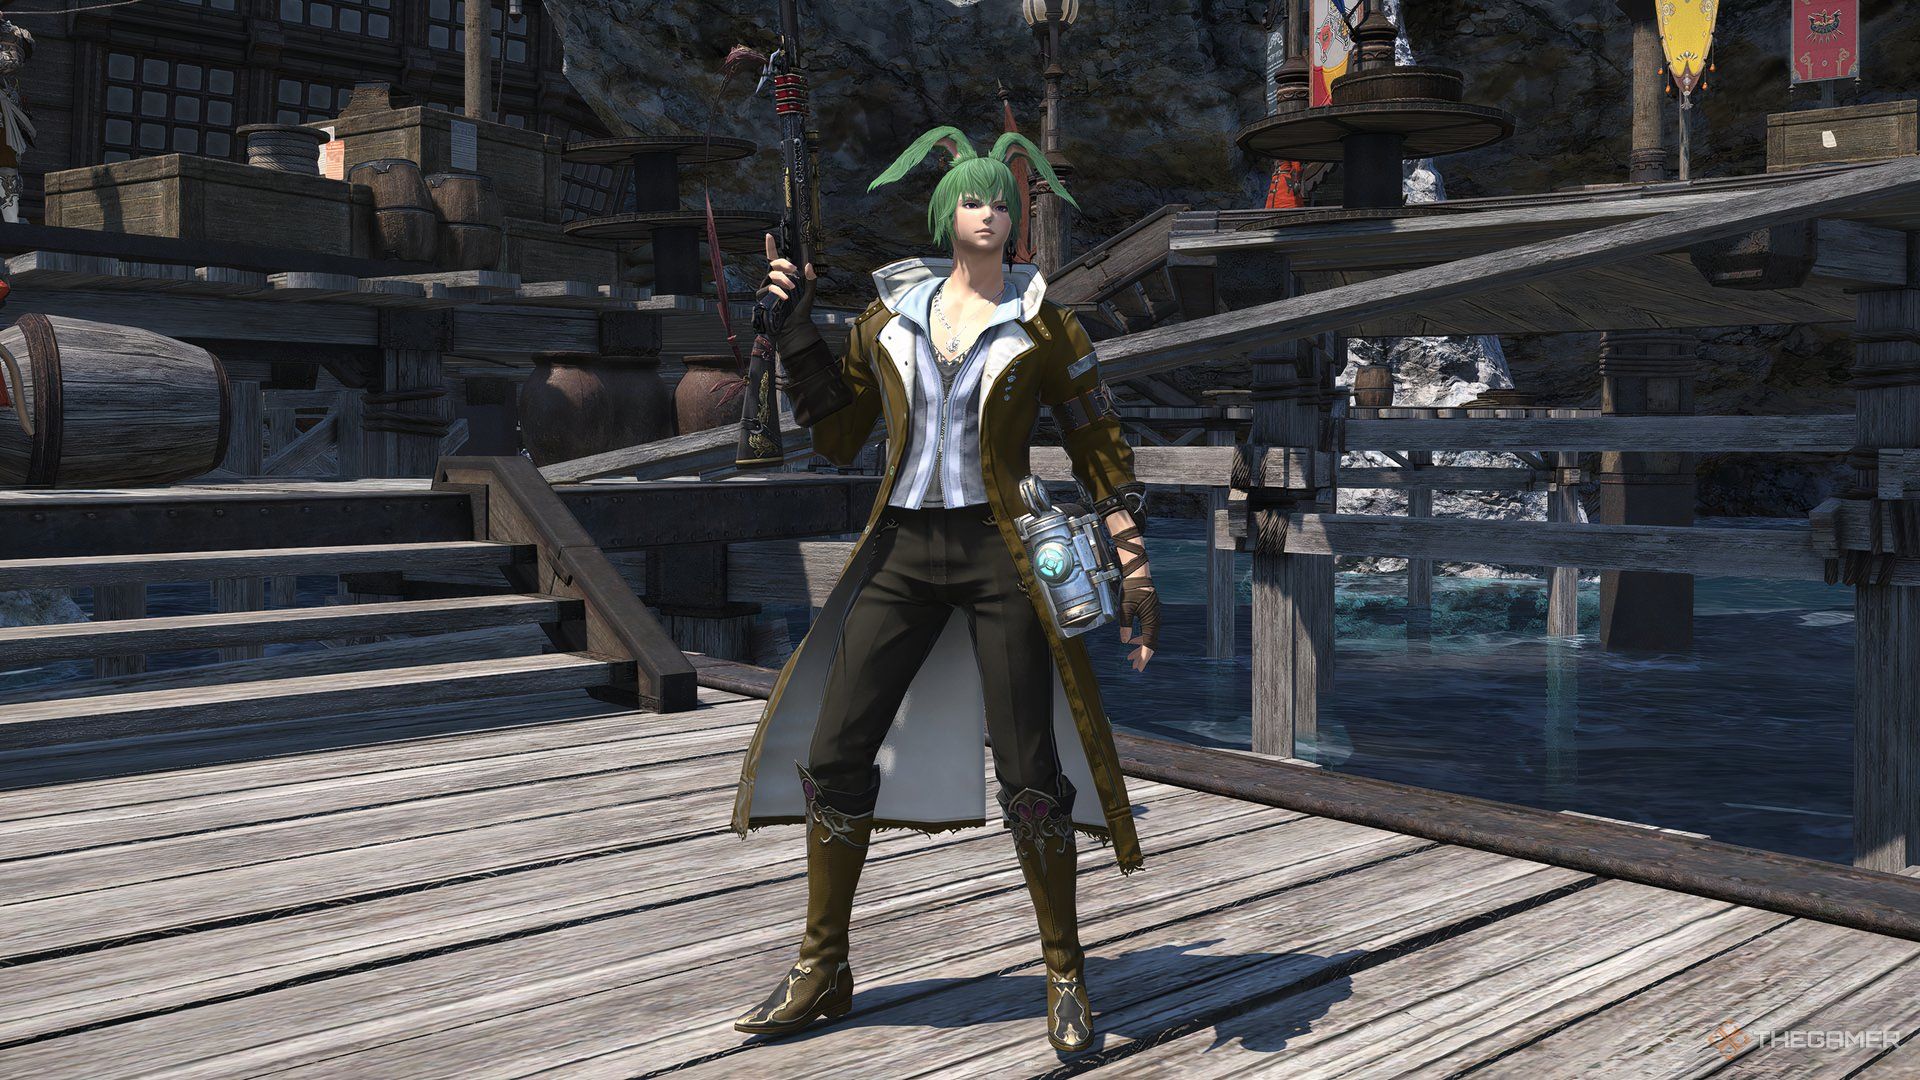
As one of the Physical Ranged Jobs in the game, Machinist plays in PvP as a fast-paced damage dealer that deals huge damage nukes from a safe distance. You have access to various tools at a single button, and can add some spicy effects to each of them.
While it has a short cast for its regular attack (when you have none in PvE), that’s the only downside you’ll find here. After dealing enough regular shots, the Machinist enters a quick-fire mode for a few seconds, perfect for bursting down targets before they can even notice with its good ‘n old Wildfire nuke.
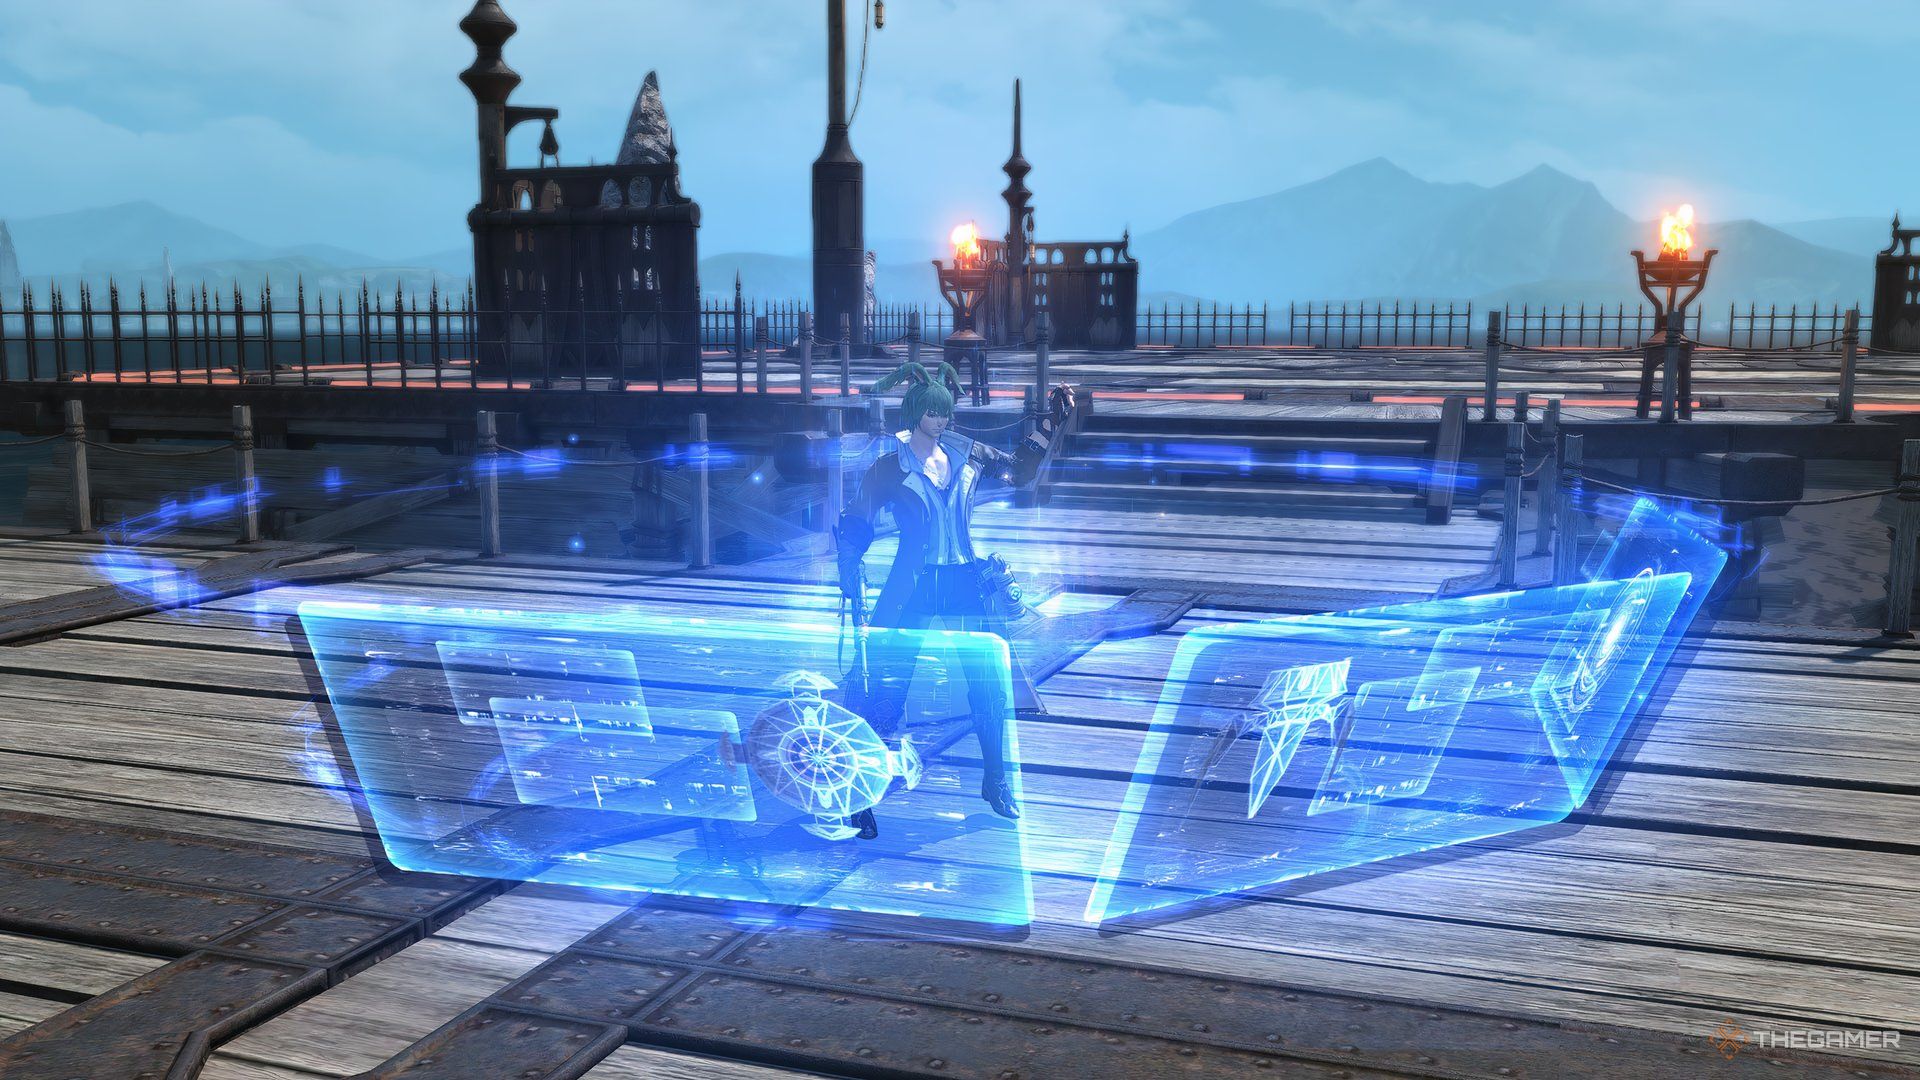
The trademark tools, such as Drill and Chain Saw, are obviously also here. The main difference is that you can’t directly control which one you’re using next, but you can use Analysis to give them unique effects, such as Stuns, Damage Increase debuffs, or even double their damage.
It also has enough defensive tools to deal with its lack of mobility, so you won’t need to worry much about those pesky Melees/Tanks diving before you can get back to your team in Crystalline Conflict. Overall, a great Job for anyone looking out to climb some Ranks.
Job Action Breakdown
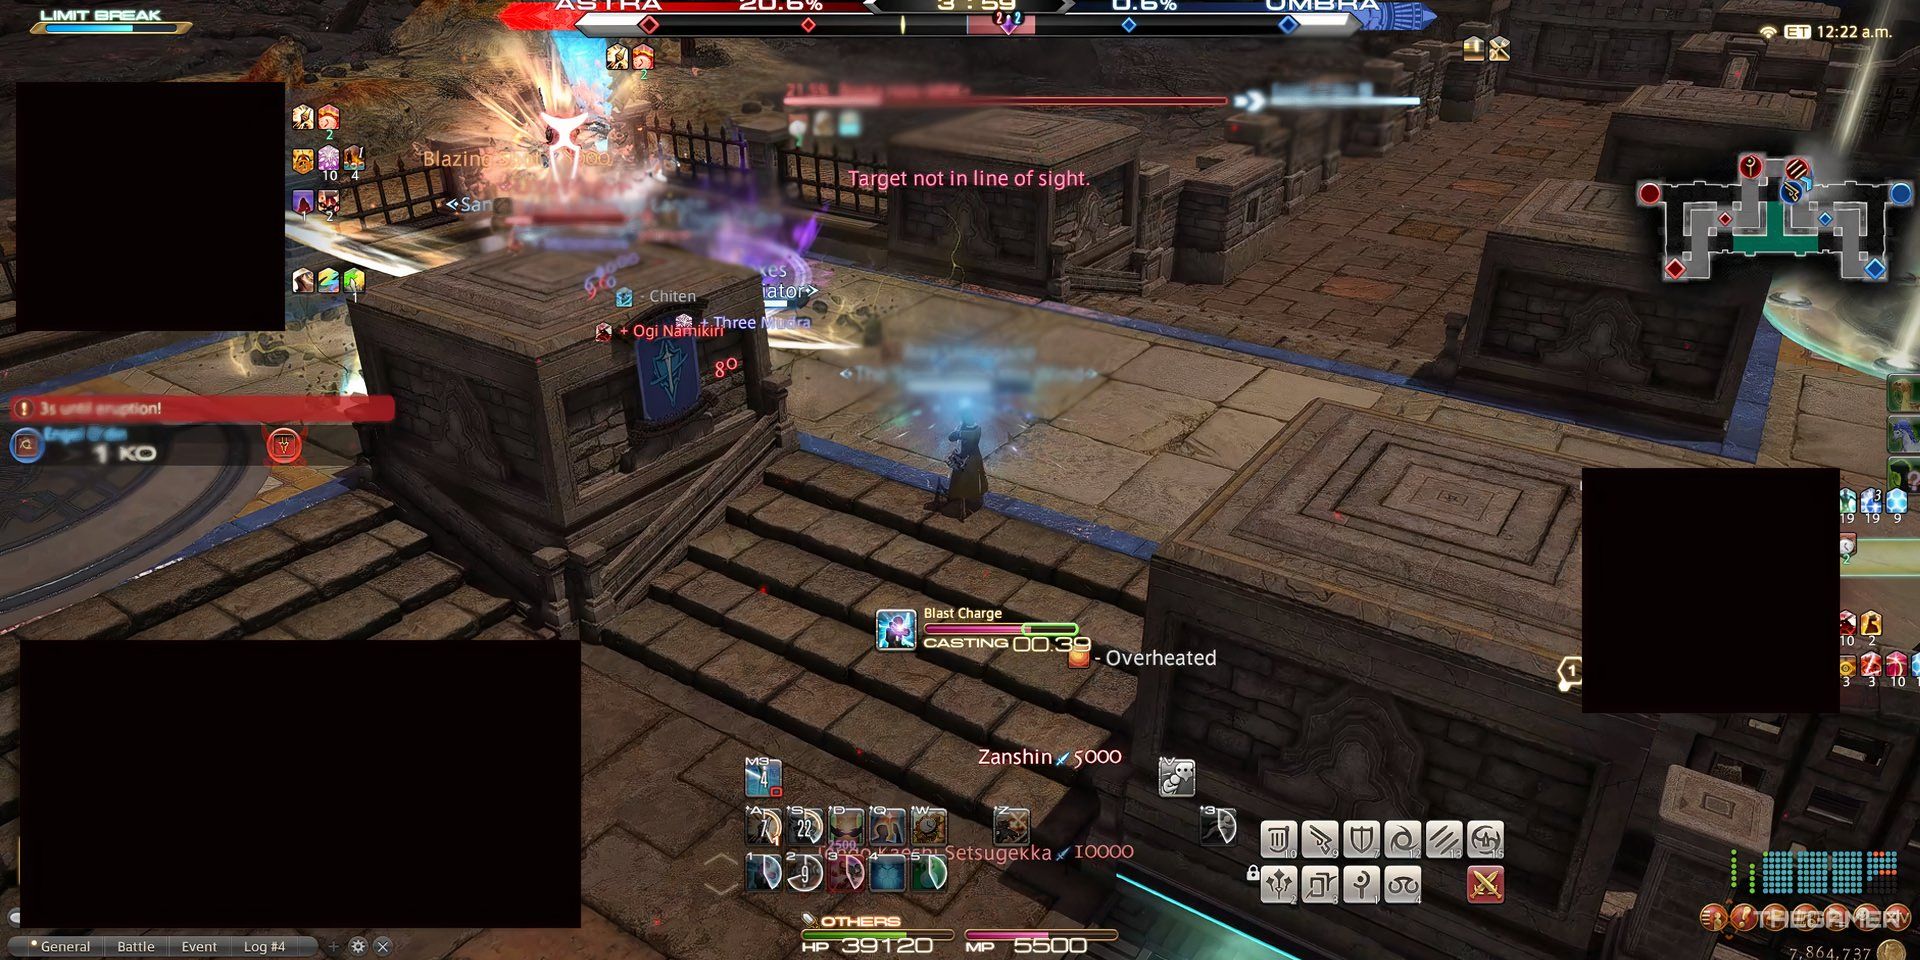
Machinist revolves around using its bursting tools in sequence, filling the blanks with Blast Charge attacks. Once fully charged, you start rapidly firing your Blazing Shots, while also getting a Movement Speed boost to chase down any low HP enemies or reposition yourself at a better angle.
With a lack of big AoE hits, its true power lies in bursting down a single target before it can react. Once you wear down your target’s defenses, they have little to no chance of surviving your raw burst damage.
|
Action |
Cast Time |
Recast Time |
Attack Type |
Information |
|---|---|---|---|---|
|
Blast Charge |
1.44s |
2.4s |
Weaponskill |
Attack with a potency of 6,000 to a single target. Possible to walk while casting. Grants one stack of Heat, lasting for 15s. New stacks refresh the duration. Enters the Overheated state when you get five stacks. Overheated grants you 25% Movement Speed, and changes the action to Blazing Shot. Overheated lasts for 5s. |
|
Blazing Shot |
Instant |
1.5s |
Weaponskill |
Attack with a potency of 8,000 to a single target. Can only be used while Overheated. |
|
Full Metal Field |
Instant |
30s |
Weaponskill |
Attack with a potency of 10,000 to the target and all enemies nearby it. Hits twice, but the second hit only deals half the damage. Grants the Overheated state. Overheated grants you 25% Movement Speed, and changes Blast Charge to Blazing Shot. Overheated lasts for 5s. |
|
Wildfire |
Instant |
24s |
Ability |
Inflicts a ticking bomb on the target that explodes after a while. Does no damage by itself, but hitting the target with Weaponskills increases the explosion damage by 4,000 potency. Caps at four hits, for a maximum of 16,000 potency. Lasts 8 seconds. Hitting four Weaponskills detonates it immediately. Can also be activated with Detonator. Changes action to Detonator. |
|
Detonator |
Instant |
1s |
Ability |
Explodes the Wildfire bomb on the current target immediately with the current stacks. |
|
Scattergun |
Instant |
16s |
Weaponskill |
Attack with a potency of 6,000 to all enemies in a cone in front of you. Hits twice when hitting a single target. Knocks back enemies by a 10-yalm distance. |
|
Analysis |
Instant |
20s |
Ability |
Grants additional effects to Drill, Bioblaster, Air Anchor, and Chain Saw. Lasts for 10 seconds. Two charges. |
|
Drill |
Instant |
10s |
Weaponskill |
Attack with a potency of 9,000 to a single target. Two charges. Damage increases to 18,000 while under the effect of Analysis. Ignores Guard’s effects. Grants Bioblaster Primed, changing action to Bioblaster. |
|
Bioblaster |
Instant |
10s |
Weaponskill |
Attack with a potency of 4,000 to all enemies in a cone in front of you. Two charges. Also inflicts a 4,000 potency Damage Over Time to all targets. Damage from the initial hit and DoT increases to 6,000 under the effect of Analysis. Grants Air Anchor Primed, changing action to Air Anchor. |
|
Air Anchor |
Instant |
10s |
Weaponskill |
Attack with a potency of 8,000 to a single target. Two charges. Inflicts Bind to the target, lasting for 3 seconds. Damage increases to 12,000 while under the effect of Analysis, and the Bind effect becomes a Stun of 3 seconds. Grants Chain Saw Primed, changing action to Chain Saw. |
|
Chain Saw |
Instant |
10s |
Weaponskill |
Attack with a potency of 8,000 to all targets in a line in front of you. Two charges. Increases damage taken by targets by 20% for 6 seconds while under the effect of Analysis. Grants Drill Primed, changing action to Drill. |
|
Bishop Autoturret |
Instant |
30s |
Ability |
Summons an autoturret on the battlefield that uses Aether Mortar every two seconds. This ability affects both allies and enemies. Lasts for 10 seconds. |
|
Aether Mortar |
1s |
1s |
Ability |
Used automatically by the Bishop Autoturret. Has different effects depending on who’s standing in its area.
|
Having a cast time on your basic attacks feels weird for a Physical Ranged, but you’ll quickly get over that. It only makes sense to aim your shots, after all. Blast Charge will be your bread and butter while waiting for bigger cooldowns to come off. It’ll also grant you Overheated, which is your strongest state.
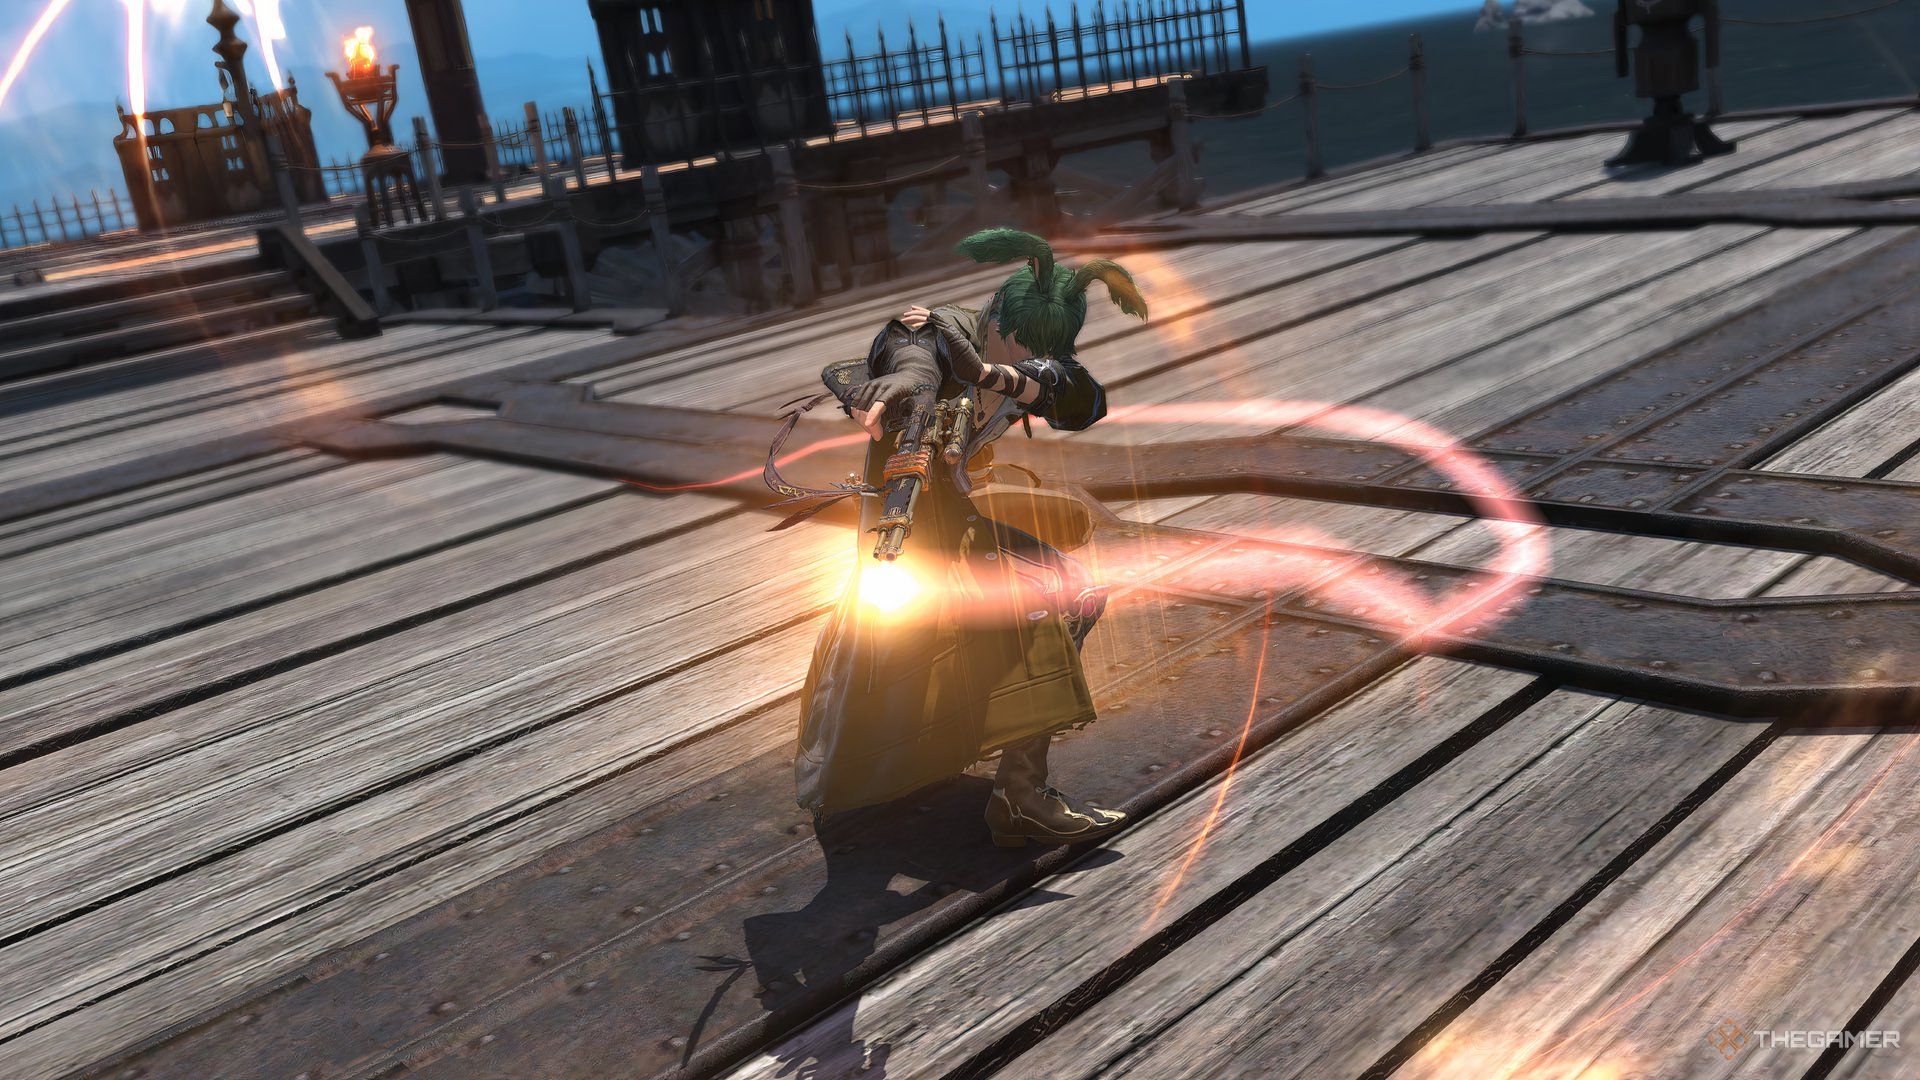
Blazing Shot is the most stylish action in your whole kit, and you can use it whenever you’re Overheated. The fast-firing mode only lasts a couple of seconds, but it’s enough to have a lasting impact. But more importantly, Wildfire is meant to be used while you’re in this state, making it very easy to achieve its four-hit requirements.
Full Metal Field immediately triggers the Overheated state, and it has a similar cooldown to Wildfire, so you’ll always want to use them together. You can easily trigger the explosion by using Wildifre > Full Metal Field > Blazing Shot (x3), but Full Metal is also one of your few AoE skills, so it’s also ok to use it as such.
Whenever Wildfire is on cooldown, you should focus on your tools (Drill, Bioblaster, etc). Each of them has a perfect scenario for use, but not overcapping your charges nets you more damage overall. The same goes for Analysis. Your Blazing Shot/Wildfire combos will fit the cooldown gaps perfectly, so don’t worry.
Scattergun is interesting. It works as a defensive cooldown with its knockback, but you can do things like pushing enemies away from the point, which leads to an instant victory during Overtime in Crystalline Conflict. It also deals double damage if hitting a single target, so it also works as a mini-burst. Bonus points if used to trigger Wildfire. Be creative with it.
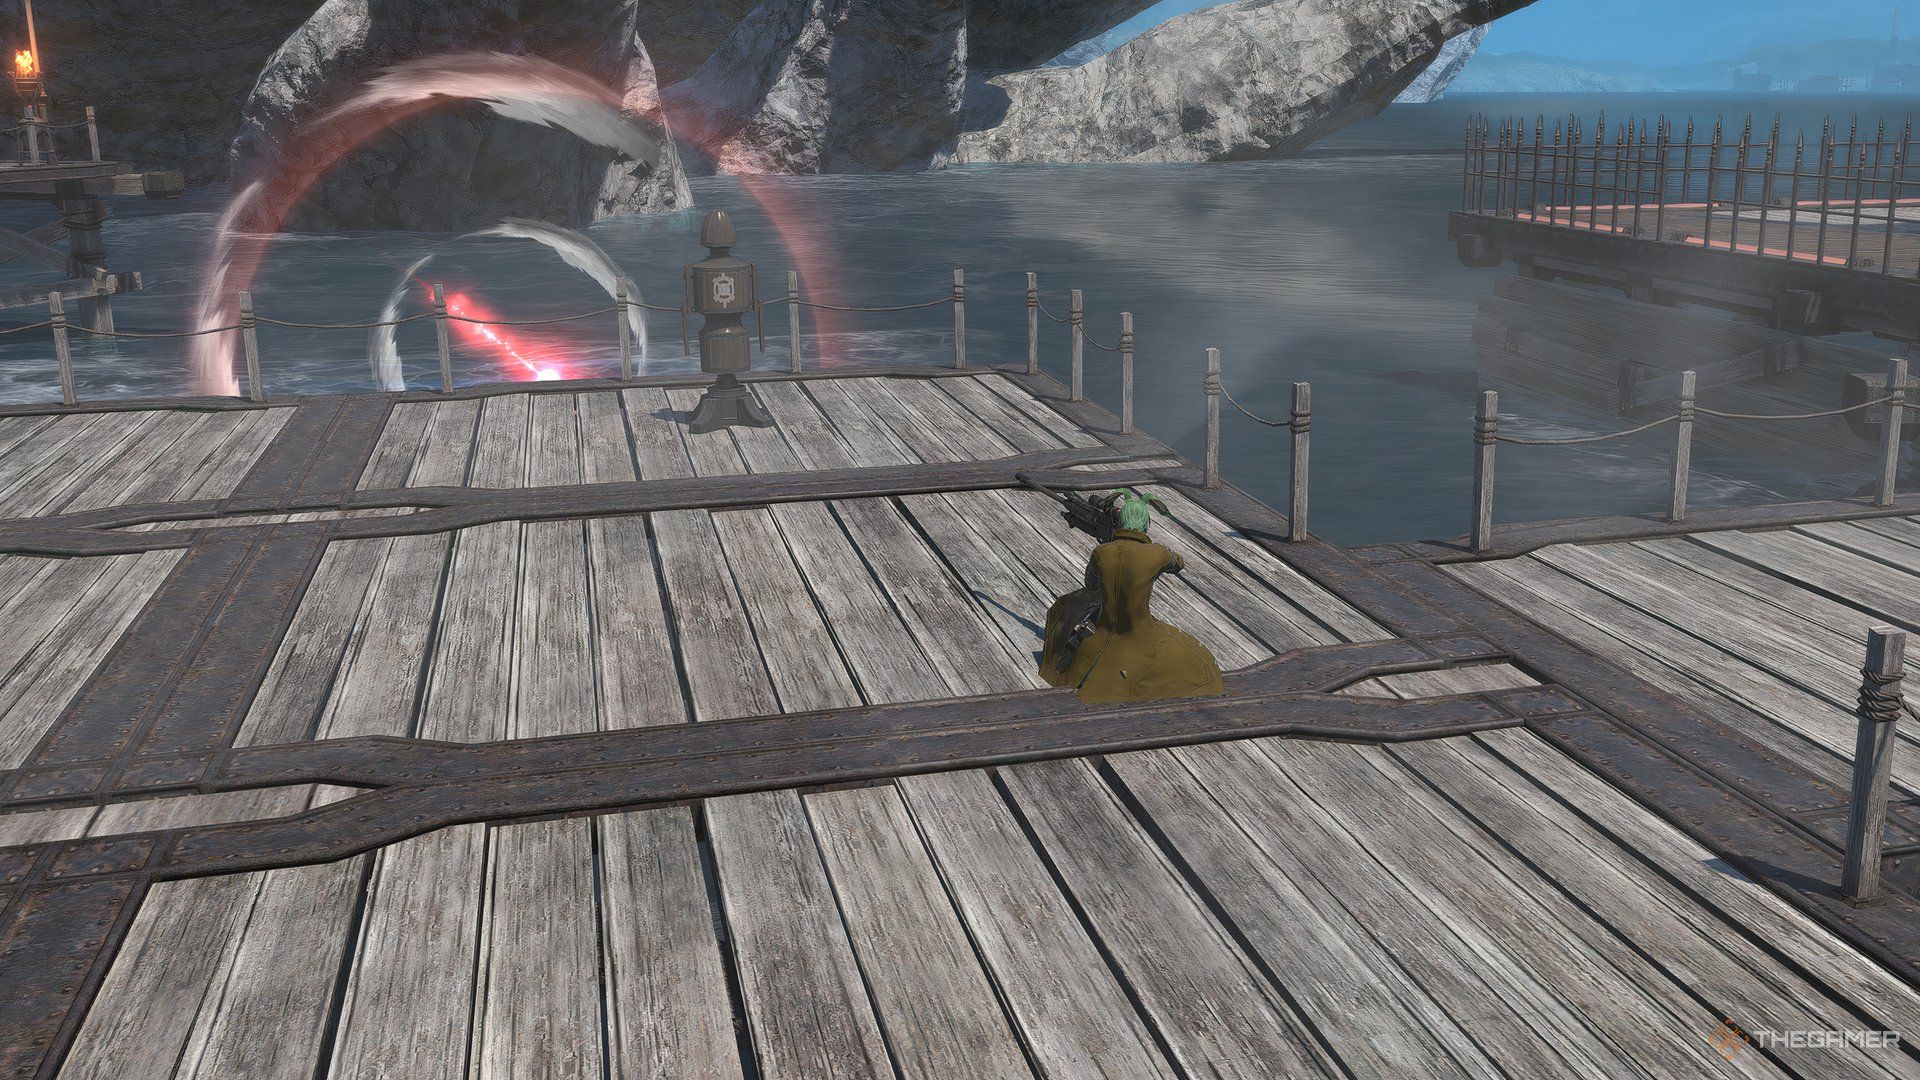
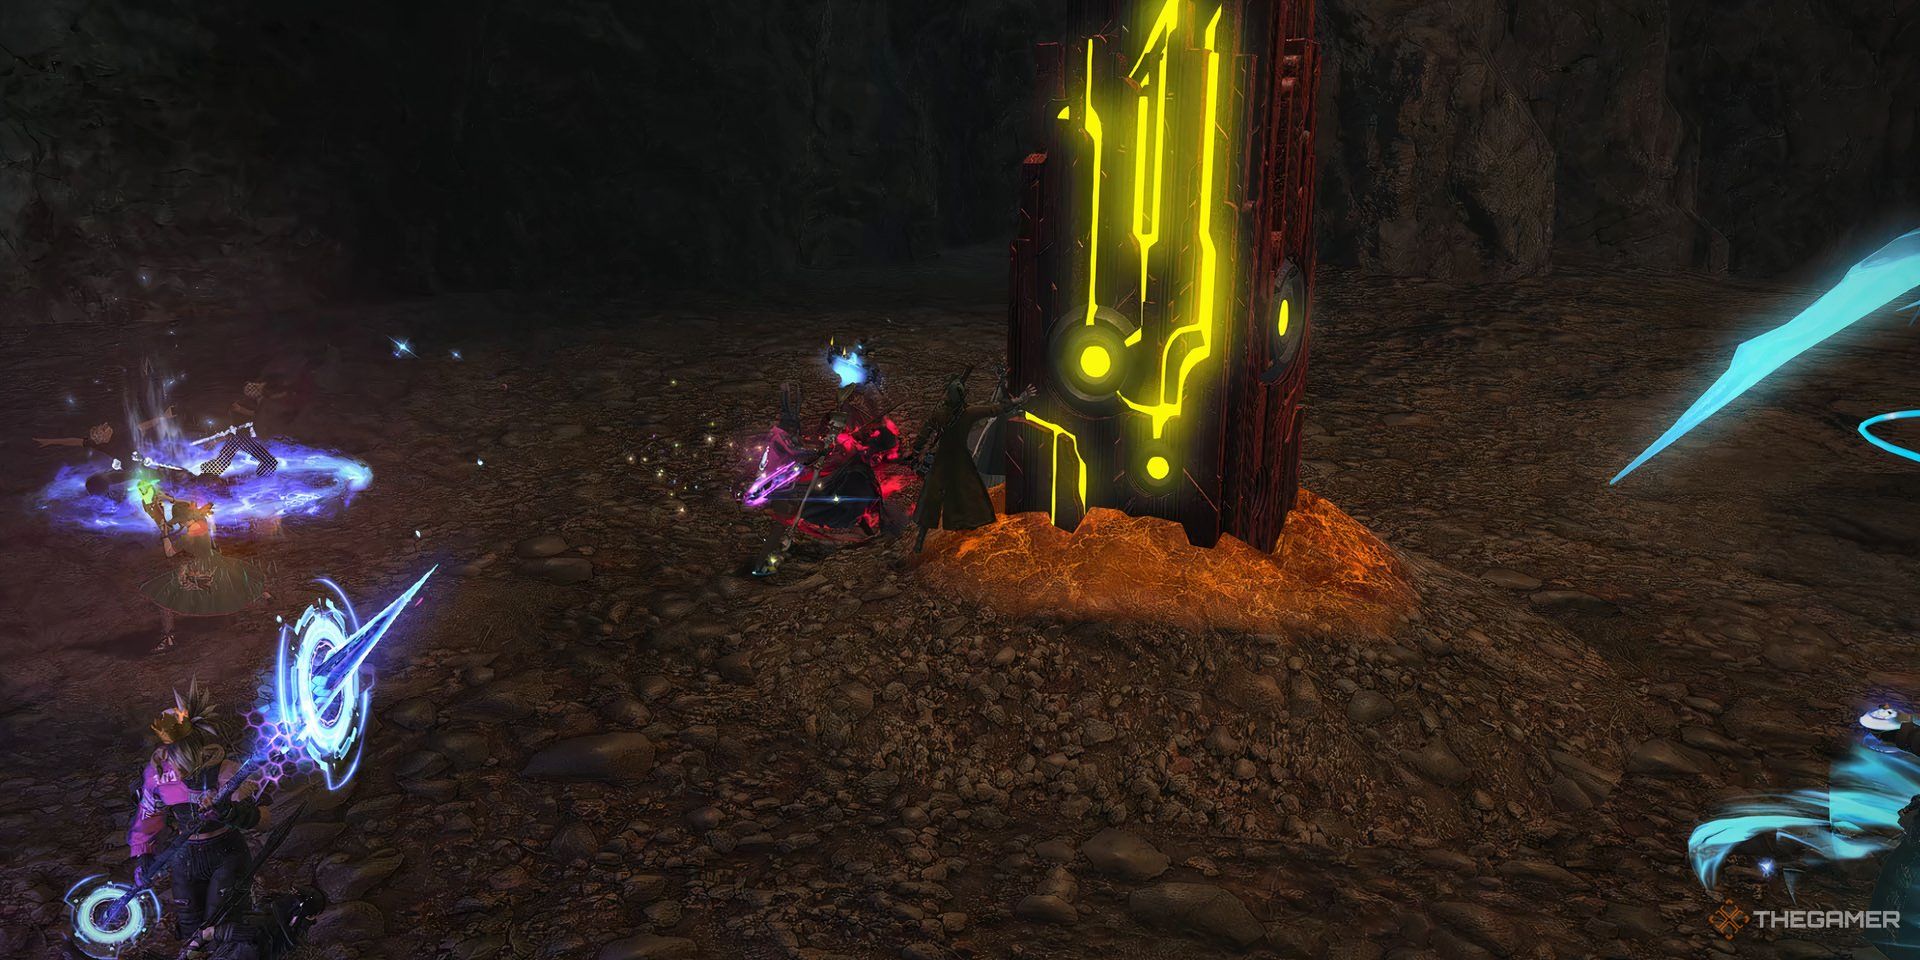
Finally, the Turret has a somewhat invisible but very powerful utility. You can use it to poke enemies from afar, or throw it at your team to grant them some shields. It might do both jobs at once, when used correctly. Don’t sleep on it, and always try to maximize its utility.
Limit Break Breakdown
Machinist has one of the most recognizable (and hated) Limit Breaks in the whole game. Everyone has died to it at least once. But it’s also amazingly satisfying to use, so who can blame you for doing so? Deleting someone out of a fight is an incredibly powerful ability to have, and that’s the sole reason for Marksman’s Spite to exist.
|
Action |
Recast Time |
Description |
|---|---|---|
|
Marksman’s Spite |
90 seconds |
Attack with a potency of 36,000 to a single target. |
That’s it. No fancy effects or anything. Just pure, raw damage. But do you even need anything else? This is the highest damaging action in PvP, and it’ll usually be enough to eliminate any loose targets around the field.
While it has a cast time and an animation that gives it away, you can get creative with it. Using it right after a powerful attack (like Drill or one-target Scattergun) surprises your opponent, who’ll probably not have time to react. Using the Air Anchor stun, or combining it with Wildfire exploding are also great ways to ensure a kill.
After certain PvP changes in Dawntrail, opponents have a much longer time to react to the Machinist’s LB. Make sure they’ve already used Guard or are distracted enough to use it when you cast it.
Common Actions Breakdown
|
Action |
Cast Time |
Recast Time |
Information |
|---|---|---|---|
|
Sprint |
Instant |
1.50s |
Grants you a 50% Movement Speed boost. Lasts indefinitely until you use another Action. |
|
Guard |
Instant |
30s |
Lifts a barrier around yourself. You cannot use any other skills, but damage received is reduced by 90%. Lasts for 5 seconds, or until you use any other Action. You’re immune to any Crowd Control effects, such as Stuns or Silences while protected. |
|
Purify |
Instant |
24s |
Removes the Crowd Control effects of Stun, Heavy, Bind, Silence, Deep Freeze, and Miracle of Nature. Effects like DoTs or Damage Taken Increase cannot be removed. Grants you Resilience, making you immune to any effects that can be removed by Purify during 3 seconds. |
|
Recuperate |
Instant |
1s |
Heal with a potency of 15,000. Costs 2,500 MP per use. |
|
Standard-Issue Elixir |
4.5s |
5s |
Restores all of your HP and MP. Has no cost, but any instance of damage cancels the cast. |
All Jobs have the same abilities available. It’s totally up to you to keep your health at safe levels, as you’ll not have Healers with you in every match. Don’t hesitate to use Recuperate, and fall back to use your Elixir when your MP gets low.
General Strategy
Machinists are great at dealing lots of damage to a sole target. While their AoE options aren’t that bad, they’re usually best used on a single target if it means taking them off. The golden rule is to never cap on Drill and its subsequent actions. You get one of these every ten seconds, so there’s no reason not to spend them.
Analysis has a higher 20s cooldown, so it’s a bit more situational. The priority is usually Chain Saw = Air Anchor > Drill > Bioblaster, but this can vastly change depending on the situation. Your first Drill in a match should always have an Analysis.
Make sure you spend all of your cooldowns before you start throwing Blast Charges. If you’re lucky, you can get an easy kill with your very first Wildfire. Scattergun is harder to use, so it’s ok if you hold to it for a bit longer.
For most matches, you’ll usually want to do the following combo:
Analysis + Drill > Wildfire + Full Metal Field > Blazing Shot (x3) > Bioblaster
This ensures your Wildfire explodes with maximum potency, and you’ll end up setting a great tool after Bioblaster, which can Stun a target. You almost never use Detonator, unless you’re sure you’ll get the kill.
Wildfire exists with Blazing Shot in mind, but you can blow it up only with regular actions too. You might not get the full stacks, but 12,000 potency is easy to get without Overheated, and it’s a decent burst for surprising targets.
Focusing on exposed targets is usually the call for any PvP mode. When the chance to pick someone off appears, don’t hesitate in bursting them down. If you have your Limit Break ready or almost charged, make sure they use their defensive resources before firing the killing shot.
The Autoturret should always be deployed whenever possible. Whether it’s providing a small shield, or just some extra damage at enemies standing nearby it, it’ll always be more useful than it seems. Weave it between your attacks, and you might even get someone by surprise with it.
Always take a backside position, and be careful with chasing targets. Your objectives in each PvP map are more important than kills, so pay attention to them.
Crystalline Conflict Strategy
Crystalline is the best mode for being a Machinist. The 5v5 setting is perfect for ruining a poor target’s day with your actions. Nothing says “Screw you in particular!” more than hitting the same person with your LB twice in a row.
The general strategy always applies, but you rarely want to dive straight into the objective point. You’re a fragile Job, so let the Melees and Tanks go in first. But as soon as you take one or two enemies down, don’t hesitate to go forward. Scattergun can push enemies away, making conquering a point much easier.
Bioblaster is also a good reason for approaching big team fights. Using it with Analysis can net you some good AoE damage, even if it’s not instant. If the fight drags on for a while, an Analysis + Chain Saw might be what you need to finish off remaining targets with your team.
Blast Charges will sbe necessary, but try not to focus too much on them. If you get Overheated, it probably means some of your other Cooldowns are ready to use again, so return to them after you’re out of Blazing Shots. Never overcap cooldowns, unless there are no enemies nearby. Save your Scattergun/Turret for potential flankers.
As with any other Jobs, you shouldn’t hold to your LB for too long. Focus on picking off the enemy’s backline, but remember to wear the target down first. It also works to delete that one guy trying to touch the point during overtime, or use it at someone during a team fight, when they’ll probably not even notice it.
Most non-melee Jobs have around 50,000 HP, so an Analysis Drill + Marksman’s Spite will always kill them from full HP. Just be careful with Shields and other damage reduction actions. Even if they’re already lost some health, you should still use another big hit before your LB to secure the kill.
Frontline Strategy
Machinist plays very much the same in Frontlines, but its lack of AoE damage makes it a bit worse than in Crystalline matches. Sure, Full Metal Field is great and sets up your main burst skill, but people are much harder to kill in Alliances, unless you’re picking them off, or they get grabbed by a Tank.
Hitting the backline gets much harder, but it’s still a valid choice. There’s a lot happening in a 24 x 24 x 24, so sometimes people won’t even notice they’re being hit. This makes your Limit Break valuable as ever here.
When trying to secure objectives, you usually want to use heavy cooldowns on the crystals, but saving an Analysis for eventual fights is a good habit. Scattergun is, once again, quite useful for pushing enemies back from important points.
Always stay close to your group, and follow them to the next big objective. Use your range to try to get kills/assistances easily, increasing your Battle High and making you stronger. Notably, this increases your Limit Break’s potency, making it even more lethal.
This can be hard to do without better AoE skills, though, so focusing on objectives is never a bad choice. This doesn’t mean not fighting at all, but choose your fights wisely. You can still be quite valuable when it comes to finishing off running enemies. The Overheated state is great for running yourself, if needed.
If you want to be more useful in big fights, focus on using Analysis on Bioblaster and Chain Saw, with the latter being more important overall. Damage-increasing debuffs stack with each other, and Chain Saw can hit multiple targets with it at once.
Be extra careful with divers such as Monks, Dark Knights and Gunbreakers. Push them back as soon as you can and use your Turrets to help your team out. Try focusing the same target as your team is as much as you can, since that’s where your single-target damage shines. AoE is preferrable in Frontlines, but pressing a single target is always needed.







Leave a Reply