In Hello Kitty Island Adventure, each region has its own unique biome, and you’ll meet interesting characters living in different areas. Retsuko is one of the residents of Mount Hothead, a volcanic island with a fascinating feature—the Ancient Ruins Gate. This gate is directly connected to the puzzle room in this area, but unlocking it won’t be easy.
Related
Hello Kitty Island Adventure: Retsuko Character Guide
Retuko is a music-loving hothead found in Hello Kitty Island Adventure. Here, you can learn how to find and befriend her.
There’s a lot to do, and you’ll face a series of interconnected puzzles spread across several rooms. As you work through these challenges, Retsuko and Chococat will be there to support you, offering their friendship to cool you down in this fiery environment. If you’re ready, it’s time to solve some puzzles!
Where To Find Mount Hothead Puzzle Rooms
Unlike other regions, all puzzle areas in Mount Hothead are located in a single place: Red Hot Ruins. They are not spread across different places. You can access them by increasing your friendship with Retsuko.
Once you reach friendship level seven with Retsuko, you’ll receive the Enraging Ruins quest. Before progressing, you’ll need to collect three Red Power Crystals scattered across Mount Hothead:
|
Crystal Locations |
|---|
|
The first crystal is located south of Retsuko—jump down and move left to find it next to visitor cabin #3. |
|
The second one is an easy find; head right from Retsuko, stop near the fast travel mailbox, and you’ll spot the crystal to its left. |
|
The last one is in the Hot Springs area, northeast of Mount Hothead. Look to the left of the waterfalls near the small pool. If you have trouble finding it, go to the top of the waterfall, jump down from the zipline area, and head north. |
Once you’ve collected all three Red Power Crystals, return to Retsuko and place them on the Ancient Ruins Door. This will grant you access to the ruins, where all of Mount Hothead’s puzzle rooms are located in one place, known as Red Hot Ruins. Your first main goal will be finding Retsuko’s first suitcase in order to complete this puzzle room.
The Mount Hothead Puzzle Room Solutions
How To Complete The First Room
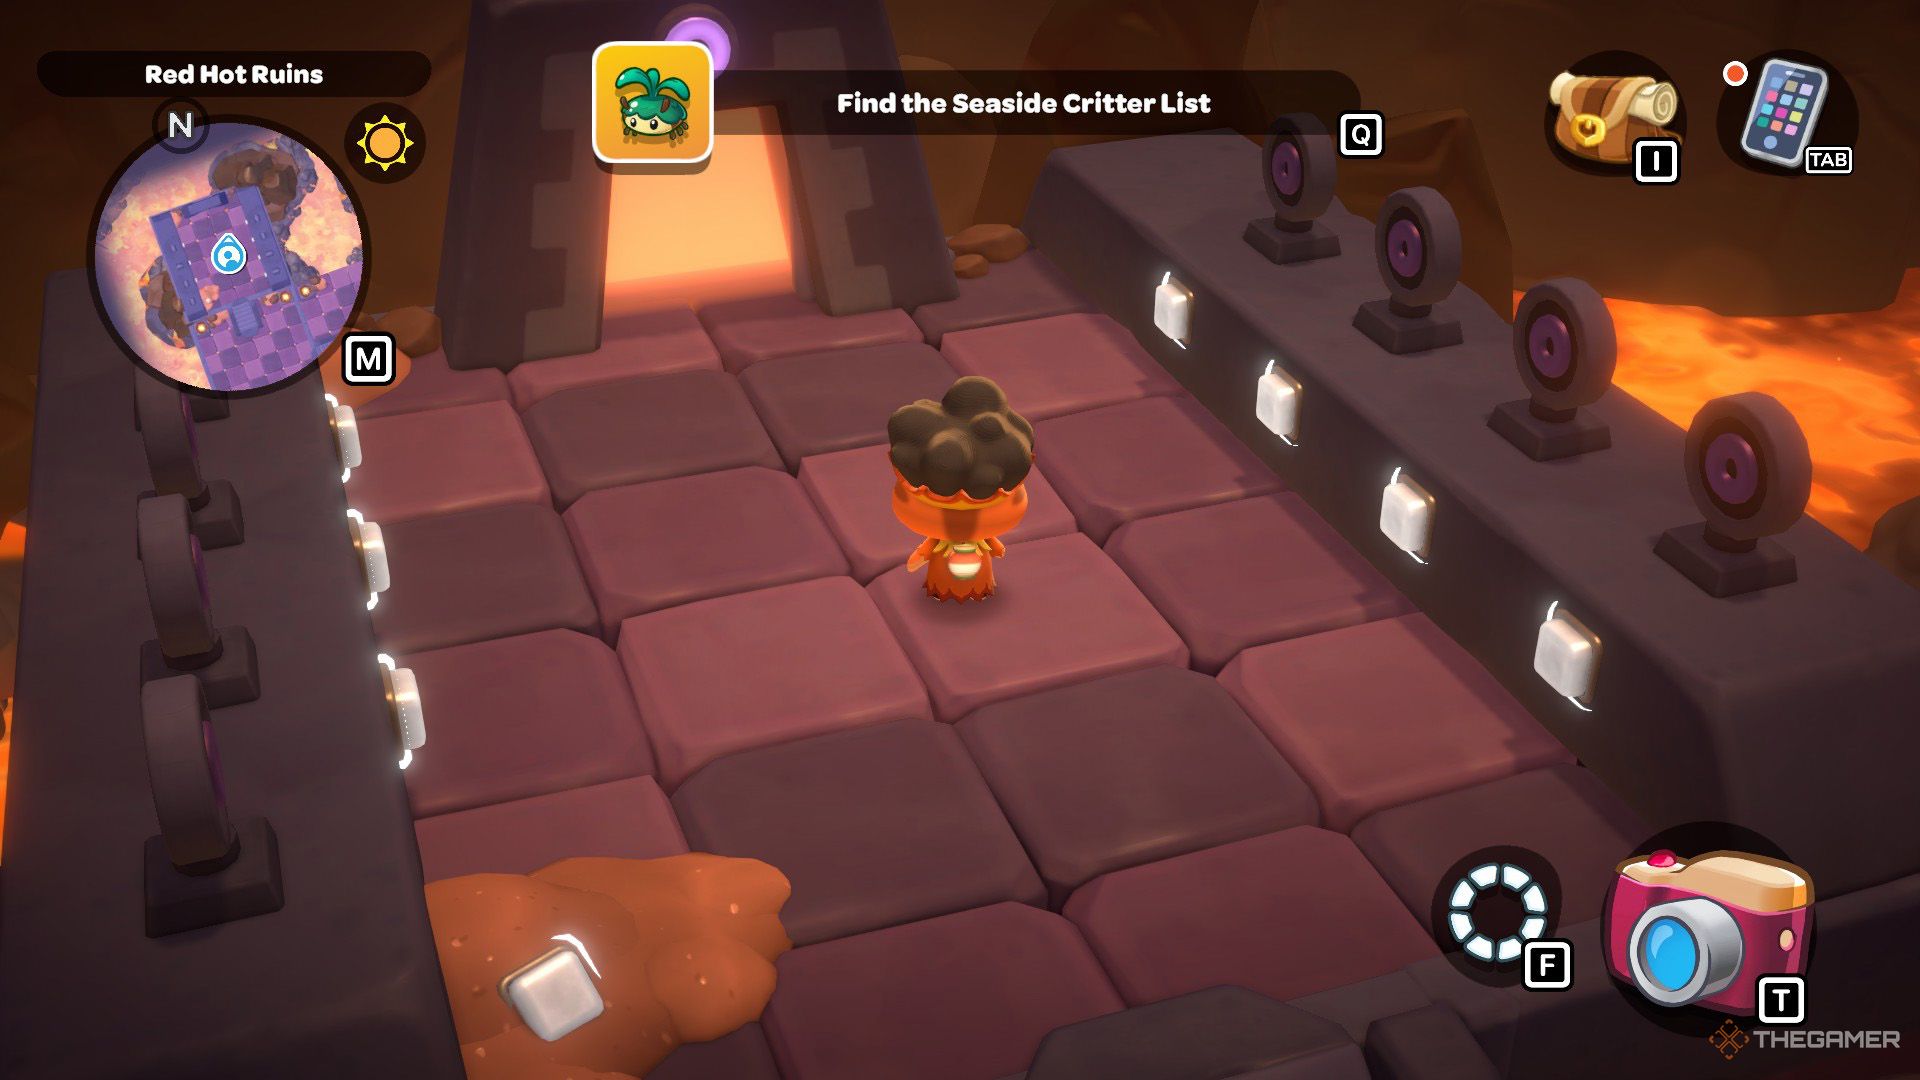
As soon as you enter the Ancient Ruins Door, climb the stairs and solve a simple sign puzzle. There are glowing buttons beneath each purple-marked sign, and your goal is to rotate them so the purple sections face each other. Once aligned correctly, the door ahead will open.
How To Complete The Second Room
To reach this room, enter through the door on the right side of the first room. There isn’t a puzzle here, but instead, you’ll find a parkour challenge. Use your balloon to jump onto the air currents rising from the volcanic vents in the center of the room. This will allow you to ascend.
Once you’ve gained enough height, glide toward the climbing wall ahead, where you’ll spot another volcanic vent nearby. The key to this room is repeating this process—keep ascending until you reach the top of the climbing wall on the south side of the room. There, you’ll find a wooden chest.
Below this chest, on a ledge, there’s another chest. To reach it, glide down carefully using your balloon. These chests contain only cosmetic items. Once you’ve collected them, you won’t be able to proceed to any other rooms from here, so return to the first room.
How To Complete The Third Room
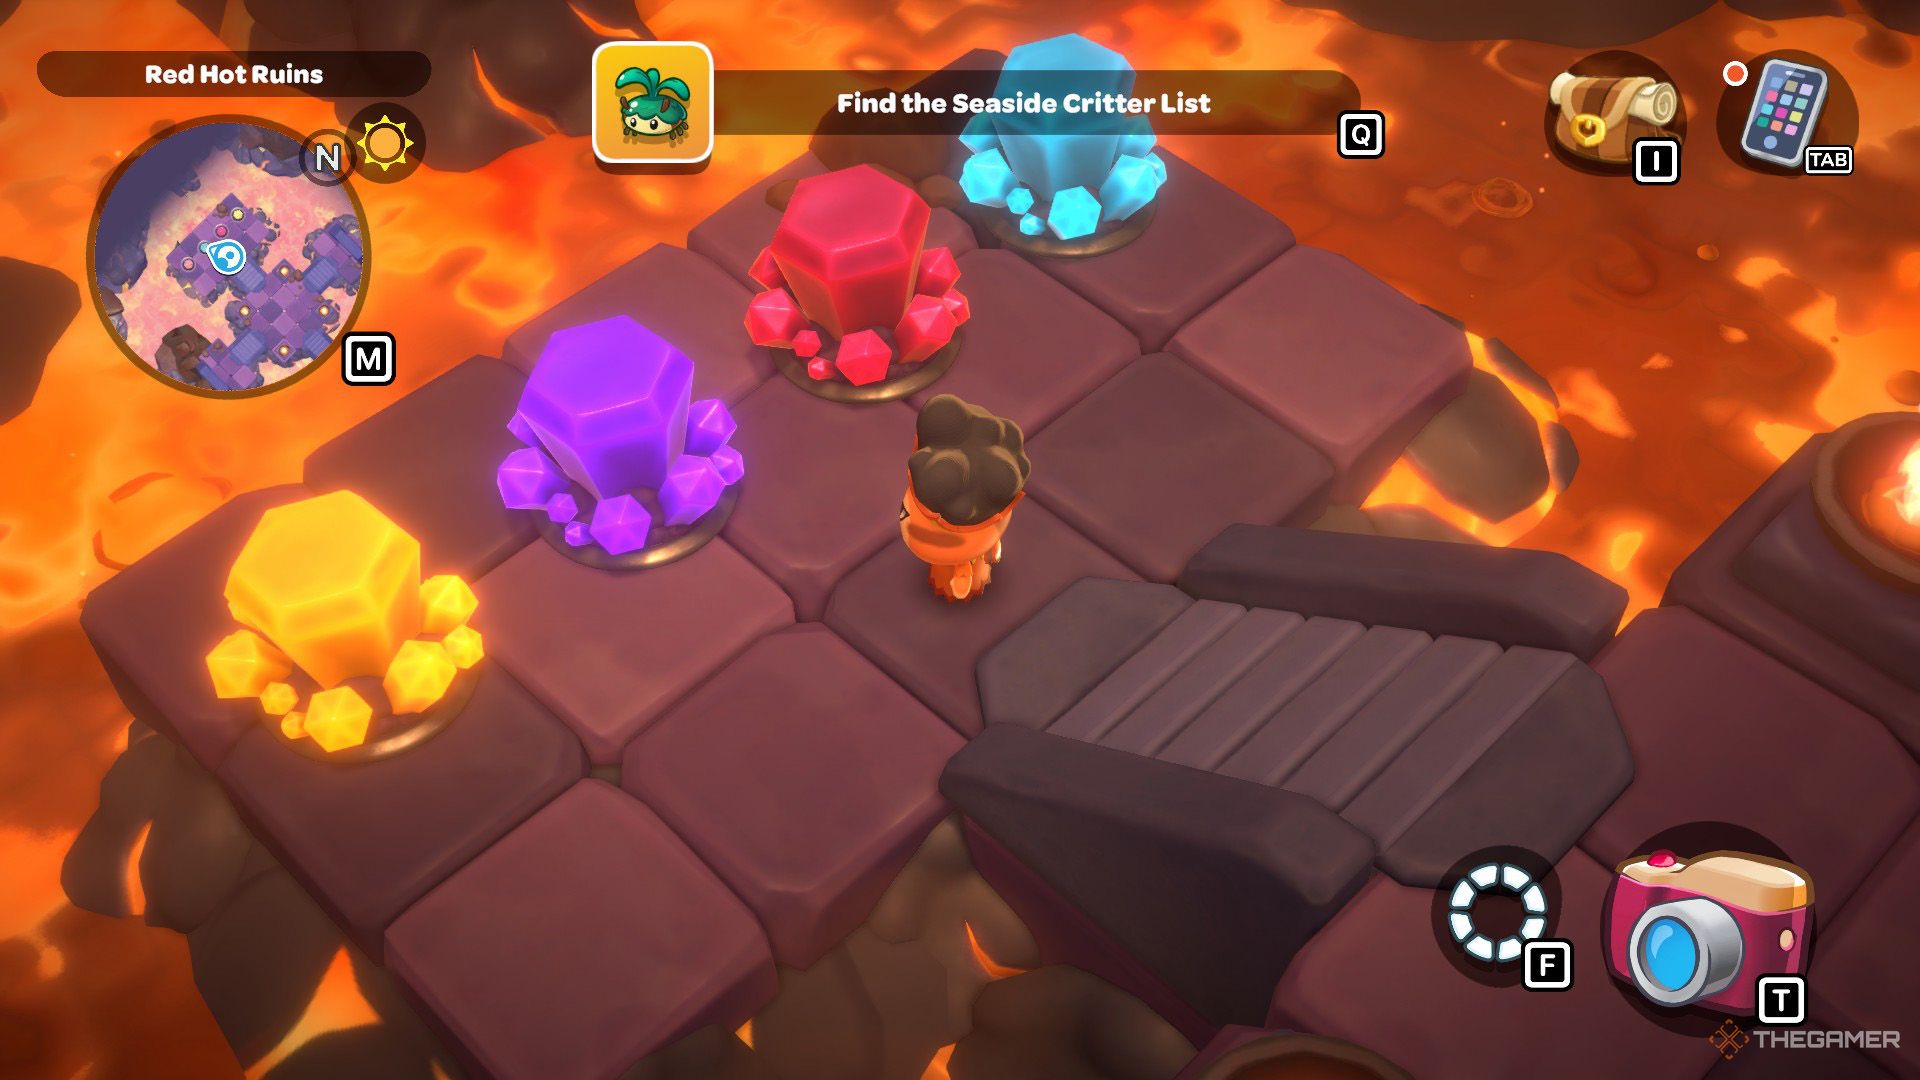
To reach this room, go to the first room and pass through the door to the north. Descending into the next room, you’ll see two sets of crystals—on the left, there are green, blue, red, and yellow crystals, while on the right, there are blue, red, purple, and yellow ones. You can only interact with the left set, and your task is to match their colors to the right side, in the exact order.
The correct sequence is yellow, purple, red, blue. Once arranged properly, the next door will unlock.
Moving forward, you’ll find Retsuko’s first suitcase near the right side of the room. However, her clothes are missing. Luckily, you won’t need to go far—her clothes are located just south of the same room. After giving them back, Retsuko will ask for her second suitcase, which is further inside the ruins.
How To Complete The Fourth Room
Heading through the next door, you’ll find yourself in a large puzzle room. The first section requires placing a golden cube on one of the buttons. The central sign indicates which one to pick, and in this case, it’s the top button. After setting the cube, stairs will appear, allowing you to move up.
The next puzzle features five teal buttons and four signs. Two of these signs point to the same button, located at the bottom-right. Since it’s different from the others, place the golden cube there. This spawns another staircase leading left.
The next puzzle is similar, but with green buttons—this time, the top-left button is the odd one out, so place the golden cube there. After solving one final puzzle with purple buttons, where the center button must hold the golden cube, you’ll unlock the exit.
How To Complete The Fifth Room
To reach the fifth room, enter the rightmost door at the checkpoint area you arrive at after the fourth room. This room is another parkour challenge rather than a puzzle. After descending the stairs, turn right and use your balloon to cross the stone platform. Keep moving right while using your balloon to avoid falling. You’ll find the first wooden chest near the braziers.
After that, head south, move left past the braziers, and go down the stairs leading further south. When you reach the next brazier, go right to find the second wooden chest. Use your balloons to fly right without falling into the lava, and you’ll reach the exit door of this room.
However, if your main goal is to find Retsuko’s second suitcase as quickly as possible, you can skip this room—it’s optional.
How To Complete The Sixth Room
You can reach this room by using the left door in the checkpoint area you arrive at after exiting the fourth room. Stepping into the next area, you’ll find yourself back outside. However, you need to take the left door to continue deeper into the ruins. Inside, there are three signs with stacked symbols and a glowing button in front of each.
Your goal is to rotate the symbols so all green-marked sections face north. This will unlock the door with three different symbols.
How To Complete The Seventh Room
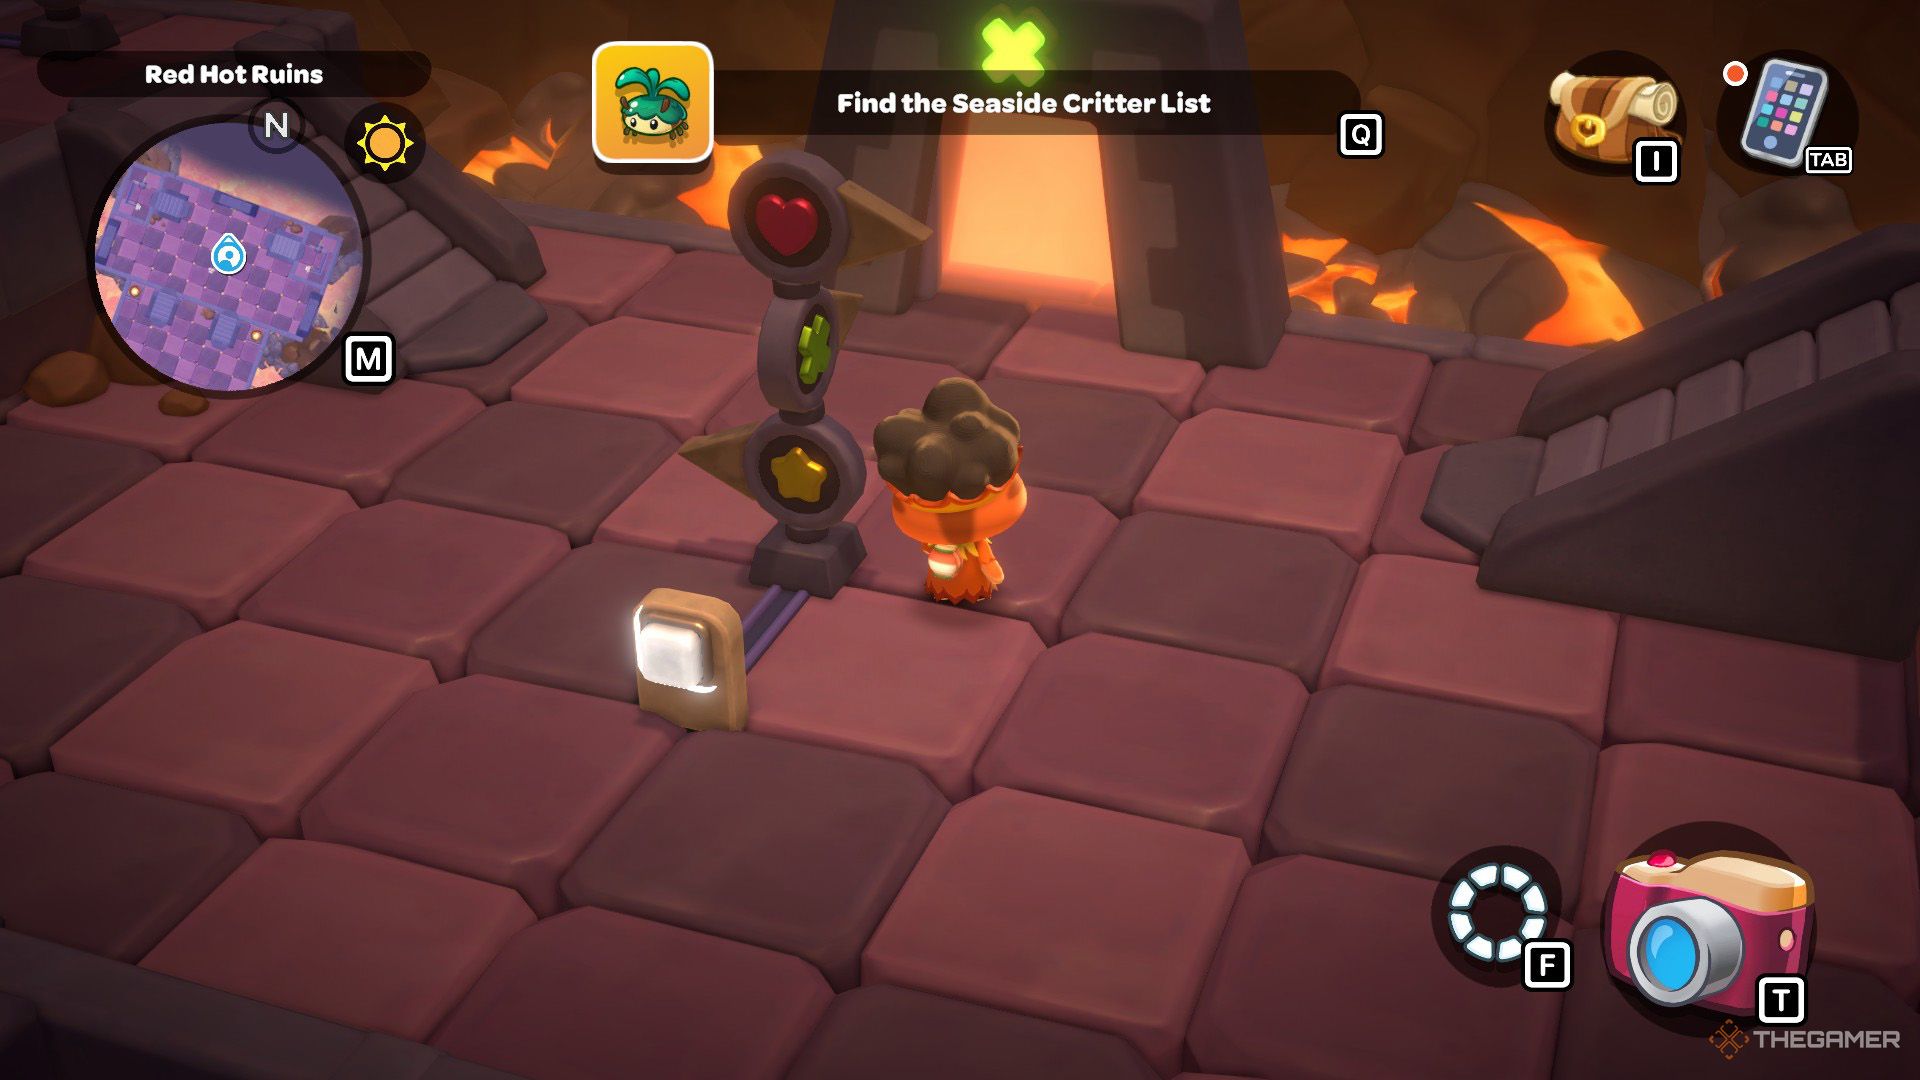
You can reach this room by using the left door in the previous room, the sixth room—the one with the yellow star symbol on it. A puzzle awaits you here. You will see some symbols above the lava pool, with white buttons surrounding them. Your goal is to turn all the symbols into yellow stars. To do this:
- First, press the third button from the left among the four buttons on the left side.
- Then, press the third button from the left among the buttons on the right side.
- Finally, press the first button from the left among the buttons on the right side.
This will complete the puzzle and open the door in this room. Don’t forget to open the wooden chest before leaving!
How To Complete The Eighth Room
To reach this room, you must first complete the puzzle in the previous room, the seventh room. This will grant you access to the door marked with two yellow stars.
However, if your main goal is to find Retsuko’s second suitcase as quickly as possible, you can skip this room—it’s optional. Instead, proceed directly to the ninth room by using the door with the green X symbol in the sixth room.
This room is quite spacious and features another puzzle involving colorful crystals:
- First, do not interact with the red crystal near the entrance.
- Interact with the crystal a bit ahead on the left and turn it blue.
- Then, move north and turn the next crystal green. Don’t forget to grab the chest in the north.
- Next, move to the right, leaving the first crystal you see green.
- Head south and turn the next crystal red. If you continue to the right, you’ll find a white button—press it.
- After pressing the button, go left and turn the red crystal green.
- Follow the path to the south, and you’ll reach the exit door.
How To Complete The Ninth Room
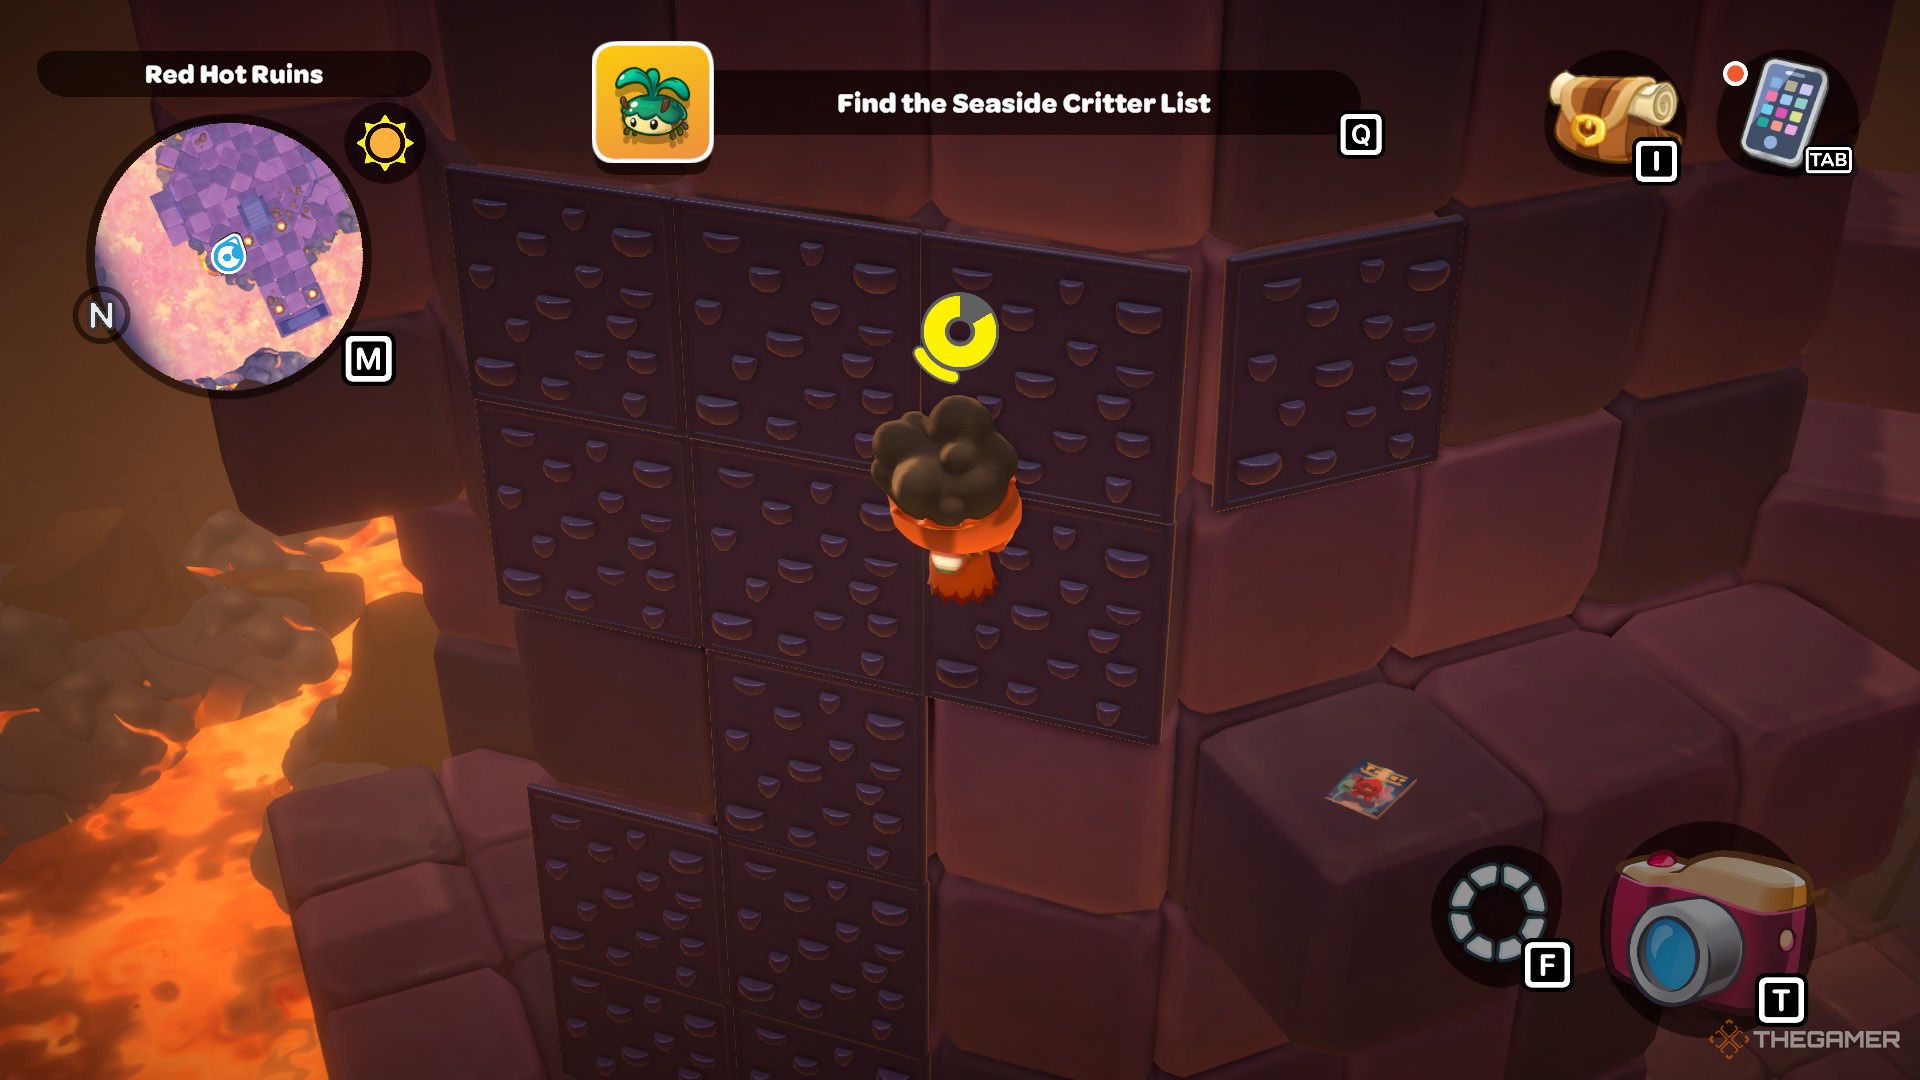
You can reach this room by using the door with the green X symbol in the sixth room or by completing the eighth room. Instead of a puzzle, this room features a massive climbing wall. Climb all the way to the top to find another door.
After exiting through it, head to the right, and you’ll find Retsuko’s second suitcase. Like before, something is missing—this time, it’s her karaoke microphone, which is conveniently located south of the room.
If you want to complete the Enraging Ruins quest and find Retsuko’s laptop, you can use the third door from the left in the checkpoint area with four doors. This will allow you to reach the final puzzle room.
How To Complete The Tenth Room
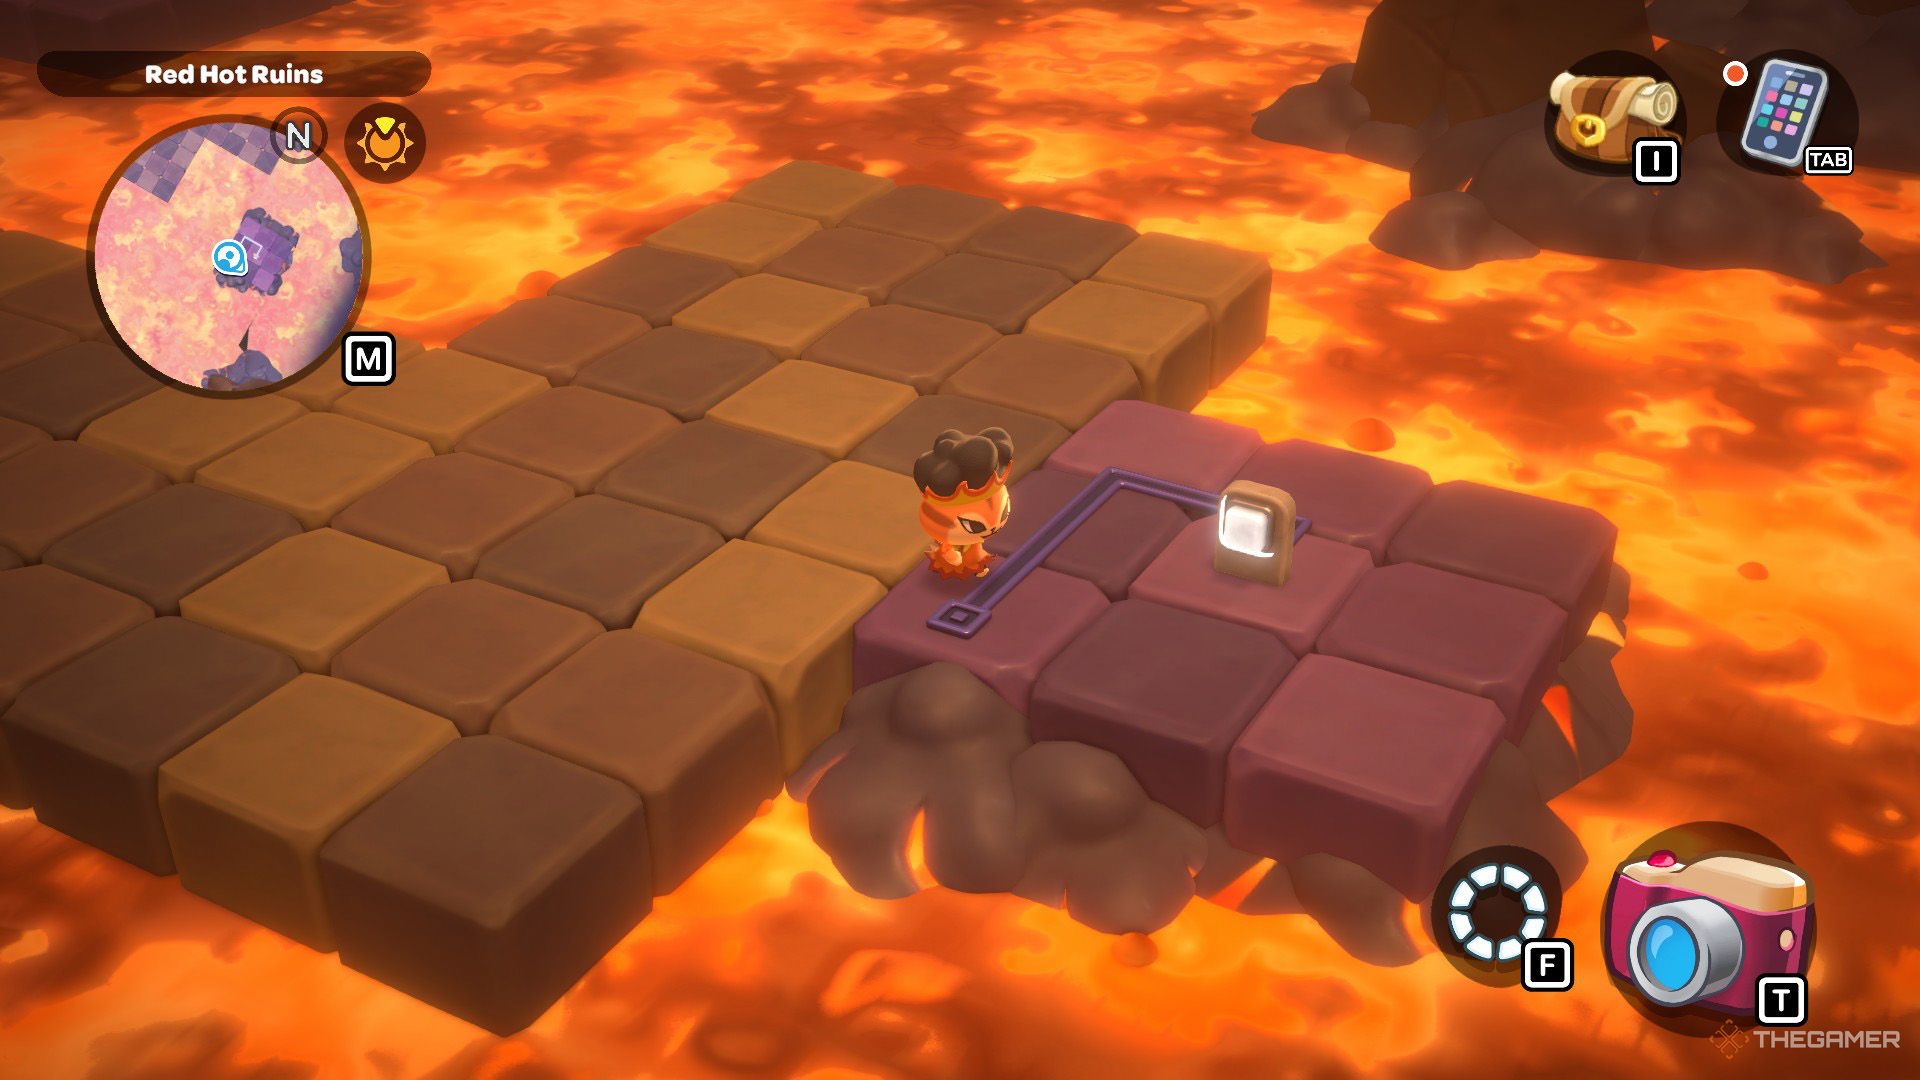
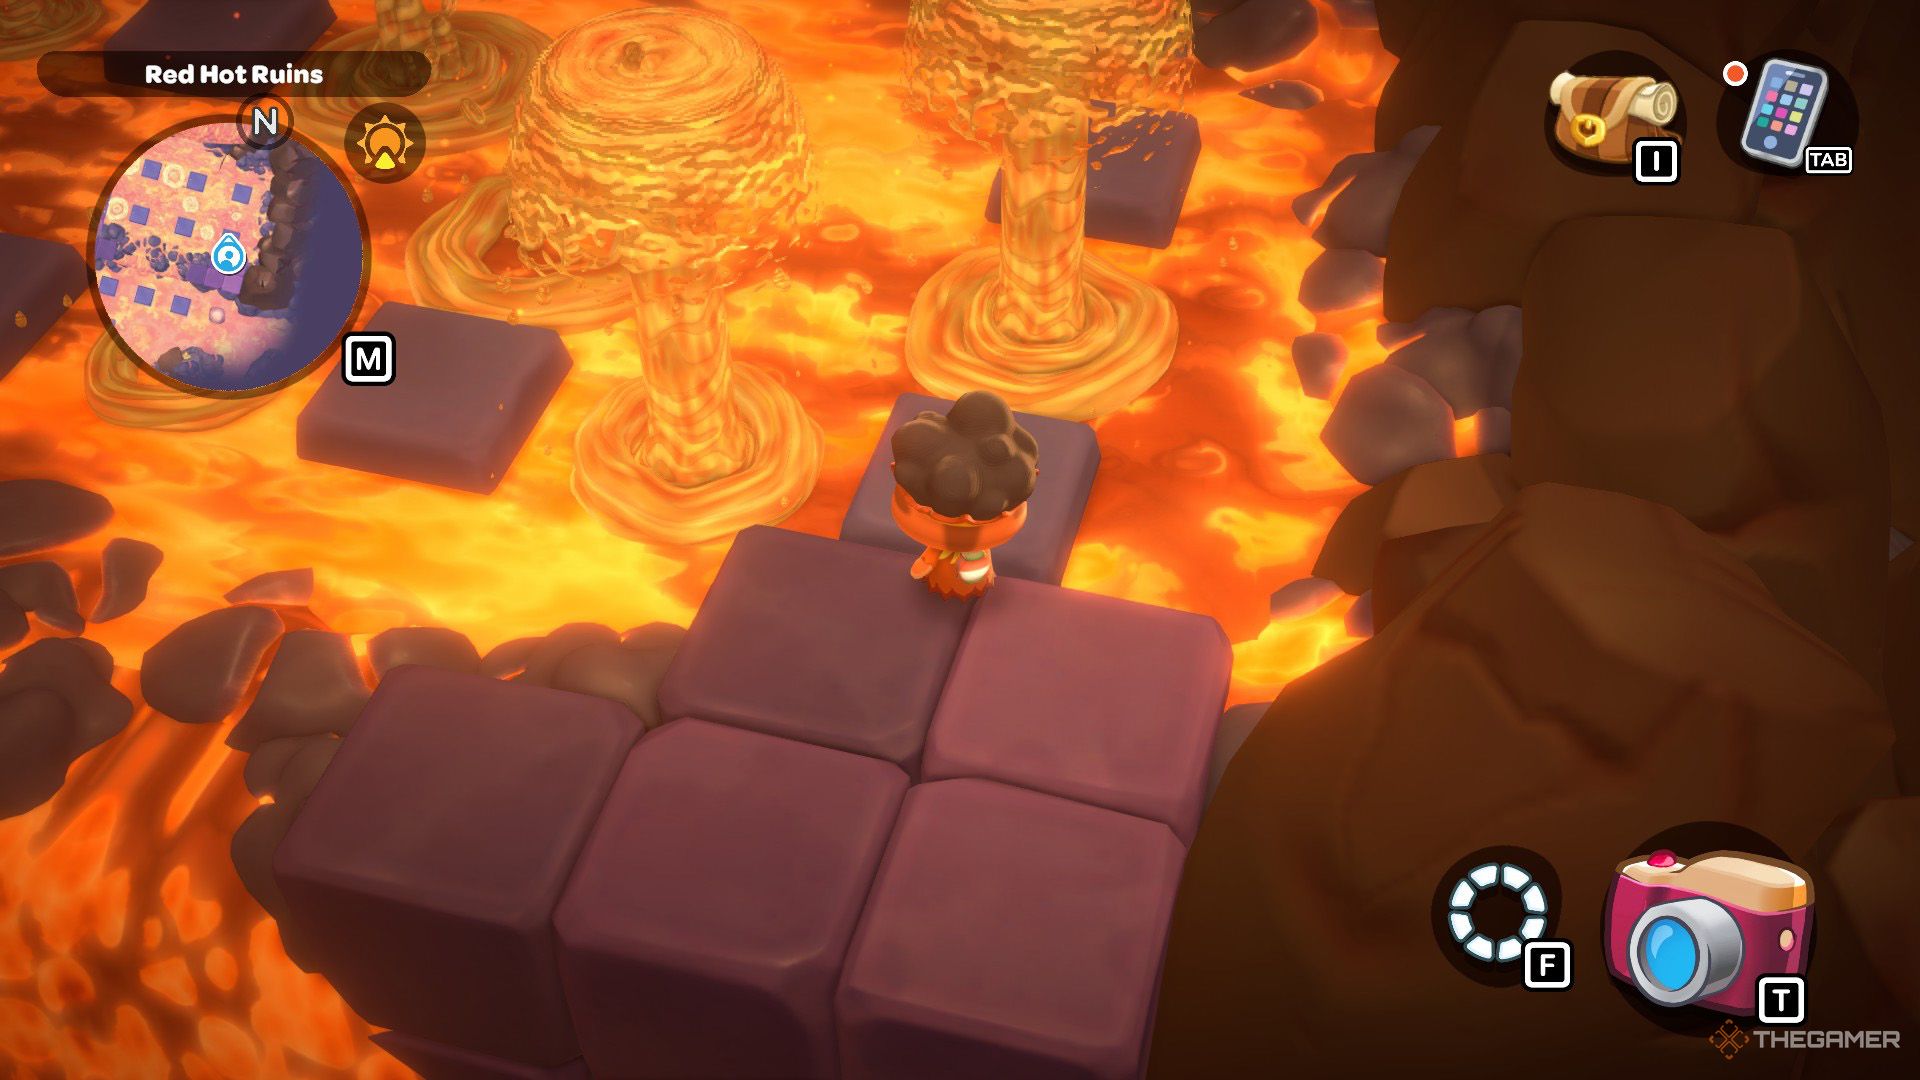
To reach this room, you must use the right door in the sixth room, which has a heart symbol on it. Instead of a puzzle, this room features a parkour challenge. Your goal is to move to the right first, but be quick, as the stone platforms you stand on will sink into the lava after a short time.
After you use the air current to ascend, time your movements carefully to avoid the volcanic geysers as you progress to the left. Once you reach the left side, you’ll find the door leading to the 11th room.
How To Complete The Eleventh Room
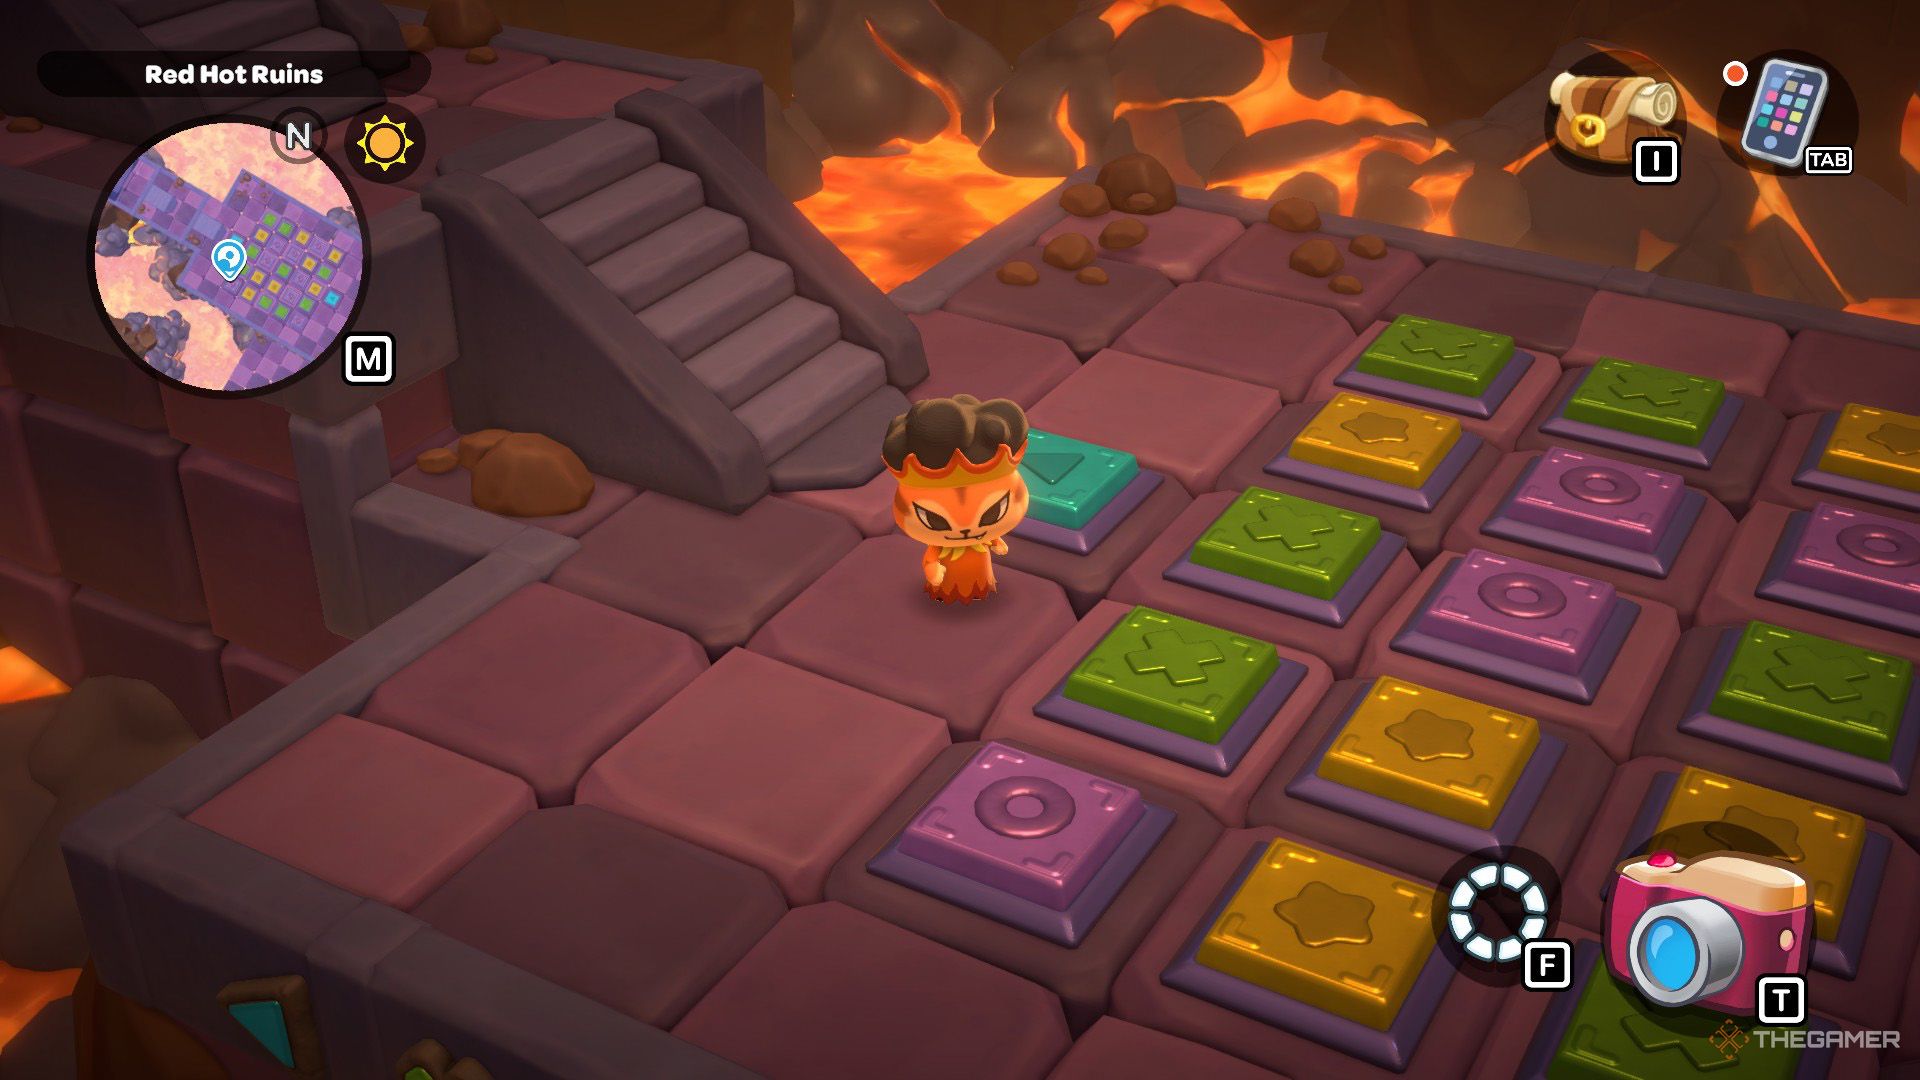
You can reach this optional room from the tenth room. This is a puzzle room, and you’ll encounter many buttons in different colors. First, go down the stairs to the south and open the chest. Then, examine the symbols to the south. You need to press the buttons according to these symbols to spawn the stairs:
|
Empty |
Empty |
Finish |
Empty |
Empty |
|---|---|---|---|---|
|
Don’t Press |
Don’t Press |
Yellow(10) |
Purple(9) |
Green(8) |
|
Don’t Press |
Yellow(4) |
Green(5) |
Purple(6) |
Yellow(7) |
|
Don’t Press |
Purple(3) |
Don’t Press |
Don’t Press |
Don’t Press |
|
Don’t Press |
Green(2) |
Yellow(1) |
Don’t Press |
Don’t Press |
|
Empty |
Empty |
Start |
Empty |
Empty |
After completin the puzzle, climb the stairs, collect the chest, and then exit the room.
How To Complete The Twelveth Room
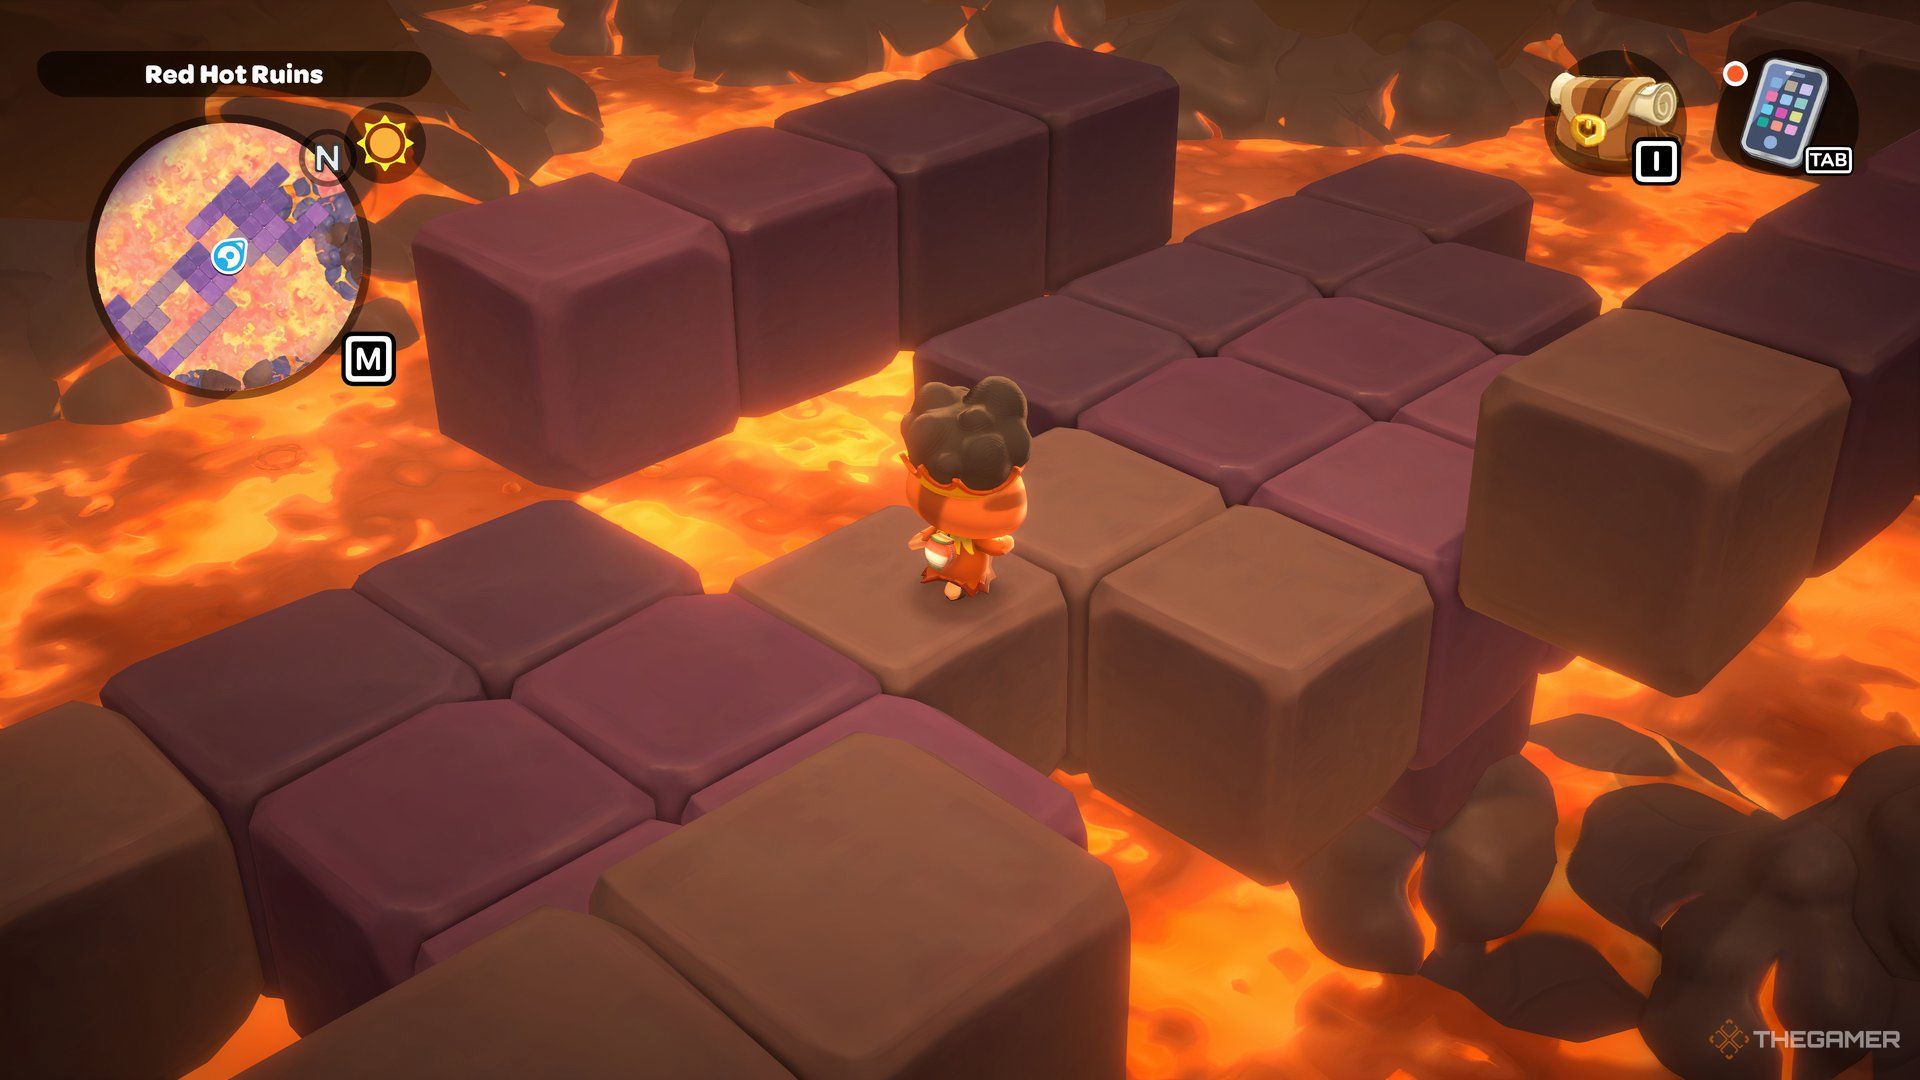
To reach this room, you must enter the second door from the left in the checkpoint room with four doors. As soon as you enter, you’ll see a chest. Then, jump to the stone platform ahead. Be careful on the light-colored stones, as they fall if you stay on them too long. The only thing you need to do in this room is to move north. This will lead you to the 13th room.
How To Complete The Thirteenth Room
You can reach this optional room from the 12th room. The first puzzle in this room consists of six buttons and two golden cubes. Your goal is to place the correct golden cubes on the correct buttons to spawn the stairs:
- For the first part, place the cubes on the top left button and the bottom right button.
- For the second puzzle, climb the stairs and place the golden cube on the second button from the left, which is closest to the stairs. Then, place the second cube on the button directly north of the one you just used.
- For the final puzzle, go to the southern end of the room and place the first golden cube on the third button from the left. For the second cube, go to the buttons near the door and place the cube on the button farthest to the right.
This will open the door, leading you to the 14th room.
How To Complete The Fourteenth Room
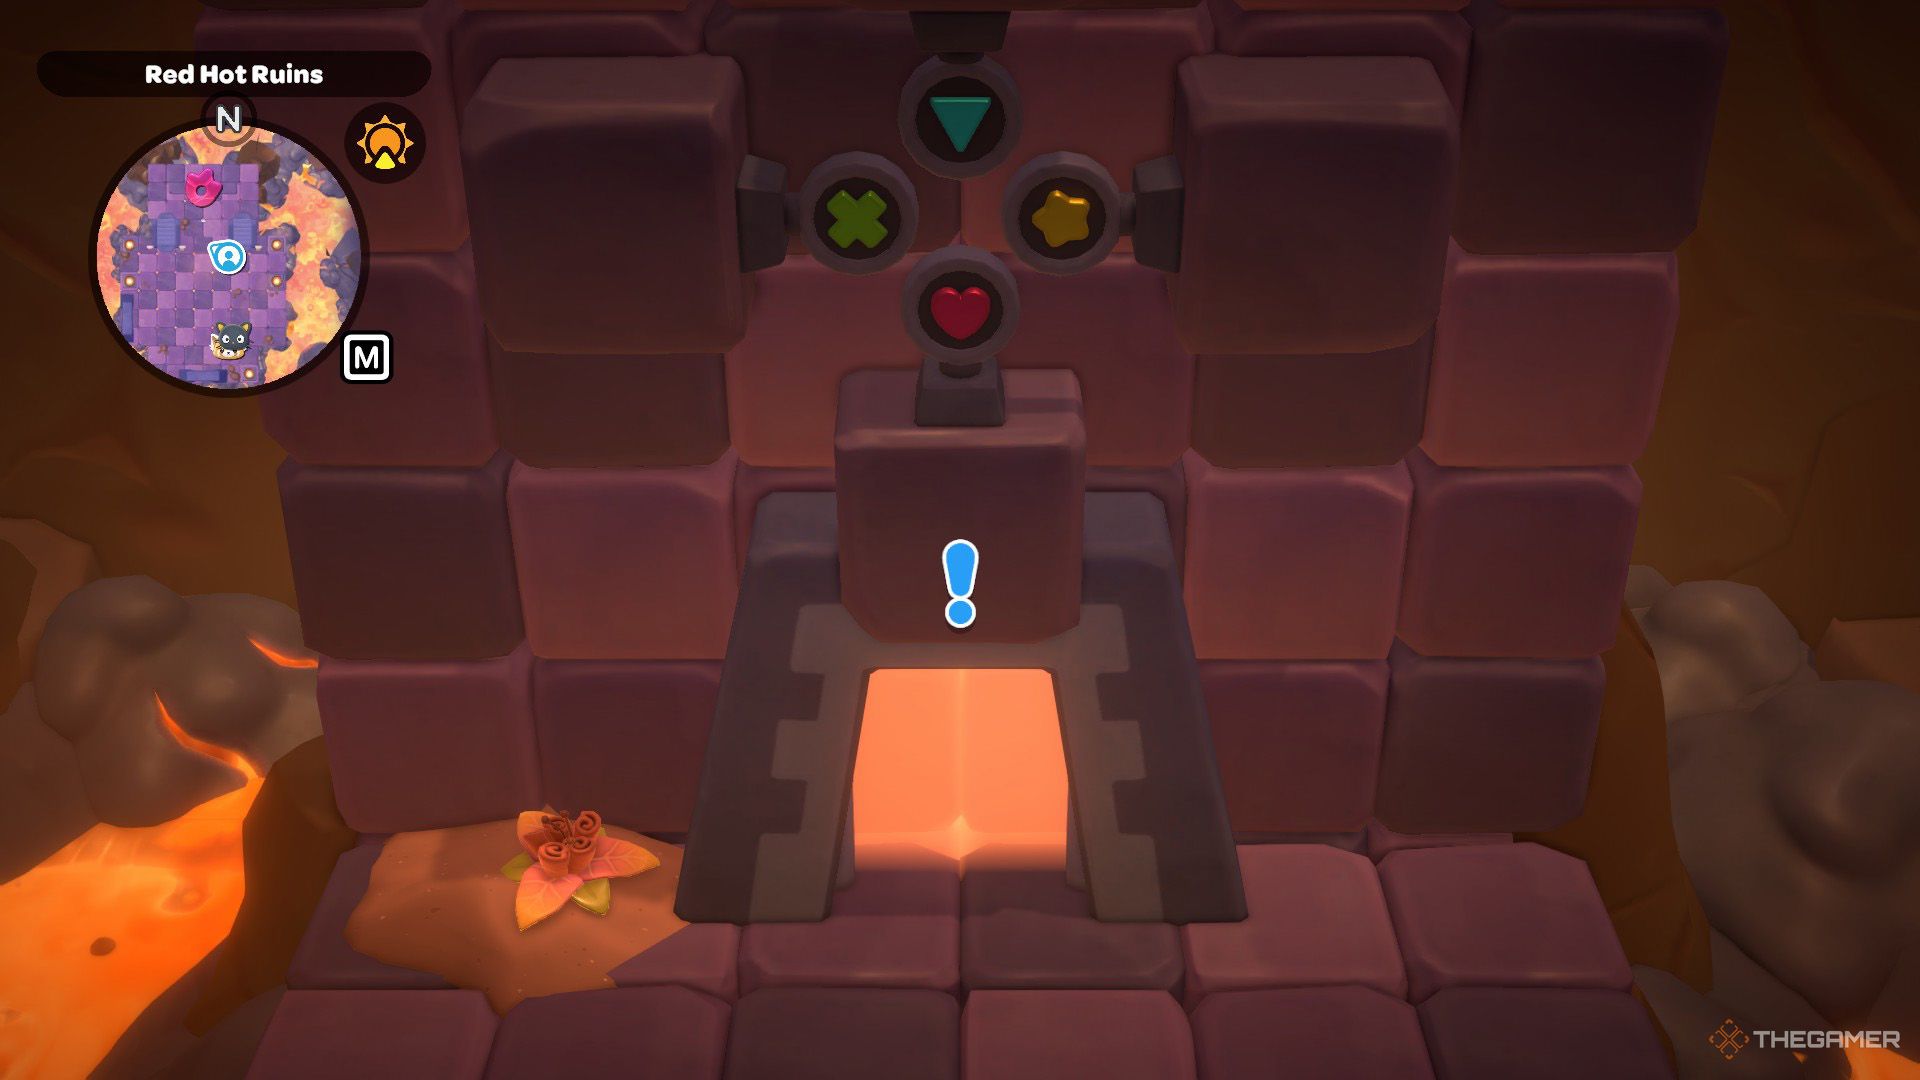
You can access the 14th room either from the 13th room or by using the third door from the left in the checkpoint area with four doors. In this room, you’ll reach a puzzle with four colored buttons and a white activation button. Pressing the white button will display a sequence of symbols:
- Red Heart
- Teal Triangle
- Green X
- Yellow Star
Press the colored buttons in the same order, and the door will open. Inside, you’ll find Retsuko’s laptop. Once you return it, she’ll treat you to a karaoke performance before leading you to a minecart corridor. Activating the nearby switch triggers a cutscene, after which you should speak to Retsuko once more.
From here, take the left door, find Chococat, and talk to him to officially complete the Enraging Ruins quest—along with all the puzzle rooms in Mount Hothead!
Next
Hello Kitty Island Adventure: Pompompurin Character Guide
Here’s the complete guide to Pompompurin in Hello Kitty Island Adventure.



Leave a Reply