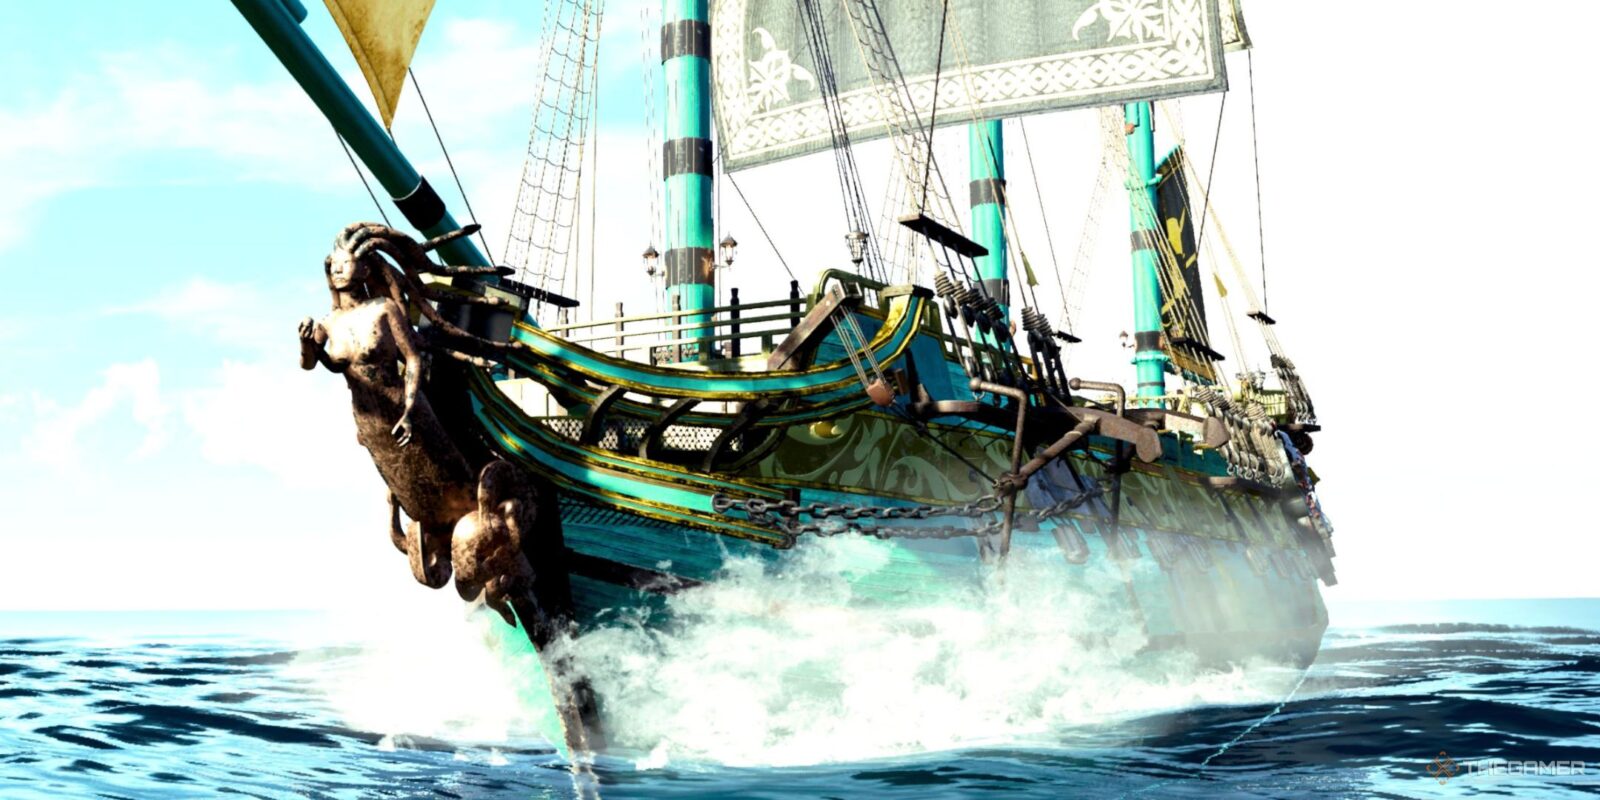
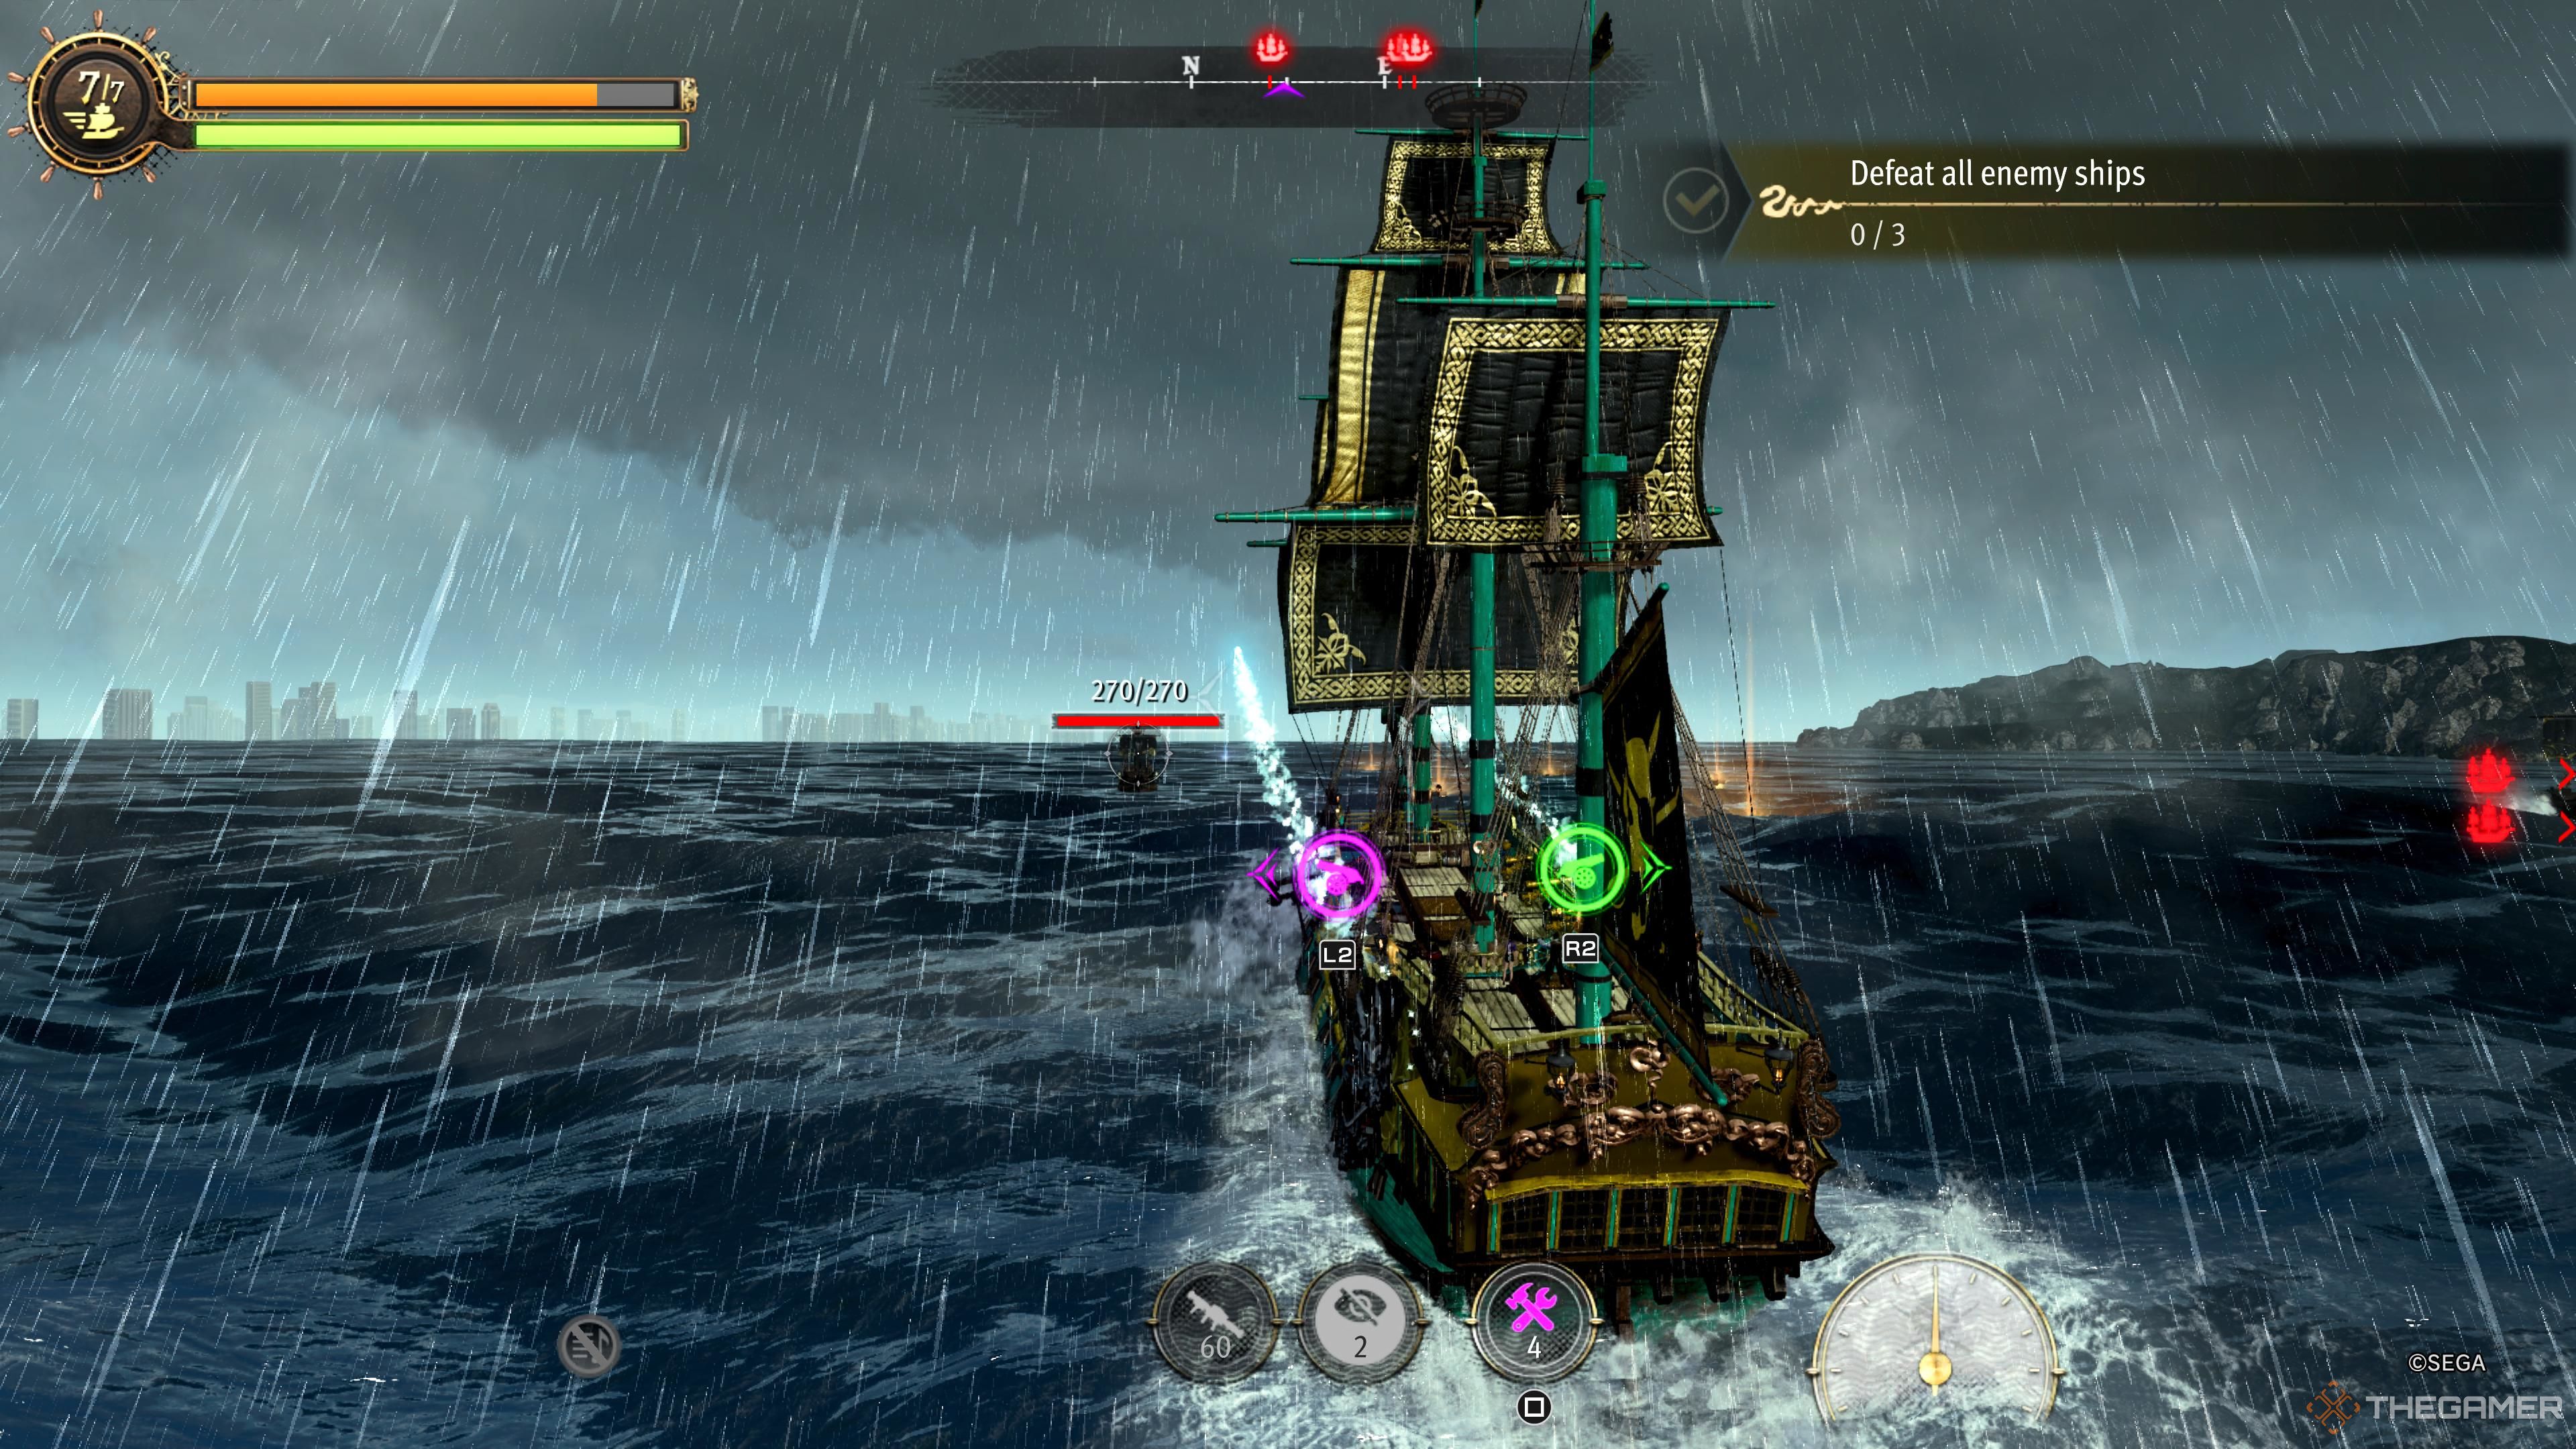
Like A Dragon: Pirate Yakuza In Hawaii wouldn’t be much of a pirate game if you spent the entirety of it with your feet planted on the ground like some kind of land lubber, now, would it? Thankfully, a great deal of the game takes place at sea, where you will engage in some good ol’ cannon to cannon combat.

Related
“You Can’t Make A Serious Majima Game” Say Like A Dragon: Pirate Yakuza In Hawaii Devs
We spoke with RGG Studio chief producer Hiroyuki Sakamoto at a recent Like a Dragon: Pirate Yakuza in Hawaii event.
This guide is here to take your pirating ways to the next level. We’ll teach you everything you need to know about equipping your ship, balancing its crew, and how to best maneuver it when engaged in gritty encounters on the rollicking waves.
Utilizing Different Cannon Ranges
There is a wide range of cannons you can equip to your ship. Naturally, one of the most pivotal aspects is their range. Every cannon will fall into one of three ranges…
- Short-Range: Any weapon that doesn’t have “long range” or “very long range” listed is a short range cannon. These can only reach a ship that is a few meters away. In order to use these you will need to essentially brush past the port or starboard of an enemy ship.
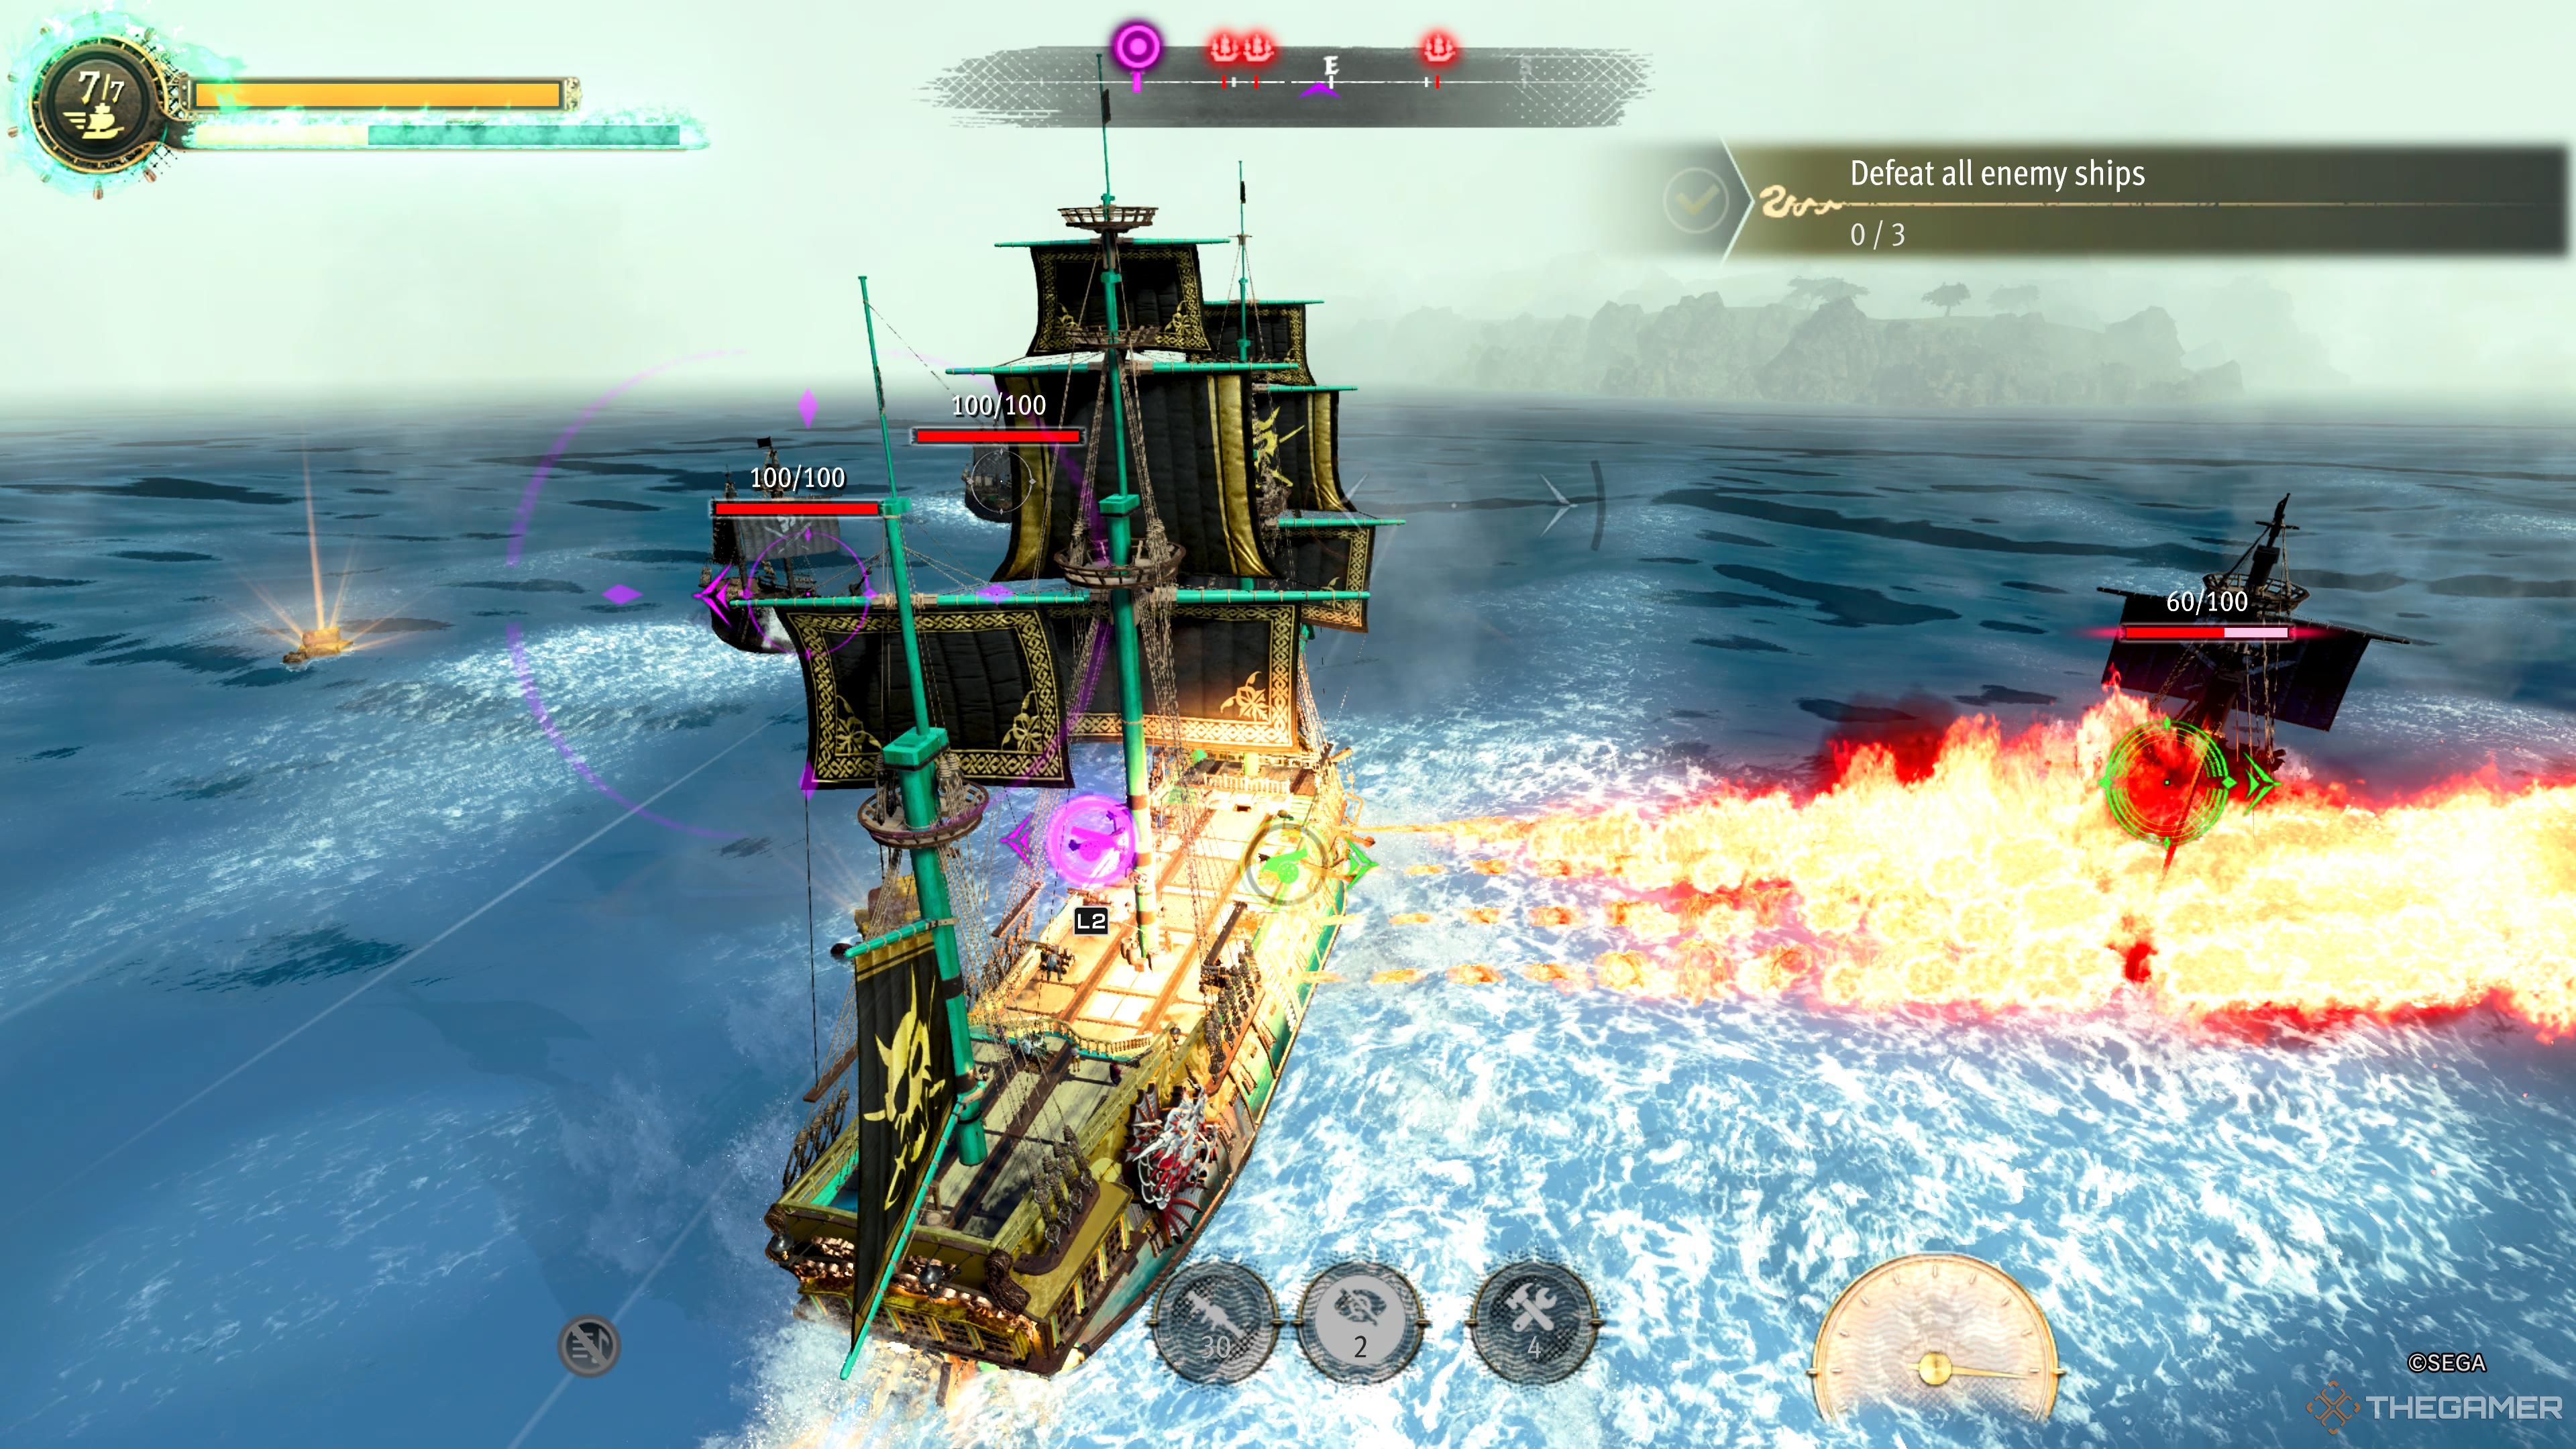
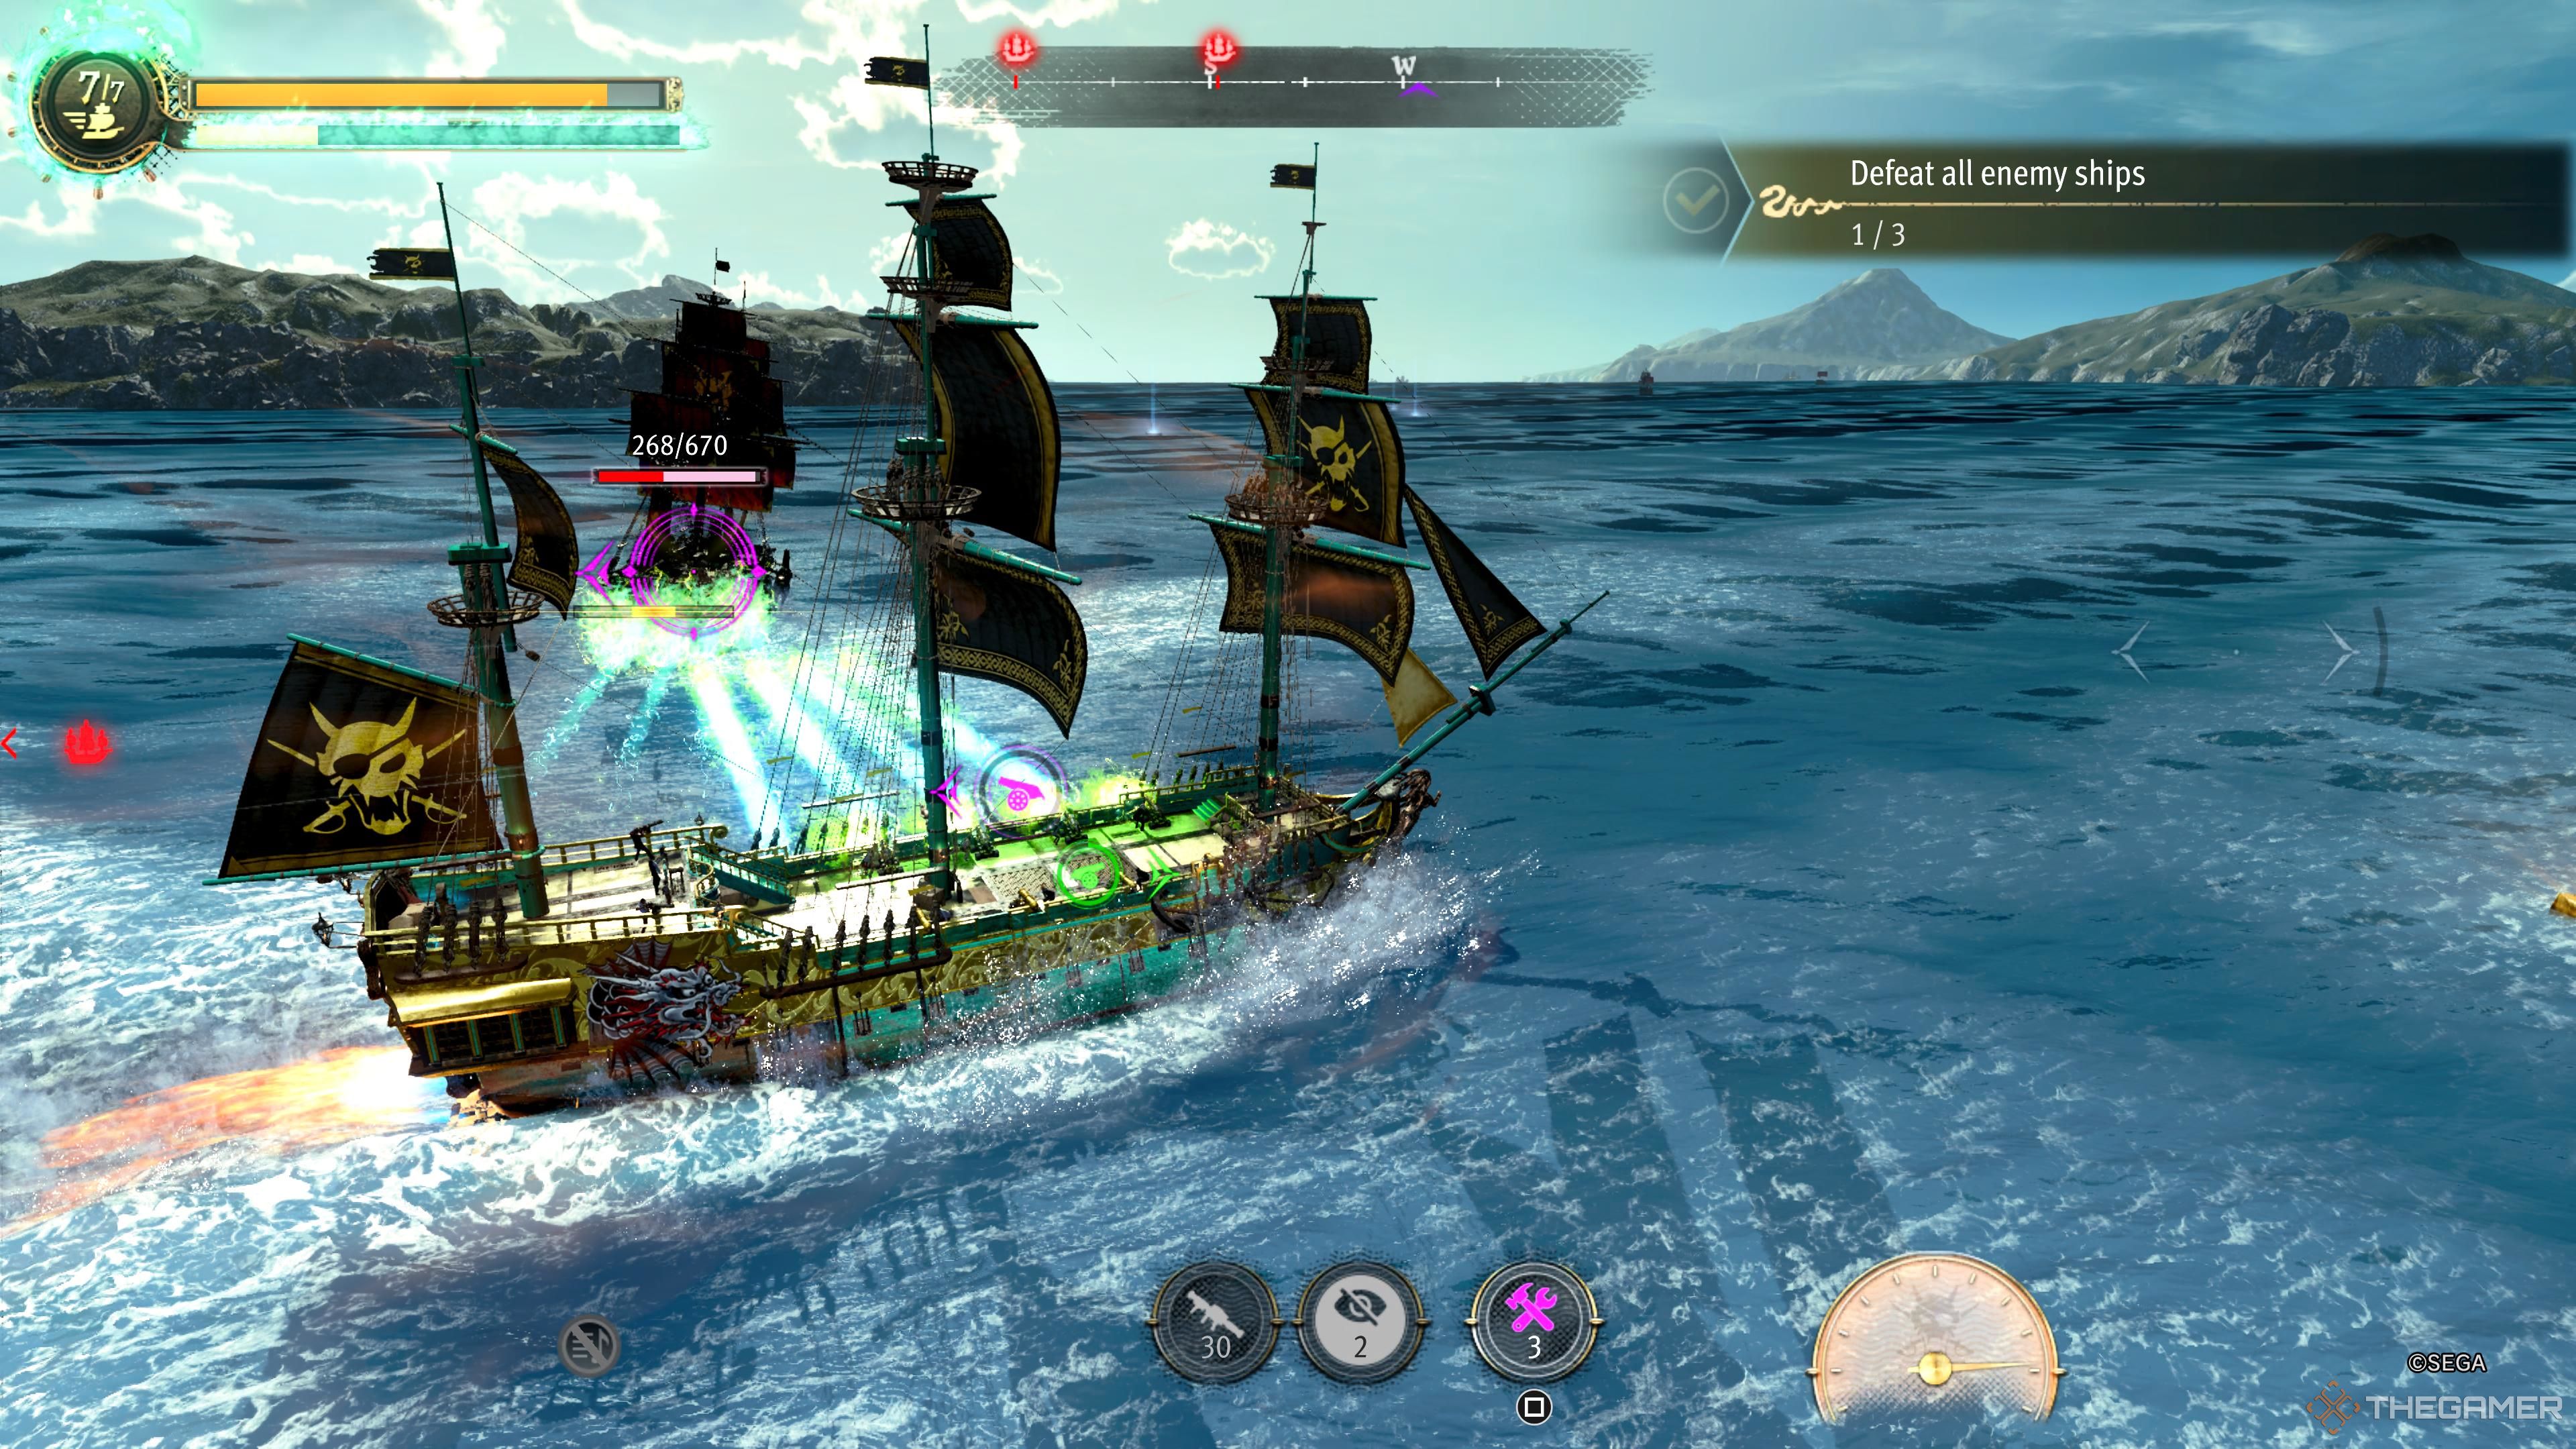
- Long-Range: I’d say “Long Range” is a bit of a misnomer, as they are mid-range at best. A number of your cannons that have sustained fire are long range. That includes the Silver Flamethrower, Gold Flamethrower, and Super Laser Cannon. It is also the range your upgraded status-effect cannons will fire at. Your Bronze Cannons are also long range, but you’ll want to upgrade those as quickly as possible. These cannons have a firing distance that aligns with your lock-on range. They’ll fall short of anything beyond that.
- Very Long-Range: These are your long-distance cannons. They feature a tremendous amount of range. The Silver Cannon, Gold Cannon, and Energy Cannons all fire at this range. Your very long-range cannons can fire well past your lock-on. Aiming them can be a bit tricky, but they give you the opportunity to fire at a distance that most enemies will not return fire at.
The Energy Cannon is very long-range. So, even though it doesn’t list a range, don’t worry, it won’t disappoint.
Some of the best cannons in the game are Long Range, such as the incredibly powerful Super Laser Cannon. However, it is undeniably a good thing to be able to hit opponents from a great distance, which is why I typically equip my ship with one very long range cannon option, and one of the powerful long range cannons. Short-Range cannons are something you’ll want to move away from as quickly as possible. It isn’t a bad idea to upgrade your cannons up to at least their Long Range form the instant you can upgrade your equipment.
How To Utilize Status Effects
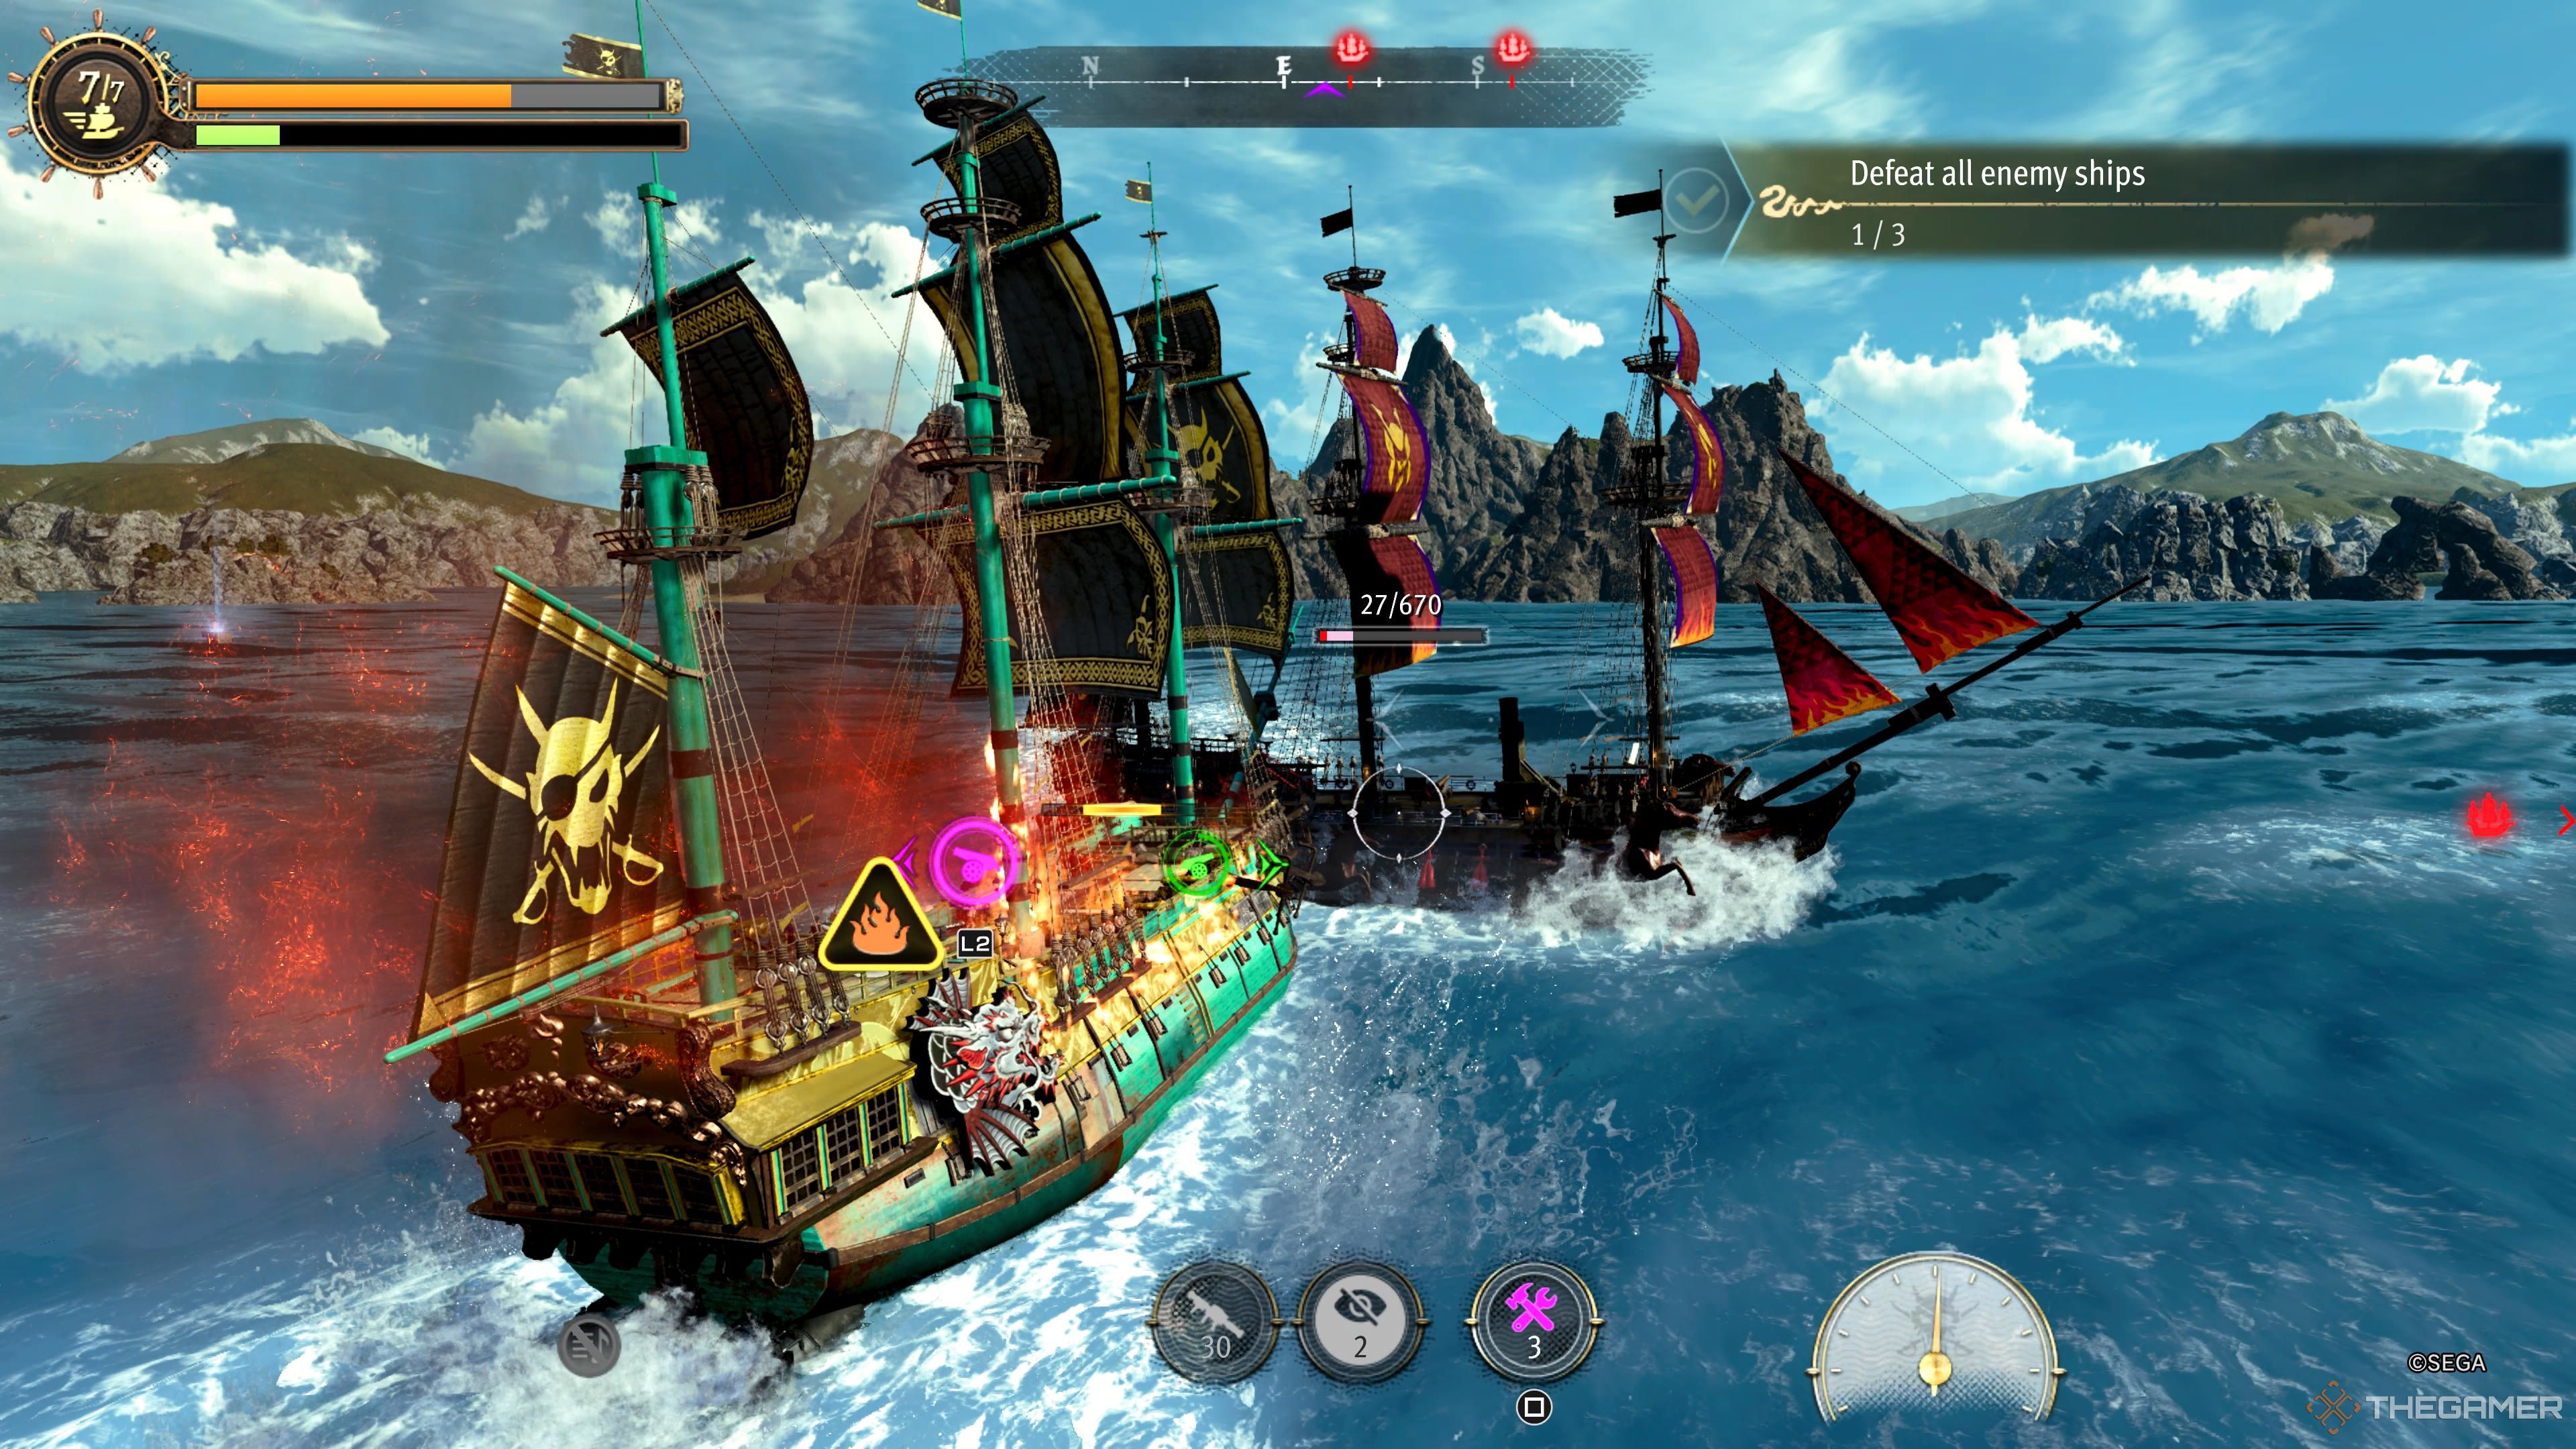
There are three status effects: fire, ice, and poison. Fire produces continuous damage, ice removes the ability to fire cannons, and the poison status effect does both. The gradual damage that fire and poison will cause is relatively minor. I wouldn’t say that it is anything worth focusing on. However, the ability to remove an opponent’s ability to fire back provided by the ice and poison effect is absolutely massive. This makes both the ice and poison elements extremely strong.
For this reason alone, I’d strongly recommend sticking with the frozen machine gun. The extra damage provided by the coconut gun isn’t enough to justify losing the freezing effect.
As for what you should do when you are afflicted with one of these status ailments, I’d recommend getting behind your enemy, or getting distance, and using a repair kit. Whatever you do, don’t leave the wheel to try to fight the effects. I’ve never encountered a situation where it was worth it. It leaves you a sitting duck and will almost certainly spell your doom. Just utilize ship repairs and avoid your enemy’s fire.
How To Utilize Your Boost Effectively
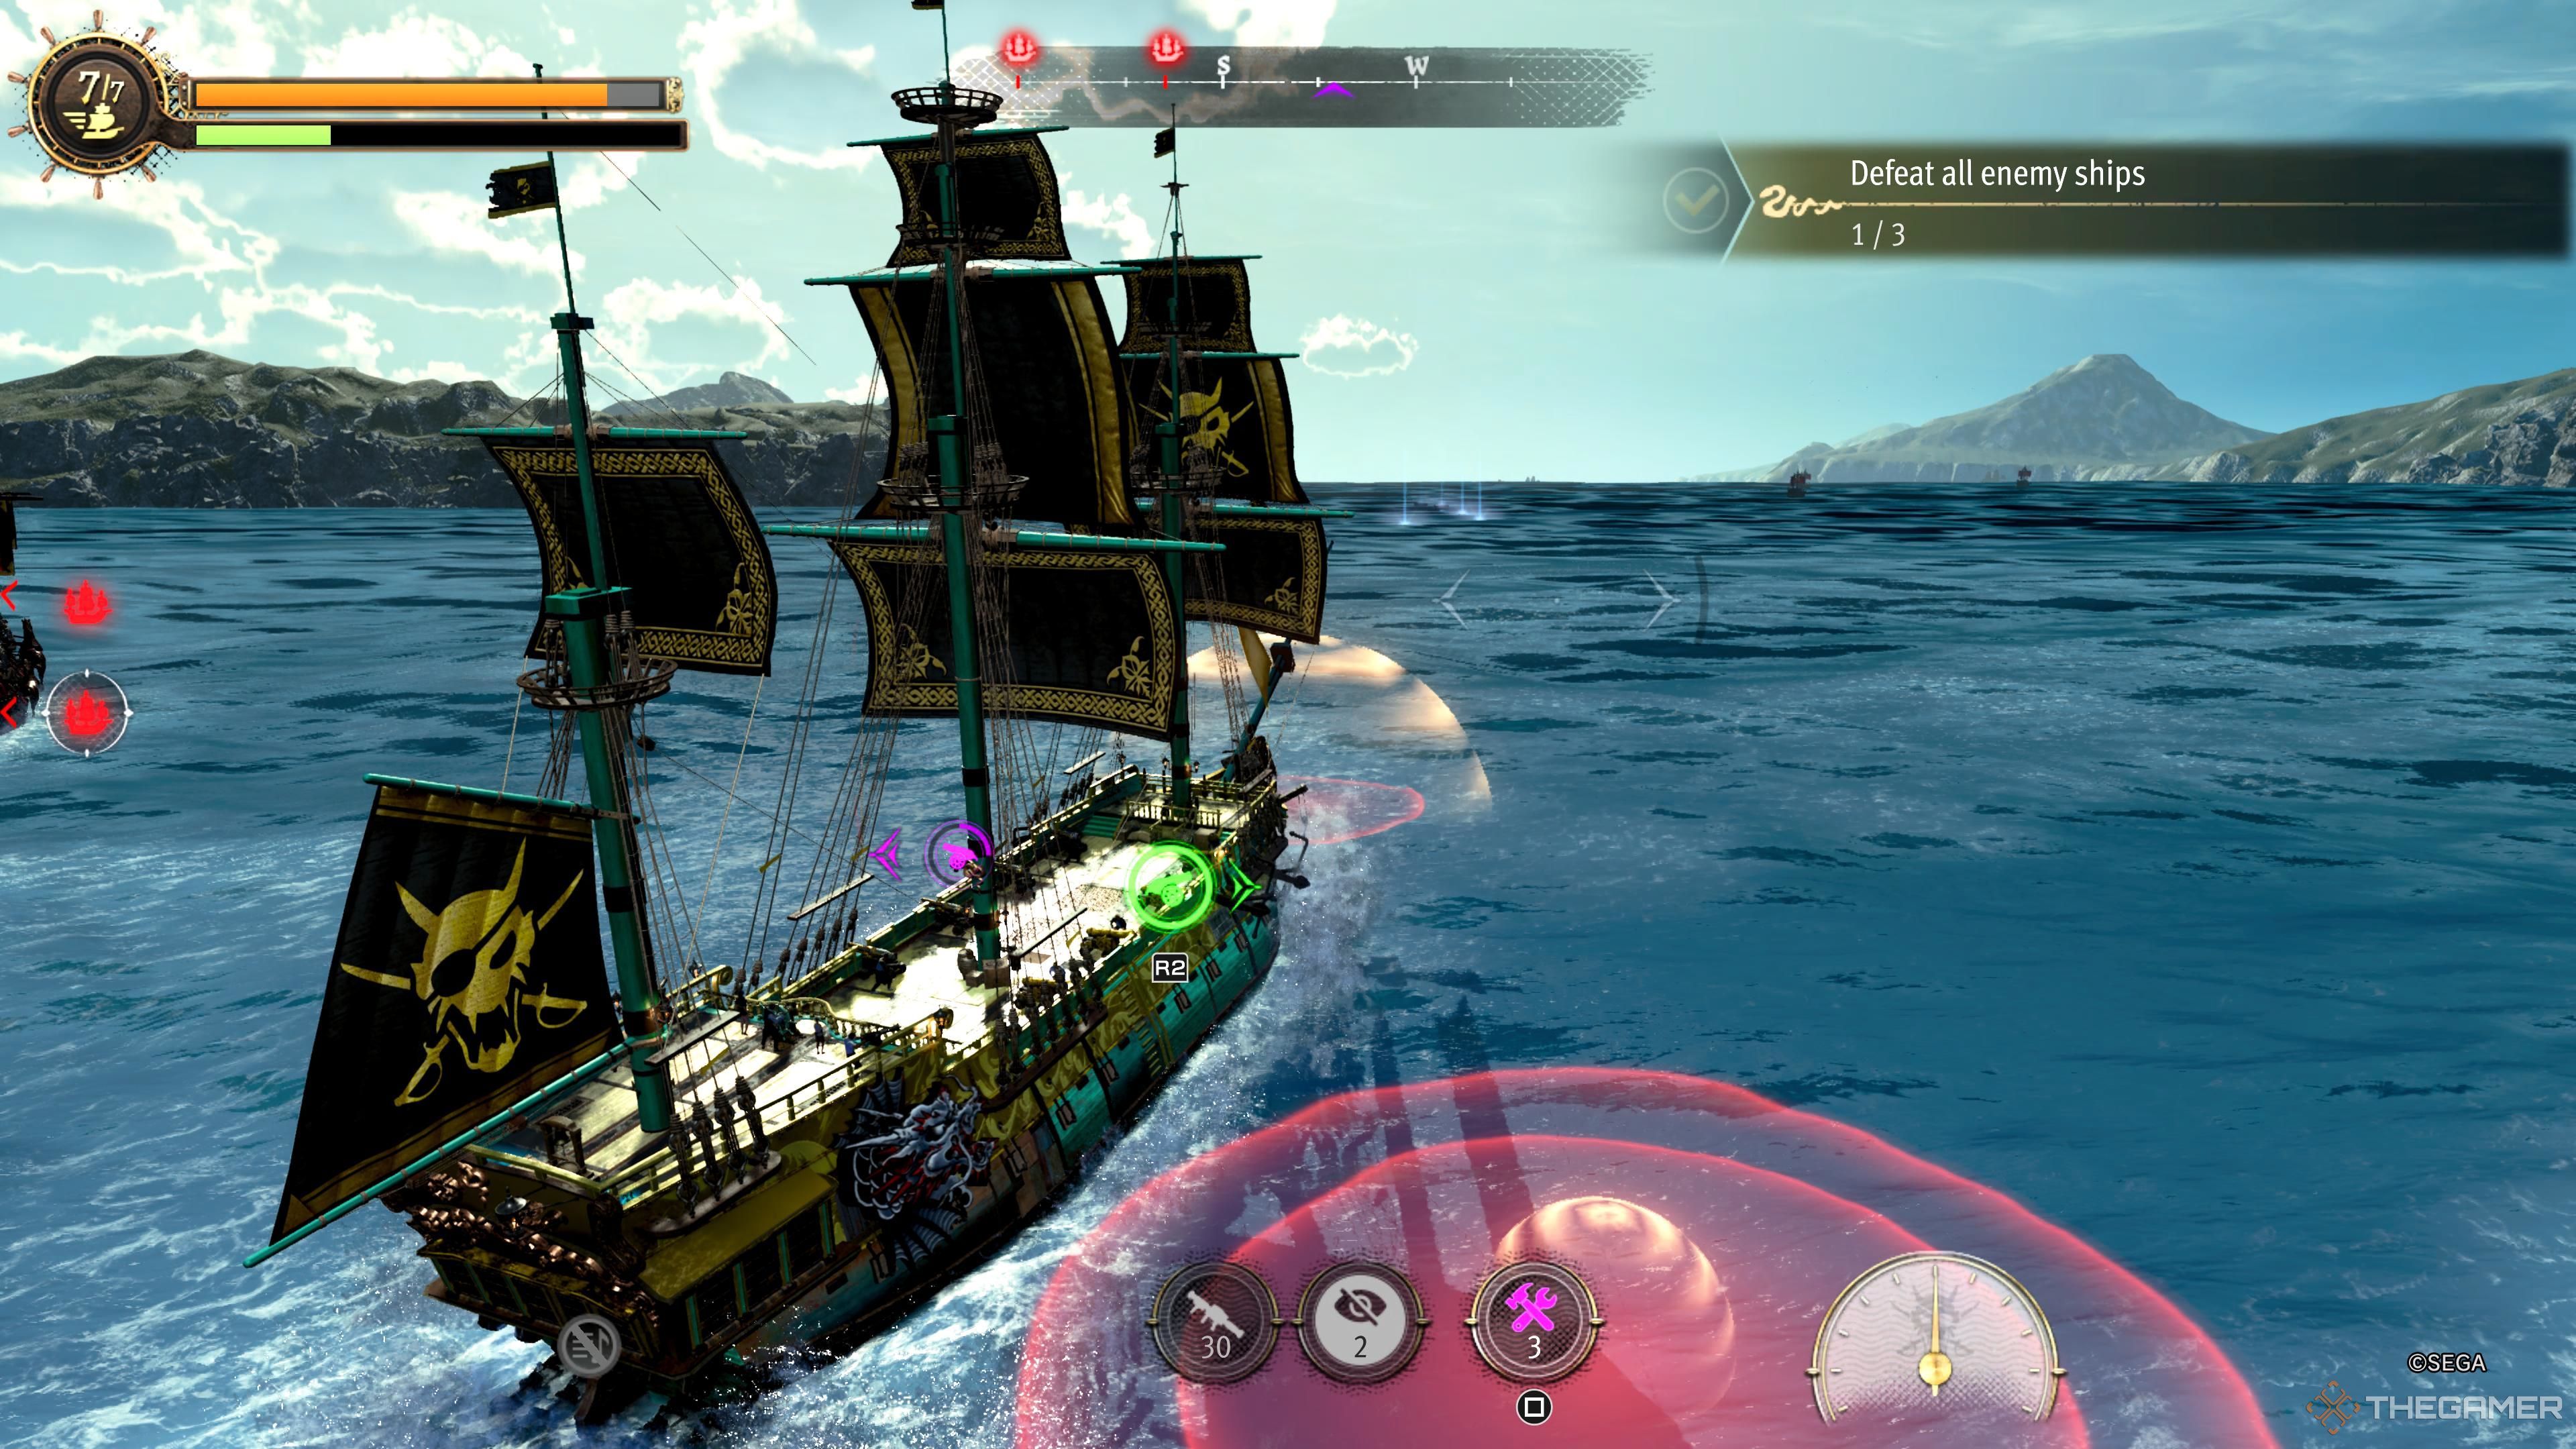
Outside of equipment, the most impactful element when it comes to ship combat is your ability to maneuver around other ships. At a basic level, the boost is useful for clearing an enemy cannon’s attack range. Once you see the glowing bars on the ocean water, you’ll want to make sure your ship doesn’t intersect with these. The drift will allow you to take this to the next level. Instead of just blowing past their cannons, and then having to awkwardly reposition yourself, the drift will allow you to make a sharp turn. From here, you can either…
- Align the side of your ship with your enemy’s backside, allowing you to blast them with your cannons.
- Align the front of your ship with your enemy’s backside, allowing you to shred them with your machine gun fire.
- Circle them while lighting them up with your flamethrowers.
To perform the drift, hold your grab button while turning. If you are positioned where you want to be, you can then press your jump button to immediately cancel your boost. Utilizing this drift will make you more effective at avoiding damage, while also improving your offensive potency.
There is one other element that you can use your boost for. If you have a decent amount of distance to build up speed, you can use your boost to perform a ram attack against an enemy ship. You don’t want to perform this maneuver when your ship is facing an enemy ship, instead, try to ram the side of their ship, where it is at its weakest. Also, your ship’s speed is what determines the amount of damage you will cause with a ram attack, so that space we mentioned is important.
If you are repairing your ship you won’t be able to fire your cannon, but you can still ram an enemy ship.
Turn Towards Enemy Fire
Avoiding attacks is relatively easy to do if you have your boost available, but once you start dealing with entire squadrons of ships, you’ll find that this isn’t always going to be the case. However, you still have defensive maneuvers that you can utilize to minimize damage. If you are about to receive a volley of cannonballs, you should turn your ship toward the blast. Not only does your hull receive less damage, but it makes you a narrower target, meaning that a number of the cannonballs will almost certainly miss.
This tactic is effective for evading ramming attempts as well. I can’t tell you how many times I was able to narrowly avoid a ship ramming into me by slowly turning toward them. This method will even work for avoiding long range cannon fire. When you see those circular indicators showing that a cannonball is going to land in that spot, turn as abruptly as possible. You will be able to swivel your ship out of the way if you act quickly enough, even if you are boostless.
When To Use Your Rocket Launcher
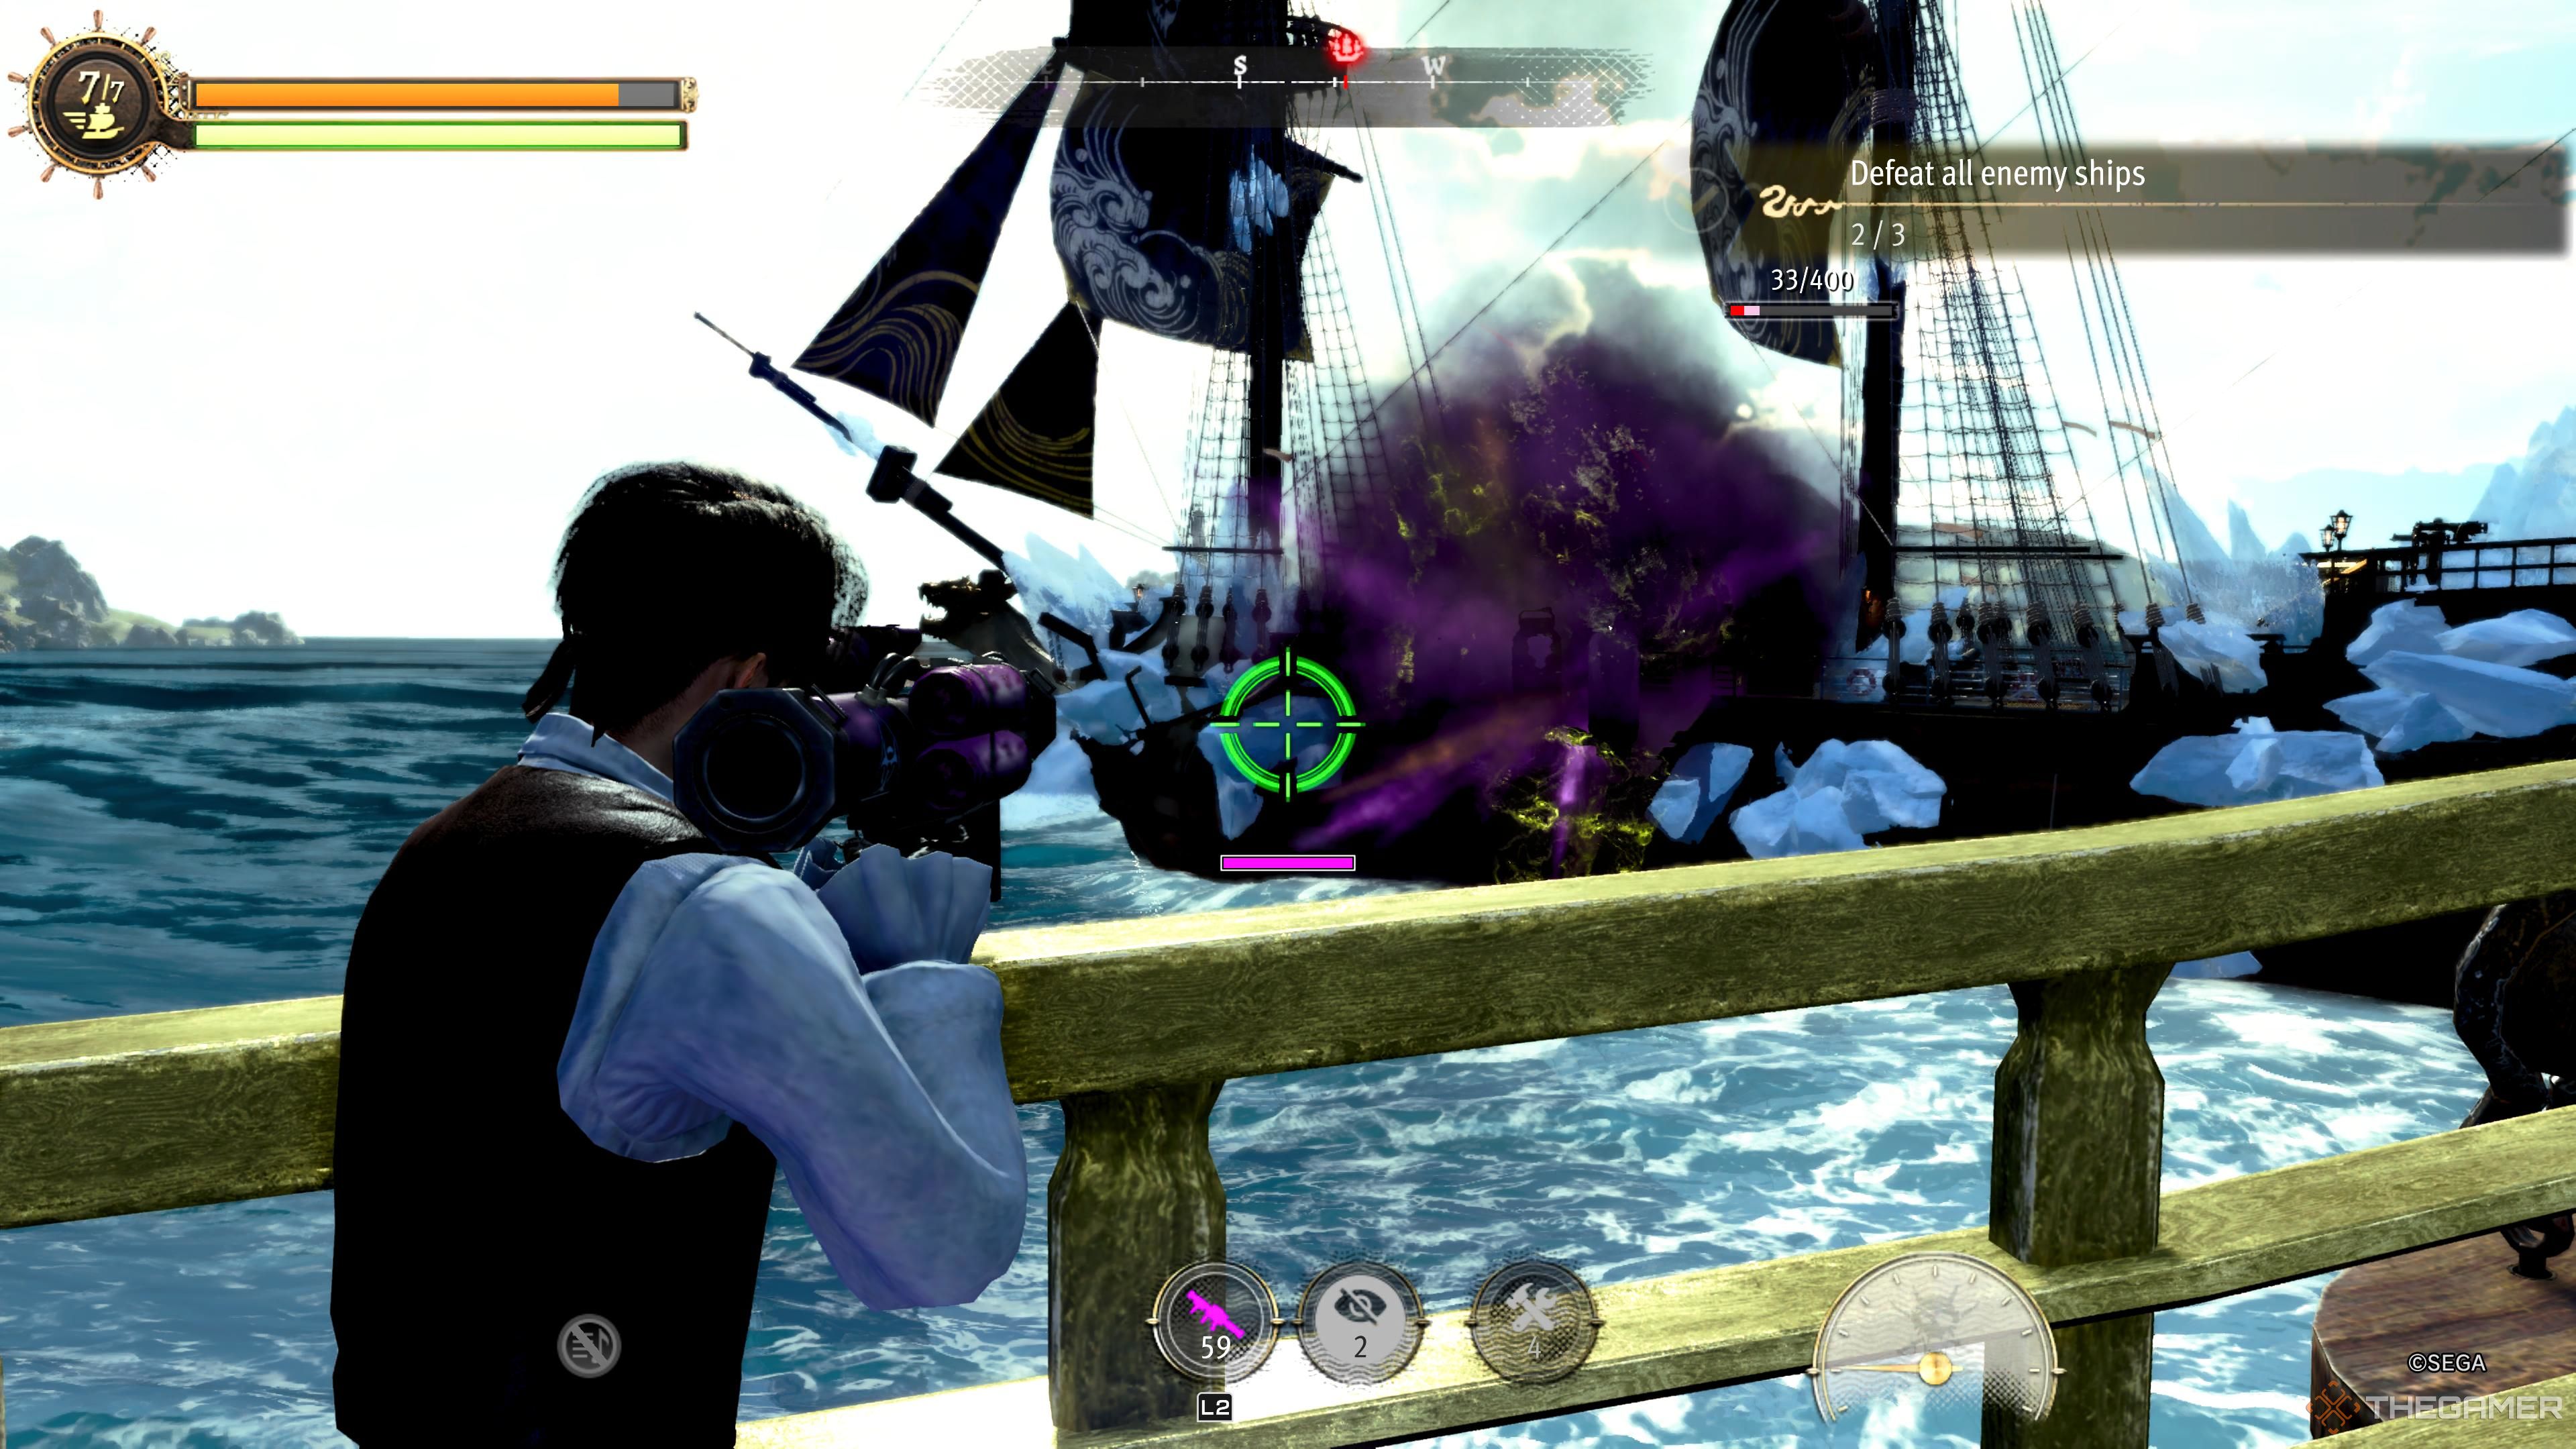
In the early game, the rocket launcher is quite good at obliterating ships, but it falls off once enemies start getting long-range weapons. However, even in the later parts of the game, your rocket launcher does serve a purpose. For instance, if you are repairing your ship, you won’t be able to fire your cannons, but you will be able to fire your rocket launcher. I’d suggest reserving your rocket launcher for three scenarios…
- When both you and your foe have fired your cannons, so both of you and your opponent are in cooldown, it makes sense to fire off a couple of rockets. This is especially true if you have a rocket launcher that is capable of seizing the enemy’s ship.
- When you have locked an enemy’s ship up using status effect inflicting weaponry, you are free to light them up with rockets.
- If you are directly behind an enemy ship, you will be able to fire off a few shots. This is a great time to repair your ship, as well.
Beyond those scenarios, utilizing the rocket launcher is probably a touch too risky. On the note of risk, while climbing the crows nest will allow you to rain down fire on your opponents with your rocket launcher, it also makes getting back to the ship’s wheel take far longer. Don’t do it. You are far better off firing your rockets while standing as close to the ship’s wheel as possible.
Use Enemy Ships As A Shield
You will typically find yourself battling multiple foes at once. While this is most certainly a massive disadvantage, there is one benefit: enemy ships can be used to intercept another enemy ship’s fire. This is particularly relevant when you have frozen or poisoned a ship. As long as they are dead in the water, they can act as your shield. You’ll be free to use them as an obstruction.
Taking shelter behind an enemy ship is also an ideal time to administer repairs. And heck, while you’re at it, it is also a pretty good time to use your rocket launcher. Just arc your shots over the ship shielding you. Be careful, though, if the waves are aggressive enough, an enemy ship’s cannon fire can make it over their compatriot’s disabled hull and hit you.
Mastering The Motion Of The Waves
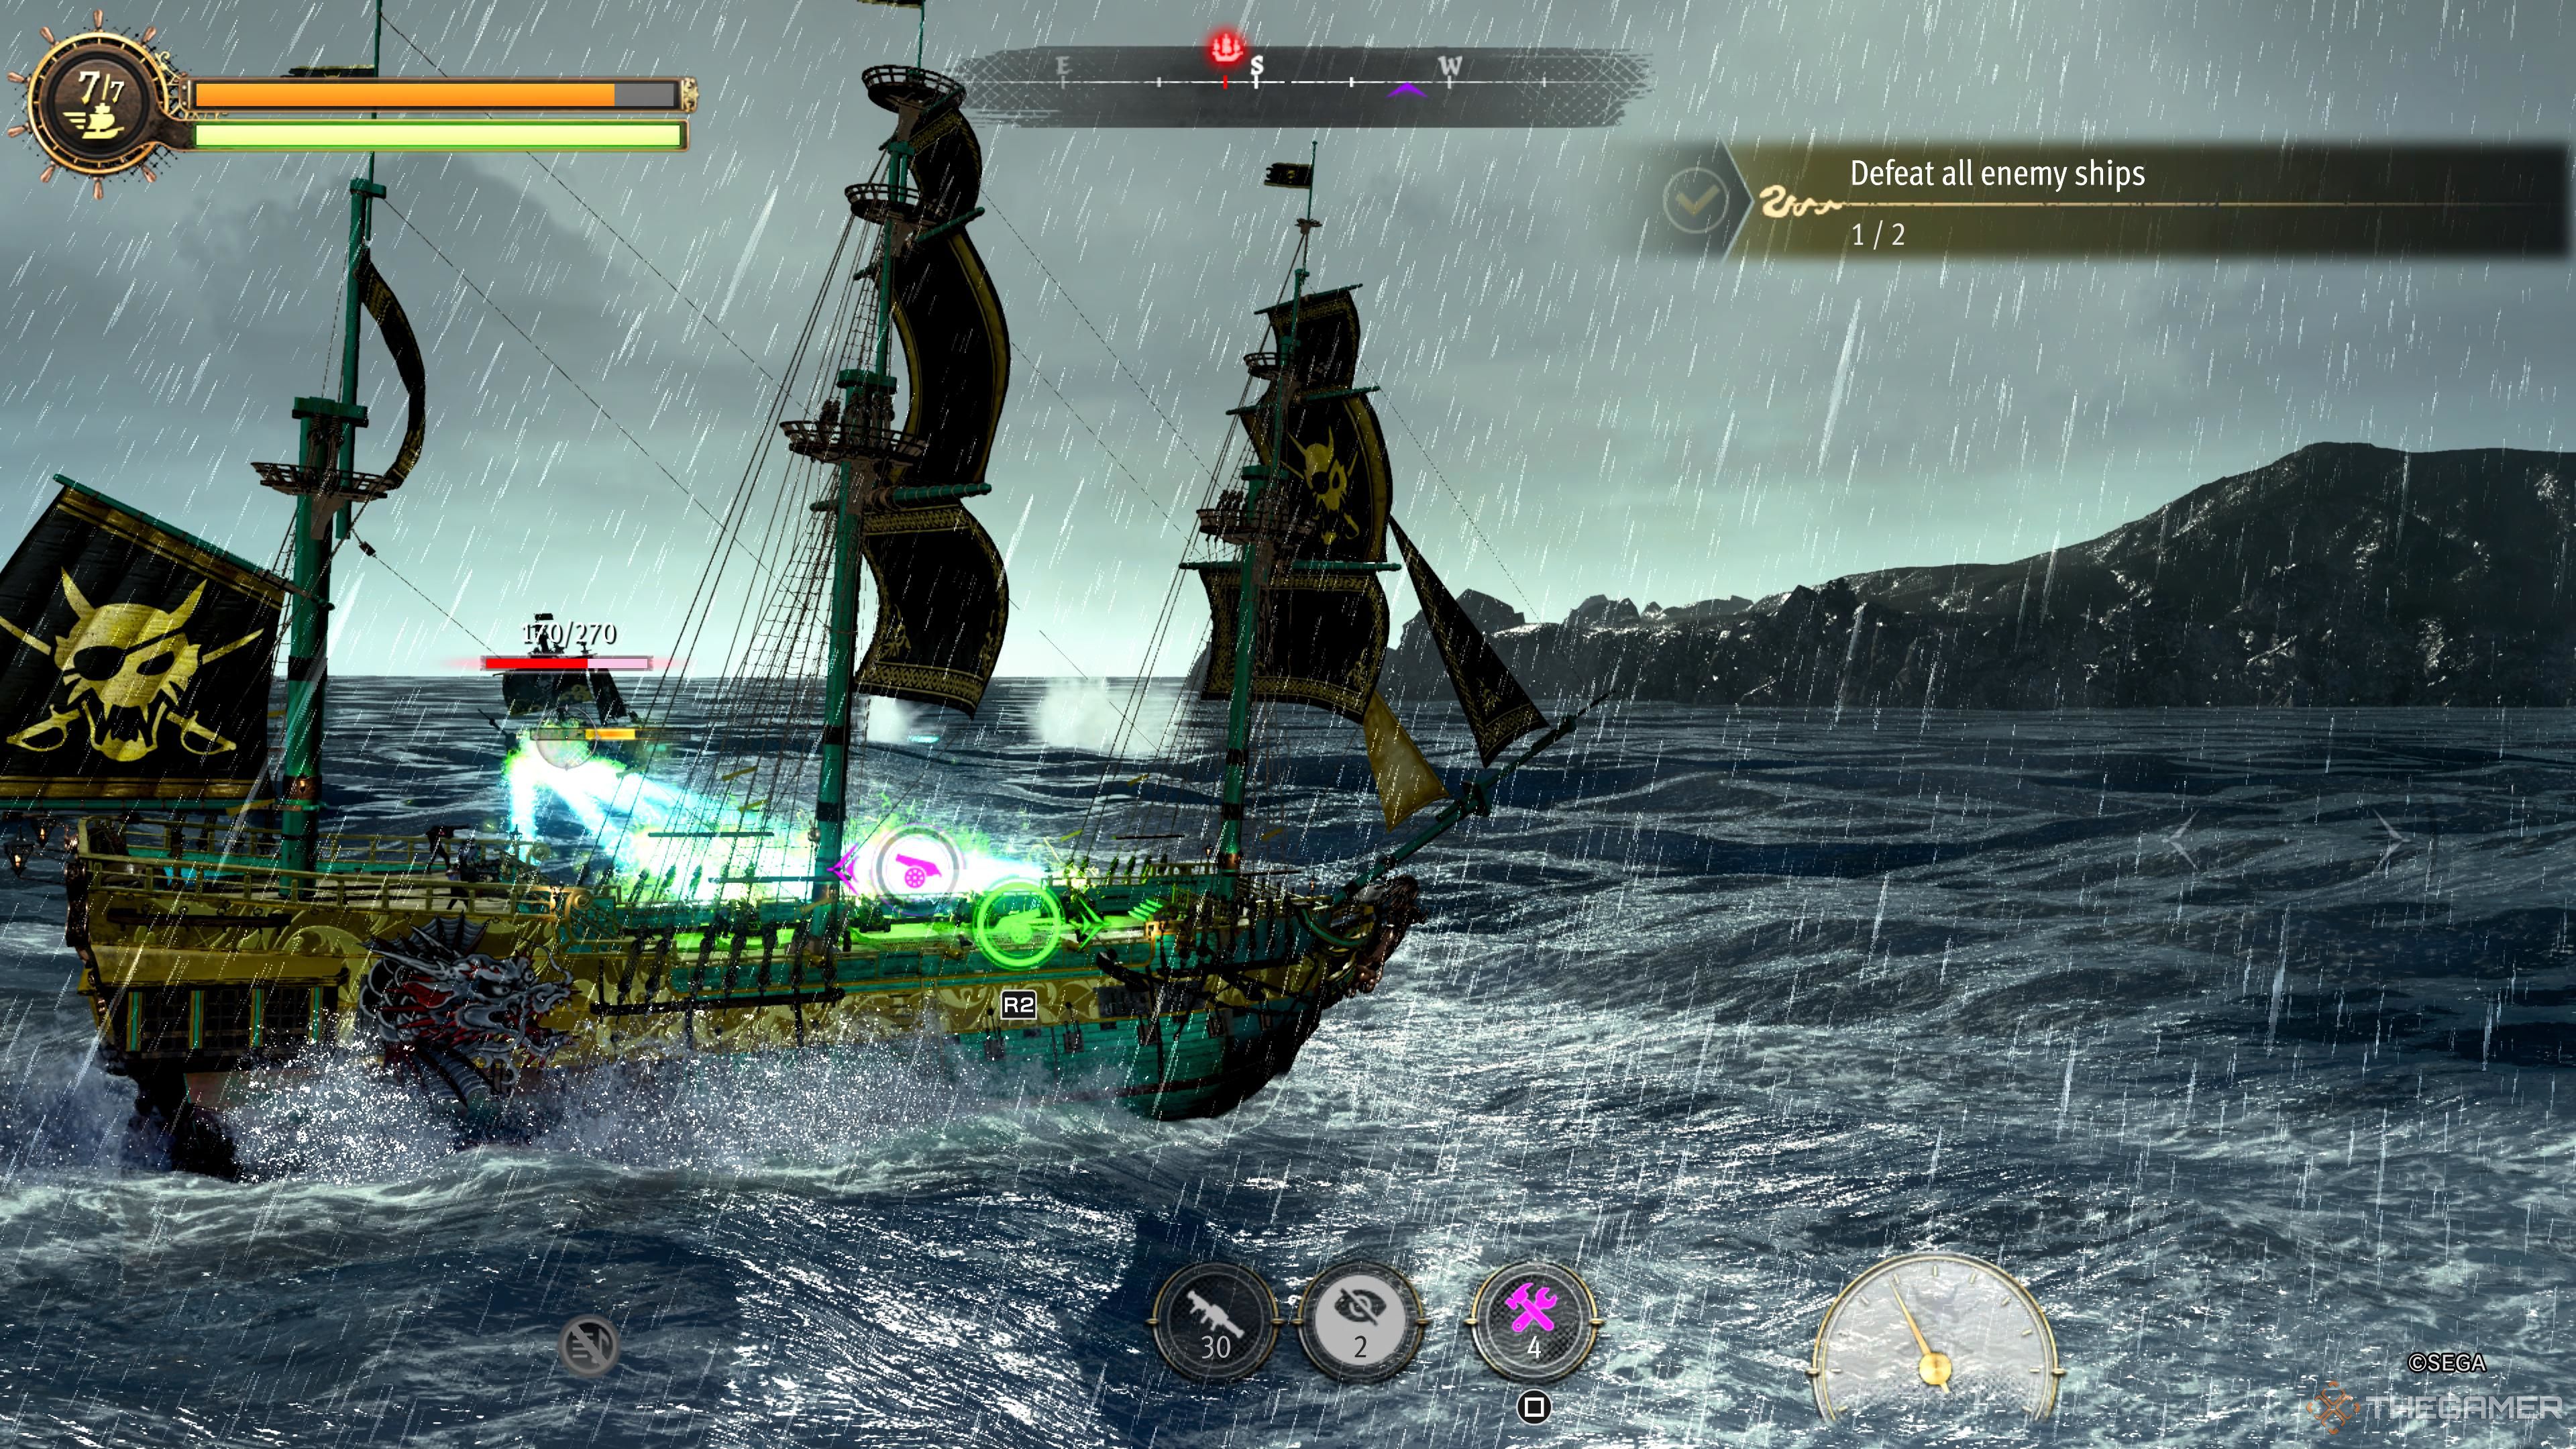
The aggressiveness of the water your ship is treading on will shift from encounter to encounter. You will often encounter conditions that are particularly tumultuous, where you’ll need to deal with massive waves. This matters as it is quite possible to be within firing range of an enemy ship, fire your cannons, and have your cannonballs sail directly over said enemy ship if you are riding a wave that is raising your ship well above your opponent’s ship. In these encounters, you’ll be better off using flamethrowers or laser beams and waging a close-range battle.
That being said, if you are already in an encounter, and you only have very long range weapons, you will be able to utilize waves to fire farther away, as these waves can provide your cannonballs with a better launch angle, increasing their range. It can be finicky, but you definitely enhance the range of your attacks if you utilize these waves.
Waves are not effective walls. A cannonball can punch straight through a wave. So don’t think you are safe if you have a particularly large wave in between you and an enemy ship.
As for maneuvering your ship, if possible, don’t fight against the waves. When you are slamming your ship into waves you’ll move considerably slower, if, instead, you ride with the waves you’ll find that your ship is far more dexterous. It is a particularly bad idea to launch into the waves if you are dealing with aerial rockets. It’ll make you a sitting duck.

Next
Like A Dragon: 8 Characters Who Change The Most Throughout The Series
Like A Dragon’s story spans decades, and its characters are always changing over the years.






Leave a Reply