Summary
- Star Wars Jedi: Survivor offers players a wide variety of lightsaber stances and customization options, including the heavy and slow Crossguard Blade style.
- The Blaster & Blade stance provides a balanced mix of ranged attacks and limited close-range options, allowing players to unlock their inner Han Solo.
- The classic Single Blade stance is a reliable and well-rounded choice, offering balanced attack and defense with the ability to deflect blasts back at enemies.
Before Star Wars Jedi: Fallen Order, there were a lot of games in this long-running movie franchise. Many of them allowed players to tweak how their Lightsabers appeared, like in Star Wars: Knights of the Old Republic. Star Wars Jedi: Fallen Order changed the game completely and added so many parts and colors for players that it can be daunting at times.

Related
12 Hardest Bosses In Star Wars Jedi: Survivor, Ranked
These villains will test the mettle of any would-be Jedi.
How customization worked in that game was adapted into the real world because the Disney parks added ways for fans to build their own Lightsabers. Now, four years later, Star Wars Jedi: Survivor is here to further evolve the Lightsaber customization game. It adds refined stances to the gameplay, so for fun, let’s rank them!
Updated on February 21, 2025, by Jake Fillery: Knowing every lightsaber stance and how to unlock them in Star Wars Jedi: Survivor is imperative to cal Kestis’ struggle against the Empire. There are 5 lightsaber stances in Star Wars Jedi: Survivor, and below, is how to unlock them, how each of them works, their skill-set, and what pros and cons will be provided to players who seek a new style to become the ultimate Jedi.
5
Crossguard Blade
Heavy & Slow, But High Damage
- Location: Complete the Research Tanalorr quest on Shattered Moon
|
Power |
99% |
|
Speed |
10% |
|
Range |
60% |
|
Defense |
80% |
The Crossguard style is by far the heaviest, and players might struggle to move around and swing effectively. The Crossguard stance is reminiscent of Heavy Greatsword weapons featured in RPGs, and players will see high-risk and high-reward, due to the slow swing times, yet hard damage outputs. However, this makes the weapon almost useless due to players being open to an attack with a limited and slowed window to react and block.
It does the most damage in the game and it can take a lot of damage in return too. Is the Crossguard stance in Star Wars Jedi: Survivor worth investing time into though? For action RPG fans used to this style of gameplay, maybe. Sacrificing speed is hard, especially when laser blasts are continuously erupting from all sides. Players have to be methodical and slow if they want to use this Lightsaber stance to its fullest potential and some just may not have the patience.
|
Skills |
Description |
Skill Point Cost |
|
Rending Strike |
Perform a single, high-damage swing with a long windup |
1 Skill Point |
|
Impact |
While airborne, slam into the ground, causing a shockwave |
2 Skill Points |
|
Greater Impact |
Increased shockwave range |
1 Skill Point |
|
Greater Cleaving Swing |
Reduces focus attack charge-up time |
1 Skill Point |
|
Reaching Cleave |
Increases range of Cleaving Swing |
1 Skill Point |
|
Sundering Swipe |
Perform a wide, sweeping lightsaber attack |
2 Skill Points |
|
Charged Reflection |
Act right before a bolt makes contact to send back a charged bolt that hits the target and nearby enemies |
1 Skill Point |
|
Rolling Thunder |
Throw the lightsaber in a line through multiple targets |
2 Skill Points |
Best Crossguard Stance Skill
Sundering Swipe (2 Skill Points)
Players can perform a wide attack, sweeping the lightsaber across the area to perform an area-of-effect move that will damage opponents that are surrounding the player, giving them some space and dealing some damage.
4
Blaster & Blade
Ranged Attacks, Limited Close-Range Options
- Location: Visit Jedha as part of the main story and talk to Bode
|
Power |
25% |
|
Speed |
75% |
|
Range |
100% |
|
Defense |
50% |
The Blaster stance in Star Wars Jedi: Survivor is surprisingly well-balanced. It is an average dual-wielding stance in the game as Cal has a single Lightsaber in one hand and a blaster he got from Bode in the other. At first, the amount of ammunition is limited as is the overall move set for this stance, leaving much to be desired with the new stance.
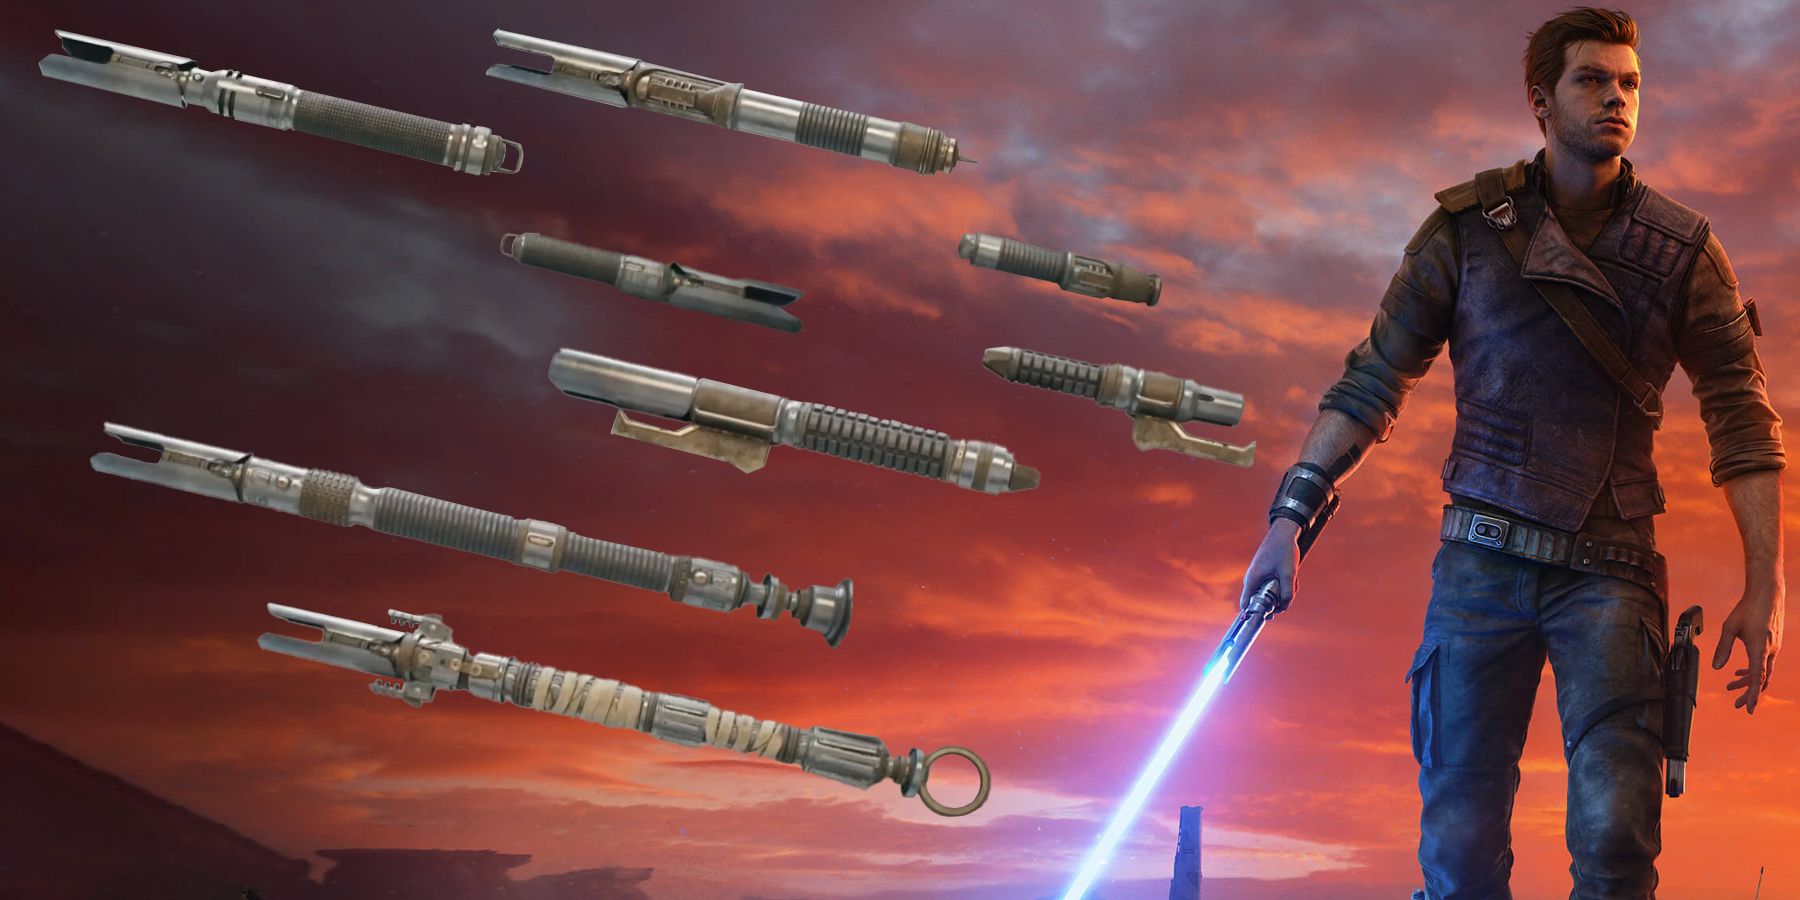
Related
Star Wars Jedi: Survivor – 12 Best Lightsaber Skins
Players can create a seemingly infinite amount of lightsabers of unique designs thanks to the plethora of parts found in Star Wars Jedi: Survivor.
A few upgrades in this skill tree will boost Cal’s abilities with the Blaster stance. This is a better stance to take than the Single formation because it gives players that option of range. There are a lot of enemies that fly around late in the game. While the Force can’t reach them, a well-timed shot from Cal’s blaster should even the playing field, and allow players to unlock their inner Han Solo.
|
Skills |
Description |
Skill Point Cost |
|
Flying Lunge |
Close the distance to your enemy with a leaping thrust |
1 Skill Point |
|
Blaster Cooldown |
Gain additional ammunition each time you strike an enemy with the lightsaber |
1 Skill Point |
|
Improved Clip |
Increase maximum blaster ammunition by three |
1 Skill Point |
|
Energizing Flurry |
Perform a sequence of quick swings that rapidly replenish ammunition if they connect |
3 Skill Points |
|
Efficient Heat Transfer |
Reduces time required to fully charge a blaster shot |
2 Skill Points |
|
Point Blank |
Act just before an enemy hits to blast them away |
1 Skill Point |
|
Quick Draw |
Focus and target multiple enemies at once with the blaster |
3 Skill Points |
Best Blaster & Blade Skill
Quick Draw (3 Skill Points)
If players want to feel like the fastest gunslinger in the galaxy far, far away then the Quick Draw skill can do just that, as players can target multiple enemies with their ammunition, and easily blow them away in just one quick shot.
3
Single Blade
Balanced Attack & Defence
- Location: Unlocked during the prologue
|
Power |
50% |
|
Speed |
50% |
|
Range |
50% |
|
Defense |
50% |
The Single stance in Star Wars Jedi: Survivor is an old but reliable setup most Jedi use in the series. There’s nothing wrong with going with the classic stance that famous Jedi have mastered such as Luke Skywalker and Obi-Wan Kenobi. Cal primarily used this stance throughout his journey in Star Wars Jedi: Fallen Order until the Double-Bladed Lightsaber was unlocked late in the game. This stance has balanced stats from speed to defense to attack power.
Its blocking power is good too and can deflect blasts back at enemies in an instant. There are some great upgrades to buy in its skill tree to make the Lightsaber feel stronger like Cyclone Slash. It’s not as flashy as some of the newer stances, but it will never betray players. Its perfect middle-of-the-road experience will not dazzle players, but it won’t betray them either. Sometimes the classics remain classic for a reason.
|
Skills |
Description |
Skill Point Cost |
|
Lunging Strike |
Perform a long-reaching thrust attack |
1 Skill Point |
|
Improved Footwork |
Lunging Strike now reaches further |
1 Skill Point |
|
Twofold Reflection |
Reflect up to two blaster projectiles in a row |
1 Skill Point |
|
Cyclone Slash |
Perform a powerful overhead swing |
2 Skill Points |
|
Aerial Assault |
Attack straight down at a target below |
2 Skill Points |
|
Charged Throw |
Stronger Lightsaber throw that hits for more damage and moves a short distance through the target |
2 Skill Points |
|
Dash Strike |
Dash and strike a target out of normal melee range |
2 Skill Points |
|
Aerial Dash Strike |
Perform Dash Strike while airborne |
1 Skill Point |
|
Aerial Ace |
Aerial Assault does more damage and staggers enemies hit by it |
1 Skill Point |
Best Single Blade Skill
Charged Throw (2 Skill Points)
This perk allows players to perform a stronger lightsaber throw, which will hit enemies for more damage and at a better distance. This is great for those on the defensive, as the lightsaber throw deals a great amount of damage against normal enemies and bosses.
2
Double-Bladed Staff
AoE Weapon Featuring High Defence, Limited Damage Output
- Location: Complete the first mission on Coruscant
|
Power |
25% |
|
Speed |
75% |
|
Range |
25% |
|
Defense |
75% |
The Double-Bladed stance is an iconic weapon thanks to Darth Maul in Star Wars: Episode 1 – The Phantom Menace. The Double-Bladed Lightsaber setup is just as cool in Star Wars Jedi: Survivor as it is in that movie, but players might have to play more defensively than they like, as that truly benefits the double-bladed lightsaber staff.
Related
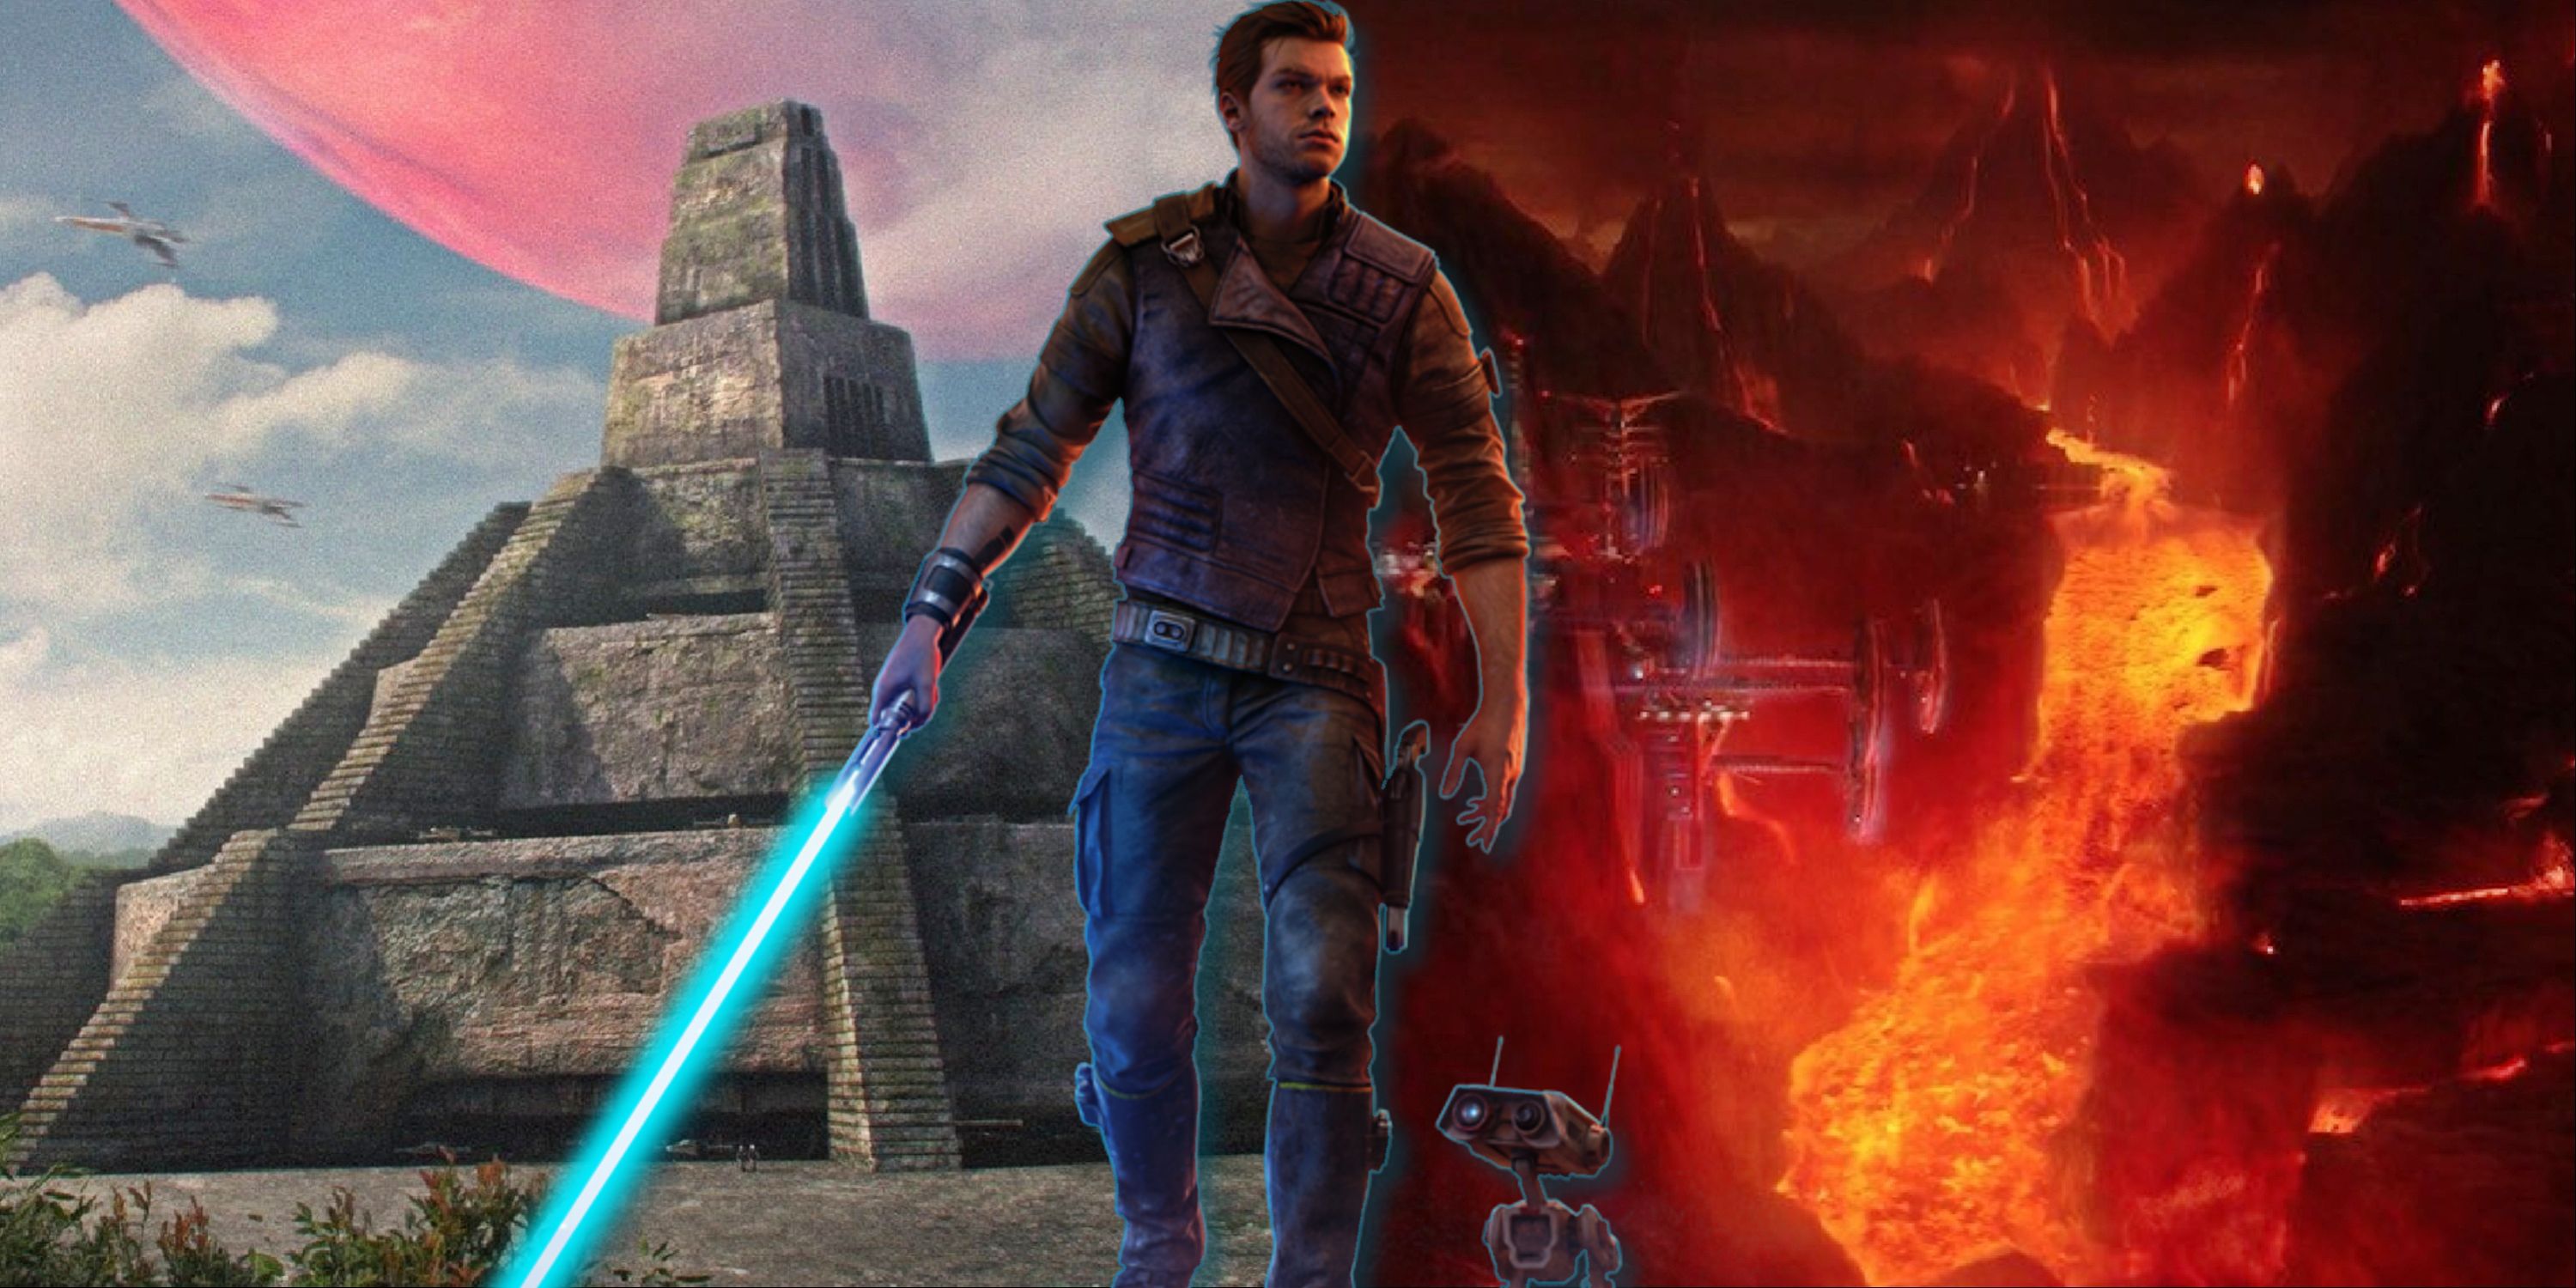
Star Wars Jedi: 8 Planets That Should Be In Cal’s Final Chapter
If the third Star Wars Jedi game will be the final Cal Kestis story, there are certain Star Wars planets that fans would love to explore.
It strikes rather weak in comparison to other blades but is fast enough to still be good defensively. The impressive set of upgrades in its skill tree makes it worthwhile as players can destroy groups of enemies easily. Repulsing Burst, for example, is like a ground pound that will damage enemies in a certain area next to Cal. Vortex Dive is another good one that will spin toward enemies like a Jedi-driven plane. To dominate enemies in this game, focus on Double-Bladed due to the high stamina potential.
|
Skills |
Description |
Skill Point Cost |
|
Gathering Tempest |
Deal fast strikes toward a single enemy |
1 Skill Point |
|
Vortex Dive |
Dive forward while spinning the lightsaber |
1 Skill Point |
|
Double Orbit |
Perform a second lightsaber throw around Cal |
1 Skill Point |
|
Endless Hurricane |
Add additional attacks to the end of the double-bladed attack chain |
1 Skill Point |
|
Repulsing Burst |
Slam down while airborne, dealing damage in an area |
2 Skill Points |
|
Rising Storm |
Perform an attack that pulls enemies in a small area and takes Cal into the air |
2 Skill Points |
|
Multifold Reflections |
Reflect blaster shots back toward nearby targets |
2 Skill Points |
|
Controlled Throw |
Throw the lightsaber and maintain its position, then move it around |
2 Skill Points |
Best Double Bladed Skill
Gathering Tempest (1 Skill Point)
In using this skill, players will deal with fast strikes that will stun and potentially kill their enemies. Whilst this move only targets one enemy, the quick and targeted strikes will make short work of them, allowing players to focus more on their next opponent once this one falls.
1
Dual Wield Blades
Fast & Strong Attacks, But Limited Defence
- Location: Unlocked During the Fight With The Ninth Sister on Coruscant
|
Power |
55% |
|
Speed |
99% |
|
Range |
20% |
|
Defense |
25% |
What’s better than using one Lightsaber to slay hundreds of enemies like Stormtroopers or Battle Droids in a game? Two. Every fan dreams of dual-wielding one of these epic weapons let alone two. There aren’t many Jedi in this franchise that use two Lightsabers as Cal can in the game. The Dual Blades reward players who like going on the offensive, as these lightsabers hit hard and fast, butplayers have limited stamina to block and parry.
The Dual Wield stance in Star Wars Jedi: Survivor has a lot of speed and power to back up its agility. There are some great skills associated with this stance though, like being able to throw both Lightsabers at once. Plus the auto-counter is a great mechanic. The overall setup looks cool visually but the execution wasn’t quite there. Twin Lightsaber daggers instead of full-beamed blades may have been more interesting, like some sort of Jedi assassin.
|
Skills |
Description |
Skill Point Cost |
|
Backstep Slash |
Attack and leap backward, creating distance from the target |
1 Skill Point |
|
Uncoiled Strikes |
Perform a flurry of quick, targeted swings |
2 Skill Points |
|
Split Reflection |
Deflect right as a blaster bolt hits to split the incoming bolt and reflect at an additional target |
2 Skill Points |
|
Focused Parry |
Perform a spinning strike |
1 Skill Point |
|
Precision Release |
Perform a more devastating follow-up attack and stagger nearby enemies |
2 Skill Points |
|
Serpent’s Bite |
Execute a strong final overhead swing |
1 Skill Point |
|
Twin Vipers |
Throw the second blade at a target to double up damage |
2 Skill Points |
|
Dancing Blades |
Throw both lightsabers that bounce between multiple targets |
3 Skill Points |
Best Dual Wield Blade Stance Skill
Uncoiled Strikes (2 Points)
If players aim for this skill, they can combo their lightsabers to perform a fast-striking flurry of attacks. These strikes are quick and targeted, and players simply need to press a button to perform an attack that can easily kill their foes.










Leave a Reply