While the batting cage is a staple of the franchise, Like A Dragon: Pirate Yakuza In Hawaii‘s Bang! Bang! Batting is a pretty novel take on it. On one hand, it utilizes the cannon mechanics found in Ishin, while also mixing in puzzle game mechanics. There are four difficulties in Bang! Bang! Batting. Each difficulty level contains a number of unique puzzles that will challenge your mental fortitude as well as your finger dexterity.

Related
7 Best Locations In The Like A Dragon Series
These are the best locations from the Like A Dragon games.
This guide will break down all the elements of Bang Bang Batting: it will provide you with solutions to every stage found in every difficulty, it will explain the scoring system, and it will give you tips and tricks for how to make it deeper into the endless mode. With our assistance, you will have everything you need to thrive in this unique twist on the batting cage!
The Different Cannonball Shot Types

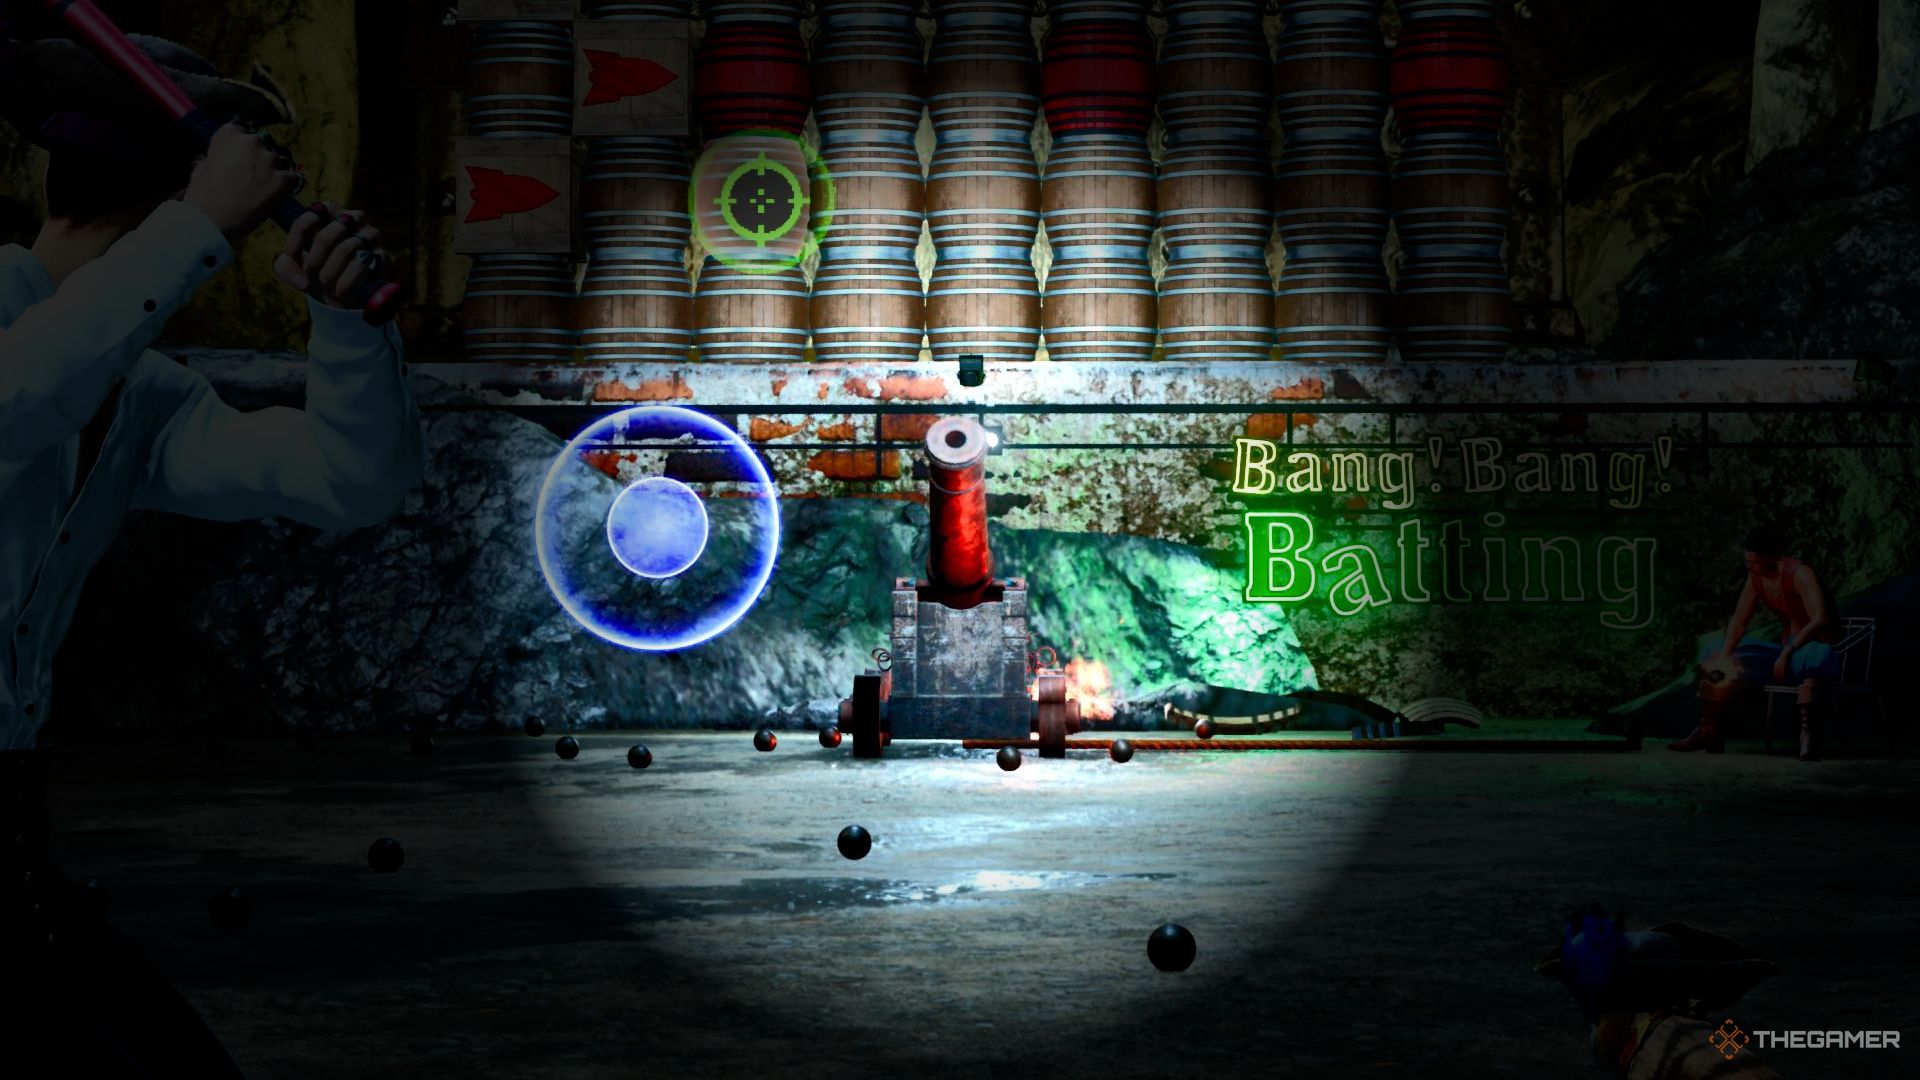
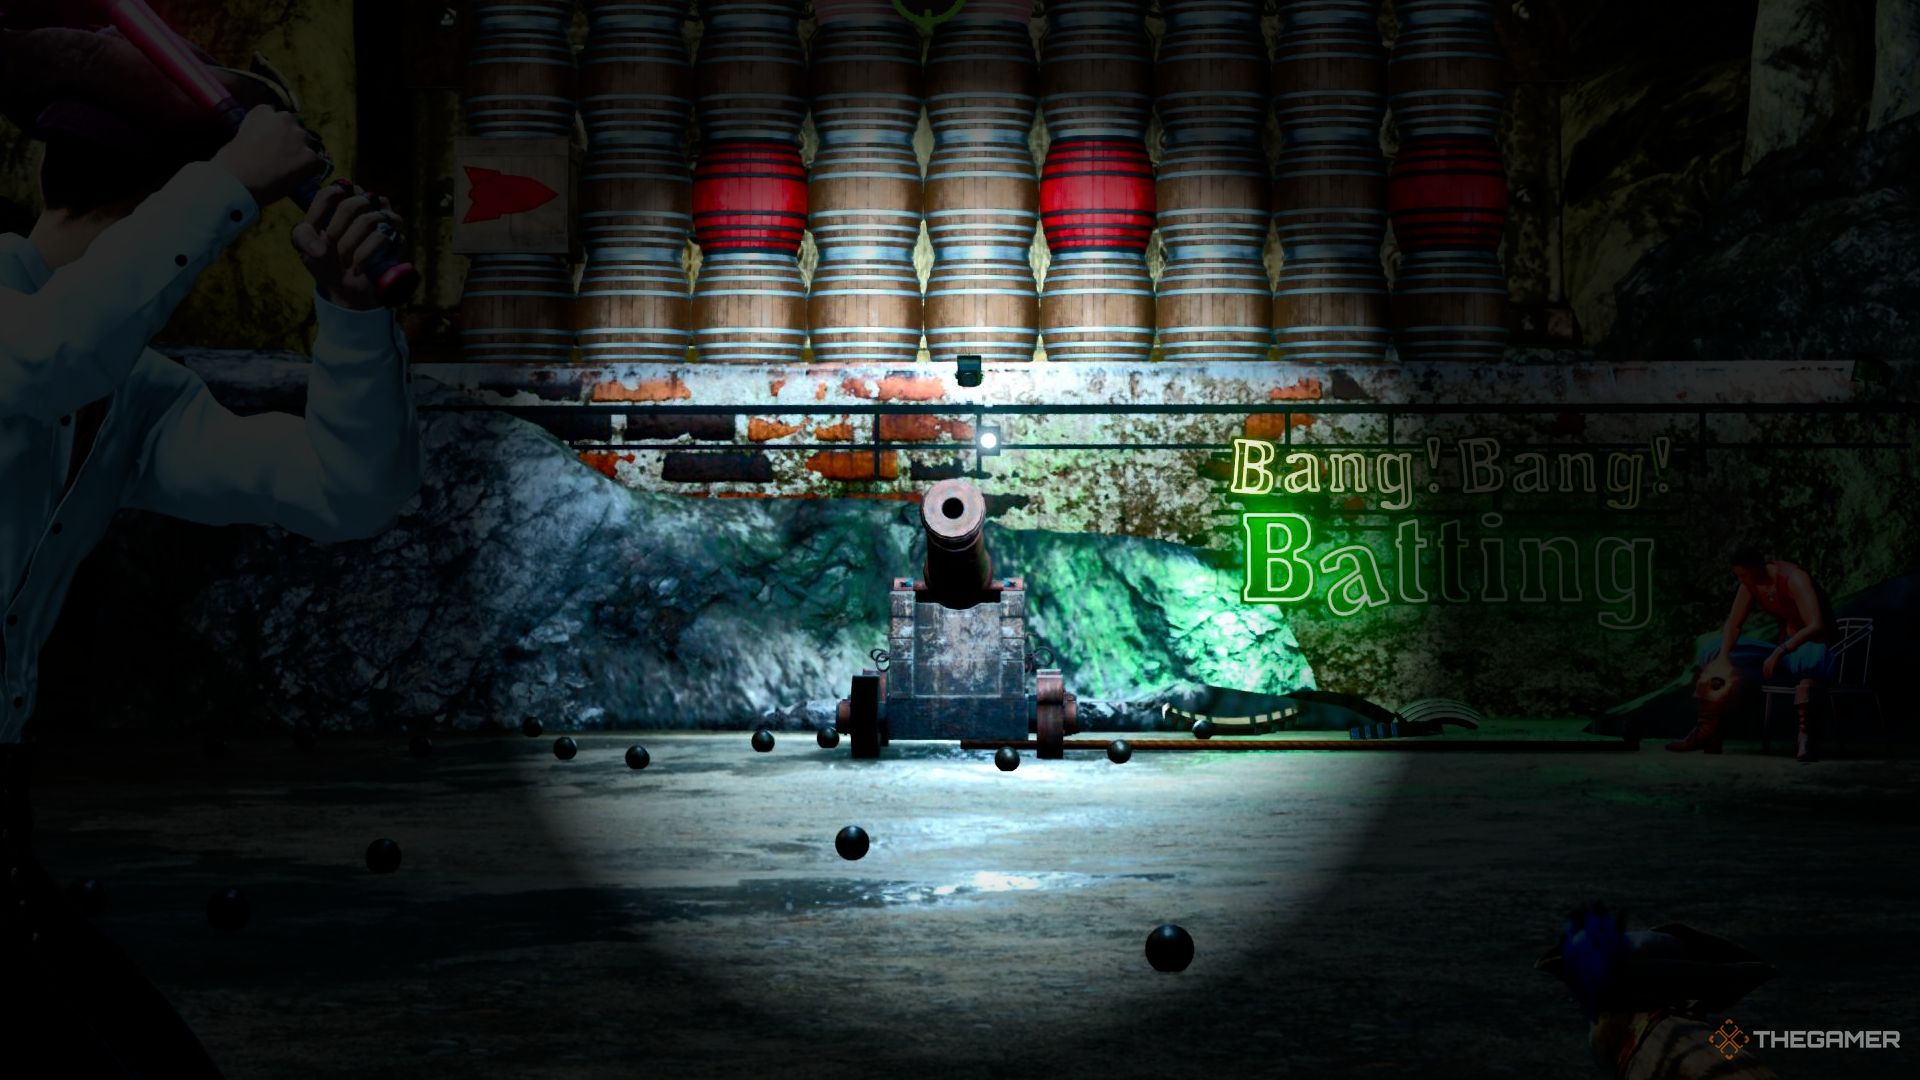
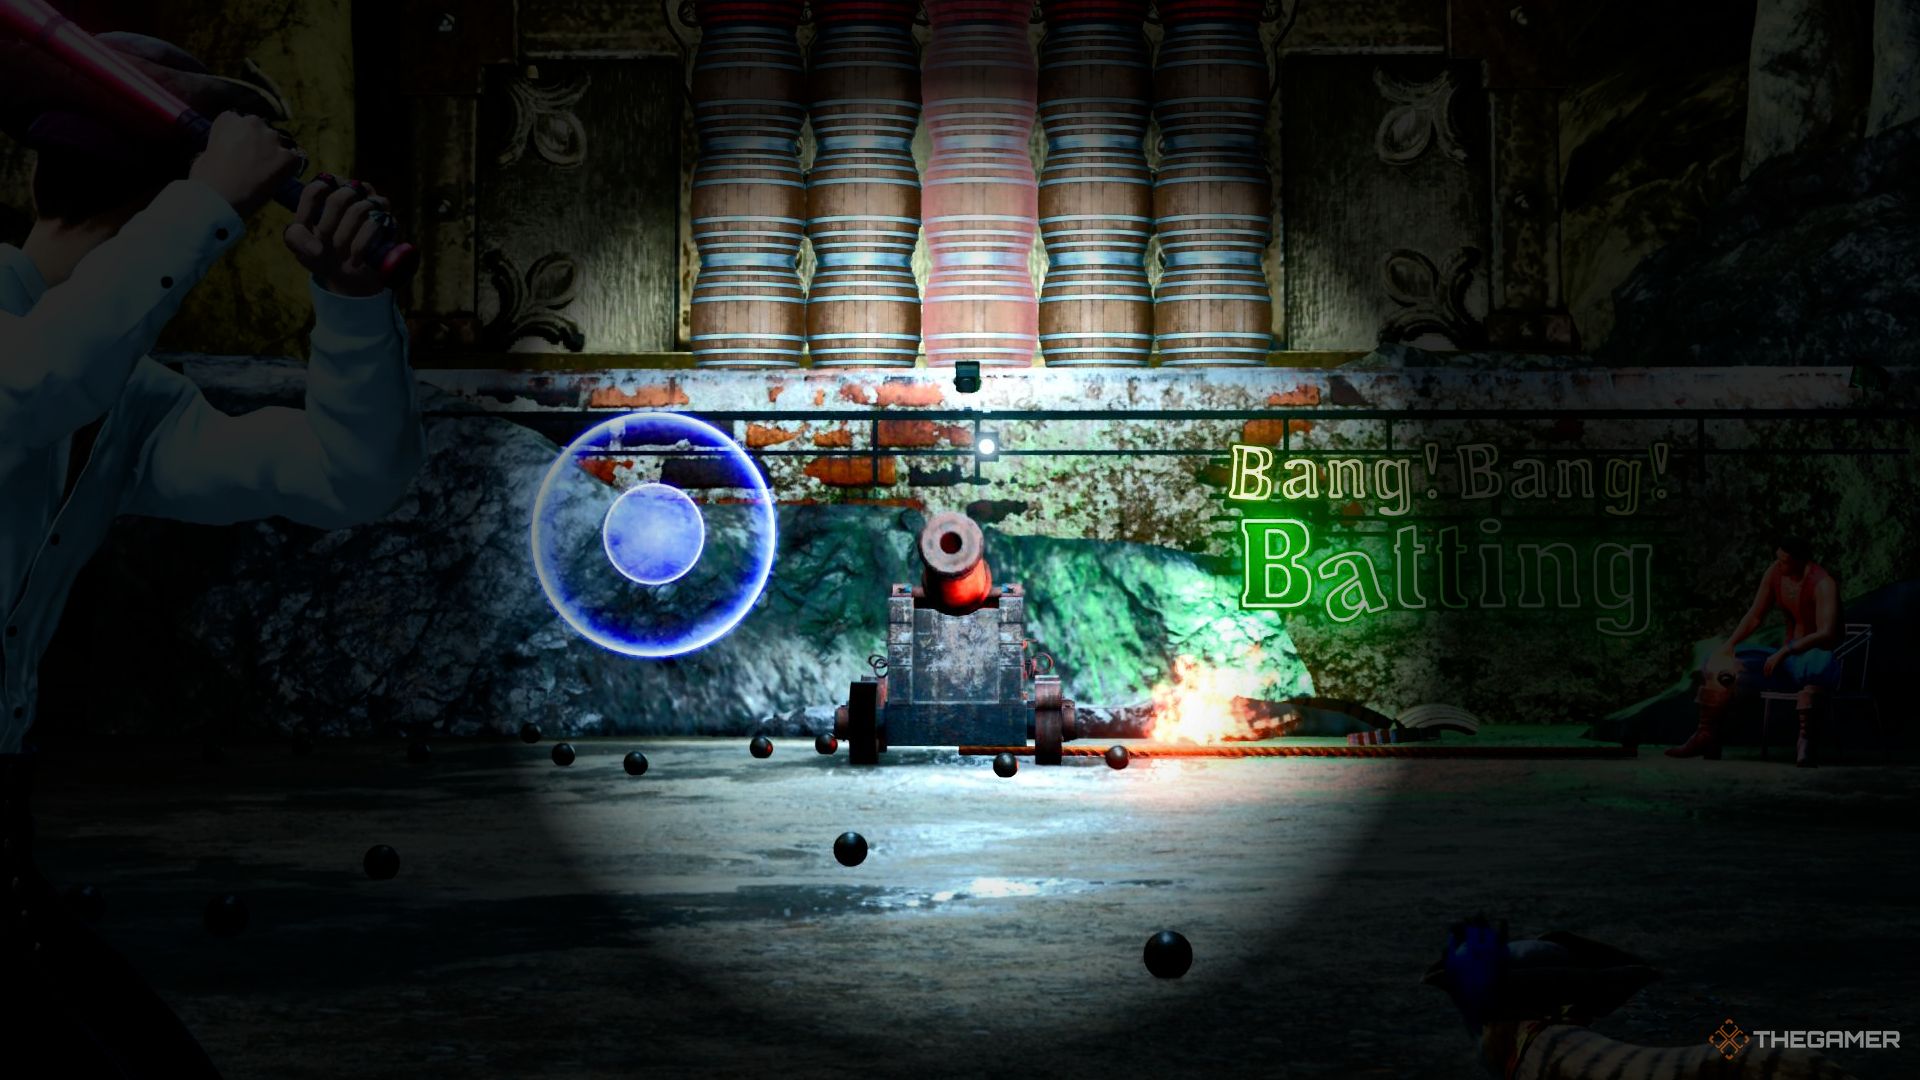
The potential ball speeds are Very Slow, Slow, Medium, Fast, and Very Fast. You’ll be able to tell what speed the ball is traveling based on the angle of the cannon. The more tilted toward the sky the cannon is, the slower the shot will be. Not every difficulty mode has access to all the same shot types. The very slow shot is present in most modes, but it isn’t present in the Beginner Mode. Meanwhile, the very fast pitch is only present in the Expert Mode and Endless Mode.
-

-
For the very slow shot, the cannon is going to fire the cannonball directly into the air and off the screen. It will drop at the last second. You are going to have to wait literal seconds for the cannonball to drop. Keep your eye on the reticle in the center of the screen. The moment you see the cannonball enter your peripheral vision, hammer the swing button.

-
The slow shot fires the cannonball up into the air. It has a wide arc, but it never leaves the screen. I’d say this one is pretty readable and easy to anticipate as the cannonball is on-screen at all times.
-

-
-
The medium shot has a less aggressive arc than the slow shot, and comes a little quicker, but is still quite readable.

-
The fast shot will rip across the screen quite quickly, it is still trackable by eye, but only just barely. There is still an arc, but it is very slight. You’ll want to have your shot positioned by the time the cannon goes off, as you’ll need to have your eyes fixed on the aiming reticle.
-

-

-
The very fast shot is not trackable by eye. Hitting this cannonball is all about timing. While your eyes won’t be of any help, your ears will be. The second the cannon fires, while aimed directly at you, and you hear the cannon blast, hit the swing button. Once you have the timing down, you’ll be able to hit the very fast shot consistently, but if you aren’t expecting it, it will blow past you every time without fail.

Bat Choice

You will have three possible bats that you can use in Bang Bang Batting mode…
- The Normal Bat, which is what you start with.
- The Serenity Bat, which has a bigger sweet spot, but reduces your score (x0.8). You can purchase this bat for 500 points from the Bang Bang Batting Shop.
- The Expert Bat, which has a smaller sweet spot, but increases your score (x1.2). You can purchase this bat for 1000 points from the Bang Bang Batting Shop.
Naturally, if you are really struggling with timing, the Serenity Bat is an option you can use. However, while the Expert Bat requires the most accuracy of the three, I wouldn’t be scared off by their smaller sweet spot. By no means is it impossible to get precision hits with the Expert Bat. In fact, I’d strongly recommend that the first thing you spend your Boom Boom Batting points on is the red bat. It pays for itself pretty quickly.
When To Use Your Special Shot

Ideally, during the standard difficulty modes, you’ll never use your Special Shot. It is worth a reasonable number of points if it goes unused, so you are always better off completing the objectives without relying on it. However, if you haven’t revealed the lock yet, and you only have a single ball left, you are now in an unwinnable situation. This is when you are supposed to use the Special Shot, as it will bail you out of this sticky predicament.
That advice to resist using your Special Shot doesn’t apply to the Endless Bang Bang Mode. You will not be penalized for using your Special Shot in the Endless mode, and will have a chance to earn another. So, use it freely there.
Beginner Difficulty
|
Stages |
3 |
|
Cannonball Number |
5 |
|
Ball Speeds |
Slow, Medium, Fast |
The beginner difficulty features three stages. You’ll only have to contend with slow, medium, and fast cannonball shots. You are also provided with five cannonballs per round. That means you have quite a bit of leeway here, as none of these stages require more than three swings to beat.
1st Stage

|
Fastest Possible Clear |
3 Turns |
|
Pitch Order |
Medium, Medium, Medium |
You can either aim for both lines of explosive barrels with your first and second swing, or take out a normal barrel in between the two rows of explosive barrels and then destroy the barrel that drops down the swing after. The result is the same. The lock is in the center of the chest.
2nd Stage

|
Fastest Possible Clear |
2 Turns |
|
Pitch Order |
Slow, Fast, Fast |
Aim for the x-shaped explosive barrels on the right side of the wall. This will reveal the lock positioned on the right side of the chest.
3rd Stage

|
Fastest Possible Clear |
3 Turns |
|
Pitch Order |
Fast, Fast, Medium |
Aim for one of the clusters of explosive barrels, then on your next swing, aim for the other cluster. Fundamentally, you can just aim for a red barrel every swing, and you will end up clearing this stage. This lock is in the center.
|
Stages |
4 |
|
Cannonball Number |
5 |
|
Ball Speeds |
Slow, Very Slow, Medium, Fast |
1st Stage

|
Fastest Possible Clear |
2 Turns |
|
Pitch Order |
Fast, Medium |
Aim for the row of explosive barrels on the left side. This will reveal the lock (which is also on the left side).
2nd Stage

|
Fastest Possible Clear |
3 Turns |
|
Pitch Order |
Very slow, Very slow, Medium |
The lock is on the right side, but it doesn’t matter what order you tackle the sides in. Just aim for an arrow box in your first and second turn, it doesn’t matter which. The lock will be revealed at the end.
3rd Stage

|
Fastest Possible Clear |
3 Turns |
|
Pitch Order |
Fast, Very Slow, Medium |
Just like in the previous round, aim for an arrow box in your first and second turn, it doesn’t matter which. The lock will be revealed at the end.
4th Stage

|
Fastest Possible Clear |
3 Turns |
|
Pitch Order |
Very Slow, Fast, Medium |
Aim for one of the clusters of explosive barrels, then on your next swing, aim for the other cluster. Fundamentally, you can just aim for a red barrel every swing, and you will end up clearing this stage. This lock is in the center.
Advanced Difficulty
|
Stages |
5 |
|
Cannonball Number |
4 |
|
Ball Speeds |
Very Slow, Slow, Medium, Fast |
1st Stage

|
Fastest Possible Clear |
2 Turns |
|
Pitch Order |
Very Slow, Medium |
It doesn’t matter where you aim as long as you aim for an exploding barrel. You will take out the tower in one shot, revealing the lock in the center.
2nd Stage

|
Fastest Possible Clear |
2 Turns |
|
Pitch Order |
Medium, Medium |
For this level, you’ll want to aim for the exploding barrel in the top row. This will cause a chain reaction, taking out the entire wall in one swing. The lock will be in the center of the treasure chest.
3rd Stage

|
Fastest Possible Clear |
2 Turns |
|
Pitch Order |
Fast, Very Slow |
Aim for the rocket box on the top left corner of the wall. This will cause a chain reaction revealing the entire board, revealing the lock to be on the left side. Be ready, though, as the first cannon blast will fire a fast ball at you.
4th Stage

|
Fastest Possible Clear |
2 Turns |
|
Pitch Order |
Medium, Medium |
This is another one where you can aim at any of the red barrels and be successful. No matter which one you hit, all the barrels will be destroyed as long as you hit an exploding barrel. The lock will be in the center of the chest.
5th Stage

|
Fastest Possible Clear |
2 Turns |
|
Pitch Order |
Fast, Slow |
Instead of taking this wall out in two sections, aim to hit in between one of the rockets aimed upward and one of the rockets aimed downward. It doesn’t matter which pair you hit, if you make that shot, both will fire in the opposite direction and cause a chain reaction that will clear the entire wall. The lock will be revealed to be in the center.
Expert Difficulty
|
Stages |
6 |
|
Cannonball Number |
4 |
|
Ball Speeds |
Very Slow, Slow, Medium, Fast, Very Fast |
1st Stage
|
Fastest Possible Clear |
3 Turns |
|
Pitch Order |
Very Slow, Very Fast, Medium |
Aim for a regular barrel in the third row up from the bottom. This will cause all the barrels above it to drop, creating a chain of red barrels. Now, hit any red barrel, and you will destroy the entire wall of barrels, revealing the lock in the center.
2nd Stage

|
Fastest Possible Clear |
2 Turns |
|
Pitch Order |
Very Fast, Very Fast |
The lock is on the right side, and by hitting any red barrel in the bottom right cluster you’ll take out the entire right side. While you’ll be able to take this puzzle out in two swings, be prepared, as both pitches are very fast.
3rd Stage

|
Fastest Possible Clear |
3 Turns |
|
Pitch Order |
Slow, Very Fast, Very Slow, Very Fast |
On the second row there is a rocket pointing down, and on the third row there is a rocket pointing up. You are looking to aim directly between the two boxes, destroying them simultaneously with one swing and taking out the bottom half. Now, do the same with the rocket boxes on the left, hitting them both at the same time.
Destroy one of the regular barrels to the right or the left of this pair. Now, hit the red barrel that drops down, This will cause a massive chain reaction. Hitting one of the red barrels on your left will clear the remaining barrels. The lock will be dangling in the center of the chest.
4th Stage
|
Fastest Possible Clear |
3 Turns |
|
Pitch Order |
Medium, Fast, Medium |
Aim for the regular barrel in the center of the first, second, or third row. This will cause the center column of red barrels to drop. Now, hitting any of the exploding barrels will cause a chain reaction that will reveal the lock in the center of the chest.
5th Stage
|
Fastest Possible Clear |
3 Turns |
|
Pitch Order |
Slow, Very Fast, Medium |
Aim for the regular barrel on the second row, under the leftmost red barrel on the third row. This will cause the first column of red barrels to drop a row. Now, quickly reposition your cursor to target the downward facing rocket in the top-left corner of the wall. Hitting this rocket will cause a chain reaction that will destroy nearly the entire wall, and reveal the lock on the right side of the chest.
6th Stage

|
Fastest Possible Clear |
3 Turns |
|
Pitch Order |
Very Fast, Very Slow, Fast |
This is a surprisingly simple final puzzle. Aim for any of the explosive barrels on the right side of the wall of barrels. This will cause a chain reaction that will snake down and around and leave a cluster of barrels on the left. Hit any of the exploding barrels remaining and you will reveal the lock. Now, take it out, and you will have completed the final stage of the extreme difficulty.
Endless Bang Bang Mode

Just as the name implies, the endless mode doesn’t have a predefined end point. You have 10 balls to clear as many barrels as you possibly can. Exploding barrels and rockets are present, as are two new additions: extra balls and Special Hit refills. Hence the name. Unlike in the regular mode, you’ll want to use your special shot the instant you have it. You won’t be given refills if you have a special shot on deck.
You’ll always want to aim for the extra balls, of course. But you’ll need to balance that out with trying to clear as many barrels as possible. If you see that an extra ball is positioned a few spaces away from a string of exploding barrels, it isn’t a bad idea to attack those first, and see if you can’t manipulate the board enough to position that extra ball alongside a chain reaction.
The board can have multiple extra ball spaces at a time, so it isn’t urgent that you got after them the moment you see them.

What makes this all-the-more difficult is how little time you have to scan the board before the next cannonball is fired. A good bet is to look for rockets when you are choosing your target. If a rocket is traveling across the board and intersects with explosive barrels, that’s a good bet. You aren’t going to have enough time to carefully analyze each board, so if it looks like it is generally headed in the right direction, that may be enough.
The exception to this rule is if the cannon is facing the sky, indicating a very slow shot. If you clock that early enough, use that extra time to analyze the board a little more.
The Best Way To Turn A Profit In Bang Bang Batting

Your score will be multiplied with every successive difficulty in Bang Bang Batting: x1.25 in the Beginner mode, x1.5 in Intermediate, x1.8 in Advanced, and x2.0 in Expert. You can add to these the bat multiplier for using the Expert Bat to further increase the score. Now, since all of these modes cost $100 to participate in, you’ll earn the most by completing the Expert mode. A perfect run in the Expert Difficulty, while using the Expert Bat, you’ll earn a hair over 30,000 points. That is enough money to purchase a Platinum Plate, which is worth $1,000 when sold to a pawn shop.
Now, the Endless Bang Bang Mode is a bit harder to calculate. It provides an x3 score multiplier, but it also costs $500 to participate in. Additionally, you don’t get a bonus for holding onto your Special Swing. A typical S-rank run in the Bang Bang Mode (for me) will provide you with around 45,000 points. Of course, if you have a particularly good run, it could be worth more. 15,000 is enough to pay for a golden plate, which sells for $500: that is enough to cover the more expensive participation fee.
So, in terms of payouts, I’d say you can either play the Expert Mode, or the Bang Bang Mode and turn a pretty solid profit. The big difference is that the Expert Mode is more consistent, and a little faster (an S-Rank run took me a minute less to complete than a typical S-rank run in the Bang Bang Mode), while the Bang Bang Mode is a little riskier but has a higher potential payout when all is said and done.

Next
Like A Dragon: 8 Characters Who Change The Most Throughout The Series
Like A Dragon’s story spans decades, and its characters are always changing over the years.