Like most roguelikes, Warriors: Abyss is a game that relies heavily on focused builds and character proficiency to overcome its challenging hurdles, which range from rooms filled with hundreds of enemies to well-designed boss encounters that force you to learn its attack patterns and how to properly punish them for substantial damage.
This brings us to Onigashira, the first boss encounter you will encounter in the Blazing Waste region. Despite being the game’s first boss, it holds no punches and teaches you the general systems and mechanics at play during boss encounters, forcing you to lock in and learn how to take it down!
Onigashira Overview
Being the first boss encounter of Warriors: Abyss, you can expect the Onigashira to have many highly telegraphed attacks that give you just enough time to see and react while also giving you plenty of time to punish them when applicable, teaching you the general ebb and flow of boss encounters.
Still, they won’t pull any punches either, as they deal tremendously high damage on contact, making each move crucial to Evade, or you risk ending the run on the spot. With two phases, there will be many things to constantly be on the lookout for, especially during the second phase of the encounter.
Additionally, since Warriors: Abyss is heavily dependent on Heroes and the builds will vary depending on which one you pick out of the hundred available, we won’t be outlining a ‘best build’ for this encounter, as whichever build is best for your selected Hero will be the best for this encounter, as that will be the one that draws out their strengths and allows them to shine!
How To Defeat Onigashira
Onigashira is an interesting encounter in Warriors: Abyss, as it is just challenging enough to end most players’ first handful of attempts but becomes trivial just as fast the moment you get its attack patterns down and get a firm grasp on how you should build your favorite Heroes.
Nonetheless, this two-phase encounter can trip many players up, especially if you’re a newcomer to the roguelike genre. But fear not; you can learn how to evade every single move of the Onigashira below, as well as how to properly damage and punish it, allowing you to put it in the dirt and move on to the second region!
Onigashira: Violent Punch
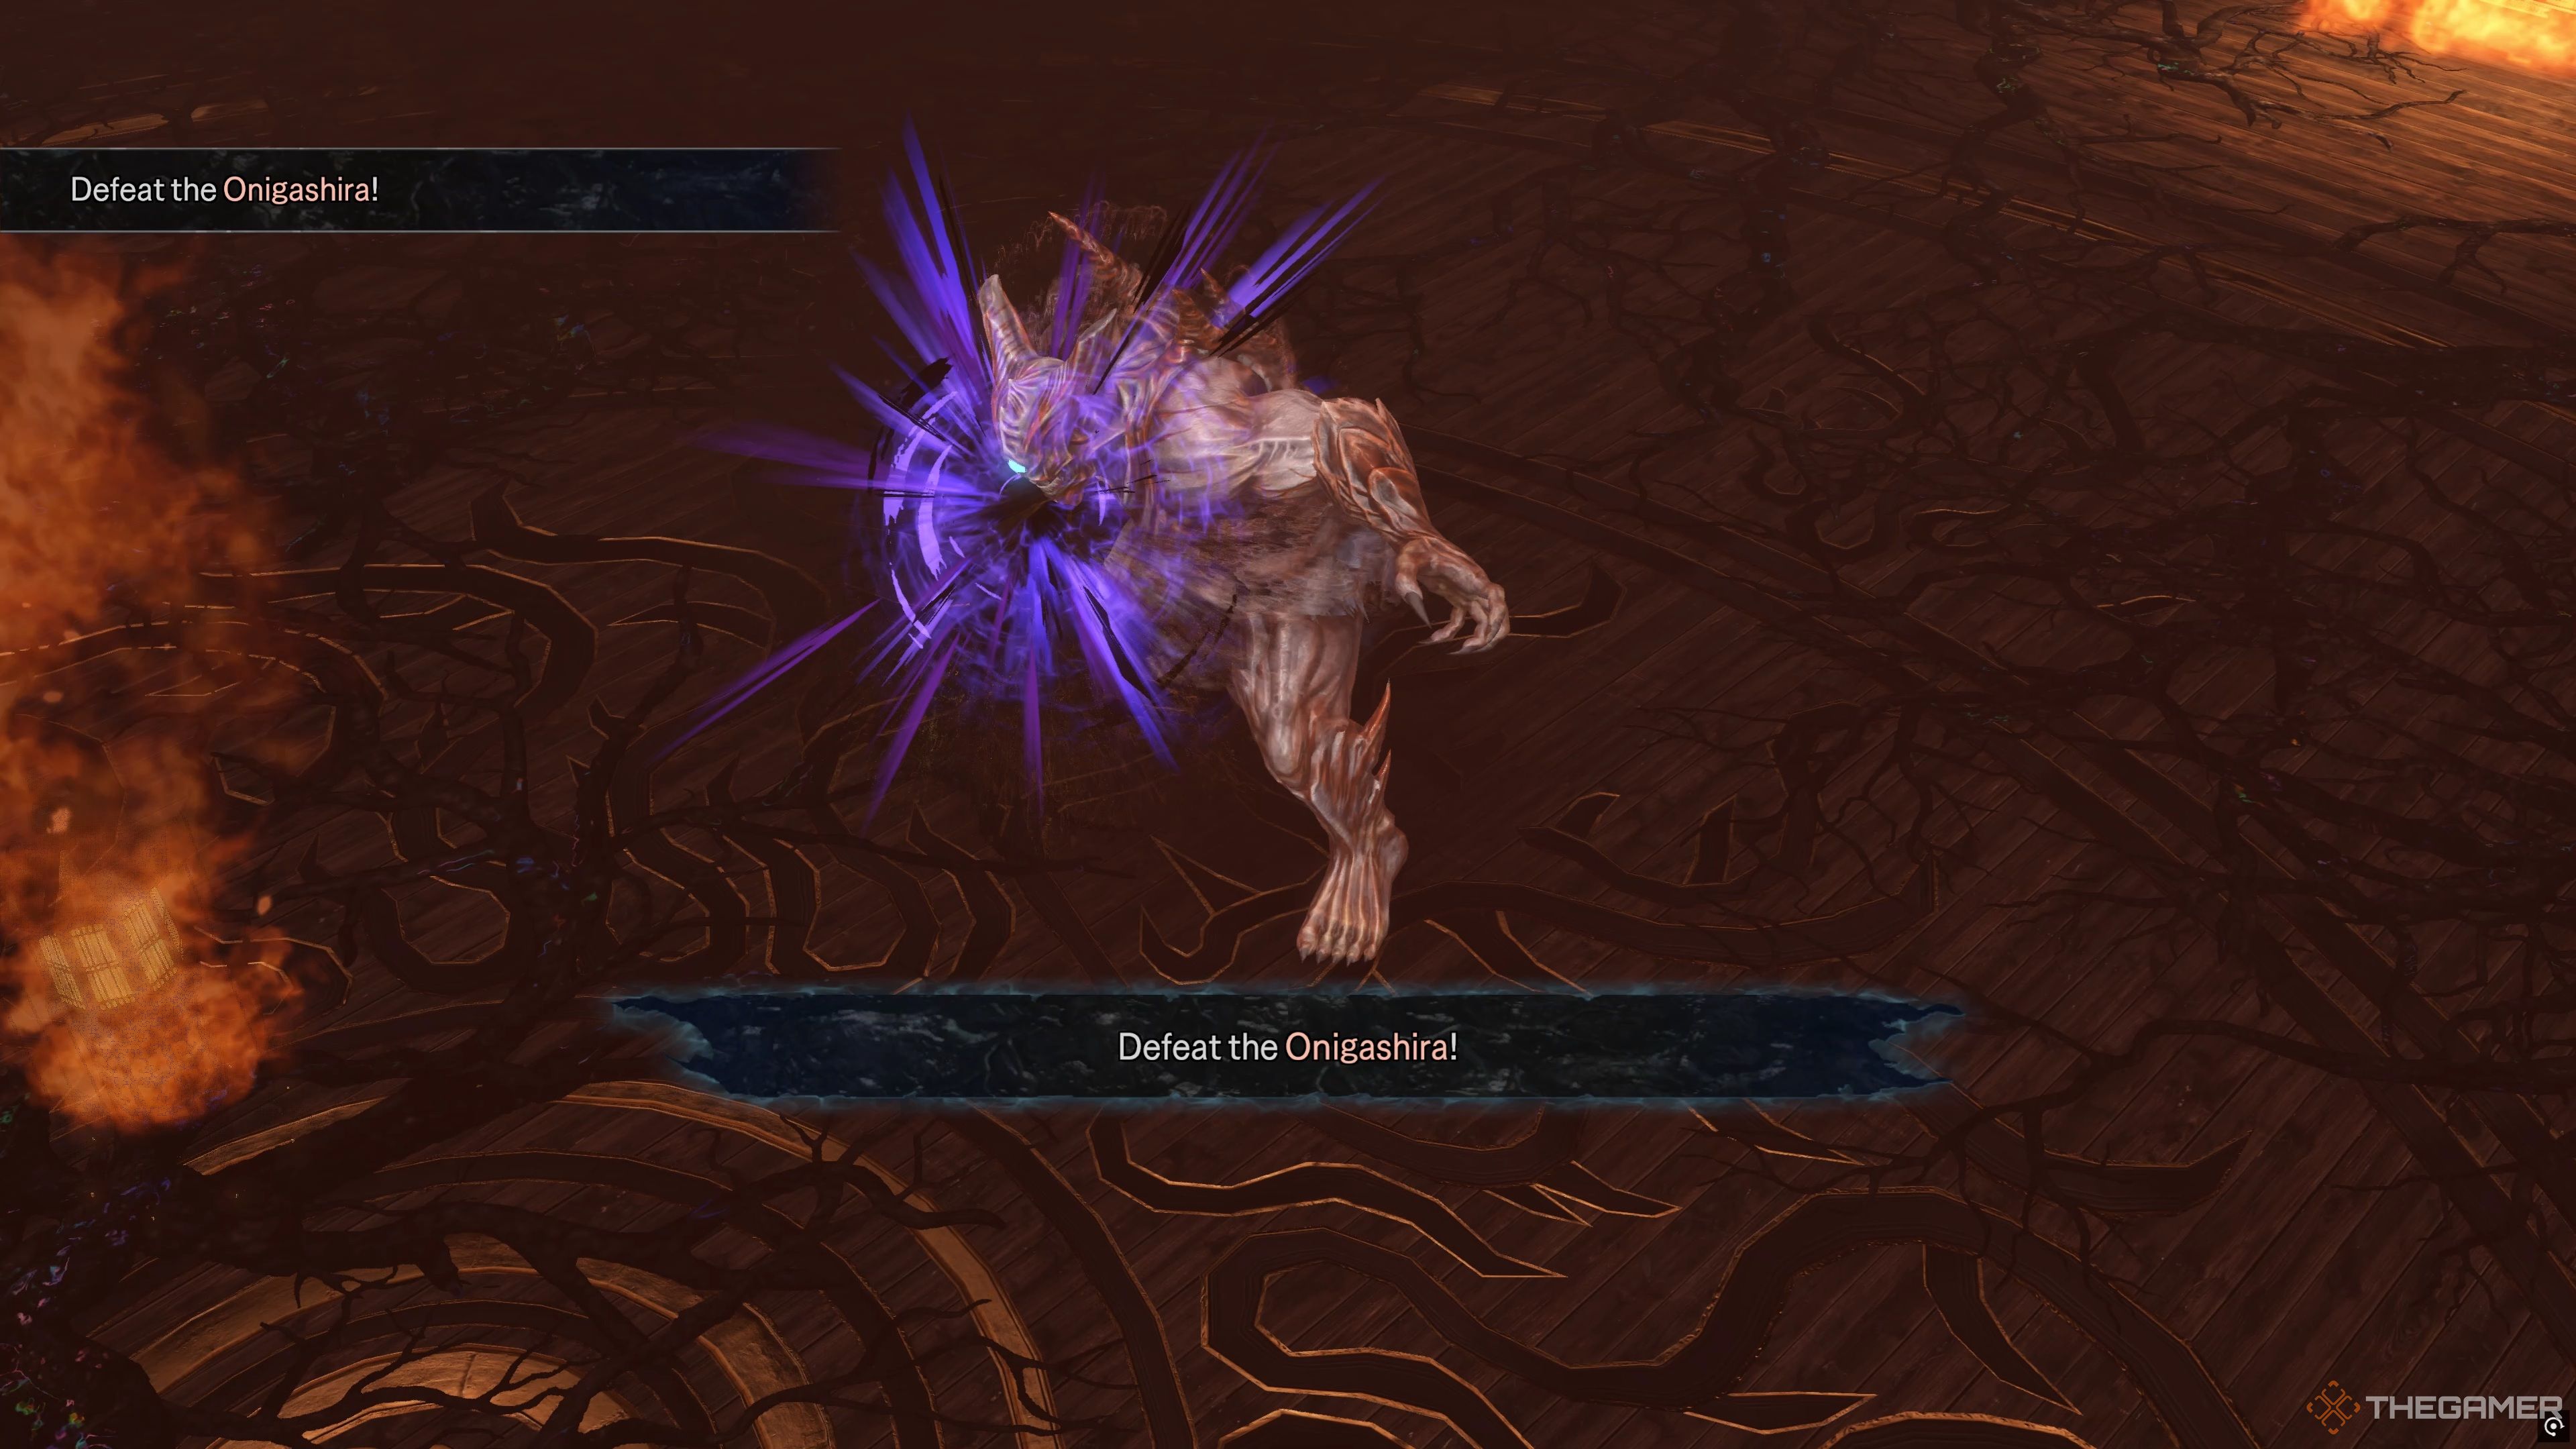
One of the most common attacks of the Onigashira is its Violent Punch. It delivers a devastating strike onto the ground in front of itself, causing a ripple effect of large craters to explode in a straight line forward, covering a considerable distance, telegraphed by two columns of large, purple circles.
The moment you see the Onigashira cock its arm back and strike the ground, run to the left or right of it to avoid the craters and make your way toward the Onigashira, which should be glowing yellow. We will get to the significance of that later, but this means you can punish it with a Charged Attack!
Onigashira: Violent Swipe
Since you will be close to the Onigashira, its following action will likely be its Violent Swipe, having it swiftly swing its extended arm in a wide arc, creating more exploding craters along the way. This move can be tough to avoid, so be on your toes for it whenever you’re up next to it.
Essentially, as soon as you see the circles appear beside the Onigashira, Evade away from it and begin creating space, as you cannot punish this attack, making it not worth the risk of staying close to the boss, especially since you want it to do other actions so you can adequately punish it!
Onigashira: Giant Slam
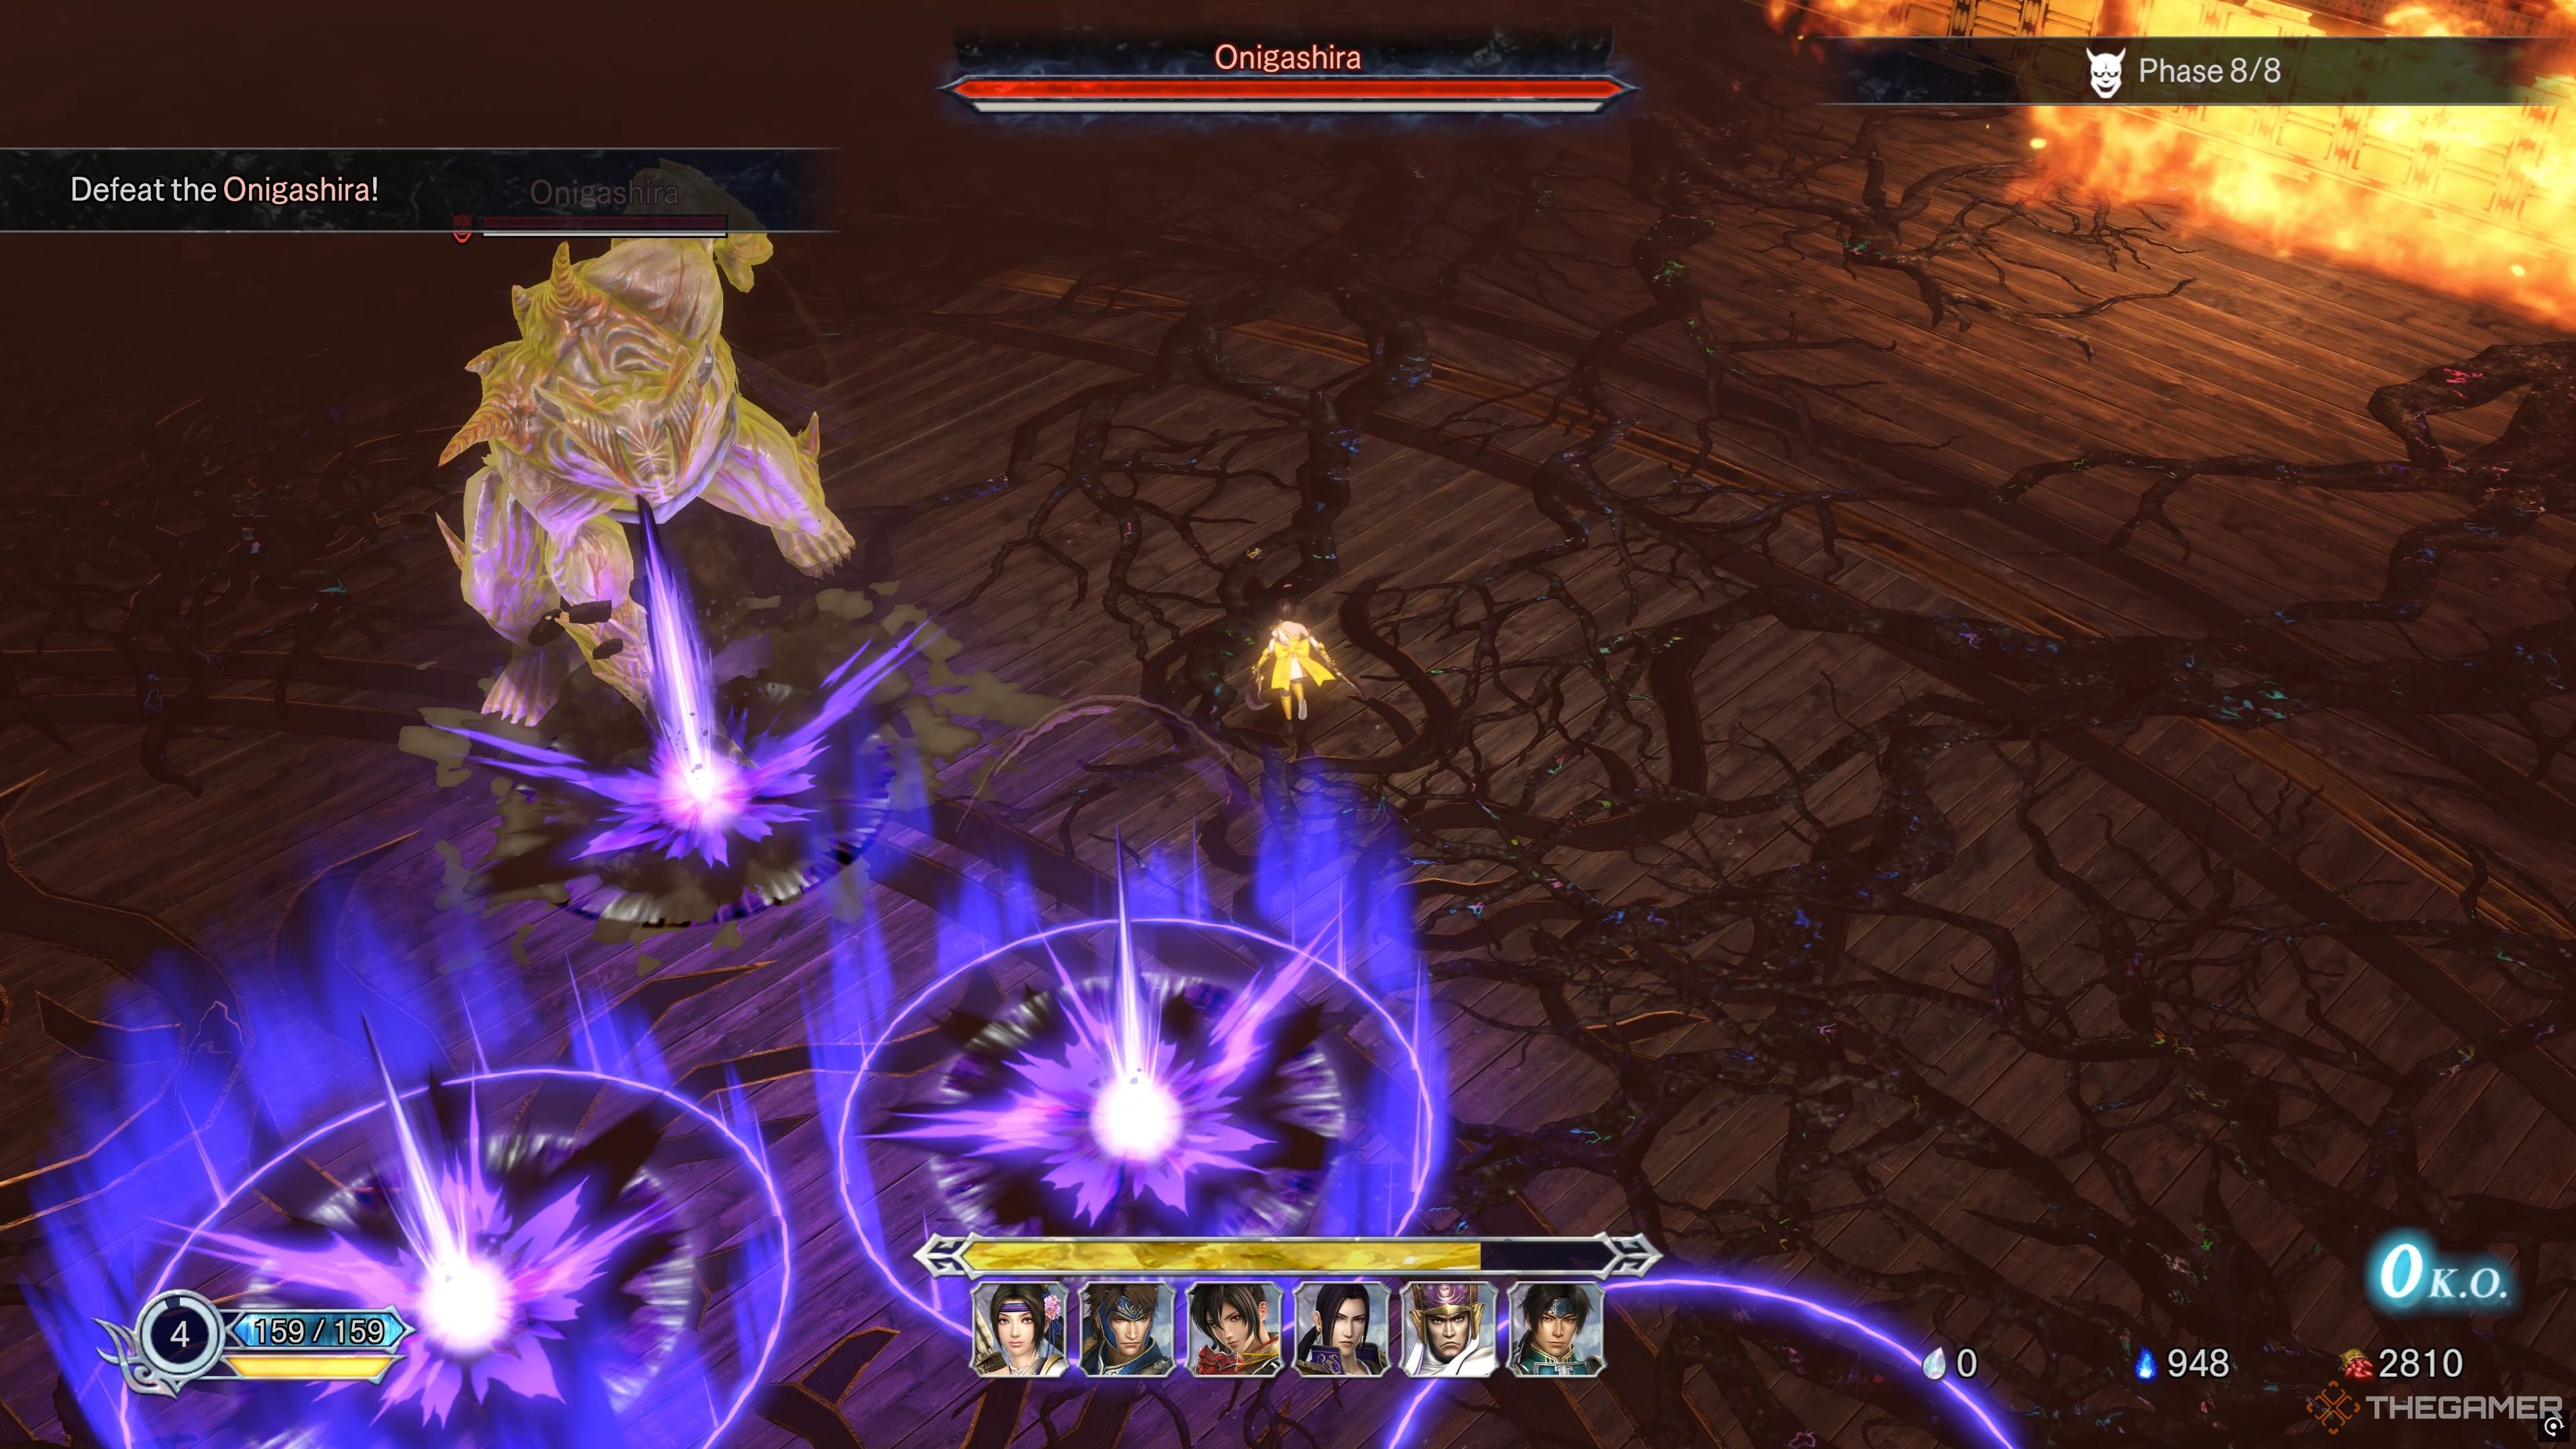
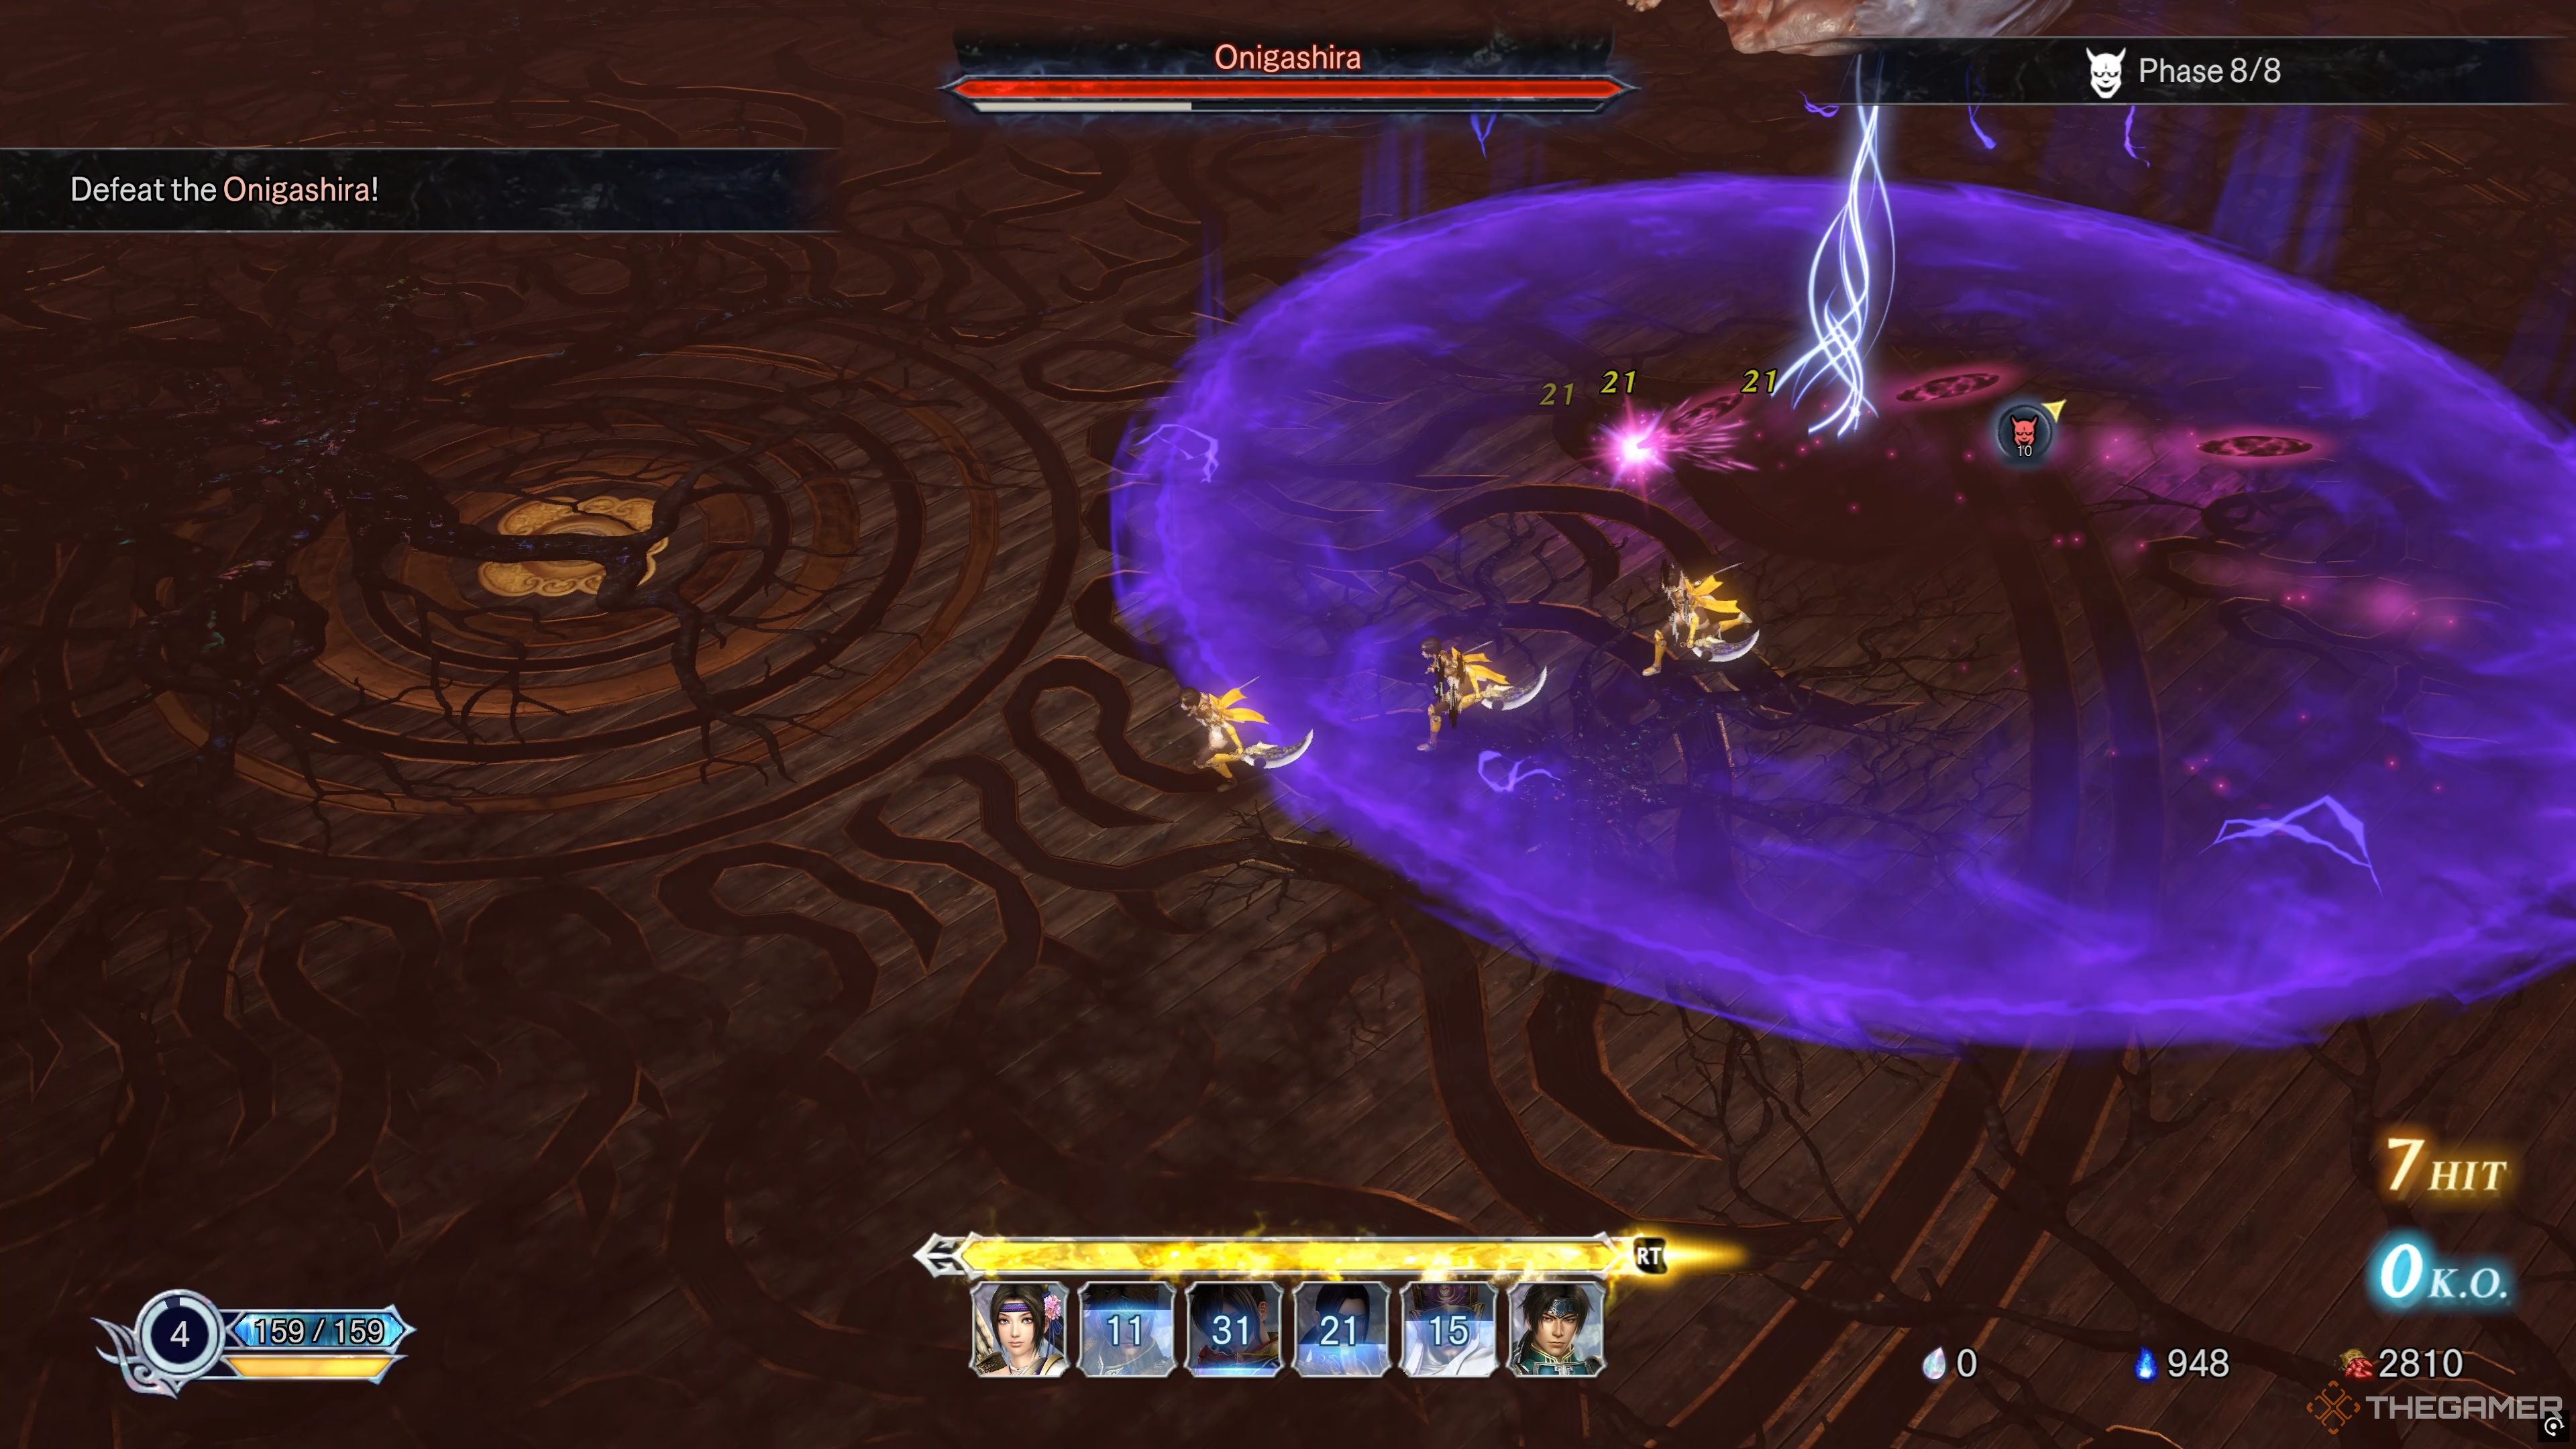
Occasionally, you will see a large, purple AoE surround the Onigashira, giving you the clue to create some space. Stand just outside of the circle and wait for it to perform a devastating slam on the ground with both of its hands, violently shaking the ground beneath it with its Giant Slam.
After it smashes the ground, Evade toward it and through the small shock wave, and punish it with another Charged Attack as it is glowing yellow. From here, you can land a few more attacks, but we suggest creating space shortly after so it doesn’t start spamming more Violent Swipes!
Onigashira: Giant Charge And Leap
A relatively rare move for the Onigashira is its Giant Charge and Leap combo, having it send a long, purple runway across the ground in front of itself before rushing forward with a devastating shoulder charge that is always capped off with a Giant Leap that covers a wide AoE around itself upon landing.
When you see the purple runway, move to the left or right of it, and then begin running in the same direction as Onigashira. As soon as you see the large AoE circle appear, get just outside of it, and then evade toward and punish the Onigashira after in lands with a Charged Attack when it’s glowing yellow!
Onigashira: Giant Leap
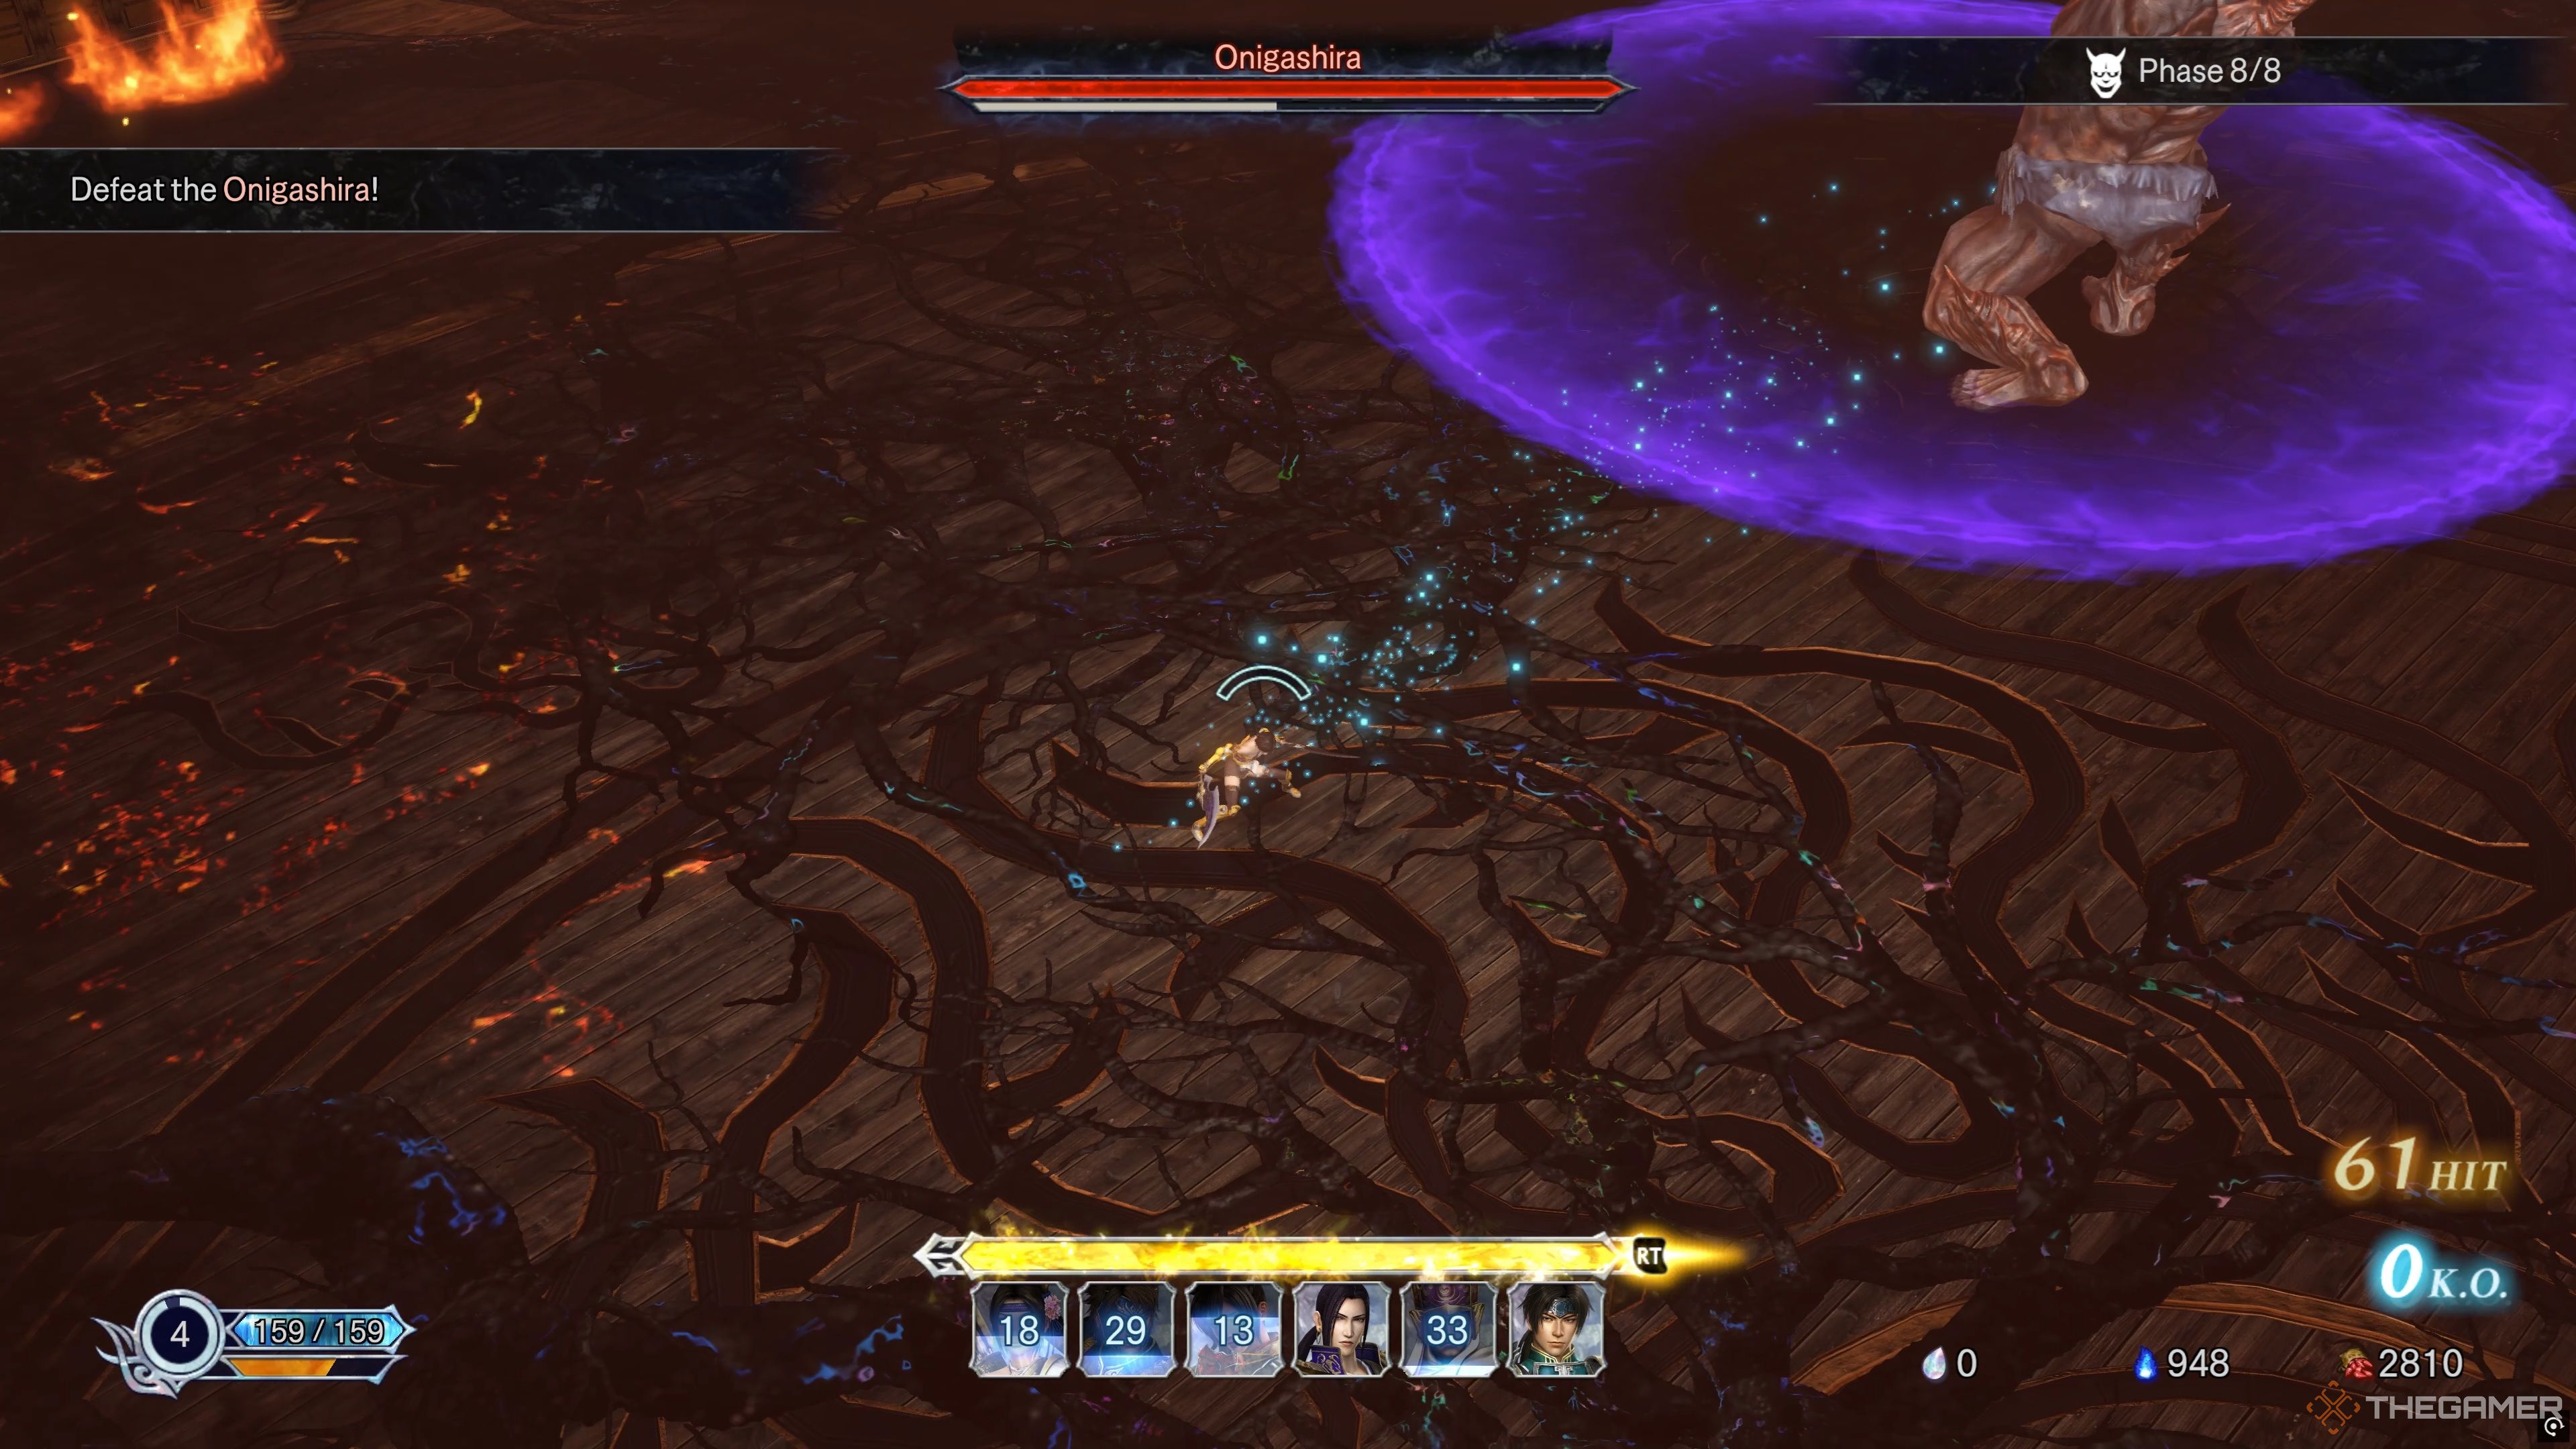
Next up is the standard Giant Leap, which is far more common than the Giant Charge and Leap combo and is a bit easier to avoid, so we prefer it this way. Before leaping high into the air, you will see the Onigashira bend its knees, placing a wide AoE circle around itself.
Run just outside of the circle as you did before, wait for the Onigashira to crash into the ground, and swiftly Evade toward it and unleash a Charged Attack while it’s glowing yellow for a proper punish!
Onigashira: Violent Slam
Its final attack is its Violent Slam, having it unleash a powerful and devastating blow to the ground in front of it as it falls forward, summoning several craters around itself, creating a circle. You can punish it here, but it will be hard, and we prefer to just act like this attack didn’t exist, as it rarely comes up, and it is very hard to punish in time.
Still, if you want to try and punish it, the moment you see the circle of craters surround it, find a gap, Evade through it, and land a Charged Attack on the glowing Onigashira. The punish window is very tight for this attack, which is why we typically don’t even bother going for it!
Hero: Punish Windows
Now that we have outlined all of the Onigashira’s attacks, it’s time to elaborate a bit more on the Charge Attack punishes. As we mentioned above, after the Onigashira performs some of its attacks, it will briefly glow yellow, which allows you to punish it with a Charge Attack.
A Charge Attack is how you will end your Attack Strings, which will mainly look something like X, X, Y, Y, Y (Xbox Controller). You don’t need to use Summoning Skills to get the punishment; just the Charge Attack will suffice.
Landing a Charge Attack on the Onigashira while it’s glowing will temporarily stun it. It will also generate orbs of light that will fill up your Musou Gauge and Assemble Gauge, which is crucial for boss encounters. Furthermore, when it’s briefly stunned, you can get a few decent attacks in afterward, allowing you to chip away at its Stagger Meter even more!
Hero: Staggering The Onigashira
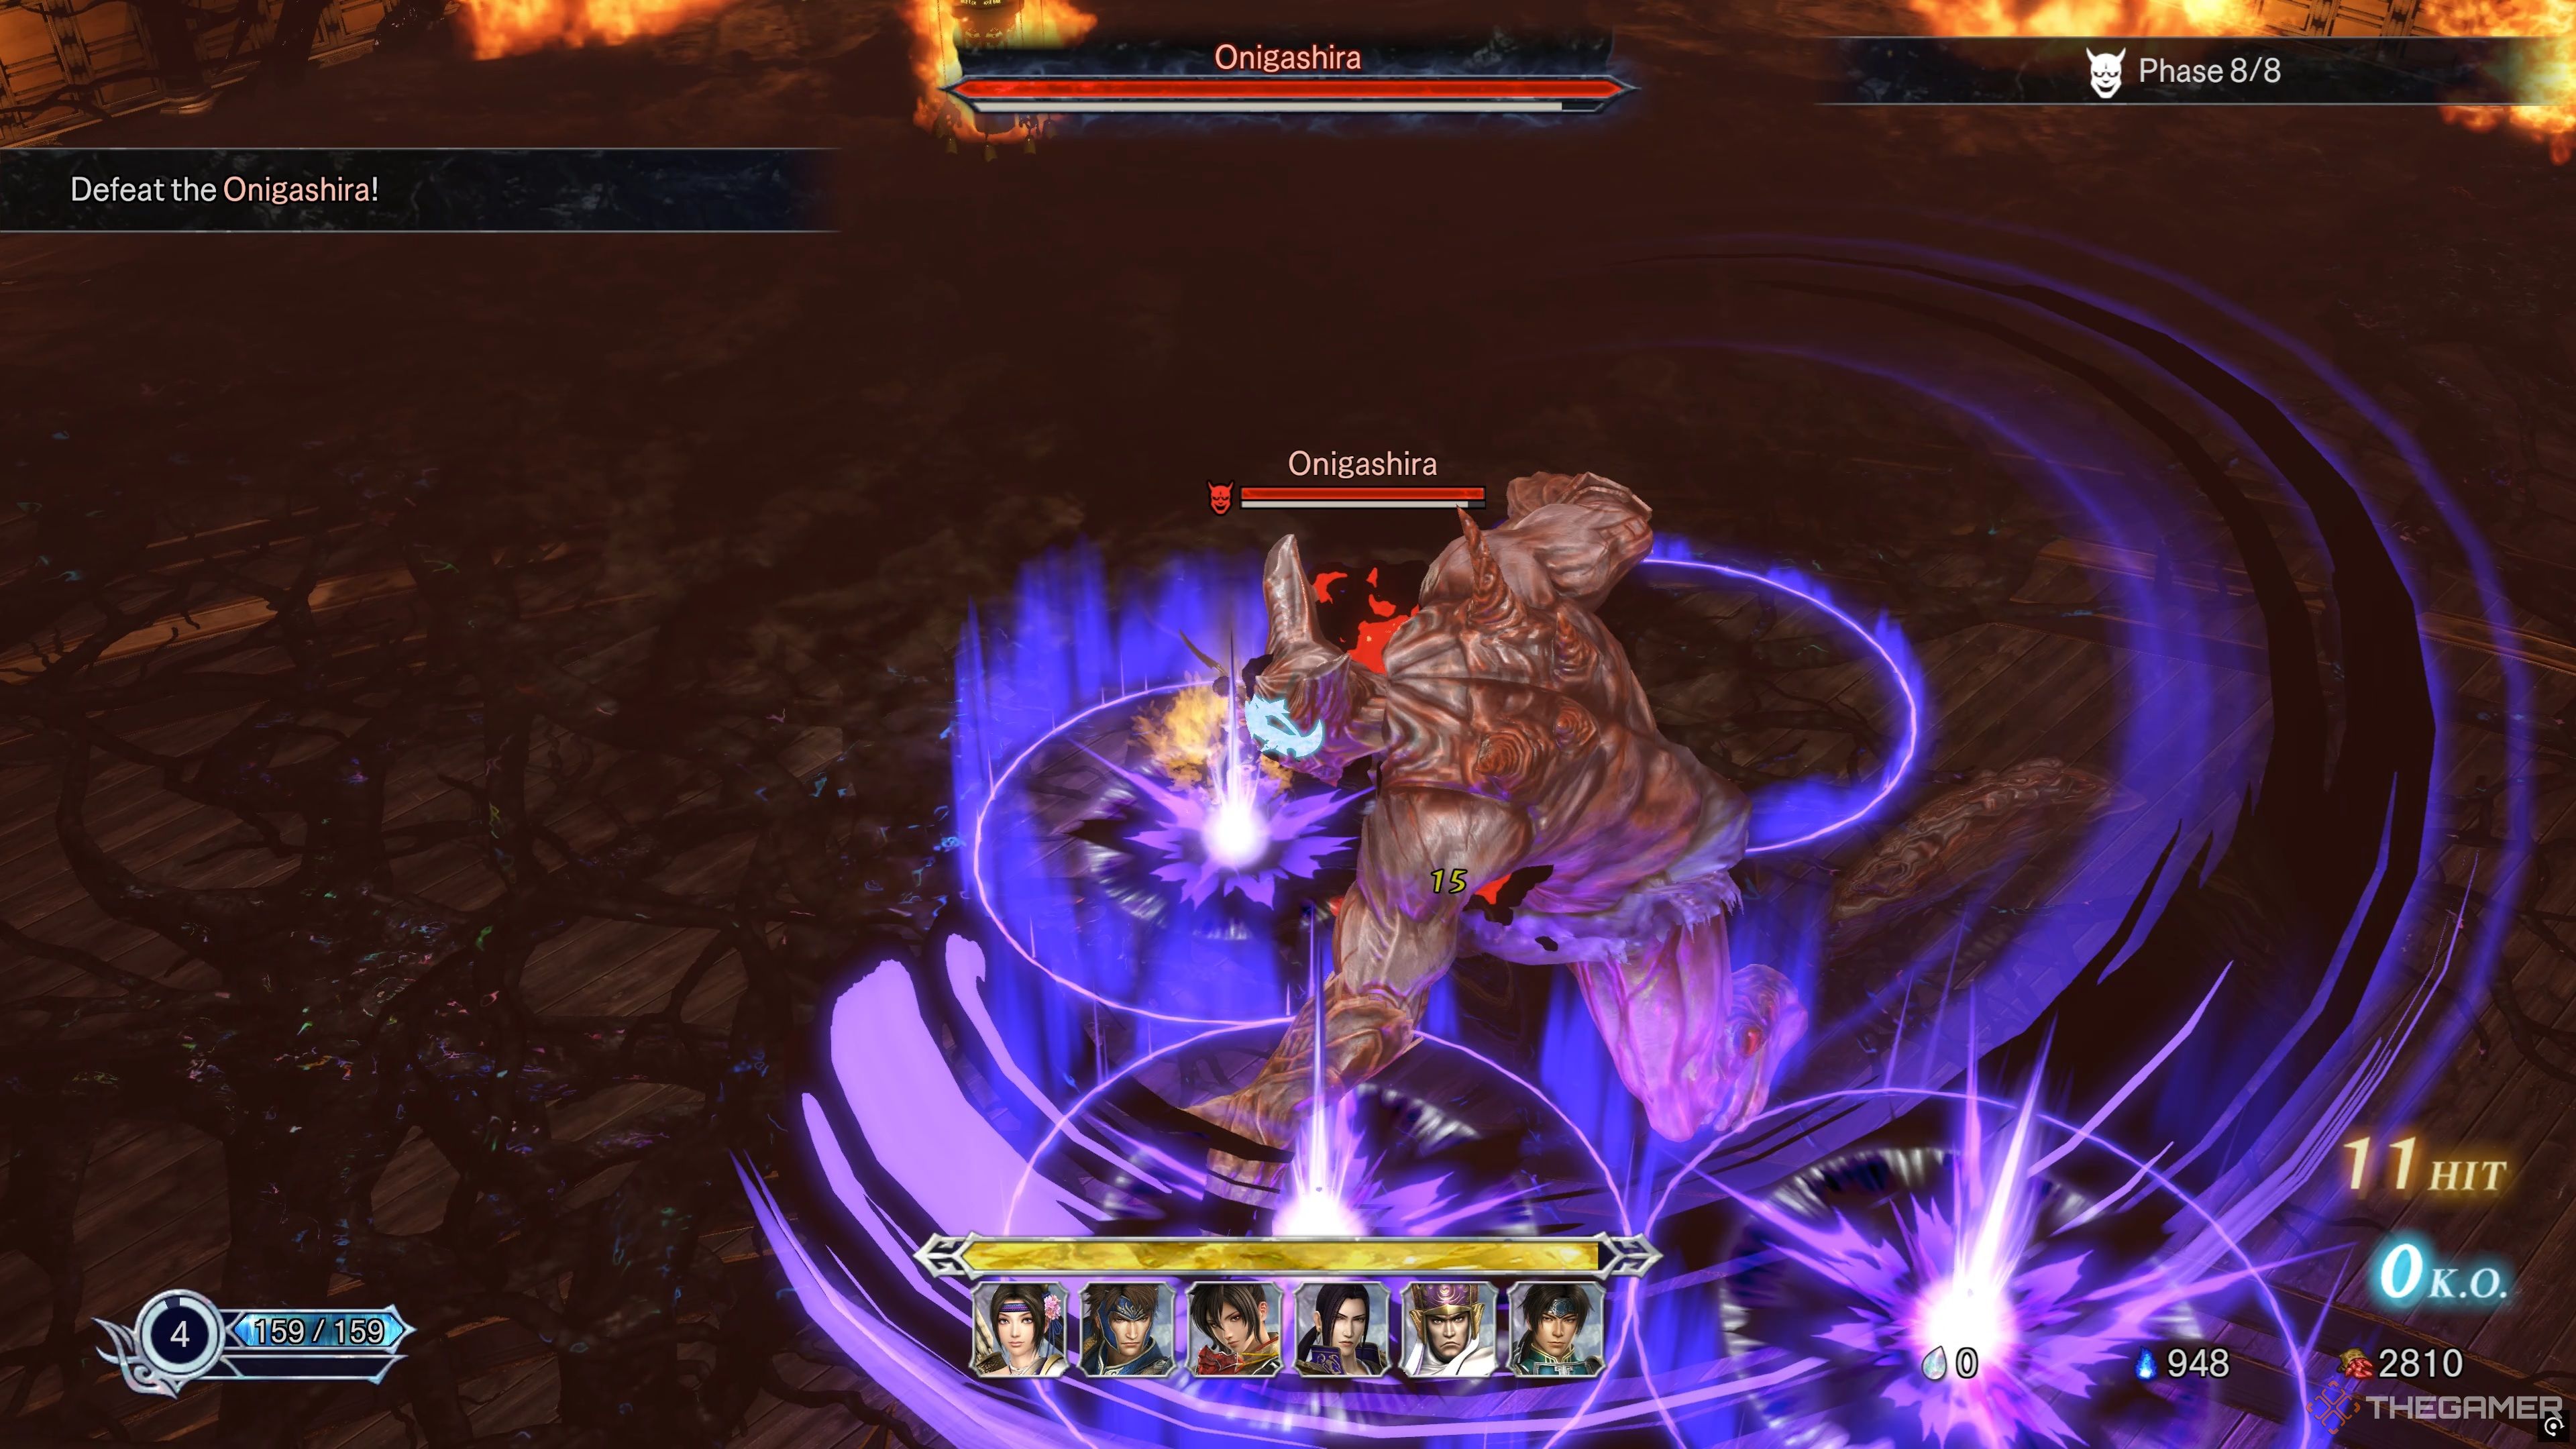
With the Charge Attack strategy covered, it’s time to cover its Stagger Meter, which is the long white bar located directly underneath its health bar. Whittling the Stagger Meter down the entire way will cause the Onigashira to become staggered, allowing you to go all out on it and deal actual damage to it.
This is also why we prefer punishing all of its attacks with a Charged Attack, as you should have full Musou and Assemble Gauges, allowing you to deal substantial damage to it while it’s temporarily Staggered. To do this, activate Assemble (RT/R2), then perform one or two Summoning Skills for massive damage, and cap it off with a Musou Attack (B/Circle) for a unique attack that deals massive damage!
If you do not have six Allied Heroes in your Formation, skip doing the two Summoning Skills and go directly into your Musou Attack after activating Assemble!
Onigashira: Phase Two – Minions
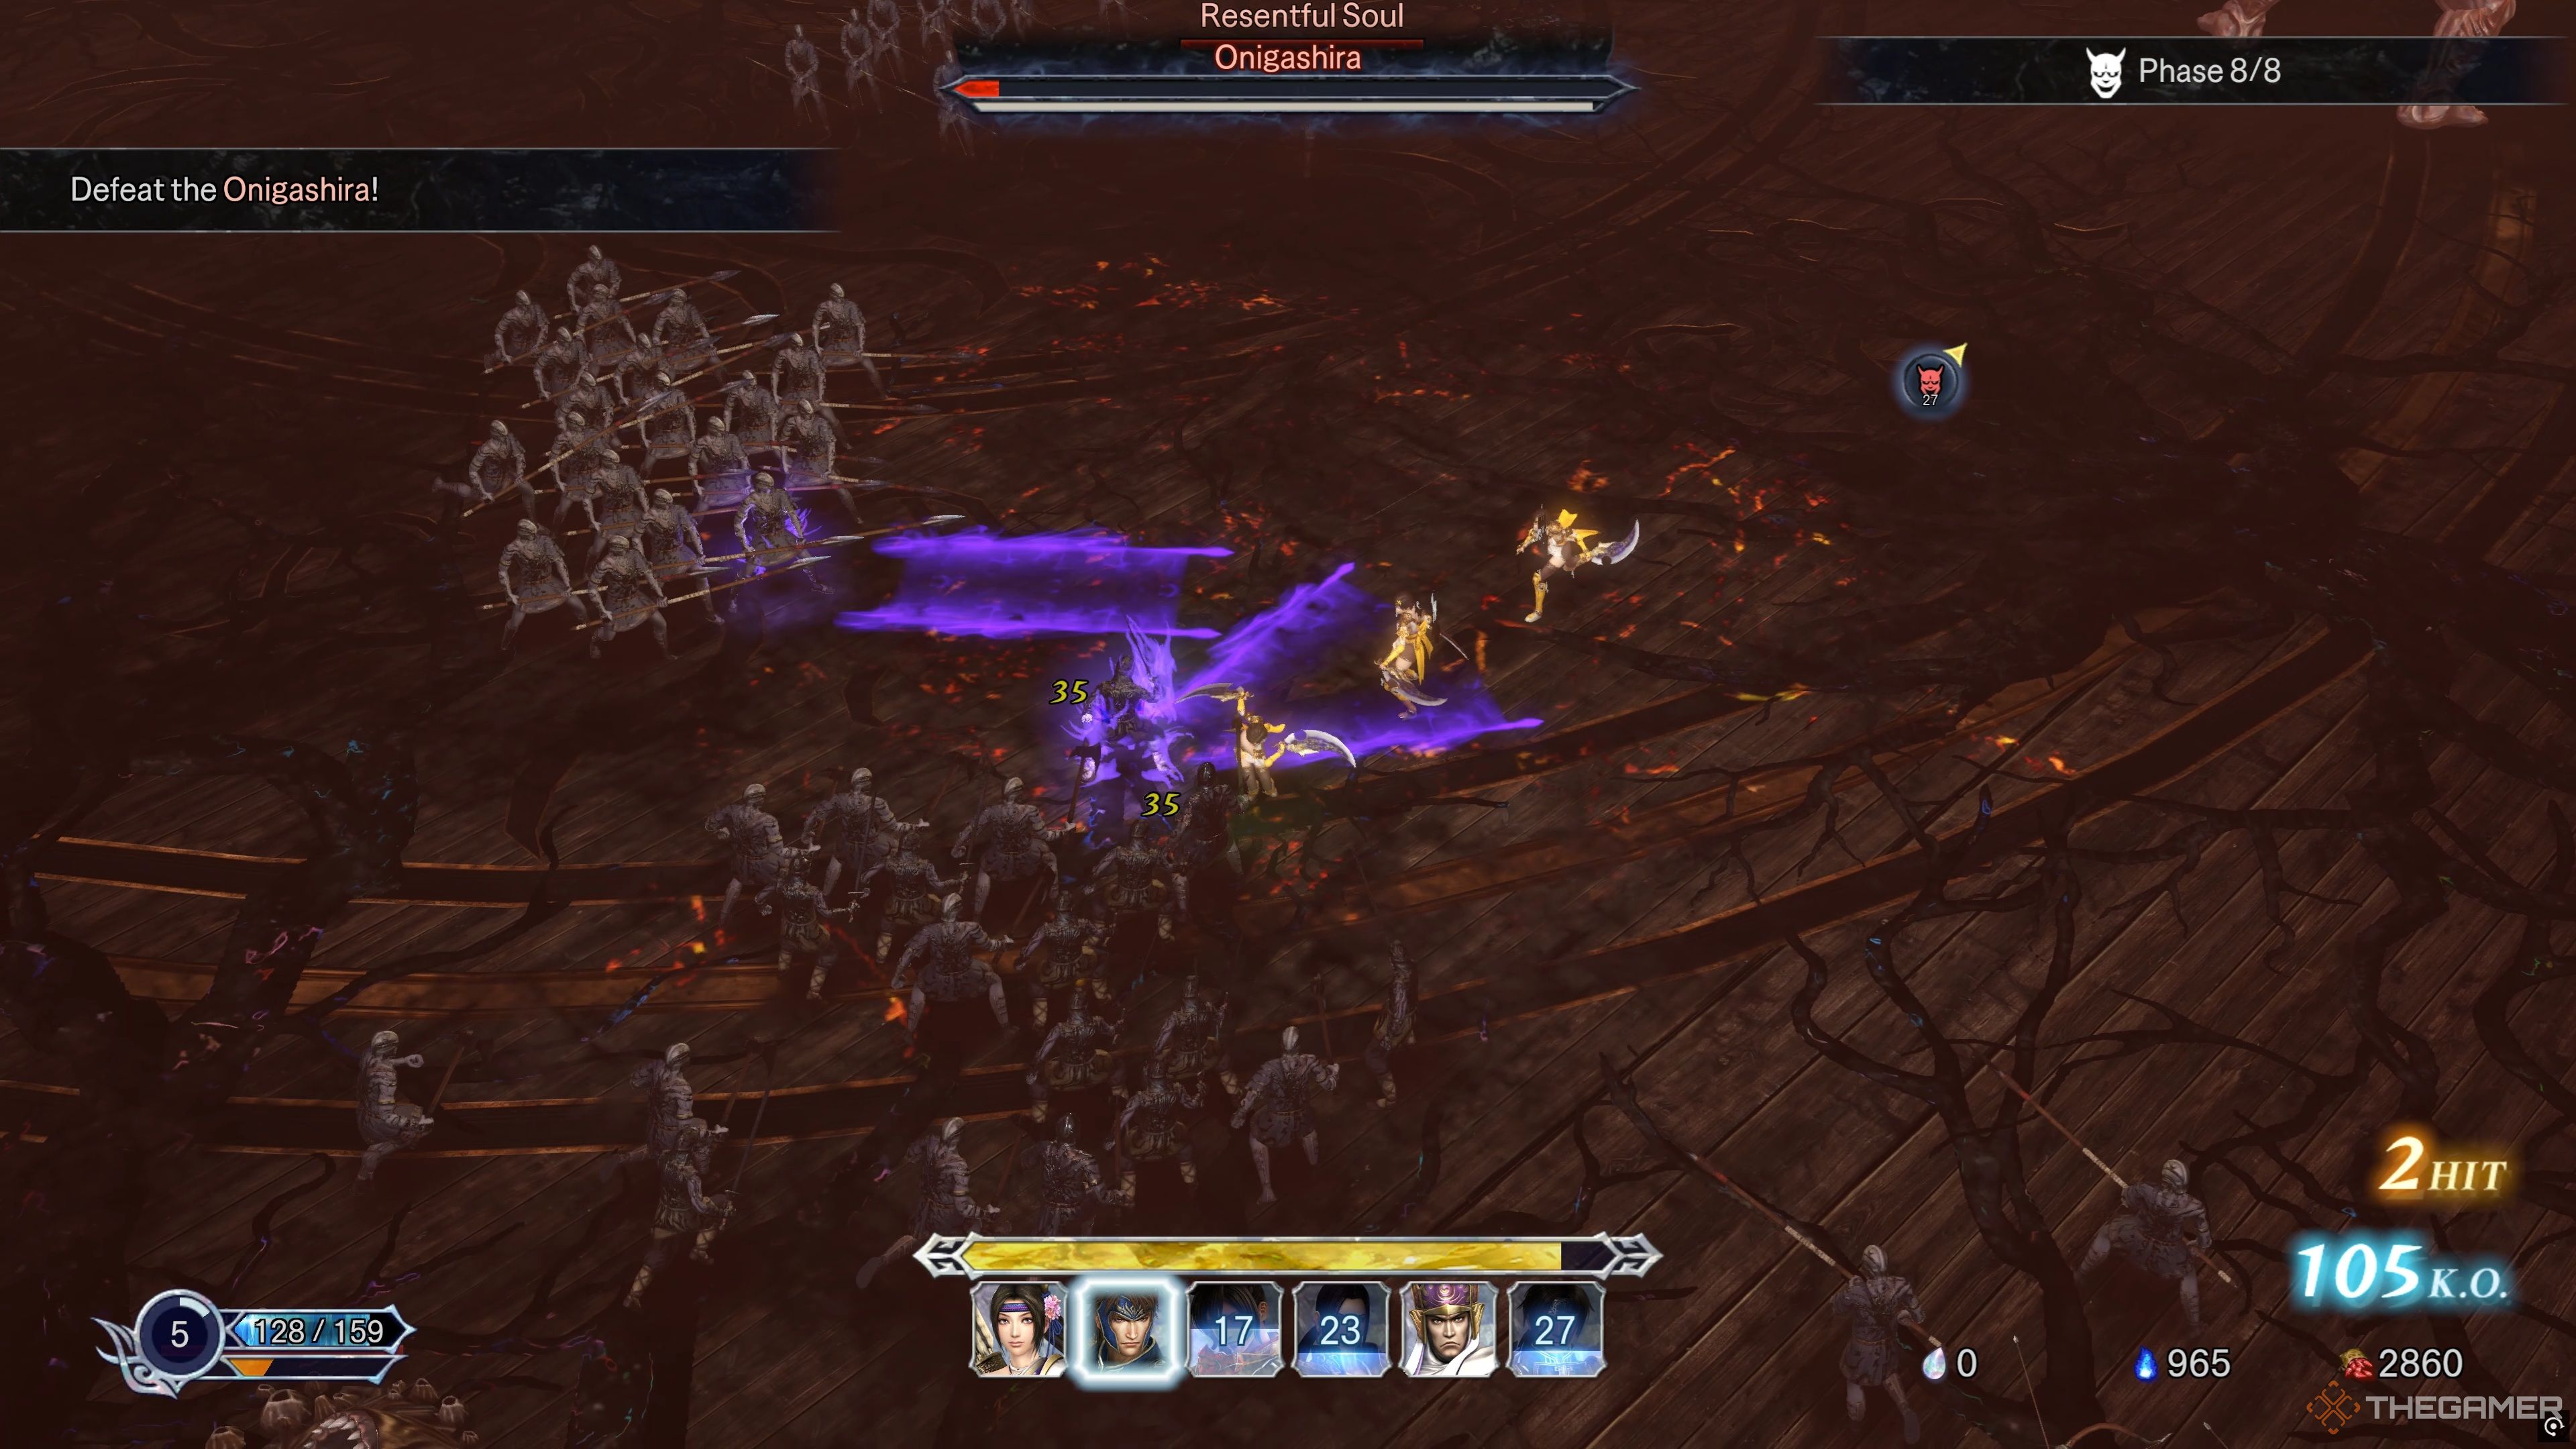
After laying a beating on the Onigashira, it will regain its Stagger Meter back and will let out a loud roar, summoning hoards of monsters into the arena to begin the second phase. These monsters must be targeted first and swiftly dealt with, or you will have a very bad time. However, keep in mind that the Onigashira will still be roaming around the arena and will be doing the same attacks as the first phase.
Just keep an eye out for the Onigashira, create distance when it gets close, and eliminate all the monsters before even thinking about turning your attention back to the boss. It might take a bit of time, but it is well worth it, as they can cause some serious issues if they’re left unmanaged!
Hero: Phase Two – Refocus The Onigashira
Dealing with all the monsters will allow you to refocus your attention on the Onigashira, which will now be handled exactly like the first phase. It will have the same moves, with all of them being punishable the exact same way. Wait for it to attack, land a Charged Attack when it is glowing yellow, rinse, and repeat!
Hero: Phase Two – Staggering The Onigashira
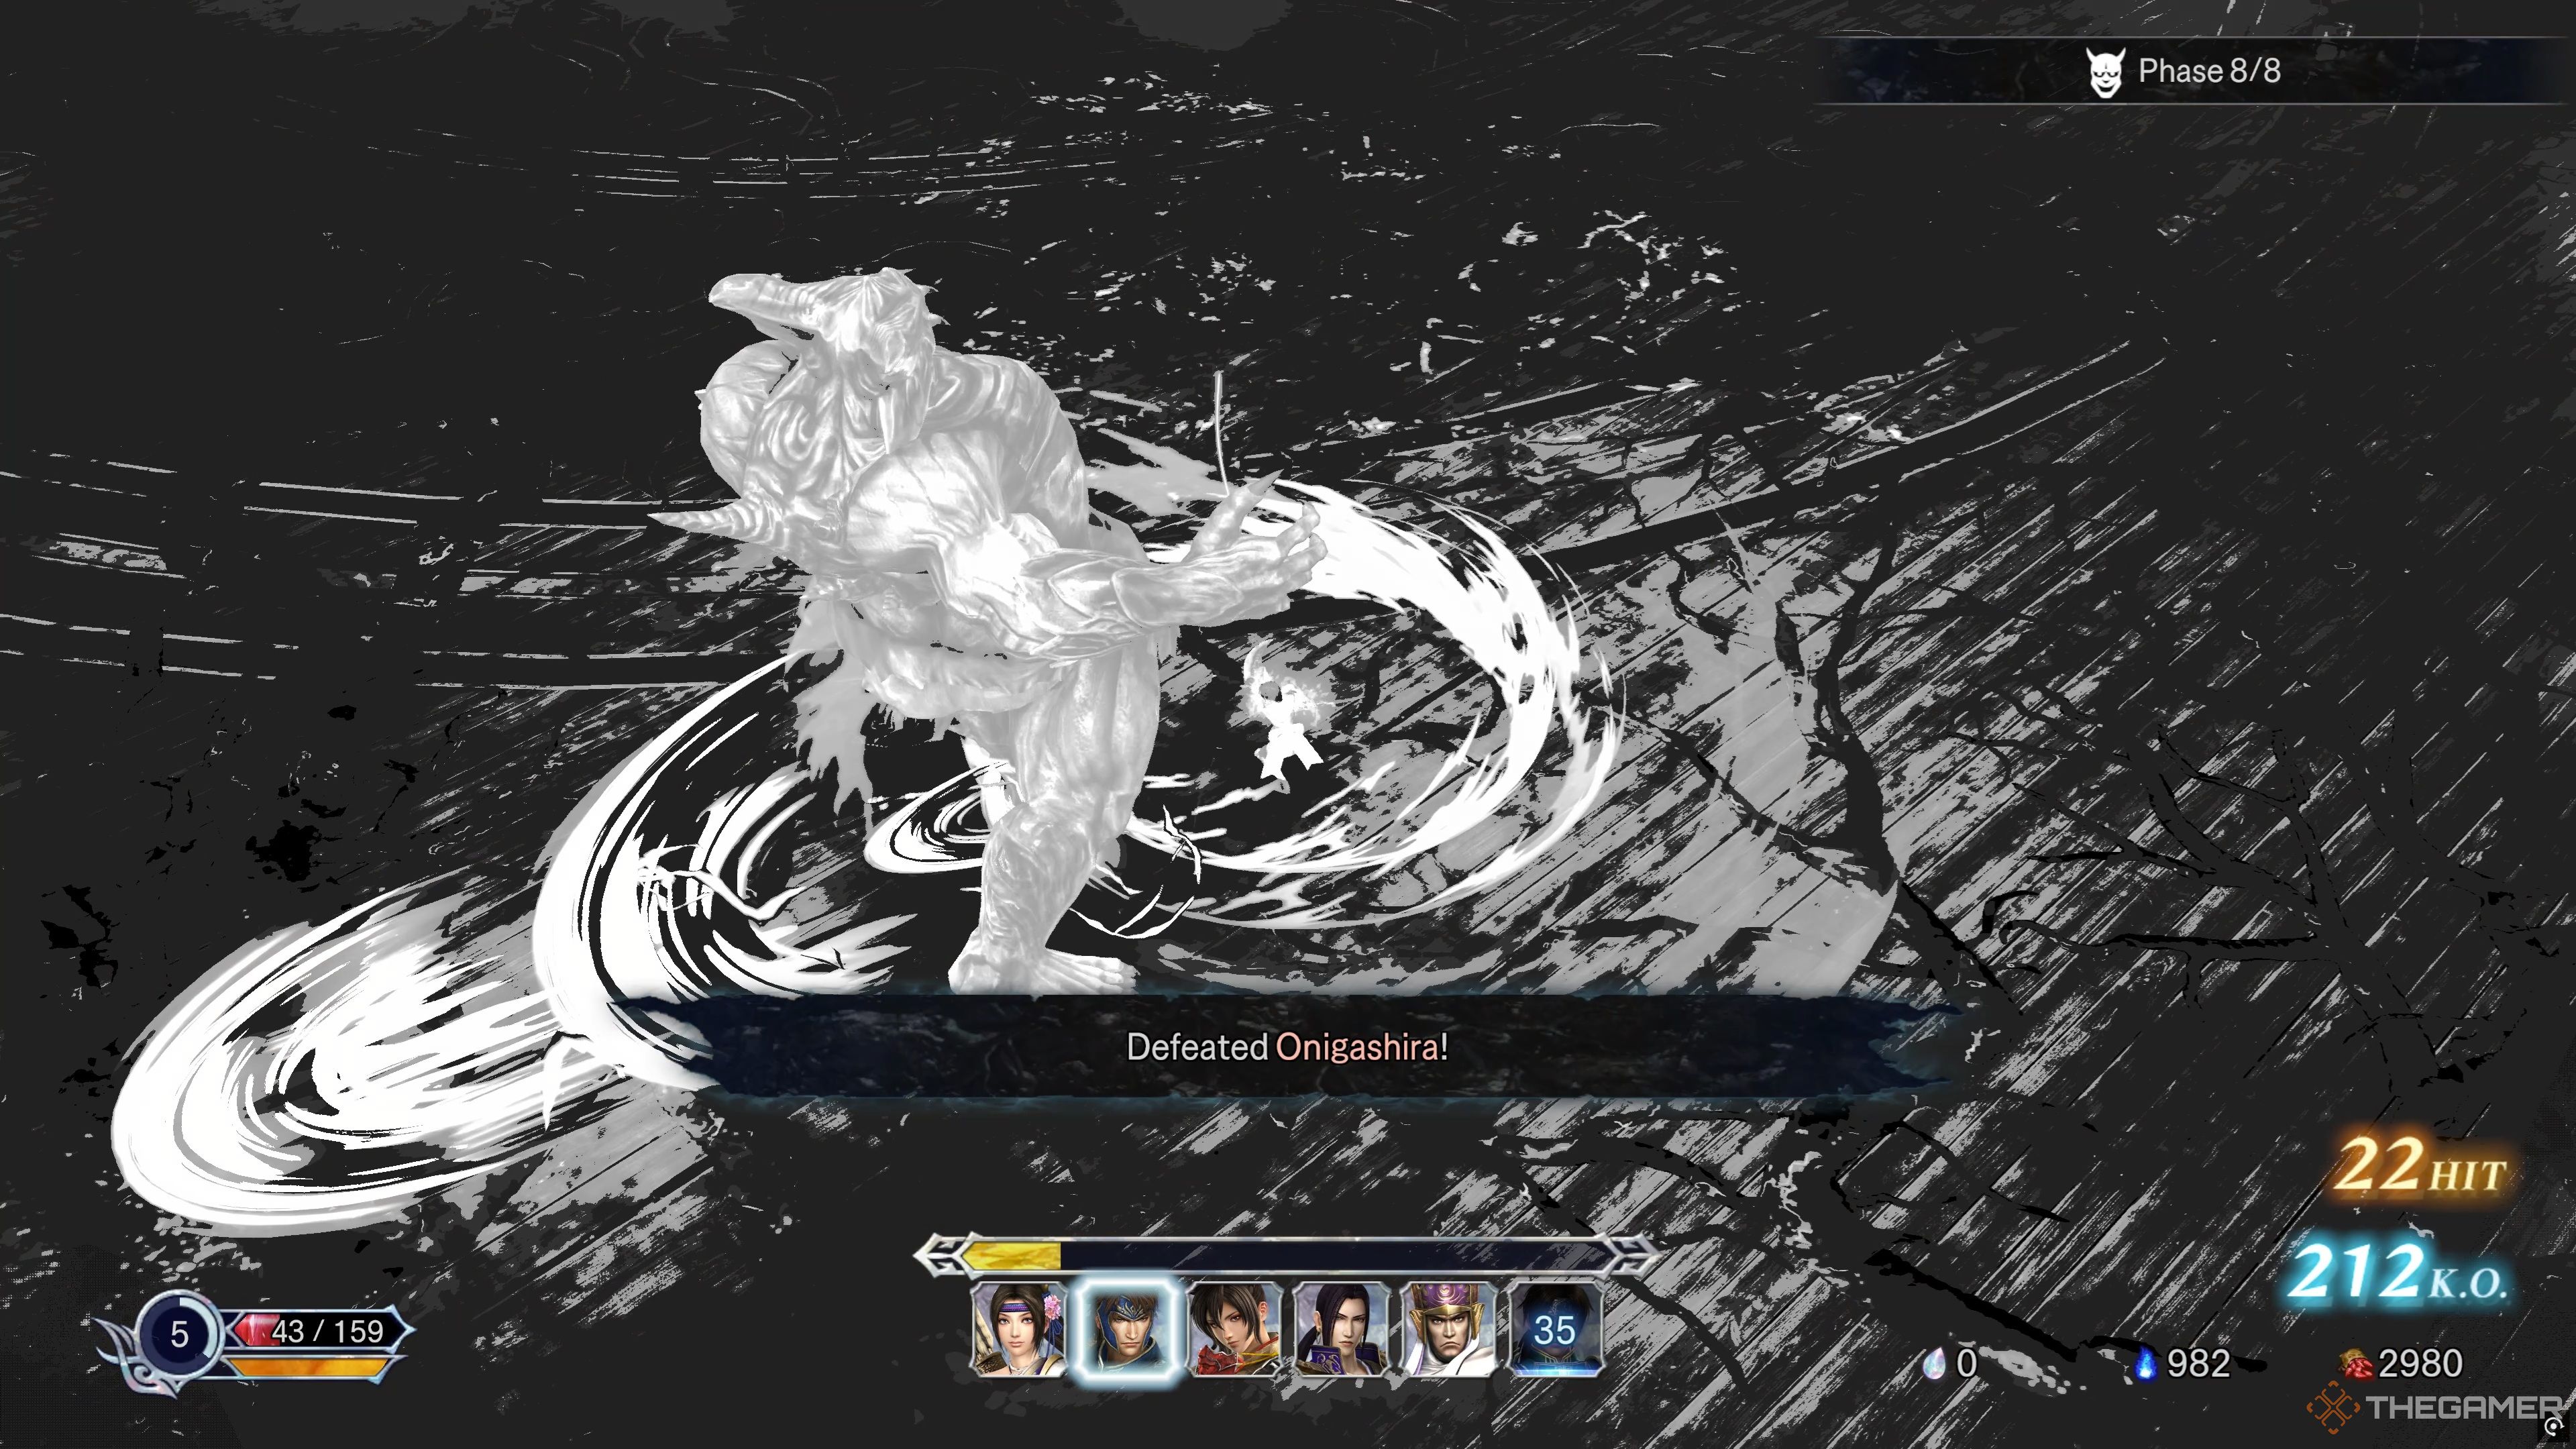
Staggering the Onigashira a second time should allow you to defeat it if you replenished your Musou and Assemble Gauges again, allowing you to go all out on it one last time. You may need to perform a few Summoning Skills afterward to put the final nail in its coffin, but it will be as good as dead if you landed two all-out attacks on it!
Hero: Phase Two – Defeating The Onigashira
However, if you don’t manage to defeat it in time, the Onigashira will essentially repeat phase two again, summoning hoards of monsters in once more. Nothing changes here, so handle it the same exact way you did earlier by focusing the monsters first, then the Onigashira, allowing you to finally defeat it the third time around!
Next
Hades 2: How To Defeat The Mega-Dracon
Defeat Mega-Dracon with this complete guide to the boss fight.









Leave a Reply