Summary
- Focus on high-quality side quests to learn important game mechanics and secure invites for main quests.
- Prioritize completing Combat Training and Miri Fajta to learn combat mechanics and character development.
- Engage in quests like The Jaunt, Bad Blood, and Mutt to delve into character-driven adventures and expand on lore.
Kingdom Come: Deliverance 2 is brimming with great characters and quests that really immerse you in the historical setting of medieval Bohemia. While the main storyline is great, some of the game’s best offerings are experienced when you go off the beaten path.
Related
10 Games To Play If You Like Kingdom Come: Deliverance 2
If you’re seeking more deliverance, here are some similar games worth checking out.
These include high-quality side quests, and a lot of them are open right after the prologue ends. Some of these introduce you to important game mechanics, making it ideal to prioritize these side quests first and foremost.
8
The Blacksmith’s Son
Area – Tachov
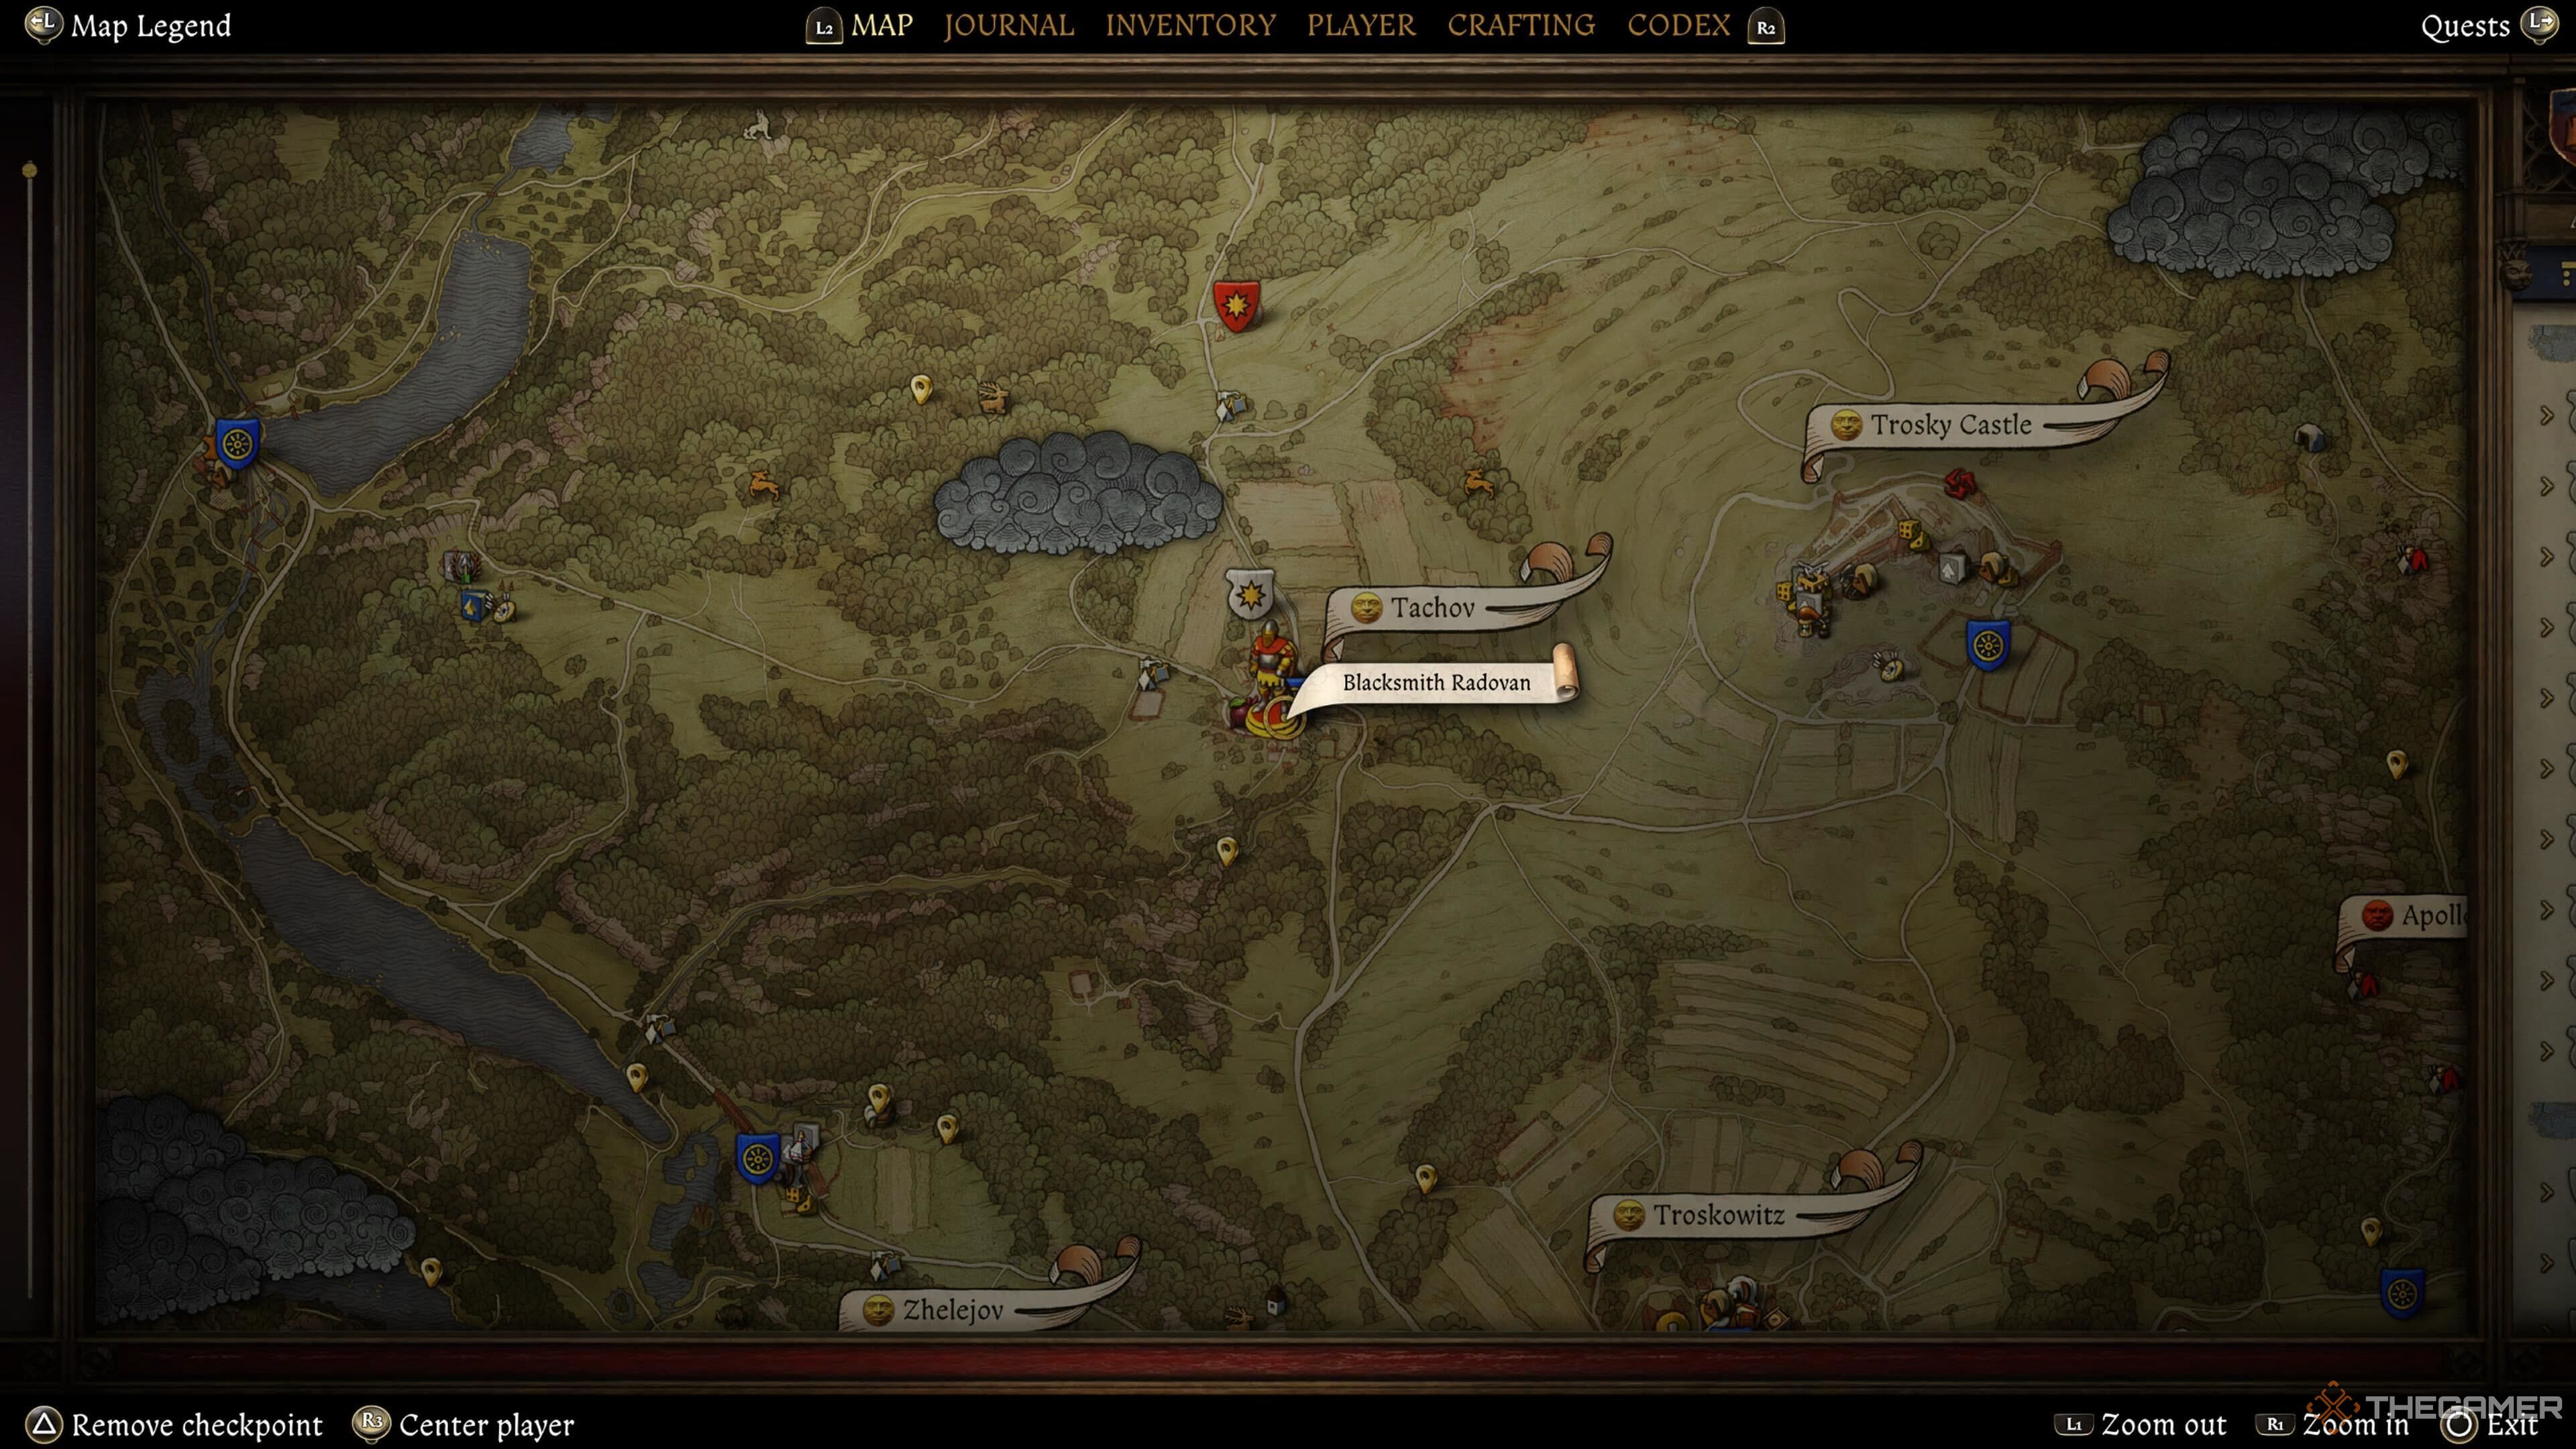
The Blacksmith’s Son is a short and simple side quest, but it introduces you to Blacksmith Radovan who teaches you the blacksmithing minigame, along with an introduction to using the forge, and also gives you a room with your own bed to sleep on.
This is the start of Radovan’s lengthy quest chain, which eventually ends up in you securing an invite for the Wedding Crashers main quest, so it’s recommended to meet him as soon as possible.
7
Materia Prima
Area – Lower Semine
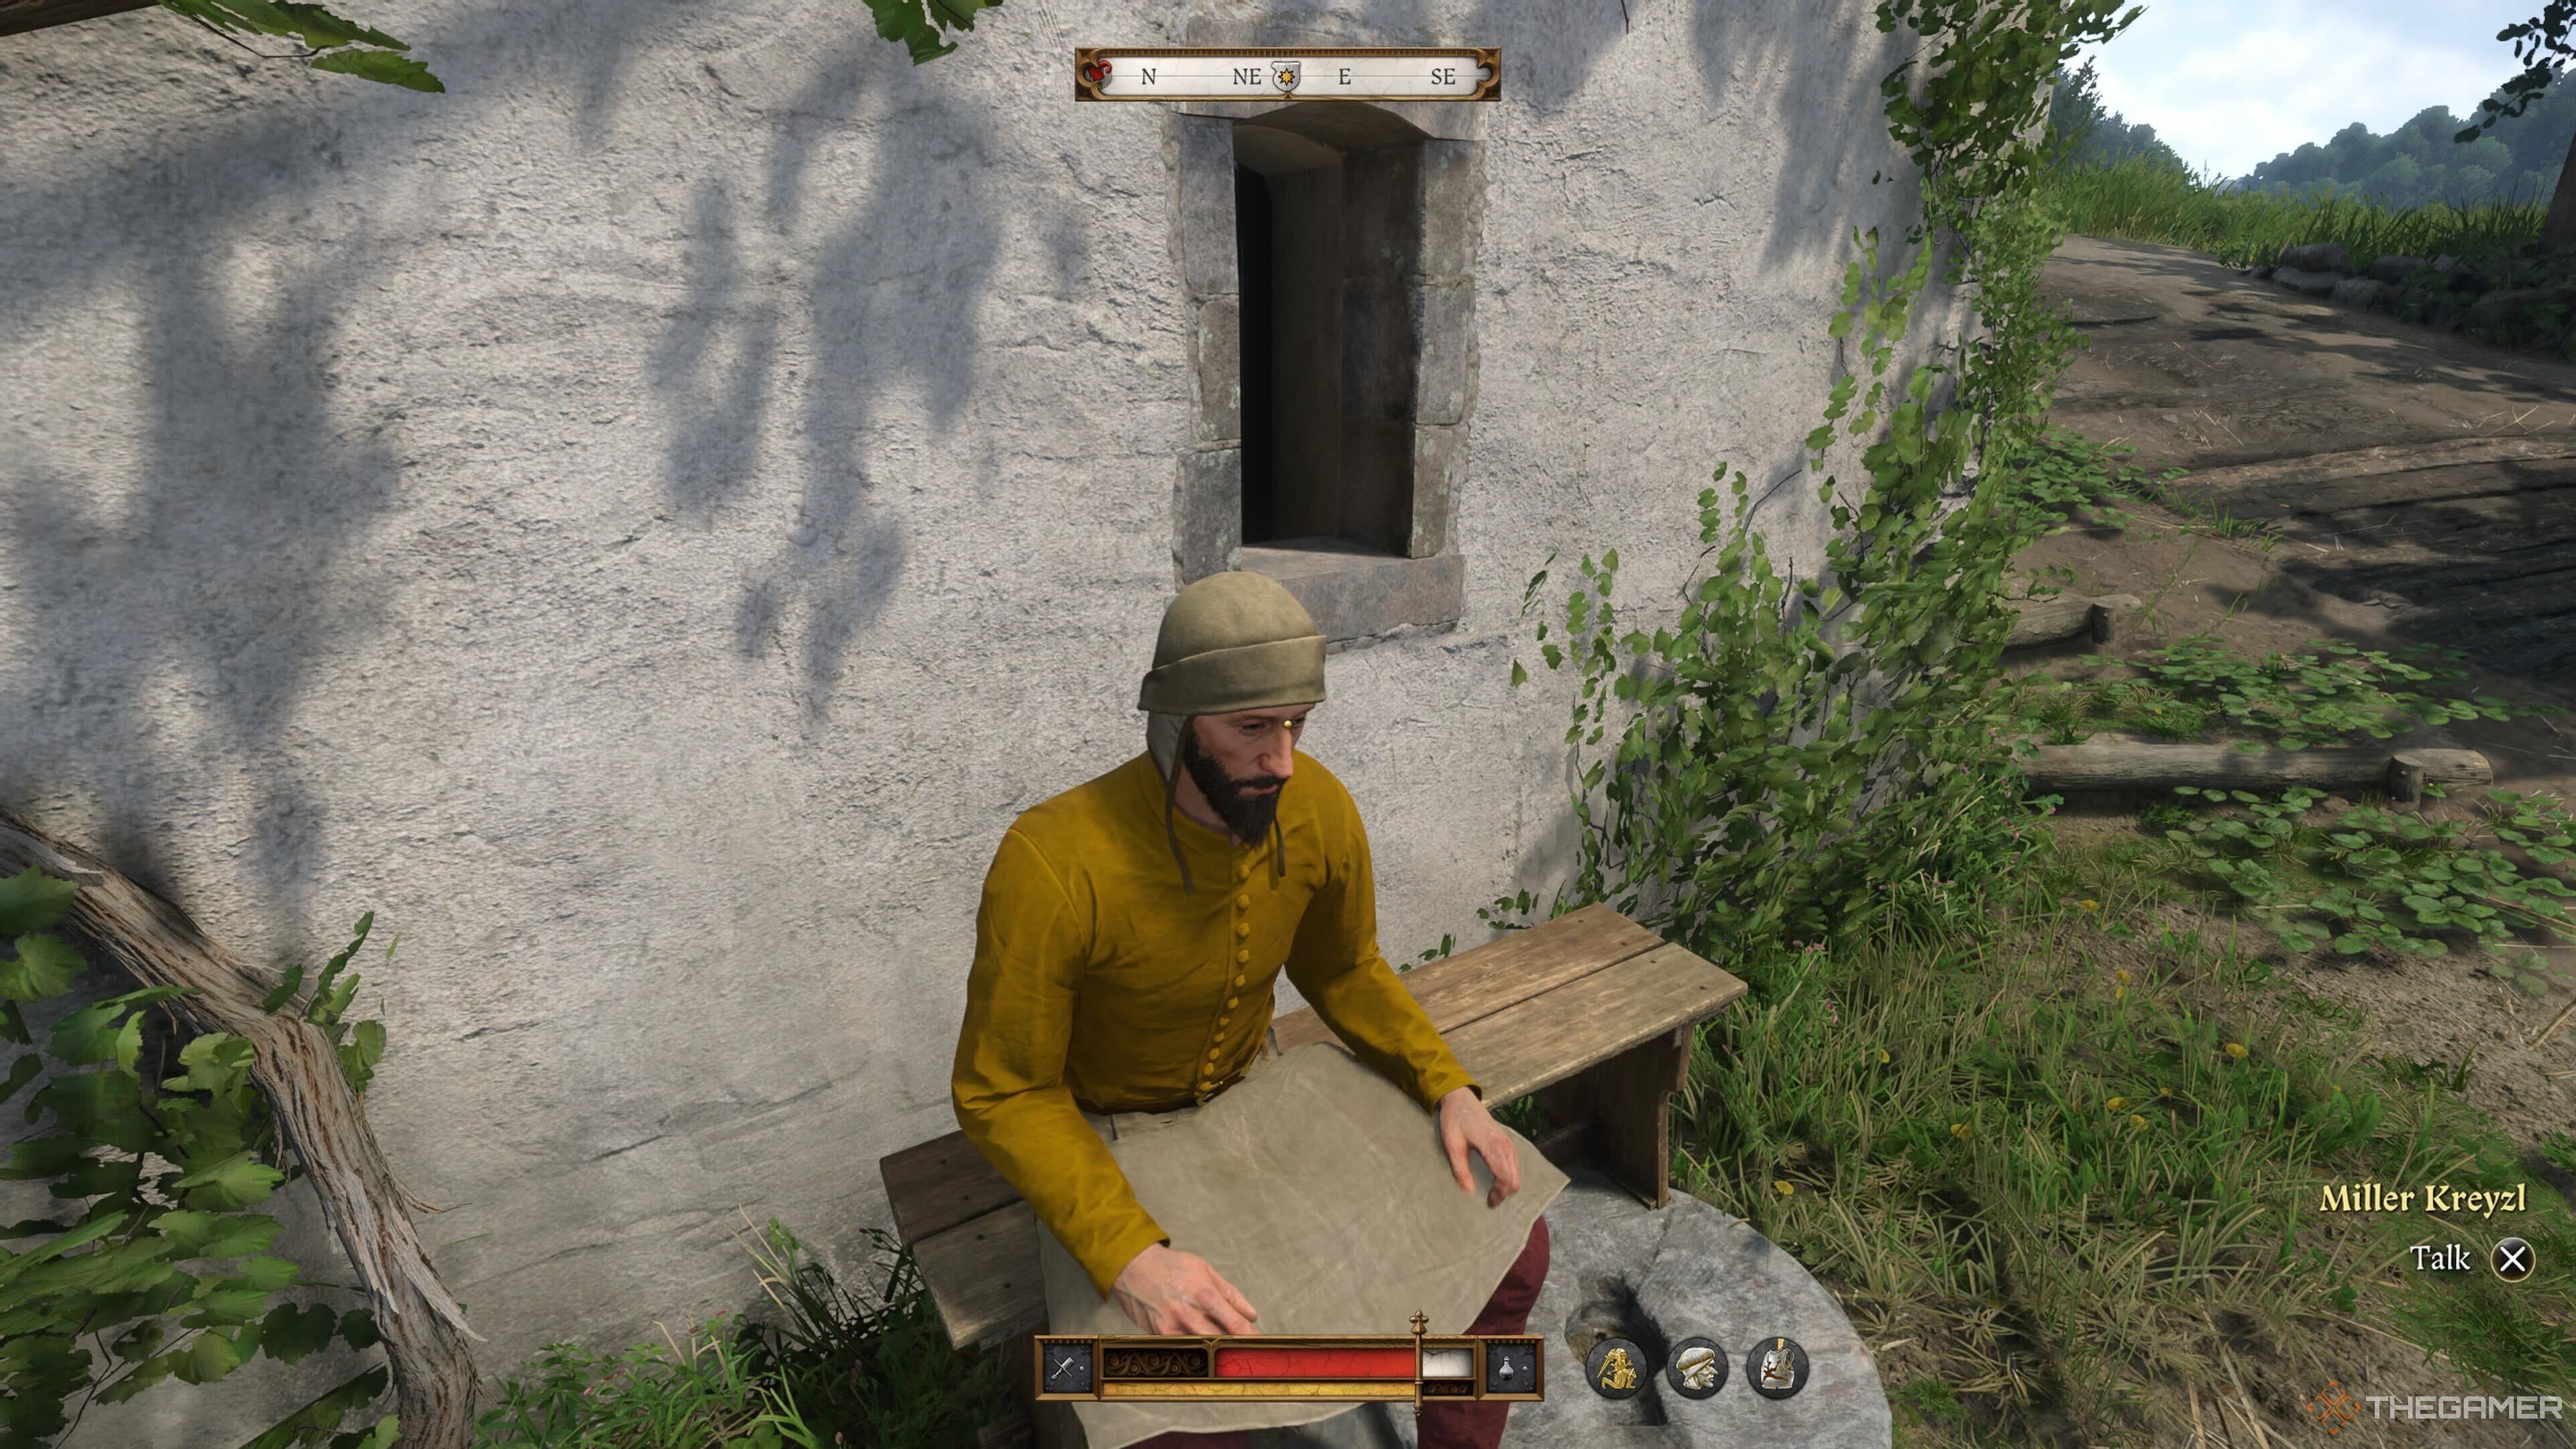
Should you choose to pursue the Miller Kreyzl instead of Blacksmith Radovan, then this makes for a solid early-game quest. It teaches you a few in-game mechanics that are pretty important, including lockpicking, pickpocketing, silent takedowns, and unarmed melee combat.
Hence it’s best to complete this quest early on in the game. After this one is complete, the next step in Kreyzl’s questline begins, also ending up in you securing an invite for the Wedding Crashers quest.
6
Combat Training 1 And 2
Area – Nomad Camp
You’re rather weak during armed combat in the first few hours of the game, and the combat system can feel a little overwhelming and difficult if you haven’t played the first game.
Related
Kingdom Come: Deliverance 2 Vs. Red Dead Redemption 2 – Which Game Is Better?
Both Kingdom Come: Deliverance 2 and Red Dead Redemption 2 offer historical sandboxes, but which is better?
Thankfully, Tomcat in the Nomad’s Camp is there to help you out. You can spar endlessly with him and learn the game’s combat mechanics and how combos work, and the second part of this quest teaches you the Master Strike, which is one of the most important counters in the game. It’s highly recommended to finish these two side quests as early as possible if you’re having a tough time with combat.
5
Miri Fajta
Area – Nomad Camp
In the same Nomad Camp as Tomcat, you’ll come across the Voivode and his family. The Voivode is the leader of the camp, and he informs you that his daughter Marika has run away from the camp and you’re tasked with bringing her back.
You come across various NPCs and locations in this rather elaborate and lengthy side quest, and this is one of the best examples of the game’s excellent side quest writing and design. The game also gives you a few different ways to solve this quest, which is welcome.
4
Invaders
Area – Nomad Camp
The Invaders side quest can be acquired from the innkeeper Betty in Troskowitz, who tells you about some Cumans that are causing trouble and asks you to deal with them. The Cumans have set up camp just downhill from the Nomad’s camp, and you can head there and talk to their leader Vasko.
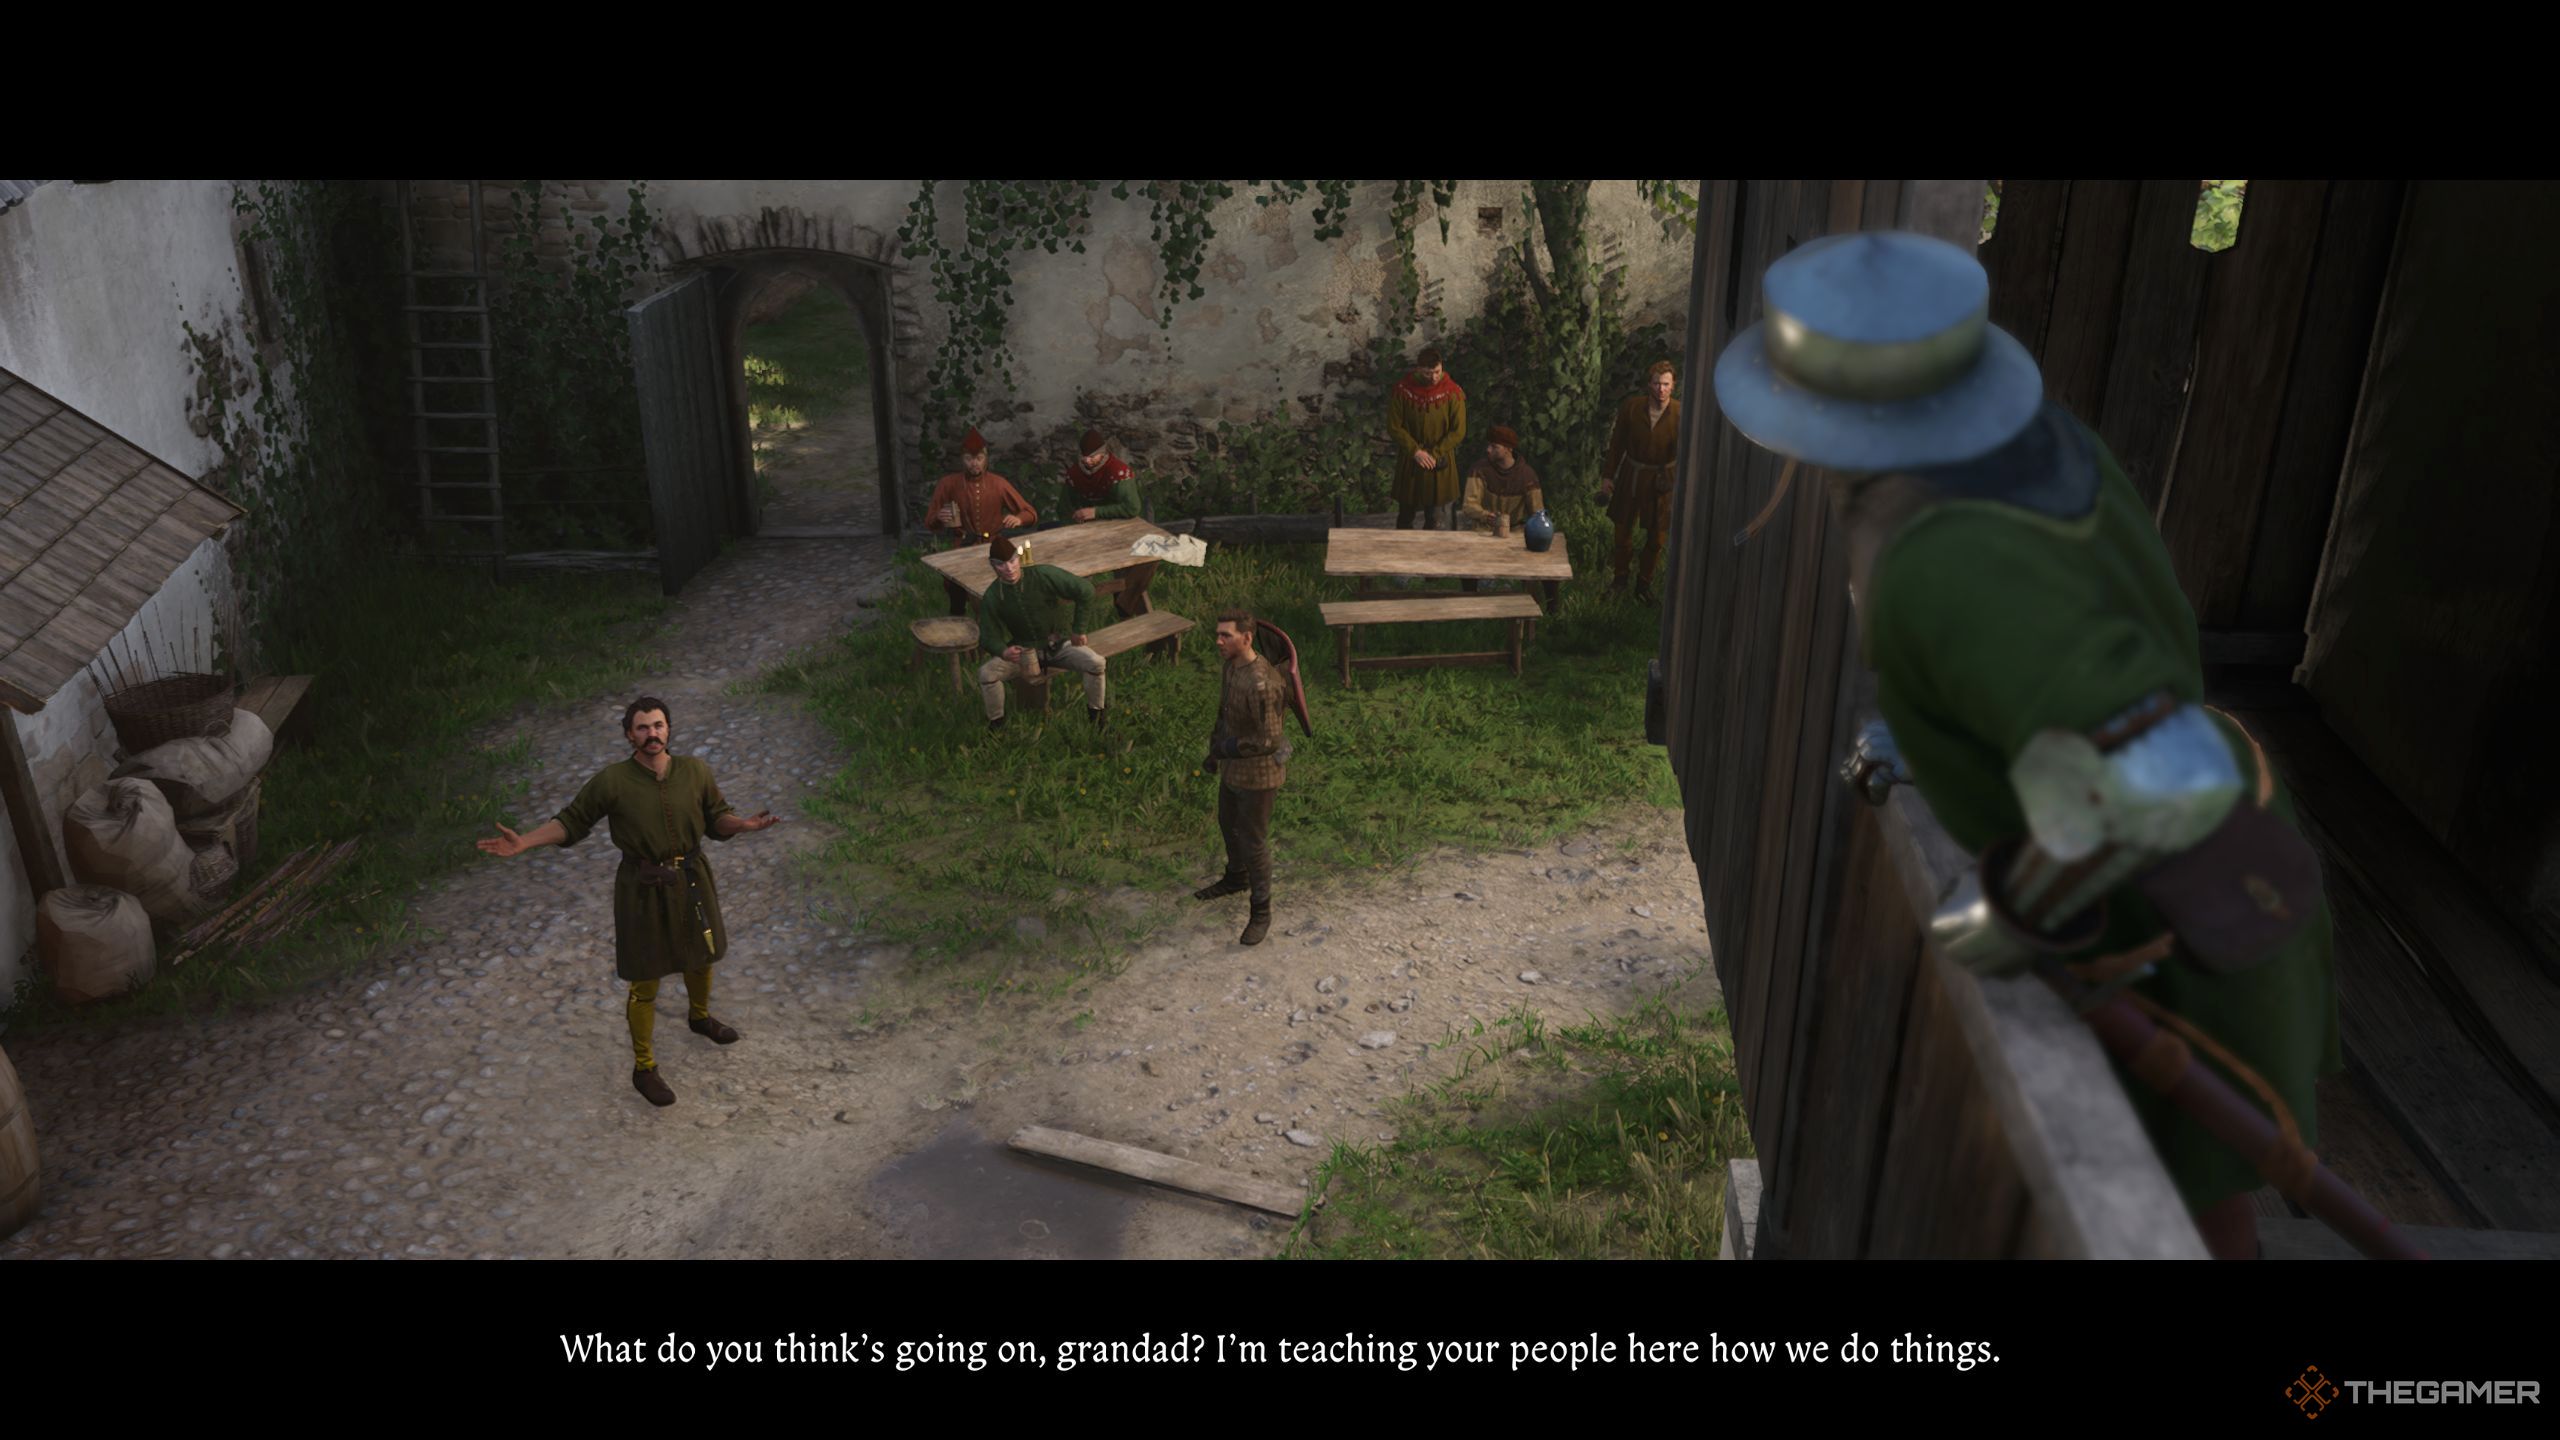
Vasko is one of the most interesting side characters you’ll meet in the early sections of the game, and Henry’s relation to him is complex and interesting as he was present at the invasion of Skalitz. Throughout the quest, the game gives you plenty of dialogue options ranging from hostility to friendliness towards Vasko, and completing the side quest in a passive manner leads to some great character development for both characters.
3
The Jaunt
Area – Semine
This quest is offered by Blacksmith Radovan, after you’ve completed The Blacksmith’s Son. He tells you about a cart full of supplies for the upcoming wedding that hasn’t reached its destination and asks you to investigate.
Related
Kingdom Come: Deliverance Vs. Kingdom Come: Deliverance 2 – Which Game Is Better?
Both of the Kingdom Come: Deliverance games are great, but which is better and by how much?
After reaching Semine, you meet Captain Gnarly and Lord Semine who are both interesting characters, and you accompany them to find the missing cart. This is another excellent, character-driven quest that ends up being a great adventure while also expanding on the game’s lore and characters.
2
Bad Blood
Area – Troskowitz
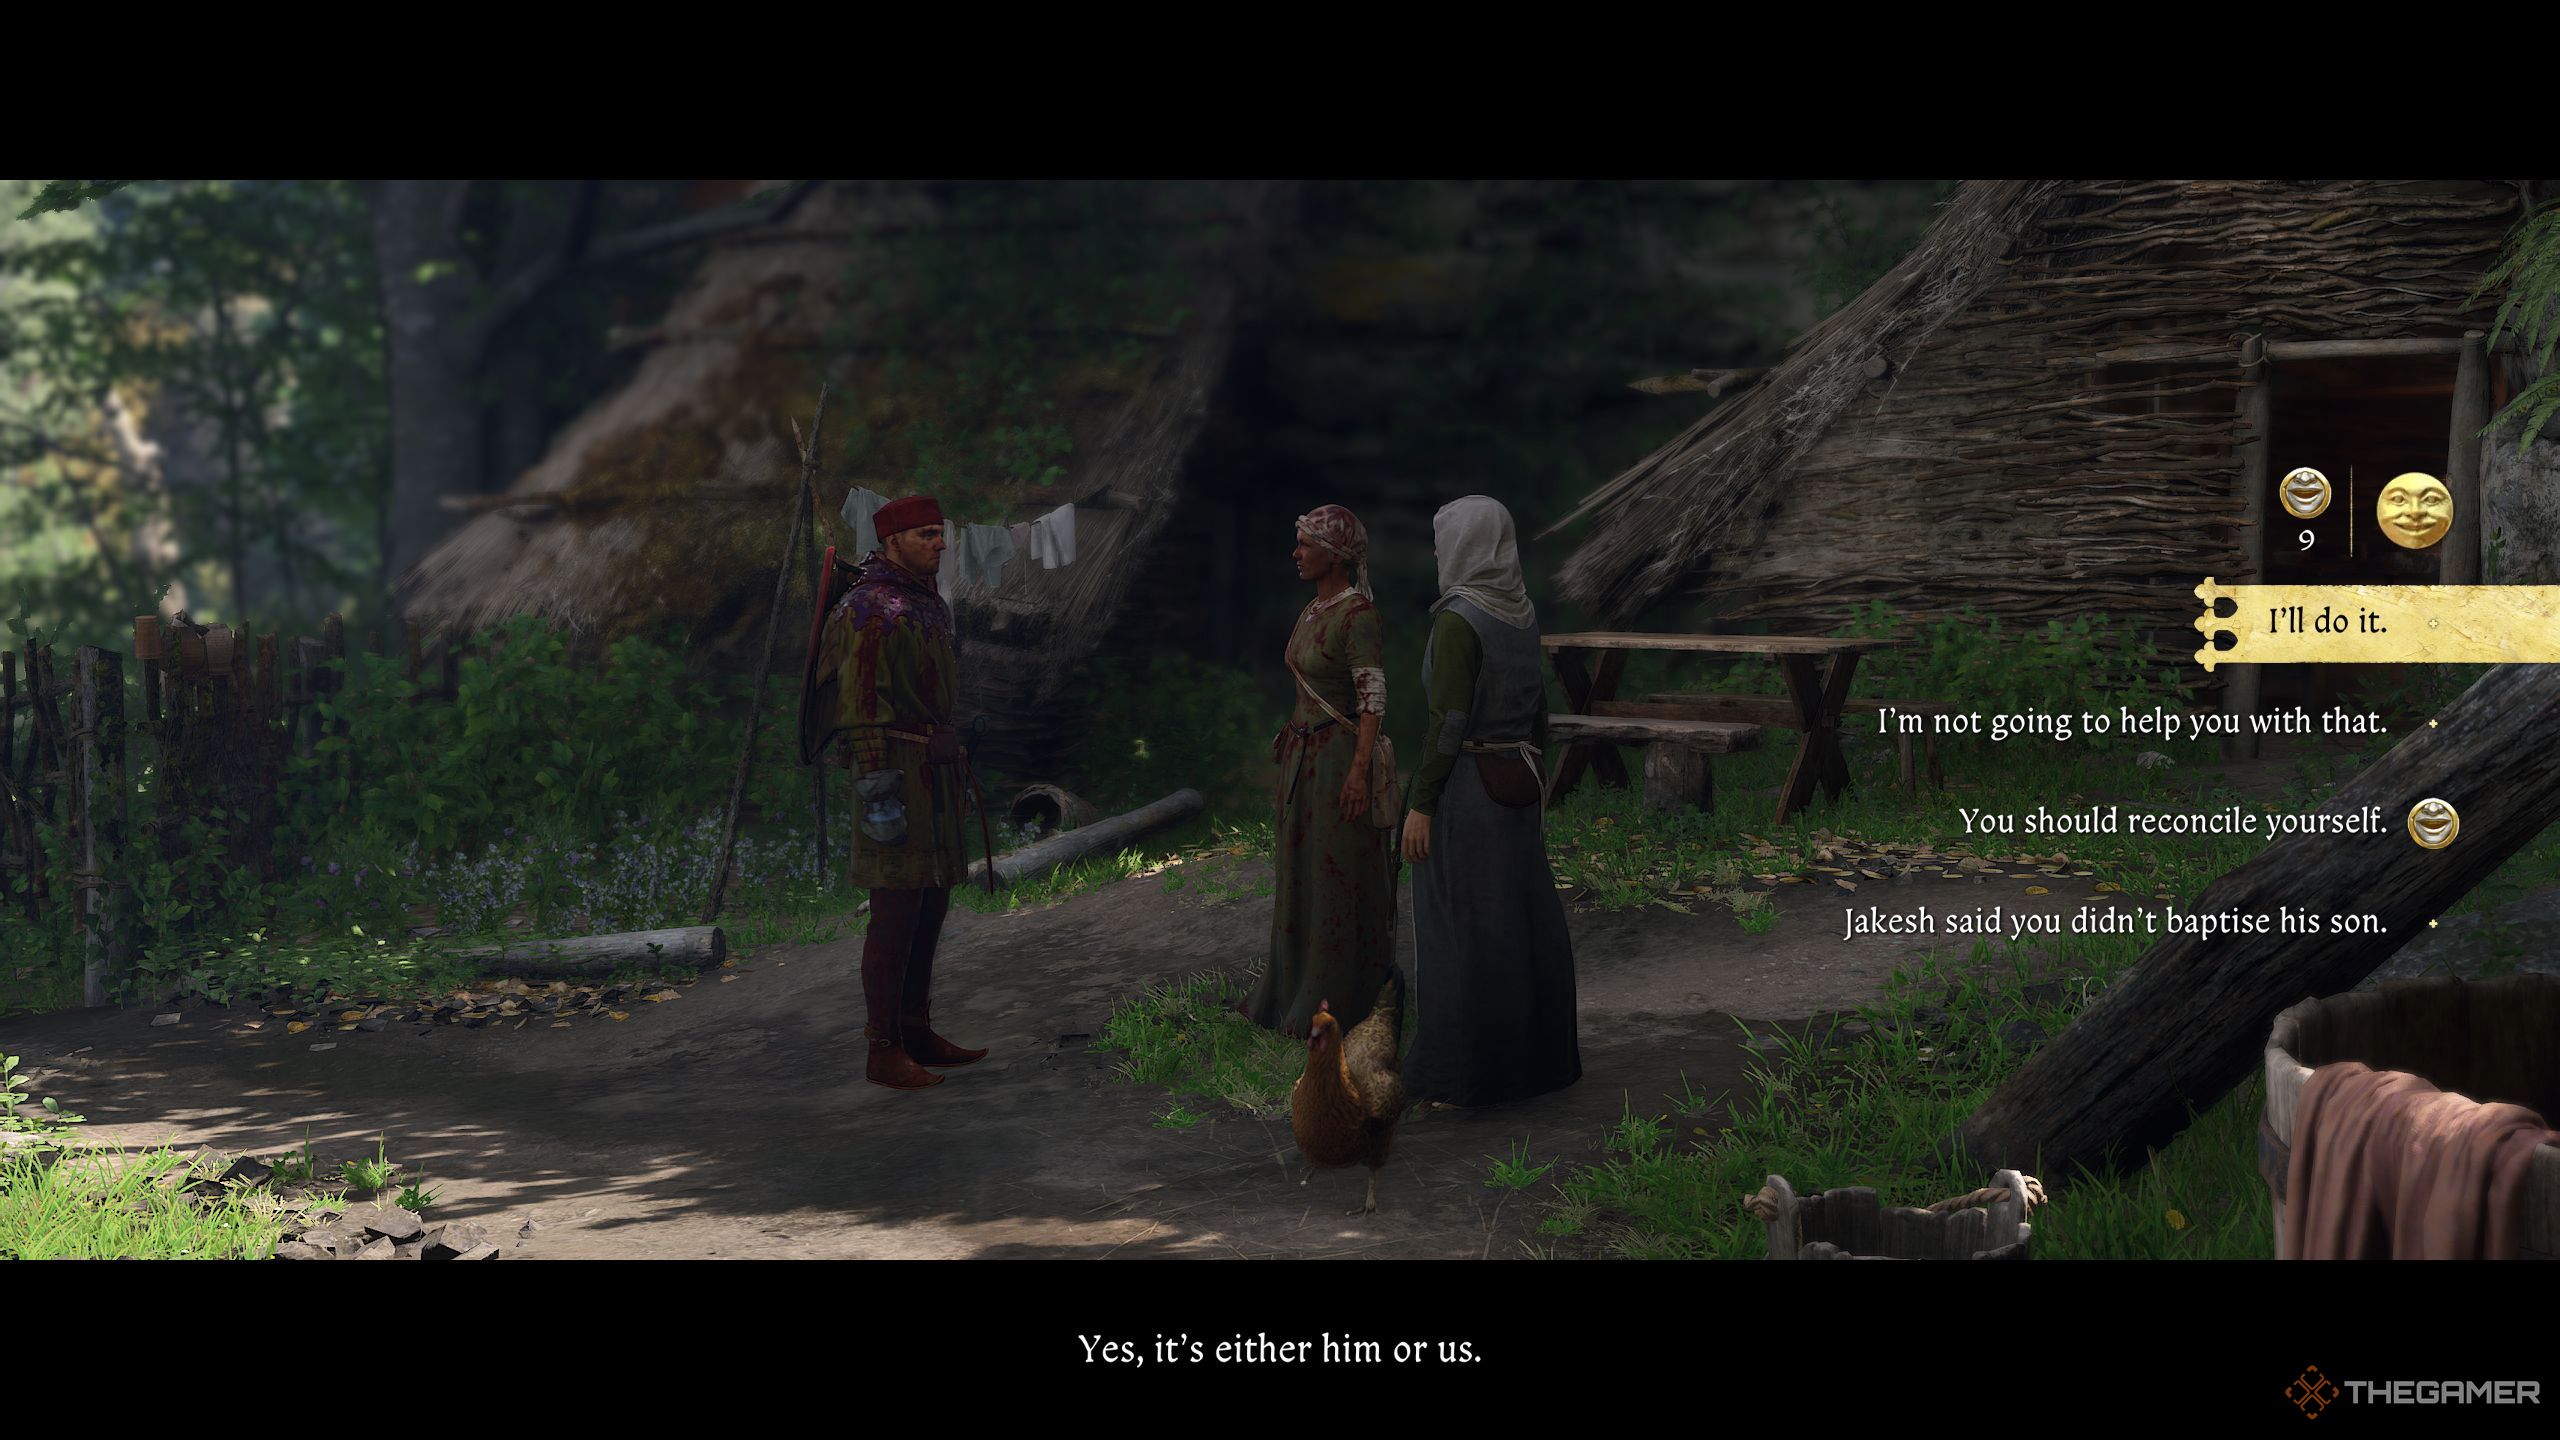
The Bad Blood quest drastically expands on Bozhena and Pavelan, the mother and daughter duo that you meet as part of the game’s main questline in the first few hours. They save your life and Hans’, and you can come back to them later on to initiate this quest.
This quest gives you plenty of roleplaying opportunities and lets you decide the fate of various NPCs, on top of greatly developing both Pavlena’s and the town of Troskowitz and its various inhabitants.
1
Mutt
Area – All Over Trosky
After the prologue of the game is over, you are separated from your trusty dog, named Mutt. You can set out on a lengthy journey to find and get him back, and this quest involves checking out various locations and helping a lot of NPCs, all of which tell you more about Mutt’s last known locations.
It’s recommended to get Mutt as soon as possible since he’s extremely useful in combat, distracting and attacking enemies which gives you an opening to land a strike on them. He’s also great at dealing with the notorious wolves, and he makes the otherwise difficult combat much better in the first few hours of the game.







Leave a Reply