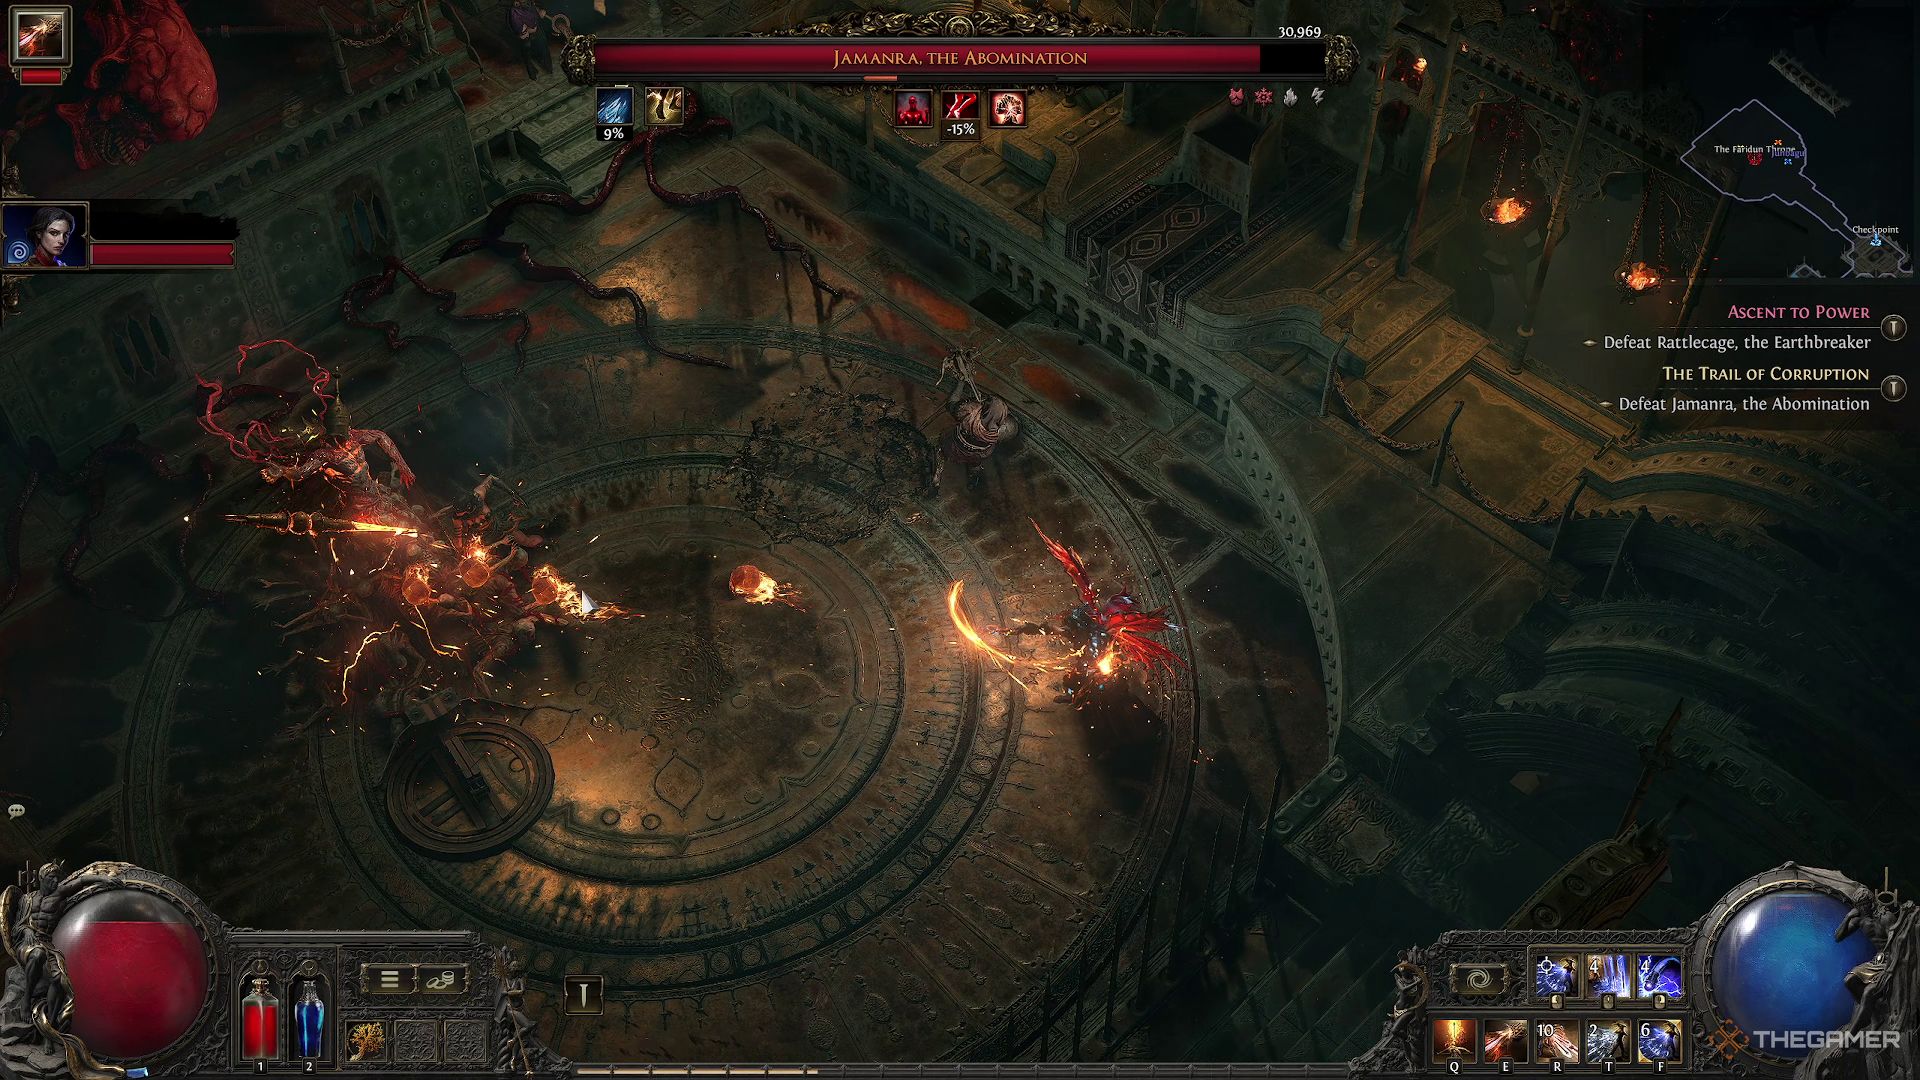
Jamanra, the Abomination is the final boss of Act 2 of Path of Exile 2. After chasing the Risen King through the desert and overcoming numerous other monsters, you’ll finally reach the end of the massive caravan, the Dreadnought, where Jamanra awaits.
Related
Path Of Exile 2: Tor Gul, The Defiler Boss Guide
Here’s how to beat Tor Gul, the Defiler in Act 2 of Path of Exile 2.
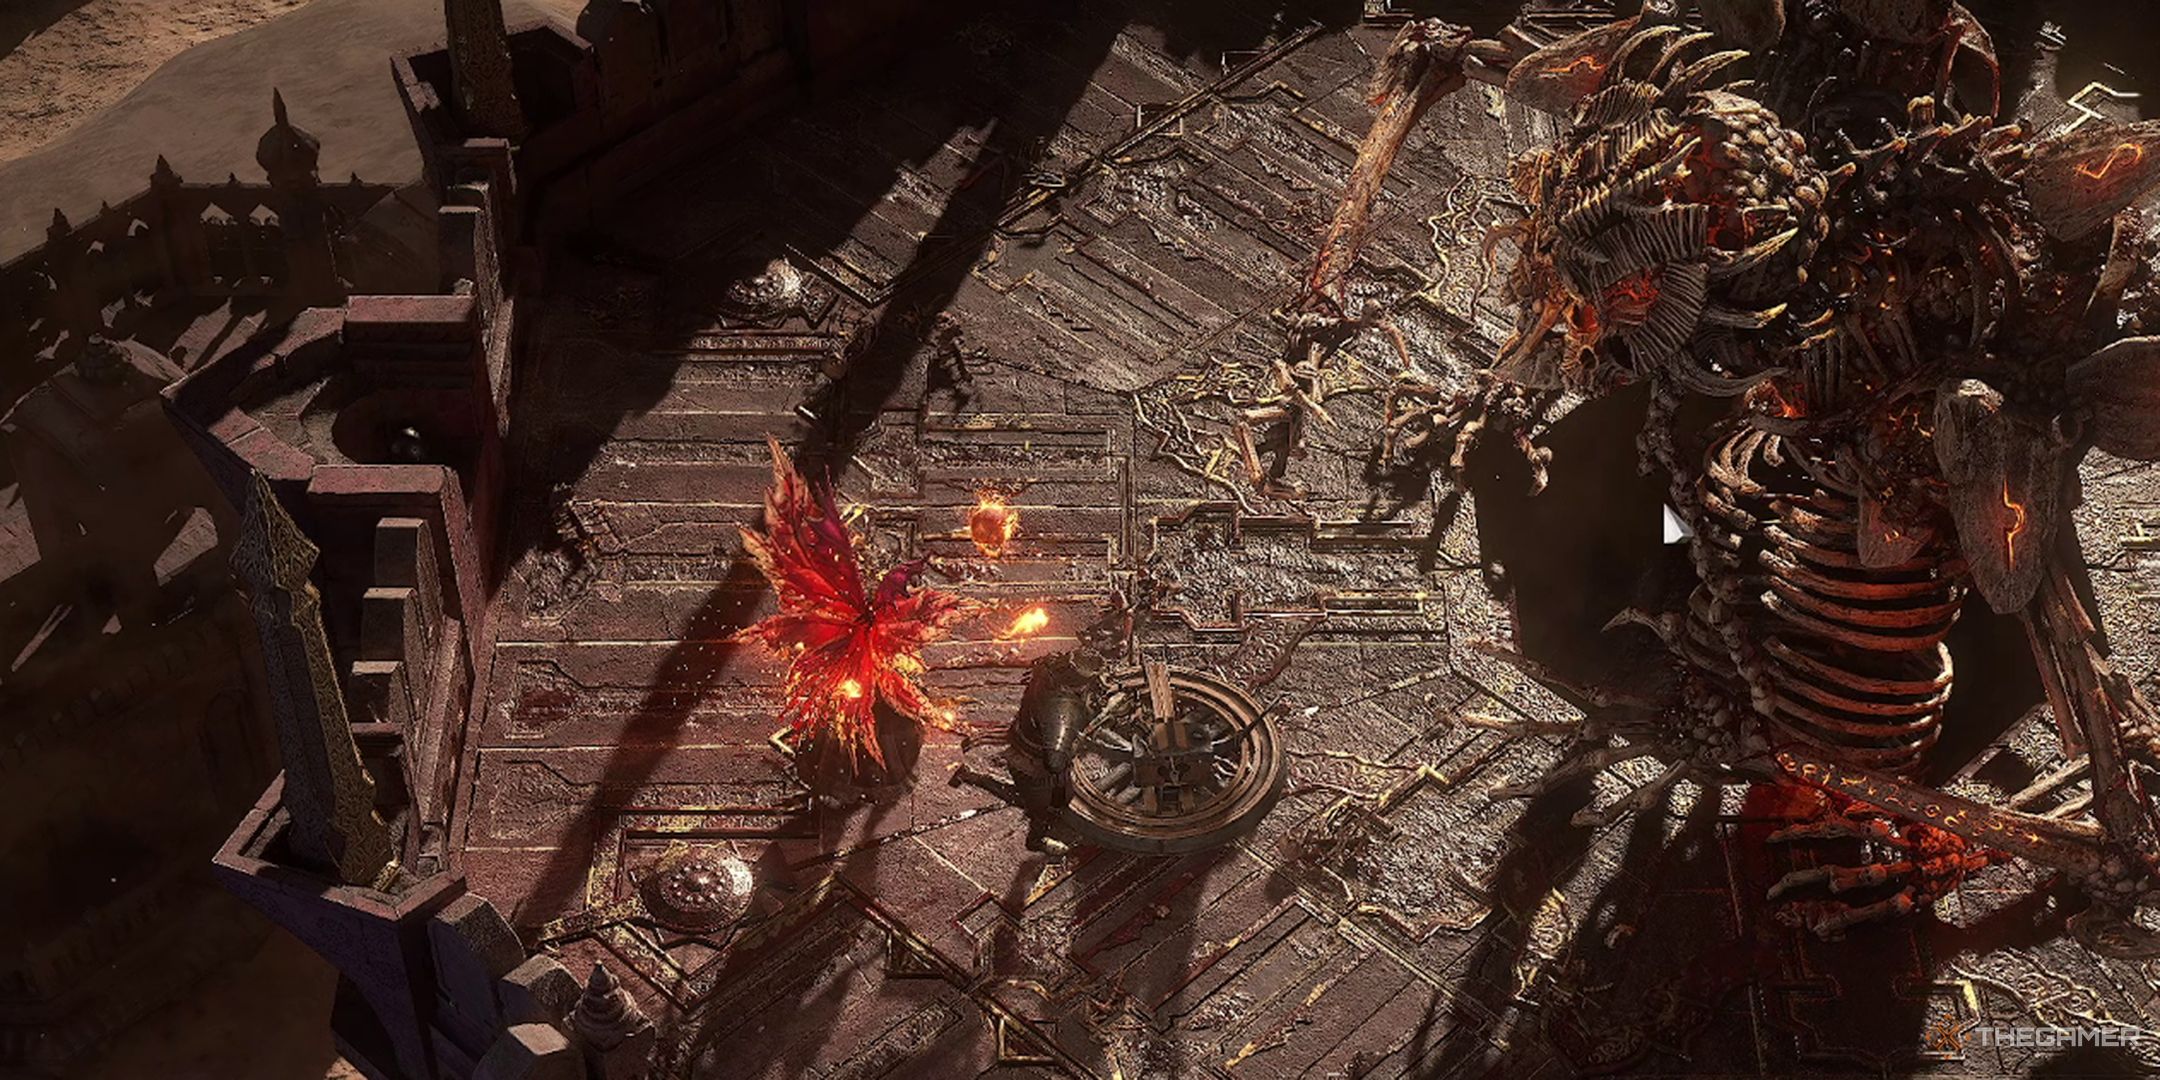
After having previously defeated him once before, Jamanra will take on a new form for this fight. However, don’t get comfortable just because you’ve fought him before; this fight is nothing like the first. Below, we’ll take a look at everything you need to know about this fight, including how to deal with each of Jamanra, the Abomination’s attacks.
Where To Find Jamanra, The Abomination
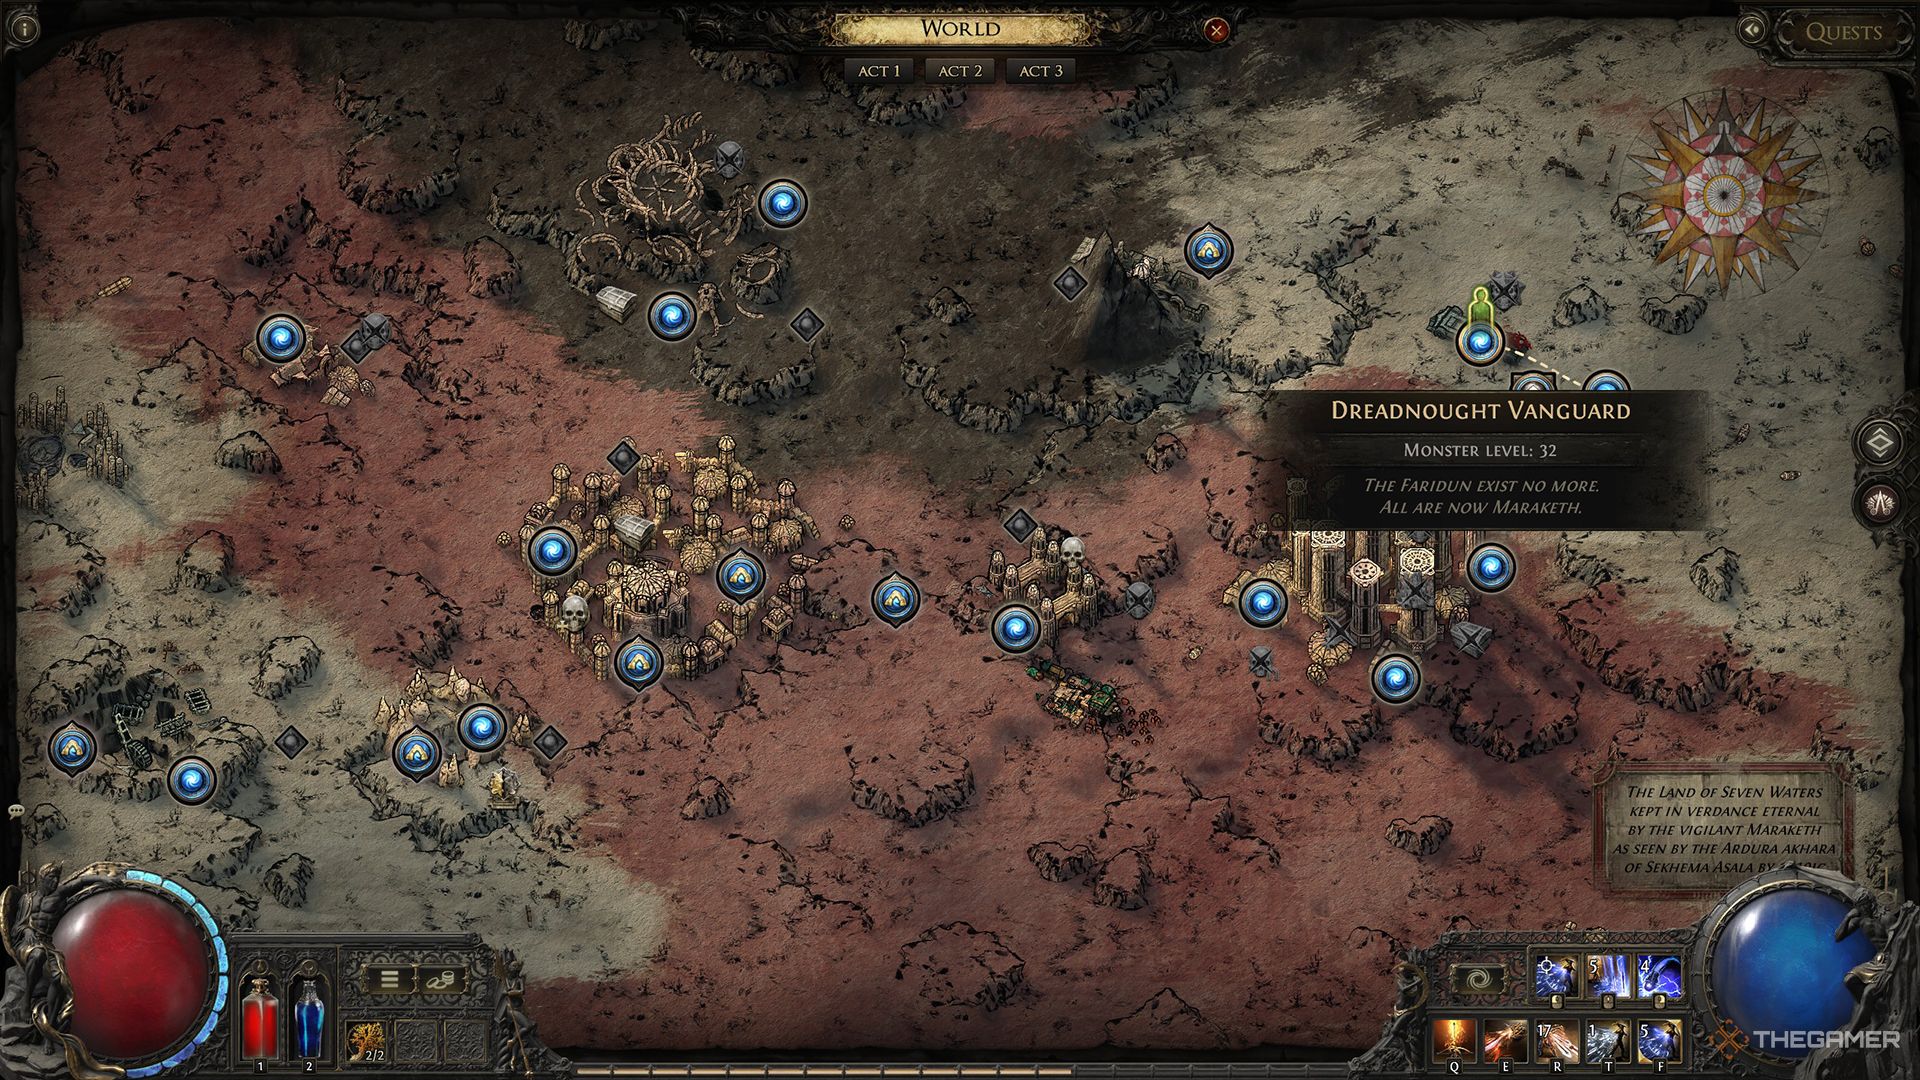
Jamanra, the Abomination is found at the end the Dreadnought Vanguard, which is located after the Dreadnought map. After fighting your way through these two large areas, you’ll reach the Saddle of the Dreadnought, where Jamanra awaits.
This boss is part of the main Trail of Corruption quest, so you can’t miss it.
How To Defeat Jamanra, The Abomination
There are two distinct phases to this fight. Jamanra will use different attacks in each phase, and you can find details on both below.
Phase 1
Here are each of the attacks he will use during the first phase.
|
Attack |
Description |
Notes |
|---|---|---|
|
Spear Throw |
Jamanra will throw a spear of lightning at his target. |
Watch the lightning spear and dodge at the last second to avoid taking damage. Jamanra will use this attack repeatedly throughout the fight, so keep an eye out. |
|
Thunder Spires |
Jamanra will float two of his spears toward you, which will then create an explosion on the ground, causing high damage in the area. |
When you see the spears begin to float over, move far away to avoid getting hit. The area of this attack is deceptively big, so give yourself more space than you think you need. |
|
Spire Chain |
Jamanra will float his spears in a direction, which will then chain lightning to each other before sending off an additional chain of lightning. |
Similar to Thunder Spires, get clear of the spears when they start moving. |
|
Spire Rails |
Jamanra’s spears will move around the inner and outer circles in the center of the arena, unleashing a continuous chain of lightning between the two. |
One spear will move clockwise around the inner circle, while the other will move counterclockwise around the outer circle, all while lightning constantly chains between them. Do your best to stay outside of the range of both spears. |
|
Lightning Wave |
Jamanra will send out a wave of lightning from both hands, moving them to his sides in a sweeping motion. |
This attack will begin at the front of the boss; try to quickly move behind Jamanra to avoid the attack. |
|
Sandstorm/King’s Attendants |
A sandstorm will begin blowing from one side of the arena while King’s Attendant enemies continuously appear. |
Asala will create a barrier to protect you from the sand. Stay behind the barrier as you kill all of the adds that appear. |
|
Tracking Spires |
Jamanra’s spears will fly around at random intervals, moving toward you while chaining lightning between the two when they are close to each other. |
Stay on the move during this attack, as stopping for even a second will guarantee you get hit. This attack can be difficult to avoid even if you’re constantly dodging, so keep a flask charge ready. |
During this phase, Jamanra mainly attacks using his lightning spears. The animations for a few of his attacks can look the same at the start, but in most cases, the method for survival is to get as far from them as you can, no matter which attack Jamanra is using.
Don’t skimp on using your potions throughout this phase. Once the fight transitions to phase two, all of your potion charges will be refilled, giving you a clean slate.
Jamanra will repeat the attacks detailed above until he reaches around 65 percent health remaining, at which point he will become untargetable and destroy the arena, transitioning the fight into phase two.
Phase 2
Phase two takes place in a slightly larger arena, where he will use an entirely new set of attacks.
|
Attack |
Description |
Notes |
|---|---|---|
|
Tornado |
Jamanra will summon a tornado that moves around the arena, dealing damage in its path. |
Jamanra can create two to three of these at a time, so keep an eye on them as they move to avoid taking unnecessary damage. |
|
Lightning Sword |
Jamanra will conjure a sword above his head before infusing it with lightning, then slam it on the ground in front of him, dealing high damage. |
Jamanra will track your movement slightly before slamming the sword down, so wait for the last moment to safely dodge. |
|
Spear Sweep |
Jamanra will conjure a spear before sweeping it in a wide arc to his front. |
Get behind or away from Jamanra when the spear comes out to avoid getting hit. |
|
Spear Throw |
Jamanra will throw a spear of lightning at you that explodes on impact. |
This attack is an improved version of the one from the first phase. It will now explode where it lands, dealing damage in a larger area. Avoid it in the same way—by dodging at the last second. |
|
Lightning Rocks |
Black rocks will appear around the arena that chain lightning between each other. |
Unlike the spires from the first phase, these rocks do not move, so simply avoid walking through the chain lightning. These persist on the arena for a long time, and Jamanra can summon multiple at a time. |
|
Spear Barrage |
Jamanra will summon several spears above his head before rapidly firing them toward you. |
These spears can be avoided by dodging and then running when the first is fired. |
|
Lightning Surge |
Several small black rocks will appear around the arena that will periodically be struck by lightning, dealing damage in the area. |
Stay away from these small rocks while they are on the arena. |
|
Lightning Orbs |
Lightning will strike several parts of the arena, creating orbs of lightning that move in a straight line. |
Watch the trajectory of the lightning orbs and move to a gap between two of them to avoid taking damage. |
|
Spear Gate |
A portal will appear at the edge of the arena that will continuously launch projectiles in a straight line. |
Jamanra can create multiple of these gates at a time. They will greatly reduce your moveable area, so be extra careful. Sometimes, there may be enough space behind the portal to move to the other side of it if you’re careful. |
This phase can get very hectic, with projectiles flying all over the screen. Luckily, each individual projectile is relatively harmless, and are mainly there to distract you from Jamanra’s sword smash attack, which will chunk your health in an instant if you don’t dodge it.
Keep the projectiles in your peripheral, but focus most of your attention on what Jamanra is doing. That said, you definitely don’t want to linger in the spear portals or black rock lightning strike zones more than absolutely necessary.
As you can imagine, Jamanra deals a lot of lightning damage, so pumping this resistance as high as you can get it will greatly improve your survivability. Topaz Charms and rings with lightning resistance will be the most accessible options currently, but any piece of armor that you can get this stat on will be welcome.
Jamanra will repeat the attacks detailed above until you defeat him. Once Asala cuts off his head, the fight will be over.
Next
Path Of Exile 2: Act 3 Mushroom Quest Walkthrough
Finding some colourful mushrooms in PoE 2? Here’s what to do with them.



Leave a Reply