As you explore the mysterious island you and your friends land on in Hello Kitty Island Adventure, you’ll quickly come across equally mysterious ruins scattered around. First, you had to solve the ones near the Resort to find enough Yellow Power Crystals, and now there’s another set of them for you to delve into.

Related
Hello Kitty Island Adventure: Mermaid Outfit Location Guide
During the quest Comic Relief in Hello Kitty Island Adventure, you’ll need to find the Mermaid Outfit. Here’s how to find all three pieces of the set.
Not all of them are required, but they often hold treasure for you to find if you can brave their challenges: materials, quest items, or even furniture. As long as you don’t mind facing up against a haunted mansion and an ornery guard to get access to them, you’ve got nothing to be afraid of.
How To Unlock The Spooky Swamp Puzzle Rooms

Unlike the Puzzle Rooms at the Resort, this time, you’ll need to have completed some quests instead of having companions help you unlock the doors.
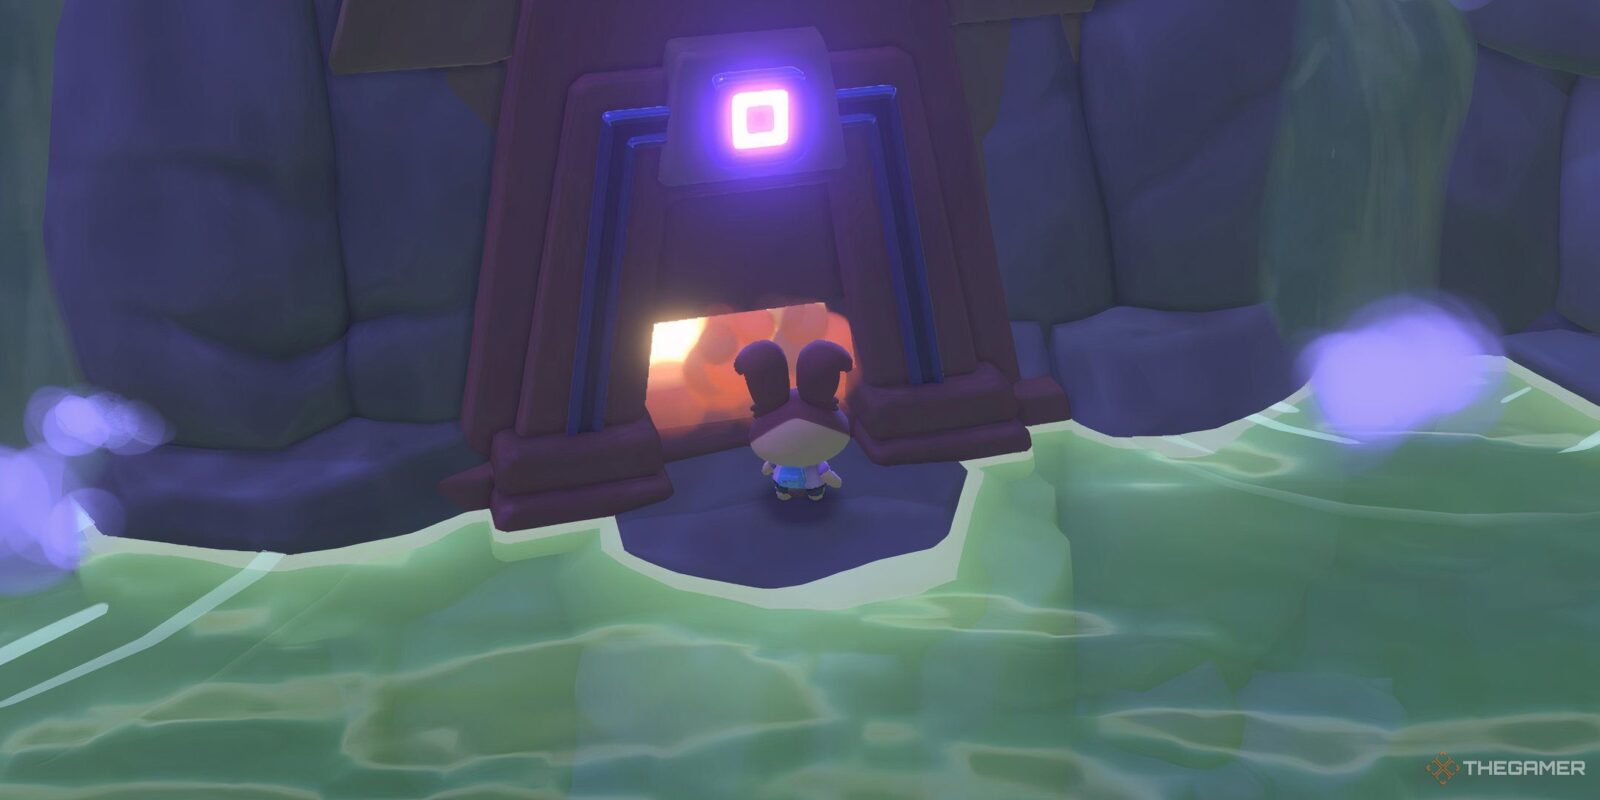
First, you’ll have to complete the main story mission, Power Up The Gate, so that you get access to Spooky Swamp, and then you’ll need to do Re-Haunt The Swamp, given to you once you reach friendship level four with Kuromi.
During that quest, you’ll journey around Spooky Swamp with Kuromi, collecting all three Green Power Crystals scattered around and putting them back in their place. Once all three are in their spots, all the Puzzle Rooms will be unlocked, and you can complete them whenever you want.
Thermal Throwdown Puzzle Room Solution

This room is one of the easiest to access, and it’s located along the shore on the southeastern side of Spooky Swamp. As soon as you’re inside, grab the first Yellow Block and set it on the Circle Pressure Plate by the entrance.
Glide across to the other side of the gap, activate the Wind Block, and use it to float up and glide over to the second Yellow Block on the platform.
Bring the second Yellow Block down to the second Circle Pressure Plate on the bottom floor, then go back up and glide over to the now-open Circle Door. Grab the second Wind Block from the room and bring it to the Clover Pressure Plate closest to the gap.

Move the other two Yellow Blocks around, placing one on the Clover Pressure Plate by the entrance and the other on the Clover Pressure Plate on the bottom floor. Activate the Wind Block at the entrance, fly up to the floating bridge, then glide from it to the now-open Clover Door to grab the chest inside and get your reward of five Sticks.
Tricky Triangulation Puzzle Room Solution

This Puzzle Room is located at the top of the tall hill on the northeastern side of Spooky Swamp, just up from the graveyard where Kuromi tends to hang out.
Bring the first Yellow Block down to the Heart Pressure Plate and use it to raise all the stairs. Go up the stairs and bring the second Yellow Block down to the Triangle Pressure Plate near the entrance. Grab the Bridge Block, set it in front of the Star Door, and then activate it to make a bridge above you.

Bring the Wind Block over, set it next to the Bridge Block, then activate it. Take the Yellow Block off the Triangle Pressure Plate and set it down outside the Triangle Door.
Jump off, go down to the bottom, and move the Yellow Block from the Heart Pressure Plate to the Triangle Pressure Plate to open the doors up again, then ride the Wind Block up to the bridge. Go through the open doors, grab the Yellow Block outside, and bring it over to the Star Pressure Plate. Go back down and go through the now-open Star door to get a chest containing three Flours as a reward.
Crumble Rumble Puzzle Room Solution
For this Puzzle Room, you’ll need to have obtained the Flippers and the Snorkel to reach it, as it’s under the water at the southern end of the area, near the path leading up to the actual swamp. Carefully jump across the first handful of blocks until you reach the safe zone in the middle. Take the crumbling path to the left, grab the Yellow Block, and then cross back to the middle once the stones are back.
Take the right path now, bring the Yellow Block to the Star Pressure Plate, and place it on it. Return to the center again, then head up the middle path to the now-open Star Door for a chest containing 15 Sticks.
Hidden Hearts Puzzle Room Solution
This Puzzle Room is located on the northwestern side of Spooky Swamp, and it’s built into the cliff next to the large waterfall south of the Ghost Tour fast-travel mailbox.
Exiting the Puzzle Room early won’t reset the board, but mistakes can be corrected manually with the buttons.
In the first part of this puzzle, you’ll need to use the buttons on the bottom and right sides of the board to make every symbol a heart. Use the bottom row of buttons to move the Heart symbols down to the bottom row closest to it, then go to the buttons on the right side.
Avoid adjusting the completed row of hearts, and press the upper three right buttons until each of the rows is full of hearts to open the door at the top of the stairs. Go through the now-open Heart Door and get your reward of three Flours from the chest.
Bottomless Bouldering Puzzle Room Solution

The final Puzzle Room is located slightly northwest of the graveyard in the middle of the lake, near the middle of Spooky Swamp.
Inside, jump across the first three Falling Boulder Tiles and quickly climb up the Climbing Wall on the side of the next section of the room before you fall into the bottomless pit.
Go up the stairs and around to the edge of the one-block-wide bridge. Let the camera angle change, then jump to your full height and glide over to the other side of the room. Approach the edge of the next Climbing Wall section, lower yourself onto it, and then climb to the next section.
Run to the edge of the Falling Boulder Tile, jump, and glide over the gap before it drops. Climb up the single Climbing Wall, then go around to the next portion of Climbing Walls, and use them to get to the next safe zone.

Stick to the top of the Climbing Wall Tiles when going around the corner to avoid potentially falling off into the bottomless pit.
Run over the next Falling Boulder Tiles and grab onto the Climbing Walls before you fall, go around to the next part, and then up the stairs to one more Climbing Wall section up top.
Carefully wrap around the tower, then once you’re at the top, jump and glide across to where the stairs are. Open the chest, and you’ll get the Spooky Lounge Sofa as a reward.

Next
Hello Kitty Island Adventure: How To Get Strawberry Crates
Strawberry Crates are little pink boxes that can help you repair cabins in Hello Kitty Island Adventure. Here, you can learn how to get more.