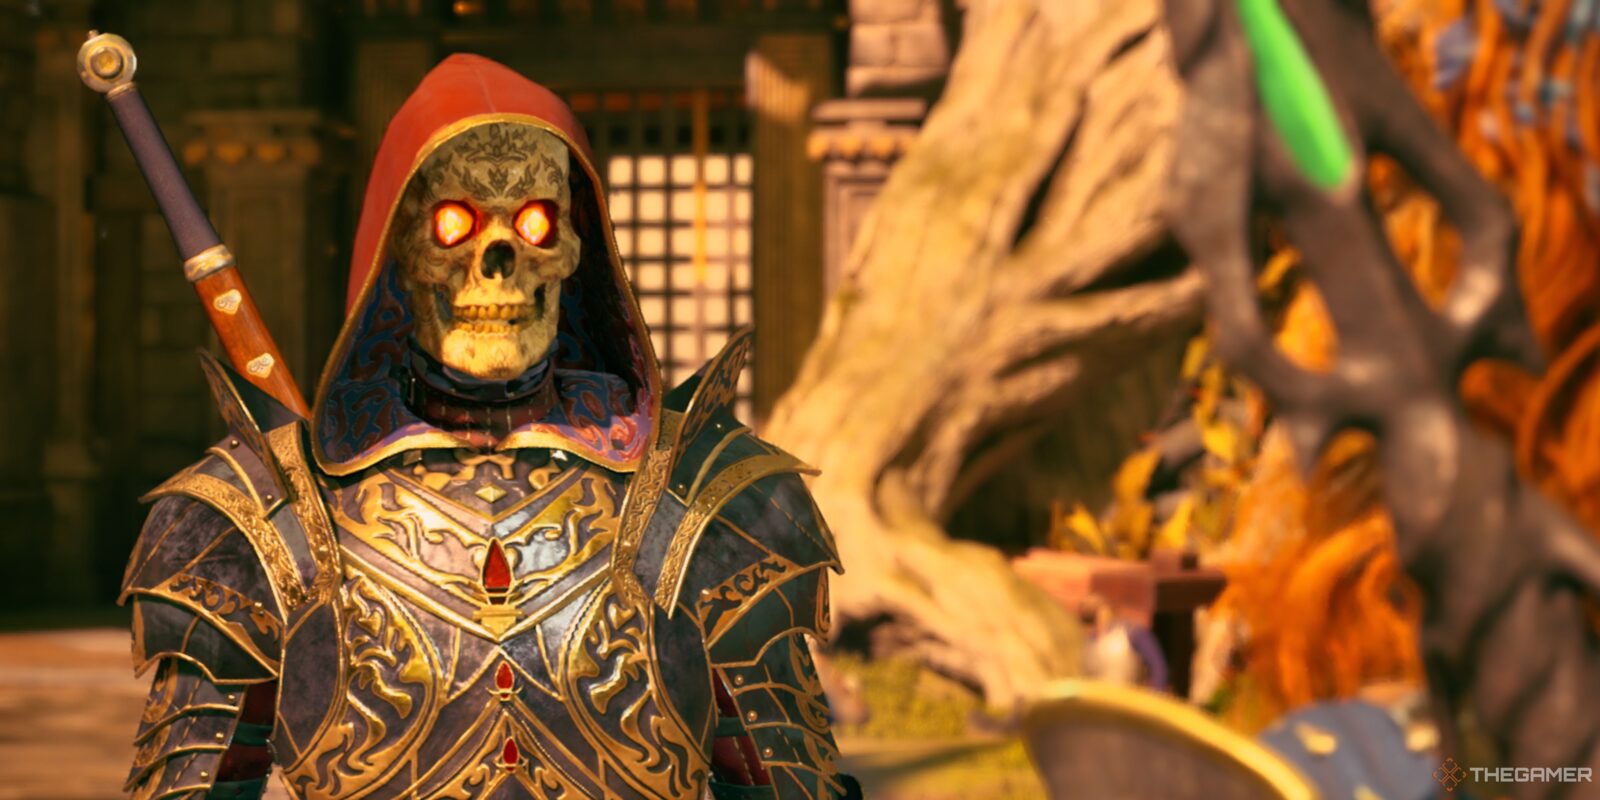
Your journey across the Living Lands in Avowed leads you to a final showdown against Lodwyn. She is stronger than the first time your fought her in Galawain’s Tusks, and this is far more of a boss battle with specific stages, so you’ll want to be ready. Fighting Lodwyn is about adjusting to how she reacts, meaning changing for each phase.

Related
Avowed’s Priest Are My New Least Favourite RPG Enemy
I’d rather say ten Hail Marys than fight another one of these.
There are three distinct phases to Lodwyn, but they all stay in the open arena where you meet her, meaning there are few distractions besides the one Lodwyn brings with her. You’ll want spells, healing, and both melee and ranged attacks to end her tyranny once and for all.
Lodwyn’s First Phase
The start of the battle is pretty standard. Lodwyn slashes at you with her sword, and while you can whittle her down from a distance, this is a good time to rush in close, using blocks or parries, to hit her hard. A two-handed weapon with high damage can get you through this phase quickly, which is what you’ll want. This is the easiest phase, so you don’t want to waste potions here too much.
Rush in close to Lodwyn, then dodge away as she swings her sword back. She is a slow fighter here, but very powerful, so play conservatively enough to avoid being hit. Once she drops to half health, she will fall to her knees and fully heal. She cannot be harmed during this animation, but it’s also free time for you to heal or cooldown your abilities.
When she misses, she slams her sword into the ground, leaving herself vulnerable.
Lodwyn’s Second Phase
After healing, Lodwyn approaches the battle completely differently. She now attacks from range, shooting fireballs and dropping rocks on you. Because the stream of fireballs can eviscerate you, getting close makes them impossible to dodge and is therefore a death sentence. For this phase, you should switch to ranged weapons, with an emphasis on Stun. She will use her full health bar this time, so you have more time to stack Stun and lead to major damage.
Just after she shoots her fireballs, it is possible to dodge in and melee attack while she prepares her next attack, but it’s much riskier than it was in the first phase.
She also summons Shadow Summons in battle. When these are defeated, she just summons more, meaning defeating them is not the priority. However, they can swarm you, so don’t ignore them – they can also be hit from range, but switching back to melee as they rush you is important. Therefore, a wand or pistol as your ranged weapon, to keep your offhand free, is the ideal build, but bows and arquebuses deal way more damage, so if you want to go all out for Lodwyn, those work too.
Lodwyn also takes a break from attacks to summon more, giving you a window to attack, so it is worth taking them out, but it’s not something you should focus on entirely. When Lodwyn drops to zero health, she fully heals again, and your tactics change once more.
Lodwyn’s Third Phase
This time, Lodwyn summons two Pristine Maegfolc. It seems as though she summons one initially and one after she loses a third of health, but playing this battle a few times her behaviour was a little inconsistent – sometimes she summons both at the start. While she can summon more if these are defeated, in our experience this was rare as she tends to wait a long time after their defeat to add more. Therefore, you should target them while still chipping down Lodwyn’s health.
You’ll be well versed by now, having just fought several in the garden. Dash away when they draw their arms back, keep moving when they lower their heads with the blue lasers, and freeze in place or stun from a distance before rushing with heavy melee attacks. When these are gone, go after Lodwyn aggressively, as her third phase is just her first and second phases again.
She’s back on the slow yet powerful melee attacks, so watch your stamina and hit her hard before dodging away. She will still use some spells here, dropping rocks from above, but she tends to take you on toe to toe, which is where she’s least effective. Block, parry, dodge, and swing at her until she falls to zero health. This time, she’s down for good, so just watch the cutscene play out and see where your decisions left you and your journey as Envoy.

Related
Avowed: Mapping The Living Lands Walkthrough
Sanza’s four cartographers have gone missing in Dawnshore, Emerald Stair, Shatterscarp, and Galawain’s Tusks.