Summary
- Sledge’s quick, soft wall destruction is perfect for solo sneaky plays.
- Lion’s EE-ONE-D drone helps solo players locate enemies in key moments of the game.
- Melusi’s Banshee gadget makes it easier to defend without heavy team coordination.
Though Rainbow Six Siege is designed to be a tactical team shooter, it can still be a ton of fun, even when jumping in as a solo act. With that said, because some operators in the game are designed to work in tandem with teammates, requiring callouts and some extra assistance to be used effectively, it means not every character is all that viable when hopping in solo, especially if they’re also a difficult operator to play in the first place.

Related
Rainbow Six Siege: 8 Operators Who Broke The Game
These Siege operators have been nerfed time and time again to try and rectify how absurdly overpowered they were on release.
Thankfully, Ubisoft hasn’t left solo queue players high and dry, as they’ve also ensured that several operators can be used to full effect without needing to be part of a larger team setup before entering the game. Anyone who is wondering what operators will give them the best chance at rising through the ranks in solo queue ought to give these characters a go.
8
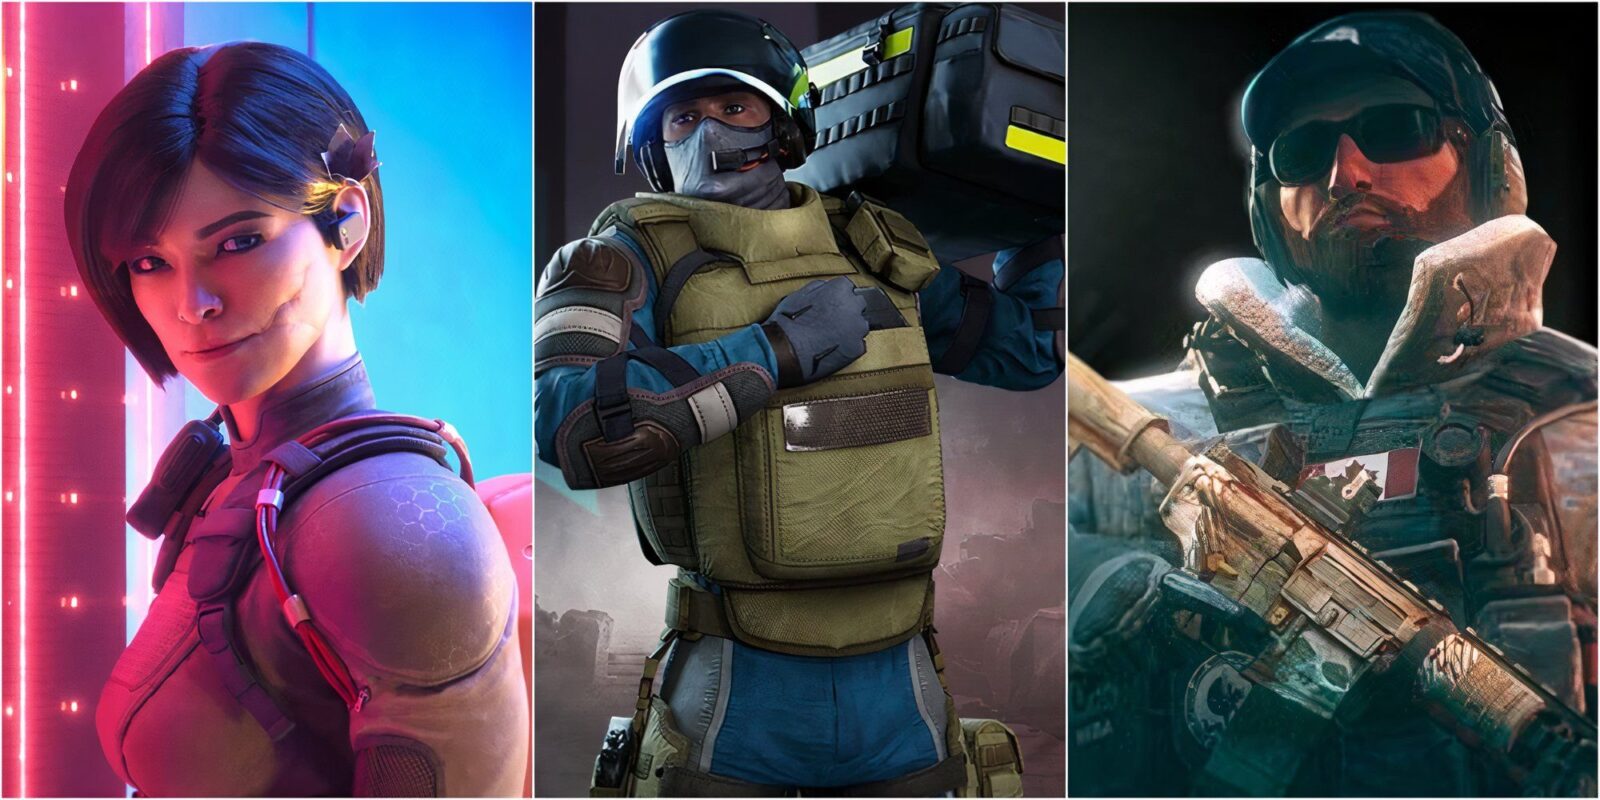
Sledge
A Deadly Powerhouse Who Can Easily Create New Sight Lines With His Hammer
Rainbow Six Siege features two kinds of breachers: the hard breacher and the soft breacher. The hard breacher is the most important member of an attacking team since they are the ones who can break through reinforced walls, meaning they work best when coordinating with the group. Sledge, on the other hand, can only break down soft walls, but he can do so incredibly quickly with his sledgehammer, making him ideal for sneaking around and catching defenders off guard by creating unexpected sightlines.
Unless the enemy team has a castle that is hunkering down the doors and windows of the sight, the attackers won’t need to rely on Sledge to get them to the point, so picking up won’t put any extra pressure on the player. Instead, they can either stick with the team to create a few new avenues or can simply embark on a solo mission to catch the defenders from behind.
7
Lion
With The Press Of A Button, Lion Will Let His Entire Team Know Where The Enemy Team Are Located
Lion’s gadget, the EE-ONE-D, allows the attacker to ping any enemy defenders who are on the move when the drone activates after a brief countdown. While this can be used to great effect when coordinating with the team, solo players can also simply pop it off when there’s an intense gunfight, or better yet, when the defuser has been planted, in order to snoop out anyone who is forced to run around the map.

Related
Rainbow Six Siege: 10 Best Trap Operators, Ranked
If traps are placed in the right spots, there is no need to win a gunfight!
Additionally, Lion also comes with claymores, which allows him to cover his back from flankers without needing to rely on teammates. Speaking of flankers, Lion’s drone can also be used to shut down enemy roamers, even while the rest of his team works on getting into sight, making him an extremely valuable ally due to his unique gadget.
6
Buck
Buck Excels At Sneaking Around The Map And Picking Enemies Off With His Skeleton Key
Buck is an operator who is most effective when breaking away from the team and slowly moving himself into sight to catch the enemy team off guard, which he can do pretty easily, thanks to the Skeleton Key. This is a small underbarrel shotgun attached to Buck’s assault rifle, which he can be used to create holes in walls or even to tear up the floor, allowing him to pick off enemies vertically while his teammates push in from a door or window.
Suffice it to say that this guy is capable of dishing out a lot of damage with his weapon, so he’s more than able to hold his own in case anyone tries ambushing him. As a result, he’s an excellent pick for solo queue players who want to help the team without having to stick with them for an entire match.
5
Zero
Zero Manages To Be Both A Solo Act And A Team Player Thanks To His Cameras
Zero is another attacker who works well when branching off from the team, where he can infiltrate the site with his handy ARGUS cameras. After Zero shoots one of these onto a wall, even if it’s reinforced, he can then switch it to the other side to expose any defenders who are lurking around sight. Not only does this give the player using him a good idea of where they can and can’t go to avoid being shot, but his teammates will also be able to gain more intel if he pings the targets.
Even when Zero dies, his cameras will still be up and running, so long as they haven’t been destroyed. This makes him both a team player and someone who works well when making his own way to the bomb site; then again, nothing less would be expected from the stealthy Sam Fisher.
4
Melusi
Melusi Can Easily Defend The Site And Alert Her Teammates Of Any Intruders With Her Banshee Gadget
Melusi is one of the easiest defenders in the game to play, yet when it comes to locking down the sight from intruders, she’s also one of the best. Melusi is able to litter the site with Banshees, small devices that will emit a loud vibration noise whenever an attacker gets close while also slowing down their movement in the process.

Related
Rainbow Six Siege: 8 Best Operators For Newbies
Rainbow Six Siege can be tough for newcomers to grasp, but these beginner-friendly operators make the first few games a little smoother.
Simply put, Melusi can make a site much harder to break into when her Banshees are around, meaning she doesn’t require players to organize a story beforehand or to bounce off other operators for her to be effective. It also helps that her MP-5 is an easy gun to use, thanks to its generous recoil and damage.
3
Lesion
Cover The Site In Spikes To Prevent Attackers From Entering
Lesion is an operator who has received plenty of buffs and nerfs over the many years he’s been in the game, but he’s still regarded as one of the best defenders in the game who is just as reliable in solo queue as he is when used as part of a bigger team. This all comes down to his GU mines, which he can throw down all around the site or under entryways and windows to poison attackers once they start making their move.
Because the mines make a loud pop when activated, and since they force the victim to spend time pulling out the spike, it means Lesion automatically benefits his team just by tossing them down. Even after he dies, Lesion’s mines can still support the surviving members of his team by alerting them to an attacker’s location if they end up tripping over a mine once the countdown forces them to move into the site.
2
Aruni
Aruni’s Laser Gates Can Let Her And Her Team Know Which Direction The Attackers Are Coming From
While Aruni is an incredibly reliable pick for bomb sites that are very isolated and only feature a few entryways, her laser gates will honestly prove useful no matter where the defenders decide to set up base. The way it works is that once Aruni activates these walls, they will stay in place until an attacker throws a drone or grenade at them, which will then cause them to fizzle.
This means Aruni and her team won’t need to be constantly risking their lives by peaking around a doorway to catch any attackers. Once a wall goes down, everyone will know where an attacker is coming from; it then just becomes a task of patiently waiting for them to barge in before taking them down for good. Her MK14 is a rifle that can be a little hard to get used to, but she does also have an SMG as a backup, which is handy for dealing with any attackers who foolishly try to run through the wall when the round is almost over.
1
Rook
Rook Can Save The Rest Of His Team From An Early Death By Throwing Down An Armor Pack
Many operators in Siege have gadgets that can be a little complicated to understand and use during a match, but this certainly doesn’t apply to Rook. All this defender needs to do is place down his armor pack during the prep phase, and he’ll instantly contribute to the survival of his team by giving everyone just a little extra health to keep them going throughout the round.
In a tactical shooter such as this one, where every bullet counts, having even a small chunk of extra HP can go a very long way, which is why teammates will always be thankful to have a rook on their team. After the armor is set down, players can then simply hunker down on the site and keep an eye out for any attackers, who can be swiftly dealt with thanks to Rook’s lethal P90.

- Released
-
December 1, 2015
- ESRB
-
M for Mature: Blood, Drug Reference, Strong Language, Violence
- OpenCritic Rating
-
Strong