
Early in Avowed, players will have the ability to take on the “Dawntreader” side quest, which can have very different outcomes depending on one key choice. During the mission, you’ll encounter a strange character known as the Oracle. The entire quest will hinge on the decision to either help or hinder the Oracle’s experiments. Knowing what to do can be a bit tricky, as players may need to weigh long-term story consequences against short-term gameplay benefits. In this guide, we’ll help you decide the best choice for dealing with the Oracle in Avowed‘s “Dawntreader” side mission.
Related
5 Best Villains In Obsidian Entertainment Games, Ranked
Amongst the many entertaining titles featuring memorable RPGs published by Obsidian Entertainment, these are the best villains.
How to Start Dawntreader in Avowed

The early portion of Avowed‘s “Dawntreader” quest is fairly straightforward. You’ll find the beginnings of this quest in the northern region of Dawnshore, near Pilgrim’s Path. This isolated area is found north of the northwestern corner of Paradis. You can actually walk north up the river on the western side of Paradis, then cut inland around the same level as the ‘Strangleroot’ title on the map.
Make your way to the top of the hill, and just before you reach the Pilgrim’s Path you’ll encounter several Xaurips blocking a small rock corridor. Defeat the enemies, then continue through the corridor. Not long after, you’ll encounter two NPCs – Kauia and Seegwin – blocking the path. Speak to them, and when the option comes up, select the following dialogue choices:

- “I’d like to see this temple for myself.”
- “Don’t make me pull rank on you.”
After making this choice, they will allow you to enter the Eothasian Temple. This will initiate “Dawntreader,” with the task of locating the Aedyran Expedition Team.
How to Find the Oracle in Dawntreader – Avowed

Essence Generator Puzzle Solution:
As previously mentioned, the first portion of “Dawntreader” is relatively straightforward. Immediately after entering, you’ll be introduced to the Essence Generator puzzle. If you’ve explored Dawnshore extensively already, then it’s likely that you’ll already know how to deal with the conduit-like puzzle boxes. Either way, the solution is simple: throw the Electric Lily Seeds you find around the temple at the boxes to switch them on.
If you have a weapon that produces Shock accumulation, you can use it to switch the Essence Generators on.
There are two Electric Lily Seed plants in the first chamber, which you can use to activate the Essence Generator on the wall. Look out for the orange shield symbols in strange places or above doors. These will always let you know that there are Essence Generators nearby, which means secret rooms and loot. Open the first secret chamber in the temple, then continue along the main path.
The next several chambers are mostly simple platforming jumps, with two small groups of Xaurips mixed in. There are several small loot caches along the path, so make sure to listen for the audio cue that notifies you.

When you reach the chamber with the breakable wall next to the breakable pallet blocking your path, don’t worry if you can’t destroy the wall. Break through the pallet and continue along the path. There is nothing of value behind the wall (if you must check, turn left after the pallet, and you’ll find a back entrance to the chamber).

After the chamber with the broken Essence Generator electrifying the pool of water, you’ll encounter Caedmon, one of the missing Expadition Team members. He is badly injured and in need of assistance. If you agree to help him with a potion, you’ll be able to meet him later outside the Aedyran Embassy and collect a reward.
After meeting Caedmon, follow the main path until you reach a long wooden bridge. There will be one more Xaurip encounter right before the bridge, which leads directly to the Oracle Sargamis.
Collect the Splinter of Eothas – Avowed

Speak to the Oracle Sargamis:

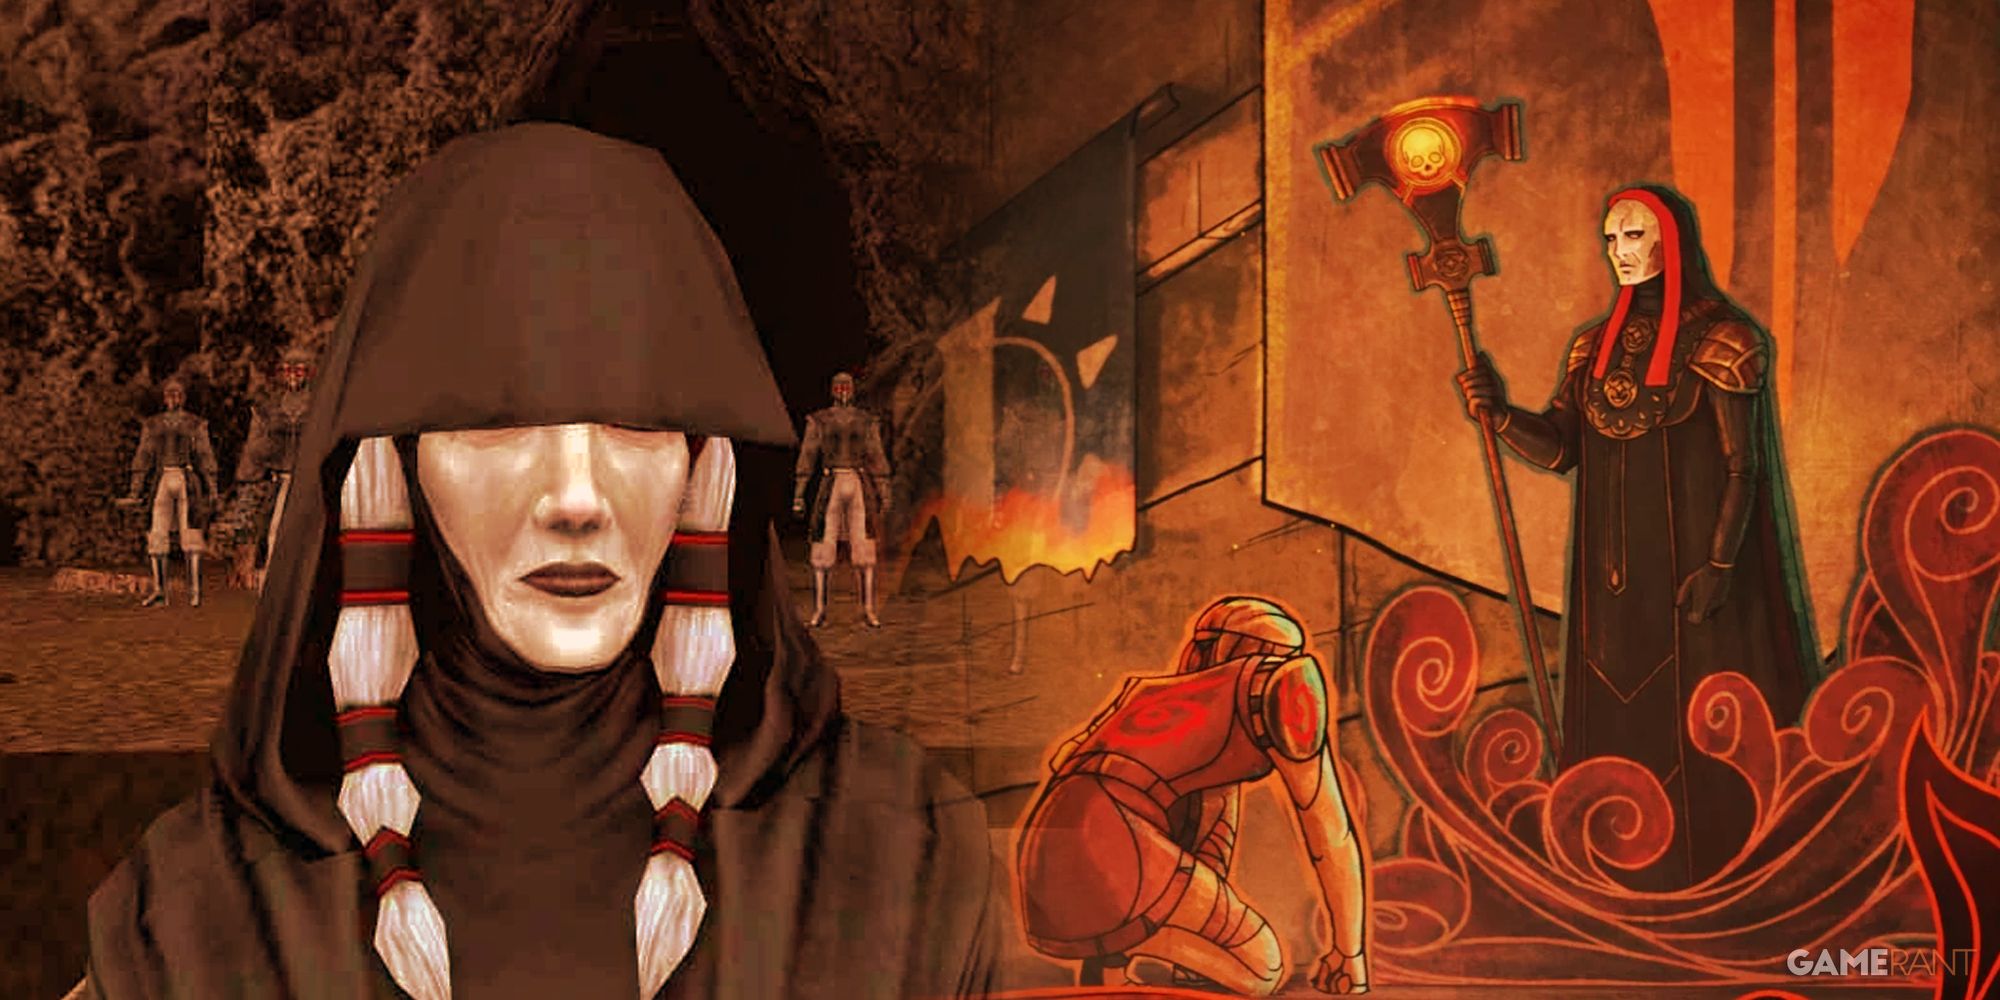
When you first encounter Sargamis, which is the Oracle’s real name, he will deny having any knowledge of the Expedition Team. He will ask what they were supposed to be looking for, and when you mention they were looking for a relic, the Oracle will immediately reveal that it must be the Splinter of Eothas that the Aedyrans were after.
Sargamis, who is a Godlike of Eothas, tells you that he needs the relic, but he is unable to collect it. This is where things begin to get odd. Sargamis, after asking us to collect the relic, explains that the large statue in the chamber with us is no statue at all, but some kind of host. However, the intended use is left incredibly vague.
Regardless of whether you intend to help Sargamis, there is no reason not to collect the relic. In fact, doing so will open up several possibilities at the end of the mission.
Collect the Relic:

Follow the quest marker out of Sargamis’ main work chamber, and into the corridor behind his workstations. Once again, the path to the relic is not complicated. You’ll have to fight two major large groups of Xaurips and spiders on the way.

You’ll eventually reach a large chamber with a smaller chamber in the rear wall that contains the Splinter of Eothas. To the left of the relic chamber is a treasure chamber with two Essence Generator locks. The first generator is found on the wall in the relic chamber. Look to the left if you are facing the relic shrine, and you’ll see it.

To reach the second generator, you’ll have to go beneath the main platform, beneath the door to the treasure chamber. Look for a crack in the rear wall, and you’ll find the second generator hidden deep inside the walls.

After you collect the relic, you’ll have to face a large group of skeleton enemies, as well as the Godless Executioner. This boss functions similarly to the skeleton paladin enemies that wield greatswords. Watch for large overhead attacks. Make sure you take out the skeleton priest first, as it will continuously heal the other enemies.
Locate the Expedition Team:

Once you have taken care of the enemies, leave the main relic chamber, and you’ll discover that the rest of the area has been flooded. As you exit, look to the left, and you’ll notice the plant that creates ice when you shoot it hanging from an overhead rock. Shoot the plant to create an ice platform that you can now jump to. This will lead you to a previously inaccessible Essence Generator treasure room.

Continue along the main path until you reach a small chamber with several wires leading to three switches setup on what looks like an easel. The bottom left switch, and the center switch, are traps. You want to press the bottom right switch. This will open the door to Sargamis’ workshop, where you’ll discover the dead bodies of the Aedyran Expedition Team. It is clear that the Oracle killed them to use their essence to power the large body for Eothas.

Collect Gjeda’s journal off the dead body in the center, then make your way back to the Oracle.

Related
The Longest Obsidian Entertainment Games
Obsidian Entertainment has done a fantastic job at producing some amazing games, and even have created some that have a long storyline
Should You Help or Kill The Oracle Sargamis? – Avowed

Once you collect the Splinter of Eothas and Gjeda’s Journal, it is time to confront the Oracle Saragamis. When you return, the Oracle will try to convince you that killing the team was necessary to bring back the god Eothas. The Oracle has a wacky plan to “redeem” Eothas after it’s established that the god was responsible for killing numerous people during an event prior to the start of Avowed.
Ultimately, you must choose between helping Sargamis fulfill his plan, or, fighting him and collecting one of the best weapons in Avowed.
Helping the Oracle Sargamis:

If you agree to help Sargamis, you’ll have to listen to a long string of exposition before climbing the platforms around the construct and placing the Splinter of Eothas in the center wheel.

Next, head over to Sargamis and pull the lever on the wall to release the essence into the construct. After a brief cutscene, it is revealed that the entire experiment leads to…nothing. Sargamis has failed. However, he has one more idea. He asks if you will contribute your soul to the body. The Oracle is certain that this is the one missing piece.
Unfortunately, if you agree to do this, you will simply die. Sargamis will tell you to stand beneath a large animancy machine, and a mission task will come up telling you to “contemplate your imminent death.” As soon as the machine turns on, you will get the ‘Into the Beyond’ death screen. If you try to leave the machine before it turns on, Sargamis will immediately become hostile.

The second option is to try and convince Sargamis that it is not worth it to continue the experiment. The Court Auger character will have a special option for this route among the dialogue. Currently, there does not seem to be any benefit to following this path. The Oracle faces absolutely no consequences for the countless lives he’s taken.
Killing the Oracle Sargamis:
While some players may feel that trying to offer Sargamis some kind of redemption (or possibility for it) may be the best route, we feel that the best path – for both story and gameplay purposes – is to make the Oracle pay for his crimes.
While it is possible to begin hostilities as soon as you return from collecting the relic, there is a much more poetic method for disposing of the Oracle. To do this, follow the first several steps like you are going to help him. Place the Splinter of Eothas in the construct, then pull the lever on the wall. However, when he asks you to sacrifice yourself, you must turn the tables, and convince Sargamis that it is he that must be sacrificed in order to bring Eothas back.

Choose the following dialogue options:
- “The chime of an unknown godlike wouldn’t interest Eothas. It has to be you.”
- “Eothas didn’t keep me alive for 600 years. It has to be you.”
This will convince Sargamis to place his own soul into the body. He will move to stand under his animancy machine, then you will simply have to press the button on the upper level. Follow the quest marker to locate it.

Once Sargamis is dead, make sure to loot the Last Light of Day +2 from his body. This is not only the best early-game weapon, it is arguably the best weapon in the game. This weapon will also be available to loot if you defeat Sargamis through normal combat.
Should You Give the Body to the Voice?
Once everything is done with the Oracle, the voice in your head will ask you to consider letting them have the body when they are free. There is very little context for whether this is a good idea. If you agree, it seems clear this will be a factor late in the game. If you say no, and decide to destroy the body, the voice will become extremely upset.
We are still discovering the long-term consequences of giving the body to the voice. As soon as we have the answers, we will update the guide accordingly.

- Franchise
-
Pillars of Eternity
- Released
-
February 18, 2025
- Publisher(s)
-
Xbox Game Studios
- Engine
-
Unreal Engine 5
- ESRB
-
Mature 17+ // Blood and Gore, Strong Language, Violence
- Steam Deck Compatibility
-
Unknown
- X|S Optimized
-
Yes
- Number of Players
-
1
Expand
Source link