Much of the fun in the Sniper Elite series, including Sniper Elite: Resistance, is finding new and inventive ways to dispose of Nazis. The name of the game has Sniper in it, and sniping Nazis from incredible distances can be satisfying, but that’s not all the game has to offer.
Related
Sniper Elite: Resistance – How To Unlock Skill Points
Here’s how to get and use skill points in Sniper Elite: Resistance.
There are a few different traps you can use as well, each working in slightly unique ways, some a bit more bombastic than others. All of these traps can be taken into the mission with you by including them in your loadout, but you can also find them scattered around the map.
Where To Find Traps
Traps can be found pretty regularly all across the maps in Sniper Elite: Resistance. Specifically, these are usually found in areas that have a heavier concentration of enemies. That might be a bunker, a building, or a table.
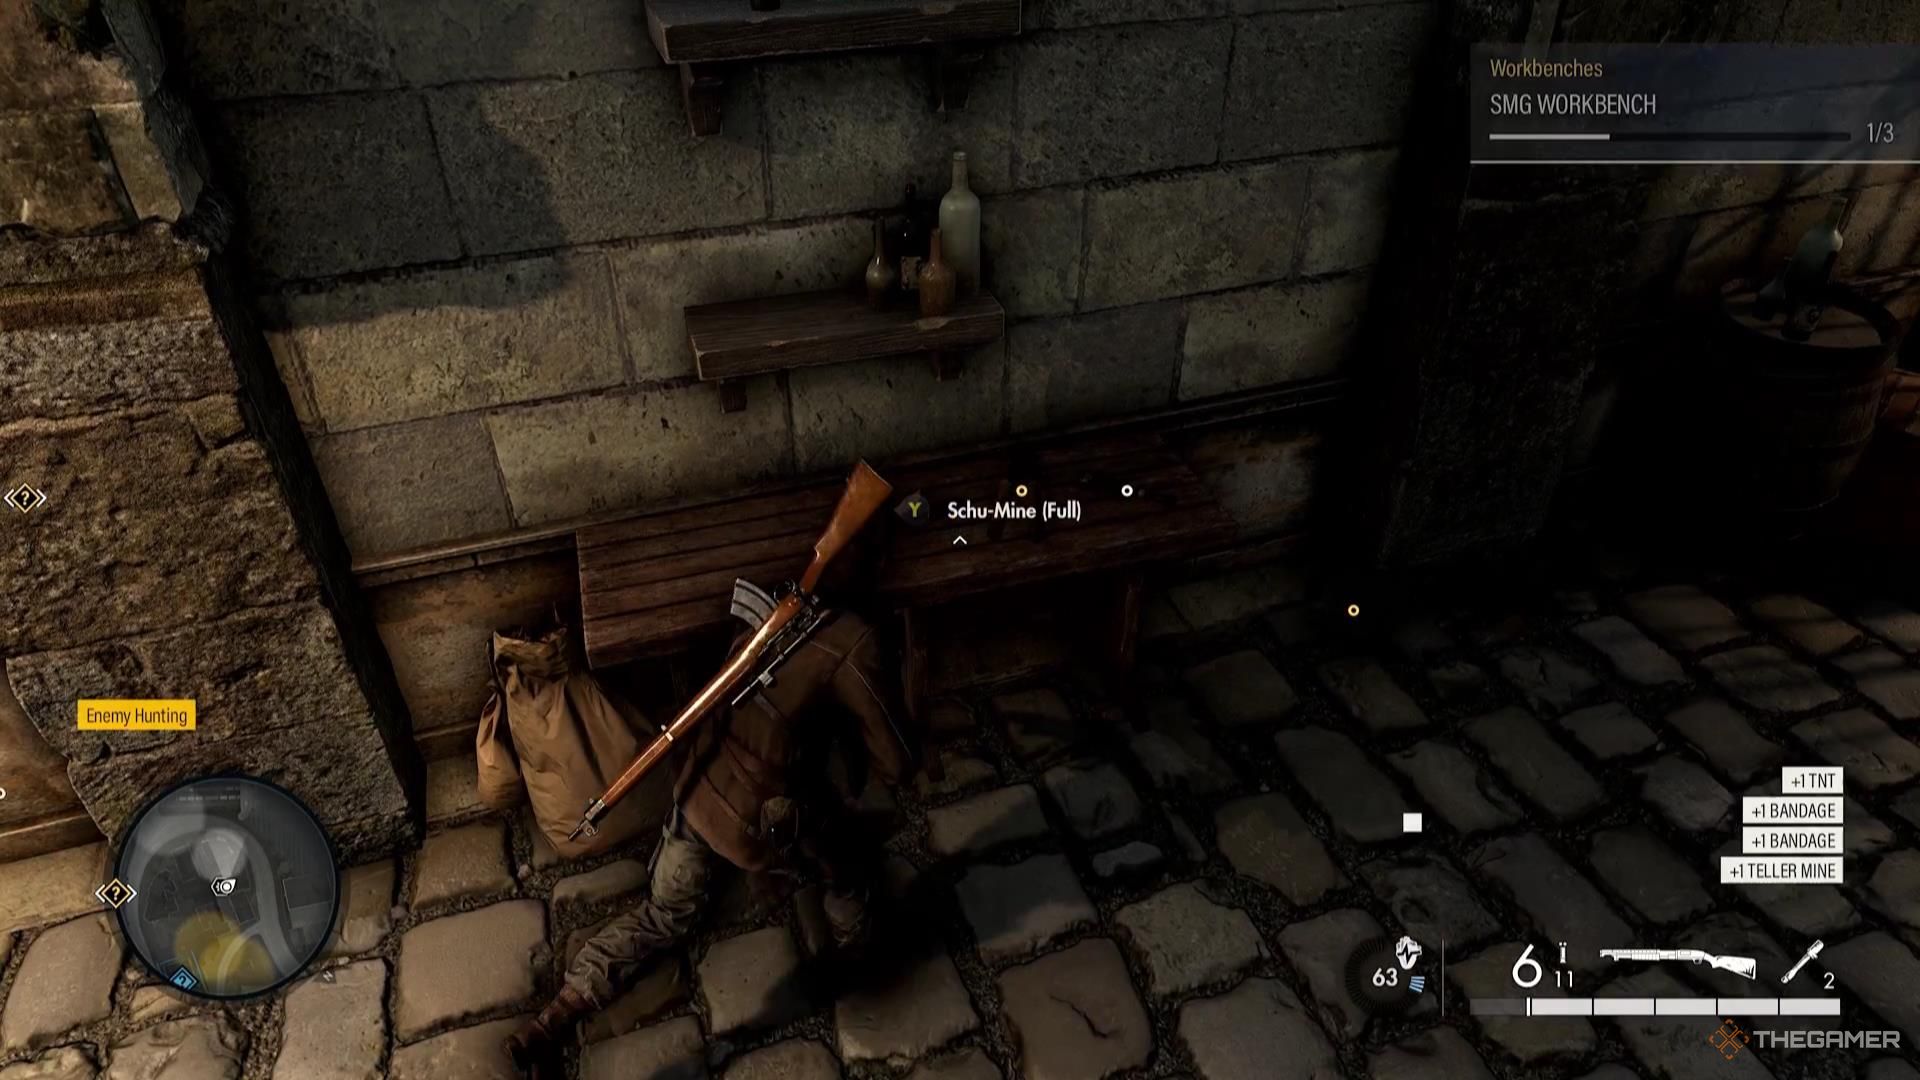
As a rule, these things are mostly found collected on top of tables, with a variety of items scattered across it. You’ll often find grenades, bandages, teller mines, and more on the same table.
You’ll also occasionally come across locked crates in enemy-occupied areas, often in the same area as tables containing items. These crates can either be lock-picked opened, or opened with a crowbar or bolt cutters, and are going to contain traps, alongside other items.
Looting Traps From Bodies
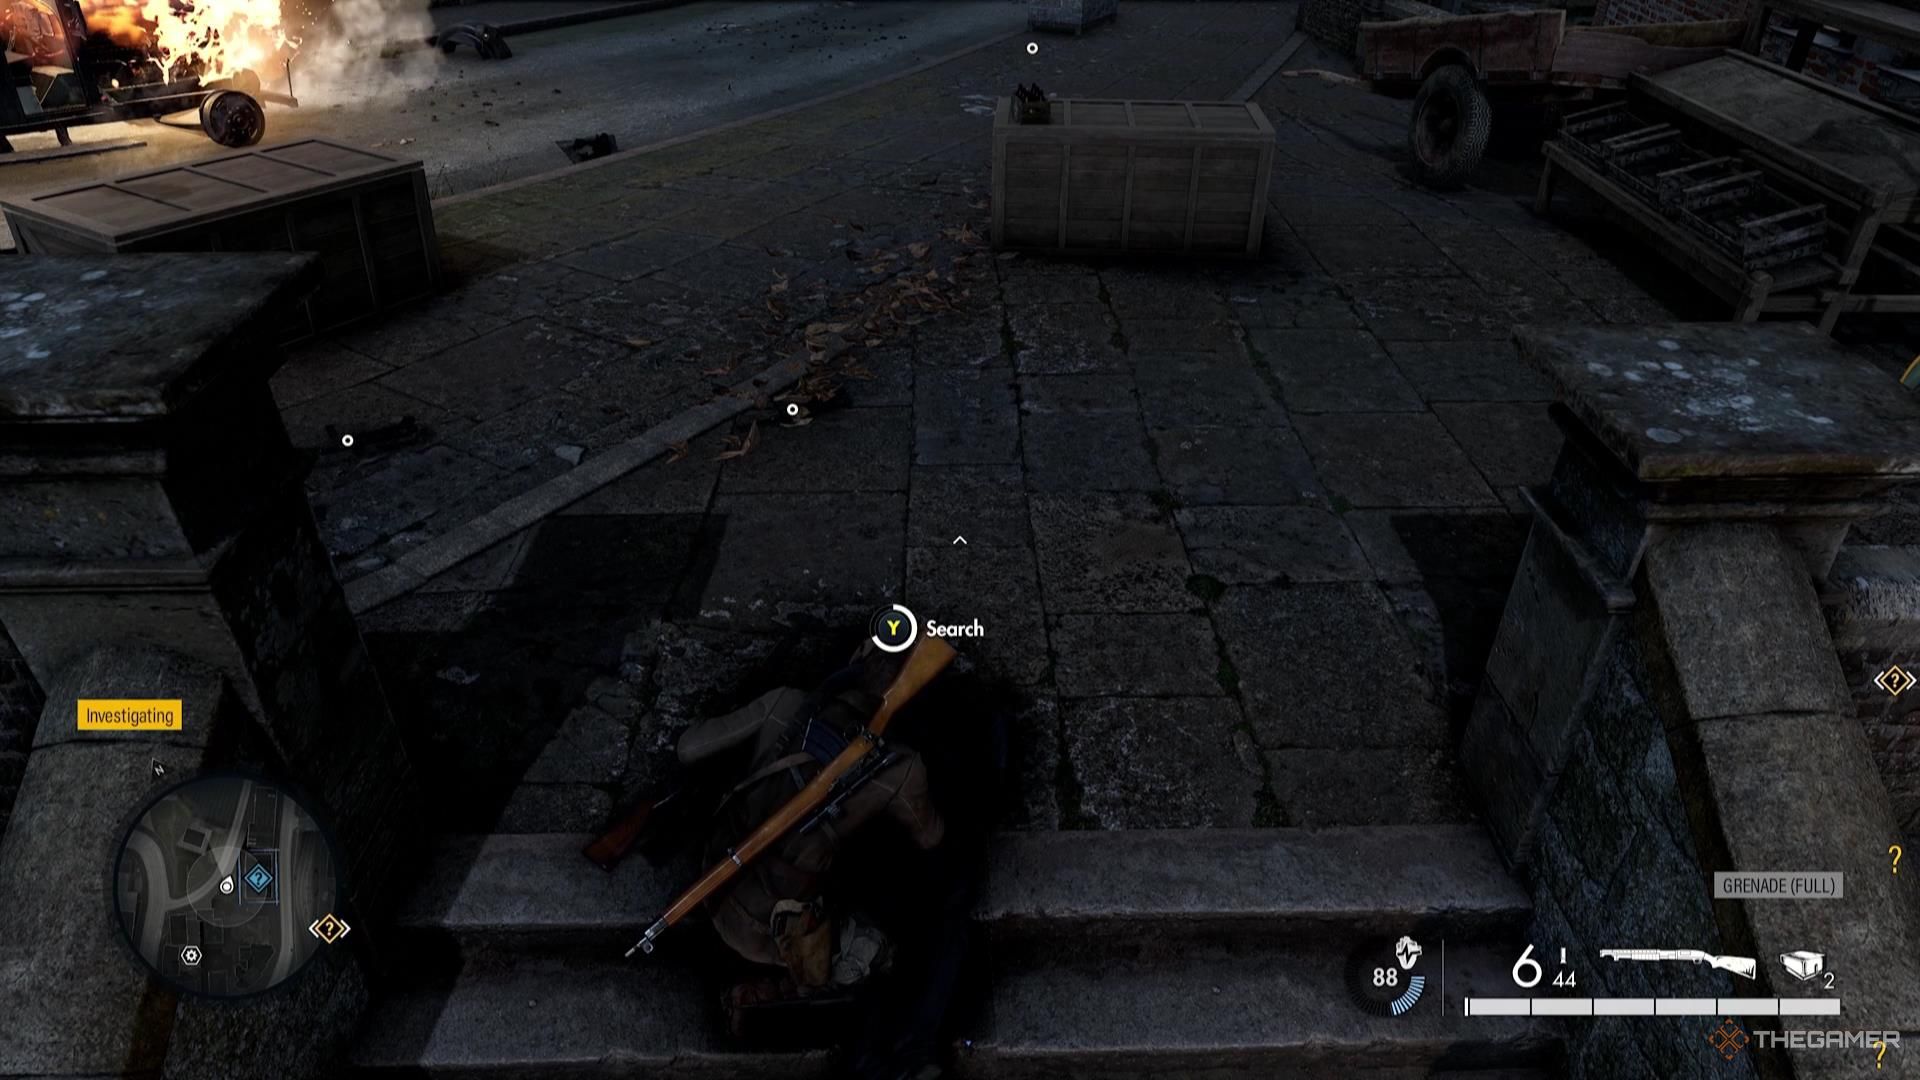
Freshly deceased Nazis can often contain traps, alongside many other items, like ammo and bandages. If you’re ever hurting for items, it can be a good idea to make it to an area you’ve cleared of Nazi infestation, and loot the bodies. With even just a few bodies, you’re likely going to pick up a trap or two, as well as refresh your ammunition.
Including Traps In Your Loadout
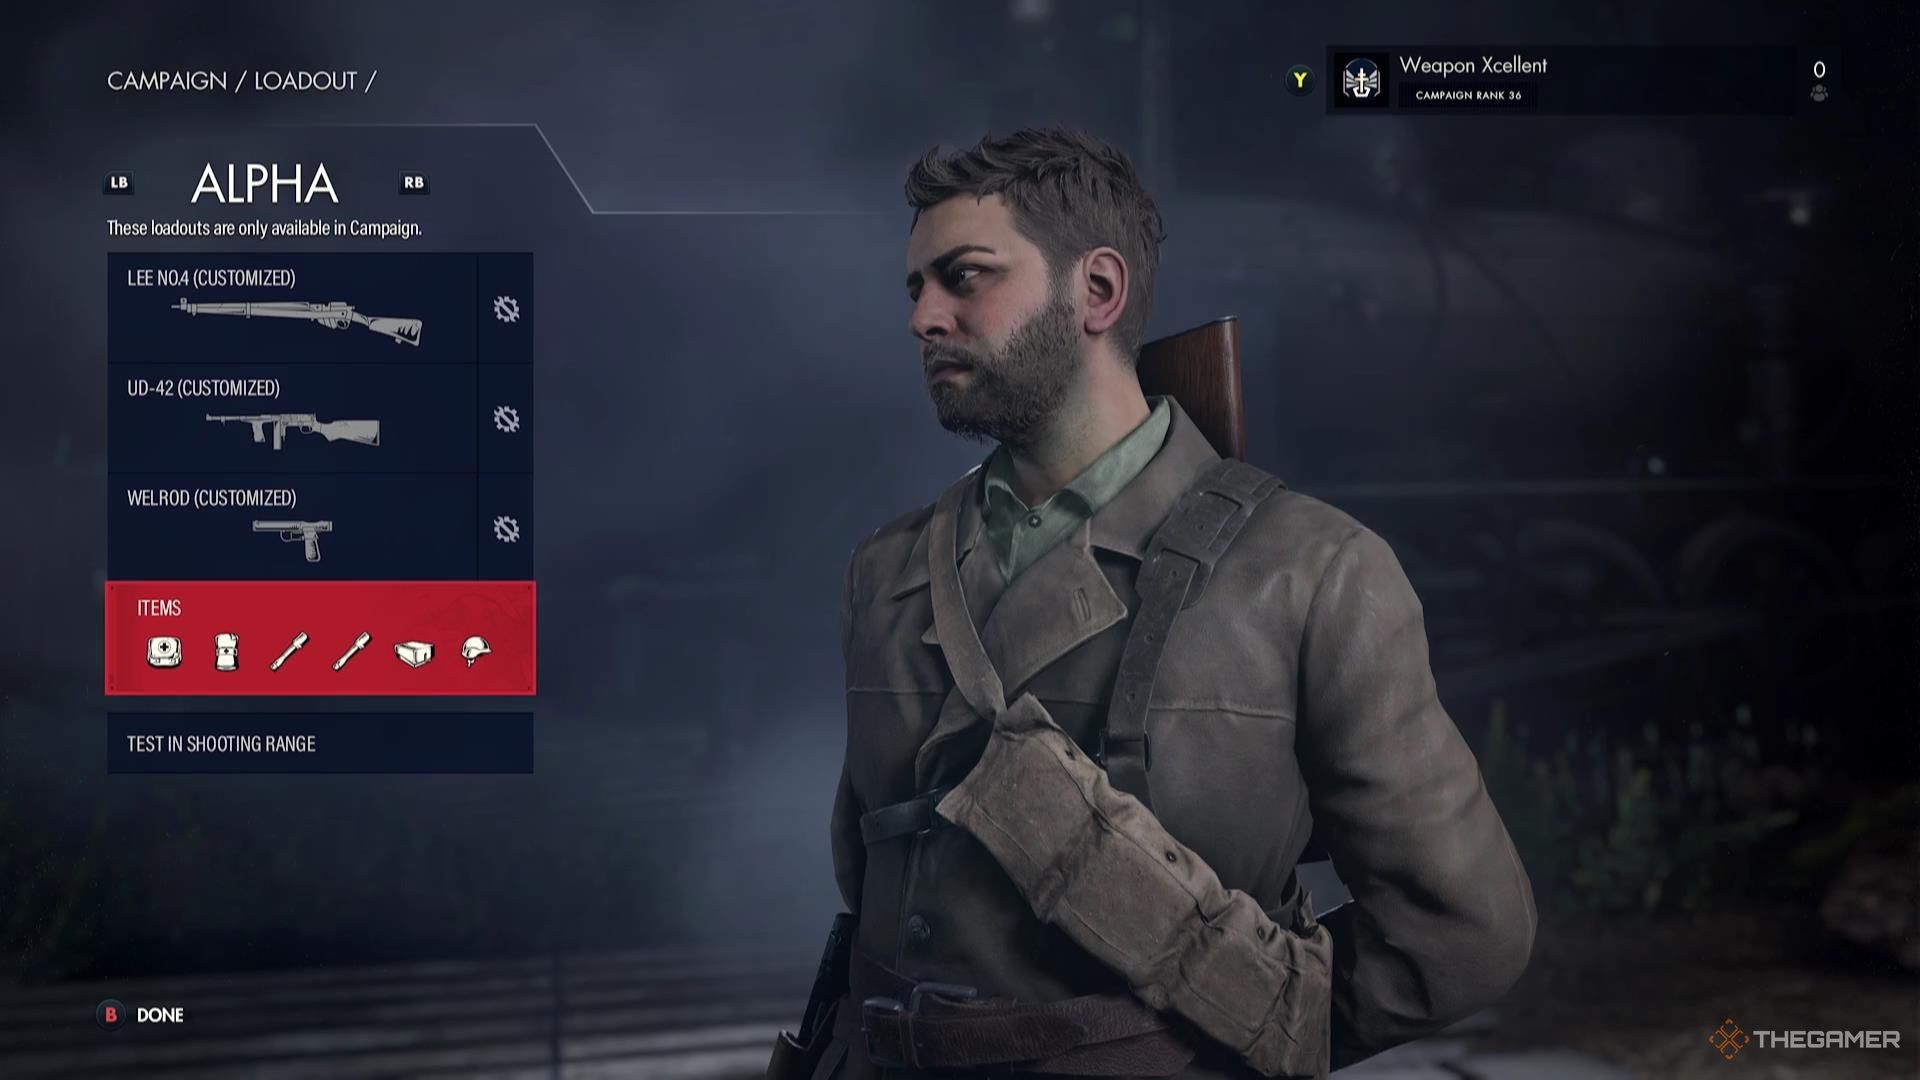
You can also include traps in your loadout. You start with four item slots to fill when preparing your loadout, and with the Extra Item Slot skills in the Equipment skill tree, you can get up to six item slots.
How To Use Traps
How you use traps is going to depend both on the situation, and the trap in question.
How To Use Teller Mines/Pressure Mines
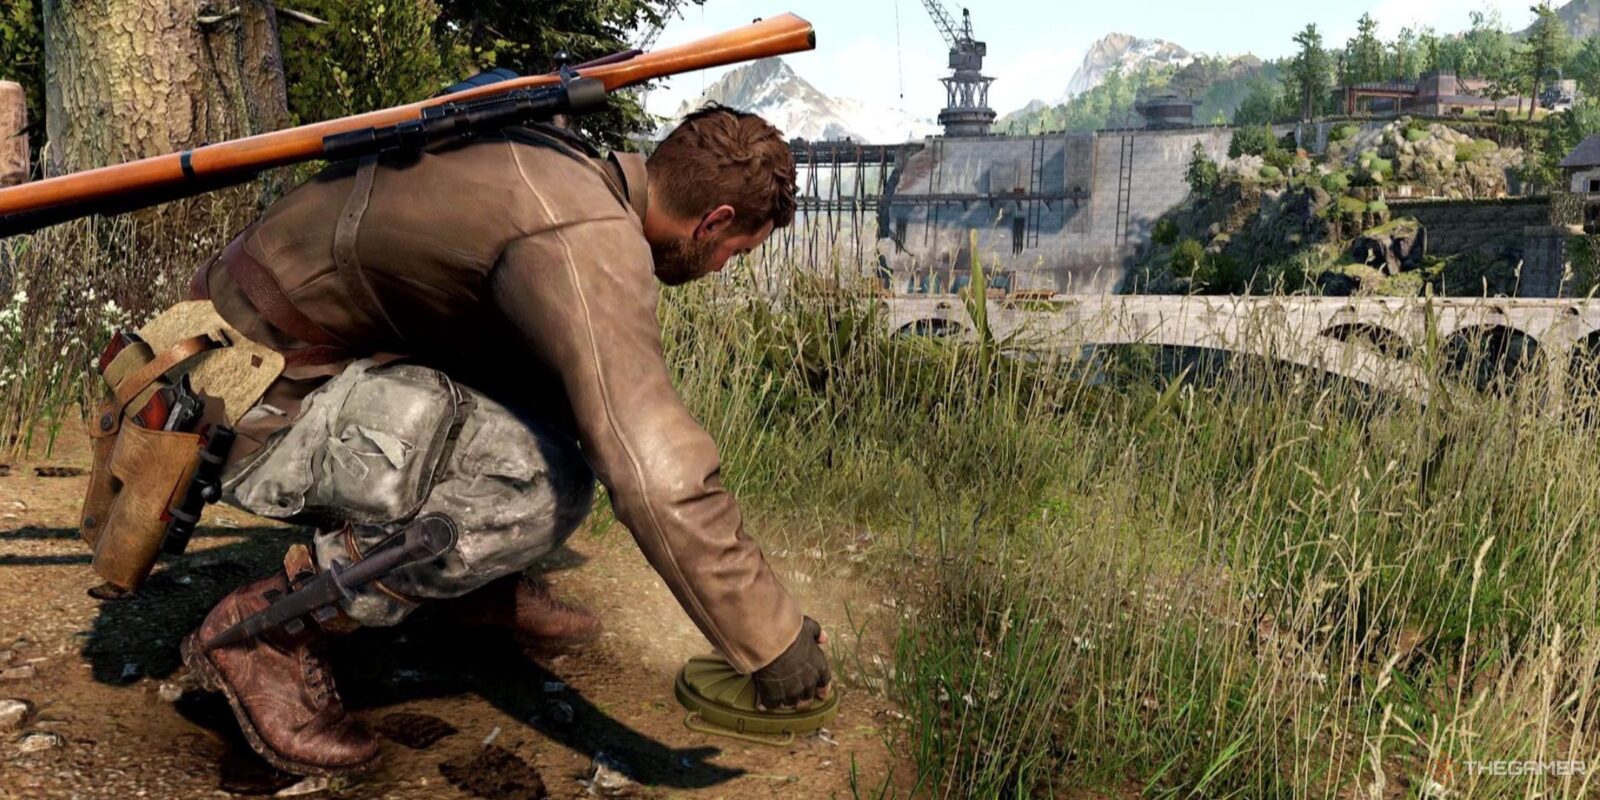
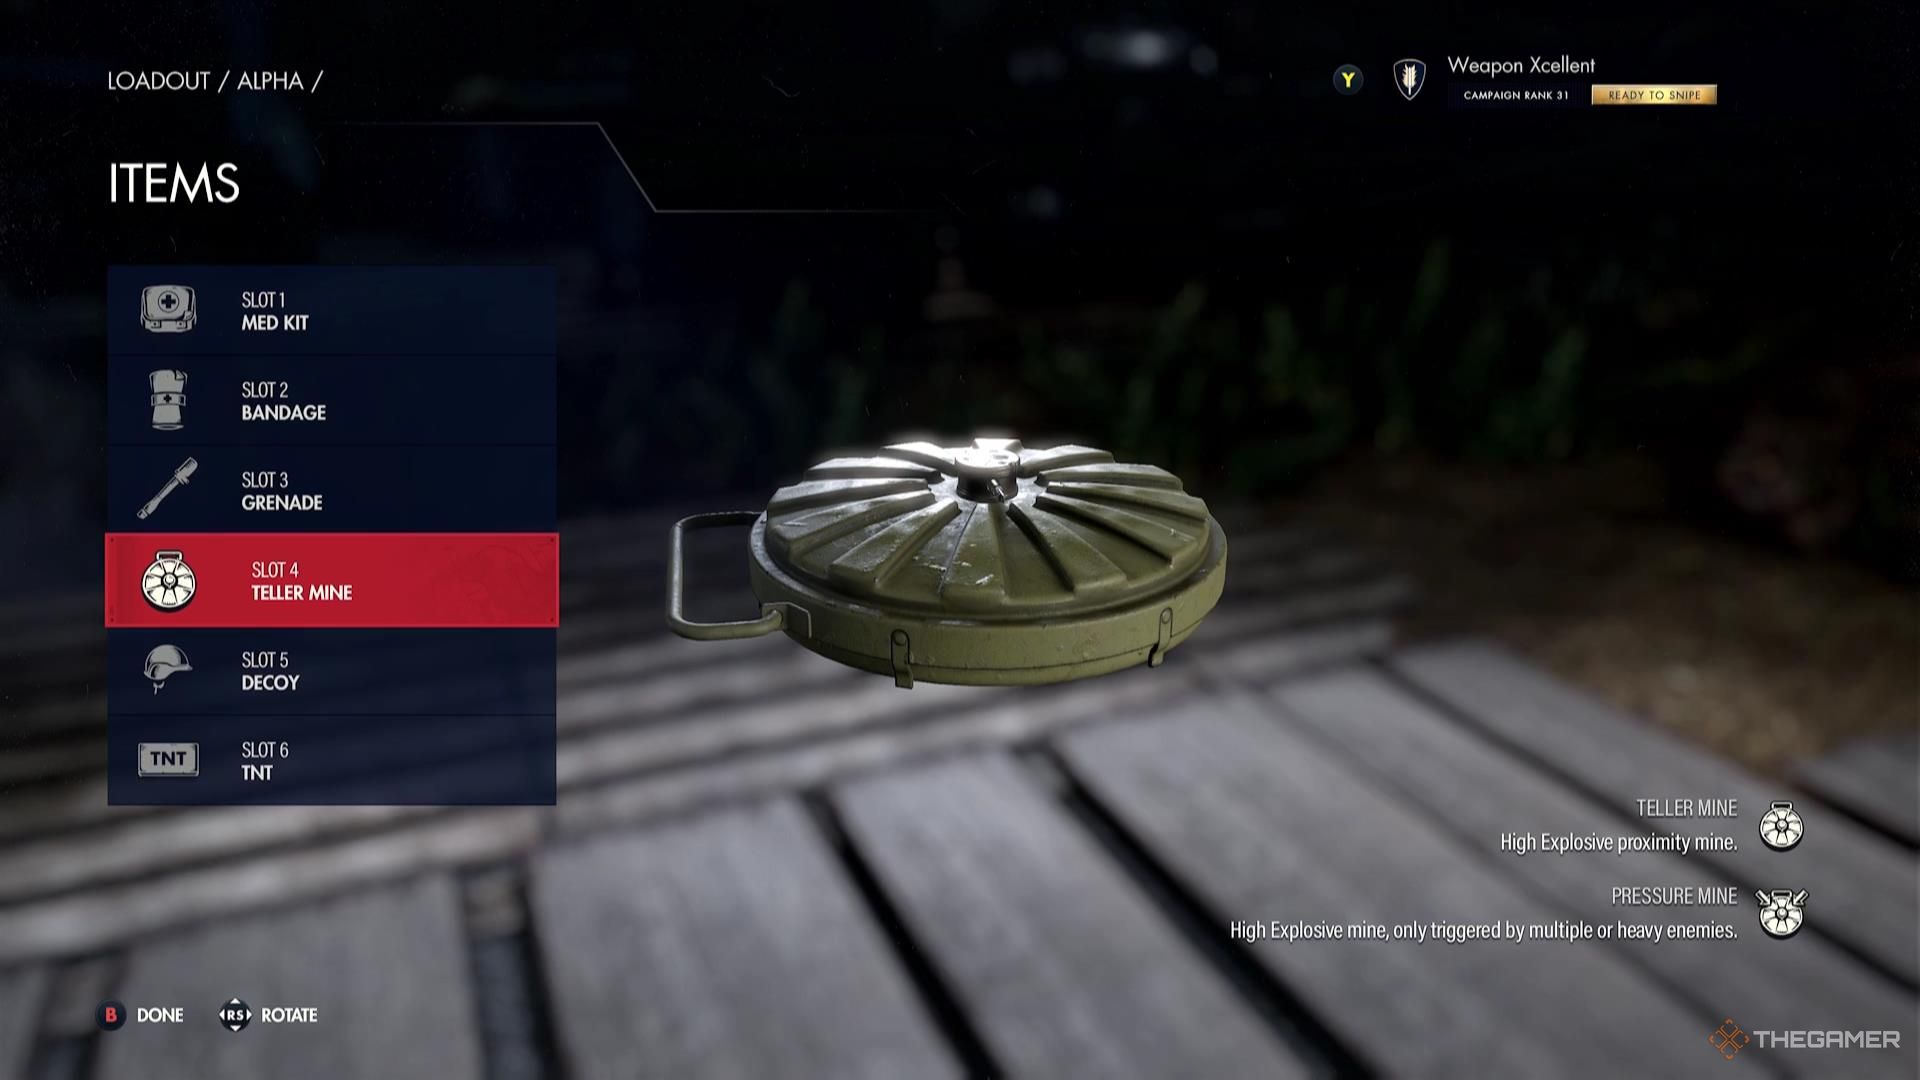
Teller Mines are the most true traps in Resistance. These are landmines, with one of two variations:
|
Mine |
Description |
|---|---|
|
Teller Mine |
An explosive that detonates with any enemy pressure. |
|
Pressure Mine |
An explosive that detonates when either a vehicle or multiple enemies step on it. |
In the case of Teller Mines, they are absolutely perfect for situations where you need to watch your own back. Oftentimes when you’re setting up in a sniping position, you’re going to have one or two flanking routes that lead directly to you.
You can easily place a Teller Mine on these paths, and Nazis that try to flank you are going to find that it’s their final steps.
Pressure Mines are perfect for taking down enemy vehicles. While Teller Mines can also accomplish this, a lone Nazi can also walk onto a Teller Mine and ruin the plan. With Pressure Mines, it takes more weight to detonate them; vehicles will, a single enemy will not. Study where enemy vehicles are driving, and you can easily dispatch them with a few of these.
How To Use Grenades As Traps
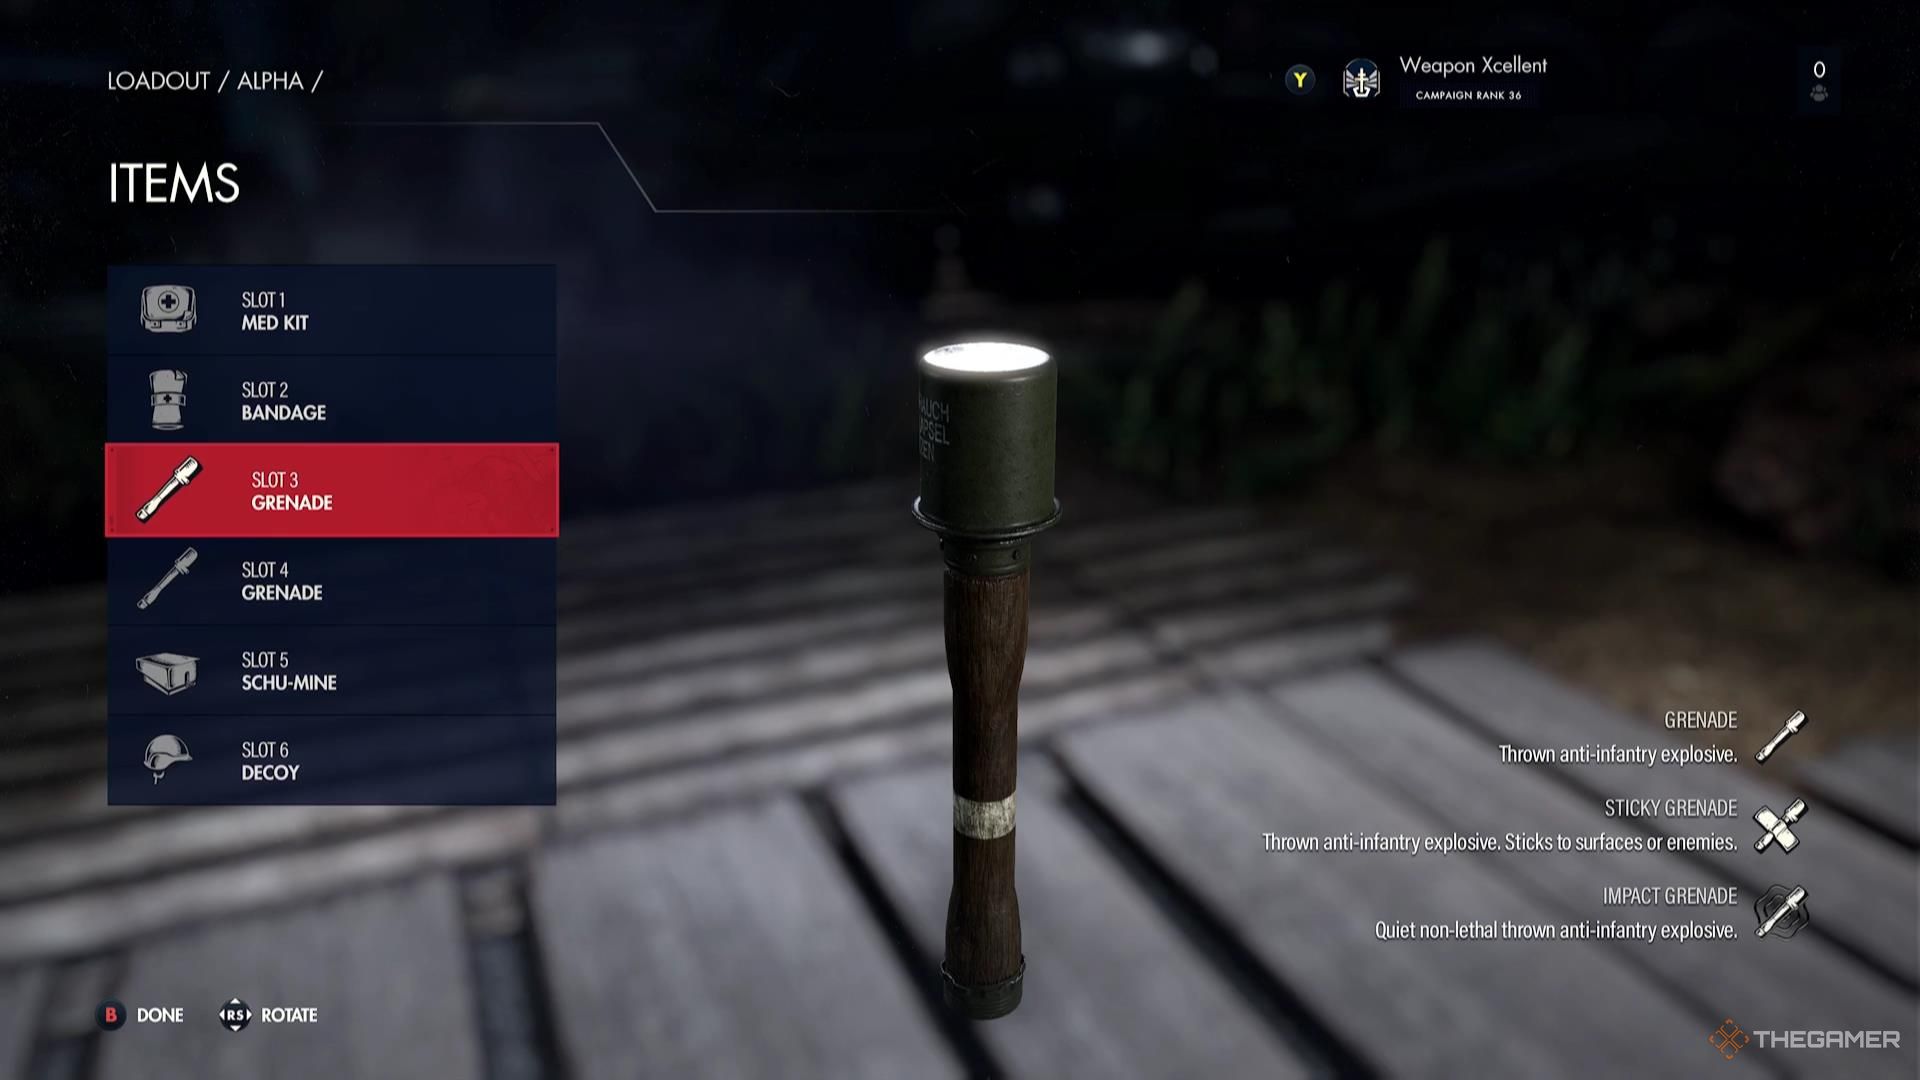
Grenades can also be used as traps, though it’s not immediately obvious how to do this. When stumbling upon the corpse of a freshly-dead Nazi, you’ll have the option to carry them, loot them, and, if you’ve got an item, trap them.
This can be done with Grenades, Teller Mines, and TNT, using whichever of those you have equipped at the time. Once trapped, they act essentially like a land mine; Nazis that step too close are going to get blown to pieces.
How To Use TNT As A Trap
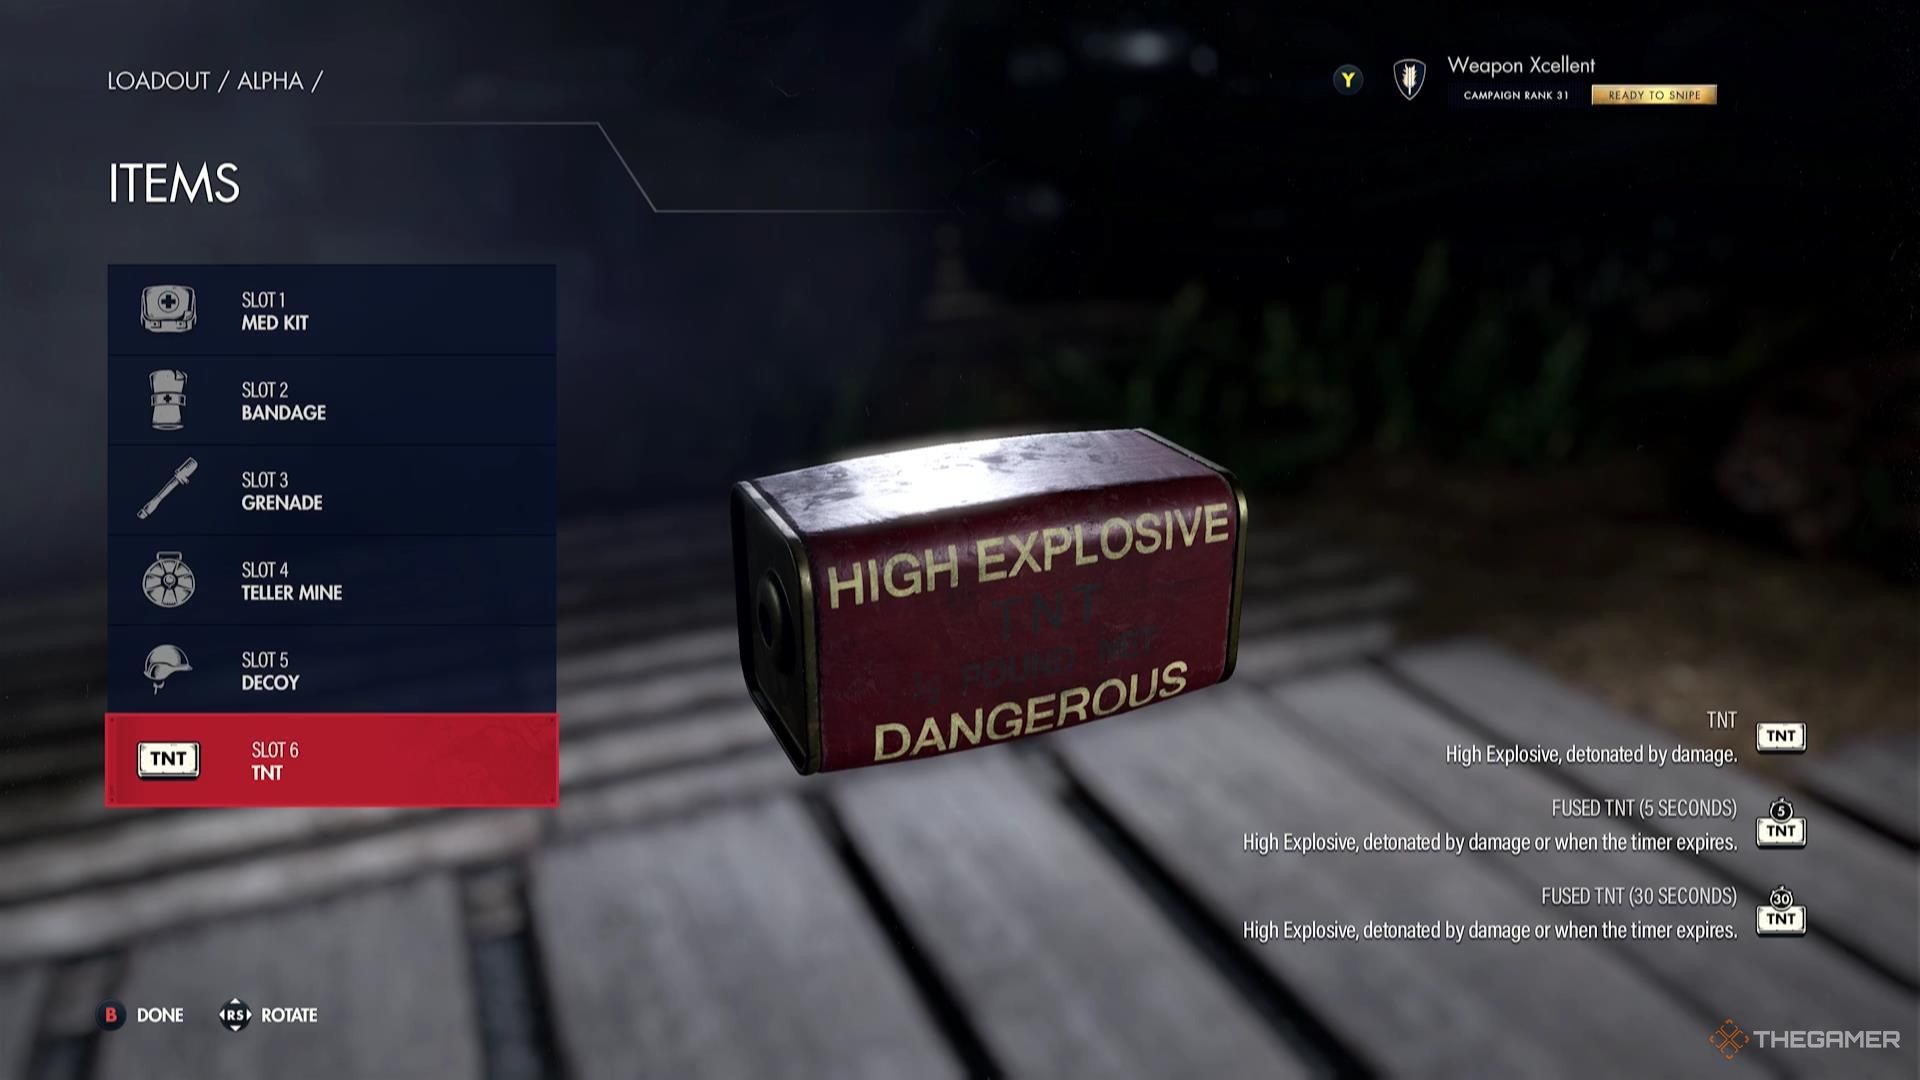
TNT is a little bit more complicated to use as a trap, but just as effective. It can be used to trap a body, like Grenades and Teller Mines, but TNT also has fused and fuse-less variants.
The fused versions are set to either five or 30-second timers; the five-second variation is used more like a grenade, but the 30-second variation, when timed well, can do some significant damage. You can put it down in a location where it’s going to cause a massive explosion, like near an explosive barrel or vehicle, and sneak away before it causes absolute mayhem.
The fuse-less variation needs to be shot to explode. While that can seem inconvenient, it essentially makes for an explosive that has a fuse you control, like a trigger. Set it down in a location, get to a place of safety where you have a line of sight on the TNT, and when you’re ready, shoot it.
How To Use Schu-Mines
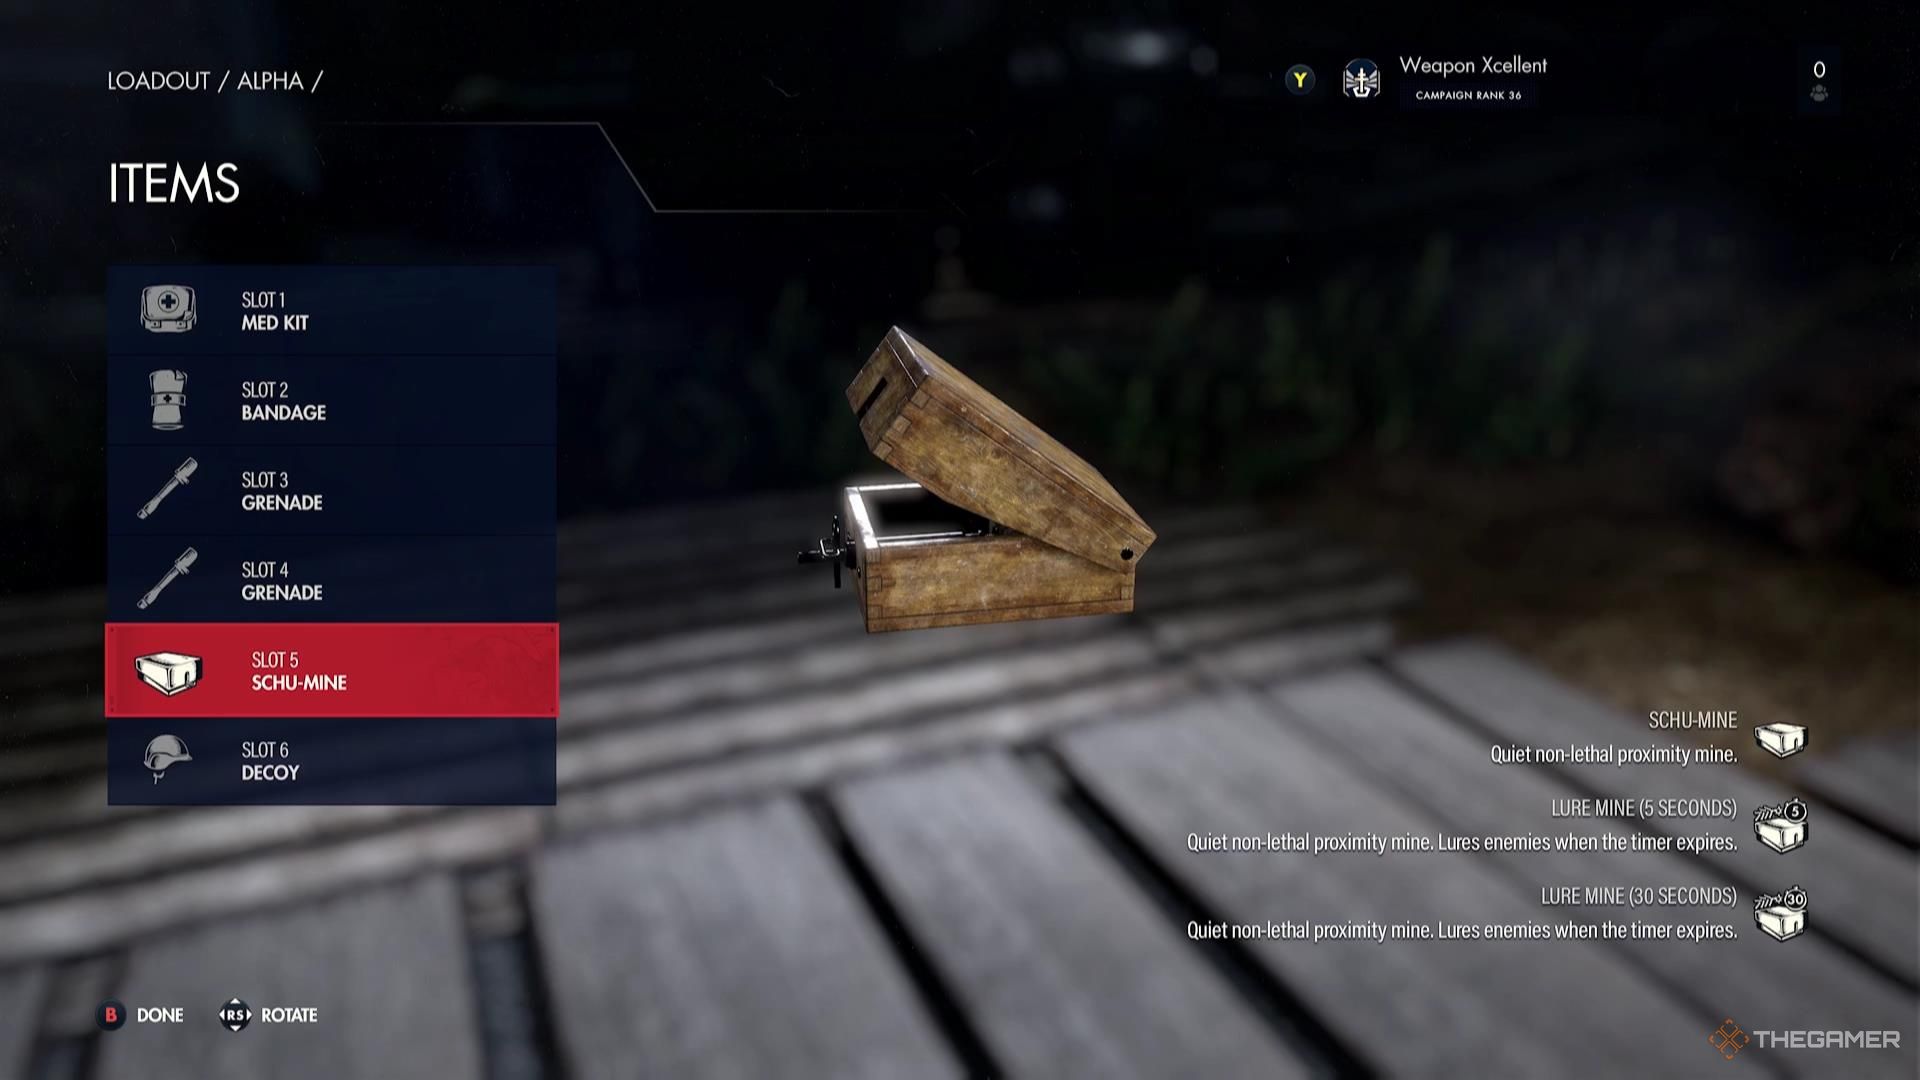
Schu-Mines are non-lethal and quiet variations on a trap. They can be very valuable on a stealth run when they’ll incapacitate a Nazi without any others hearing it unless they’re right on top of them.
There are also variants of Schu-Mines that can lure enemies after a set time, either five or 30 seconds. These can be a fantastic way to incapacitate an enemy that’s in a problematic location by getting them to move out of the location, all without ever having seen you.
How To Use Satchel Charges
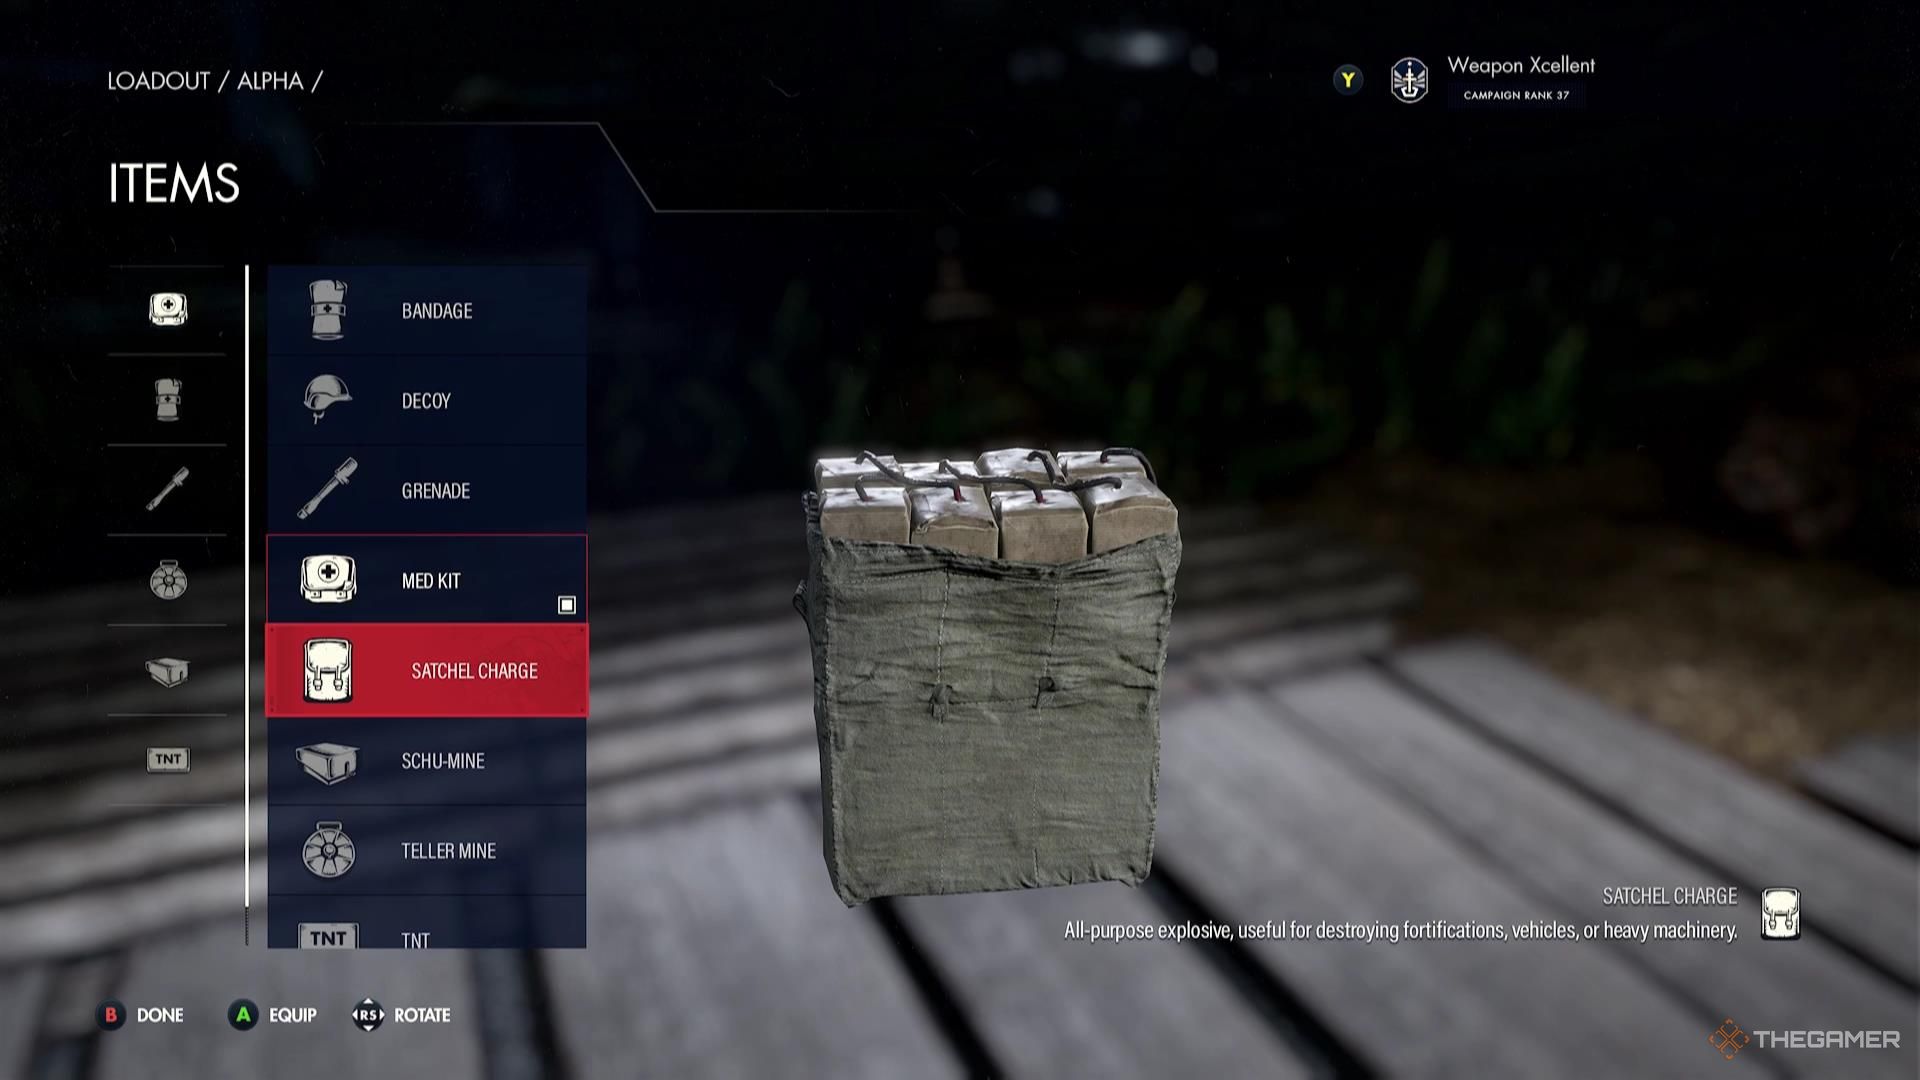
Satchel Charges are much more situationally used, and less considered traps than their counterparts. Satchel Charges can only be used in particular spots, like safes, certain locked doors, and tanks.
When it comes to traps, Satchel Charges are particularly really only relevant in the last instance: against vehicles. These can be placed on the vehicle, the fuse will need to be set, and you’ll need to back up. This can be done without the vehicle knowing you’re there if you got close enough undetected, and it’ll blow a hole in the armor.
You can then damage the interior of the vehicle through the hole with armor-piercing ammo, explosive ammo, or other explosives to destroy the vehicle.
If you’re feeling creative, you can combine the Lure variation of a Schu-Mine alongside a Satchel Charge. It timed perfectly, it’ll draw enemies to the Satchel Charge as it explodes.
Next
Sniper Elite: Resistance – Difficulty Modes, Explained
Adjust your gameplay to the perfect experience with this guide.



Leave a Reply