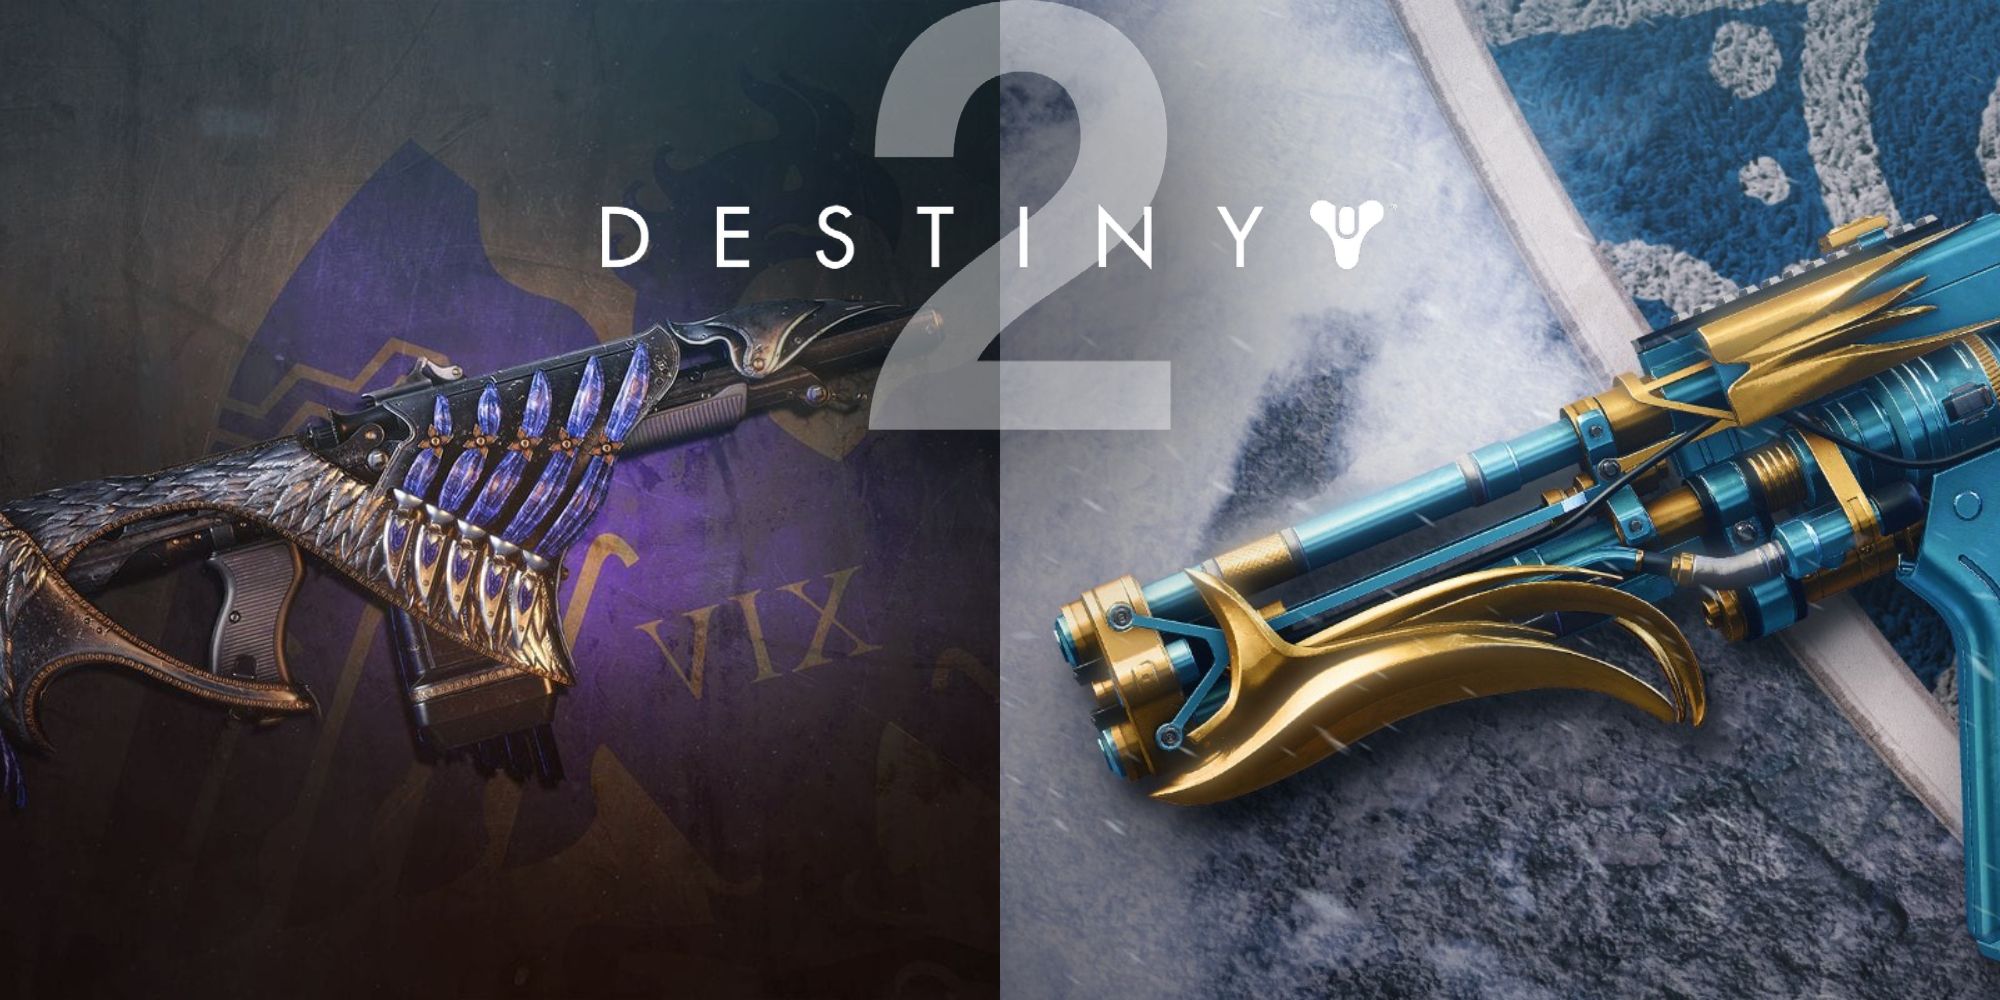
The new Exotic SMG in Destiny 2: Heresy is called Barrow-Dyad, and it is one of the most powerful Strand primary weapons Guardians can get. But to get its Deepsight pattern and intrinsic, players will have to overcome a series of challenges that start with the discovery of a strange Taken Artifact.
Related
Destiny 2: Best Fusion Rifles, Ranked
Fusion rifles are the bread and butter in Destiny 2’s current meta. These are the best fusion rifles players should invest in.
Here’s a rundown on how to get Barrow-Dyad in Destiny 2, as well as the details on how to find the hidden Hive Statues in the Nether, how to complete the Taken Path quest, and how to complete the exotic quest Derealize.
Where To Find Barrow-Dyad In Destiny 2
To get the Barrow-Dyad in Destiny 2 Heresy, players will have to find a Blight teleporter in the Nether, similar to that of the Ascendant Challenges in the Dreaming City. Once players have found one of the Blights, they need to enter it, teleport to the ascendant plane to solve the first puzzle, and receive the ‘Taken Osseous Fragment‘ quest item.
How To Find The Nether Blights In Destiny 2
Nether Blights are located in each of the maps of the Nether, but their spawn rate is subjected to RNG, so resetting the activity several times is the best way to find one. The most obvious one is located in the Trenchways, on the far side of the spawning zone, past the Tormentor conducting the ritual near the columns.
There’s another one in the Hall of Souls, in the ceiling of the land zone for the King’s Fall Raid (players will recognize it as the Hall of the Statues). From the Nether spawn in the Hall of Souls, cross the chasm and go to the right to find the correct spot.
Once players spot the Blight, they can ignore all other activities and aim directly at it. Crossing the black Taken orb will teleport them to a secluded place with a Hive statue and a strange platform where they will need to solve a puzzle.
There’s a chance for the Blights not to spawn on the first try. This happening would mean that the blight is located in another zone other than that of the player’s spawn. Resetting the activity is the way to go for instances like this. This mechanic can be repeated to speed up this exotic quest.
How To Get Taken Osseous Fragment And Solve The Hive Rune Puzzle
Once inside the Ascendant plane, players need to step onto the platform that looks like an arrow and pay attention to the direction where the arrow points. Once the rune appears in front of them, a small message will say: “Something whispers to the right…”
Stepping into said direction will trigger the puzzle, and players will be able to claim the Taken Osseous Fragment, the quest item they need to start the Taken Path quest.
How To Start The Taken Path Quest In Destiny 2
Now, travel back to the City to Eris Morn’s Flat, and find the Taken Slab to receive a new Exotic Quest.
- The first task will be to head to Sorrow’s Harbor on the Moon and travel to the K1 Revelation Lost Sector.
- Once inside, kill a few Hive enemies until you spot a small Taken Blight. Destroy it and solve the directional puzzle (Something whispers to the X-direction).
- Kill the Taken to claim another Taken Osseous Fragment.
- Now, travel to the Cosmodrome (the Forgotten Shore) and access the Veles Labyrinth Lost Sector.
- Stick to the right pathway and find another directional puzzle.
- Repeat the puzzles until you see a message that says: Taken Energy Rises.
- Kill all the taken inside the Labyrinth and claim another Taken Osseous Fragment.
- Return to Eris’s apartment and interact with the Slab once more to receive three different quests. Now, players need to complete three Curse Quests, which will require them to conduct three rituals at different spots.
How To Complete Every Curse Quest In Destiny 2
The next step to get the Barrow-Dyad Exotic Strand SMG is to complete a series of rituals using Taken orbs (relics) in three different locations: Sorrow’s Harbor (the Moon), Nightmare Hunt: Pride (the Moon), and Hallowed Grove (EDZ Lost Sector). Here’s what players need to do in each of the Curse Quests:
How To Complete Curse Of Endurance
Travel to Sorrow’s Harbor (Moon) and look for the Taken orb near the central path that leads to the Scarlet Keep. Pick the orb and start the Altars of Sorrow event, trying to kill as many enemies as possible without dying to charge the orb.
The orb’s super will unleash a powerful attack on Nightmare enemies, so use it to clear them out. It is not necessary to complete the event. All you need to do is kill enough Hive to charge the relic and then dunk it in the marked spot to complete that stage of the quest.
How To Complete Curse Of Revenge
Travel to the Moon and launch the Nightmare Hunt: Pride, delve into the dungeon until reaching the boss room, and grab the Taken Relic to begin killing enemies until the orb is charged. Then, dump it near the boss spawn to finish the ritual.
How To Complete Curse Of Urgency
Travel to the EDZ (The Sludge) and delve into the Hallowed Growe Lost Sector. Pick up the Taken relic near the entrance, and a countdown will start. Kill all the enemies as fast as possible to charge the relic before the countdown drops to zero (or it will kill the Guardian). Then, dunk it in the marked spot to complete the ritual.
Related
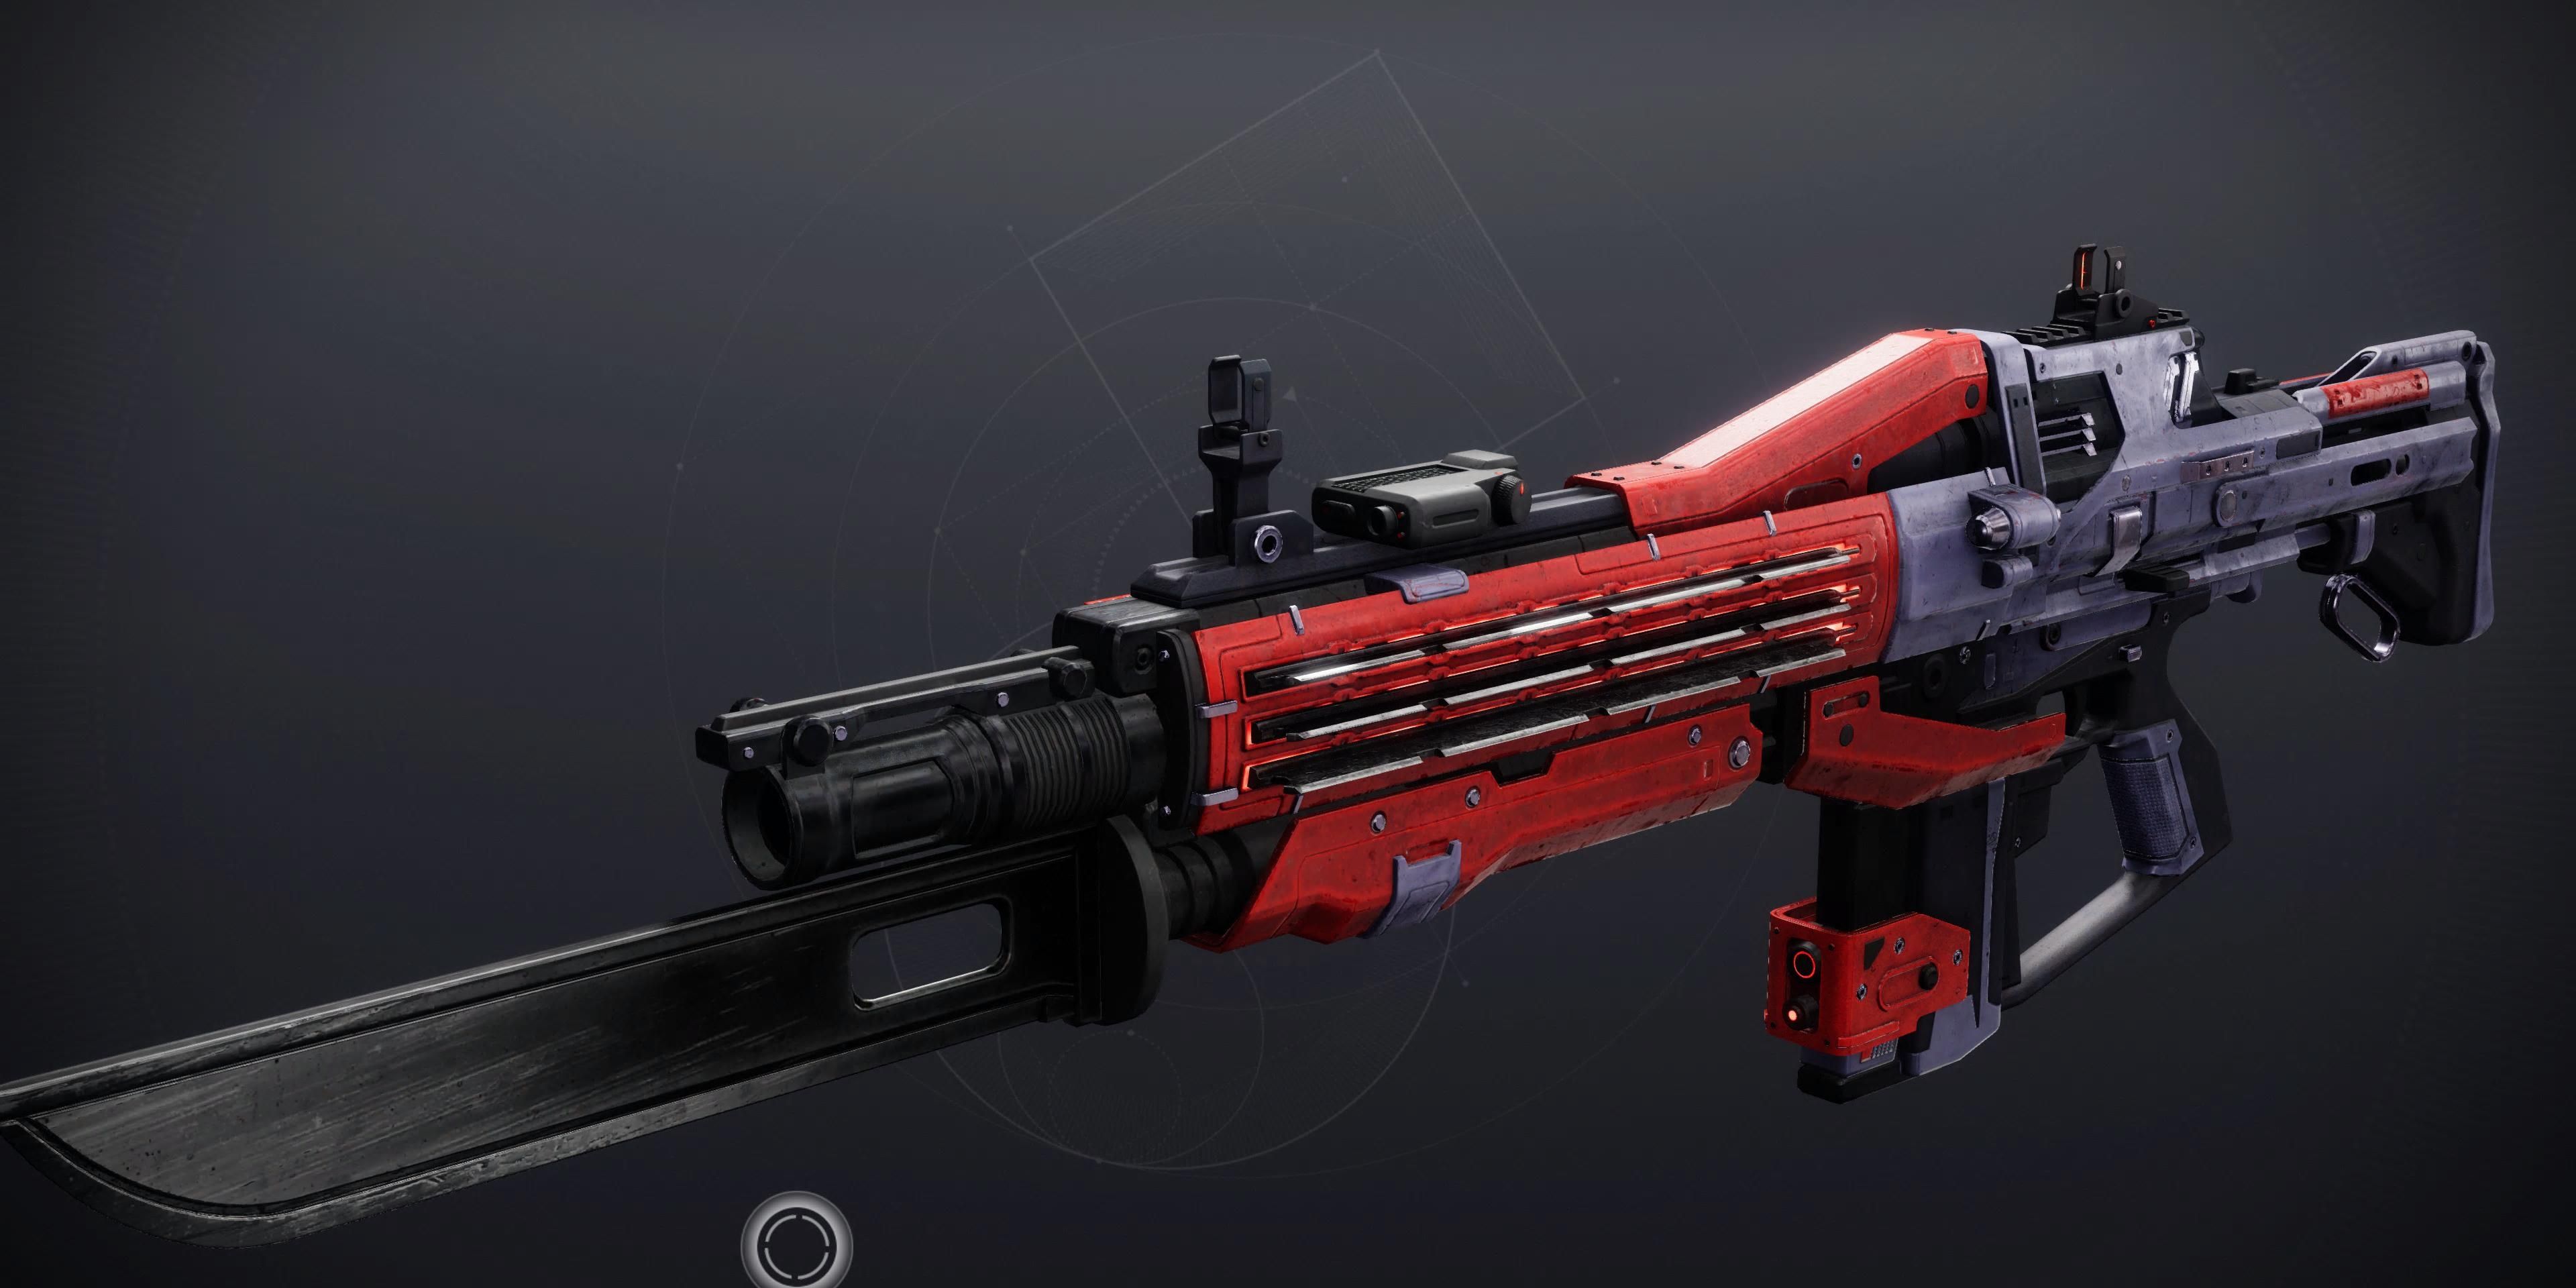
Destiny 2: How To Get Red Death Reformed
Enter The Final Shape in Destiny 2 with the newly revamped Red Death Reformed, an evil pulse rifle that can change the tides of reality.
How To Complete Taken Path Quest In Destiny 2
After completing the three Curse Quests, it will be time to complete the Taken Path Exotic Quest to unlock the Derealize Mission, and to do that, players will have to hunt for three Hive Statues hidden in The Nether (Dreadnaught).
The first statue is located in the Trenchways, in the Chasm zone. From the spawn point, stick to the wall and climb the stairs. Then, enter the next room and descend.
Look to the right, and the statue will be in plain sight. Activate it and kill the Taken Wizard to claim another Taken Osseous Fragment.
The second statue is located in the Hall of Souls, just on the opposite side of the spawning zone. Look for the statue near the access to the next Nether area. Then, activate it and kill the Wizard mini-boss to claim a second Taken Osseous Fragment.
The third and final statue is located in The Mausoleum. Head to the zone where the Ogre boss spawns and drop below the platform where Toland is usually perched. Then look behind the Taken amalgamation to find the Statue hidden there. Kill the Dread mini-boss and go back to the statue to claim the final Osseous Fragment.
Related
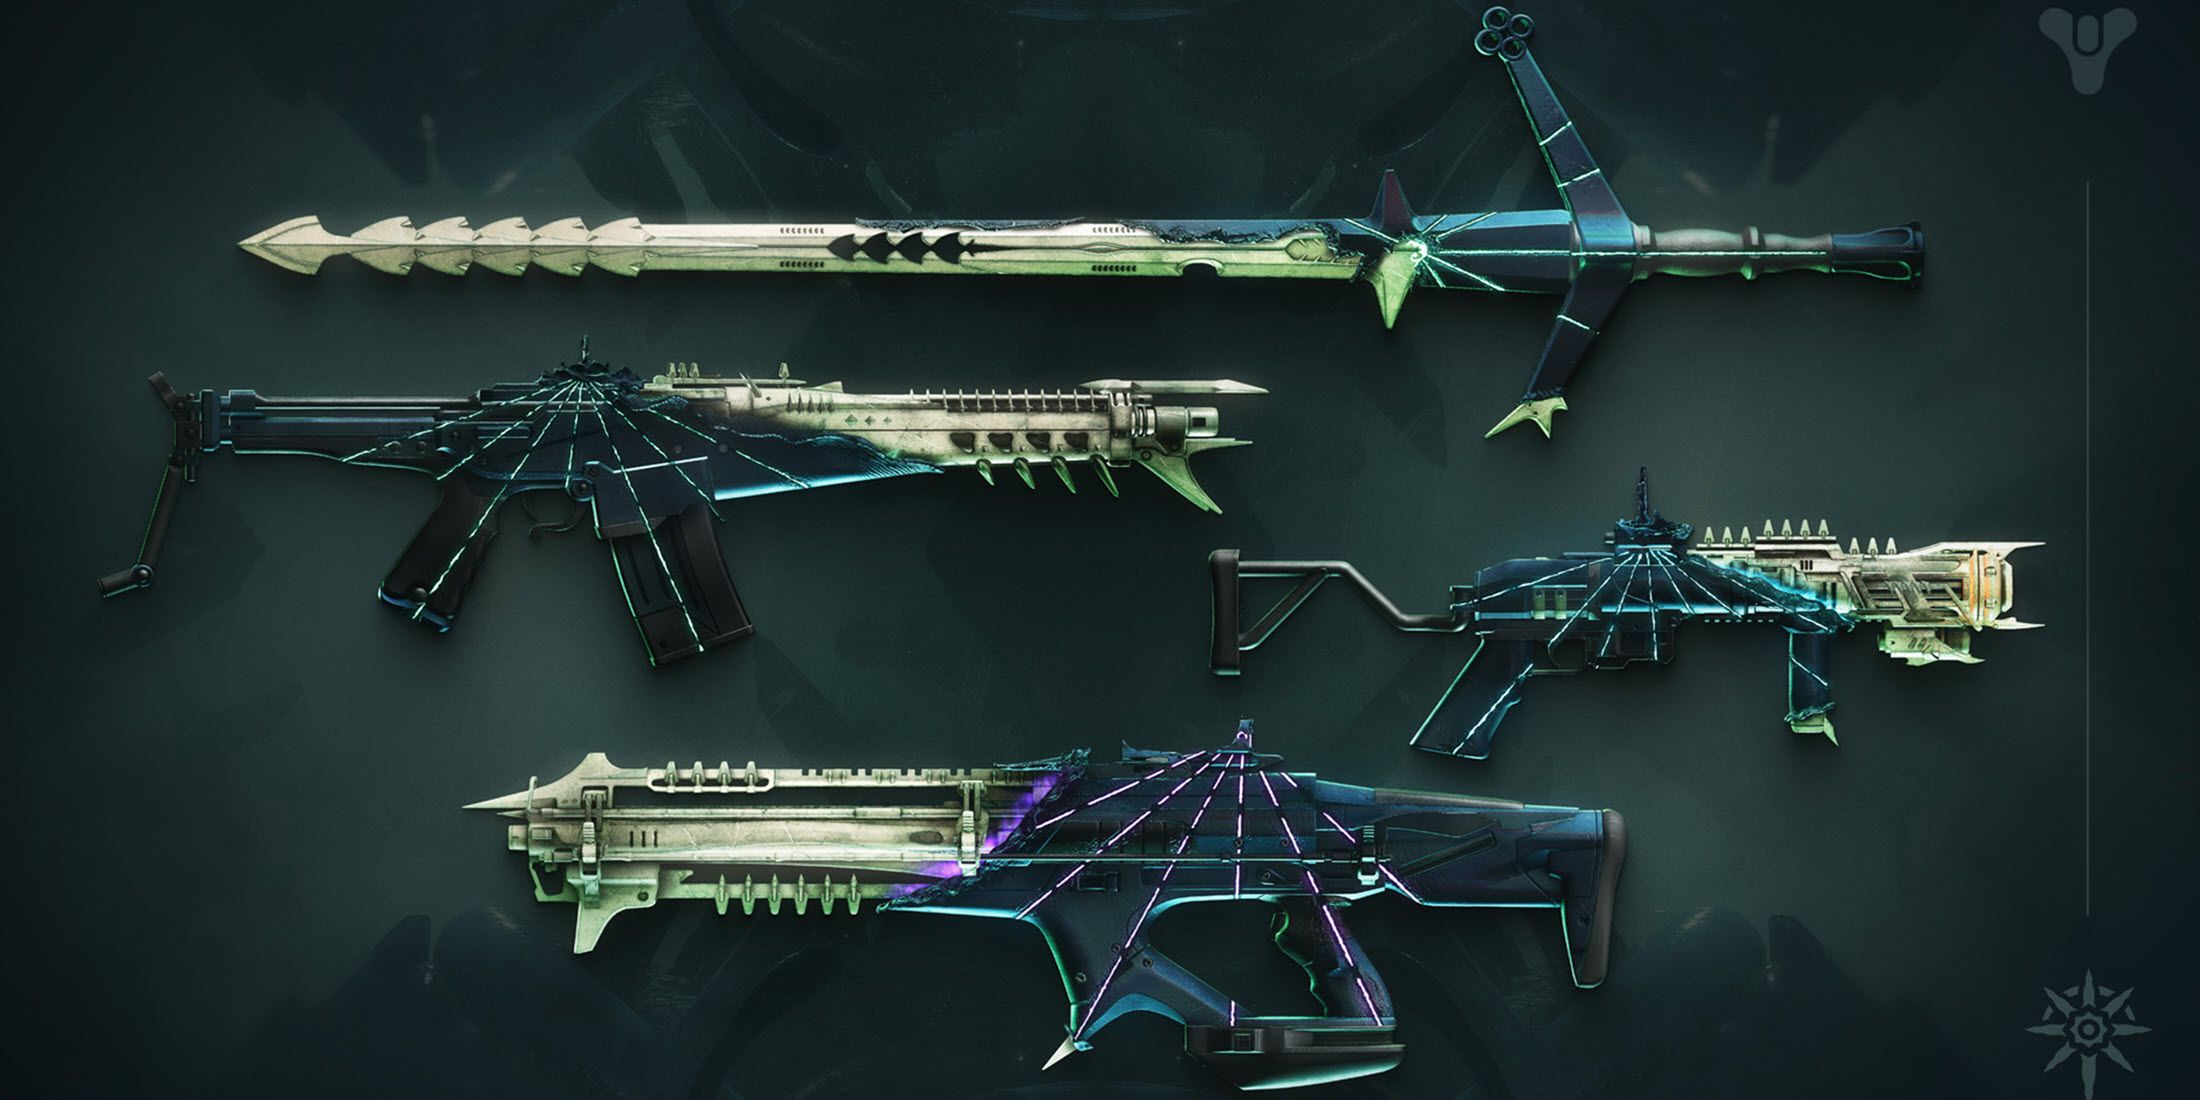
Destiny 2: All Episode Heresy Weapons, Ranked
This list ranks all the new legendary weapons from Destiny 2’s Episode Heresy by their relative power and where they lie in the meta.
Once the last Taken Osseous Fragment is in the power of the Guardian, a new Activity called ‘Derealize,’ will be unlocked. Finally, it is time to start the quest and claim the Barrow-Dyad Exotic SMG.
How To Complete Derealize Exotic Quest In Destiny 2
Derealize is divided into four main stages: The first one is a battle against Dread forces, which include Attendants, Omens, Weavers, Tormentors, Grim, and Husks. Throughout the quest, players need to be extremely careful regarding the debuff called ‘Suffocating Terror‘ caused by the Big Bad Eyes that float around the map.
Accumulating 20 charges of this debuff will immediately stun and kill the Guardian. To prevent this debuff, players should take cover in certain places to avoid the gaze of the eyes. Near the corners of each arena, there are small walls that prevent players from accumulating Suffocating Terror; using them is the best way to avoid wiping.
Continue beating the Tormentors and the rest of the Dread forces and pursue the Commander. Upon reaching a plateau, there will be a Harbinger boss that needs to be defeated in order to open the barrier covering the Taken Portal. Defeat it and proceed through the ascendant plane until you reach the first boss arena.
How To Beat Vrhhsik, Seeker Of Power
This fight will be pretty straightforward, players just need to remember the mechanics of charging the Taken Orb and dunking it into the marked spot. Dealing damage to the boss will eventually trigger a shield, and two Taken Ogers will pop out. A Void Machine Gun or a Linear Fusion Rifle would be ideal for this fight.
Kill the Ogers, claim the taken relics, and charge them by killing Taken. Once each relic is charged, one of the Bight Bubbles will become the dunking zone. Jump through the platforms, and deposit the Taken energy to break the boss shield and initiate the damage phase.
The second time, players will be taken to the Ascendant Plane, and the dunking zone for the orb will be further away. If players remember Oryx and The Witcher encounters from the King’s Fall Raid, the process is similar. Jump through the platforms and then repeat the damage phase.
Once the boss is severely damaged (1/4 HP left), he will flee to one of the extremes of the arena and teleport to the ascendant plane. Everything around the Guardian will begin to corrupt, and after few moments, they will be teleported as well. Inside this small arena, players will be pinned against Vrhhsik in a stressful last encounter.
He will occasionally summon some Taken and Dread minions that will mostly pop out from behind the player, outside of the ‘bubble’ arena where the boss is fought, so it’s vital that gamer’s watch their back.
How To Escape The Ascendant Plane Loop
After beating Vrhhsik, Seeker of Power, it will be time for another puzzle. Players will notice a countdown named ‘Reality Teardown‘ in the upper left corner of their screens with the ‘No Escape’ Quest Objective. Each time the countdown reaches zero, players will be teleported to a randomized room with another directional puzzle.
If players remember the directional puzzle from the previous stages of this quest, it will be quite easy for them to move away from this strange trap. But to speed things up, keep in mind that the order of the runes is read from left to right, and players should only solve the rune puzzle that follows the sequence, letting the others pass.
- Check if the rune in the sequence is the same as what’s represented by stepping on the plate.
- If yes, then move in the indicated direction to break one of the seals.
- If not, let the countdown reach zero, and repeat the process until breaking every seal.
Derealize Exotic Quest Jumping Puzzle Solution
As with any Exotic Quest in Destiny 2, there’s a mandatory jumping puzzle part with some stressful mechanics that can make even veteran Guardians bite their nails in anguish. Derealize has such a part, though it is a short one, thankfully.
After being teleported outside of the Ascendant Plane, players will have to climb through invisible platforms (that can be revealed using your Ghost) and then continue moving upwards to claim yet another Taken Osseous Fragment waiting at the Quest Marker.
After that, jump forward and drop to continue through the Taken-ridden platforms. Watch out for the death wall pistons, similar to those from the King’s Fall Raid. Now, look for the hexagonal openings in the walls to overcome the Taken barriers. Get inside those when the pistons retract and move behind the walls to reach the next part.
Pay attention to Void Crystals along the path. There are 3 in total, and they need to be destroyed in order to open a Hive Barrier at the end of this jumping puzzle part.
If you cannot find the crystal you’re looking for, try aiming to the other side of the chasm, and jump using a sword into the Taken Blight balls to access another area where there’s a crystal to break. Once players break 3 crystals and proceed forward, it will be time to meet the final boss of this Exotic Quest and claim the Barrow-Dyad Exotic weapon.
How To Beat Xir-Kuur In Destiny 2
Place the banner, proceed forward, look for the altar on the front right side of the arena to find the Barrow-Dyad SMG, claim it, and prepare for a tough fight. Xir-Kuur has two bodies: one Taken and the other Not-Taken, and players will have to beat them both if they want to complete the Exotic Quest and claim the Quest that triggers the first Intrinsic.
The arena will be filled up with Terror Eyes (those that inflict ‘Suffocating Terror‘). Players should be aware that there are only 2 sides in the arena that are safe from both the boss’s attacks and the gaze of the eyes. One is on the upper right side (a platform with a barrier that offers cover), and the other on the bottom left side (a small barricade that can be used to avoid the gaze and shoot the boss).
The boss will switch from his Taken and Not-Taken forms, and players need to kill both in various damage phases. There aren’t too many complicated mechanics to get familiar with here, aside from players needing to deal with the minions that keep popping up.
After beating both of the boss versions, Guardians will need to flee, since it seems this huge Taken baddie is immortal. Run to the entrance of the arena and seal the door using the Hive Magic Ritual Circle. Enjoy the tension of being exposed to the boss’s fire and the ravenous Thralls trying to chew the Guardian’s boots, and the quest will be over.

- Released
-
August 28, 2017
- OpenCritic Rating
-
Mighty






Leave a Reply