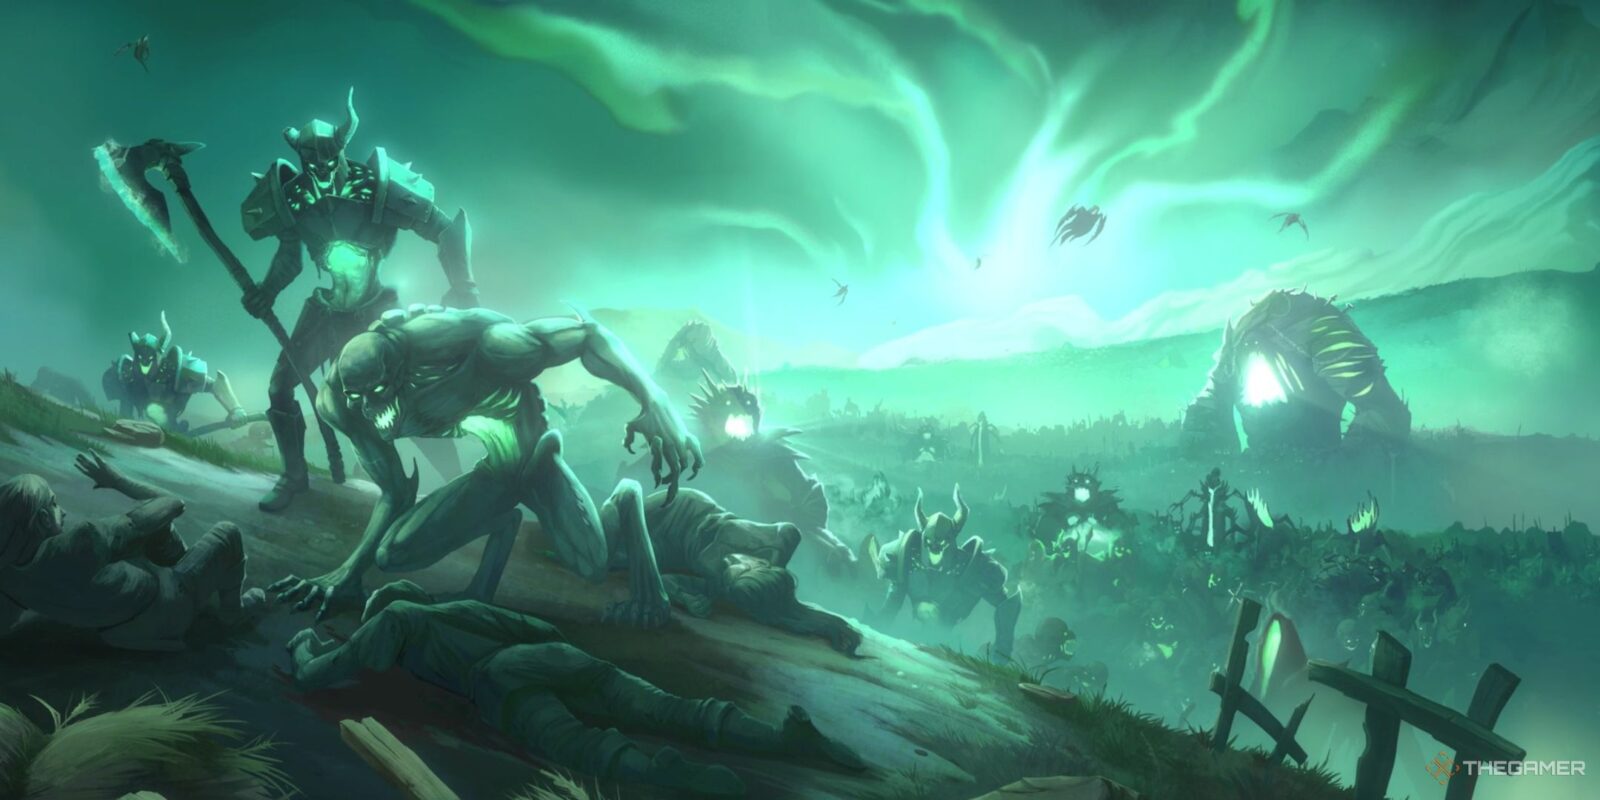
Age Of Darkness: Final Stand isn’t an easy game. Even when you think things are well in hand, the next Death Night is always just around the corner, and a single breach of your defenses can be all it takes for your carefully-laid strategy to fall apart.

Related
Age Of Darkness: Final Stand – 8 Beginner Tips
Keep the Nightmares at bay with these tips for Age Of Darkness.
Knowing the game, especially the particulars of each unit, will go a very long way to getting you your first win and helping reach victory on higher difficulty levels. We’ve collected the stats for all the troops under your command, as well as the Nightmares that will attack your Keep night after night, to use as a reference.
Basic Units
These are the troops you’ll be deploying to keep the Veil at bay. They’ll always be outnumbered, so they’ll rely on your leadership and planning to overcome the odds.
Melee Units
|
Unit |
Faction(s) |
HP |
Damage |
Attack Time |
DPS |
Armor Shred |
Move Speed |
Vision |
Armor |
Emboldening |
Notes |
|---|---|---|---|---|---|---|---|---|---|---|---|
|
Soldier |
Order, Rebellion |
125 |
7 |
1.4 seconds |
5 |
0 |
1.6 tiles/second |
5 tiles |
0 |
75 |
Cheap and fast to train, with decent damage. |
|
Cultist |
Volatists |
70 |
4 |
1.2 seconds |
3.3 |
2 |
1.6 tiles/second |
5 tiles |
0 |
75 |
Training a Cultist spawns a second one for free. |
|
Pikeman |
All |
90 |
13 |
2.5 seconds |
5.2 |
5 |
1.4 tiles/second |
6 tiles |
10 |
275 |
Melee attack reaches one tile away, allowing the Pikeman to attack over allies and walls. |
|
Rogue |
Rebellion |
70 |
25 |
2 seconds |
12.5 |
10 |
1.4 tiles/second |
6 tiles |
0 |
350 |
Generates a small amount of Gold when she delivers a killing blow; can enter Stealth to become invisible and deal triple damage on her next melee attack. |
|
Lightbearer |
Order |
90 |
3 |
1.8 seconds |
1.67 |
0 |
1.2 tiles/second |
6 tiles |
0 |
350 |
Light’s Embrace grants up to 12 allies within range 5HP/s regen for 10 seconds, can be used once every minute. |
|
Sentinel |
All |
250 |
10 |
3 seconds |
3.3 |
0 |
1.2 tiles/second |
5 tiles |
150 |
325 |
Expensive and slow, but the most durable unit in the game. |
|
Loyal Guard |
Rebellion |
65 |
10 |
1.8 seconds |
5.56 |
0 |
1.6 tiles/second |
5 tiles |
10 |
N/A |
Summoned by Aelis’ abilities; can’t be directly controlled, instead follows and protects Aelis. |
|
Order Knight |
Order |
250 |
12 |
2.3 seconds |
5.2 |
0 |
1.4 tiles/second |
6 tiles |
100 |
150 |
Less tanky than the Sentinel, but more aggressive.. |
Melee units can have their attack time, Horror resistance, or HP total improved via the skill tree.
Ranged Units
|
Unit |
Faction(s) |
HP |
Damage |
Attack Time |
DPS |
Armor Shred |
Range |
Move Speed |
Vision |
Armor |
Emboldening |
Notes |
|---|---|---|---|---|---|---|---|---|---|---|---|---|
|
Archer |
All |
50 |
10 |
2.5 seconds |
4 |
0 |
3 tiles |
1.5 tiles/second |
5 tiles |
0 |
175 |
Cheapest ranged option, good for tower duty. |
|
Arbalest |
Order, Volatists |
50 |
20 |
5.3 seconds |
3.8 |
25 |
6 tiles |
1.2 tiles/second |
6 tiles |
10 |
425 |
Great at removing armor, less efficient at dealing HP damage. |
|
Hunter |
Rebellion |
90 |
16 |
3 seconds |
5.3 |
16 |
5 tiles |
1.3 tiles/second |
6 tiles |
0 |
425 |
Can set gas traps to damage and slow enemies. |
|
Harbinger |
Volatists |
120 |
30 |
2.8 seconds |
10.7 |
2 |
2 tiles |
1.2 tiles/second |
6 tiles |
0 |
400 |
Dark Prophecy gives the Harbinger a Move Speed buff but Horrifies nearby allies; good for covering the Harbinger’s escape in a bad situation. Great short-range DPS. |
Ranged units can improve their vision and attack range, damage, or Emboldening rate via the skill tree.
Siege Units
|
Unit |
Faction(s) |
HP |
Damage |
Attack Time |
DPS |
Armor Shred |
Range |
Move Speed |
Vision |
Armor |
Emboldening |
Notes |
|---|---|---|---|---|---|---|---|---|---|---|---|---|
|
Flamer |
All |
137 |
8 |
2.7 seconds |
2.96 |
0 |
2 tiles |
1.1 tiles/second |
6 tiles |
0 |
825 |
Attacks in a small cone, setting enemies hit on fire for damage over time. |
|
Impaler |
All |
324 |
30 |
4.4 seconds |
6.82 |
40 |
6.5 tiles |
0.8 tiles/second |
8 tiles |
0 |
1000 |
Great damage, shred, and knockback make this a key late-game unit. |
|
Catapult |
Order |
250 |
29 |
6.9 seconds |
4.2 |
10 |
5 tiles |
0.5 tiles/second |
12 tiles |
50 |
1250 |
AoE attack, can be set to siege mode to increase range and damage at the cost of movement. |
Siege units can improve their movement speed, knockback, and AoE radius in the skill tree.
Heroes
Your Hero is the most powerful unit in your army, and will revive at your Keep after a few minutes if defeated. You can spend Dark Essence proportional to the remaining revival time to bring them back early.
The stats below are given for each Hero at the start of a Survival Mode match, when they are at Level 1. Their stats, especially HP and Damage, will increase as they level up.
Order Heroes
|
Hero |
HP |
Damage |
Attack Time |
DPS |
Armor Shred |
Move Speed |
Vision |
Armor |
|---|---|---|---|---|---|---|---|---|
|
Sir Edwin Everard |
200 |
15 |
2 seconds |
7.5 |
0 |
1.7 tiles/second |
5 tiles |
20 |
|
Sir Merek Longhold |
320 |
17 |
2.7 seconds |
6.3 |
0 |
1.5 tiles/second |
5 tiles |
51 |
The Order favors a defensive playstyle, and consequently Edwin and Merek have the highest HP and Armor of any Heroes in the game. Both have impressive durability, but Edwin’s flame-based attacks favor a slightly more aggressive approach while Merek is all-in on defense as the tankiest of tanks.
Rebellion Heroes
|
Hero |
HP |
Damage |
Attack Time |
DPS |
Armor Shred |
Range |
Move Speed |
Vision |
Armor |
|---|---|---|---|---|---|---|---|---|---|
|
Queen Aelis Syren |
110 |
18 |
1.3 seconds |
13.85 |
5 |
Melee |
1.7 tiles/second |
5 tiles |
0 |
|
Cyrus Bravaris |
90 |
10 |
1.8 seconds |
5.56 |
3 |
6 tiles |
1.1 tiles/second |
8.5 tiles |
0 |
The Rebellion’s Heroes work well together with their units, and both have very impressive damage with their basic attacks. Aelis has the highest base damage of any Hero, while Cyrus is the only Hero with a ranged attack. However, they have low HP and no Armor, so be careful not to let them get surrounded.
Volatist Heroes
|
Hero |
HP |
Damage |
Attack Time |
DPS |
Armor Shred |
Move Speed |
Vision |
Armor |
|---|---|---|---|---|---|---|---|---|
|
Vizargo Oriah |
165 |
7 |
1.5 seconds |
4.67 |
1 |
1.7 tiles/second |
5 tiles |
0 |
|
Aurelia Pelagren |
170 |
9 |
2 seconds |
4.5 |
1 |
1.8 tiles/second |
5 tiles |
17 |
Vizargo and Aurelia have fairly weak stats, but make up for it with extremely powerful combat abilities. Once they’ve leveled up, they have a fantastic array of buffs and area attacks that let them run roughshod over their foes; until then, they’ll need to rely on their legions of loyal Cultists to keep them safe.
Nightmare Units
The Nightmares are the endless army of the Veil. Know your enemy, because you’ll be seeing an awful lot of them each time you play.
|
Nightmare |
HP |
Damage |
Attack Time |
DPS |
Armor Shred |
Range |
Move Speed |
Vision |
Armor |
Notes |
|---|---|---|---|---|---|---|---|---|---|---|
|
Crawler |
20 |
4.5 |
1.7 seconds |
2.65 |
0 |
Melee |
0.5 tiles/second |
12 tiles |
0 |
The most common Nightmare, easily defeated but usually appears in large groups. |
|
Axeman |
45 |
10 |
1.7 seconds |
5.88 |
5 |
Melee |
0.8 tiles/second |
12 tiles |
10 |
Often found guarding Points of Interest or leading squads of Crawlers. |
|
Spearman |
30 |
4 |
1.7 seconds |
2.35 |
2 |
3 tiles |
0.8 tiles/second |
12 tiles |
0 |
Comparable to the Axeman, but has a ranged attack. |
|
Spitter |
350 |
30 |
4.9 seconds |
6.12 |
0 |
5 tiles |
1.1 tiles/second |
6 tiles |
80 |
AoE attack damages and Horrifies any units it hits. |
|
Burster |
250 |
Special |
1.7 seconds |
N/A |
0 |
Self |
0.4 tiles/second |
12 tiles |
50 |
Makes a single attack that deals massive damage to nearby units, dying in the process. |
|
Wraith |
420 |
30 |
2.3 seconds |
13.04 |
20 |
Melee |
1.6 tiles/second |
6 tiles |
0 |
Horrifies all units in a wide area around it upon dying. |
|
Crusher |
2300 |
65 |
2.7 seconds |
24.07 |
35 |
Melee |
0.7 tiles/second |
12 tiles |
340 |
Only appears during Death Nights. Have a plan to deal with them or you will lose. |
Killing a Burster before it explodes will stop its attack, but it’s usually safer to just move out of its blast radius.

Related
9 Best Last Stands In Video Games
There is none more courageous than these video game characters who gave their all.


Leave a Reply