Summary
- Completing dungeons solo in Destiny 2 is a great achievement for solo players, but it requires preparation and skill.
- The oldest dungeons, like Shattered Throne and Pit of Heresy, are generally easier to complete solo due to their simple mechanics and lower enemy density.
- The more recent dungeons, such as Warlor’s Ruin and Vesper’s Host, present more challenges with tougher bosses and increased enemy density, making them harder to solo.
One of the greatest achievements in Destiny 2 for a solo player is to complete a dungeon on their own without the help of a fireteam. Dungeons are sort of like mini-raids, with mechanics and encounters, but much less demanding than actual six-man raids. This is why it’s possible to also solo them, though it requires tremendous preparation and skill from the player.
Related
Destiny 2: What Order to Play the Campaigns In
There are several story campaigns in Destiny 2, but at first glance it is not obvious where you should start for the story to make sense.
With five dungeons currently in Destiny 2, players have a few options to choose from when it comes to starting their journey of solo completing dungeons. Some options are clearly easier than others, and one rule stands true: the oldest dungeons usually tend to be the easiest. Here’s which dungeons are the easiest and the hardest to solo complete in Destiny 2.
Updated on February 12, 2025, by Anastasia Maillot: Sundered Doctrine is the newest addition to Destiny 2’s catalog of dungeons, and within a day or so of the dungeon and contest mode being out, it was already soloed and solo flawlessly completed. As a Dread dungeon, it brings in a few unique challenges due to its incredibly annoying enemies that take advantage of Stasis and Strand effects, but is it enough to top Vesper’s Host and Ghosts of the Deep? With Sundered Doctrine’s mechanics and gameplay in mind, here’s how the ranking has been affected as of Episode: Heresy.
10
Easiest: Shattered Throne
Lowest Enemy Density With Minimal Mechanics
- Location: Dreaming City
- Hardest Feature: There are no rally banners due to it being an old dungeon.
Shattered Throne is the first dungeon introduced into Destiny 2. It can be found in the Dreaming City and has a distinct Taken theme. Players will encounter tons of Taken enemies inside the dungeon, and it’s here that they can also unlock the Wish-Ender Exotic bow.
As the oldest dungeon, Shattered Throne is the easiest to complete. The mechanics are simple: there are no cramped spaces with massive enemy density, and there’s usually good cover in most encounters. The only quirk this dungeon has is the lack of rally banner spots. If a player wipes, they won’t be able to plop down a rally banner and spawn with full heavy ammo, which can be incredibly infuriating.
9
Pit Of Heresy
A Very Short Dungeon With A Bit More Enemy Pressure
- Location: The Moon
- Hardest Feature: Enemy density in encounters starts to ramp up here compared to Shattered Throne.
The second easiest on the list is, without a doubt, Pit of Heresy, a dungeon that was introduced in Shadowkeep and can be found on the Moon. Themed around the Hive, players will travel deep into the crust of the Moon to uncover its vile secrets.
As with Shattered Throne, the mechanics of Pit of Heresy are incredibly simple. Moreover, the enemy density isn’t quite at the level of some of the newer dungeons, so players likely won’t ever get overwhelmed while doing this dungeon solo.
Related
Destiny 2: Every Title Ranked From Easiest To Hardest To Earn
These titles are earned after completing a series of triumphs that are either time-consuming or incredibly difficult for the average player.
While things might get a little intense at the boss encounter due to enemy spam, Pit of Heresy is sort of an upgraded Shattered Throne in the sense that it’s fast to complete and simple but comes with rally banner spots before every encounter. That means wiping will feel less annoying than in the Shattered Throne dungeon.
8
Prophecy
The First Dungeon That Ramps Up The Difficulty With Its Bosses
- Location: Legends tab
- Hardest Feature: A mechanic that forces players into inconvenient positions and a final boss that forces movement.
With the two easiest and most beginner-friendly dungeons out of the way, the third hardest on the list is undoubtedly Prophecy. This is where the environment and enemy density start to kick up a little, and players will need to have good sustain, positioning, and a solid loadout to survive. The first boss battle alone is deadly in terms of spammy Taken enemies that can chip away at the player with ease and push them off the central platform.
The abundance of Taken snipers in multiple areas will also make this dungeon much more challenging. That said, the sparrow section is easy to get through if players take their time, and the boss battle against Kell Echo is one of the simpler dungeon bosses in the game.
While the mechanics aren’t difficult, players might sometimes waste time if they accidentally kill a Taken Knight while standing in the light or the shadow, which will spawn the wrong type of motes. This forces players to search for a good position for some time, so the key is to be patient and to really pay attention to cover and good spots to stand in while doing damage to Knights and avoiding spam and snipers.
7
Spire Of The Watcher
Super Simple Mechanics & Short Dungeon, But With Two High Health Bosses
- Location: Savathun’s Throne World/Mars
- Hardest Feature: The final boss is a Wyvern, which are famously difficult to deal damage to.
Released during Season of the Seraph, Spire of the Watcher takes guardians back to Mars to infiltrate a Seraph Bunker. Here, players will be met with a fairly simple-to-understand mechanic (basically connect the dots) that only has one variation introduced halfway through the dungeon. This leaves much of the difficulty to be found elsewhere in the dungeon—the bosses.
Related
Destiny 2: 25 Best Weapons To Craft First
With Destiny 2 approaching the end of the Lightfall era, which weapons should players craft as soon as possible?
Both bosses have decently high health pools and somewhat annoying movement patterns. The first boss, Akelous the Siren’s Current, is a carbon copy of the Garden of Salvation boss Consecrated Mind Sol Inherent, except for the fact that once a damage phase ends, it will launch guardians back and potentially off the map.
The final boss, Persys the Primordial Ruin, has an extremely difficult crit spot to hit, making rocket launchers the most viable option, but even those don’t perform as optimally as one would hope. This is due to the fact that Wyvern’s wings are immune to all damage, essentially “nerfing” some of the splash damage rockets would dish out on impact. The final boss alone, along with Supplicants assaulting the player during the mechanics part of the encounter, put it above some of the older ones.
6
Grasp Of Avarice
A Mechanic That Adds A Time-Limit Pressure, With Bosses Encounters That Have High Enemy Density
- Location: Cosmodrome
- Hardest Feature: Dealing with the two minibosses at the start of each boss mechanic phase in the final boss room.
Introduced in the 30th Anniversary DLC, Grasp of Avarice leads players down into the depths of the infamous Loot Cave to take down a Fallen pirate captain. Players will encounter a mix of enemies in this dungeon, which makes it unique from the previous ones that tended to focus on one enemy type. Both Hive and Fallen will make an appearance here.
The enemy density in Grasp of Avarice is absolutely no joke. Its three major boss encounters are riddled with enemies, starting from the ogre fight that requires not only quick and efficient ad-clear abilities but also incredibly good boss damage. What makes the mechanics tougher than Spire’s is the time limit once players pick up the fake engrams. The added pressure is present in two of the dungeon’s important boss encounters.
While the sparrow section is tough, the new sparrow changes should make it somewhat simple. Players will only need to learn by heart where the time-extending mine buttons are located. For the final boss fight, it’s the same issue as with the ogre fight: players not only need to clear ads in order to not get completely overwhelmed in the relatively small arena but also must be able to dish out damage on the boss. It doesn’t help that two mini-bosses also make an appearance here, including a sniper shank that can deal serious damage at range.
5
Sundered Doctrine
A Dungeon Focused On Mechanics With A Doable Final Boss
- Location: Savathun’s Throne World
- Hardest Feature: Staying alive during the Zoetic Lock encounter.
As Destiny 2’s first Dread dungeon, one would imagine that Sundered Doctrine would rate higher. However, all things considered, the dungeon is a fairly simple run compared to a few others in the ranking. It doesn’t come with the grueling DPS checks of Warlord’s Ruin and Ghosts of the Deep, nor is it particularly long. The final boss damage phase and mechanical phase also isn’t a marathon like in Vesper’s Host. In fact, the last boss has significantly less health than the ones seen in previous dungeons.
So, what exactly makes Sundered Doctrine difficult? It’s early to say still, but the second encounter featuring the Zoetic Lock might just be the biggest threshold in difficulty due to the constant bombardment players endure during damage phases. It will be key to stay alive here while also managing the symbols and not getting overwhelmed with the wrong type of symbols on the keys. If players can manage an abundance of ads, stay alive during the DPS phase, and take charge of the key symbols, the rest of the dungeon is fairly easy.
None of the mechanics are time-sensitive, and making mistakes isn’t punished here as strongly as in other dungeons. For example, in Duality, forgetting to kill the Bellkeepers is a death sentence, and Warlord’s Ruin’s last encounter is an instant wipe if players can’t get rid of their Hex of Vengeful Corruption debuff. With these considerations, Sundered Doctrine earns its spot firmly beneath some of the previous entries, though, as always, some classes might struggle to complete it solo more than others.
4
Warlord’s Ruin
Second And Final Bosses Are Challenging, And The Mechanics Force Players Out Of Position
- Location: EDZ
- Hardest Feature: DPS checks in the second and third encounters.
Warlord’s Ruin may be a short dungeon, but it certainly doesn’t make things easy for the player. All three encounters have plenty of enemies to assault the player, so staying alive is the main challenge. It doesn’t help that the main mechanic of the dungeon involving a sort of capture-point feature will force players out of cover and into inconvenient spots so they can progress the encounter.
The first boss of the dungeon is a pushover, but it’s also what makes the second ogre boss and the final boss much, much more difficult. The final boss, in particular, has a ton of health, and the encounter is structured in a way where players will have to keep moving from one location to another in the arena, dealing with enemies at a close range while getting pummeled by the boss’ attacks (which can very easily kill the player, even with a buff like Restoration x2 active).
Overall, it presents a solid challenge for solo players and shouldn’t be underestimated despite how short it feels.
3
Duality
High Density Of Enemies, Paired With A Long First And Final Boss, As Well As Time Sensitive Mechanics
- Location: The Moon
- Hardest Feature: The timed nature of encounters and having to manage Bellkeepers.
Duality has an infamous reputation in Destiny 2 and is a purely Cabal-themed dungeon. Players will dive deep into Emperor Calus’ mind to fight Calus’ ultimate Nightmare. This dungeon has a unique bell mechanic that turns most encounters into timed ones, and that already puts huge pressure on the shoulders of the player when soloing. Because of this Bellkeeper mechanic alone, Duality gets a bump up over some of the other dungeons mentioned here.
Related
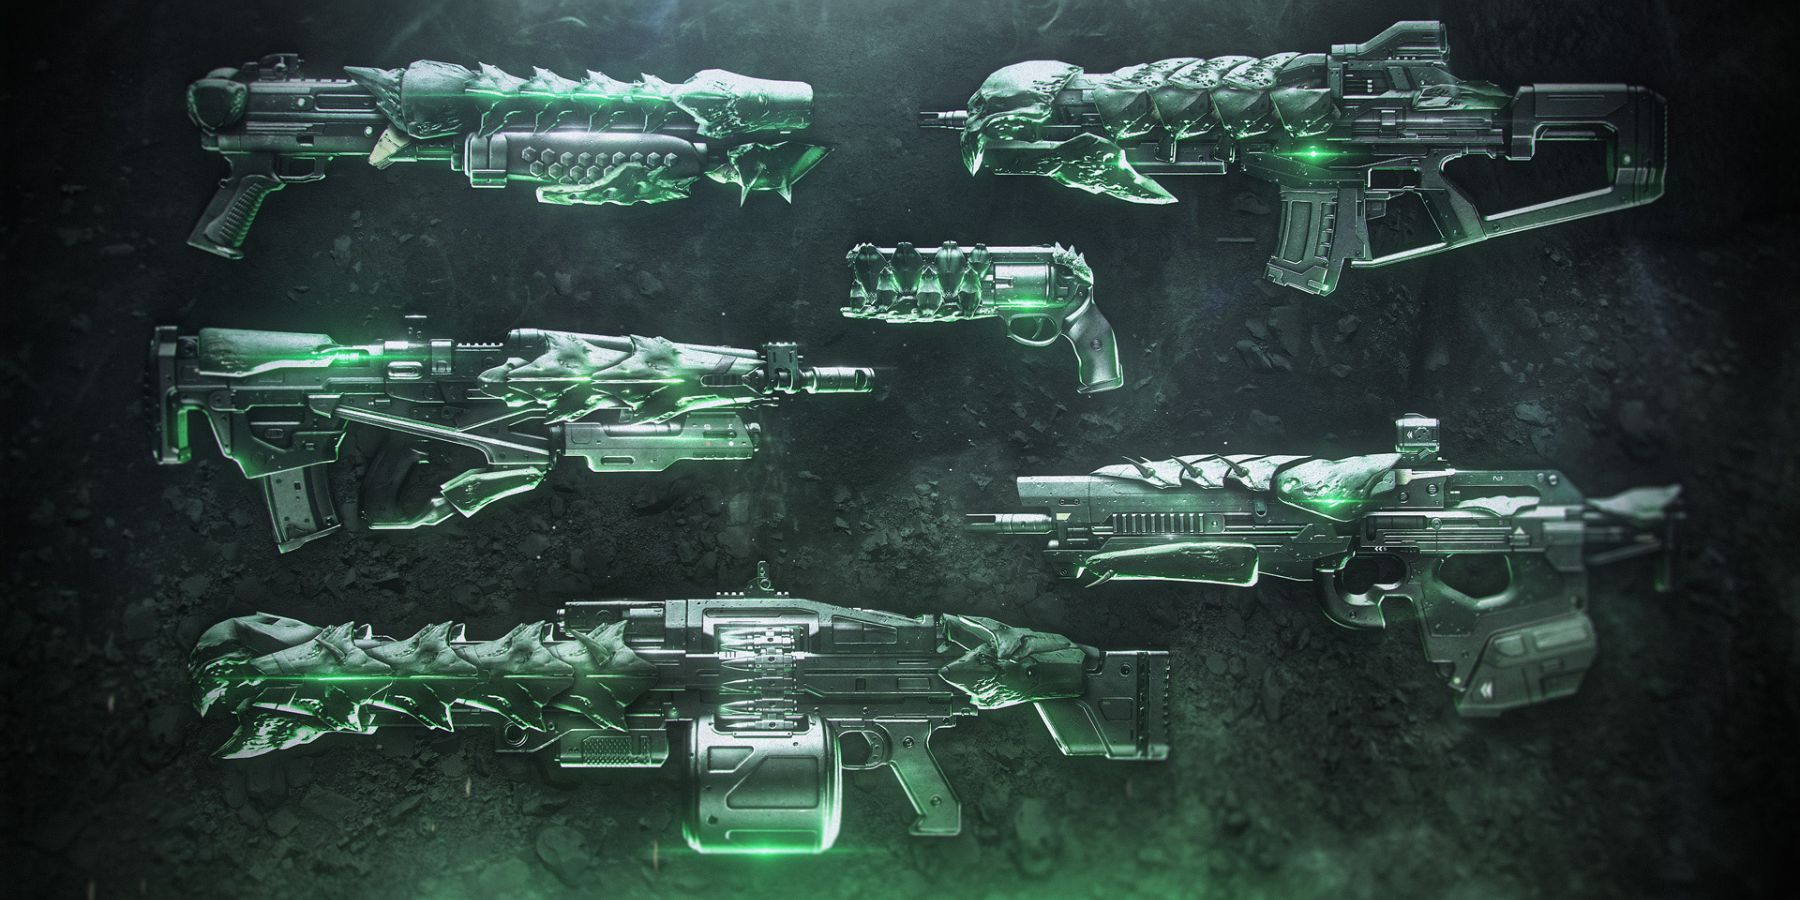
Destiny 2: All Crota’s End Weapons, Ranked
Crota’s End has arrived in Destiny 2, but which of the raid’s Legendary weapons is the strongest?
Not just that, the encounters are incredibly close-quartered. Pair this up with Cabal Phalanxes that can instantly kill with one melee or toss the player into a wall, and it’s about as hard as a dungeon can get. Players should be very careful about environmental kills in this dungeon, which can easily turn a smooth run into a failed one in a single blink of an eye.
The good thing is that all the encounters are very similar in Duality. Players will always have to do a bit of ad-clearing and a bit of boss damage for every encounter. However, the boss fight against Caiatl is the true test of strength, as players need to be fast enough to kill the Bellkeepers and be ready to deal damage without getting killed by snipers or stomped into oblivion by Caiatl herself.
2
Ghosts Of The Deep
A Long, Grueling Dungeon With Merciless Boss Encounters And Lucent Hive
- Location: Legends tab
- Hardest Feature: Enemy density and underwater sections in the second encounter.
Ghosts of the Deep loses its top position, but only by a narrow margin. The dungeon pits players against one of the most dangerous enemy types in the game to this day (just before the Dread): the Lucent Hive. This is an annoying enemy type to deal with due to the Lucent Moths that provide enemies with overshield and explode, dealing damage to the player after an enemy is killed after shortly chasing after the player. That fact alone can end a lot of solo flawless runs.
And speaking of chases, Ecthar, the second boss of the dungeon, is one of the most nail-biting experiences players will have in Destiny 2, especially solo. Forcing the player into a tiny arena full of constantly spawning waves of enemies and an underwater arena where they are chased by the boss and denied oxygen while searching for the correct symbols is just the tip of the iceberg. Without very focused builds, surviving the second boss alone is a tall order.
The final boss Simmumah is a Wizard-type enemy, which is tough to hit due to its unpredictable movement and tiny crit spot, and is also surrounded by waves upon waves of Lucent Hive. The three knights that spawn in this gigantic arena can chip away at the player’s health from very far away. This encounter also has three Lucent Hive Lightbearers, which can kill a solo player quickly. The elimination of their Ghosts adds a ton of additional pressure, needing to weave in and out of cover at the right time.
1
Hardest: Vesper’s Host
The Final Boss Fight Alone Makes This Dungeon A Marathon
- Location: Europa
- Hardest Feature: Staying alive during the final boss DPS phase.
Between Vesper’s Host and Ghosts of the Deep, it’s a very close call. On one hand, Ecthar from Ghosts of the Deep seems like a far more hectic and difficult second encounter, but the Corrupted Puppeteer final boss from Vesper’s Host wins Simmumah from Ghosts due to its copies, long mechanics phase, and extremely dangerous boss arena with lightning strikes. Plus, as mentioned, the Lucent Hive as an enemy type comes with the caveat of Lucent Moths.
All that said, there’s just so little room for error in the final encounter of Vesper’s Host, where solo players have to juggle multiple protocols to start the damage phase while also dodging the copies of the Puppeteer that apply Radiation on the player. Vesper’s Host truly emphasizes mobility and being able to stay in motion at all times. This survivability can be pretty hard to ensure, even in normal mode and while playing on Warlock.
While the first two encounters are a bit more forgiving in this regard despite an abundance of enemies, the final encounter is the true marathon. The second encounter is more of a test of DPS against a unique boss with commendable ad density, but it doesn’t win against something like Ecthar. As such, Vesper’s Host remains the true test of solo prowess in Destiny 2 dungeons.
- Released
-
August 28, 2017
- OpenCritic Rating
-
Mighty







Leave a Reply