Call of Duty Zombies has always been ripe with secrets, and Black Ops 6 is no exception, providing players with the Liberty Falls Main Quest so that the hardcore fans of COD Zombies can showcase their bravery and mastery of the challenge that awaits them in this West Virginian town overrun with the undead.
Related
Black Ops 6 Zombies: Terminus Main Quest Guide
Players must fight the undead horrors and experiments that are stopping their escape from Terminus Island in this Black Ops 6 Zombies main quest!
For players who want to complete the Liberty Falls easter egg, the steps will all be provided below with some useful tips on how to best complete them. Black Ops 6’s Liberty Falls is a relatively short Main Quest, but not without its share of challenges, so get ready to uncover some secrets of Project Janus.
Updated on February 10, 2025, by Jake Fillery: All Liberty Falls easter egg steps can be found below so that players can master Black Ops 6 Zombies’ first map by completing the main easter egg quest. Liberty Falls is one of the easier easter eggs to complete, but it can still be quite the challenge. Players who want to dip their toes into the mayhem of Zombies should consider starting with this map and this easter egg, with the entire main quest for Liberty Falls explained below, in detail.
Step 1: Obtain the Jet Gun (Thrustodyne Model 23)
How to Build the Jet Gun
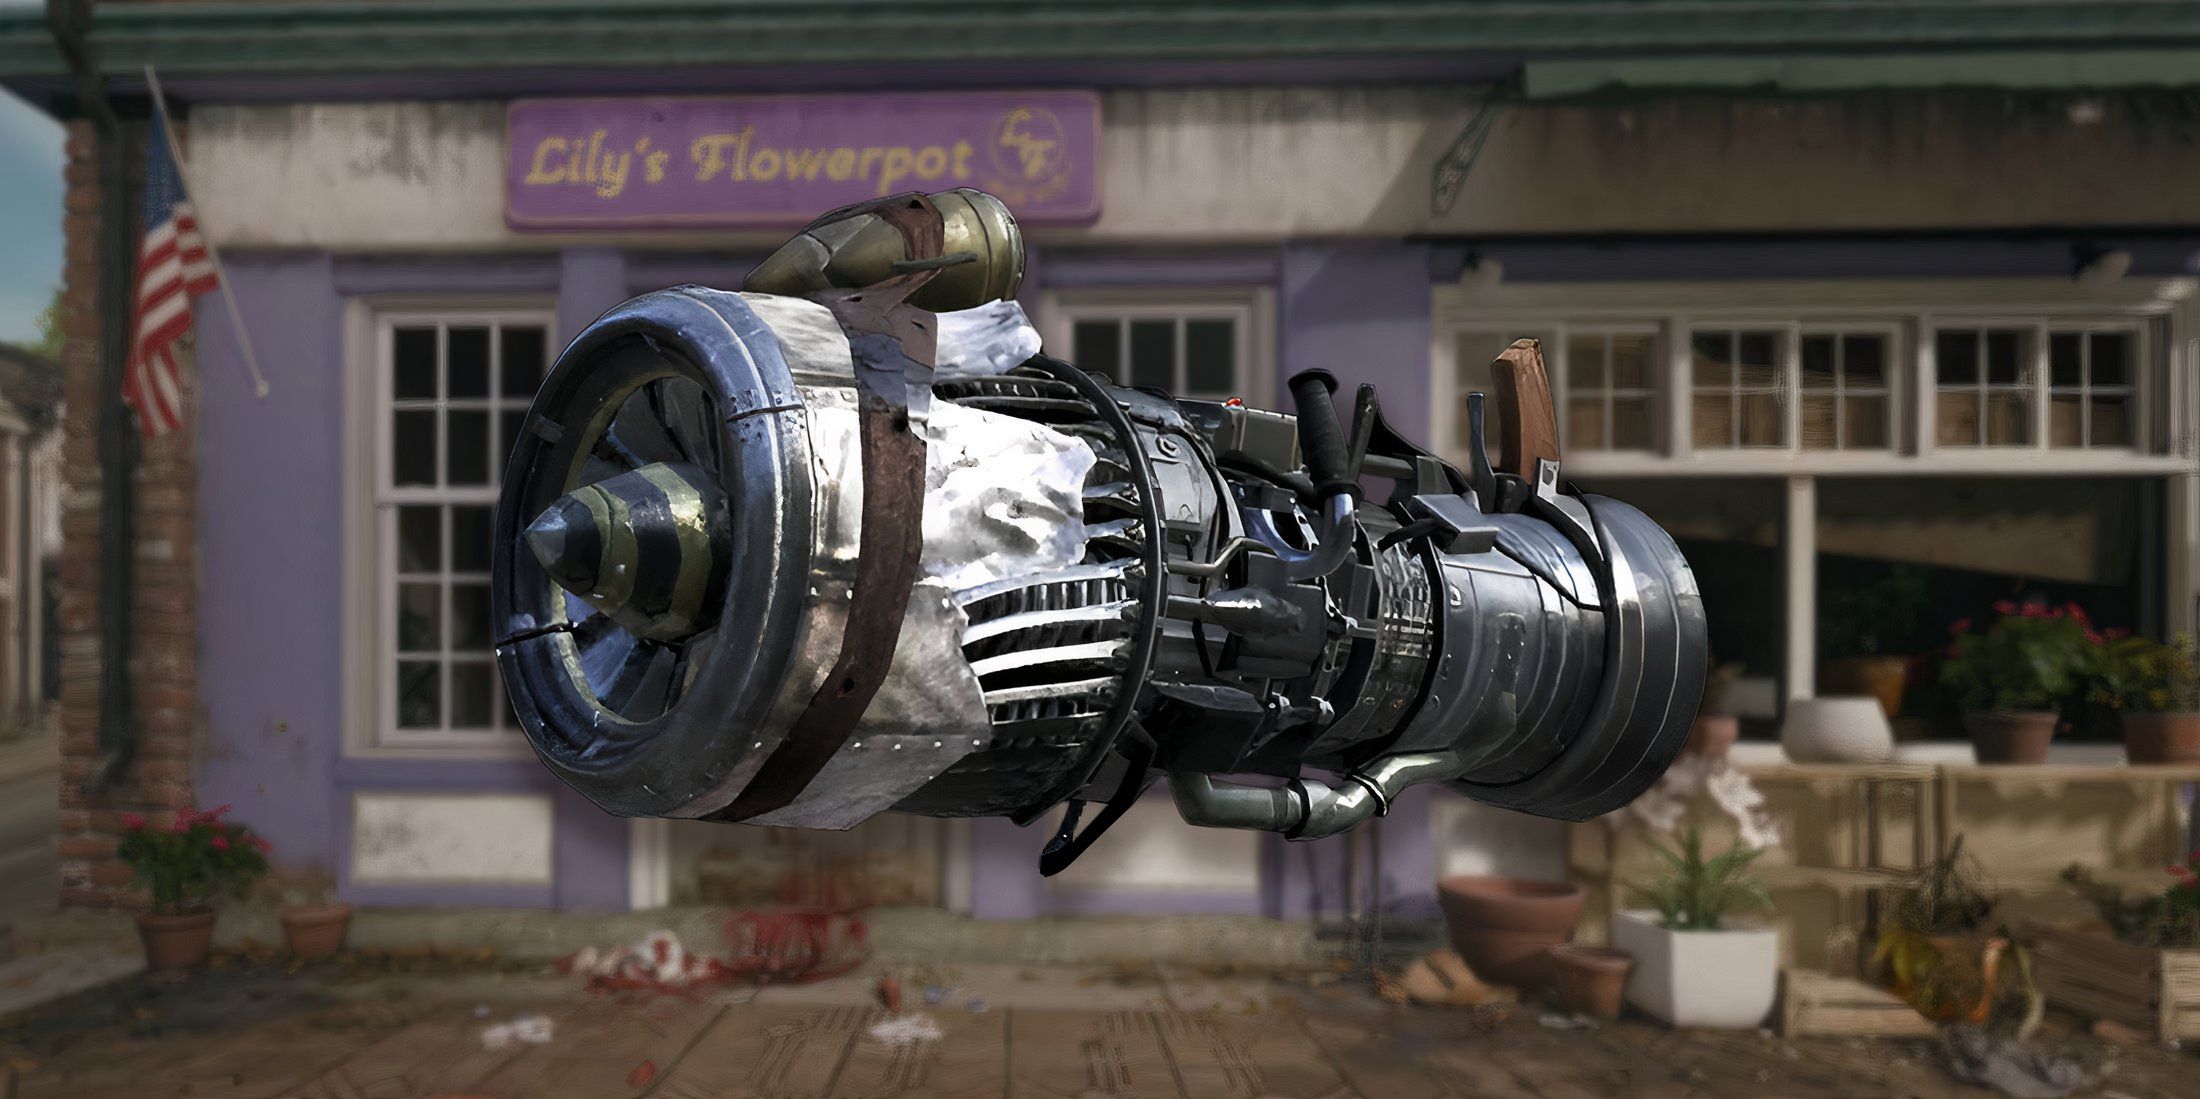
To begin the Liberty Falls easter egg, players need the Jet Gun. While the Jet Gun can be obtained randomly from the Mystery Box or with the Wonderbar! GobbleGum, there’s a guaranteed way to craft the Thrustodyne Model 23 in every game:
Related
Black Ops 6: How to Get the Thrustodyne M23 in Liberty Falls
Black Ops 6’s Liberty Falls features a Wonder Weapon that’s no joke, and the Jet Gun is an essential weapon that can be crafted without delay.
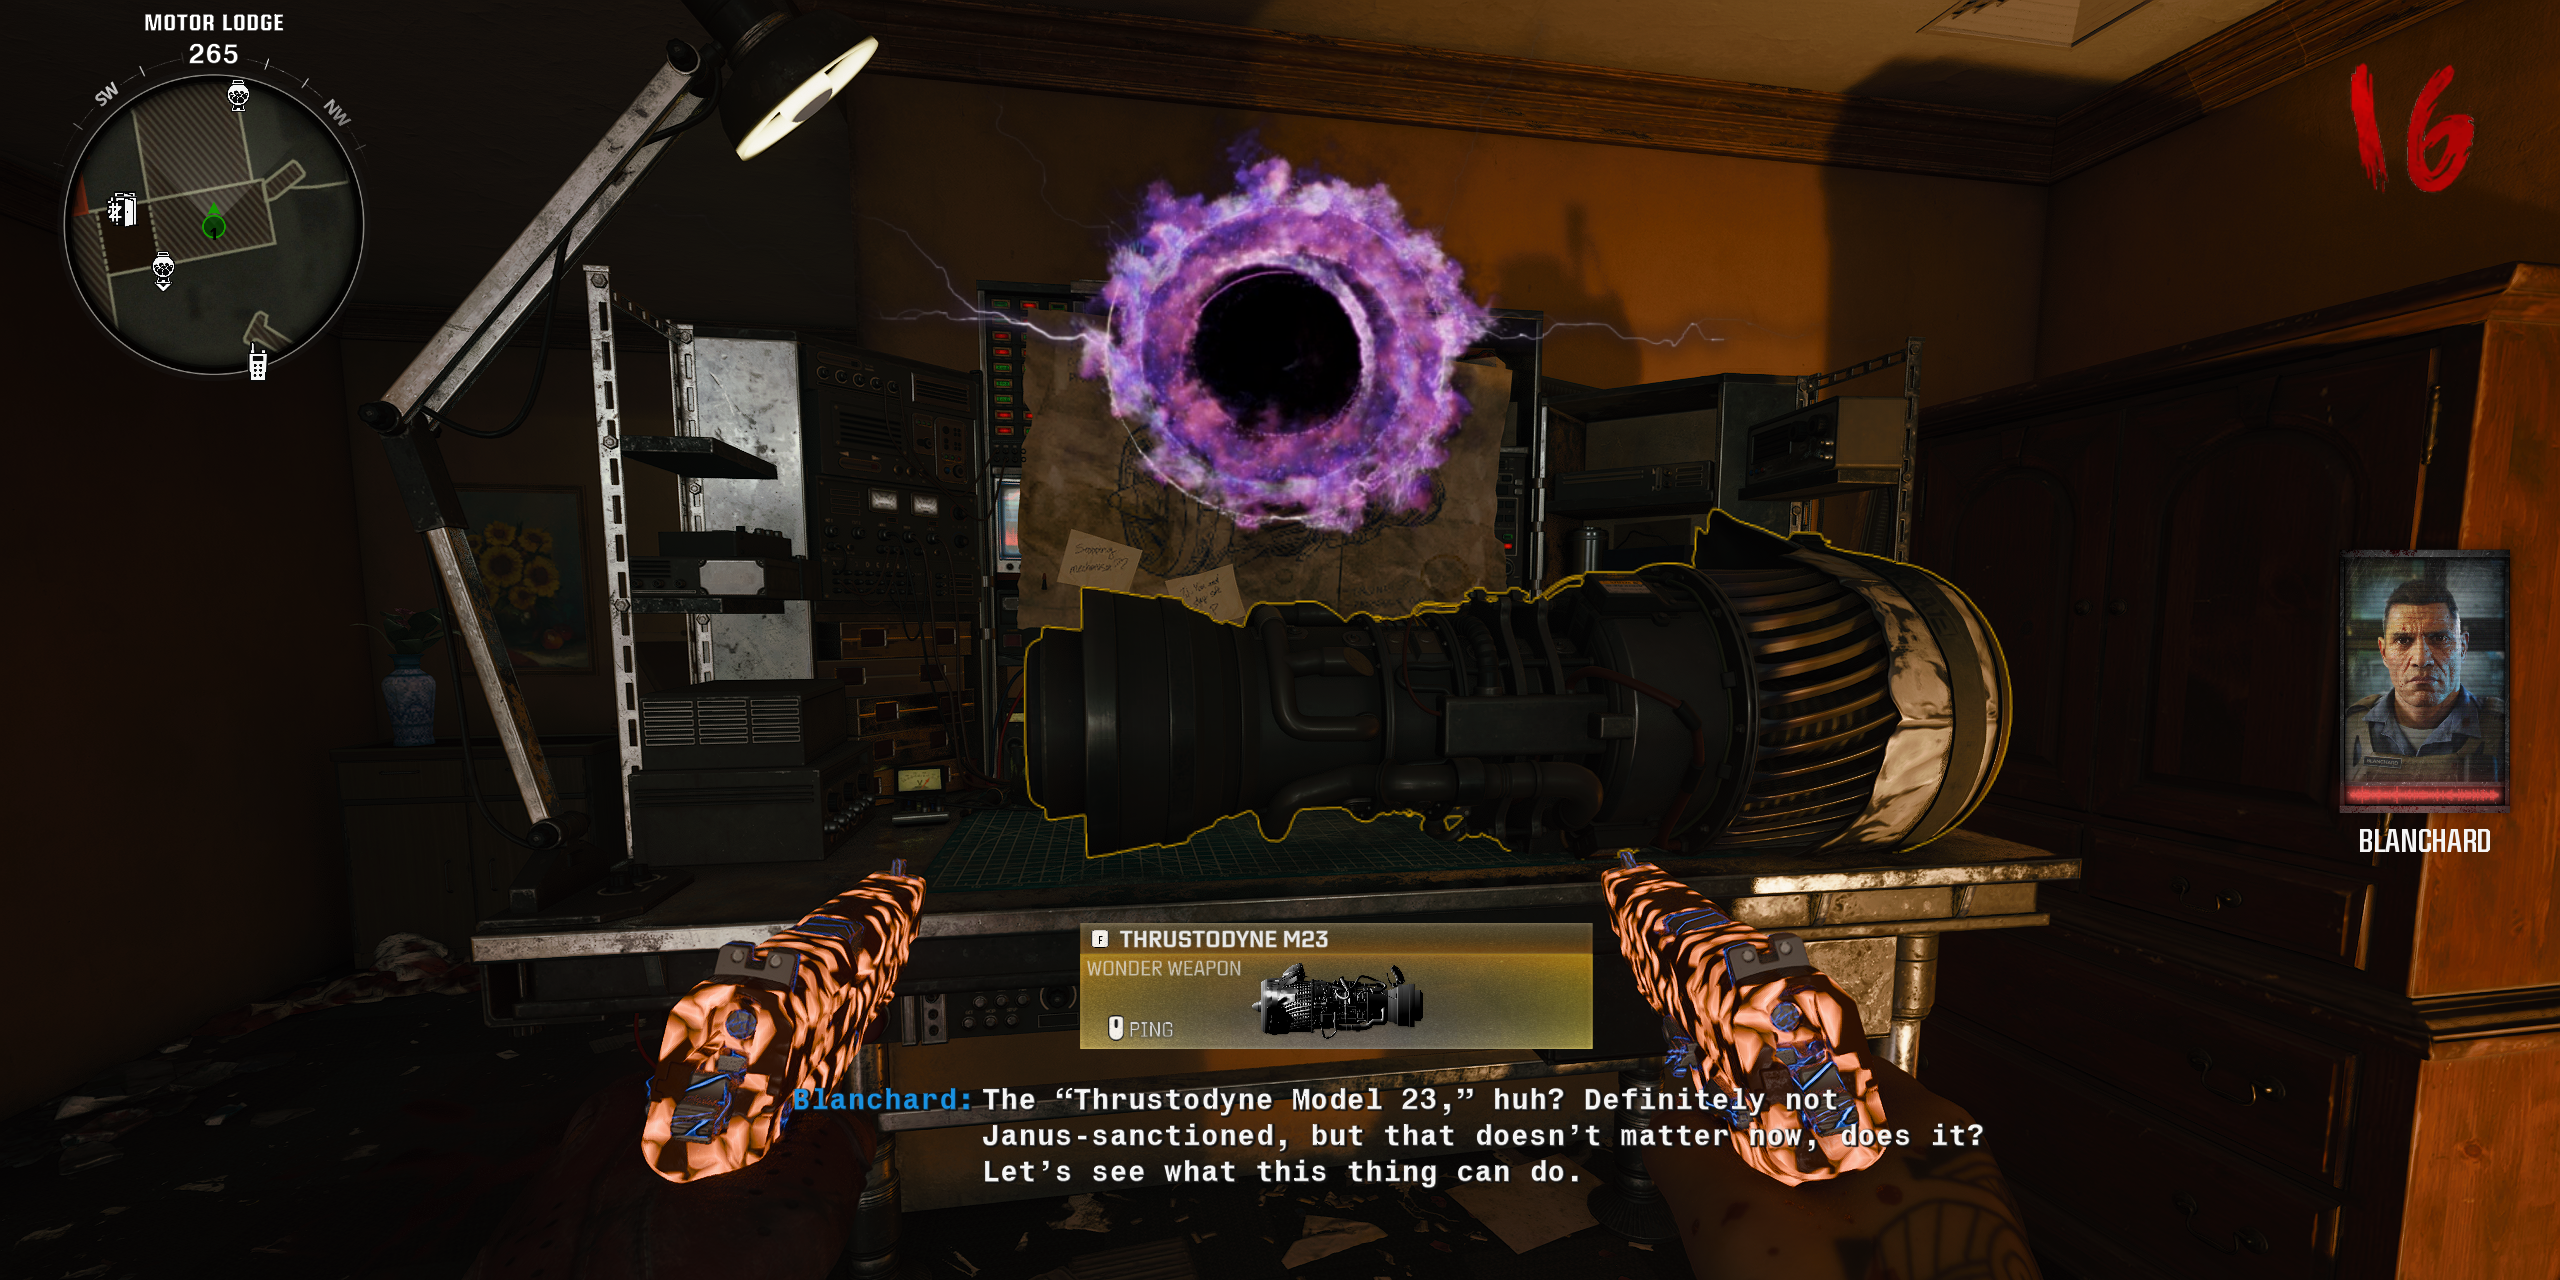
Once players spawn into Liberty Falls, head to the Motel and go up the stairs to the Motor Lodge to Room 202. It’s the room closest to the motel room with police tape on the door, but be warned, an army of zombies will barge free from this area, but on Round 1, that just means more easy points. In Room 202, players will find the workbench where they can craft the Jet Gun, and here are the steps to do so:
Obtain the Water Pressure Gauge
The first part of the Jet Gun is the Water Pressure Gauge, and players can find it by heading to Lily’s Flowerpot (the flower shop) on Washington Avenue, at the purple building when facing West. There is a Water Valve here that can be picked up to the right of the main door. Once acquired, head to Fuller’s Liberty Lanes (the bowling alley), and on the right wall of the lanes there will be a control panel. Melee it to break it open and then hold the interact button to raise the Water Pressure. This step will have non-stop zombies spawning, so try to clear through rounds and utilize Monkey Bombs and Decoys while you hold the interact button. Progress does save, but only if players stay in the Liberty Lanes bowling alley. Get this done in early rounds to avoid a harsh challenge. After the Water Pressure Gauge is full, it will drop to the floor, allowing players to pick it up.
Obtain the Handbrake
Head into the Cemetery and progress through the rounds while waiting for a unique zombie to spawn called the Groundskeeper. Players need to immediately kill him or else he will disappear and they will have to wait for a random length of time again. Upon killing him, he will drop the Toolshed Key. Take the Toolshed Key to the Groundskeeper’s Yard and activate the toolshed on the far left to find the Handbrake part inside.
Obtain the Electrical Wires
Players will need a Mangler Cannon or a Mutant Injection for this step, as the Mangler’s arm cannon is the only thing strong enough to break through the locked gate of the Radio House Electrics Superstore found in Riverside on the East building. A Mangler Cannon is acquired from the Workbench for 1,250 Salvage, or by shooting the arm off of a Mangler. Use the Mangler Cannon to blast open the Radio House door, where players can interact with piles of trash on the floor, and at least one of them will have the Electrical Wires, which is the third and final part of the Jet Gun.
With all the pieces to the Jet Gun, return to Motel Room 202 and craft the beloved Thrustodyne M23 to progress with the Liberty Falls quest.
Step 2: Interact with the SDG Generator in the Church
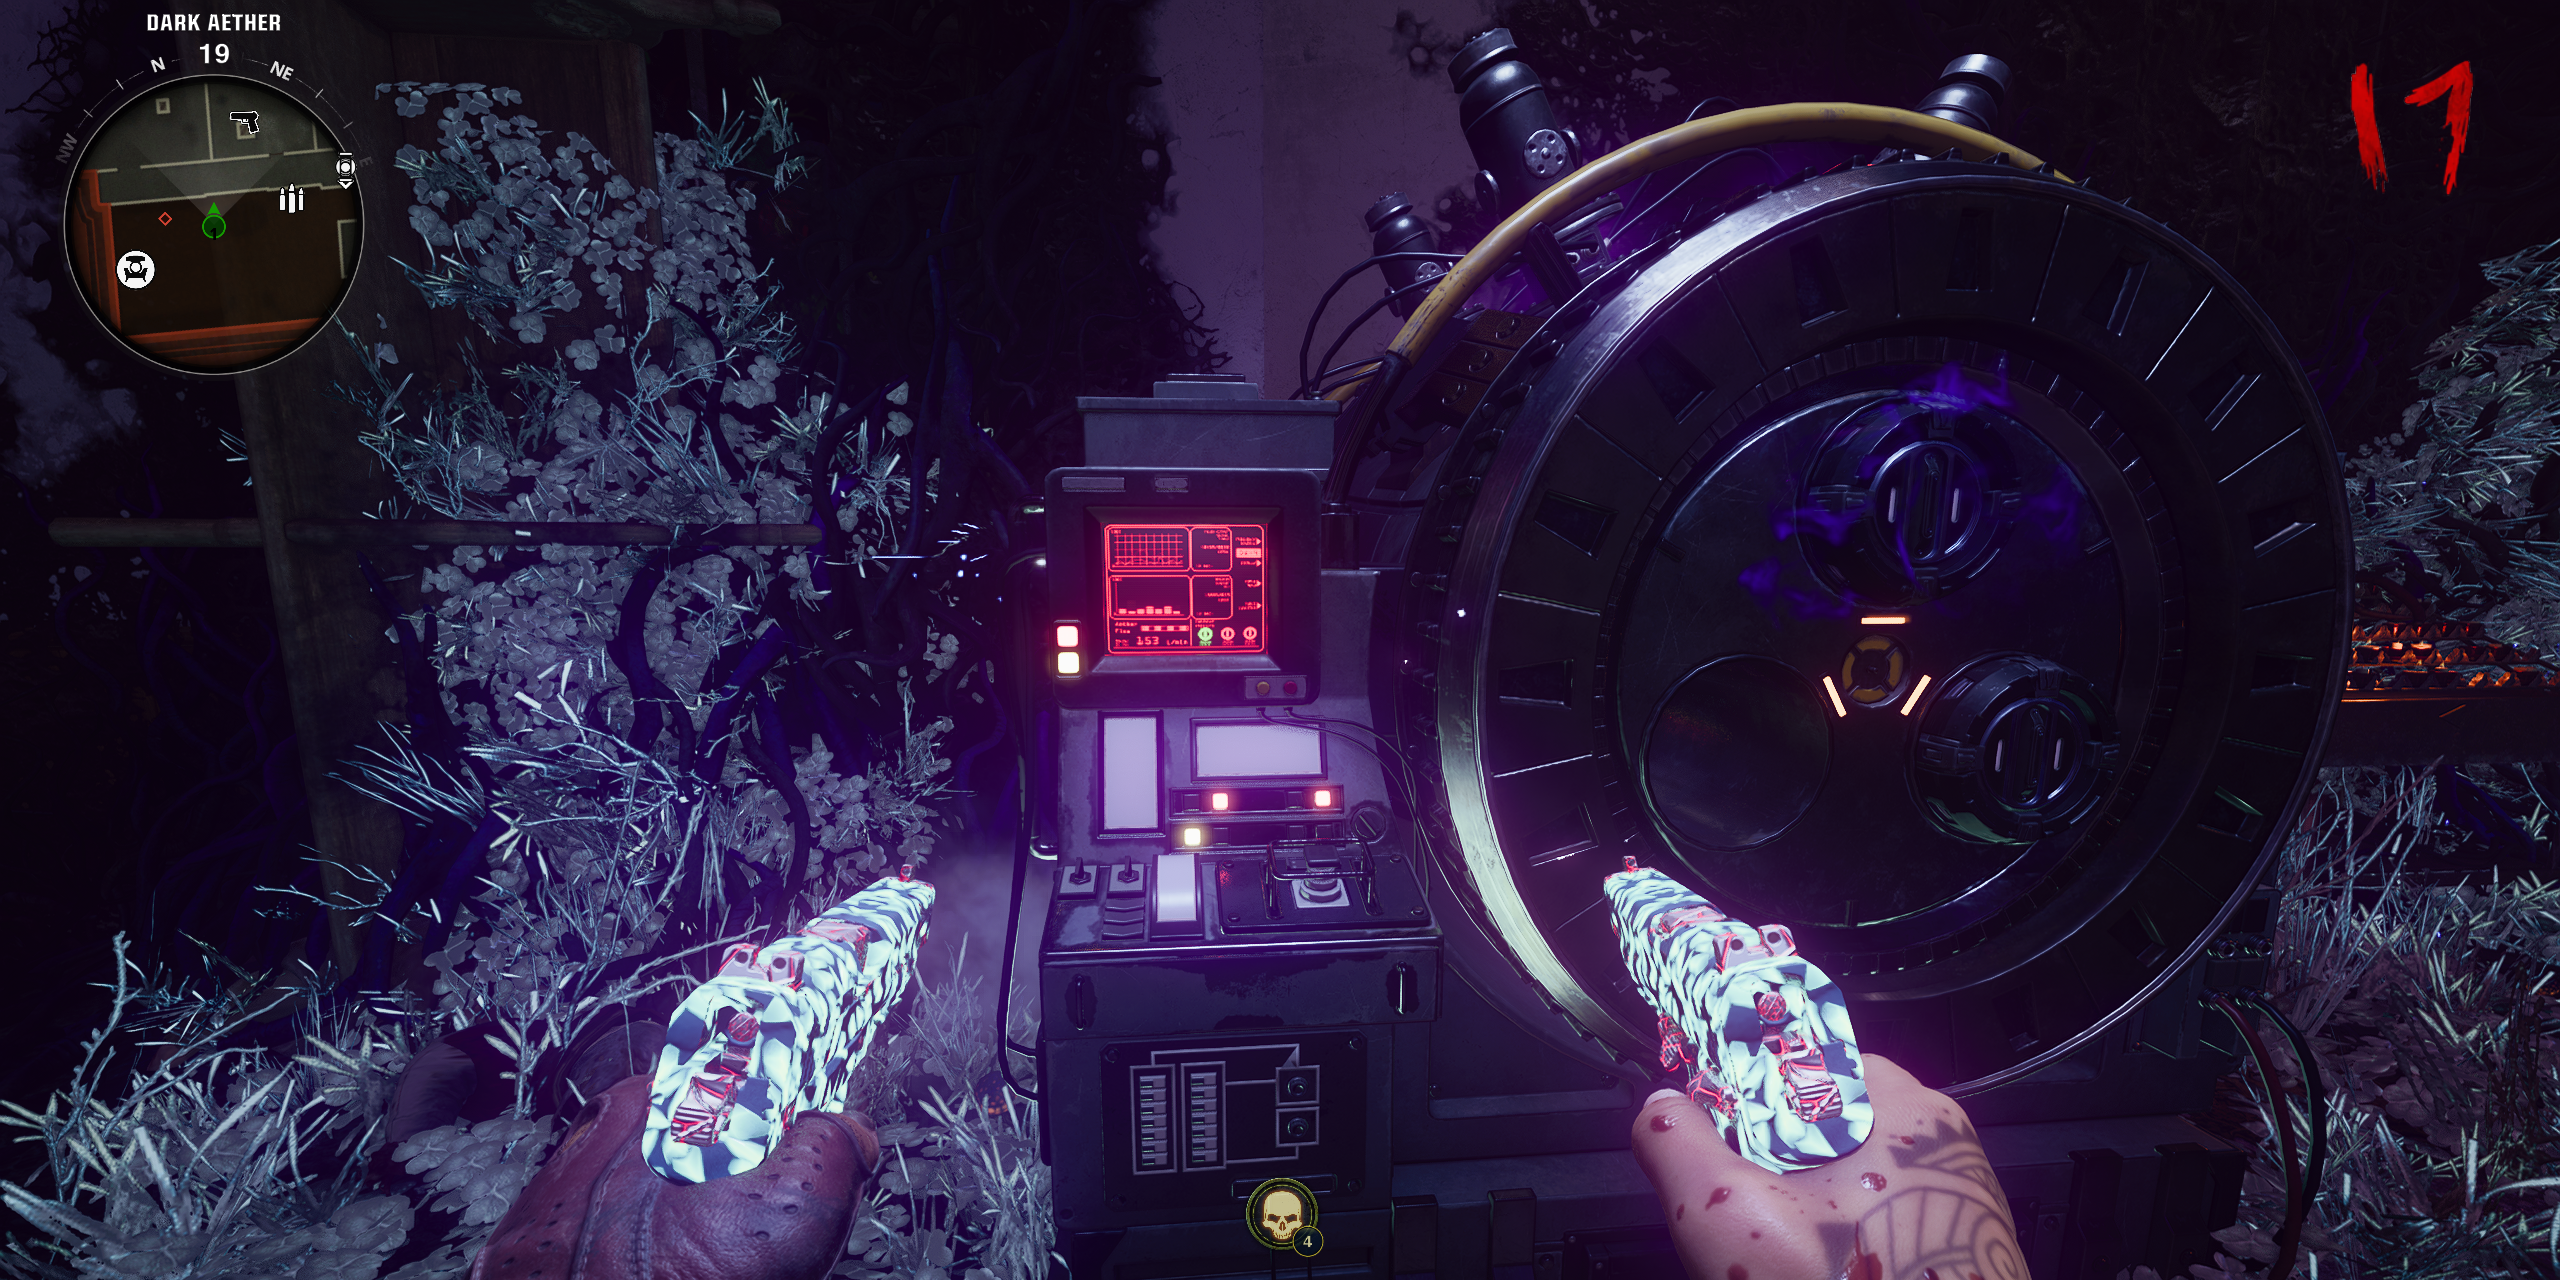
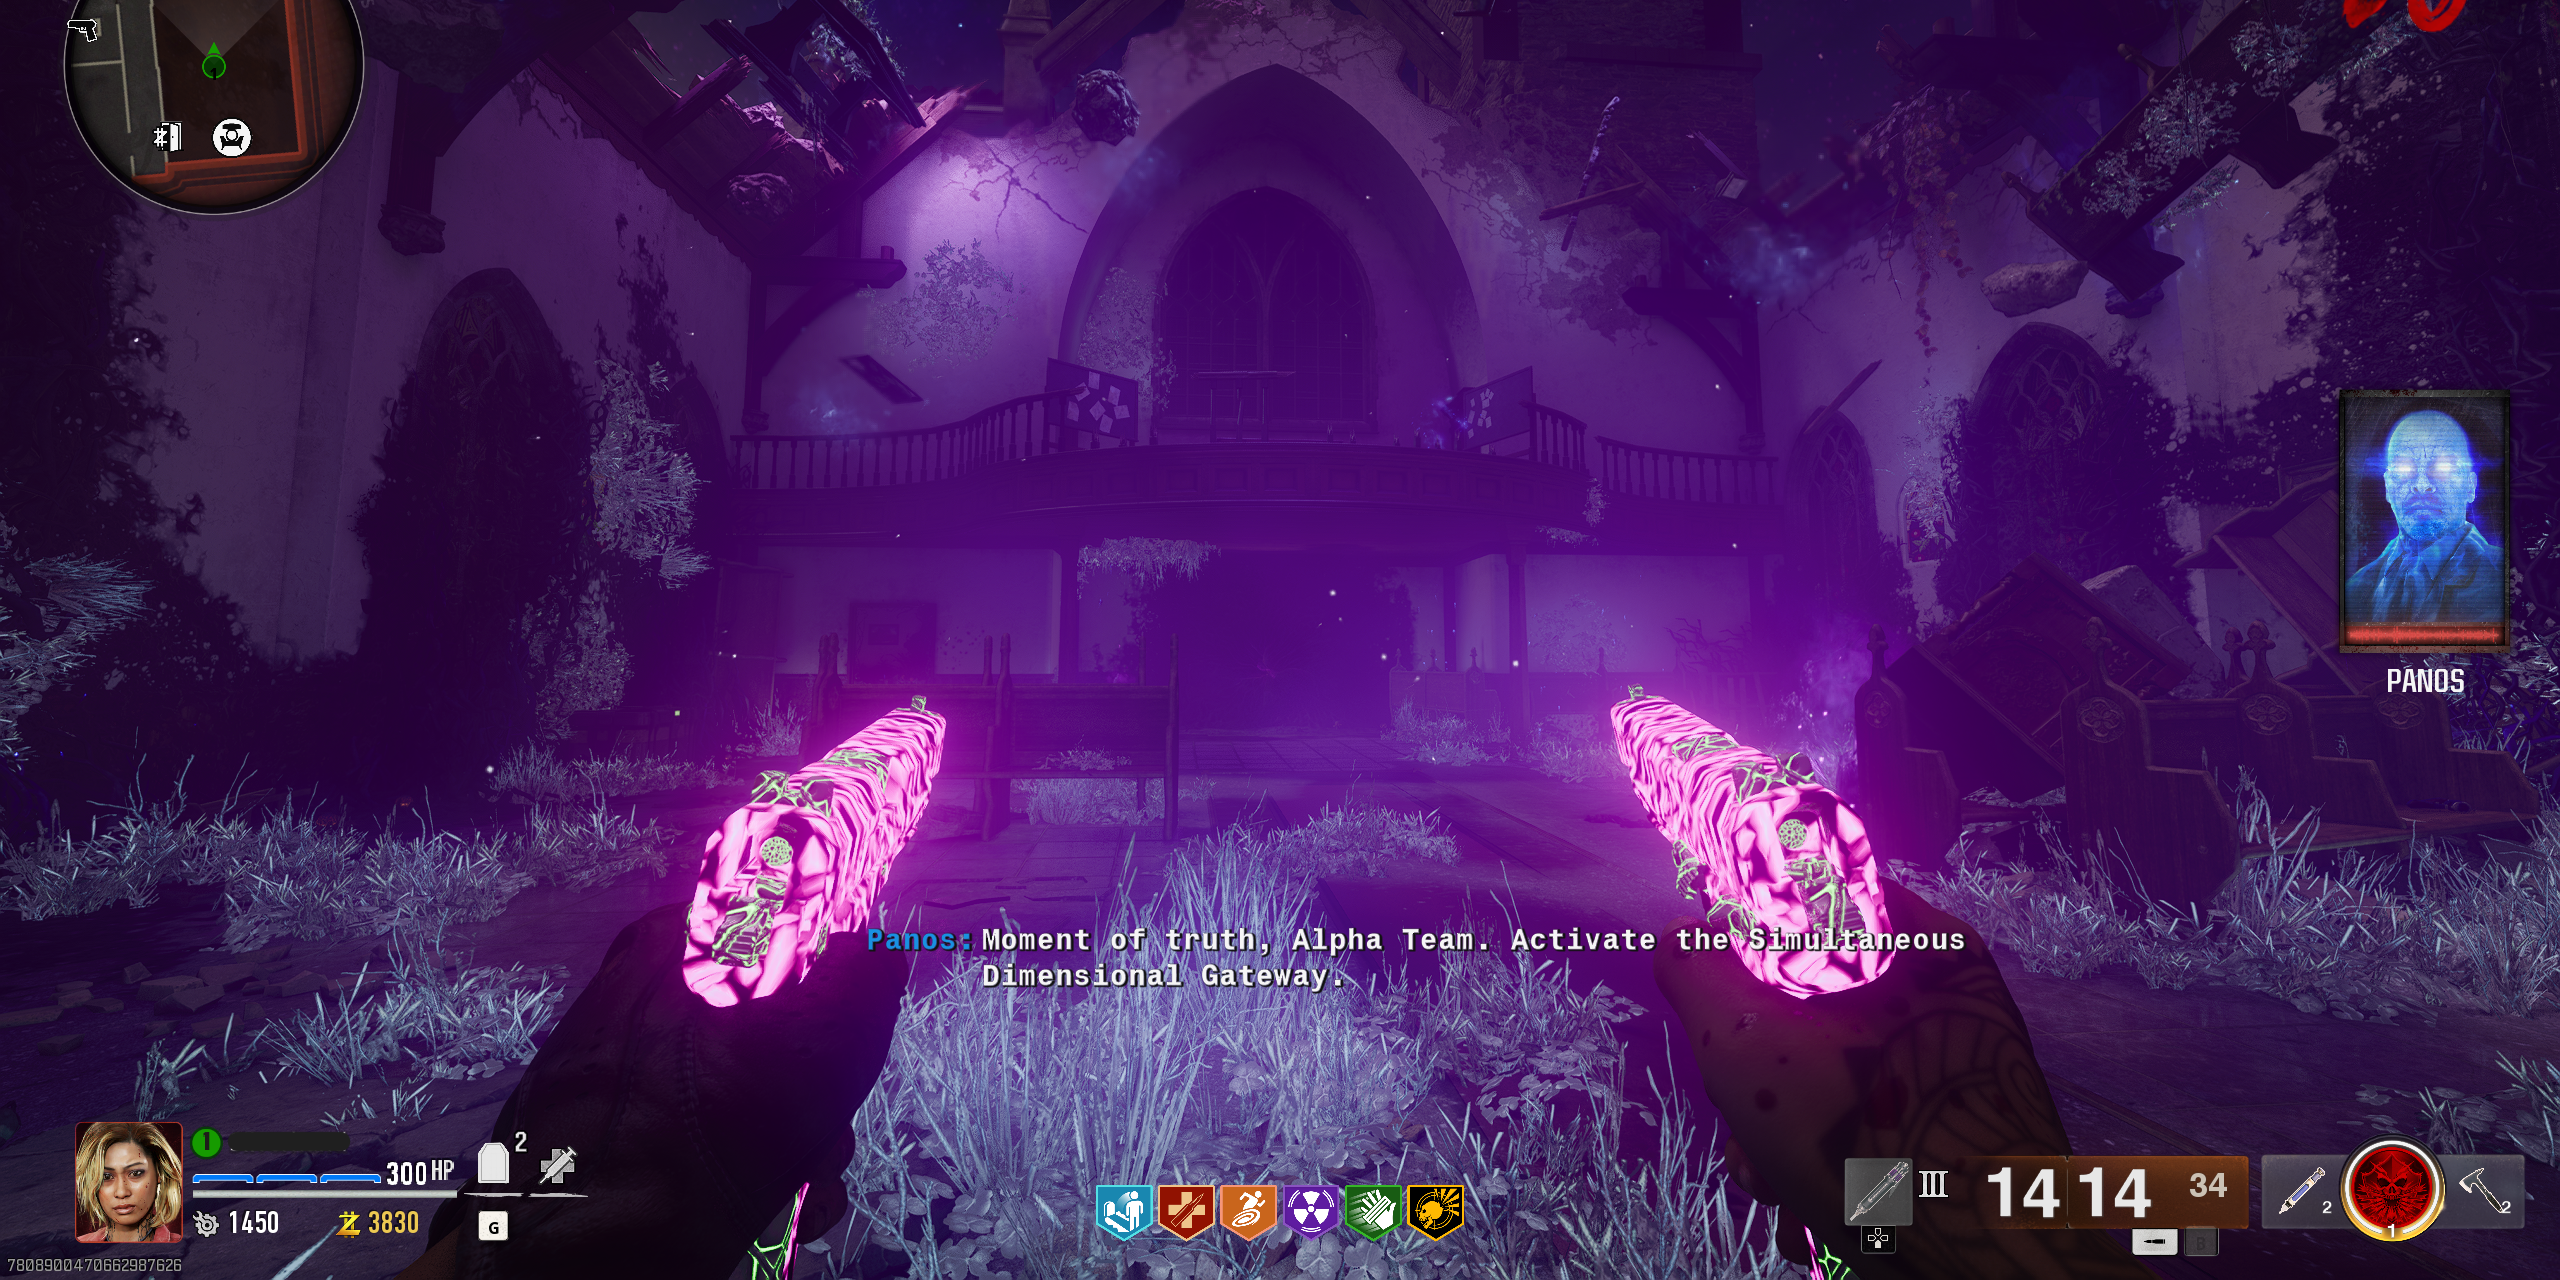
Players will need to reach the Dark Aether in the Church, where Pack-a-Punch is located. Once inside, players will need to interact with the SDG Generator that is found on the right side of the Church at the North wall. Interacting with the red panel will activate an in-game cutscene with Doctor Panos, who will task players with finding and assembling the LTG Device.
Step 3: Obtain the LTG Device
How to Get the LTG Device
Now that players have a quest from Panos and the Jet Gun, it’s time to obtain the three parts of the LTG Device itself by using R2/RT/Left-Click to use the suction function of the Jet Gun and suck parts toward players:
- LTG Part #1 – Inside the Dark Aether Church, look up to the balcony where Dr. Panos is and use the Thrustodyne M23 to suck up the part found floating on the left.
- LTG Part #2 – Head inside Olly’s Comics in Riverside and look up to the ceiling, where the second LTG part will need to be sucked up from within the ceiling panels by the central desk.
- LTG Part #3 – Head to Washington Avenue and jump up to the Rooftops. Now jump across the Rooftops to the white van and look in the South West building of the Beez’s Cuts Barbershop, where the third and final LTG Part will be found within the right window.
With all LTG Parts acquired, head to the rooftop of the Liberty Falls Loans & Savings Bank and go to the North area of the rooftop on “The Alamo” to craft the LTG Device at the workbench. Once crafted, simply pick it up to begin the next step.
Step 4: Capture the First HVT with the Aether Canister
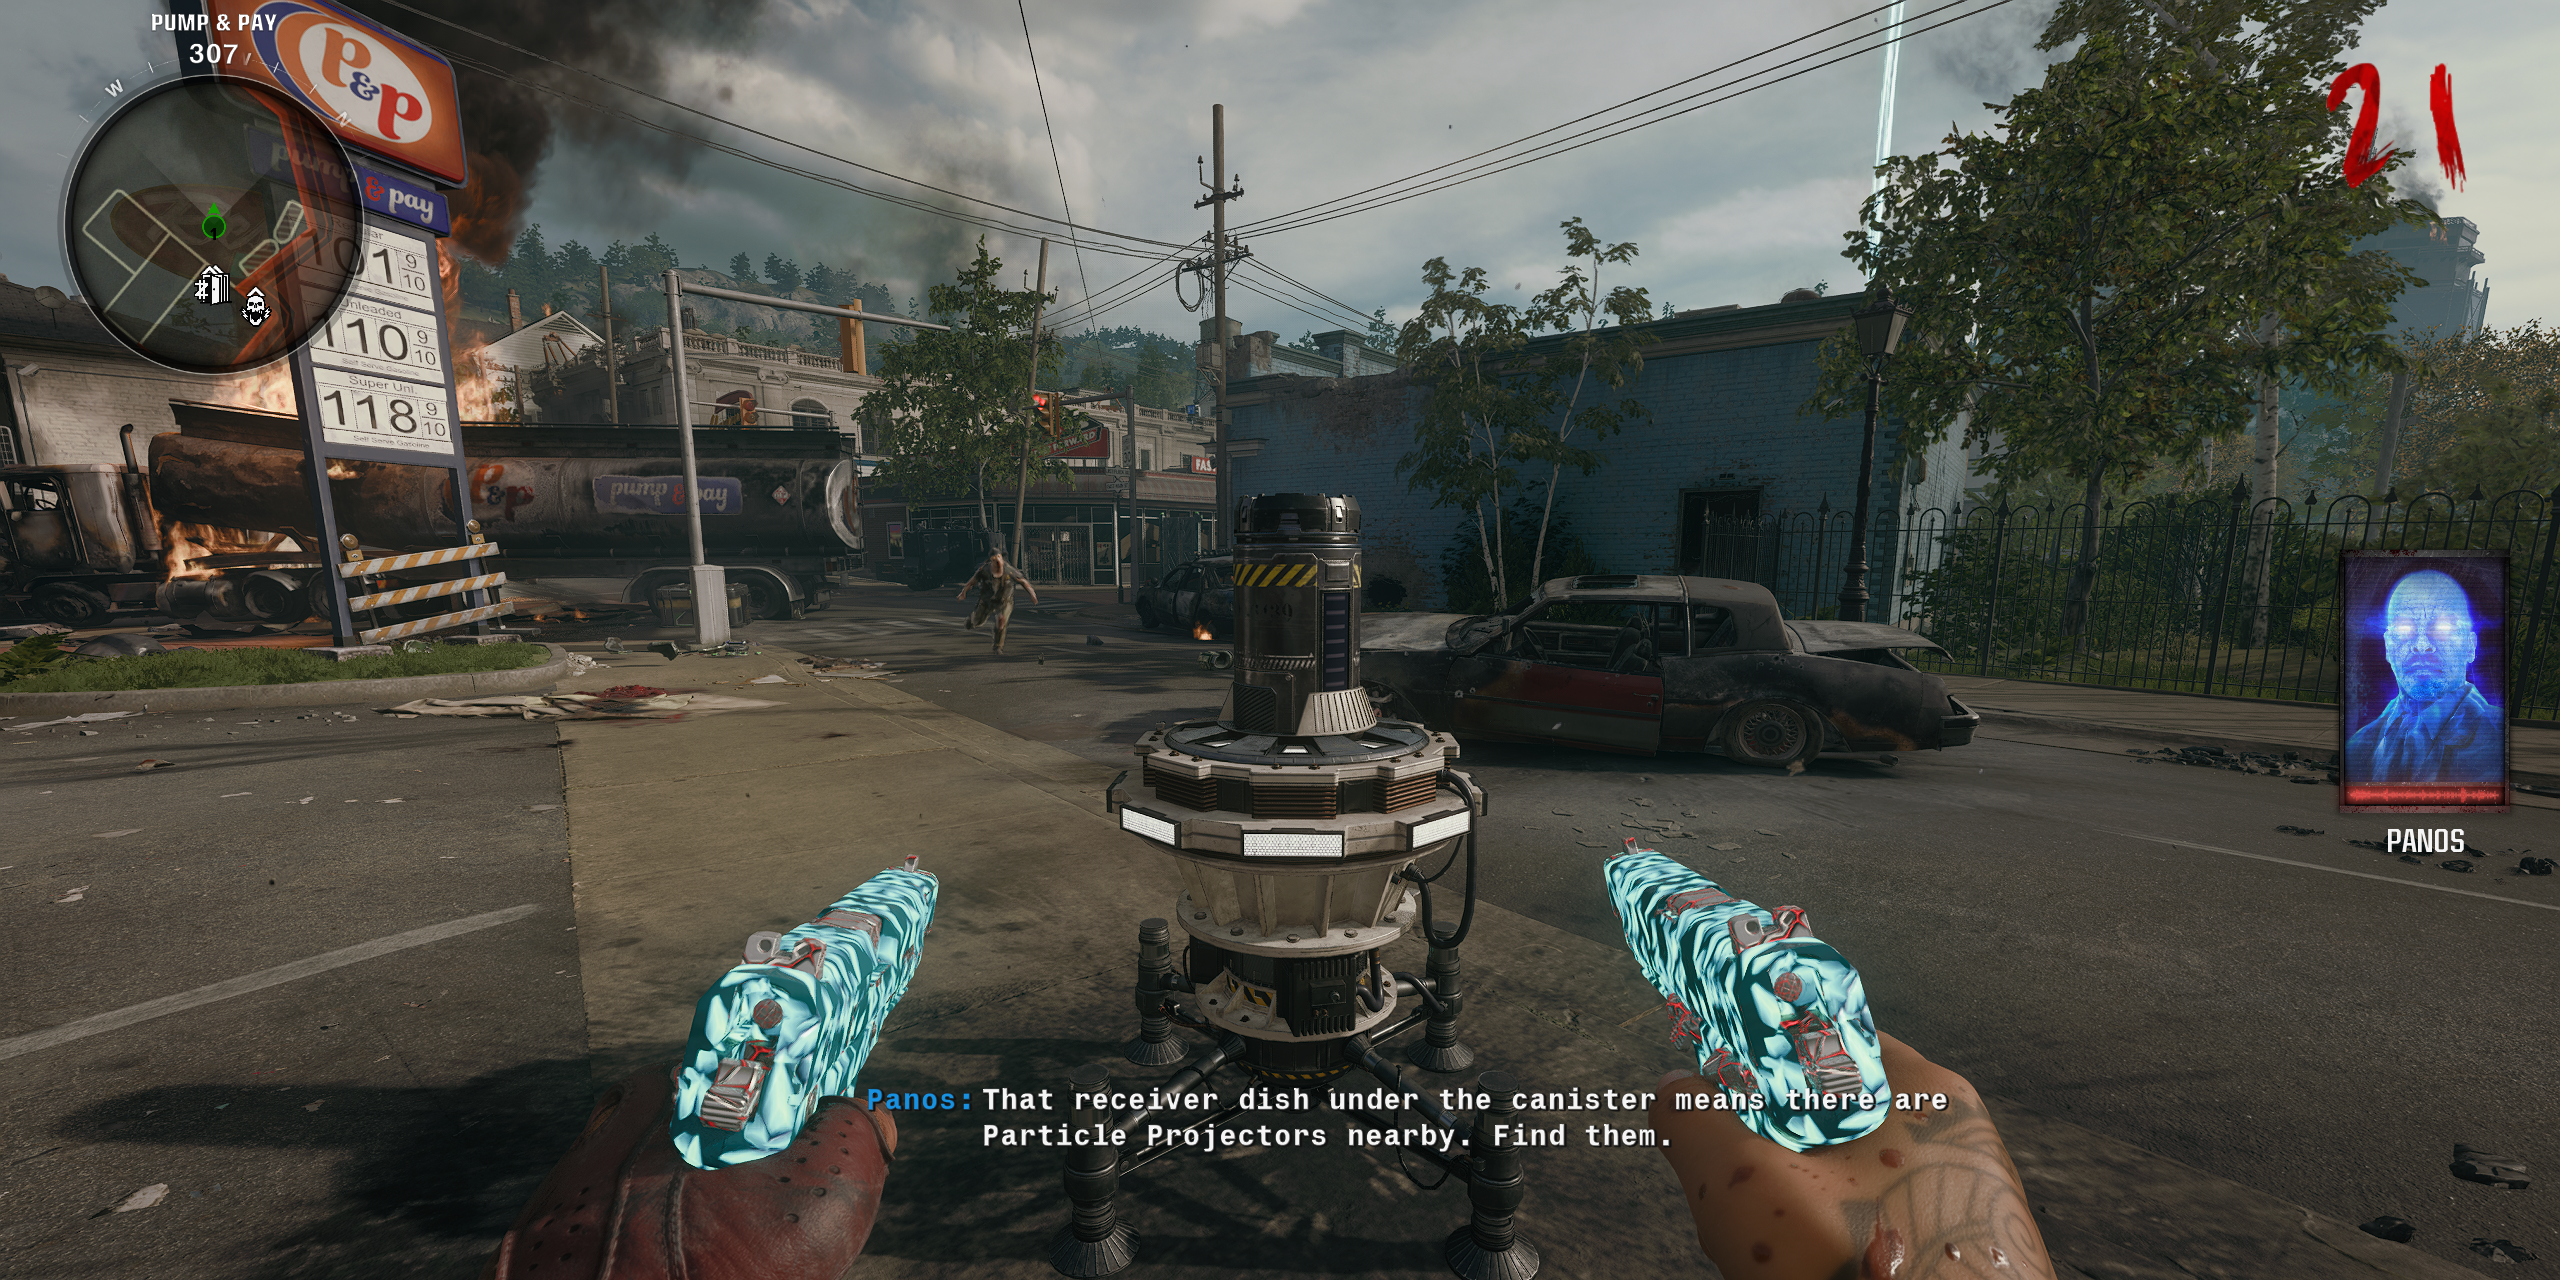
Head back to the Church, where players will want to return to the SDG Generator. At the SDG Generator, a metallic tube will be sticking out of the center. Interact with this tube to pick it up. Be warned, it’s heavy and players cannot run with it. This Aether Canister needs to be carried to the Motor Lodge (spawn) and placed near to the floor traps that connect to the Dark Aether Field Generator (DAFG Trap) trap just outside the gas station, Pay & Pump.
If players cannot interact with the Aether Canister, try and open all the doors on the map and progress through to the next round.
With the Aether Canister placed on the trap by Pump & Pay, head to Riverside and interact with the Dark Aether cloud that is floating in the center of the area. Doing so will spawn the LTG, and now players must defend the LTG and the purple orb that spawns for 60 seconds, where endless waves of zombies will periodically spawn with the sole focus of running into the generator. They have no interest in the player, just the device, so use hard-hitting weapons like the SVD, XM4, or the GS45s Pack-a-Punched to quickly clear out the zombies and defend the portal integrity. If players fail to protect it, then they will need to try again next round.
After the station has been successfully defended, a HVT will spawn, which will either be an Elite version of a Mangler or an Abomination, noted by their red skin. These variants of Elite zombies are far stronger and have a lot more health, so try to weaken them while still in Riverside, but do not kill them. Once they are weak enough, take them over to the Aether Canister by the gas station and activate the Dark Aether Field Generator. With the trap activated, kill the HVT near the Aether Canister so that a purple orb transfers into it. Players will now then need to pick up the Aether Canister and bring it back to the Dark Aether Church, but be warned, once picked up, players have 90 seconds to bring it back to the SDG Generator or the step fails. If players do fail this step, or kill the HTV outside of the Aether Canister, then they will just need to activate the portal again in the next round, but they will get to skip the step to defend the portal.
If players fail this step or the mini-boss despawns, simply re-interact with the LTG to respawn the mini-boss encounter.
Step 5: Use the Strauss Counter to Get the Second Aether Canister
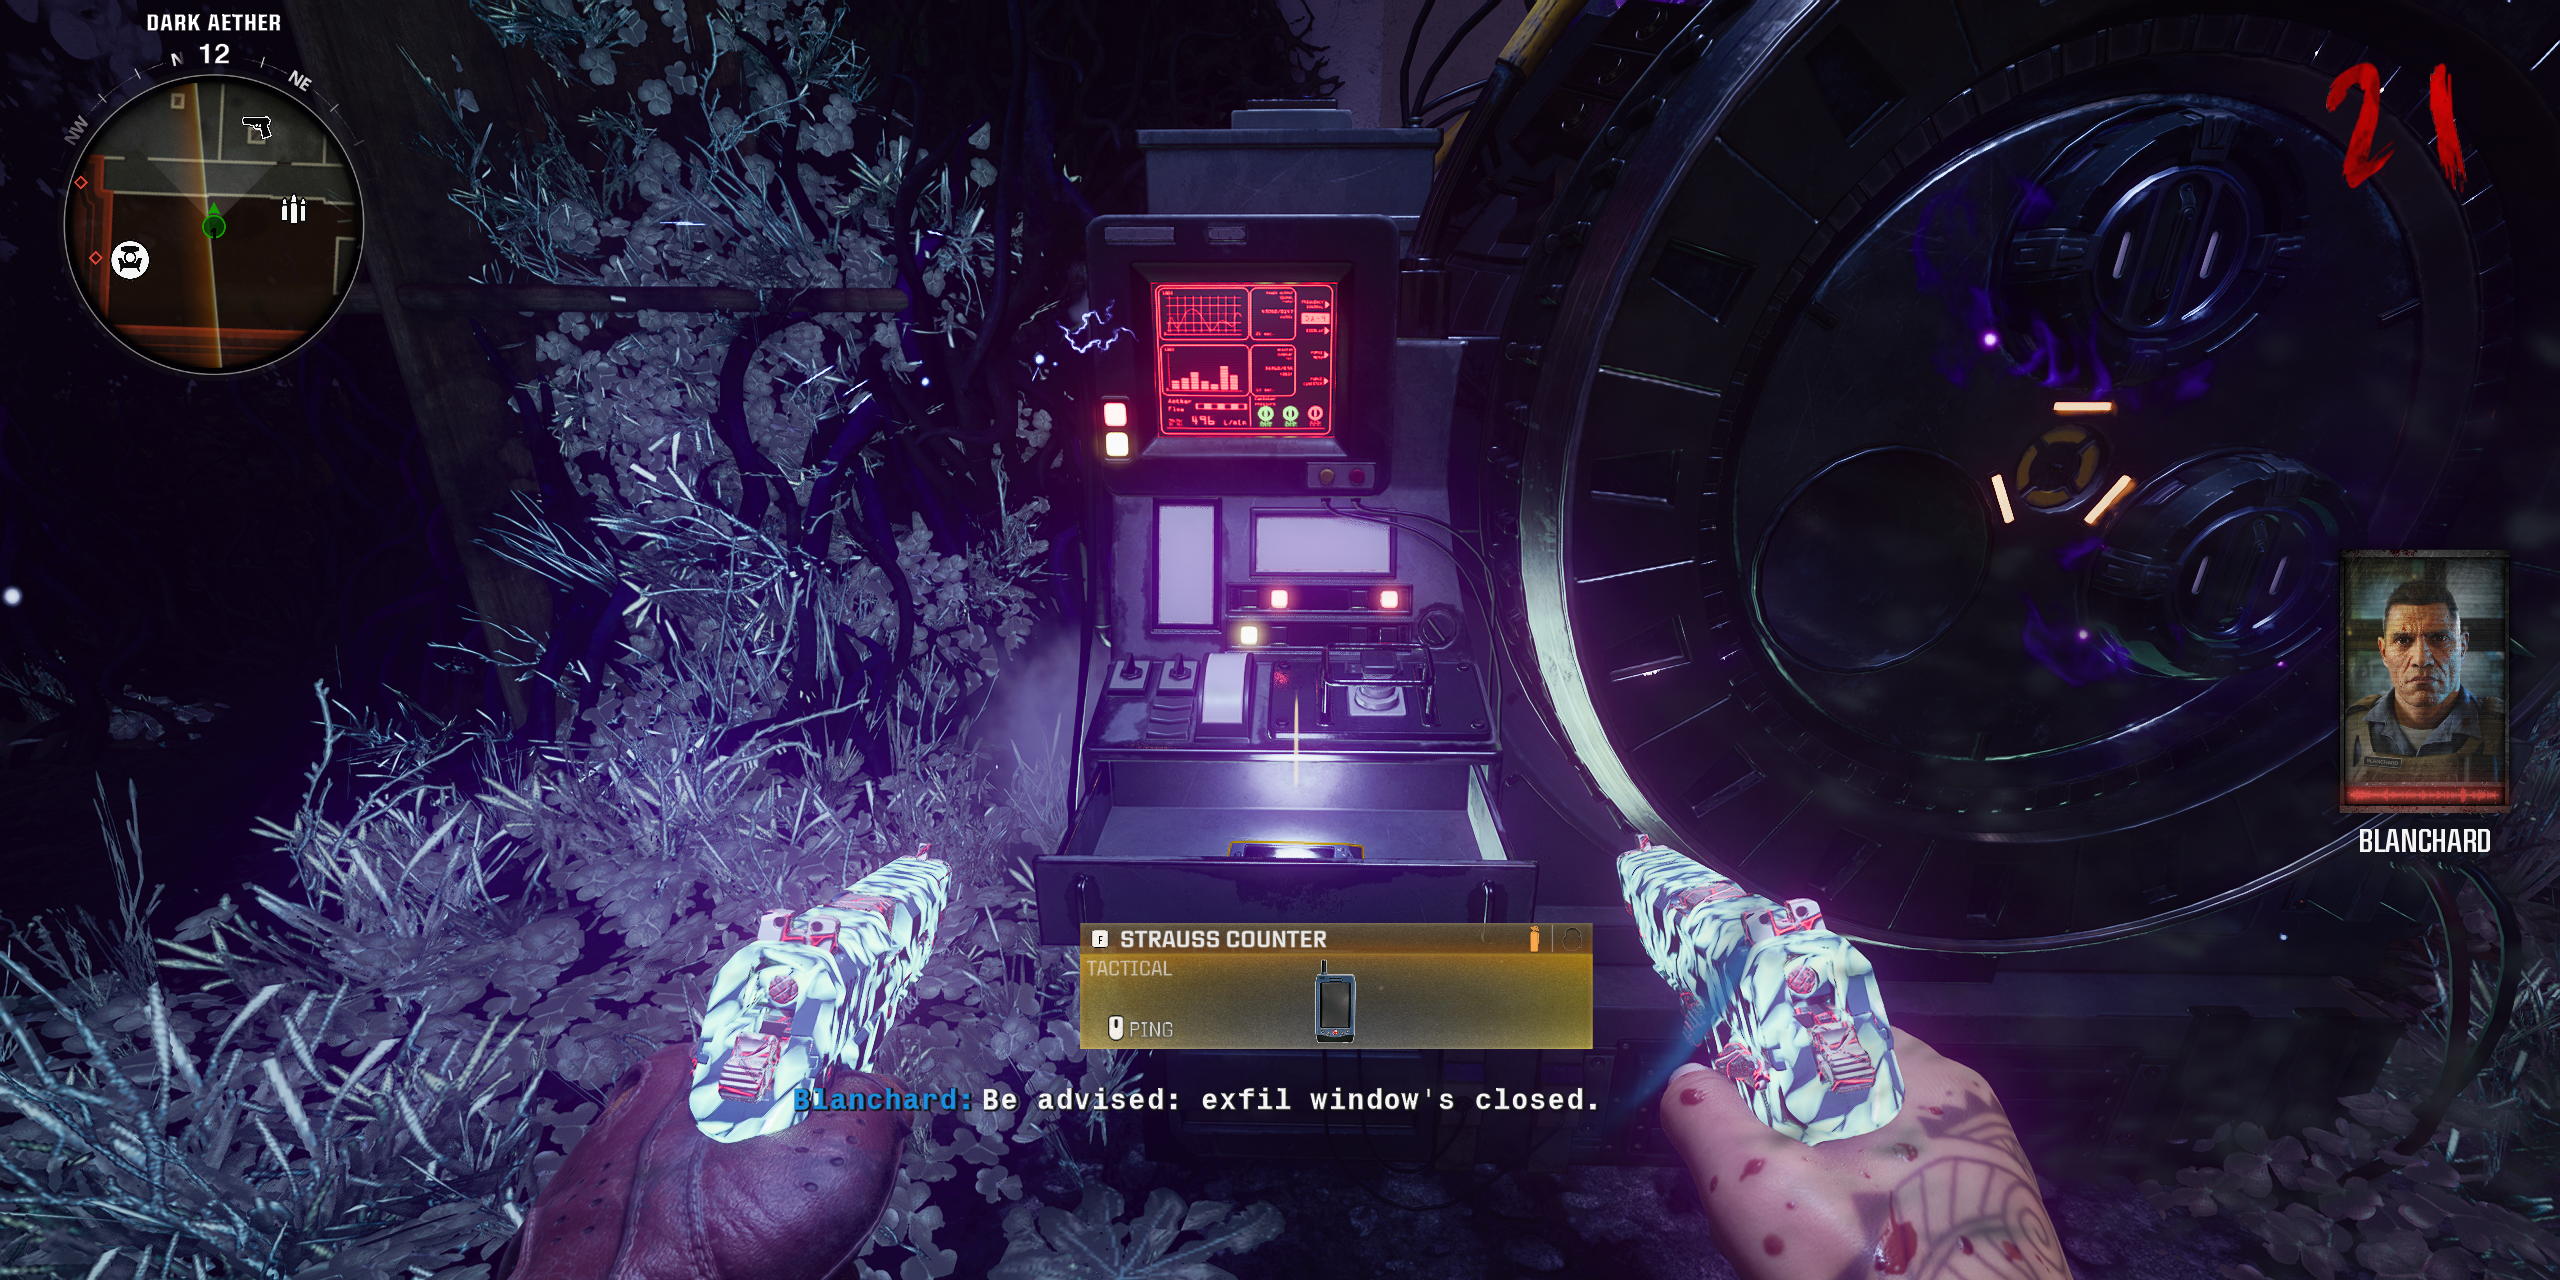
With the first Aether Canister deposited at the SDG Generator in the Church, players can now pick up the Strauss Counter, which will replace whatever is in their Tactical Equipment. With the Strauss Counter, players will want to head to three unique locations listed below to find energy projectors. Here are the locations for each projector:
- On the patch of grass by the Hilltop Stairs, opposite PhD Flopper when hopping over the ledge.
- At the back of the Groundskeeper’s Yard
- On the Yummy Freeze Rooftop accessed by heading up Liberty Falls Savings & Loans Bank and dropping down the East side of “The Alamo”.
Once at each of these energy projectors, hold the Tactical Equipment button to pull out the Strauss Counter and note the color of the display of the Strauss Counter when activated near the projector. The Strauss Counter can either be Green, Yellow, or Red. Players can interact with the button on each projector to change its color, and here’s what color each of them needs to be:
- If the Strauss Counter is Green, turn the projector’s button Red
- If the Straus Counter is Yellow, turn the projector’s button Yellow
- If the Straus Counter is Red, turn the projector’s button Green
Once all projectors have been correctly calibrated, they will receive some dialogue from Blanchard and Panos, and beams of lights from the projectors will direct players to the Pump & Pay gas station at spawn. From here, there will be an Aether Canister that is now accessible just by the Exfil area, as the gas cloud surrounding it has dissipated.
Step 6: Capture the Second HVT with the Aether Canister
With the Aether Canister claimed from the Pump & Pay, pick up the LTG that was left behind at Riverside then take the Aether Canister up Hill Street and leave it beside the floor mine that will be activated when the Dark Aether Field Generator trap is turned on in a later step.
Now, head to the Cemetery and place the LTG at the Dark Aether cloud to activate a portal. Again, keep zombies away from this portal and utilize all weapons that will stop them from entering the portal and damaging it. After 60 seconds, the portal will dissipate and another HVT will spawn, again, either an Abomination or Mangler. Take this HVT down Hill Street, and weaken it until it’s near death, and then activate the Dark Aether Field Generator trap to kill the HVT when it’s close to the Aether Canister.
Just like before, grab the Aether Canister and take it back to the Dark Aether Church, which shouldn’t be too hard considering Hillside is relatively close to the Church and 90 seconds is a generous amount of time to get this done. With the Canister in hand, deposit it inside the SDG Generator, and prepare for the final step.
Best Loadout for the Liberty Falls Boss Fight
Liberty Falls doesn’t exactly have a boss fight, but it does have a final encounter that might be a challenge to some players. With all previous steps completed, players are now in the phase where they can get ready for the finale, so it’s best to stock up on ammo, Essence, and powerful gear. Players are definitely going to want Tier 3 armor for survivability, alongside the usual crutch Perks like Jugger-Nog and Quick Revive. As for weapons, definitely bring at least blue (Rare) rarity weapons, with a Tier 2 Pack-a-Punch or more. For Manglers and zombies, it’s best to use the GS45s, or the Jet Gun for its instant-killing potential against zombies. For Abominations, critical hits are a player’s best friend, so an XM4 or Krig C will help. For Ammo Mods, Napalm Burst is a good idea as it will easily deal with Manglers and Abominations. Lastly, if you can afford it with Salvage, grab a Mutant Injector from the Crafting Bench for 2,500 Salvage, as this will provide players with a window of invulnerability where they can deal damage without risking their own demise.
Step 7: Activate the SDG Generator and Fight Waves of HVTs
Start the Final Encounter in Liberty Falls
Once ready for the final encounter, all players need to head to the Dark Aether Church and interact with the SDG Generator. Once this has been achieved, the exits will close, and players are trapped in the Church and must kill every zombie that invades it to feed the SDG Generator their souls and energy. With the right equipment (in this case the Pack-a-Punched GS45s, Jet Gun, and every Perk), this is quite an easy task while players fight through three waves of zombies. The first wave is simple and just has some zombies, whereas the second phase has a few deadly Manglers alongside another HVT Mangler to fight. The third and final phase can be a tad difficult due to the strengthened HVT Abomination, but if players are ever in trouble, pop a Scorestreak like a Mutant Injector to become invulnerable and still deal damage. After each wave, a Max Ammo and Max Armor will spawn for players to make use of.
Once players have beaten the three waves, their character will be downed (intentionally) and a cutscene will begin. After it ends, players will have completed the Liberty Falls Main Quest!
Liberty Falls Main Quest Rewards
What Do You Get For Completing the Liberty Falls Easter Egg?
Players will receive two rewards for completing the Liberty Falls main quest, but only after they return to the lobby from their successful game:
- The first reward is the Ray Gun PJ-SRU, a unique skin used for the Ray Gun.
- The second reward is the Whomps By Mr. Peeks Accessory which can be equipped on any gun.
- The third reward is the Liberty Falls Quest Complete Calling Card.
- The fourth reward is exclusive to those who completed the Liberty Falls quest before the release of Directed Mode, which is an identical Liberty Falls Quest Complete Calling Card, except this one has a golden skull next to it.





Leave a Reply