The Hundred-Eyed Daoist Master’s speed, tricky hitbox, and devastating attacks make him one of the toughest bosses in Black Myth: Wukong. Just when you think you’ve mastered his moves, he swallows his sword and turns golden, reducing your attacks to mere baby damage. It’s frustrating, isn’t it? But there’s actually a simple way to make this fight much, much easier: the  Weaver’s Needle
.
In this guide, you’ll learn about the Weaver’s Needle, its effect, how to obtain it, and why it will help you beat the  Hundred-eyed Daoist Master
in no time. Also, as a bonus, you’ll get a full guide on how to defeat the  The Duskveil
boss too!
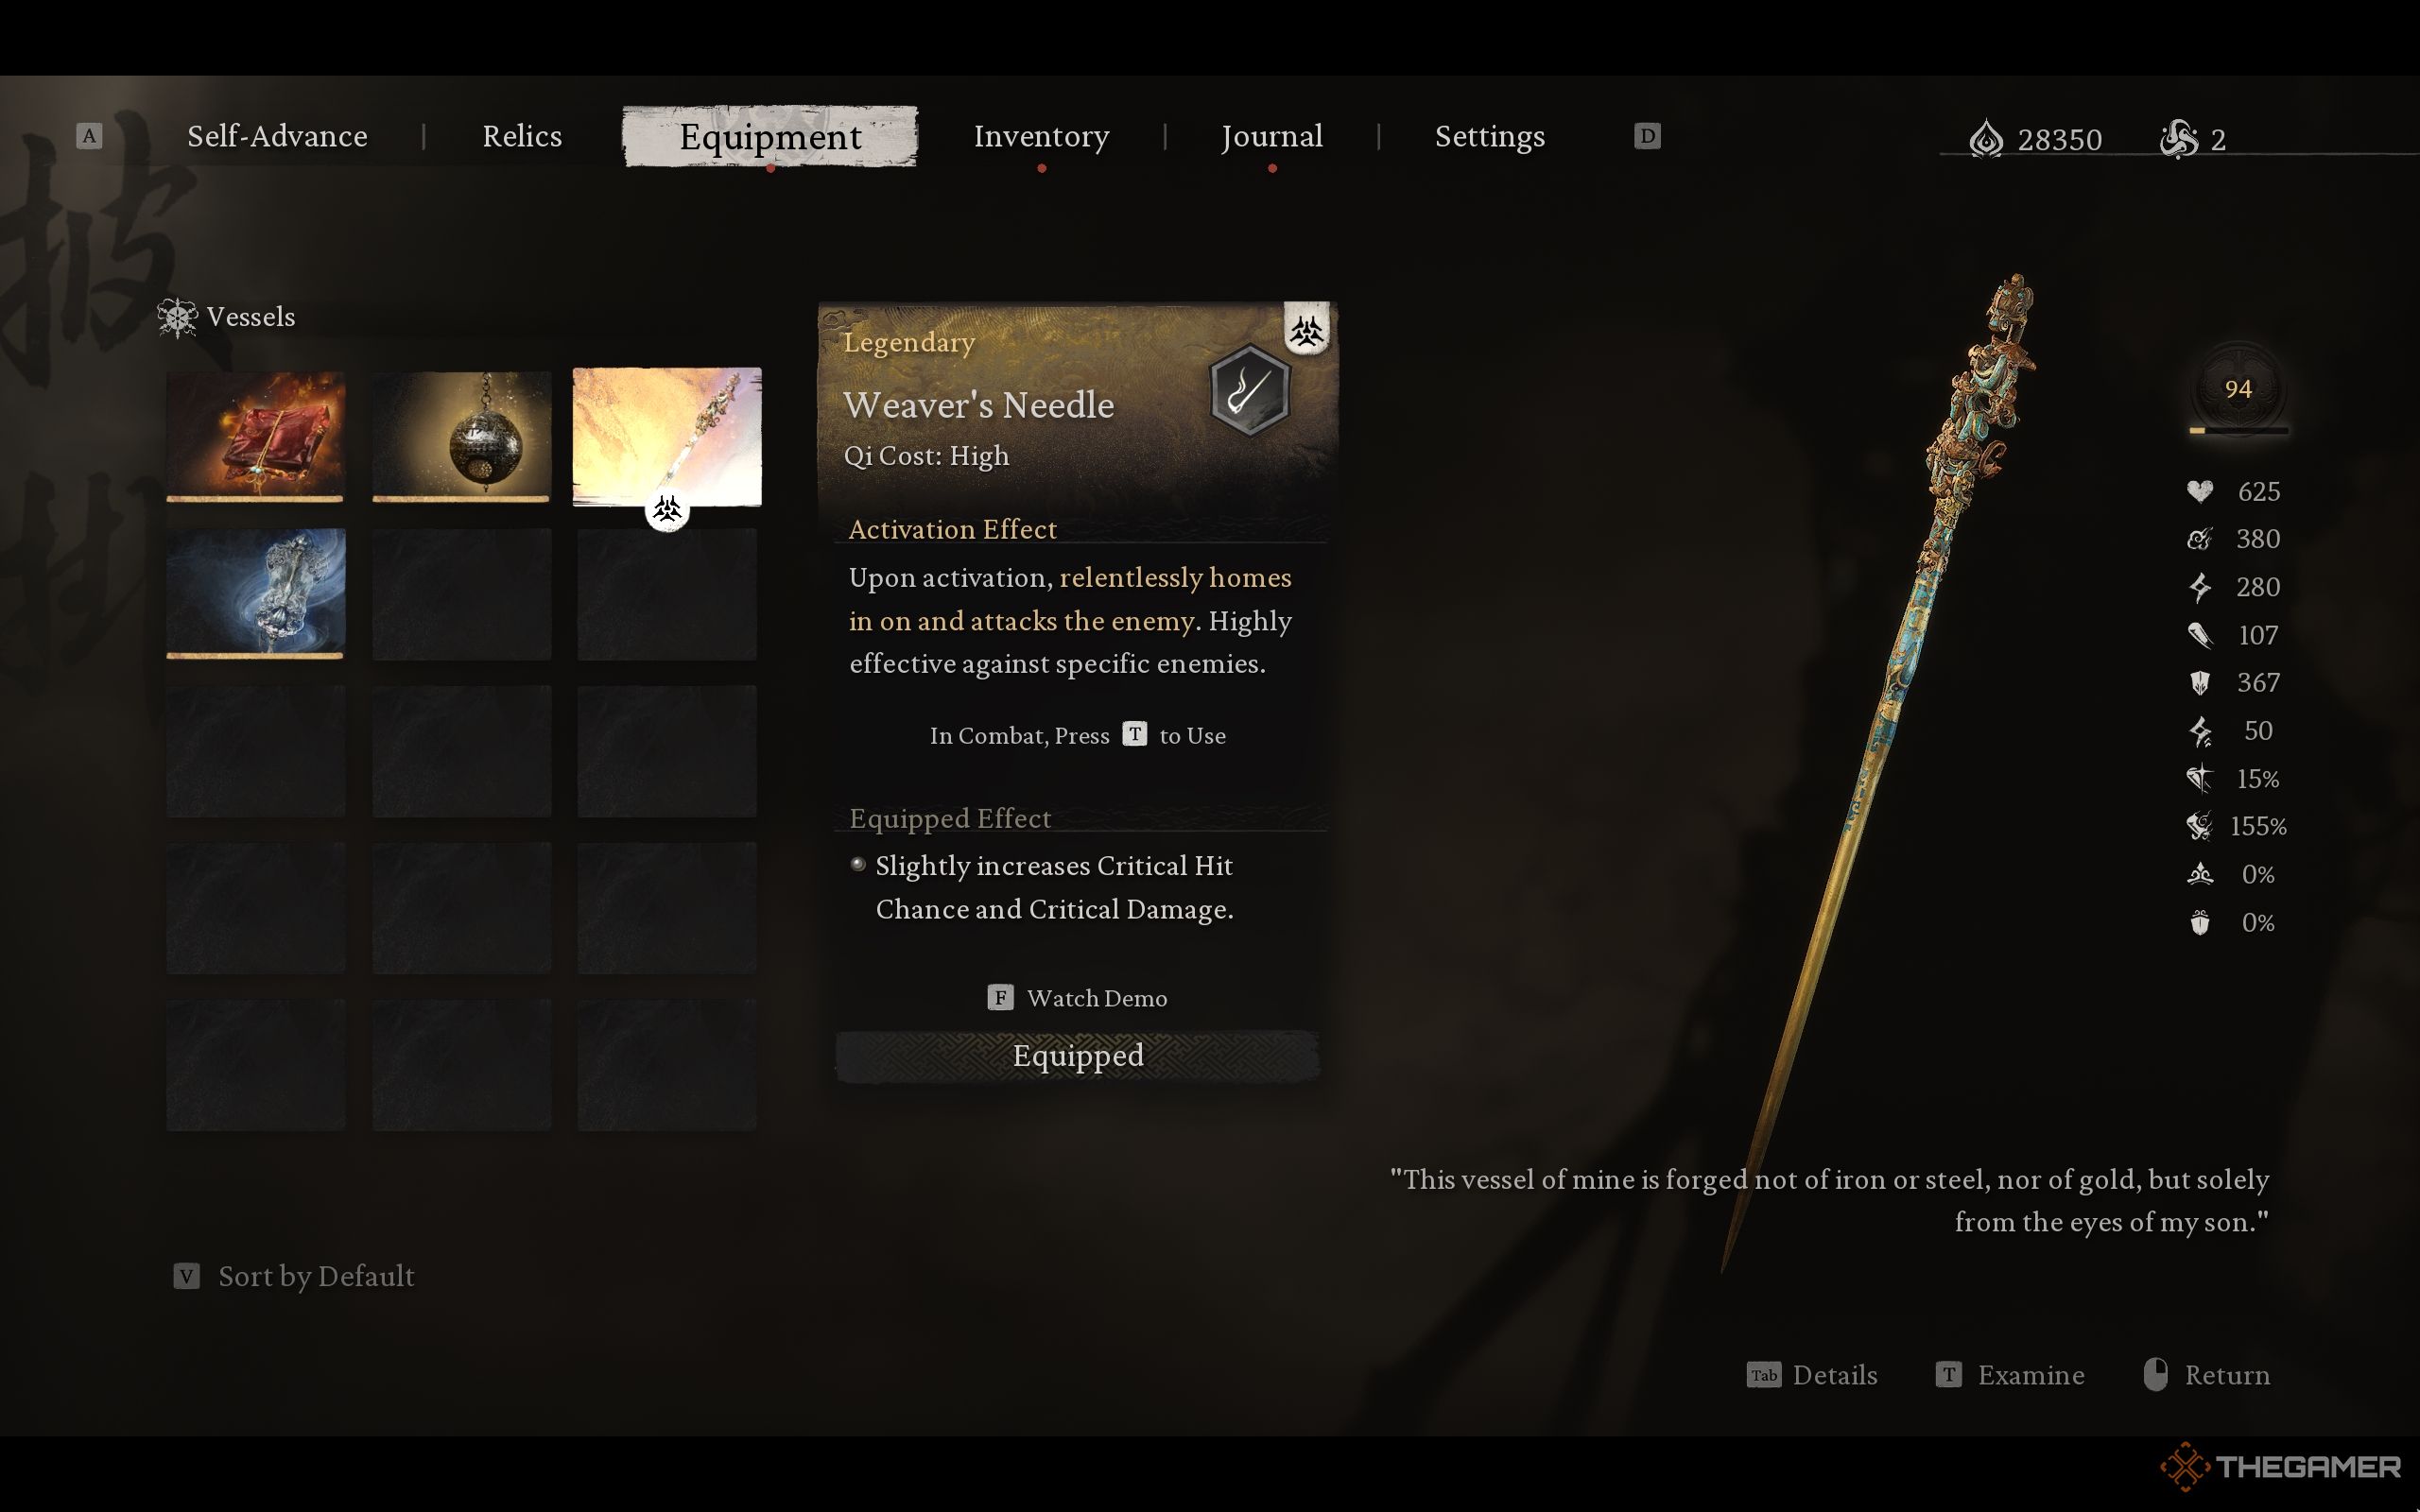
What Is The Weaver’s Needle
The Weaver’s Needle is one of the four vessels you can get in Black Myth Wukong. Equipping it boosts your Critical Hit Chance and Critical Damage. When activated, it relentlessly attacks your enemy, carving away chunks of their HP.
Against the Hundred-eyed Daoist Master, the Needle even neutralizes his golden form, stuns him, and forces him into a vulnerable state.
How To Get The Weaver’s Needle
You’ll find the  Weaver’s Needle
in Purple Cloud Mountain, a hidden area in Chapter 4. To get there, you’ll need to defeat Venom Daoist twice: Once in the Pools of Shattered Jade Shrine and again in the Temple of Yellow Flowers.
If you need more details, check out the Venom Daoist quest walkthrough. But before you can start his quest, you’ll have to track down the Pools of Shattered Jade Shrine.
Finding The Pools Of Shattered Jade Shrine
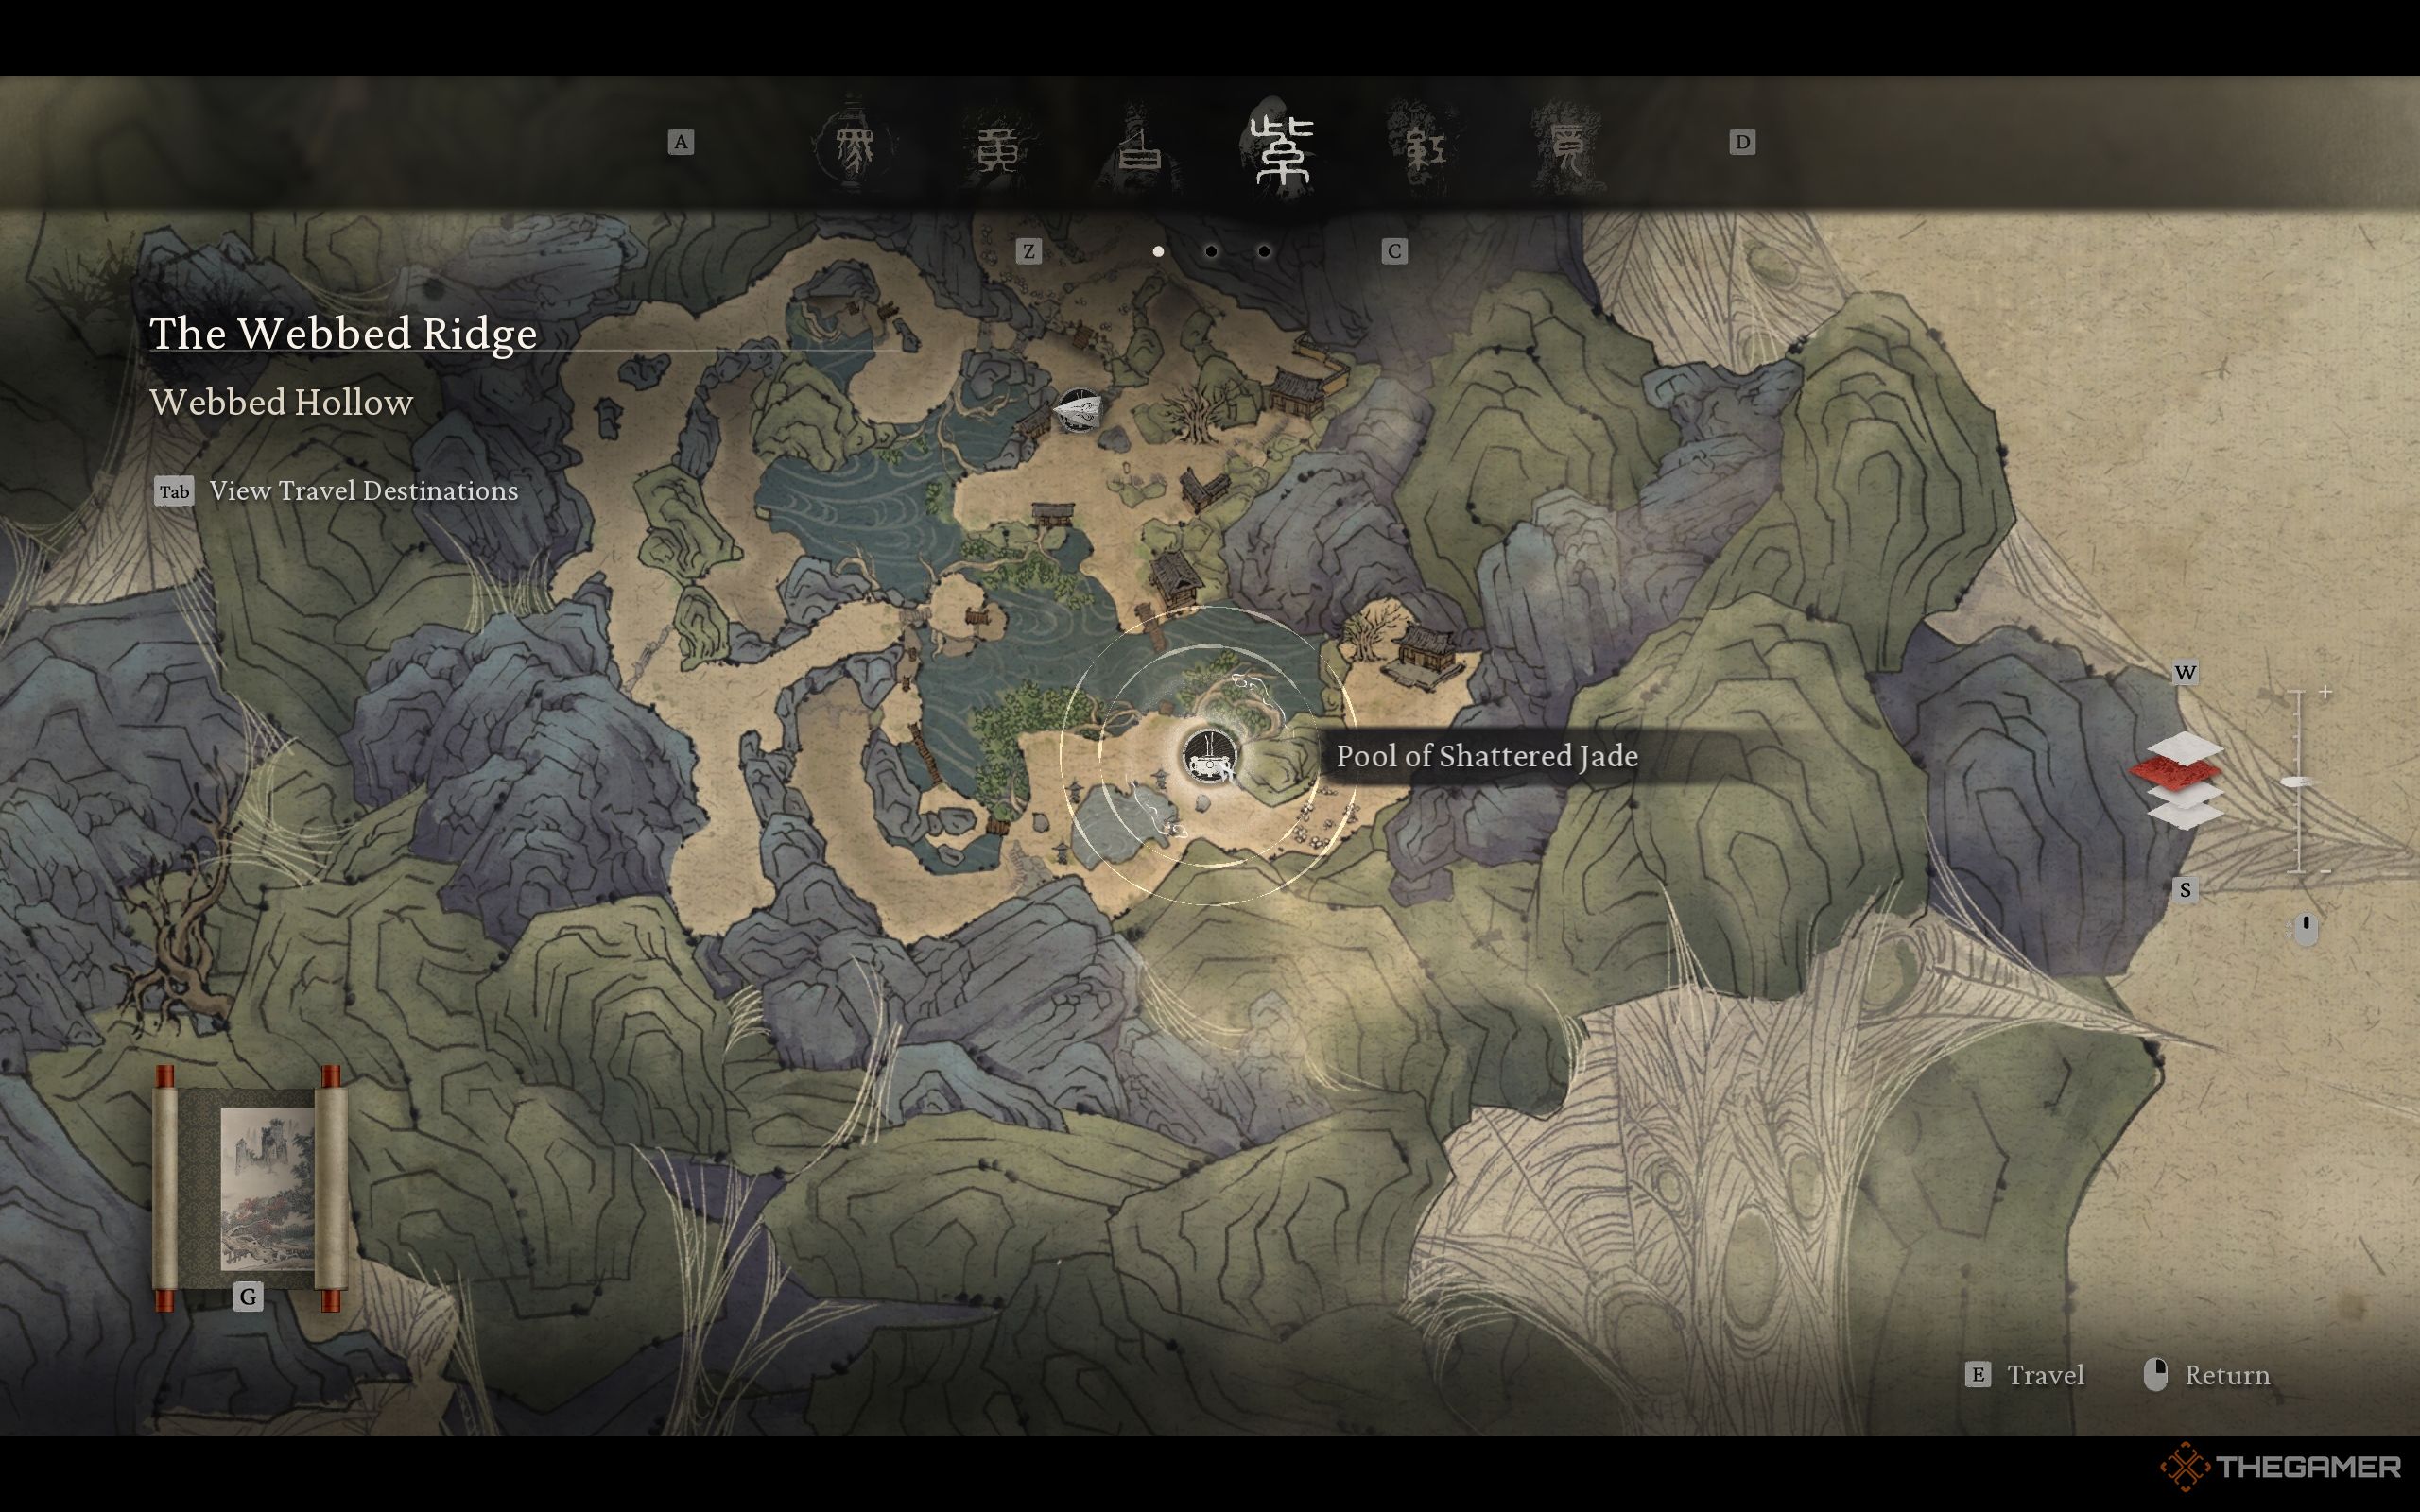
Finding the Pools of Shattered Jade Shrine can be tricky as it’s well-hidden and easy to miss. Fortunately, with the new map feature added, the search for this Keeper’s shrine may be a bit faster and easier. Here are the steps you need to take to get to the Pools of Shattered Jade Shrine.
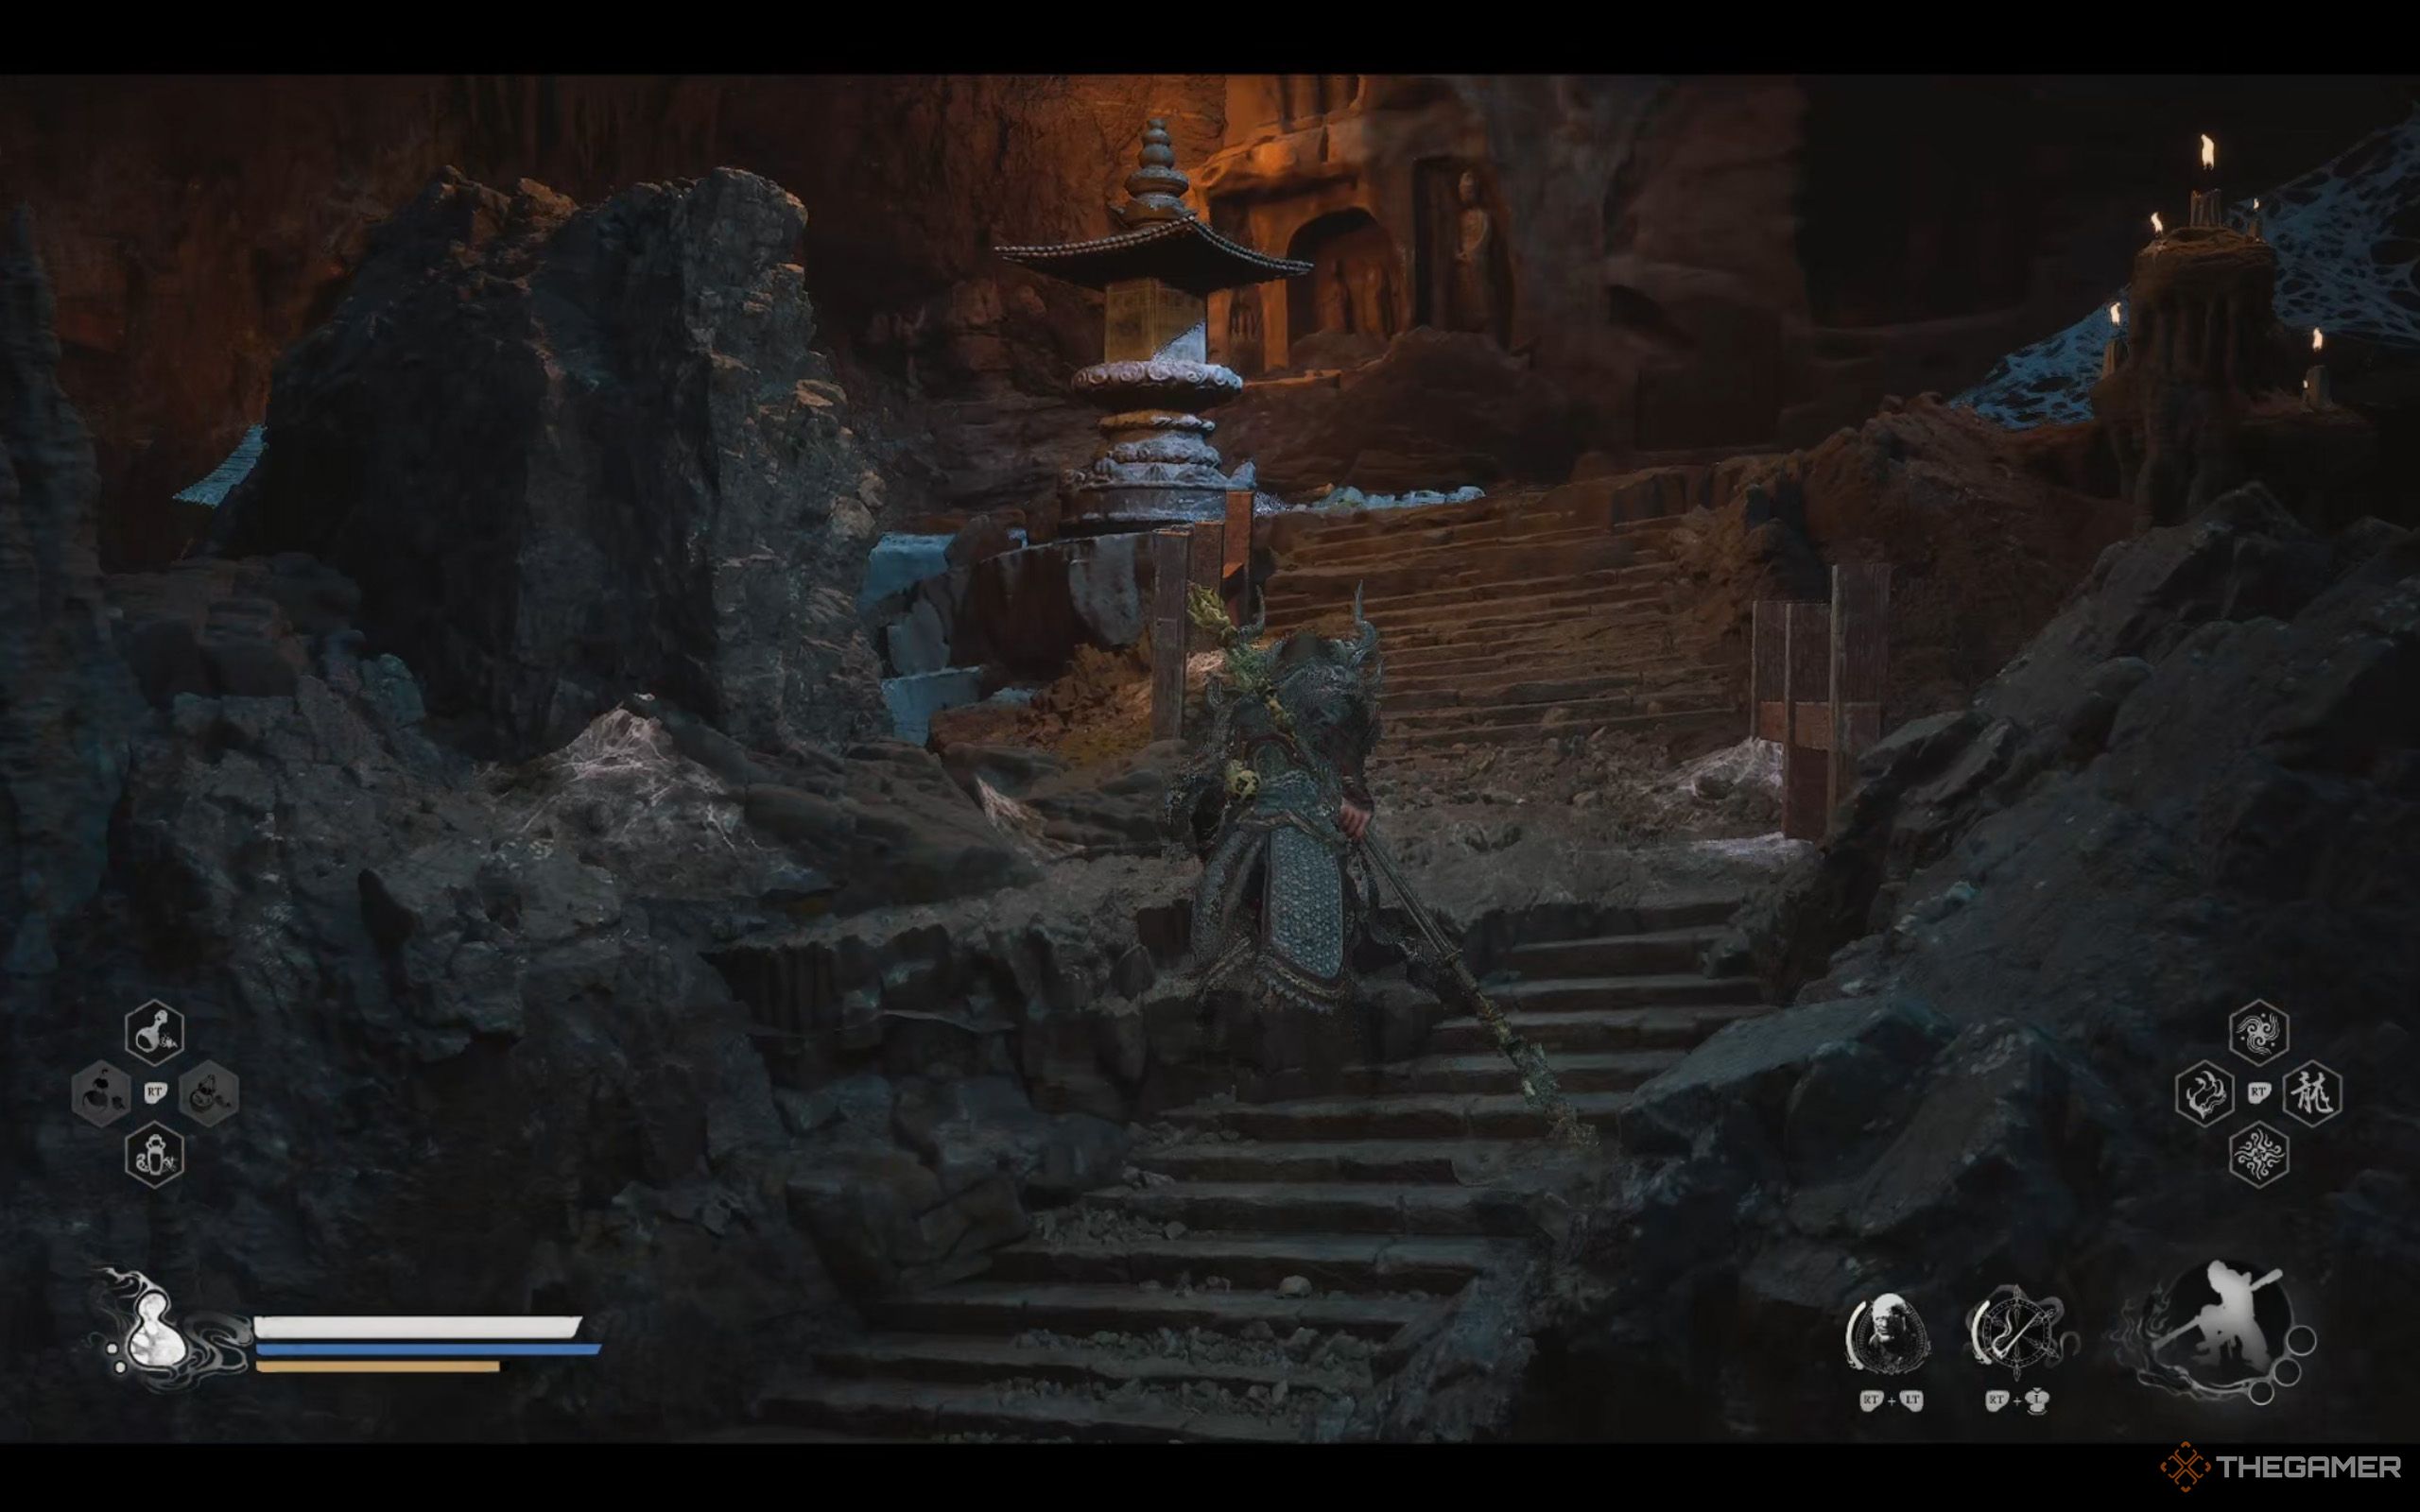
First, start at the Upper Hollow Shrine and turn left, make your way up the stairs. At the end of the stairs, turn left, and drop down.
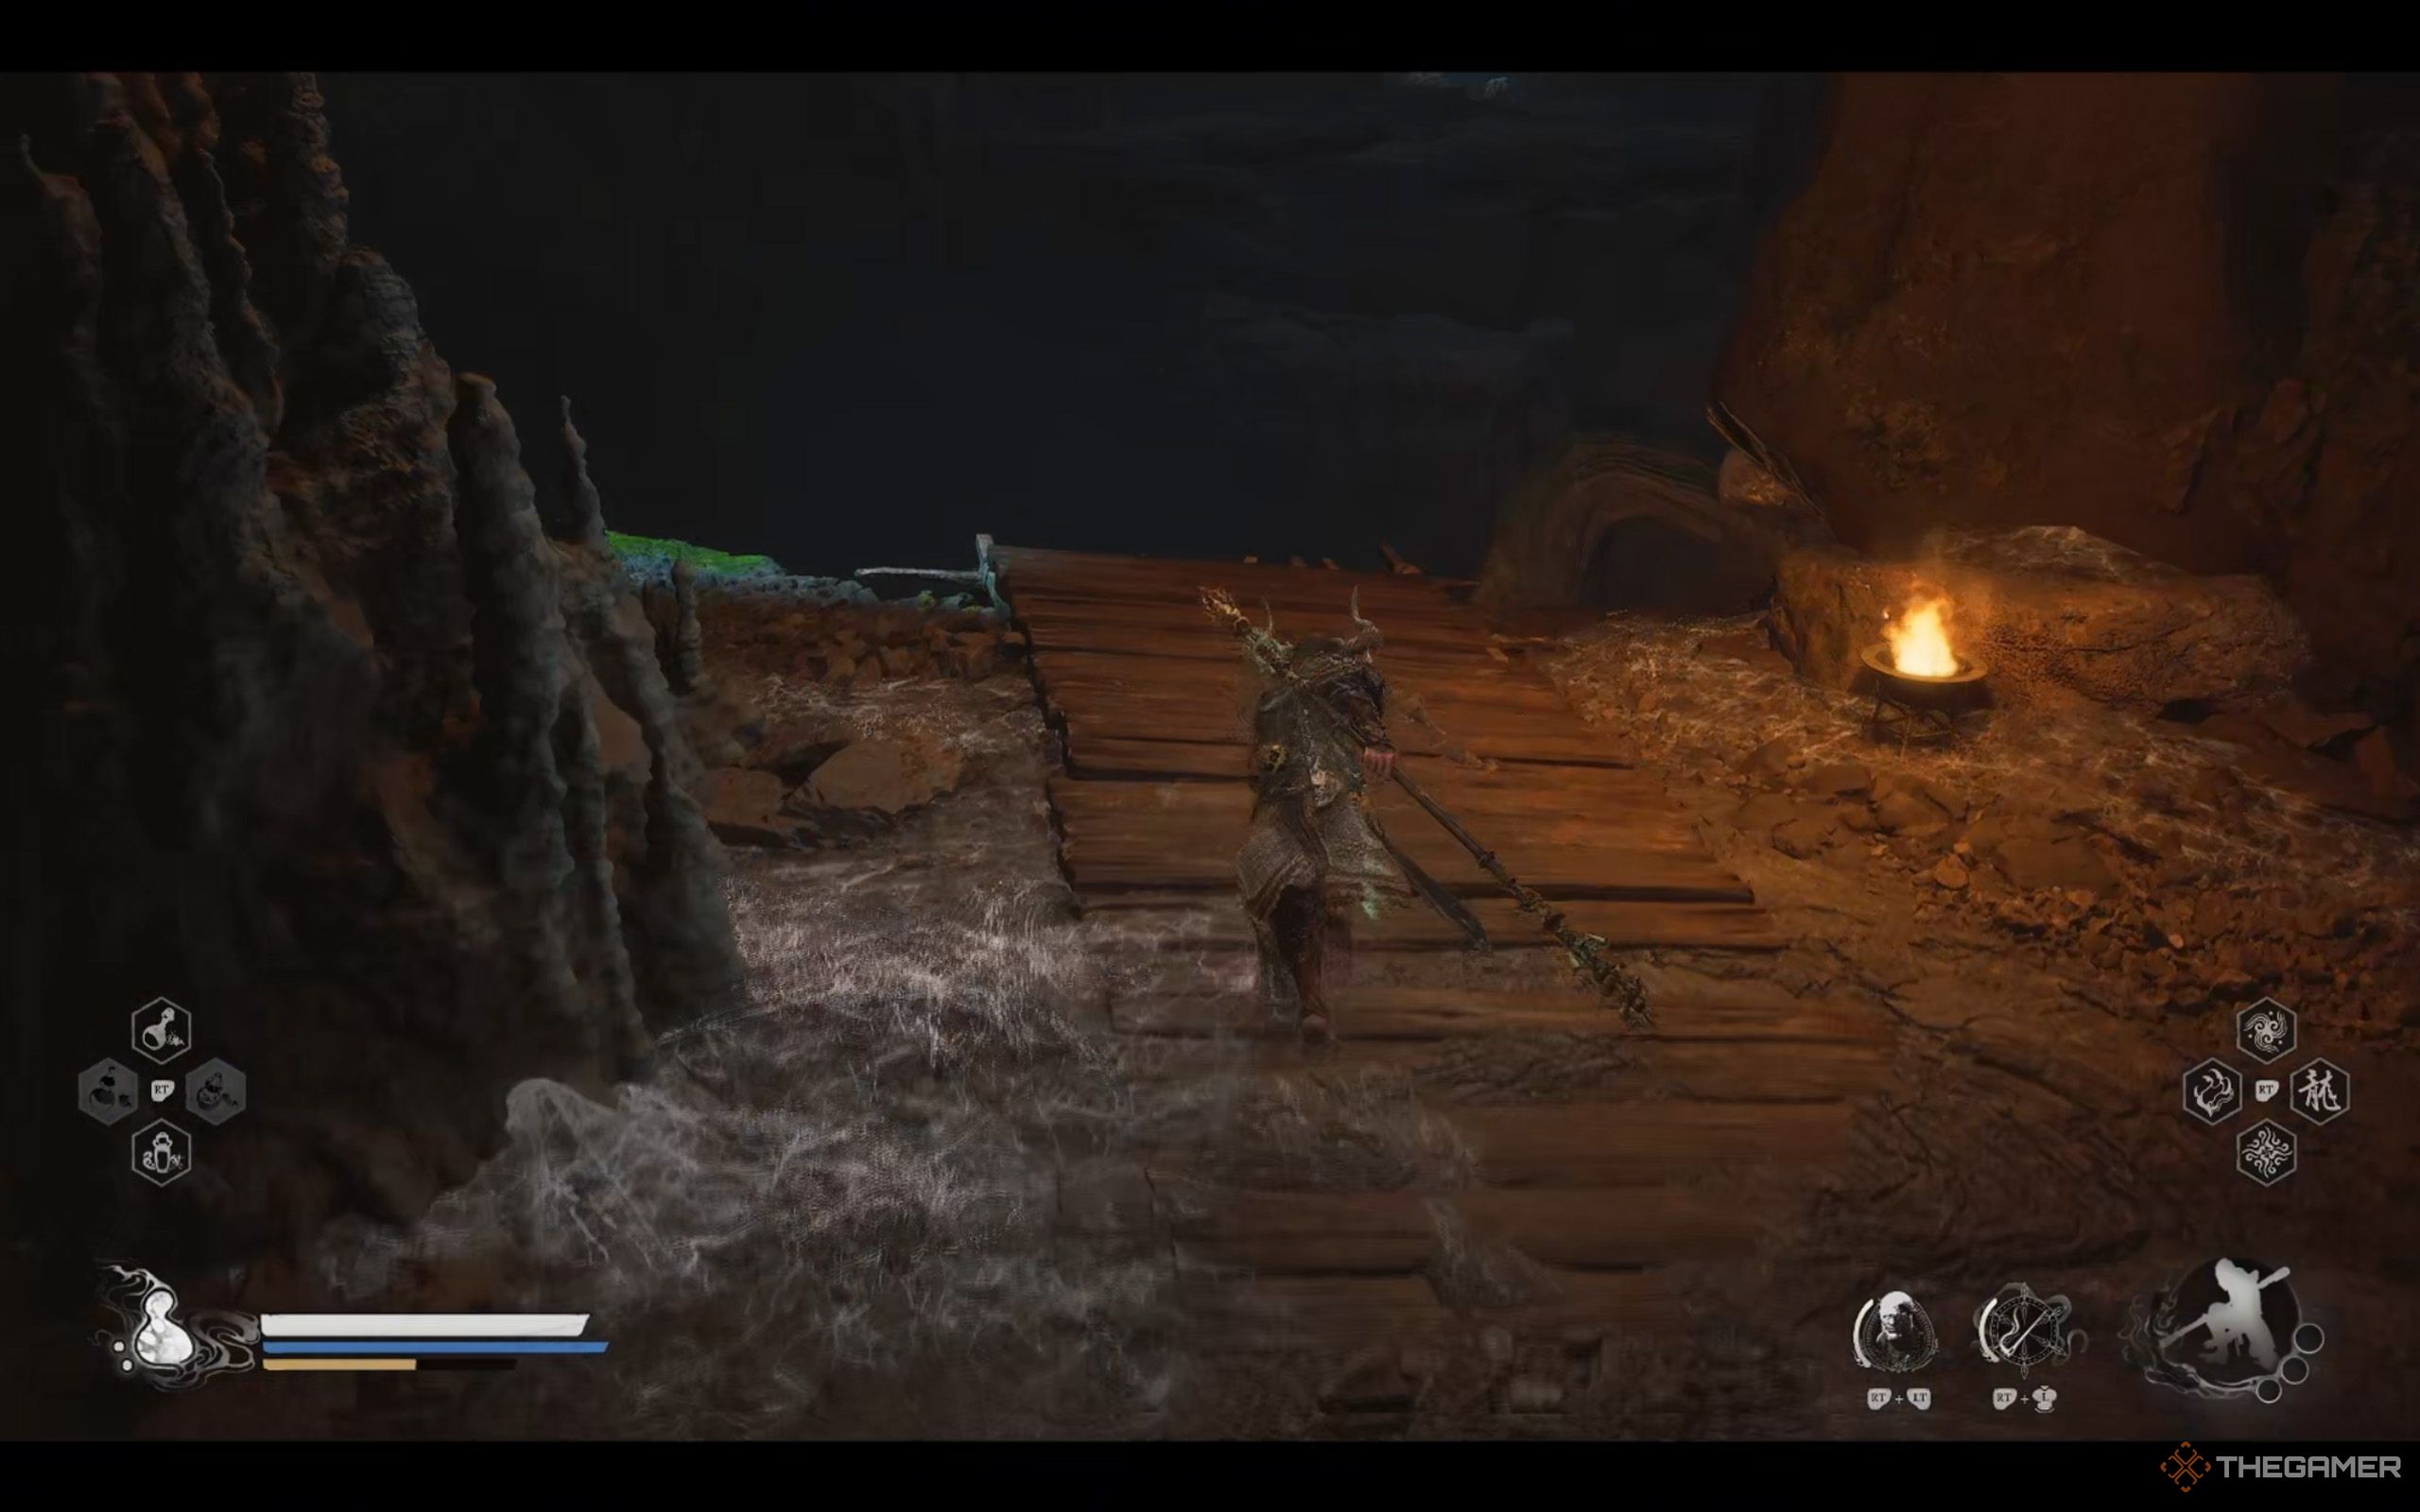
Look for a wooden ledge on the left that lets you descend to a lower level, then immediately another ledge on the right to drop down even further.
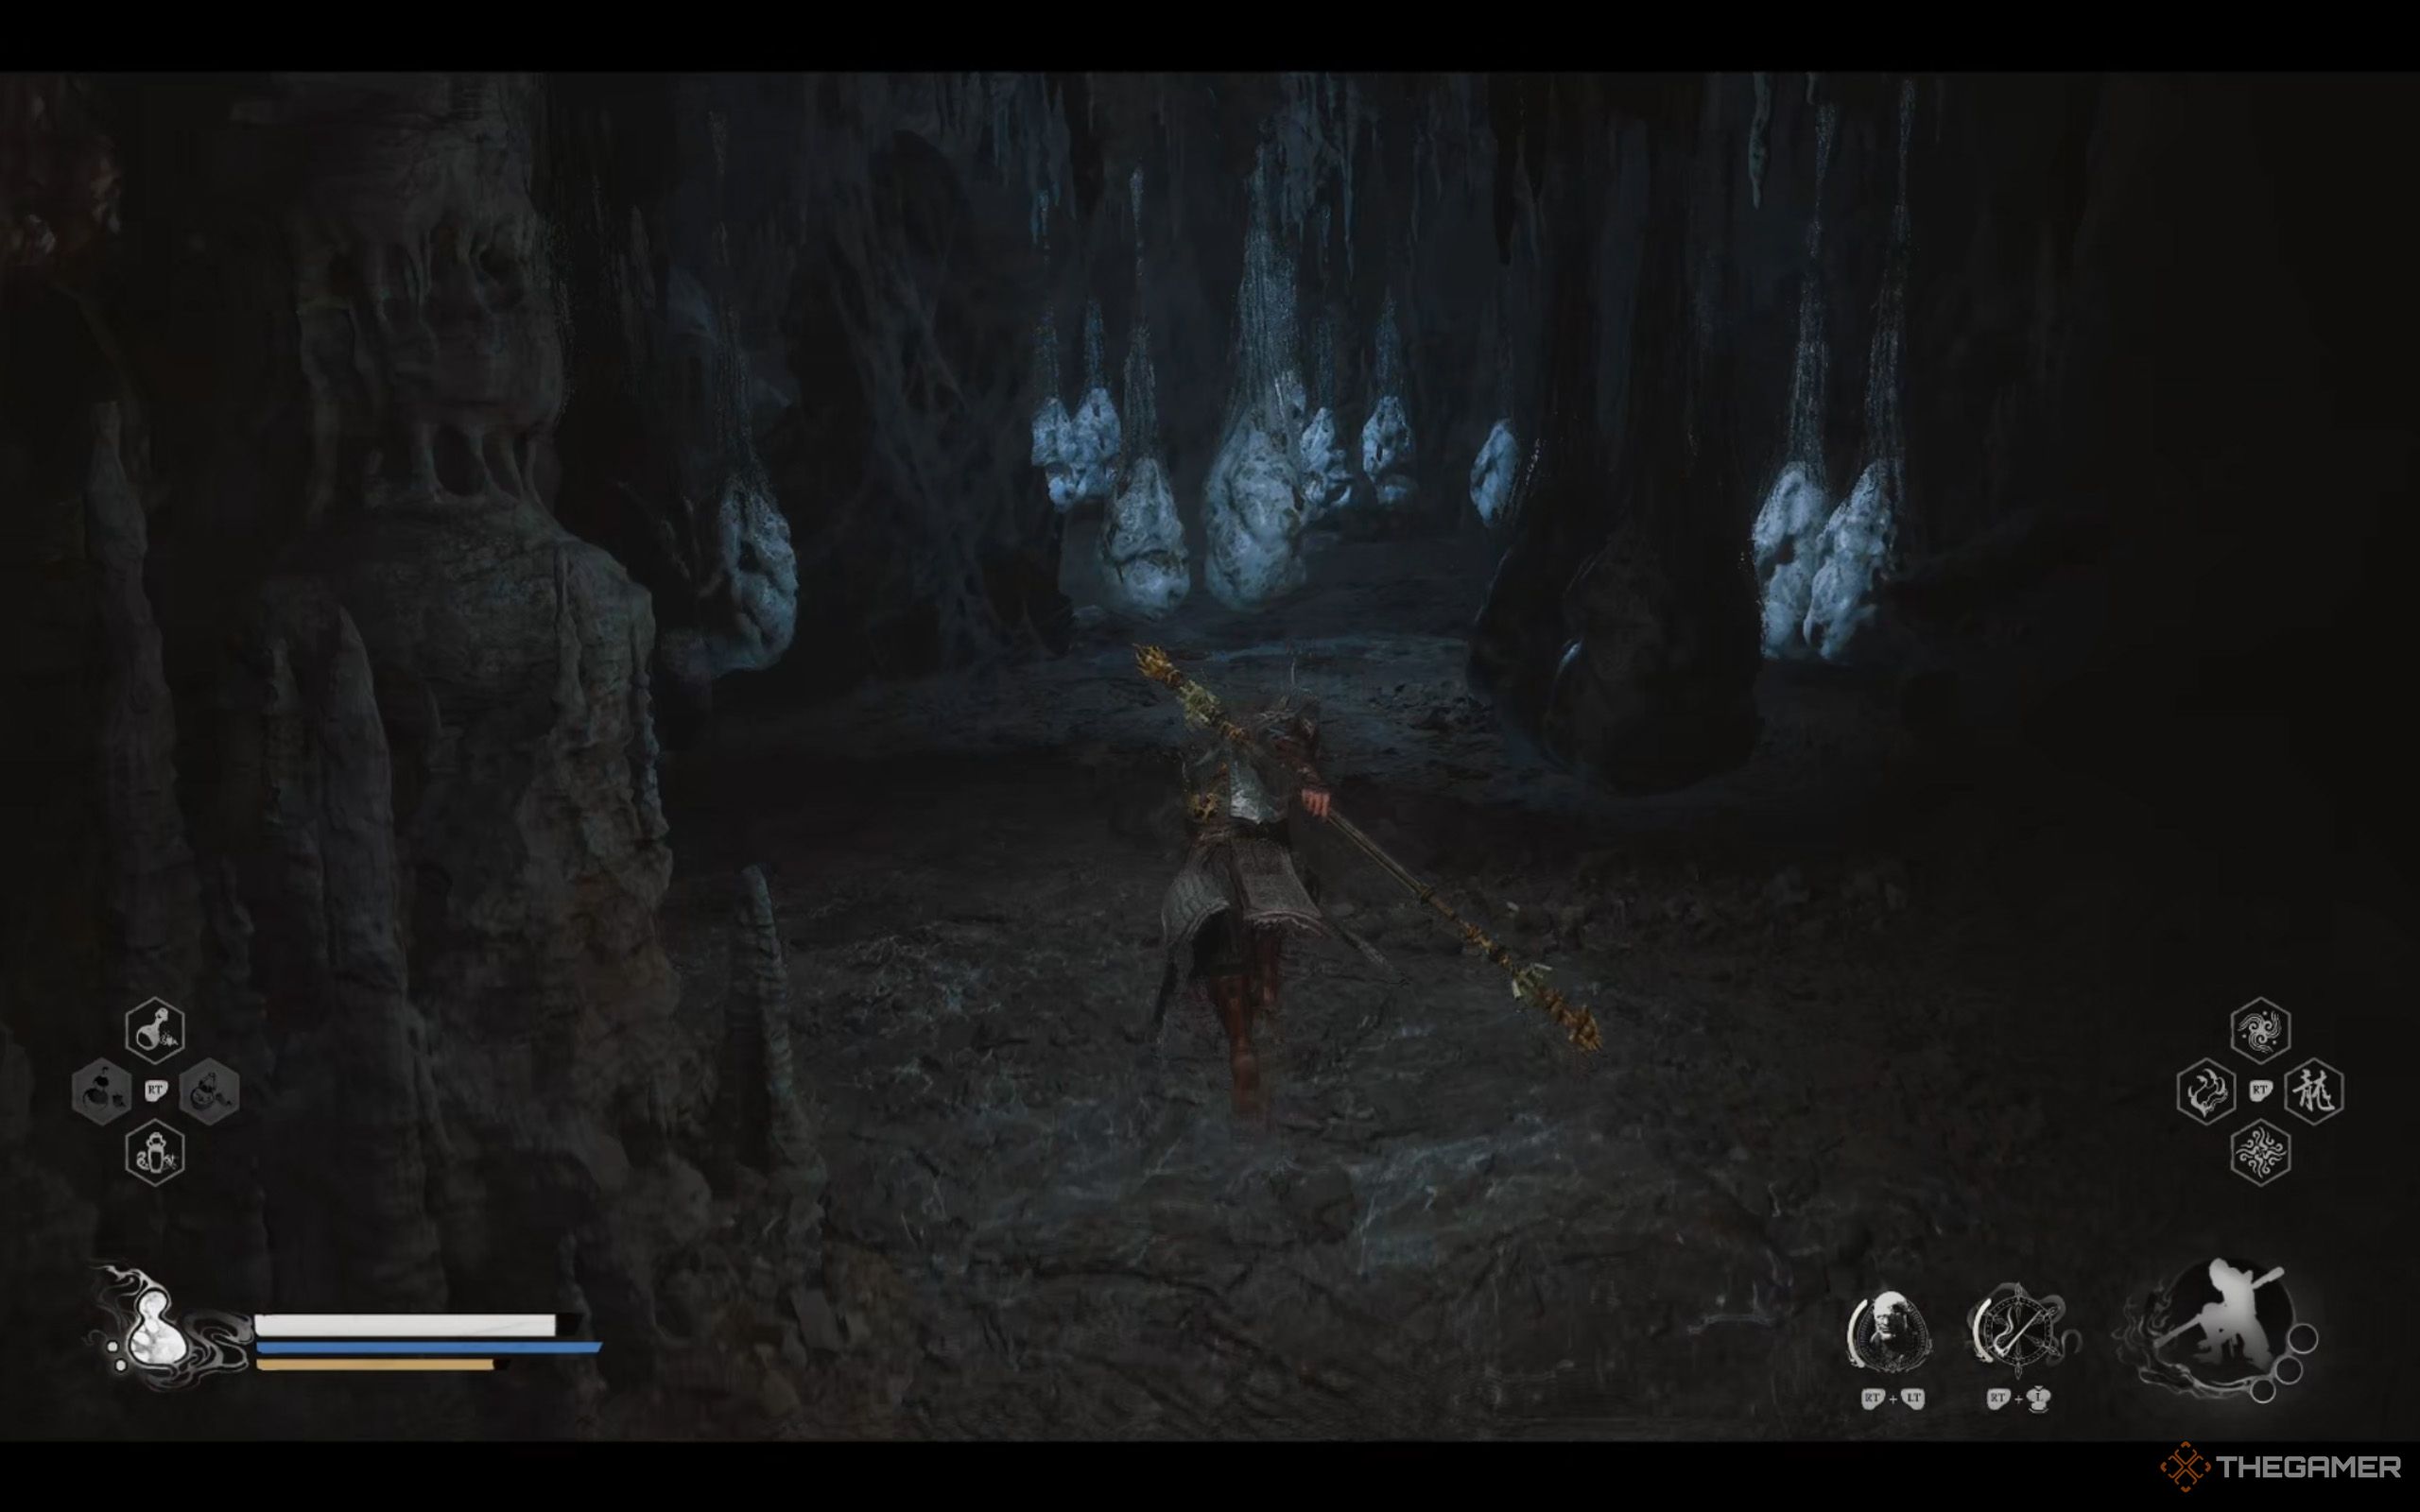
Turn left and proceed through the tunnel filled with hanging cocoons, avoiding or defeating enemies as needed. But to save time, just run past them and dodge their attacks.
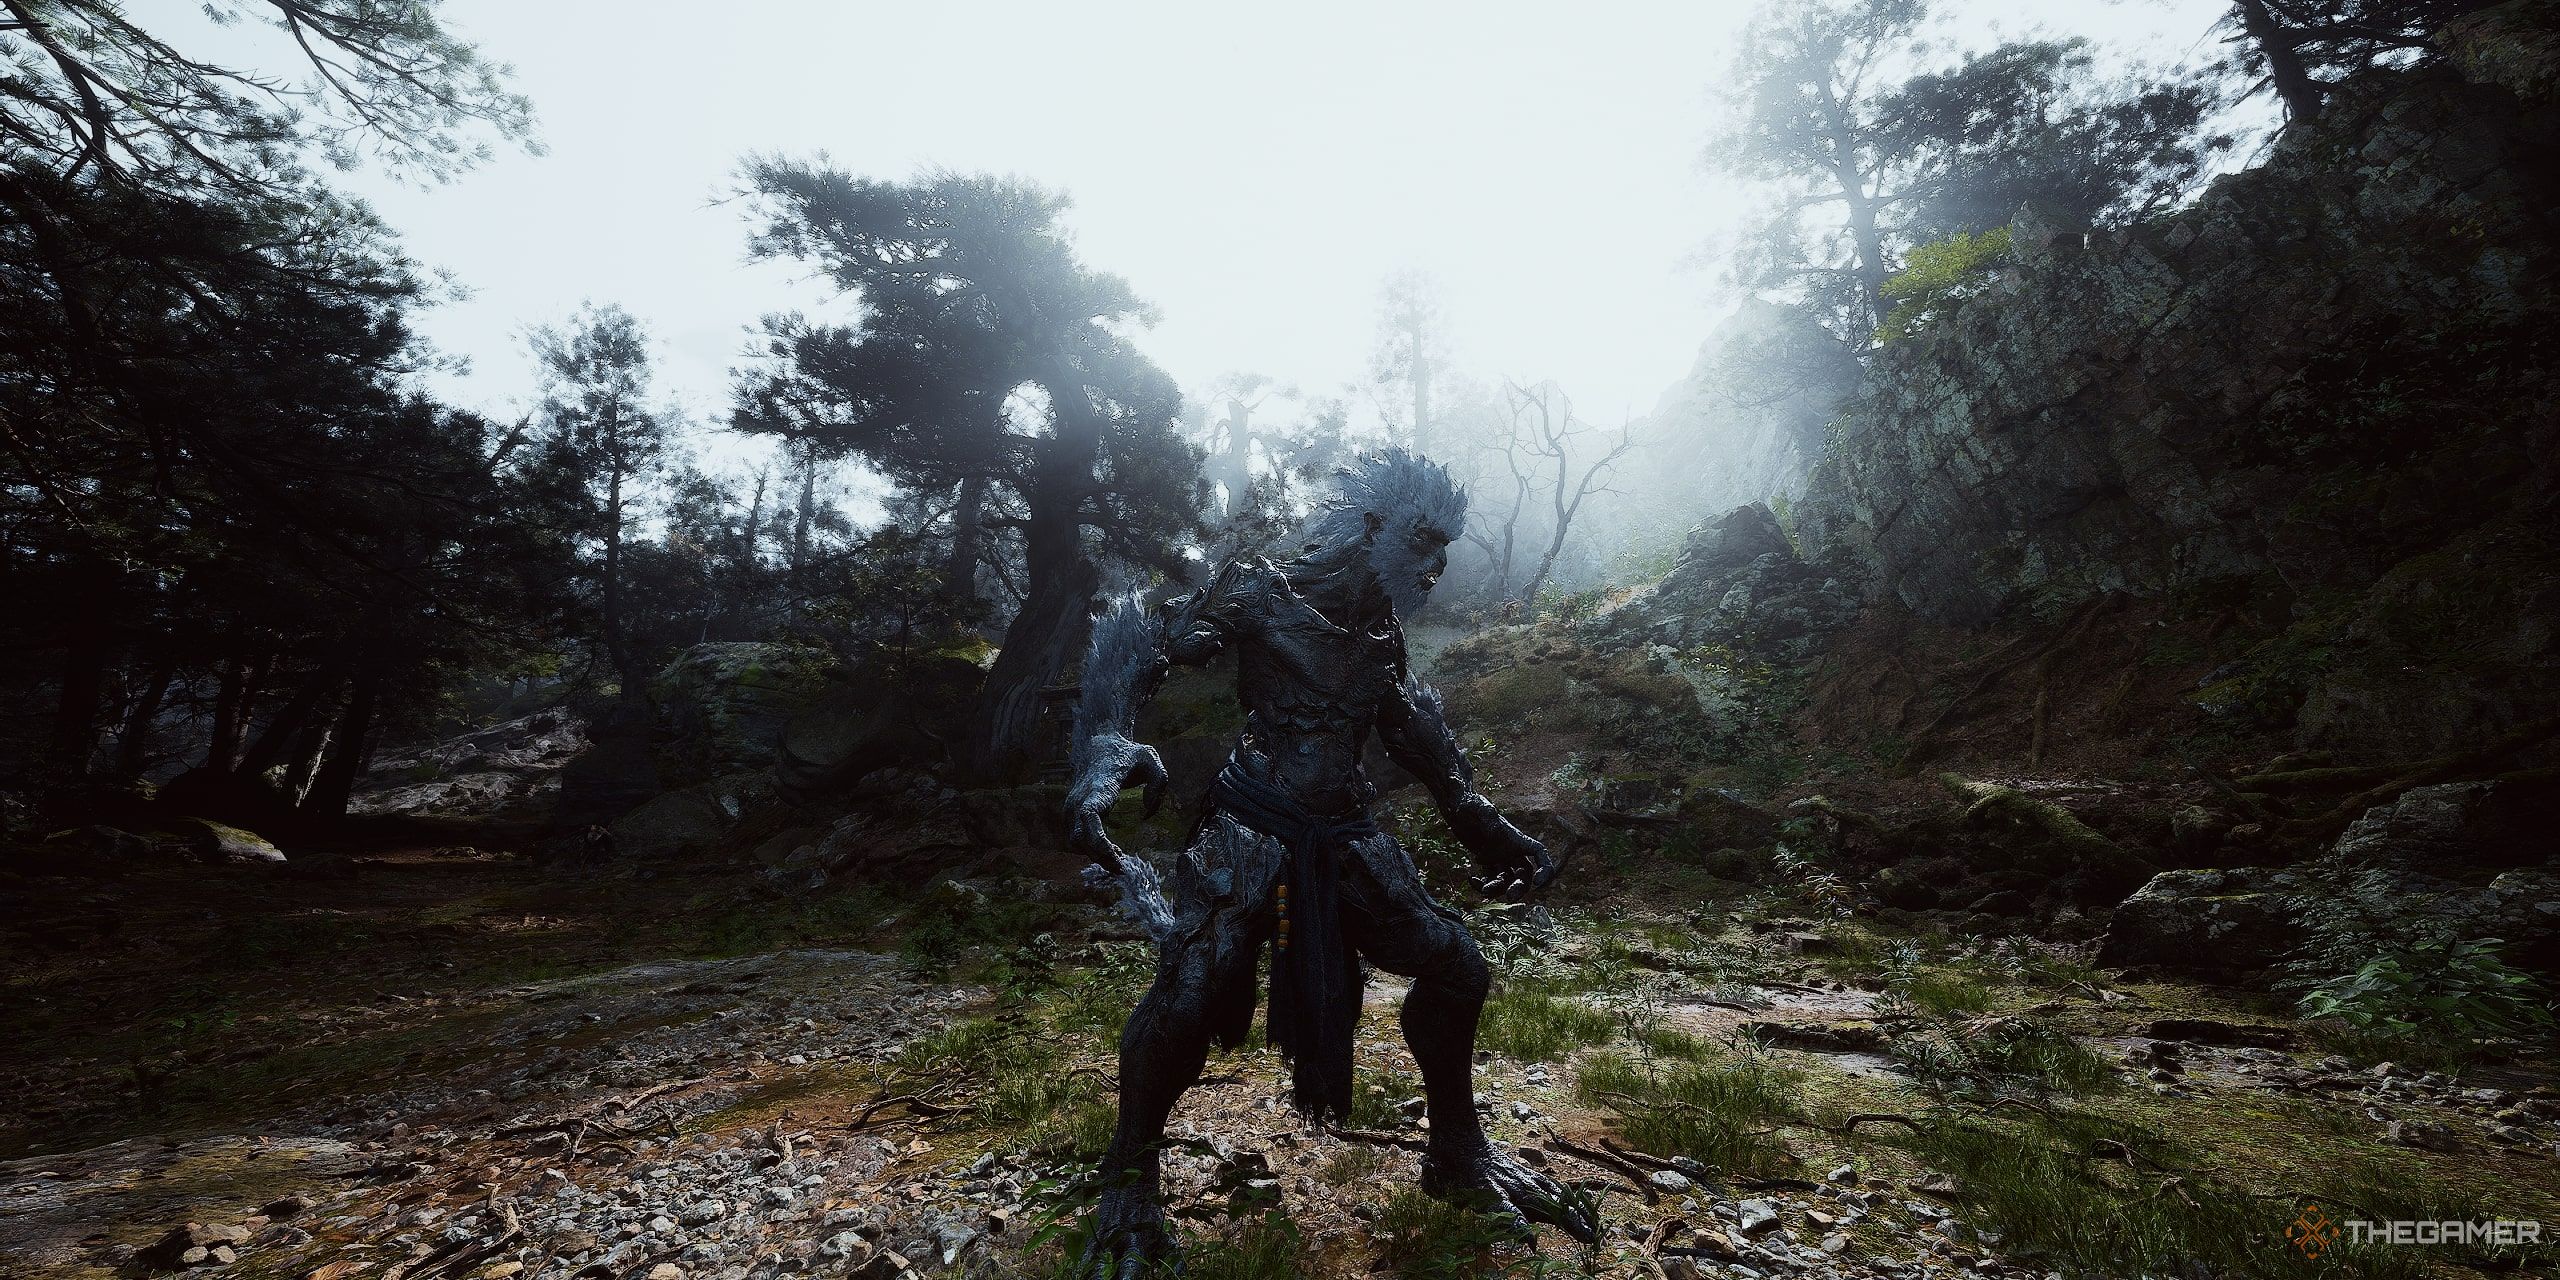
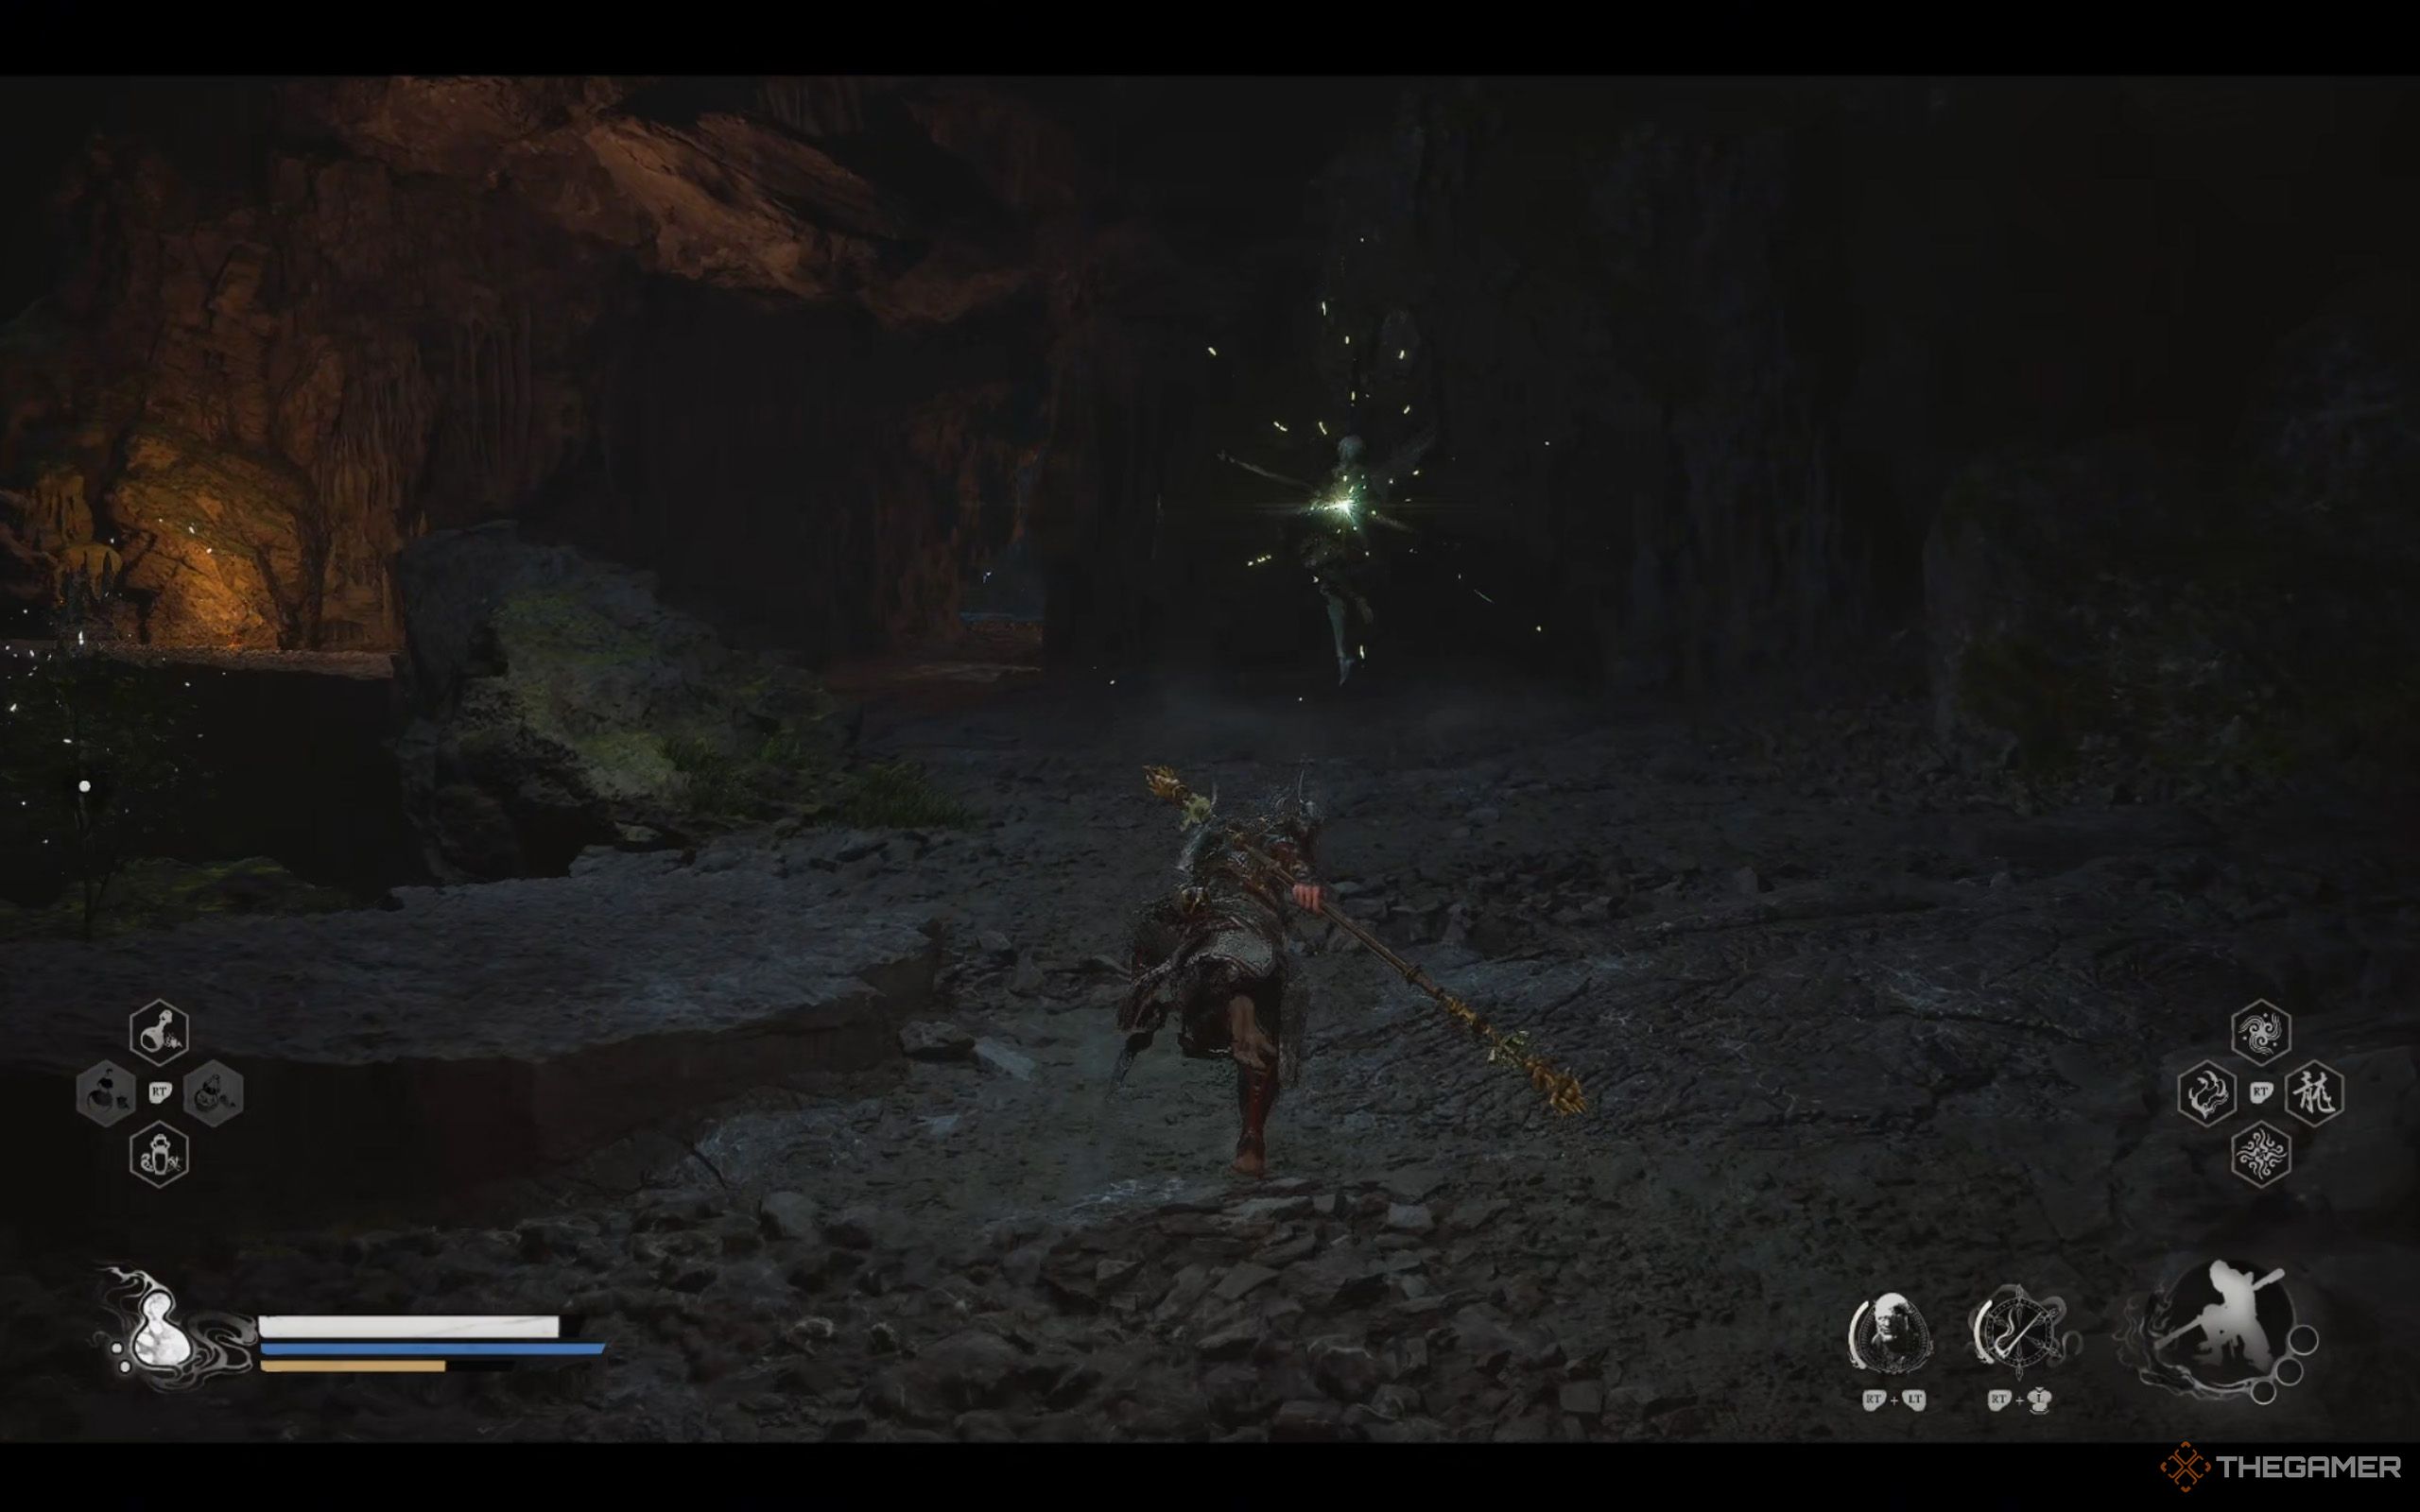
Run through the arch. If you see a  Dragonfly Guai
shooting at you with its arrow, then you’re on the right path.
Stick to the left, you’ll find another tunnel filled with spider-webbed sacs. Run through them and head up the stairs to find a slope patrolled by a  Scorpion Prince
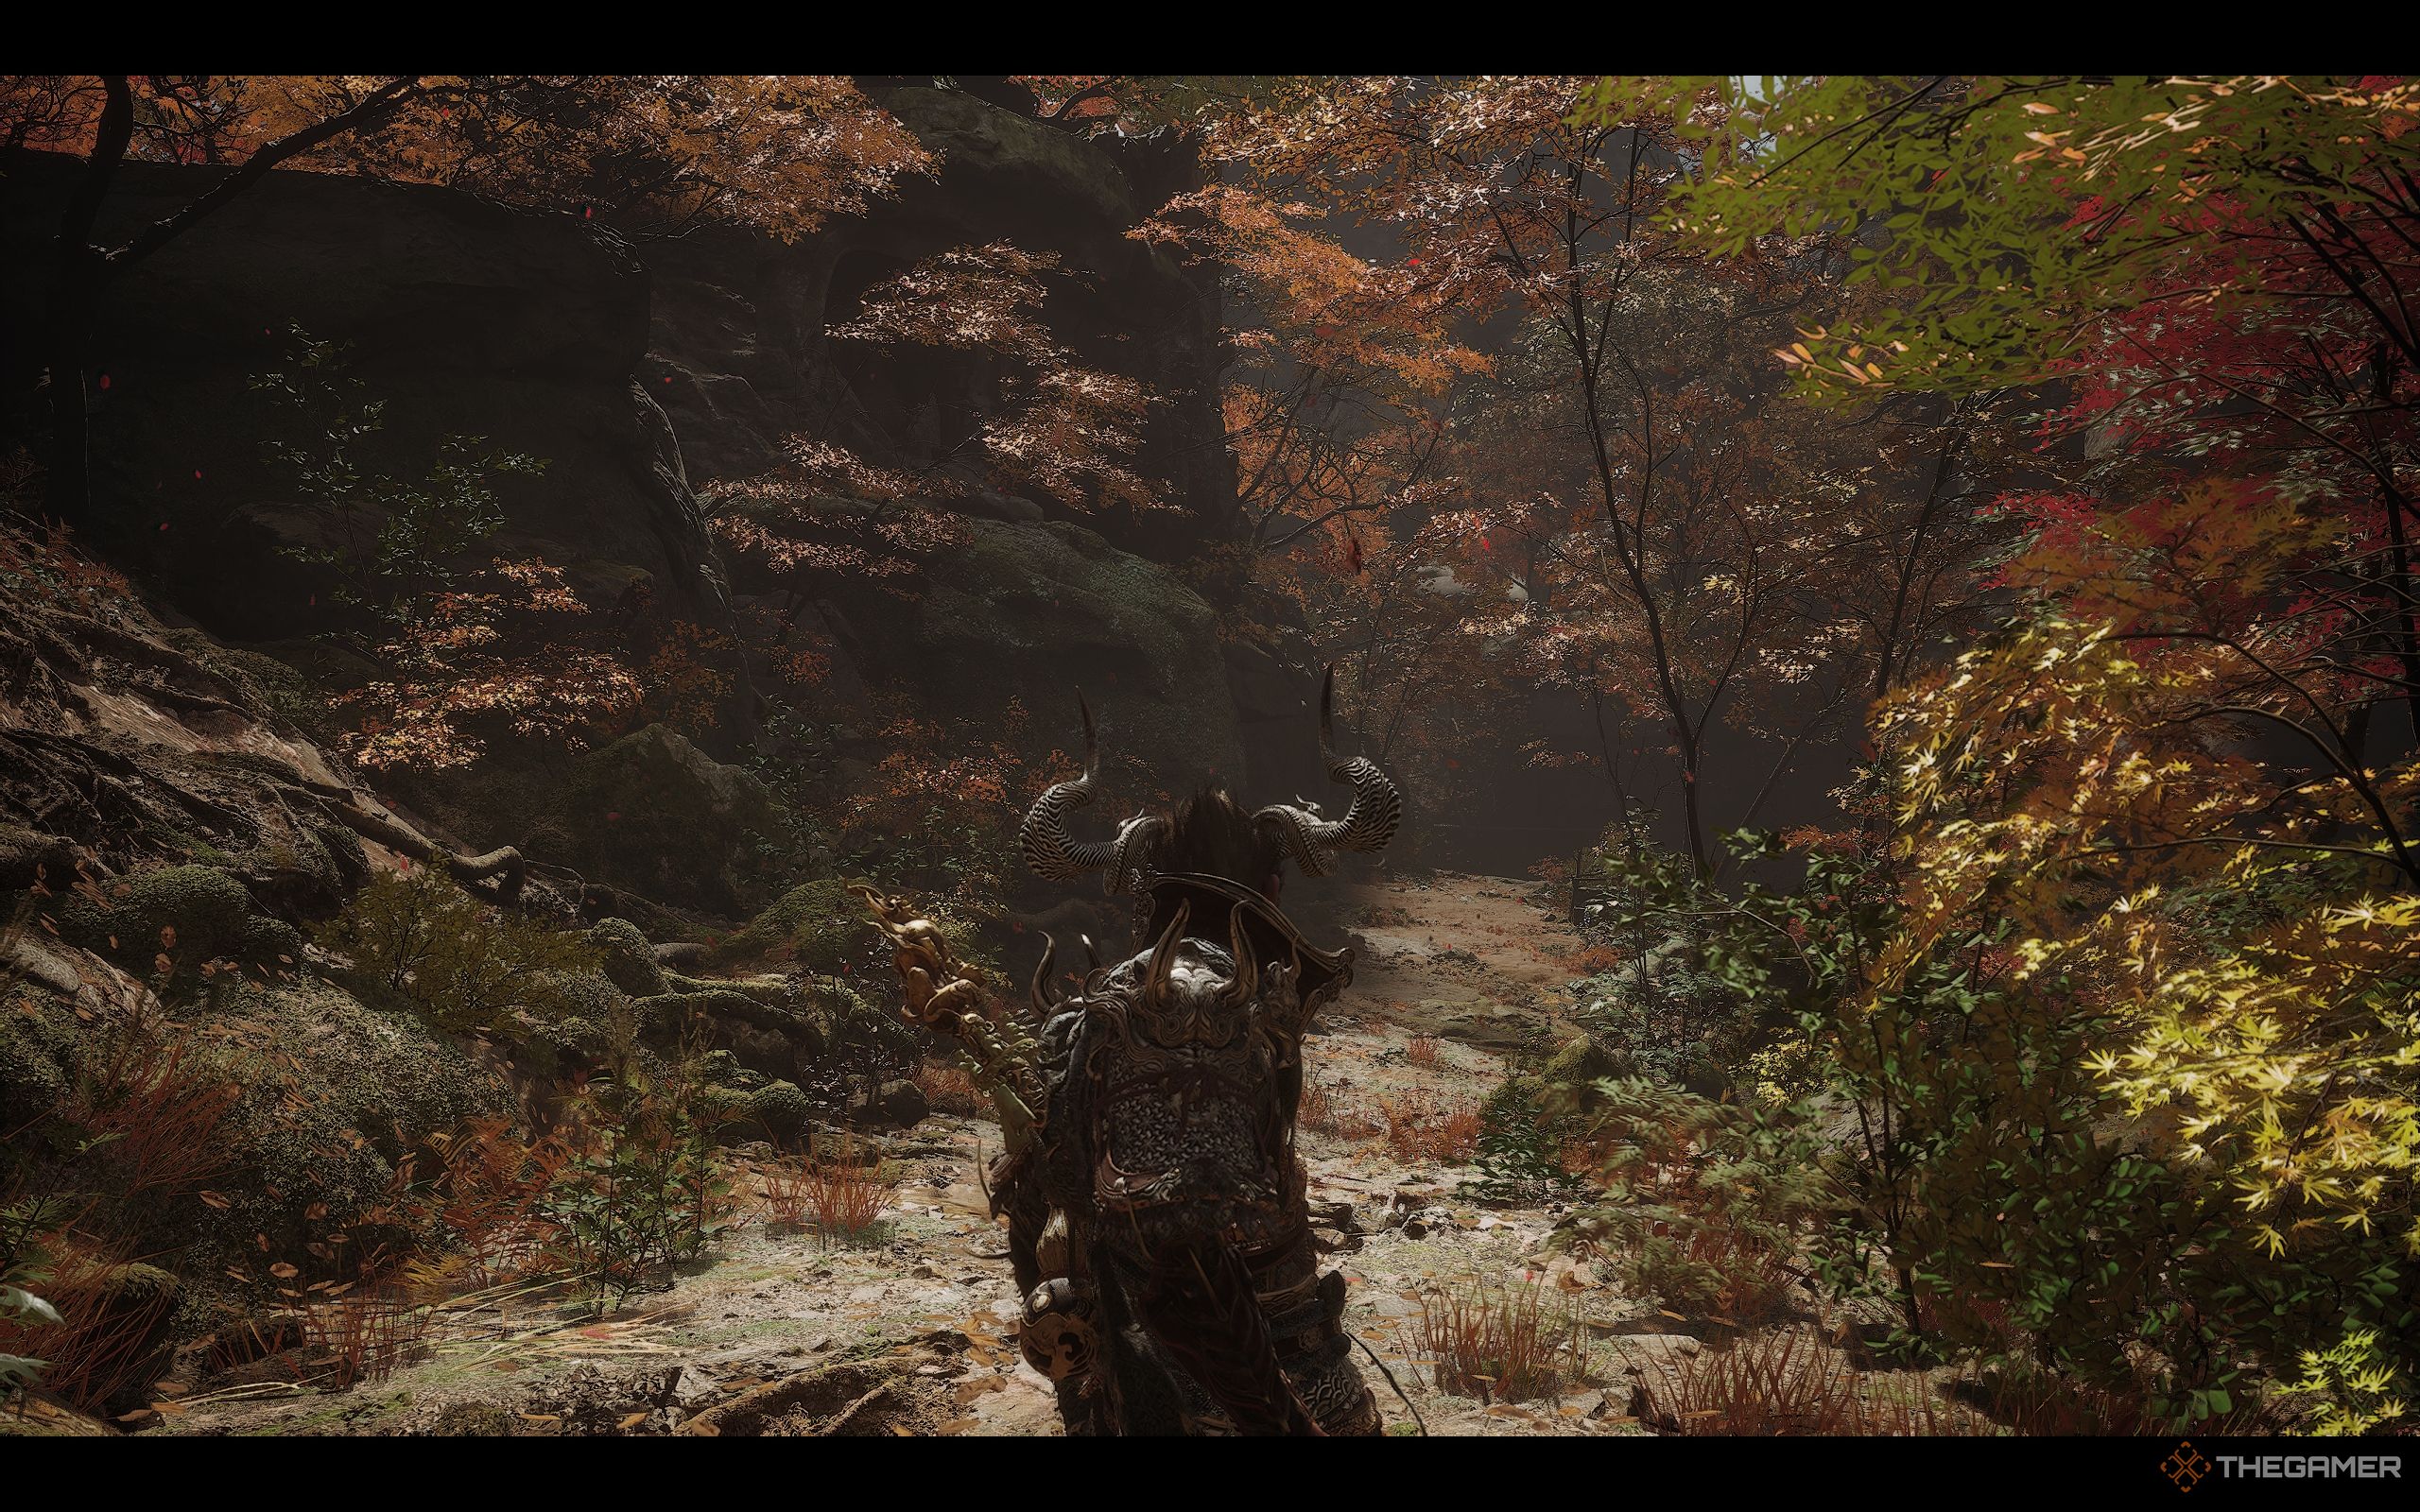
. If you’ve defeated him before, he won’t show up again. Keep running to the top, past the boulder, you’ll see the Pools of Shattered Jade Shrine.
Also, a Meditation Spot is nearby if you want to take a break before heading into the mini-boss fight.
Here’s a video to help you navigate this area easier:
Reaching The Purple Cloud Mountain
After beating the Venom Daoist twice, interact with the mural on the wall to enter Purple Cloud Mountain. Your main goal is to defeat the Duskveil.
But before that, remember to talk to the red snake, explore the area, and defeat all the bosses. Skipping them means missing out on  Deathstinger (Material)
, a special crafting material for your armor, and the  Violet Hail (Spell)
transformation for your Destined One.
How To Defeat The Duskveil
To defeat the Duskveil, make sure to pick the  Thrust Stance
. Activate your  Immobilize
, and  A Pluck of Many
spells. For the transformation, it’s recommended to take  Red Tides
. The wolf guai form is fast, letting you close up on the Duskveil quickly, and it also applies burn. Take the  Wandering Wight
Spirit with you as it deals fat chunk of damage. For your vessel, go with  Wind Tamer
to get some extra defense.
If the Scorpionlord is still alive when you reach the Duskveil, you’ll see the two of them starting a fight, resulting in the Scorpionlord’s death and the Duskveil with lost HP.
It’s not recommended to leave the Scorpionlord alive before the final boss fight in the Purple Cloud Mountain, as doing so will cause you to miss out on the Deathstinger. But if you enjoy seeing two bosses battling it out, feel free to let him breathe another day!
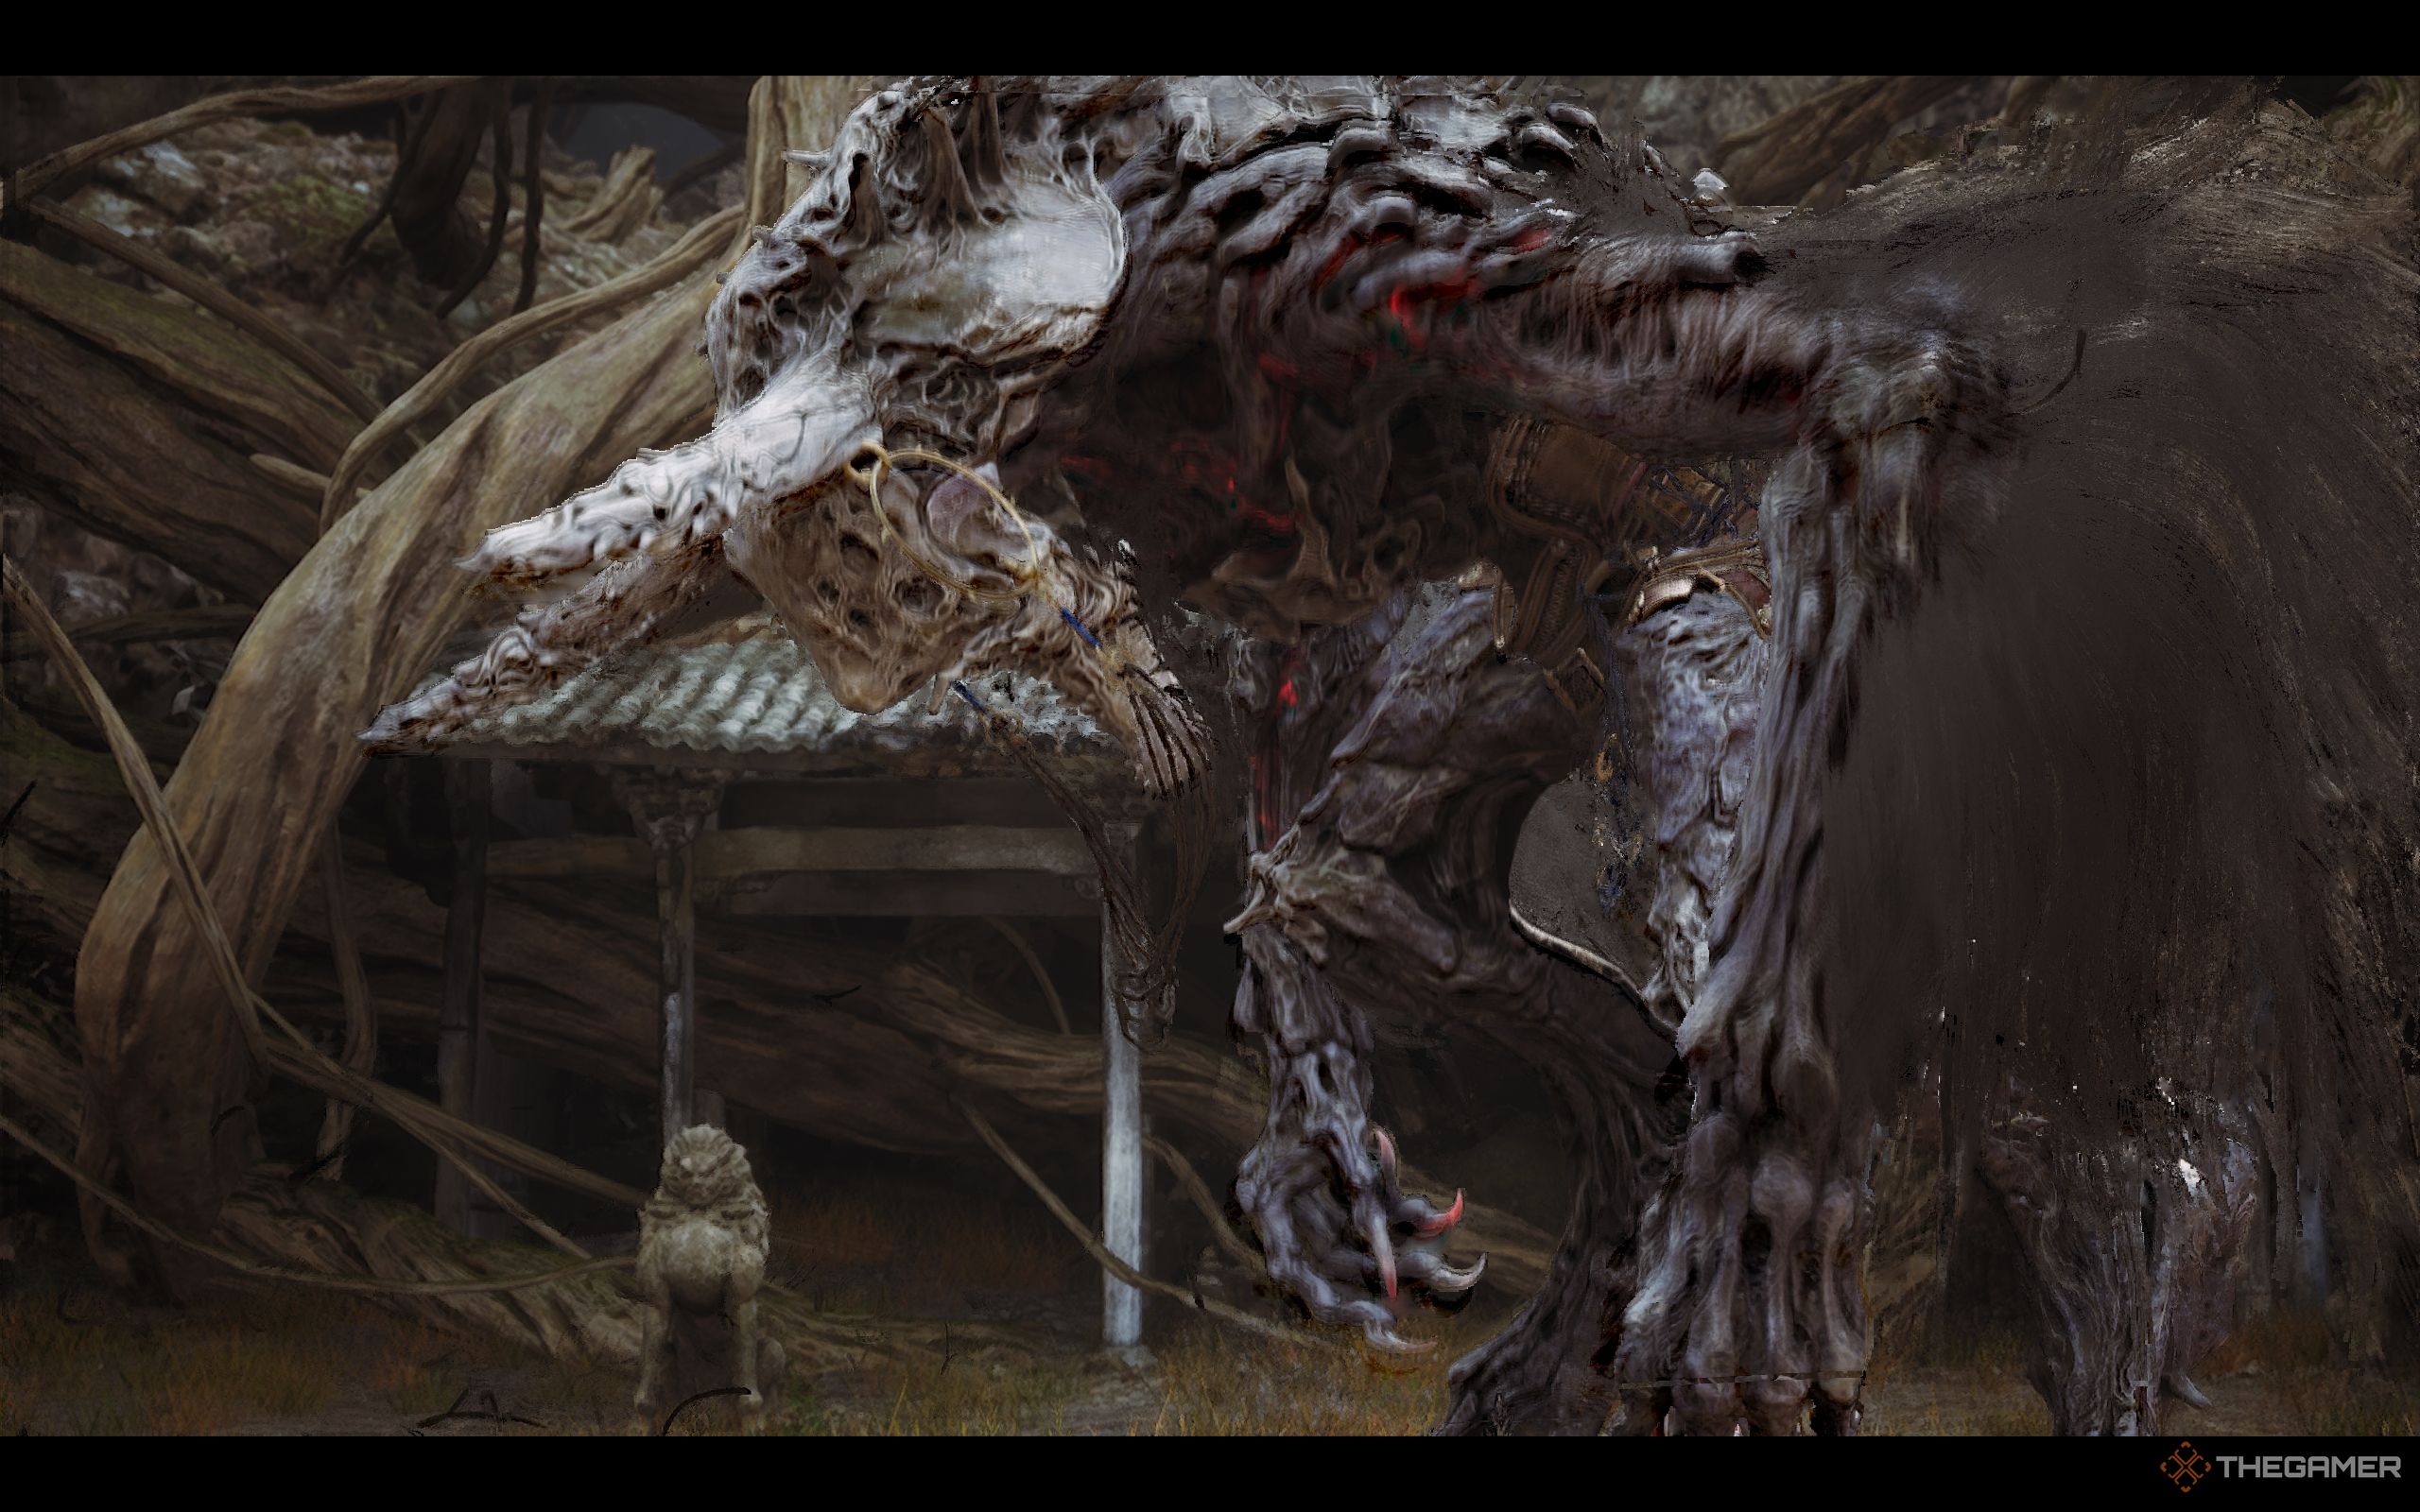
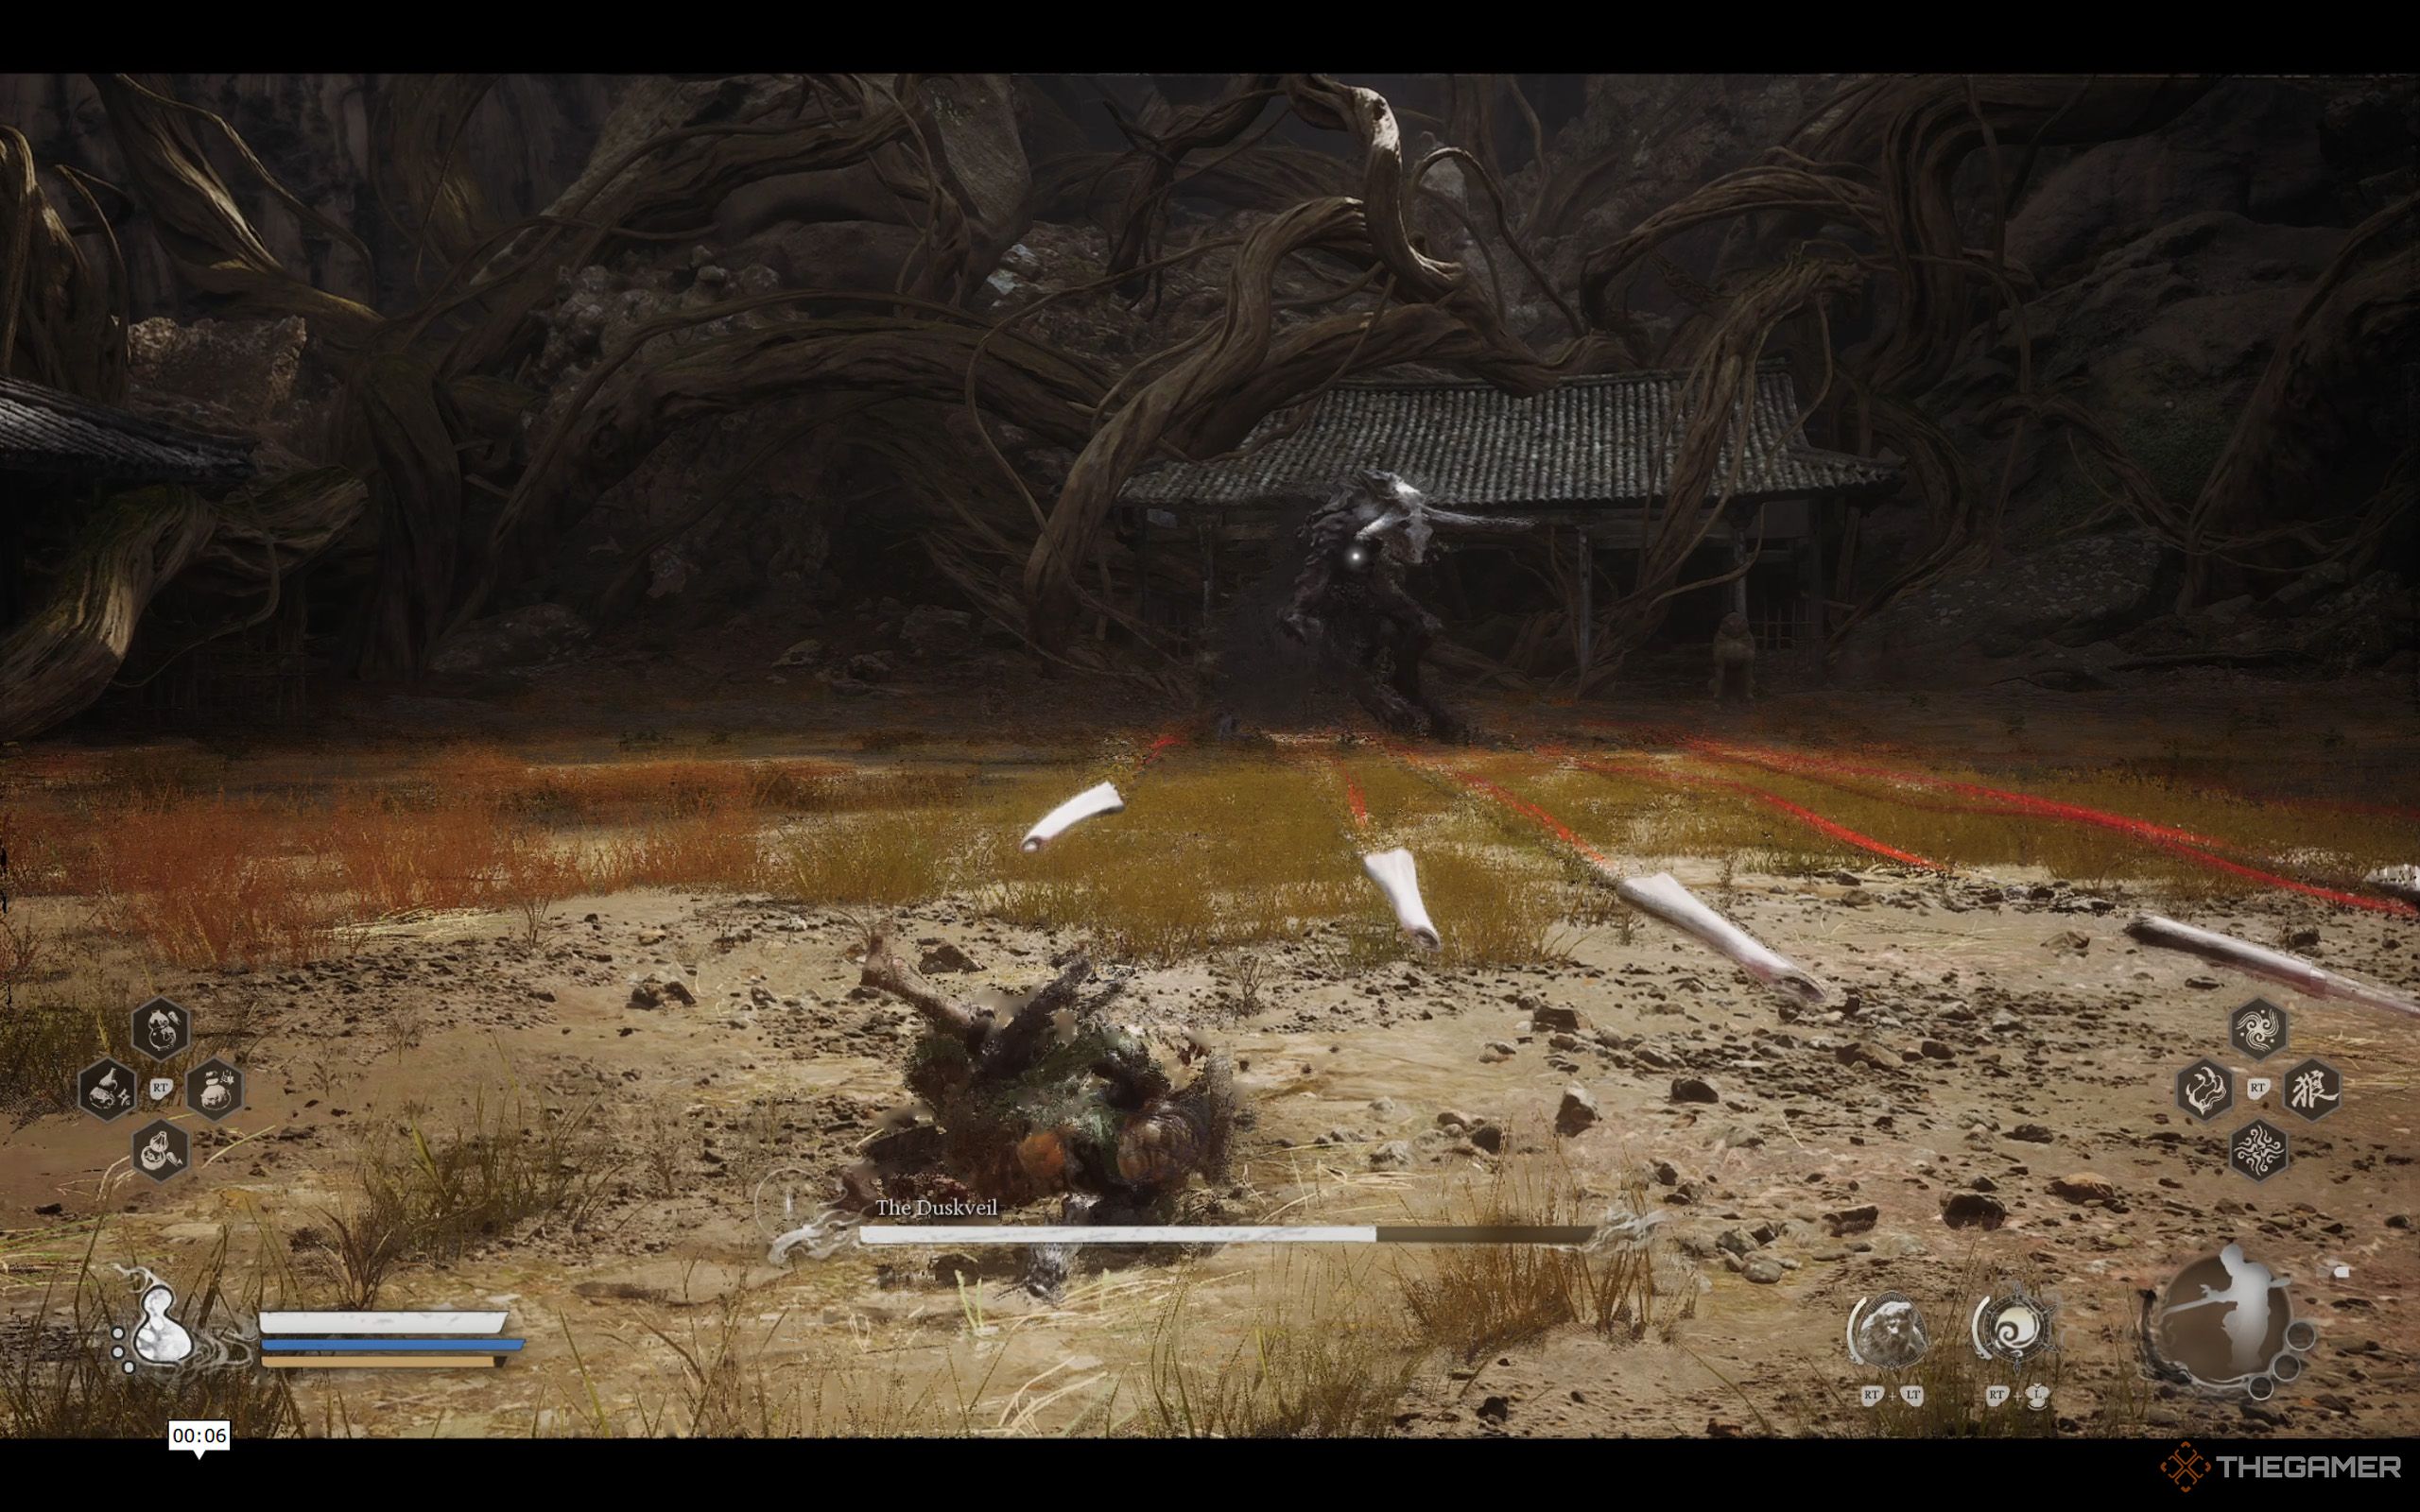
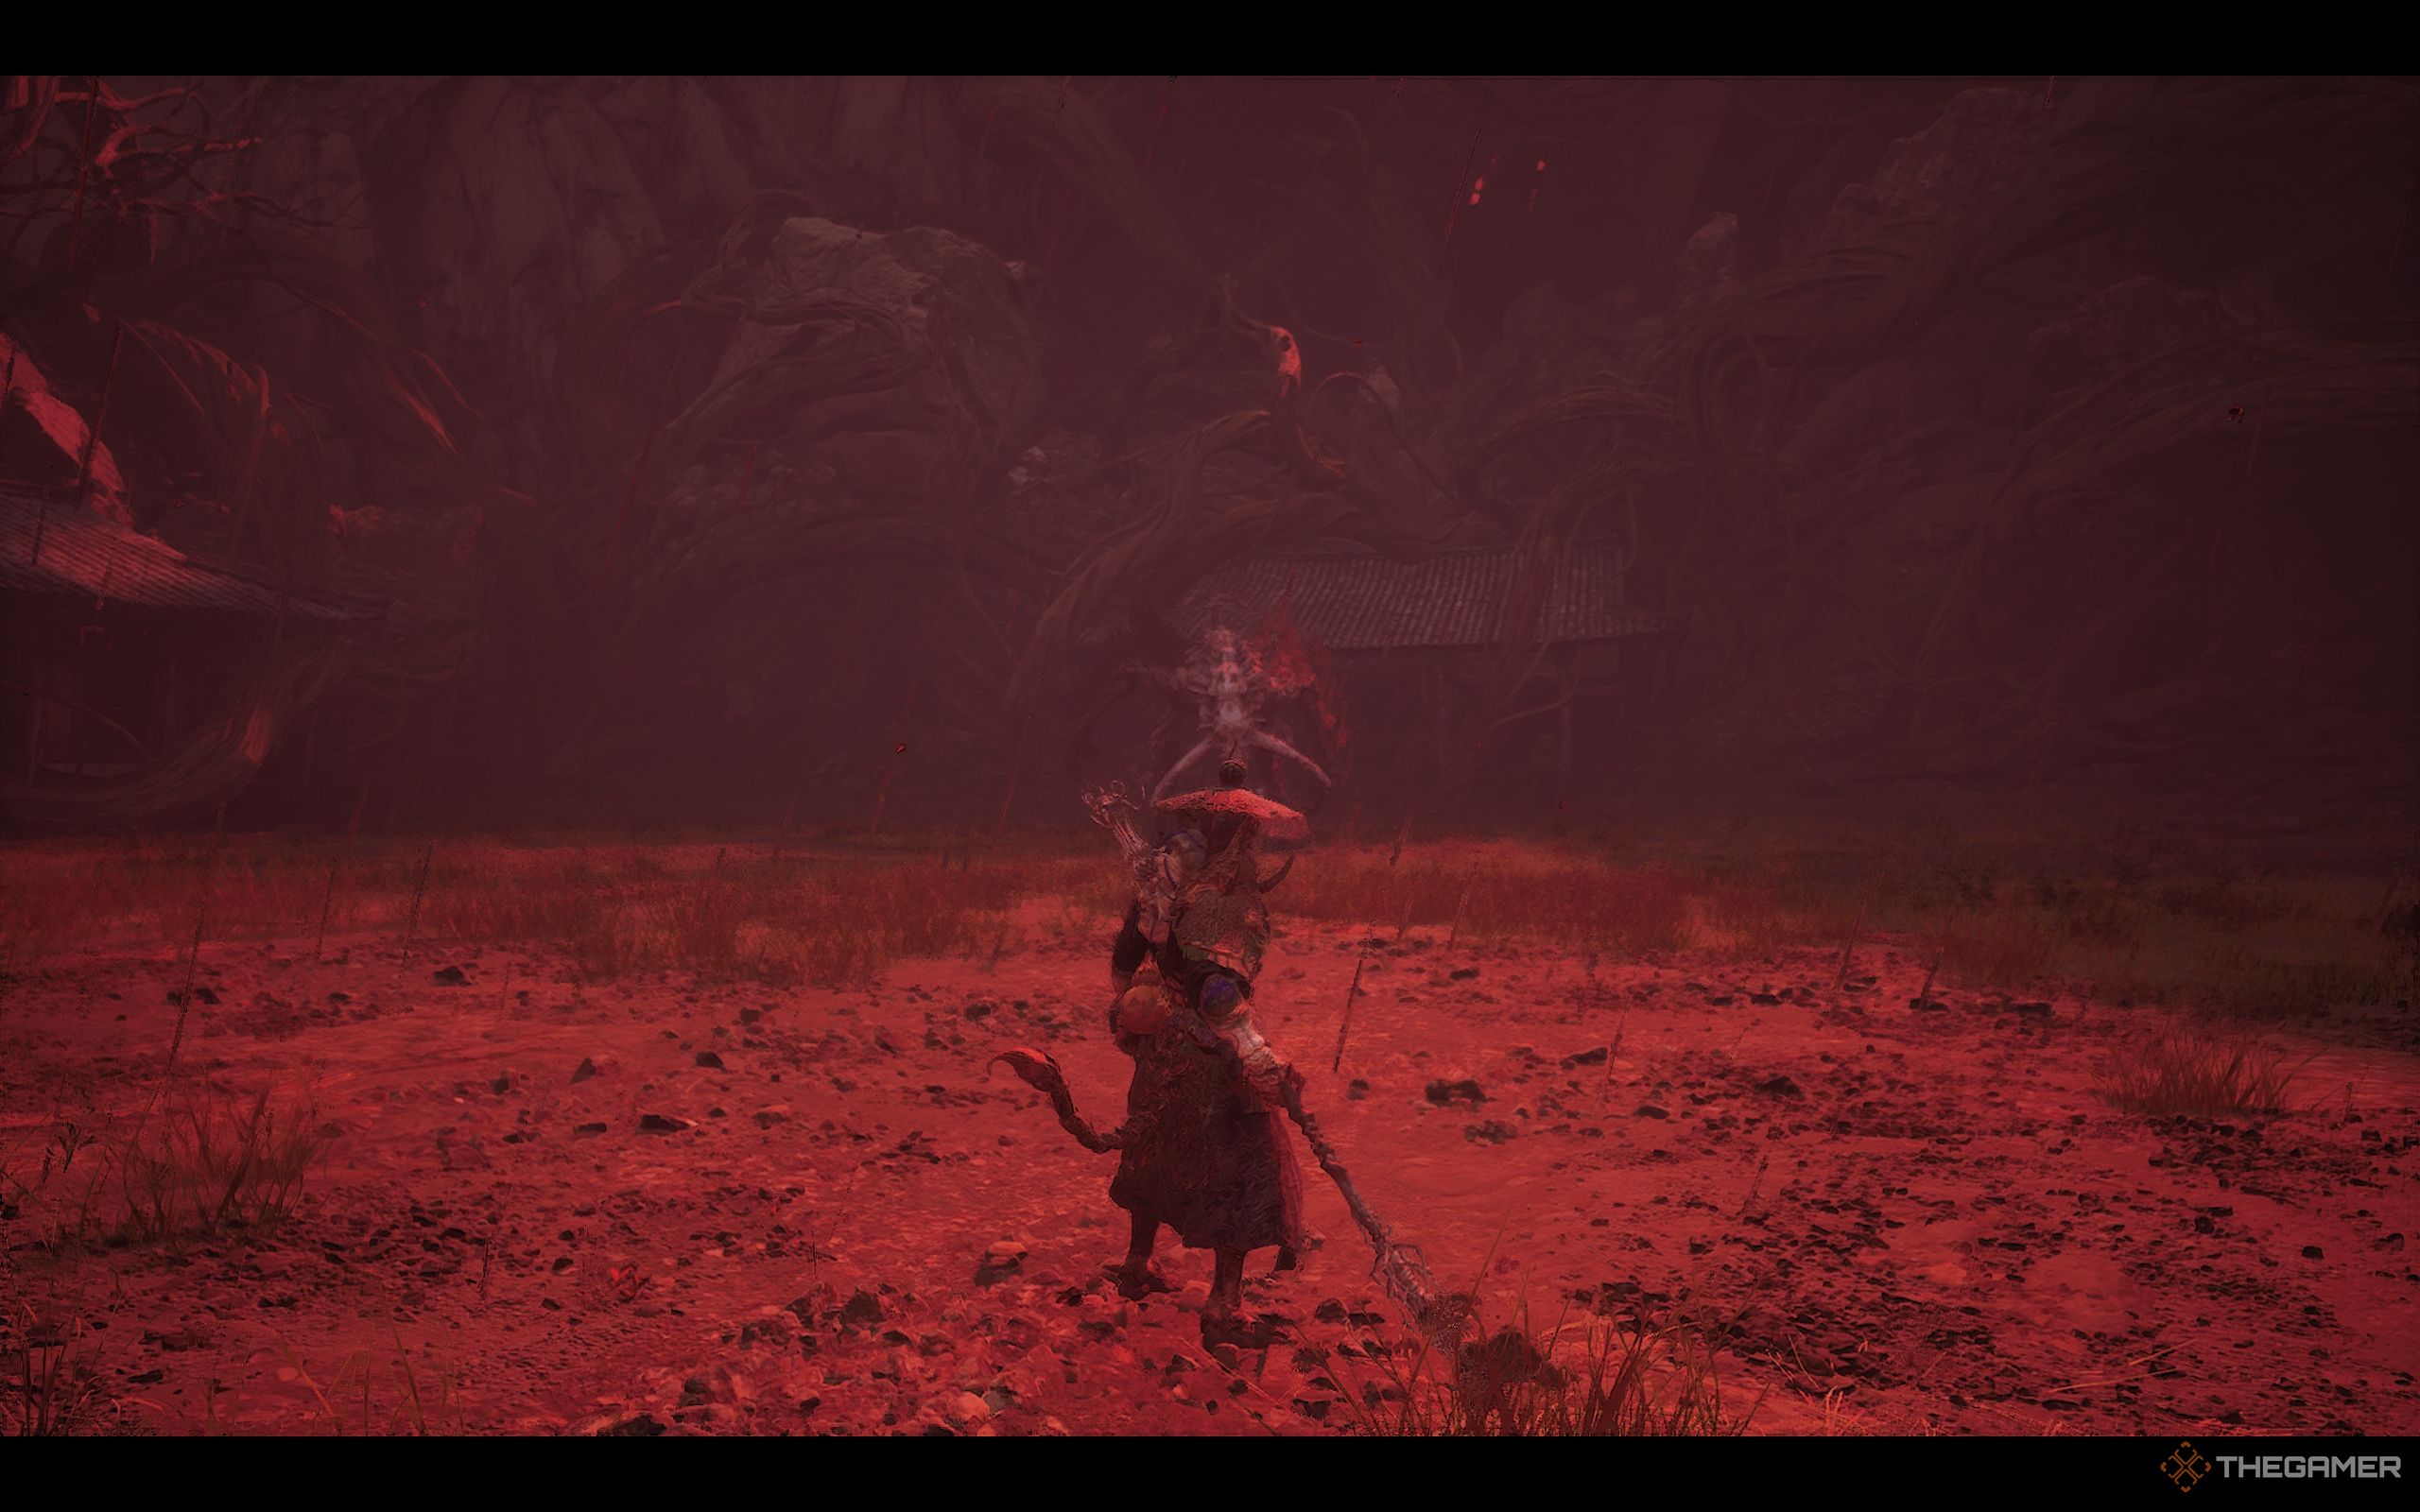
The Duskveil has two phases. The first phase is fairly easy because he’s just a slow and awkward chicken with low damage. Once his HP hits zero, a cutscene will trigger, the battlefield will turn red, and the nightmare begins with phase two. Below, you’ll find his move sets and how to counter them for both phases.
The Duskveil Fight: Phase One
Don’t waste your mana or spells here and save them for the second phase where you’ll really need them. In phase one, here are some of his moves that you should watch out for:
|
Ability |
Description |
How to counter |
|---|---|---|
|
Fan of bones |
Duskveil throws a spread of bones from his wings. |
You can dodge or sprint sideways to avoid them. It’s recommended to start sprinting as soon as you see him raising his wings, as if he has already thrown his bones, you risk a higher chance of getting hit. While you can try deflecting with a spinning staff block, it’s a lot more dangerous and not worth the HP loss. |
|
Leaping kick combo |
Duskveil jumps and swings his legs about three times before landing. |
Roll to avoid the impact or simply move out of the way. In this phase, Duskveil is extremely clumsy, so after landing, he falls over and stays down for a while. This is your window to land a few attacks or even a full combo if you’re quick enough. |
|
Ground stomp and head slam |
Duskveil stomps the ground once with his leg, followed by a second slam with his head. |
Roll to dodge the leg stomp and then roll again to dodge the head slam. If you attack him mid-stomp, he may retreat quickly, so don’t be greedy. Otherwise, you’ll lose your combo and precious Focus Points. Wait until he finishes slamming his head, you’ll have a better chance to hit him. |
|
Charge attack |
Duskveil flaps his wings before dashing across the arena four times, and on the fourth, he collapses for a long time. |
As soon as he stops and flaps, prepare to dodge or move aside. When he falls to the ground, rush in and hit him with everything you have. This doesn’t mean using any spells or mana. Again, save them for the second phase. |
|
Mid-air spin attack |
Duskveil leaps into the air and starts spinning. Dodge it, but watch out, he follows up by slamming a leg down at the end of the sequence. |
Dodge the spin, but watch out for his leg stomp. After that, he may stay still for a little while. It’s your chance to hit him. |
|
Sweeping and slashing attacks |
Other than those mentioned above, Duskveil also has several sweeping and slashing attacks using his legs and wings. |
Simply dodge or move away to stay safe. |
The Duskveil Fight: Phase Two
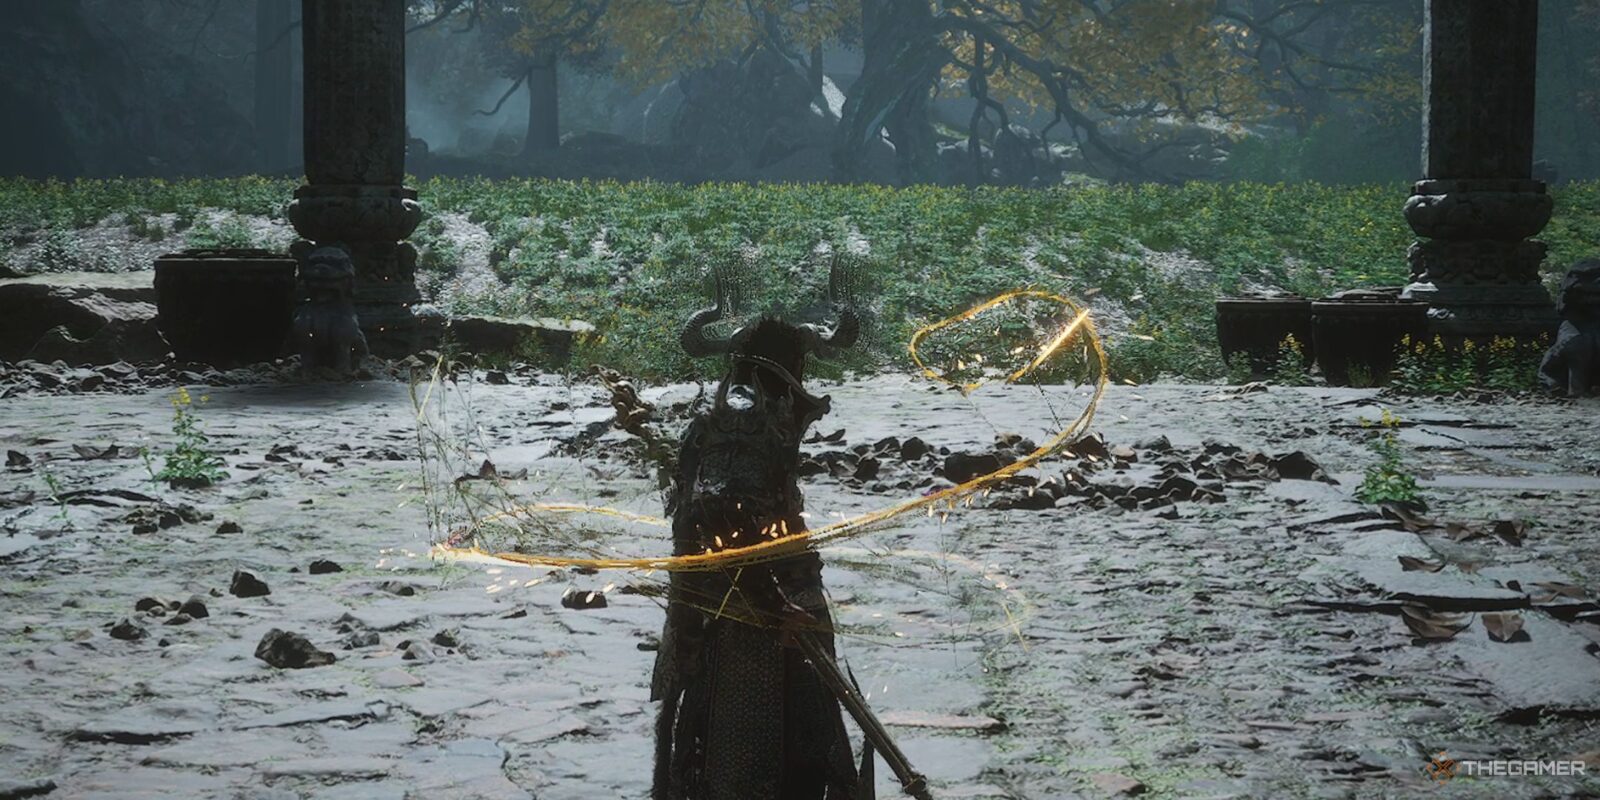
As soon as the second phase starts, use A Pluck of Many to call your clones and close the distance to him. Immobilize him, and hit him with the Wandering Wight. Transform into Red Tide to get an extra HP bar and a chance to deal serious damage.
Using all these abilities at the start not only lets you deal huge damage to Duskveil but also lets them recharge, so you can use them again later in the fight.
Once you’ve exhausted all of your spells and Spririt, it’s time to play a bit more defensive. Trigger Wind Tamer for that extra defense and start dodging. While his move sets remain largely the same, they are all enhanced to be more dangerous and cover a larger area. Duskveil becomes much faster, more unpredictable, loses his clumsiness, and gains new abilities:
|
Ability |
Description |
How to counter |
|---|---|---|
|
Bone sword projectiles |
Duskveil pulls out a bone sword from its mouth, firing slashing projectiles, one horizontal, one X-shaped, and then he leaps to you. |
Run or roll to dodge them. If you manage to avoid these, you’ll see a brief opening to land one or two light attacks. Run away immediately after that. Later in the fight, he may fire slashing projectiles towards you without leaping. |
|
Bone sword ground sweep |
Duskveil sweeps his sword across the ground three times before leaping toward you and slamming it down, stomping on it to trigger an explosion. |
Staying out of range is best, but if you’re caught inside, time your dodge carefully to avoid a huge chunk of HP loss. |
|
Bone sword air swings |
Duskveil jumps into the air, swings his sword once, then slams it down toward you. |
Dodge to the side. |
|
Red mist |
Duskveils releases a thick red mist that applies damage over time and obscures your vision. This makes it harder to track his movements, allowing him to lunge in with his sword and take a huge chunk of your HP. |
Avoid this mist at all cost. If you don’t pay attention, he can end you right then and there. |
|
Bone rain |
Instead of just throwing a few bones like in phase one, he now throws a bunch of them, then flies into the air and rains them down. |
Start sprinting as soon as you see him raise his wings. Run around the area to avoid getting hit. Sometimes sprinting alone isn’t enough, so be ready to dodge. |
|
Aerial plunge |
After stomping the ground, he doesn’t pause like in phase one. Instead, he flies up, pulls out his sword, and dives straight at you. |
He often takes a moment to recover after landing, so use this as an opportunity to land a few quick hits. |
After each of his abilities, there’s a small window to land light attacks. But remember, don’t be greedy. Focus on dodging, survival, and light attacks while waiting for Immobilize and Transformation to recharge. As soon as they’re ready, use them immediately to turn the fight in your favor.
When you defeat the Duskveil, you’ll be teleported out of the Purple Cloud Mountain and the Weaver’s Needle will be yours to keep.
You can always return and enter the Purple Cloud Mountain area after defeating the Duskveil, but the two other bosses there, Daoist Mi and the Scorpionlord, won’t respawn.
Next
Black Myth: Wukong – All Transformation Locations
Because you can’t achieve immortality by just being yourself.

 Cloud Step




Leave a Reply