In Cuphead, the currency is coins; however, obtaining most of these coins can be just as challenging as the game itself. Since the core idea of the game is battling tough bosses, you should use coins to purchase weapons and charms that will make your journey easier. While some coins are hidden in various places in the overworld, most are obtained from Run & Gun levels.

Related
Cuphead: All Bosses, Ranked By Difficulty – And How To Beat Them
Cuphead is known for being a difficult adventure, but some of the bosses can be downright frustrating.
You should also be careful when spending your coins—otherwise, boss fights may turn into a nightmare. The best course of action is to collect all coins and expand your arsenal. If you’re ready, this guide will cover locations of all obtainable coins.
Updated January 30, 2025 by Emre Pala: We have updated our article in detail and added many tables to make it easier to read. These tables include information and images showing where to find the coins in the overworld and Run & Gun levels. We also included tips on how to defeat the coin-giving bosses in The King’s Leap.
Where To Find Every Coin
There are 40 coins you can find in Cuphead. With The Delicious Last Course DLC, 16 more coins are added to the game, bringing the total number of coins to 56. While the vast majority of coins are found in Run & Gun levels, some are hidden in the overworld, and others can be obtained through different means.
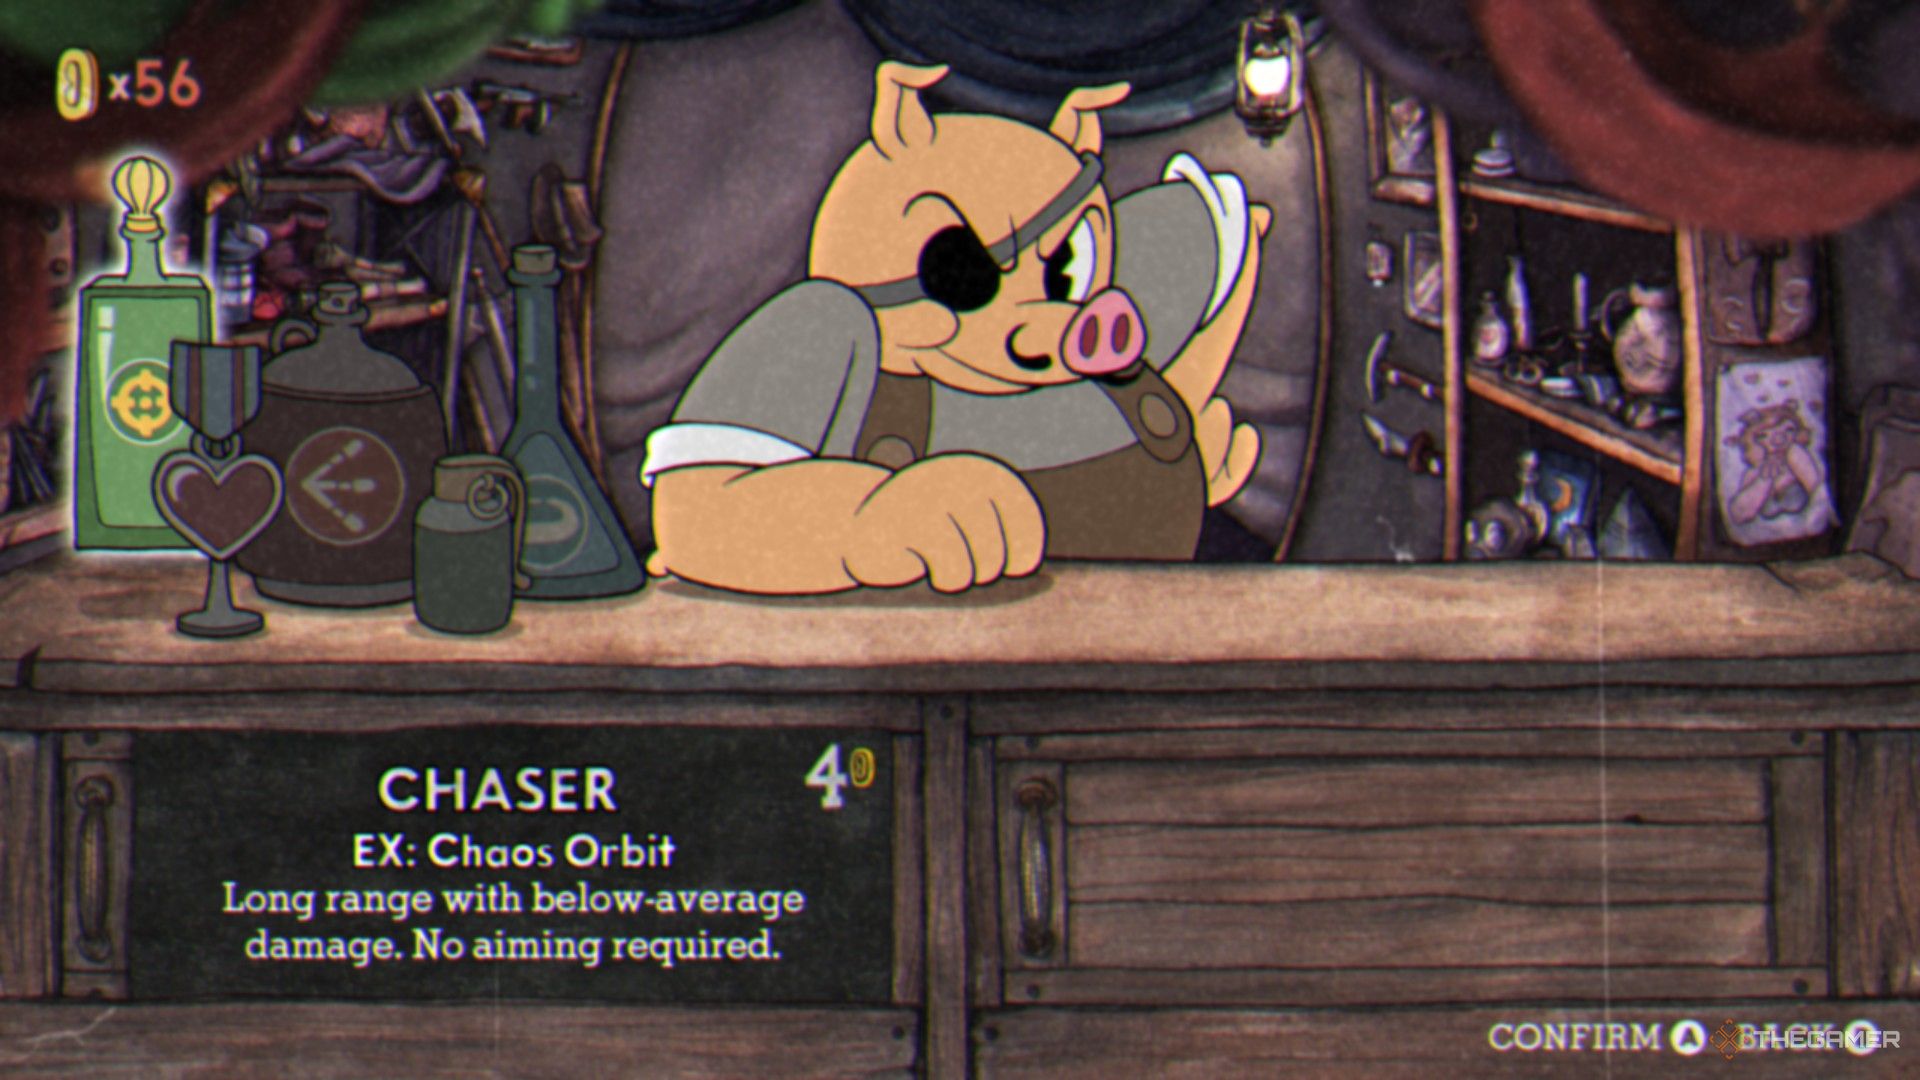
You can spend your coins at Porkrind’s Emporium, a shop found once on each island. At Porkrind’s Emporium, you can purchase weapons and charms. You can also switch your equipped weapons and charms from the Equip Card menu. The table below shows how many coins can be found on each island:
|
Isle |
Overworld Coins |
Run & Gun Coins |
Other Coins |
Total |
|---|---|---|---|---|
|
Inkwell Isle 1 |
4 |
10 |
1 (Tutorial) |
15 |
|
Inkwell Isle 2 |
3 |
10 |
0 |
13 |
|
Inkwell Isle 3 |
2 |
10 |
0 |
12 |
|
Inkwell Isle 4 |
5 |
0 |
11 (The King’s Leap) |
16 |
All Overworld Coin Locations
Overworld coins are those you can obtain without playing any Run & Gun levels. The game features a total of four islands (with the fourth added in The Delicious Last Course DLC). You start on Inkwell Isle One, and after defeating all the bosses on an island, you can move on to the next one.
What sets overworld coins apart from other coins is that they are considered hidden—you can’t find them just by casually exploring. Because of this, you need to know where to look or which NPC to talk to. The table below lists all the hidden coins you can find in the overworld:
|
Isle |
Image |
How To Find |
|---|---|---|
|
Inkwell Isle 1 |
|
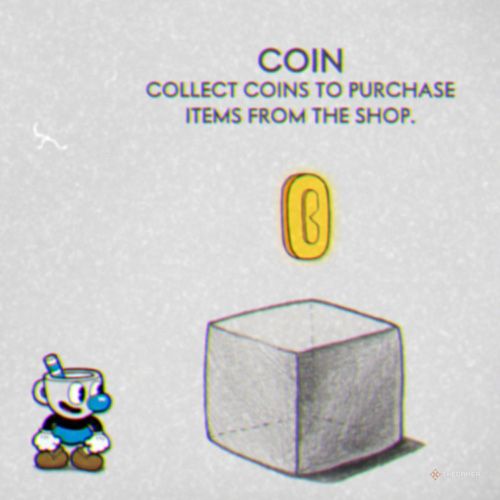
The first coin is in the tutorial level, located on top of a cube. |
|
Inkwell Isle 1 |
|
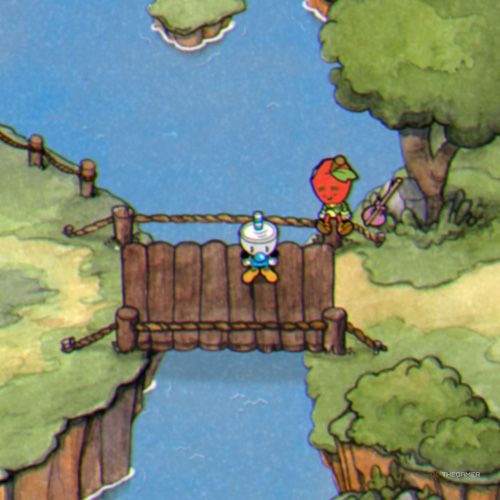
When you talk to Mac, the apple-shaped NPC sitting at the end of the bridge, he will give you 3 coins. |
|
Inkwell Isle 1 |
|
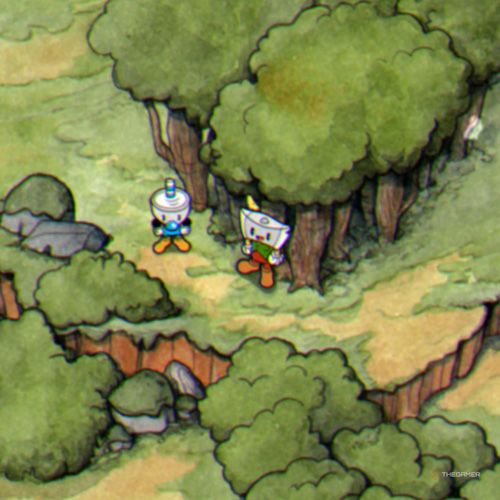
You will see a NPC named Chip standing in front of the forest. To obtain the coin hidden behind him, you must defeat all the bosses on Inkwell Isle One. Right behind him, you will see a yellow object, which is the coin. Normally, you cannot interact with the coin until you have defeated the bosses. However, after defeating the bosses, Chip will move aside and allow you to collect the coin. |
|
Inkwell Isle 2 |
|
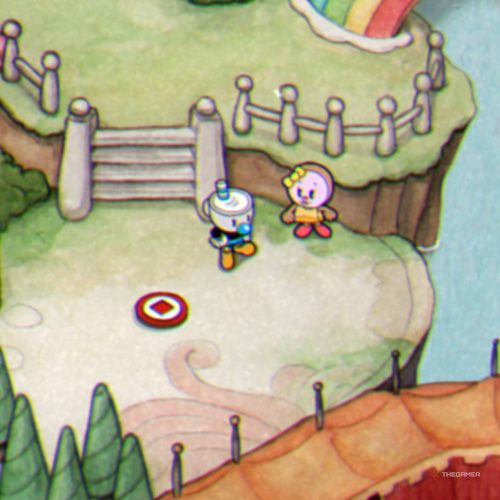
You will see an NPC named Ginger standing next to the ‘Funfair Fever’ Run & Gun level entrance. After talking to her, proceed behind the mountain to the right of the birdhouse where you interact to fight the Wally Warbles (Aviary Action) boss. Go behind the mountain to the right of the birdhouse, so your character will be off-screen while walking. Then, exit from the area with Grim Matchstick’s (Fiery Frolic) boss tower. Afterward, talk to Ginger again, and she will give you a coin. |
|
Inkwell Isle 2 |

|
You will see an NPC named Buster standing in front of Grim Matchstick’s tower. After talking to him, if you perform 4 consecutive parries without touching the ground, Buster will give you one coin when you talk to him again. |
|
Inkwell Isle 2 |

|
In Inkwell Isle Two, before moving on to Inkwell Isle Three, there is a coin hidden behind the last green cabin you see. Since it’s not visible, you need to get closer to the cabin to collect the coin. |
|
Inkwell Isle 3 |
|
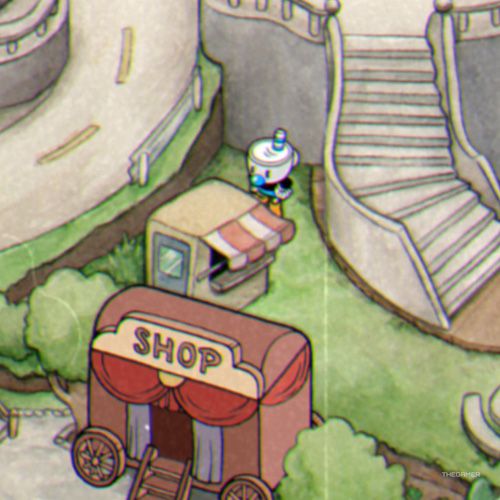
There is a ticket booth-like structure with an awning behind the shop. A coin is hidden behind this structure and is not visible. You can collect the coin by getting close to the back of it. |
|
Inkwell Isle 3 |
|
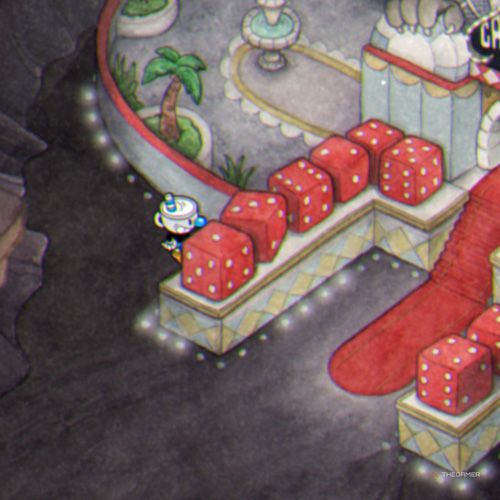
In Inkwell Hell, there is a coin hidden behind the wall made of dice to the left of the casino entrance. You can approach the outer side of the wall to collect the coin. |
|
Inkwell Isle 4 |
|
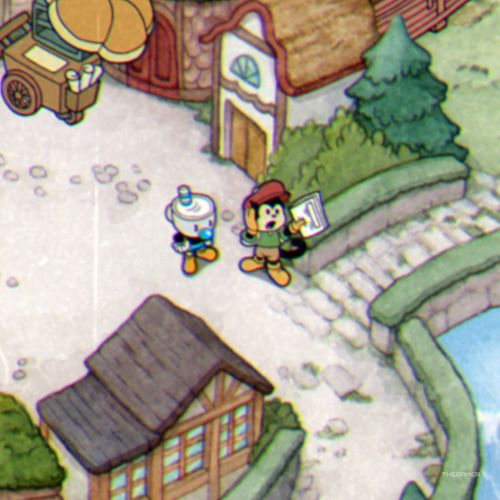
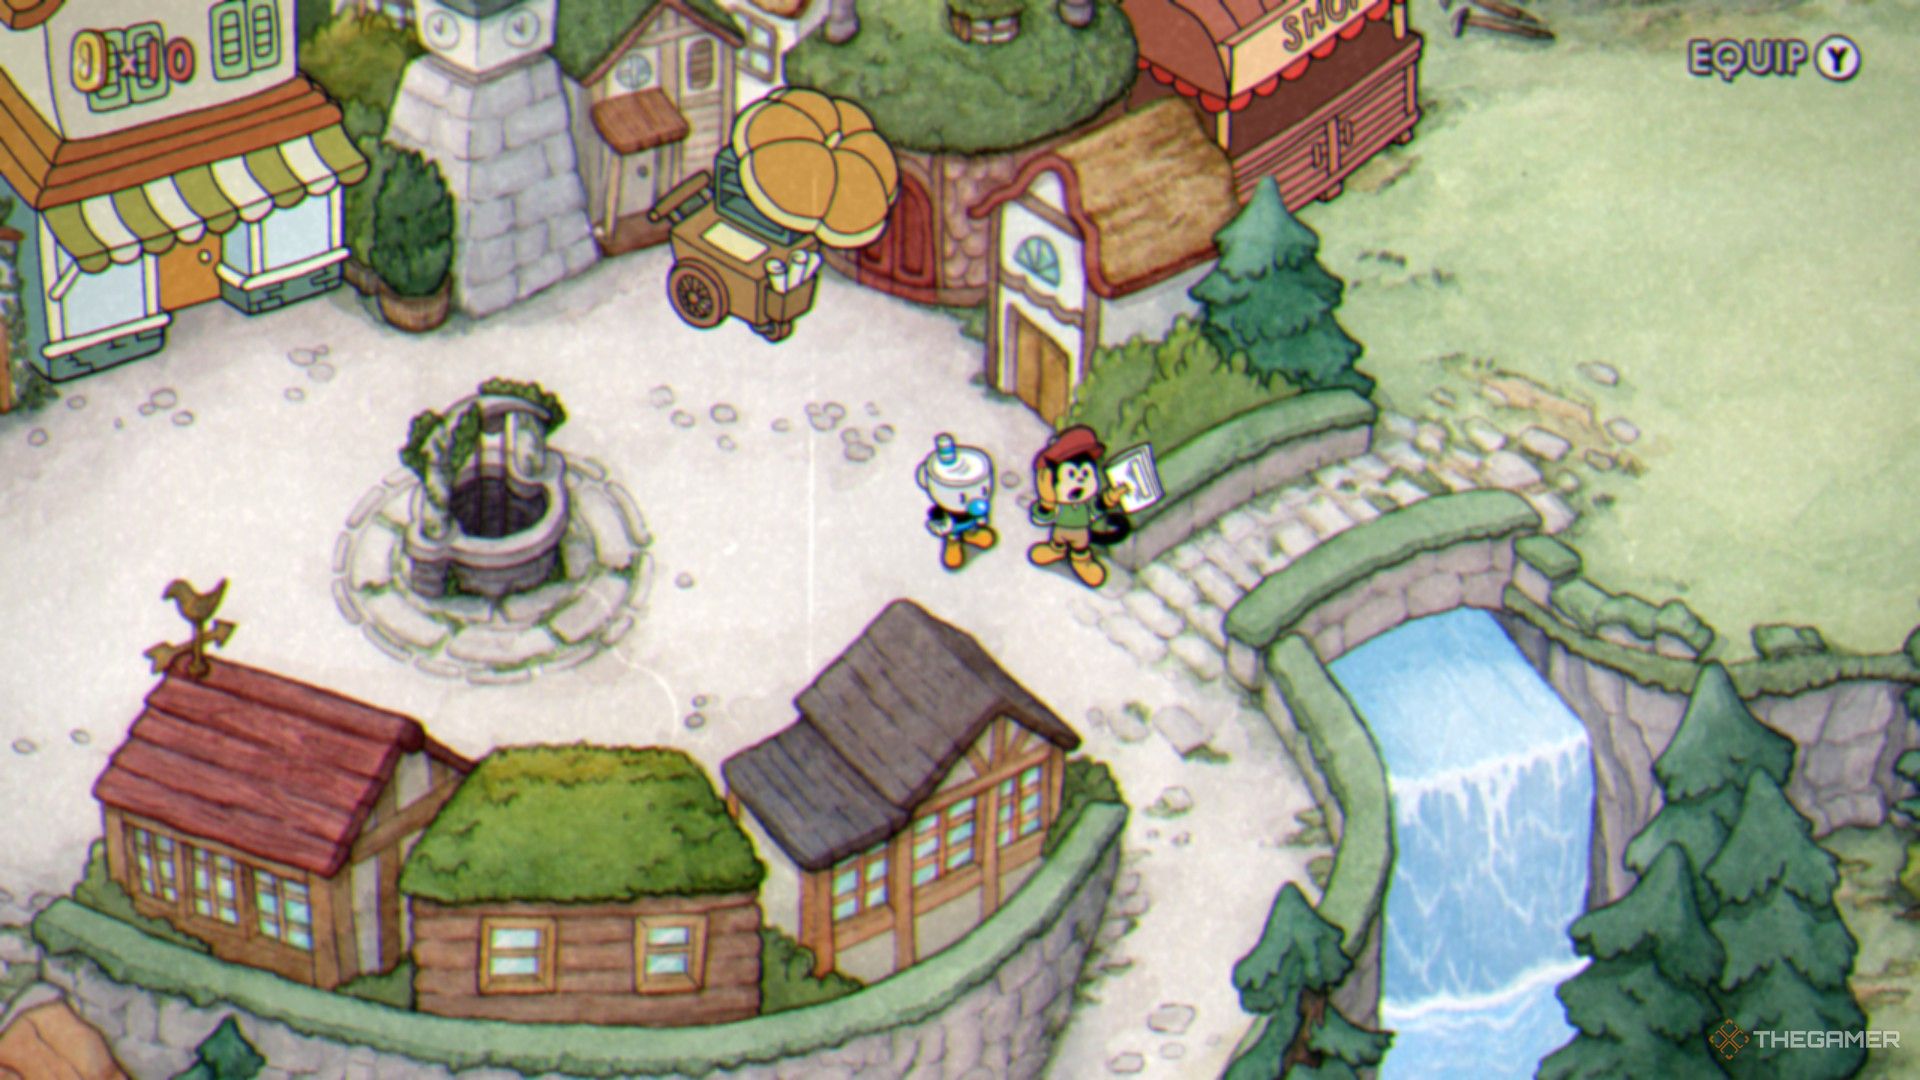
When you talk to the NPC named Buckley in the city square, he will gift you 3 coins. |
|
Inkwell Isle 4 |

|
In the city square, you will see a cart with a yellow umbrella to the left of Buckley. When you interact with it, the ‘Recipe For Ms. Chalice’ tutorial screen will open. If you successfully complete the entire tutorial, a pink leaf will spawn, allowing you to access the coin in the top right corner. |
|
Inkwell Isle 4 |
|
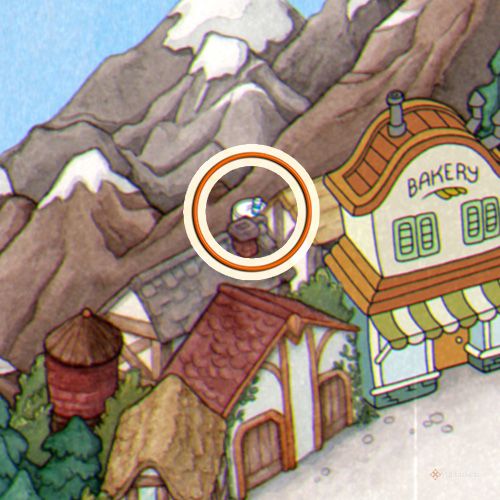
There is a hidden tree-lined path to the left behind the shop. If you follow this hidden path all the way to the back of the Bakery, you will find a hidden coin. |
All Run & Gun Coin Locations
Run & Gun levels are challenging stages where you complete an obstacle course separate from boss fights. Each of the three Inkwell Isles has two Run & Gun levels, and each one contains a total of five coins. While most of these coins are fairly easy to spot and collect, this is not the case for all of them. The tables below show how to obtain the coins in each Run & Gun level.
All Coin Locations In Forest Follies
|
Image |
How To Get |
|---|---|
|
|
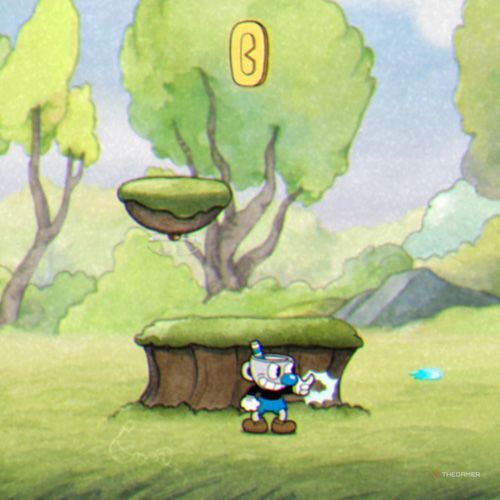
The first coin can be seen on top of a flying platform after advancing a bit in the level. You can jump and easily collect it. |
|
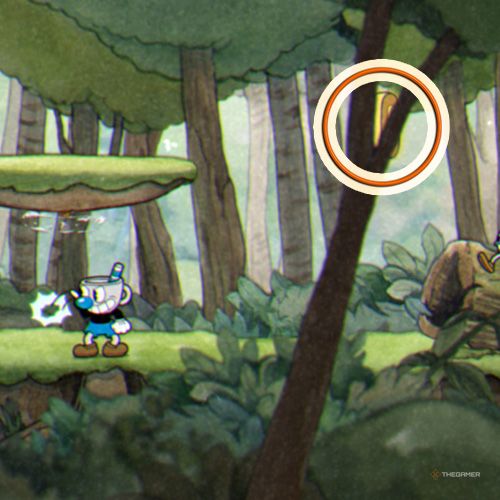
The second coin is floating between the first and second logs on the map. It is behind a tree branch, and the entire coin is not visible. To collect it, simply jump towards it. |
|
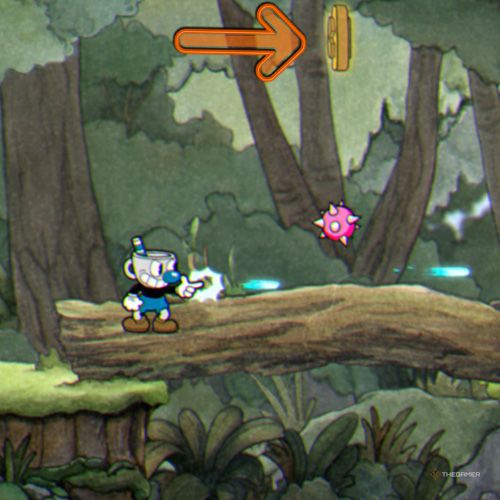
The third coin is clearly visible on top of a log bridge. However, you cannot collect it by jumping normally. You must parry the pink spiky ball beneath the coin to be able to collect it. |
|
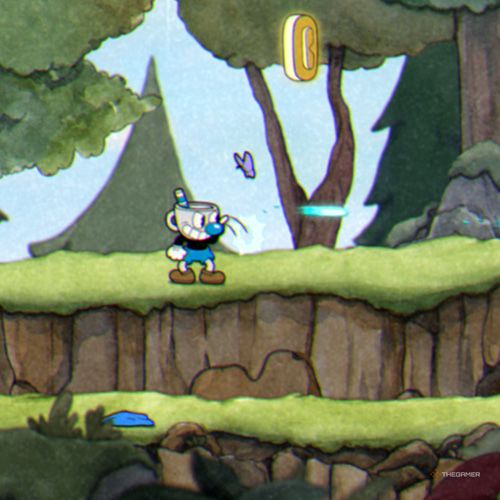
The fourth coin is visible in the area with spore-shooting mushrooms, after you pass the first cliff in the level. You can easily collect it with a simple jump. |
|
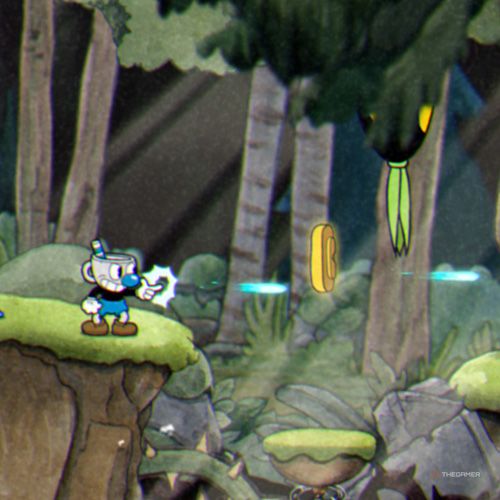
The fifth coin is located on top of a flying platform in the area with plants that jump upwards. You can collect it by being cautious of the plants, but be careful as the plants cannot be destroyed by your bullets. |
All Coin Locations In Treetop Trouble
|
Image |
How To Get |
|---|---|
|
|
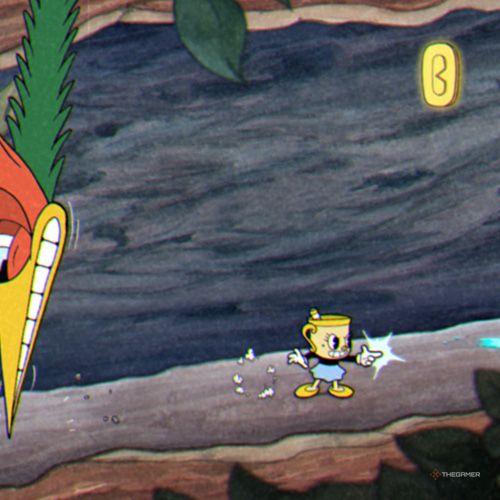
The first coin will be visible after the second woodpecker. It is positioned at a height that cannot be reached by jumping alone. You can either parry the pink enemy that charges towards you and then jump to the coin, or wait a bit and parry the approaching pink butterfly to collect the coin. |
|
|
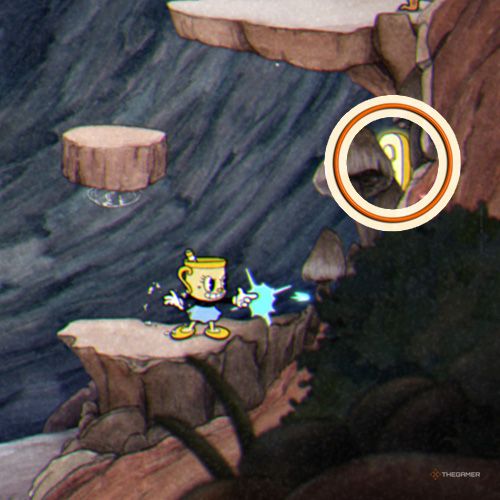
The second coin is behind a mushroom in the area where you stop progressing to the right and start going upwards, specifically in the area where you first see a flying platform. |
|
|
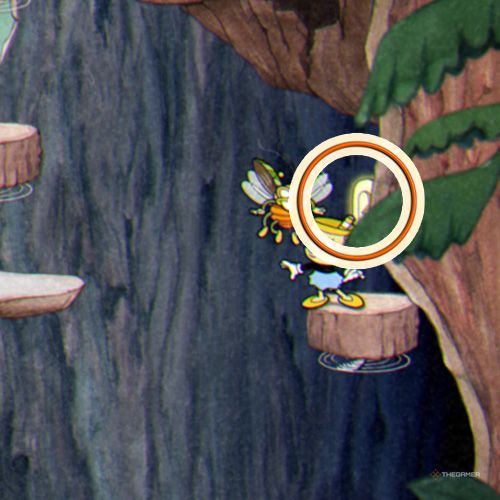
The third coin is in the same area as the second coin, and it will become visible once you climb a little higher. It is at an easily accessible height. |
|
|
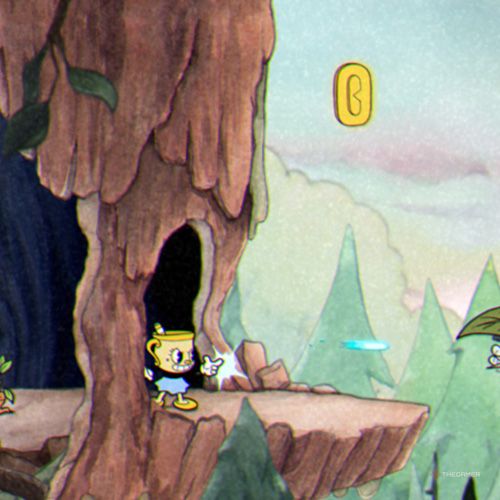
The fourth coin is at the end of the treehouse. When you see the first fly holding a leaf, you can jump onto it and then from there to the coin. |
|

|
The fifth coin is in the area with five flies holding leaves. It is easy to collect, but you must be cautious of the flying fireballs. |
All Coin Locations In Funfair Fever
|
Image |
How To Get |
|---|---|
|

|
The first coin is in the area where you encounter with the walking trampoline. You can reach the coin by jumping on it. |
|
|
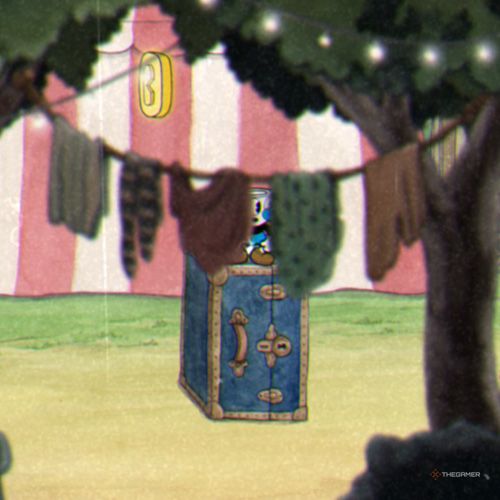
The second coin is in the area where the clown is riding a blue ball between two boxes. You can jump on top of the blue box and then jump towards the coin to collect it. |
|
|
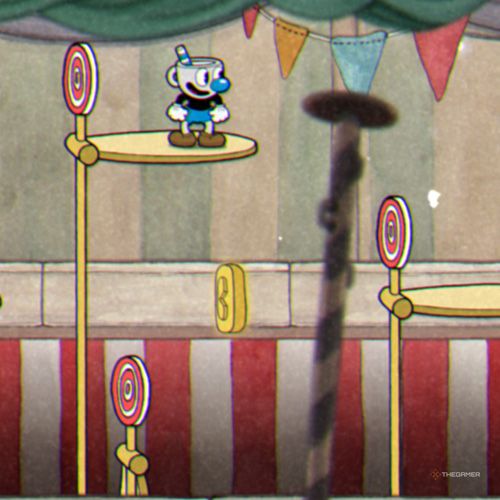
The third coin is in the area with target board platforms. You can collect the coin without any additional action, just be careful of the incoming cannonballs. |
|
|
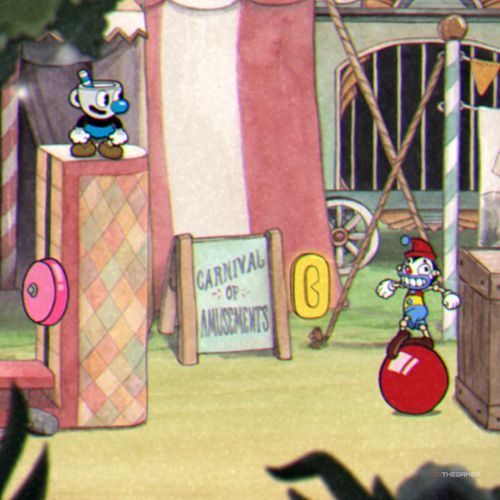
After you pass the wall that shoots balls towards you, you will see a clown with a red ball. You can defeat him and collect the fourth coin while being careful of his ball. |
|
|
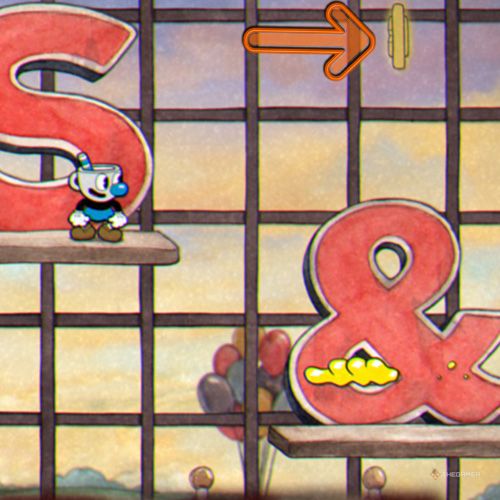
You will see the fifth coin on the platform with the red ‘SNACKS & TREATS’ sign. You can jump from the rising platform to collect the coin. |
All Coin Locations In Funhouse Frazzle
|
Image |
How To Get |
|---|---|
|
|
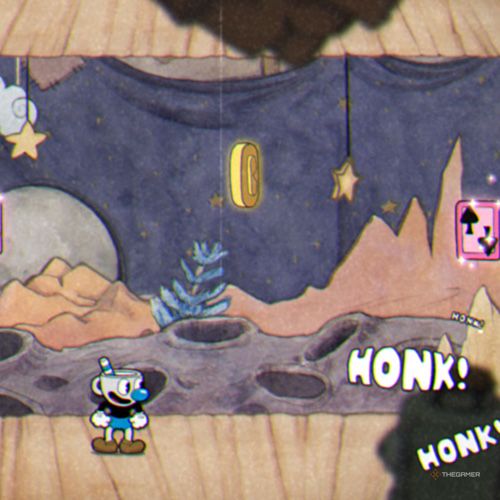
You will see the first coin in the area with toy cars coming towards you, sometimes from below and sometimes from above. You can change gravity using the pink parry cards in the middle and collect the first coin. |
|
|
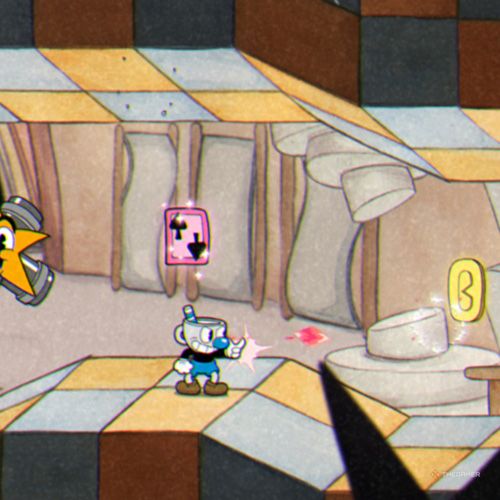
You will find the second coin after you pass the wall that summons cars, when you encounter the first star enemy that shoots. |
|
|
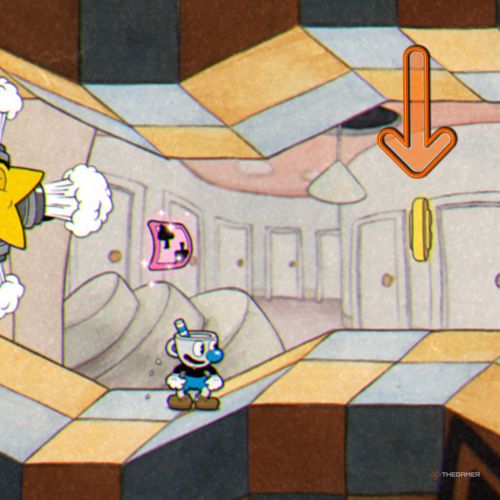
You will see the third coin a bit further ahead in the same area as the second coin. While it is easy to collect, be cautious of the small rockets that charge at you. |
|

|
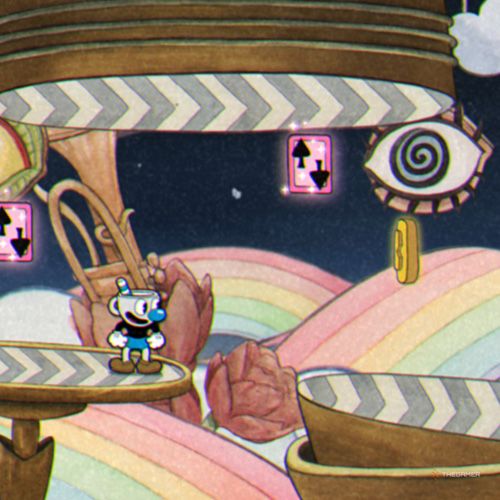
The fourth coin is in the area with sliding platforms that move you when you stand on them. You can use the pink cards in the middle for parrying and then collect the coin. |
|
|
The fifth coin is in the same area as the fourth coin. Be cautious of the sliding platforms and the trumpet that shoots at you, but you can easily collect it when gravity is normal. |
All Coin Locations In Rugged Ridge
|
Image |
How To Get |
|---|---|
|
|
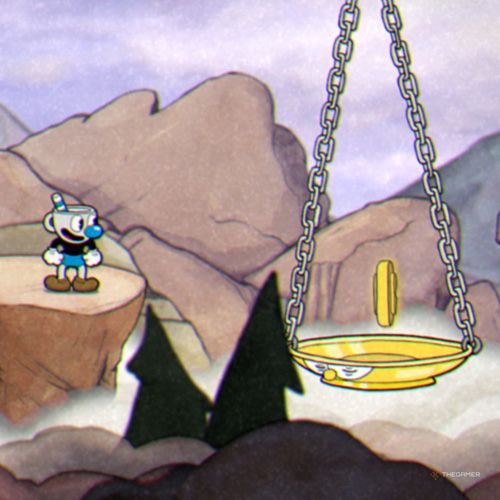
The first coin is in the area with the mining enemies, and it is on one of the scales. |
|

|
The second coin is in the area with the stone creature, a bit further ahead, where there is a pair of scales. |
|
|
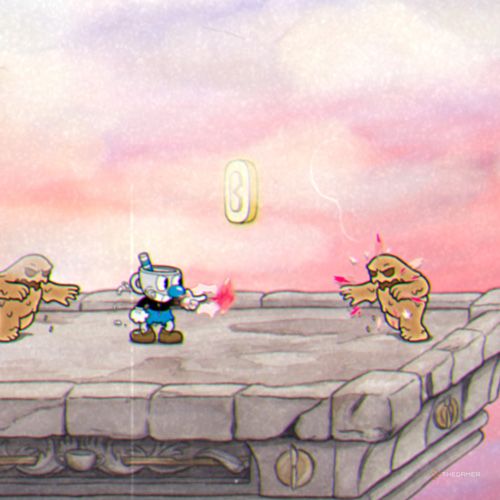
The third coin is in the area with the elevator-like platform. You will see the coin as the platform descends, but it is easy to miss. If you don’t collect it in time, you’ll need to restart the level. |
|
|
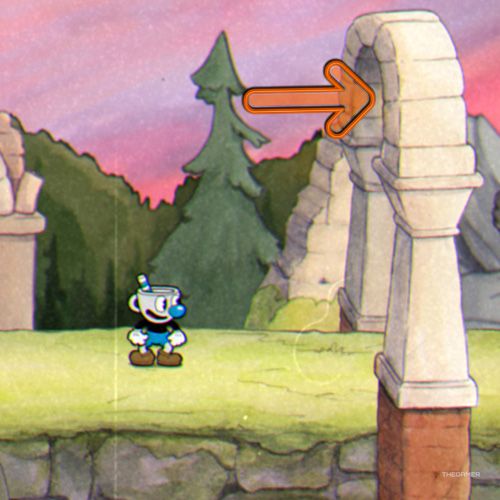
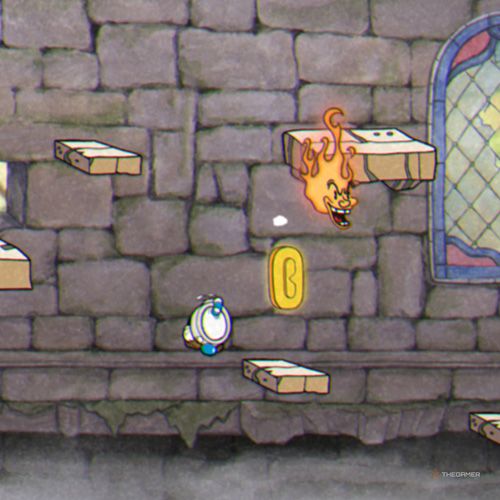
After descending from the elevator platform, pass the spitting wall. The coin is located on the arch of the stone structure; although it may not be fully visible, you can see its sparkle. You can jump and collect the coin. |
|
|
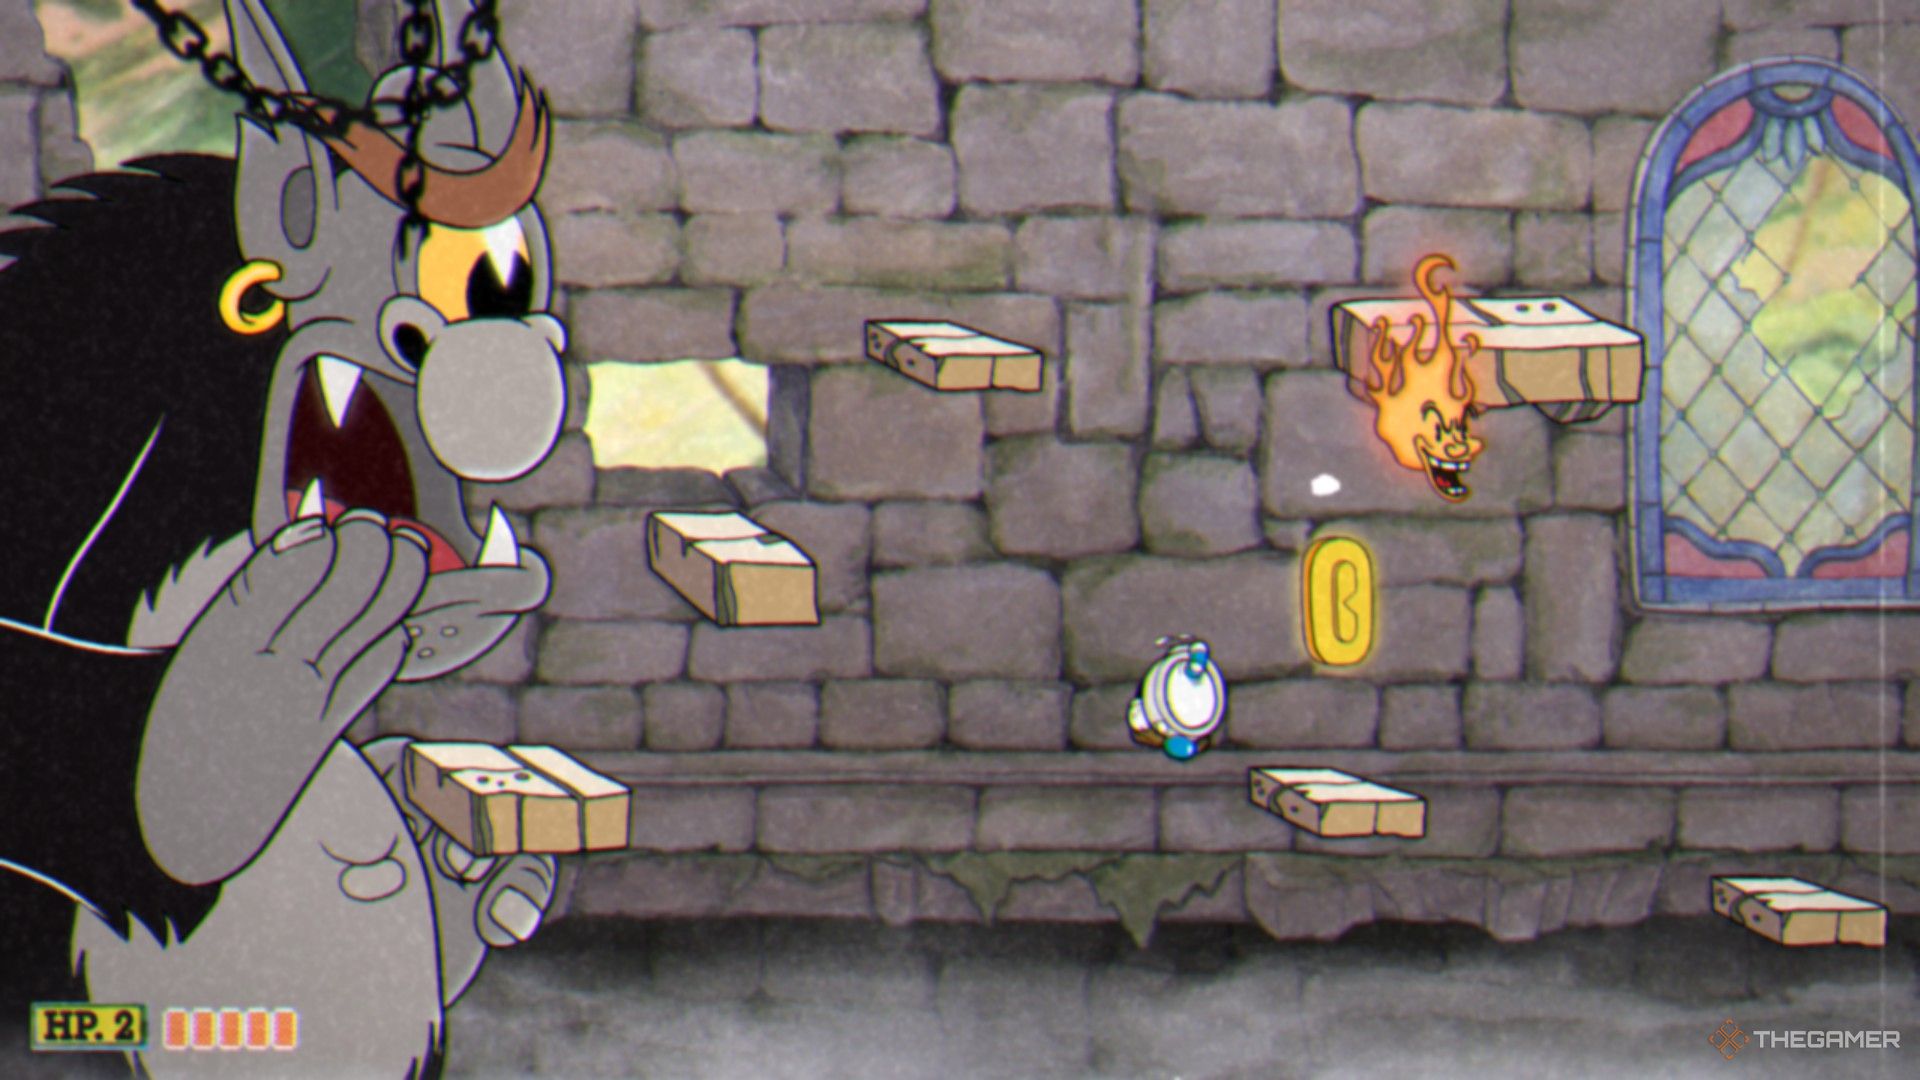
The fifth coin is in the section where you start running away from the giant, one-eyed creature. You will see the coin below the platforms you’re being chased on. You can grab it quickly, but if you fail, you will need to restart the level. |
All Coin Locations In Perilous Piers
|
Image |
How To Get |
|---|---|
|
|
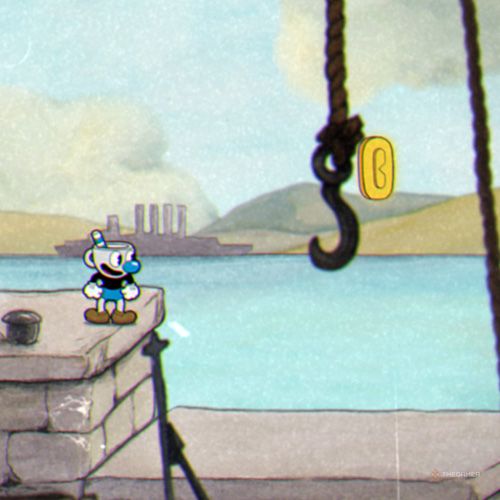
After passing the monster on the wooden crate and stepping down from the platform, you can find the first coin. It is floating in the air. You can jump to collect it. |
|
|
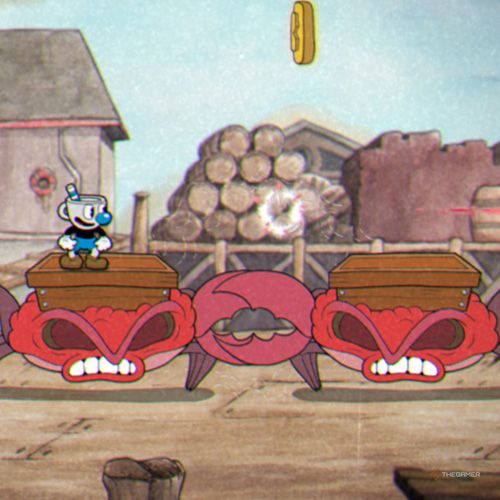
The second coin is in the area with large crabs that you can stand on. The coin is floating in the air. |
|

|
The third coin appears when you reach the dock. You can parry the pink-lit buoy and collect the coin without losing health. |
|
|
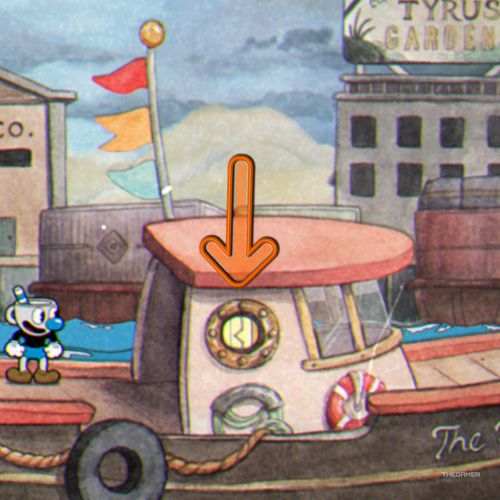
The fourth coin appears when you step onto the ship’s deck. The coin is located near the captain’s bridge, and it might be a bit difficult to spot. |
|
|
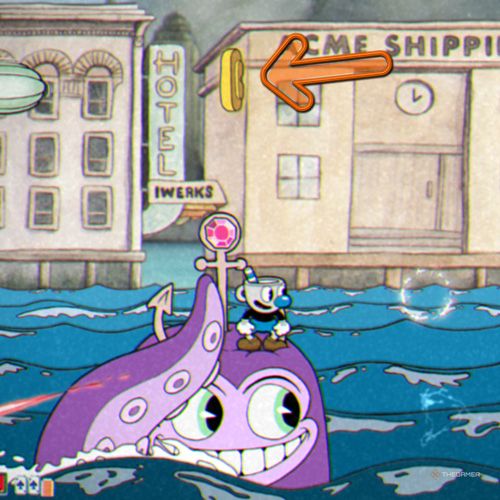
The fifth coin is in the section where you move along with the octopus. After progressing a bit, it will appear. You can parry the anchor on the octopus’s head to reach the required height and collect the coin. |
How To Get All The Coins In The King’s Leap
The King’s Leap is located on Inkwell Isle Four, which can only be accessed if you have The Delicious Last Course DLC. On the overmap, you will see a ladder hanging down from the sky. By interacting with it, you can reach The King’s Leap.
In this area, you must fight five different bosses in sequence. Each time you defeat a boss for the first time, you will earn a certain amount of coins. The table below contains some tips that will help make the battles against these bosses easier:
|
Name |
Image |
Combat Tips |
Reward |
|---|---|---|---|
|
The Pawns |
|
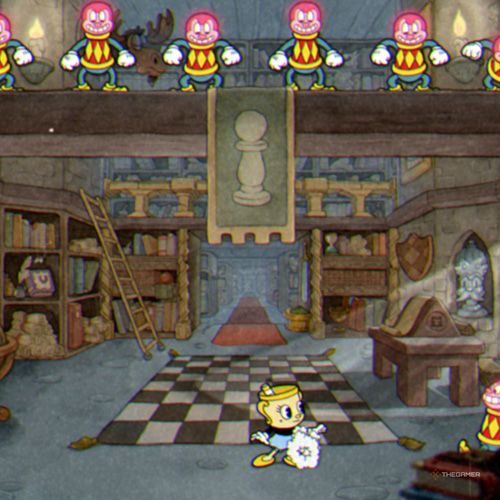
When fighting Pawns, pay attention to where they jump, as they will leap directly towards you if you’re caught off guard, causing damage. Parried Pawns can jump back down, so be sure to watch the animation of the remaining Pawns to anticipate their next move. |
2 coins |
|
The Knight |
|
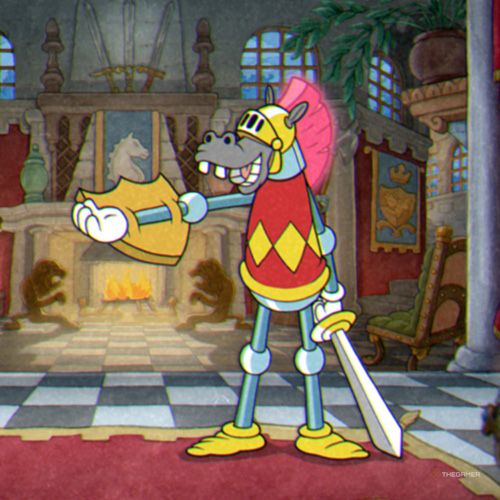
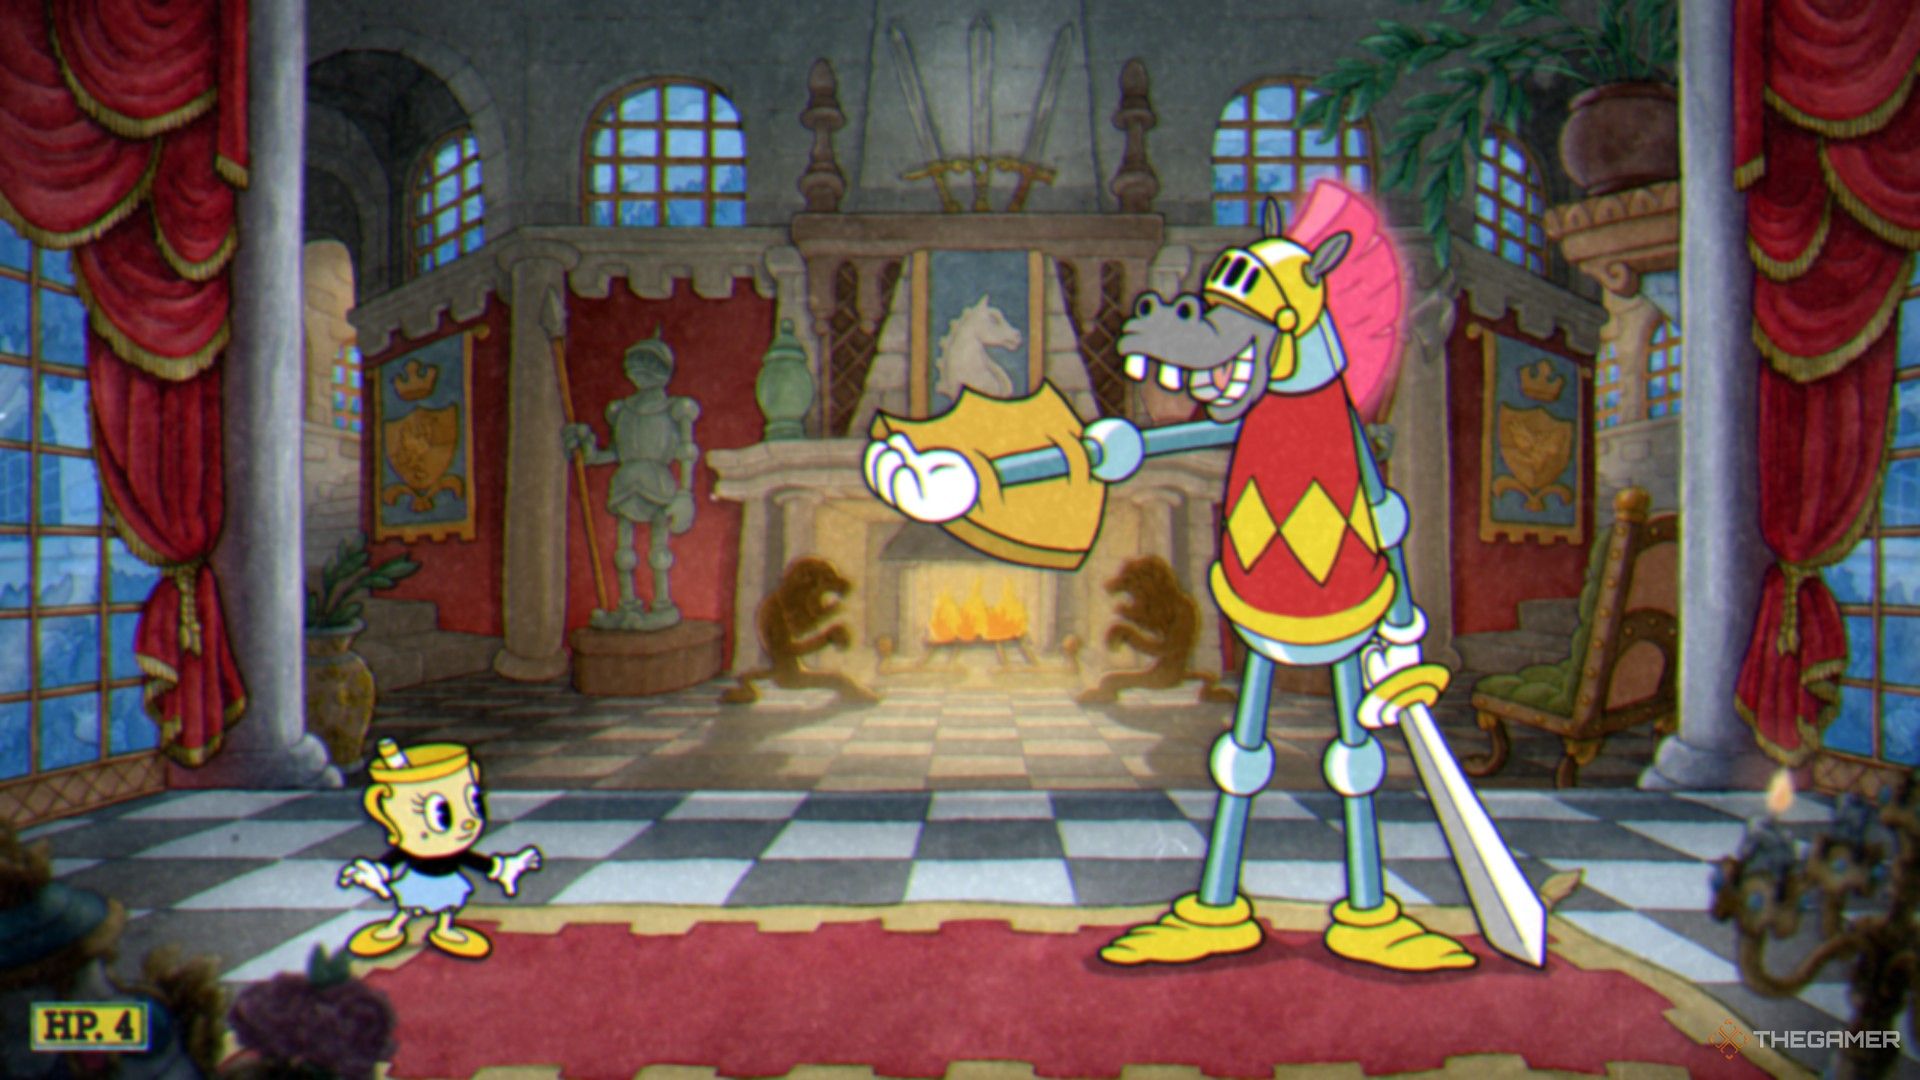
You can reduce The Knight’s health by parrying the helmet on its head with each successful parry. The Knight has several attacks. In its first attack, it swings its sword completely, giving you a brief window to perform two parries. In the second attack, it raises its sword upward, leaving a single opportunity for a parry. In the third attack, The Knight charges toward you, and you can parry by jumping directly at it. If you’re fast enough, you can perform a second parry. Try not to stay too far away from The Knight. If you distance yourself too much, it will quickly charge toward you, and its attack will be much harder to avoid. You can defeat The Knight after performing 20 successful parries. |
2 coins |
|
The Bishop |
|
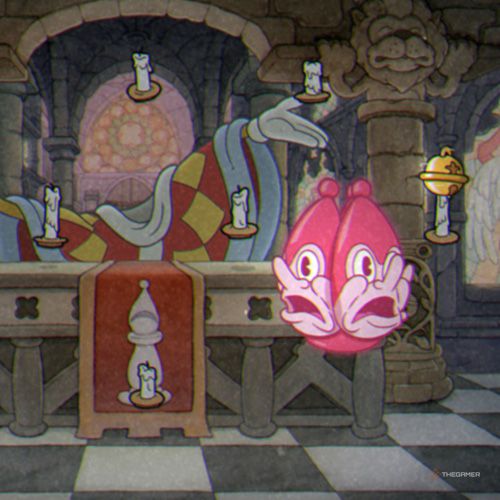
Watch the Bishop’s movement pattern and try to avoid hitting it when it’s not parryable. While extinguishing the candles, follow the ones that are close together. The bells moving around can be grouped together, so wait for them to disperse to avoid taking damage. You can defeat the Bishop after your ninth parry. |
2 coins |
|
The Rook |
|
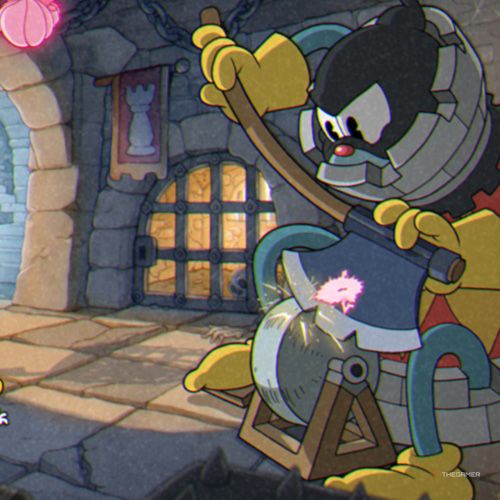
You should parry the heads coming towards you and send them towards the Rook to deal damage. Be careful with the flying skulls; if a pink head and a skull land in the same spot, stop trying to parry and wait for a better opportunity. Don’t forget that you can crouch to avoid some of the sparks coming towards you. The Rook will be defeated when you send the eighth pink head to it. |
2 coins |
|
The Queen |
|
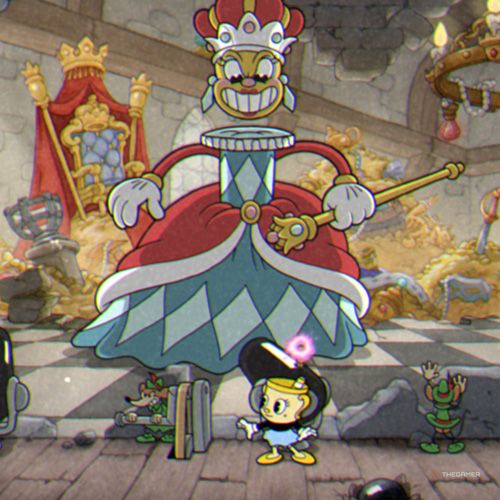
To parry the lion statues summoned by the Queen at the right time, try to stay mostly in the center of the area. Don’t fire the cannons randomly; only parry when you think you have the right angle to hit the Queen. While avoiding the eggs, you can move in place and dash instead of jumping. The Queen will be defeated with your eighth successful shot. |
3 coins |

Next
Cuphead: The Hardest Achievements, Ranked
Can you beat the devil at his own game, or will you be the one cooked to perfection?






Leave a Reply