Lilac’s a powerful Attuner by herself, but she wouldn’t be able to go that far in Ender Magnolia: Bloom in the Mist without the help of her Homunculi fellow. These artificial life forms aid her throughout her journey in the Land of Fumes by lending their unique abilities to the girl.
Related
Ender Magnolia: Bloom In The Mist – Combat Tips
Apart from exploring, you’ll be fighting for most of your time in Ender Magnolia: Bloom In The Mist. Here are some tips to have a better time.
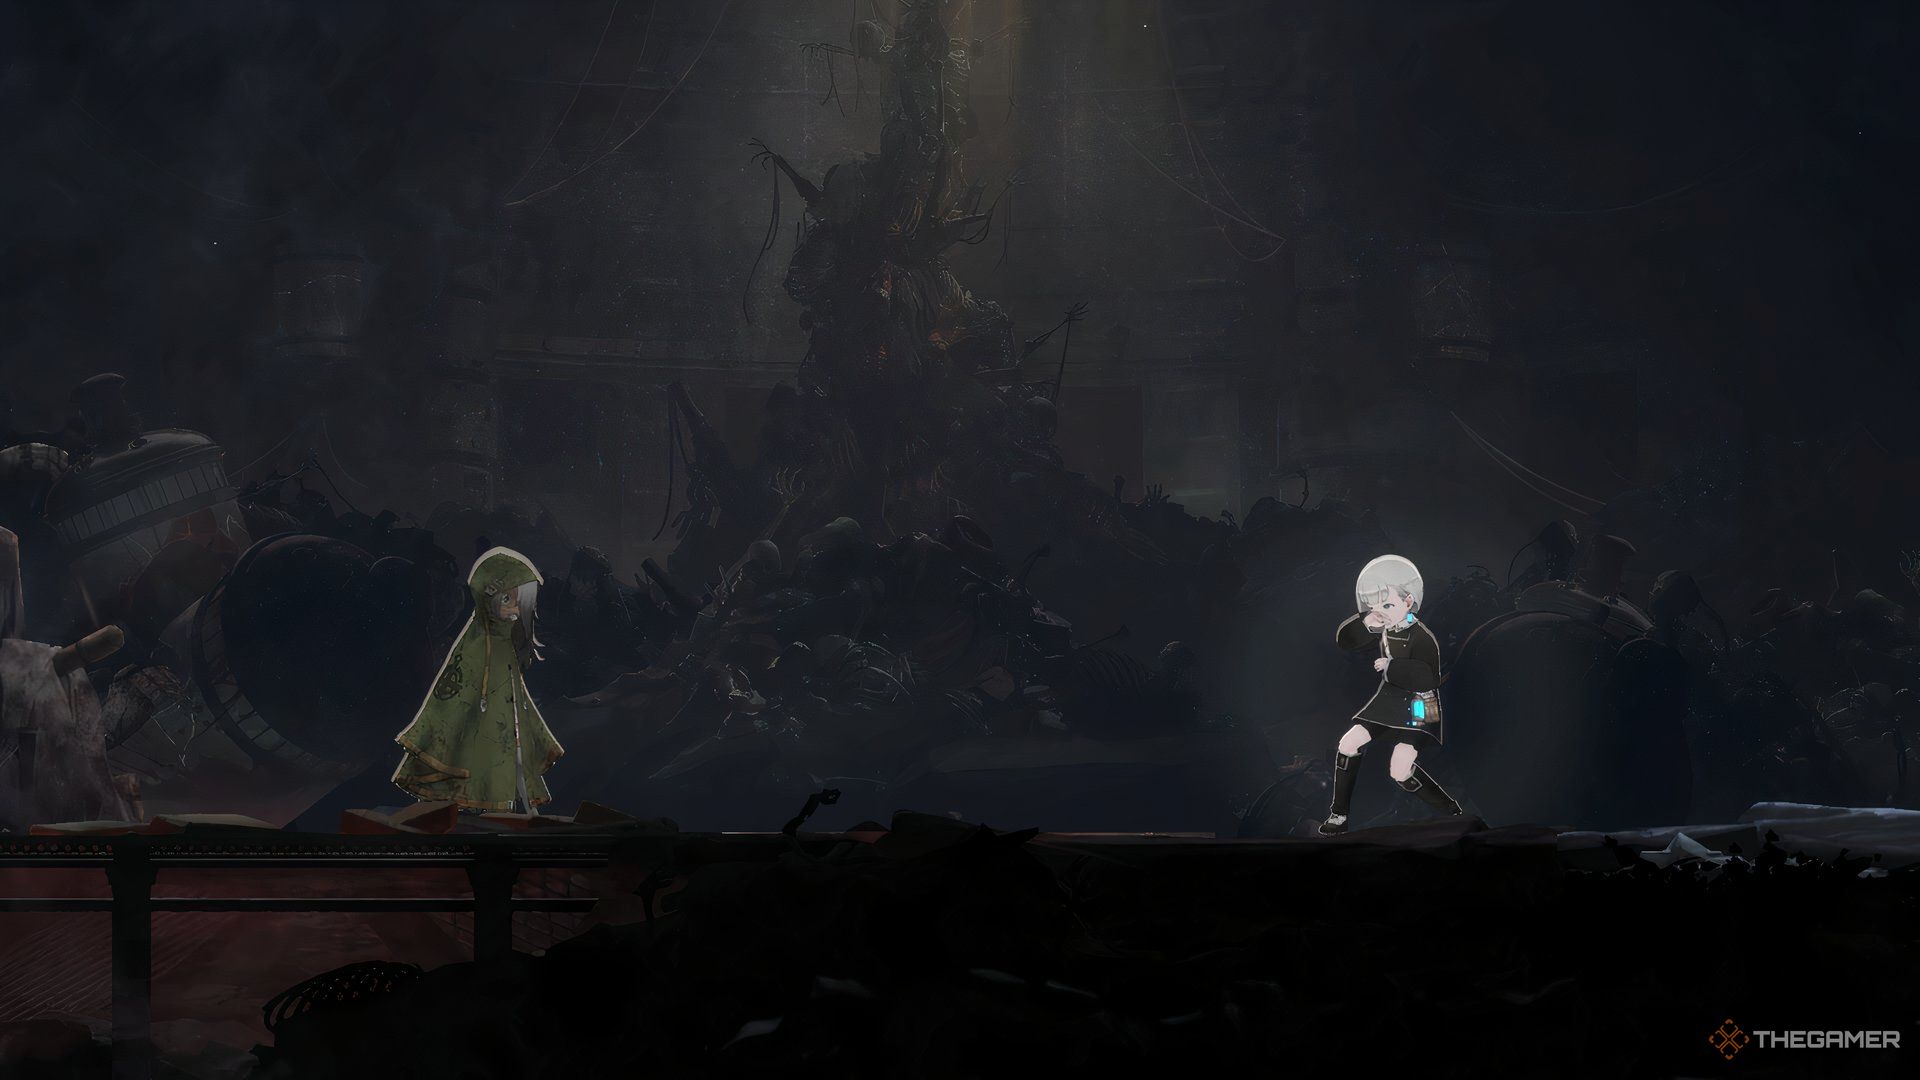
But she rarely finds a Homunculus that would gladly help her at once. Most of them are driven mad by the fumes, and she must Tune them back to normal before she can reason with them. Her efforts never go unnoticed; they all dedicate everything they can to her.
How To Get All Abilities
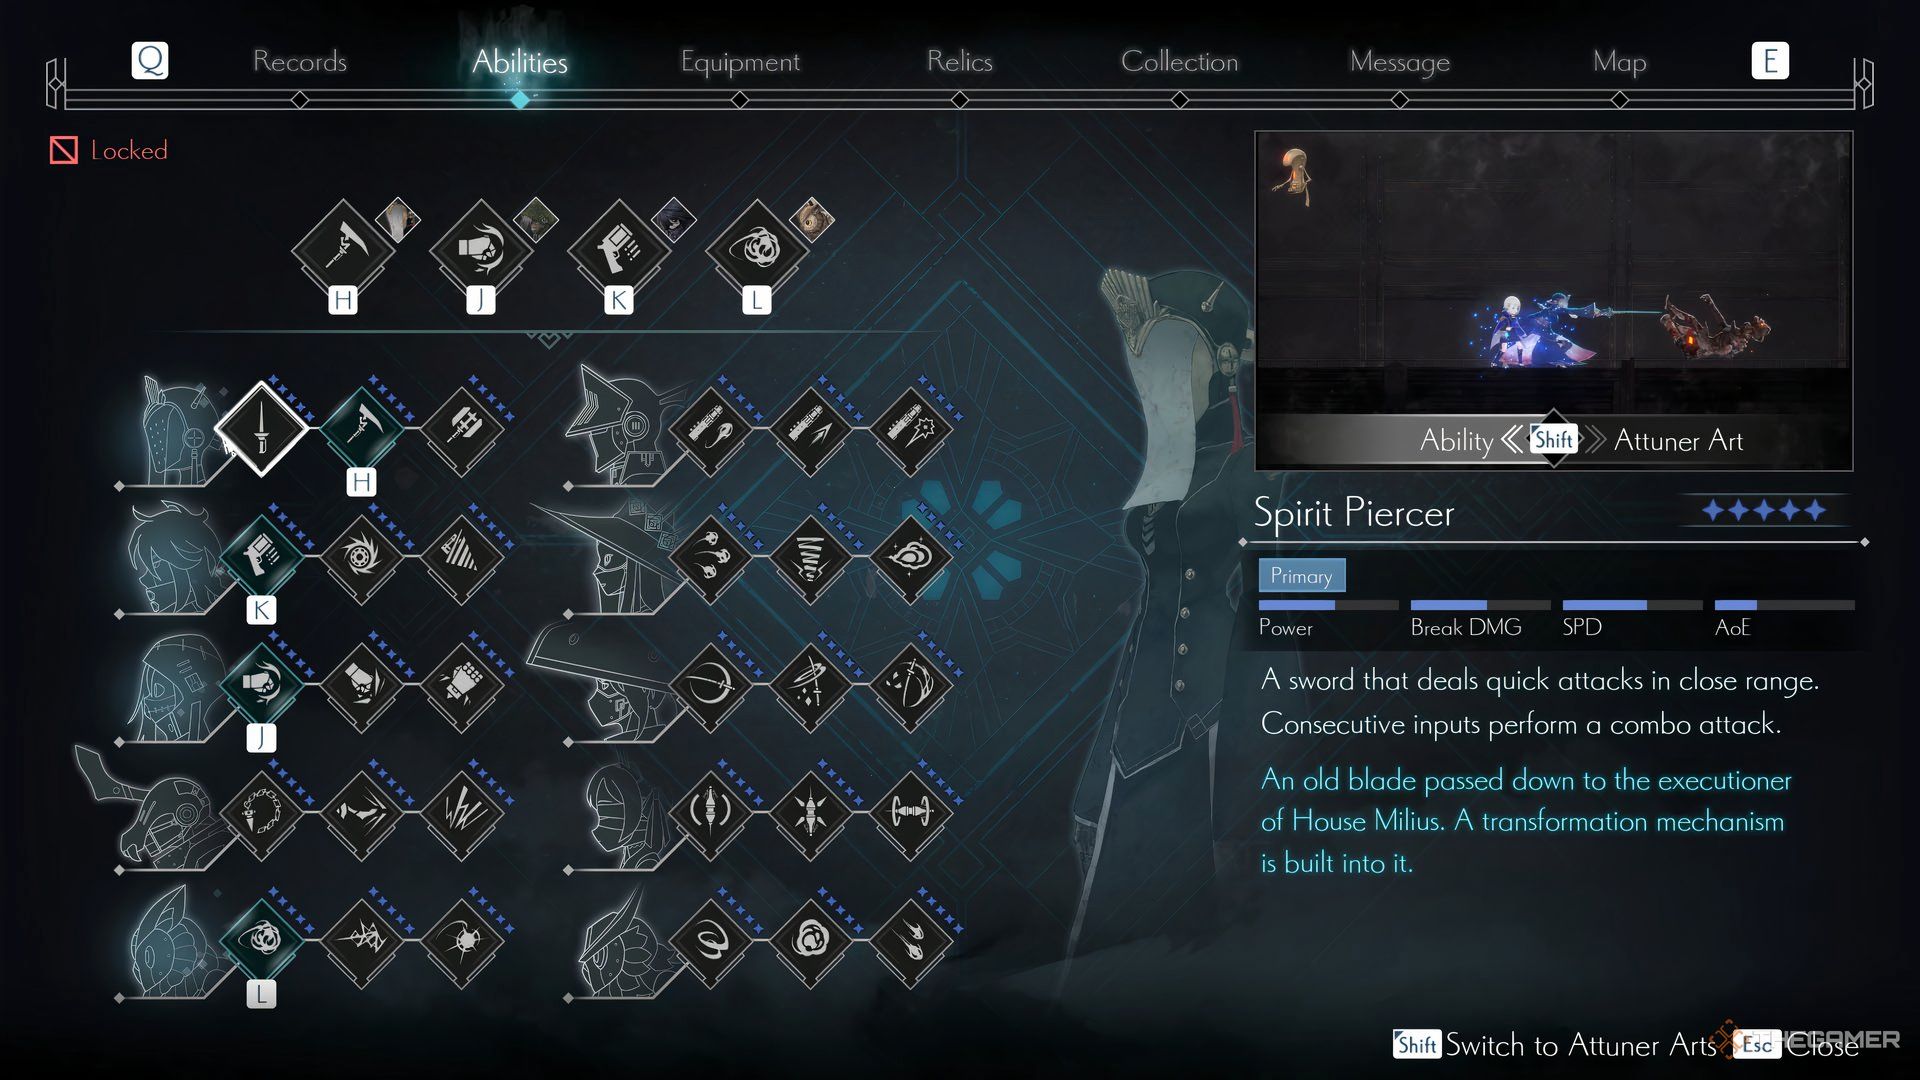
There’s a total of ten basic abilities in Ender Magnolia. A different Homunculi represents each of them, and you’ll get most of th abilities as you progress through the story. They vary between Primary, Autonomous, Cooldown, or Pressure attack types.
Attack types define how the Homunculus’ ability can be used and cannot be changed. Certain Relics can increase specific attack types’ damage.
You unlock them by either beating the respective Homunculus as a boss and Tuning them back, or by peacefully speaking with them and concluding some kind of task. Most abilities are story content and cannot be missed, but a few of them are optional. Fortunately, you can get those halfway through the game.
To unlock new attacks for your Homunculi, you need to Enhance their abilities with items found around the game. Some items take a while to find, so you won’t be able to use different skills immediately.
Nola
- Attack Type: Primary
- Attacks: Spirit Piercer, Soul Harvester, Vanquisher.
- Obtained Through: Main Story
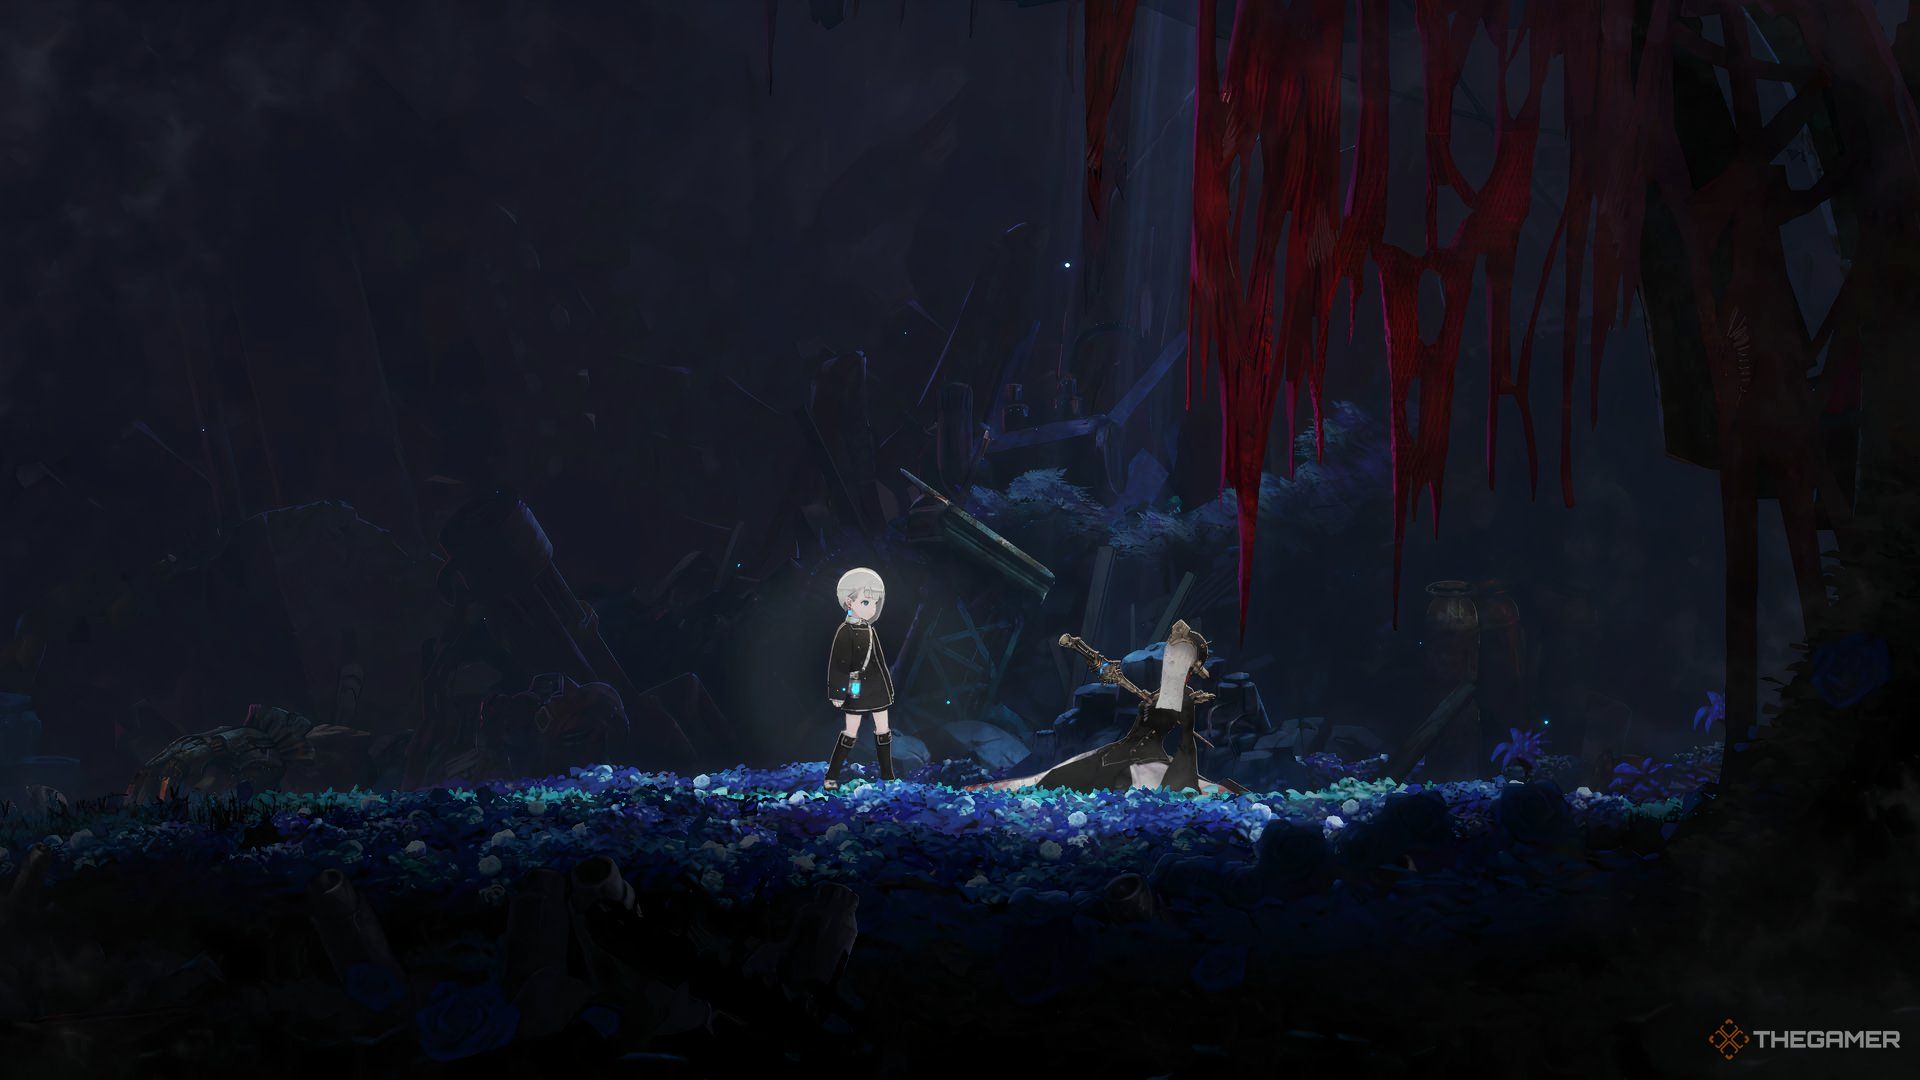
The Homunculus you start with, and your most valuable ally. You obtain Nola early in the game, as soon as you get past the first few enemies. She’ll be your main attacker for a good while.
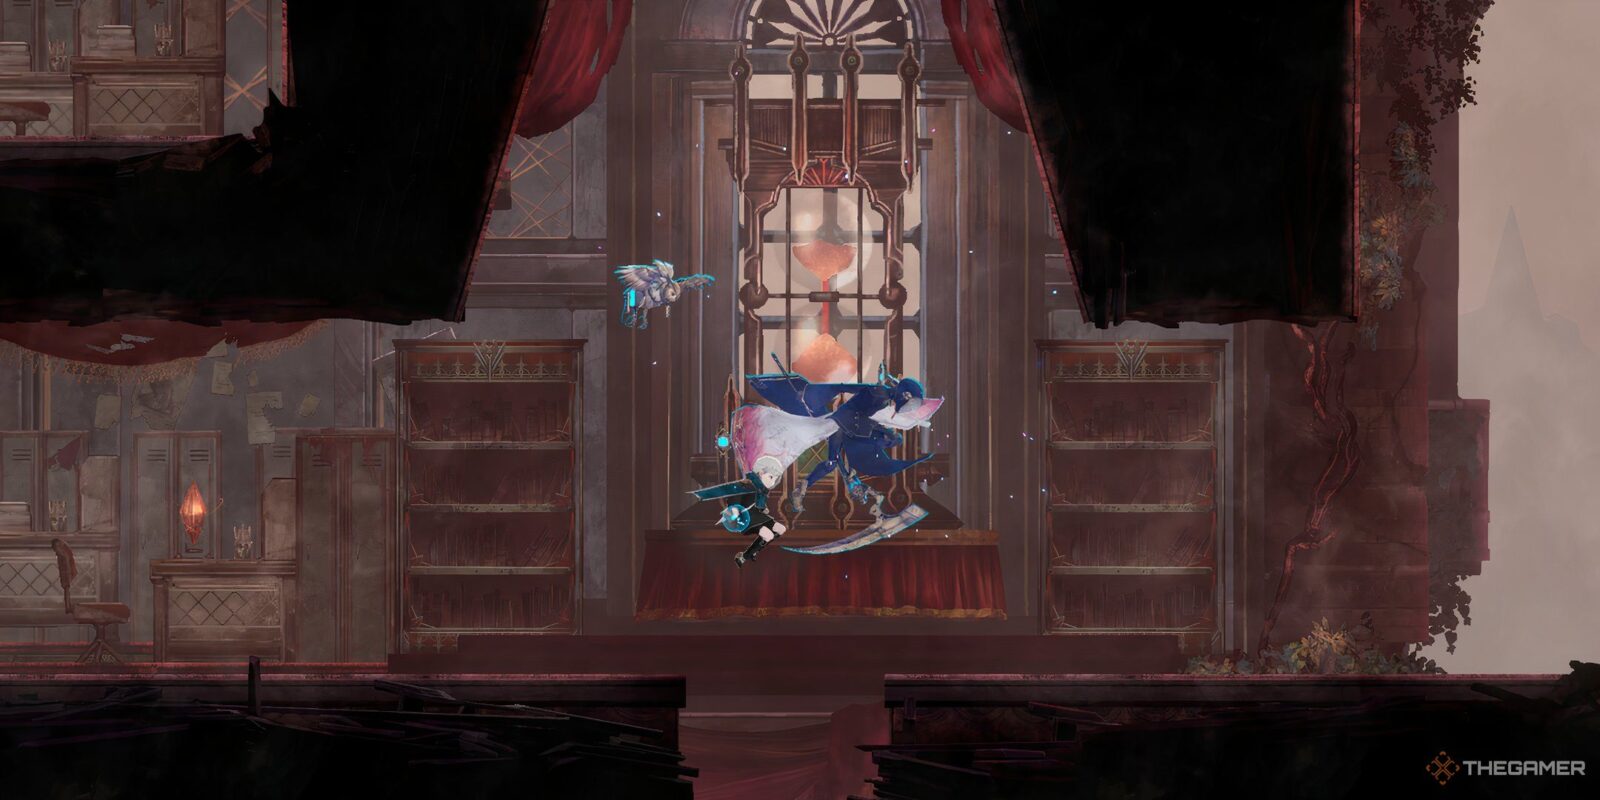
She deals Primary damage and can change between a sword, a scythe, and an ax. These three offer vastly distinct gameplay styles, so you can always adapt to different boss fights/stages.
Lito
- Attack Type: Cooldown
- Attacks: Blazing Fist, Glacial Fist, Rocket Fist
- Obtained Through: Main Story
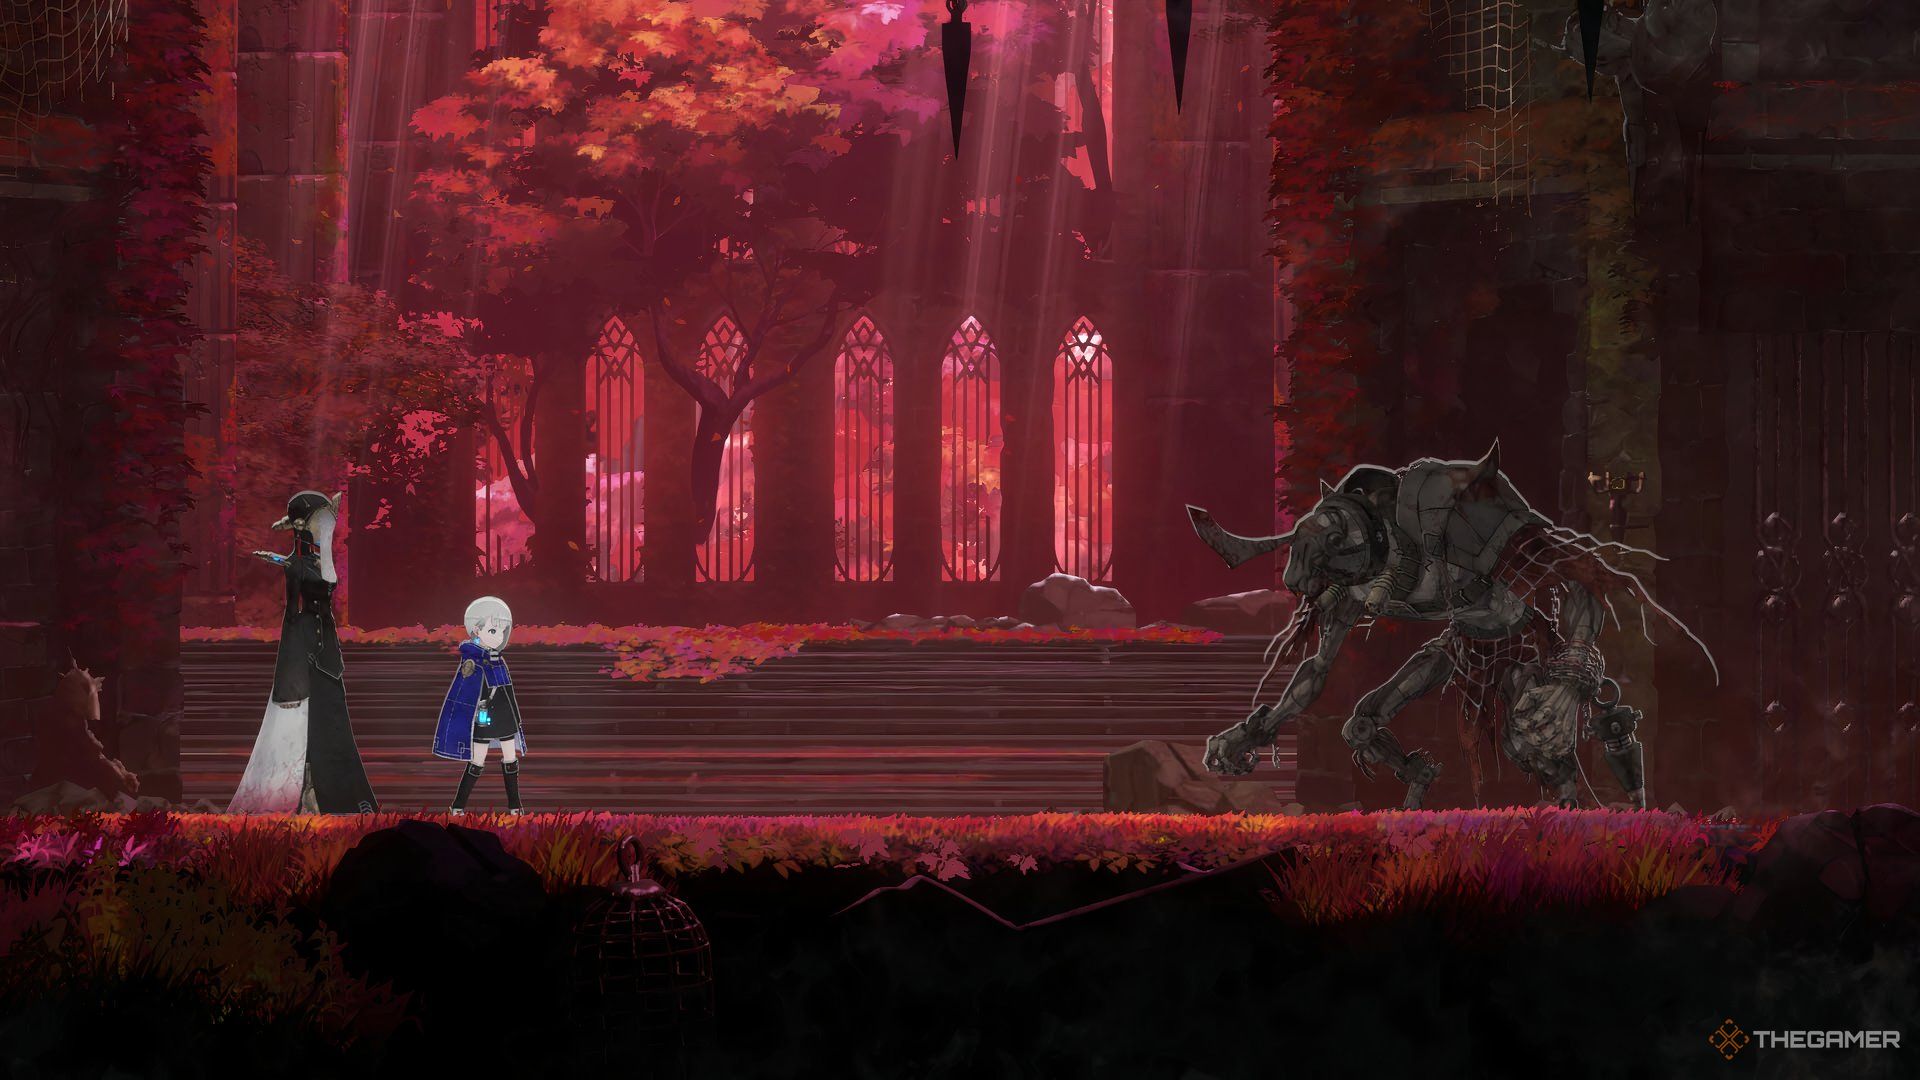
Lito’s the second ally you can recruit, and the first one you get through battle. You find him in the Subterranean Testing Site Ruins, a few moments after getting Nola. He’ll be right next to the Test Subject Wing Respite.
After Tuning him back to normal, he grants you his punching abilities on a strict Cooldown. They deal a lot of damage at once and can deal different Status Effects at a small chance. They all hit at different angles.
Yolvan
- Attack Type: Pressure
- Attacks: Barrage, Lacerate, Eviscerate
- Obtained Through: Main Story
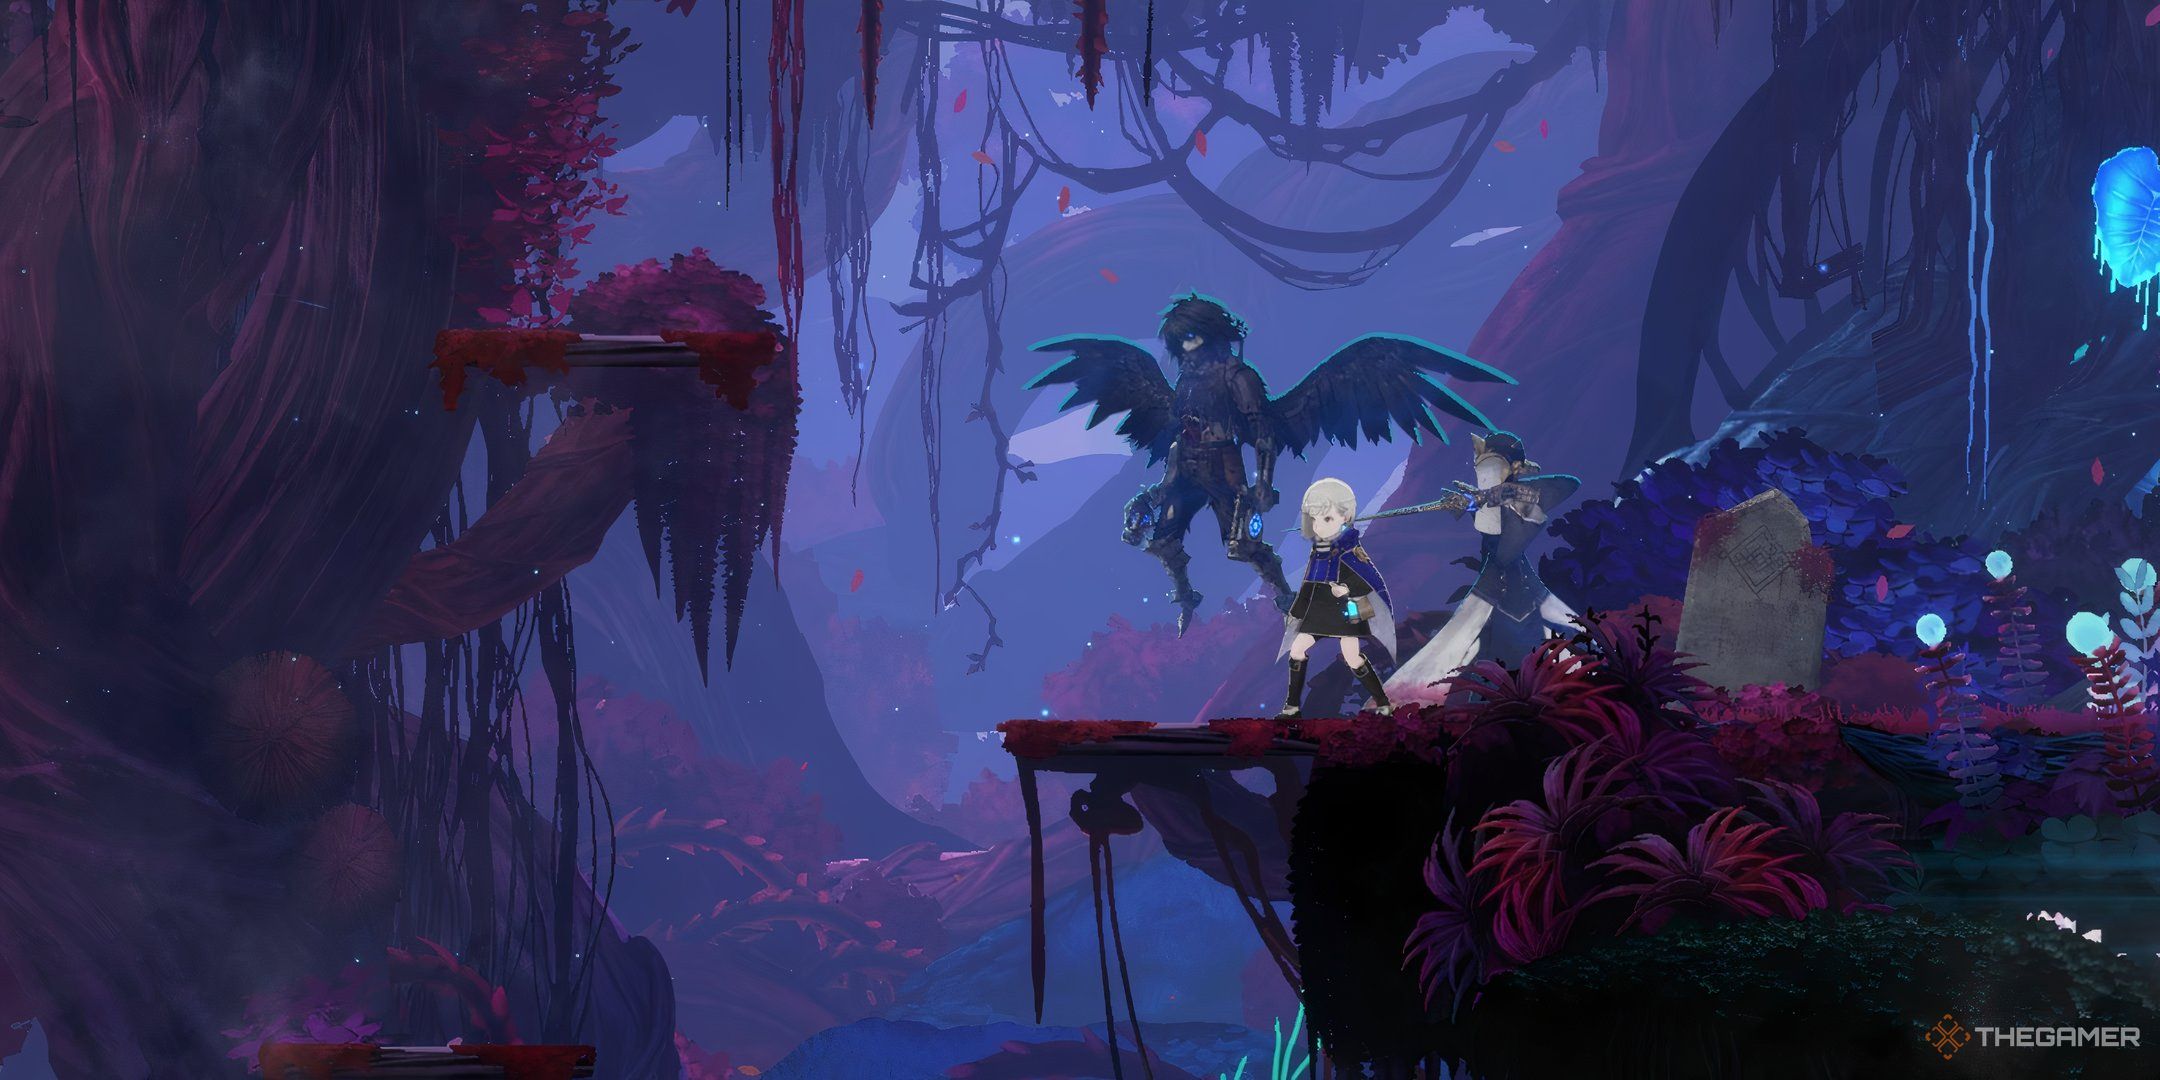
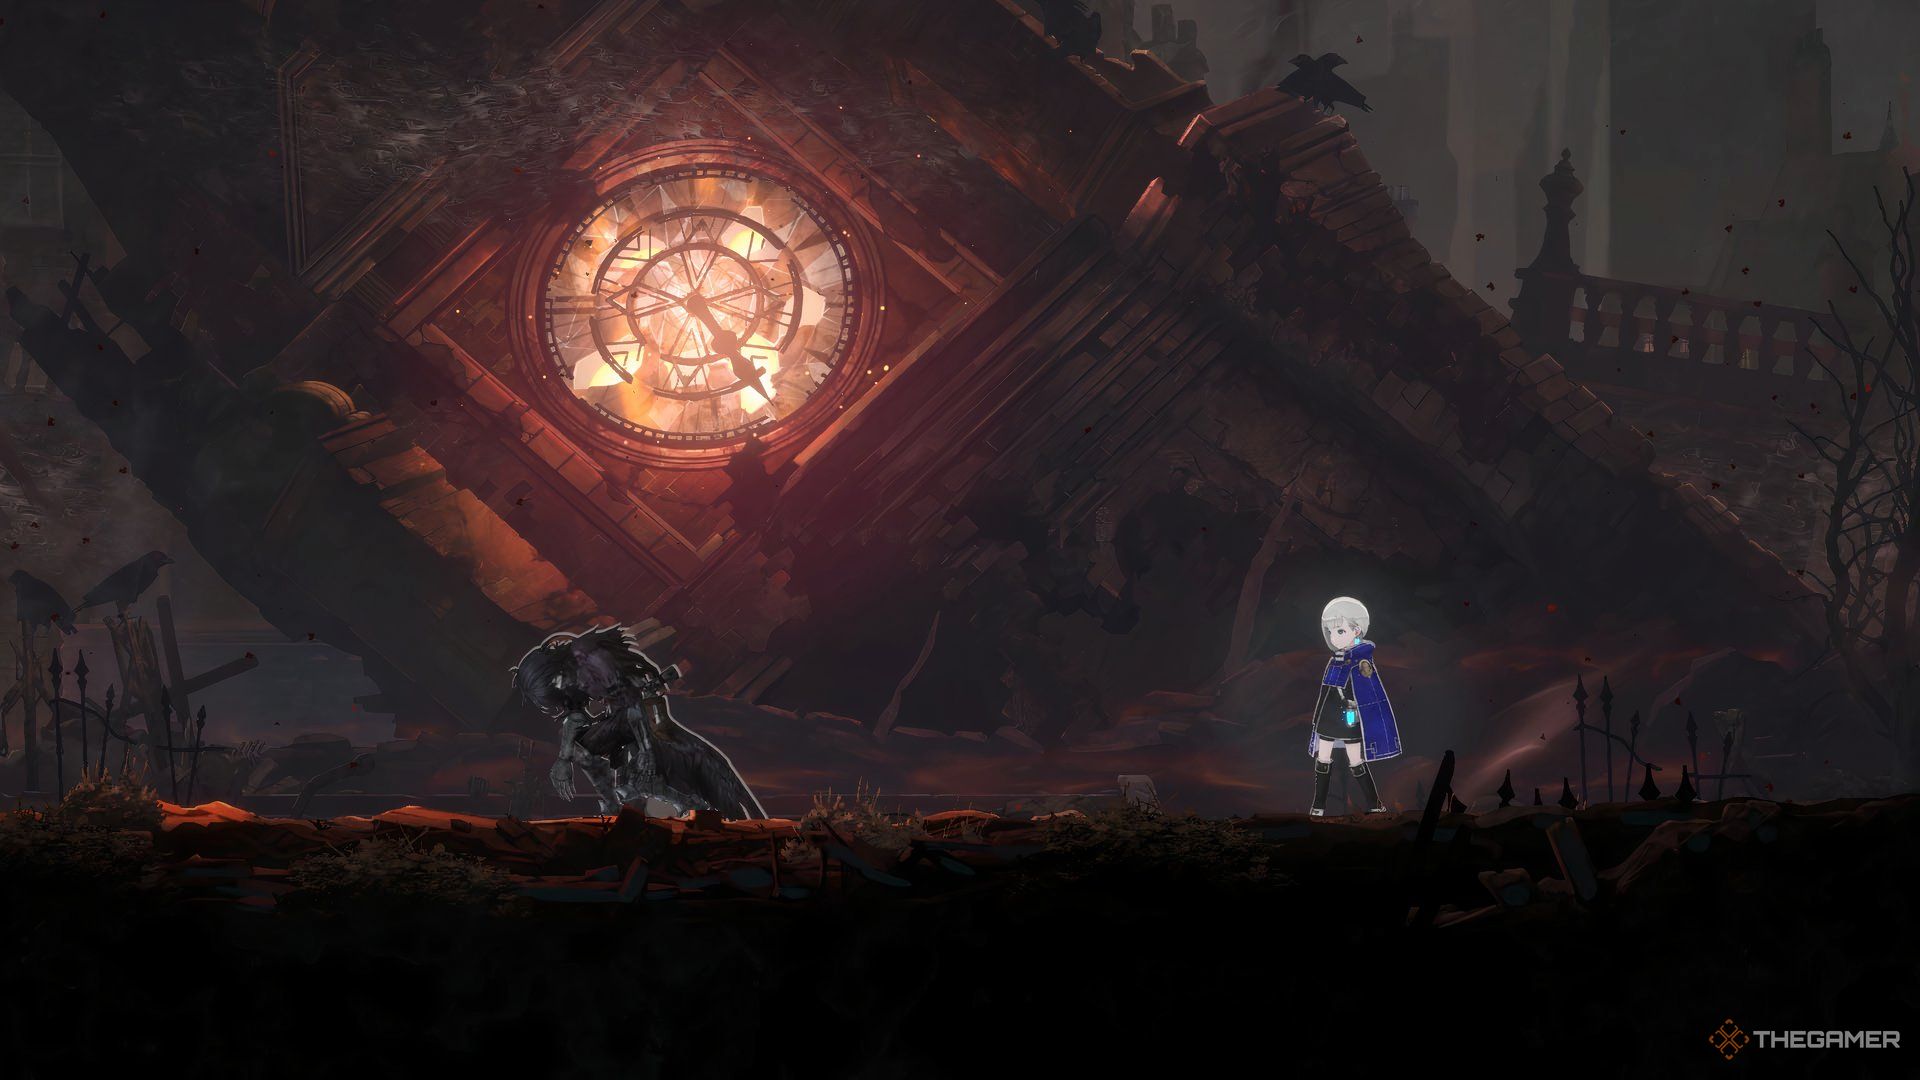
The winged Homunculus attacks with his double guns, which can launch different shots depending on your select attack. He’s particularly great at dealing Break Damage, but has low regular damage as a result. Still very powerful, especially when fighting at a distance.
Yolvan is encountered in the Old City – Lower Stratum, next to the Clock Tower Plaza Respite, and it’s a mandatory battle to proceed in the story. It’s also the first two-part boss you meet in the game.
Muninn
- Attack Type: Autonomous
- Attacks: Seeker, Stun, Bombard
- Obtained Through: Main Story
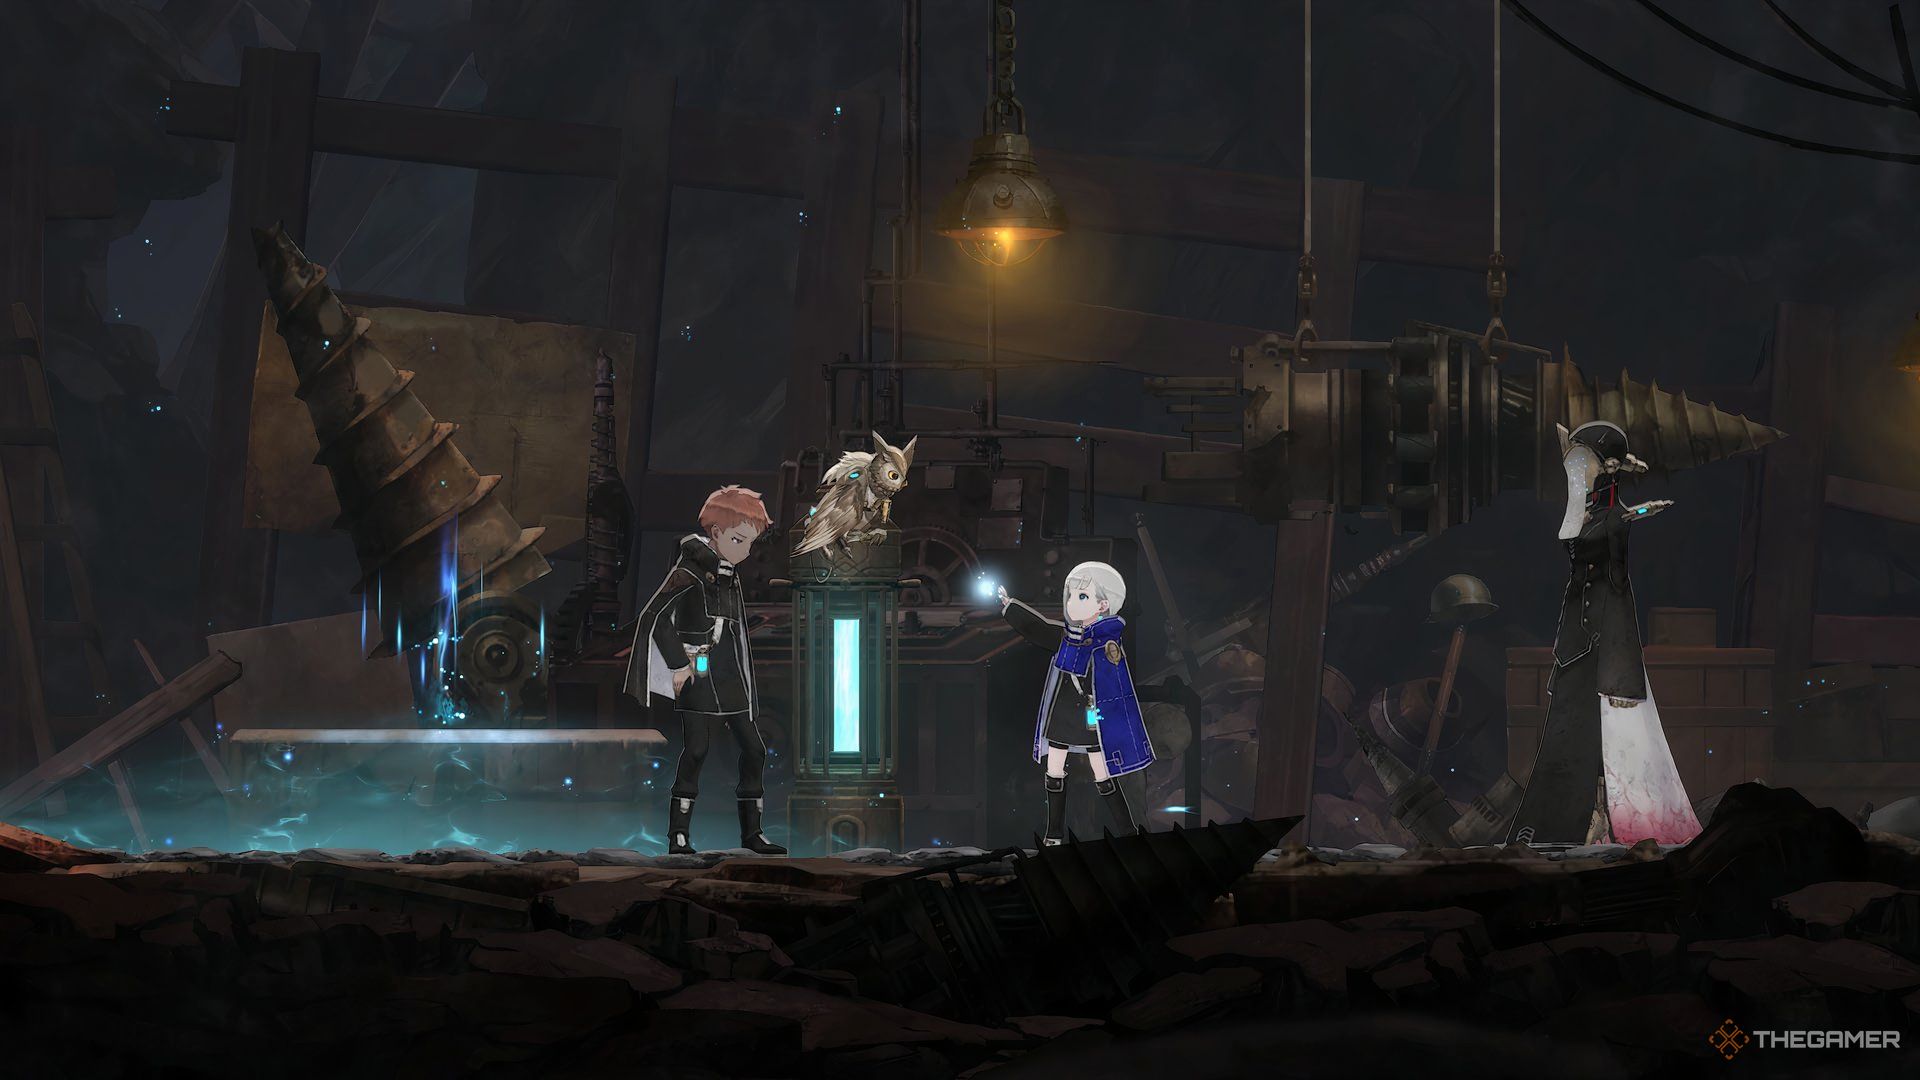
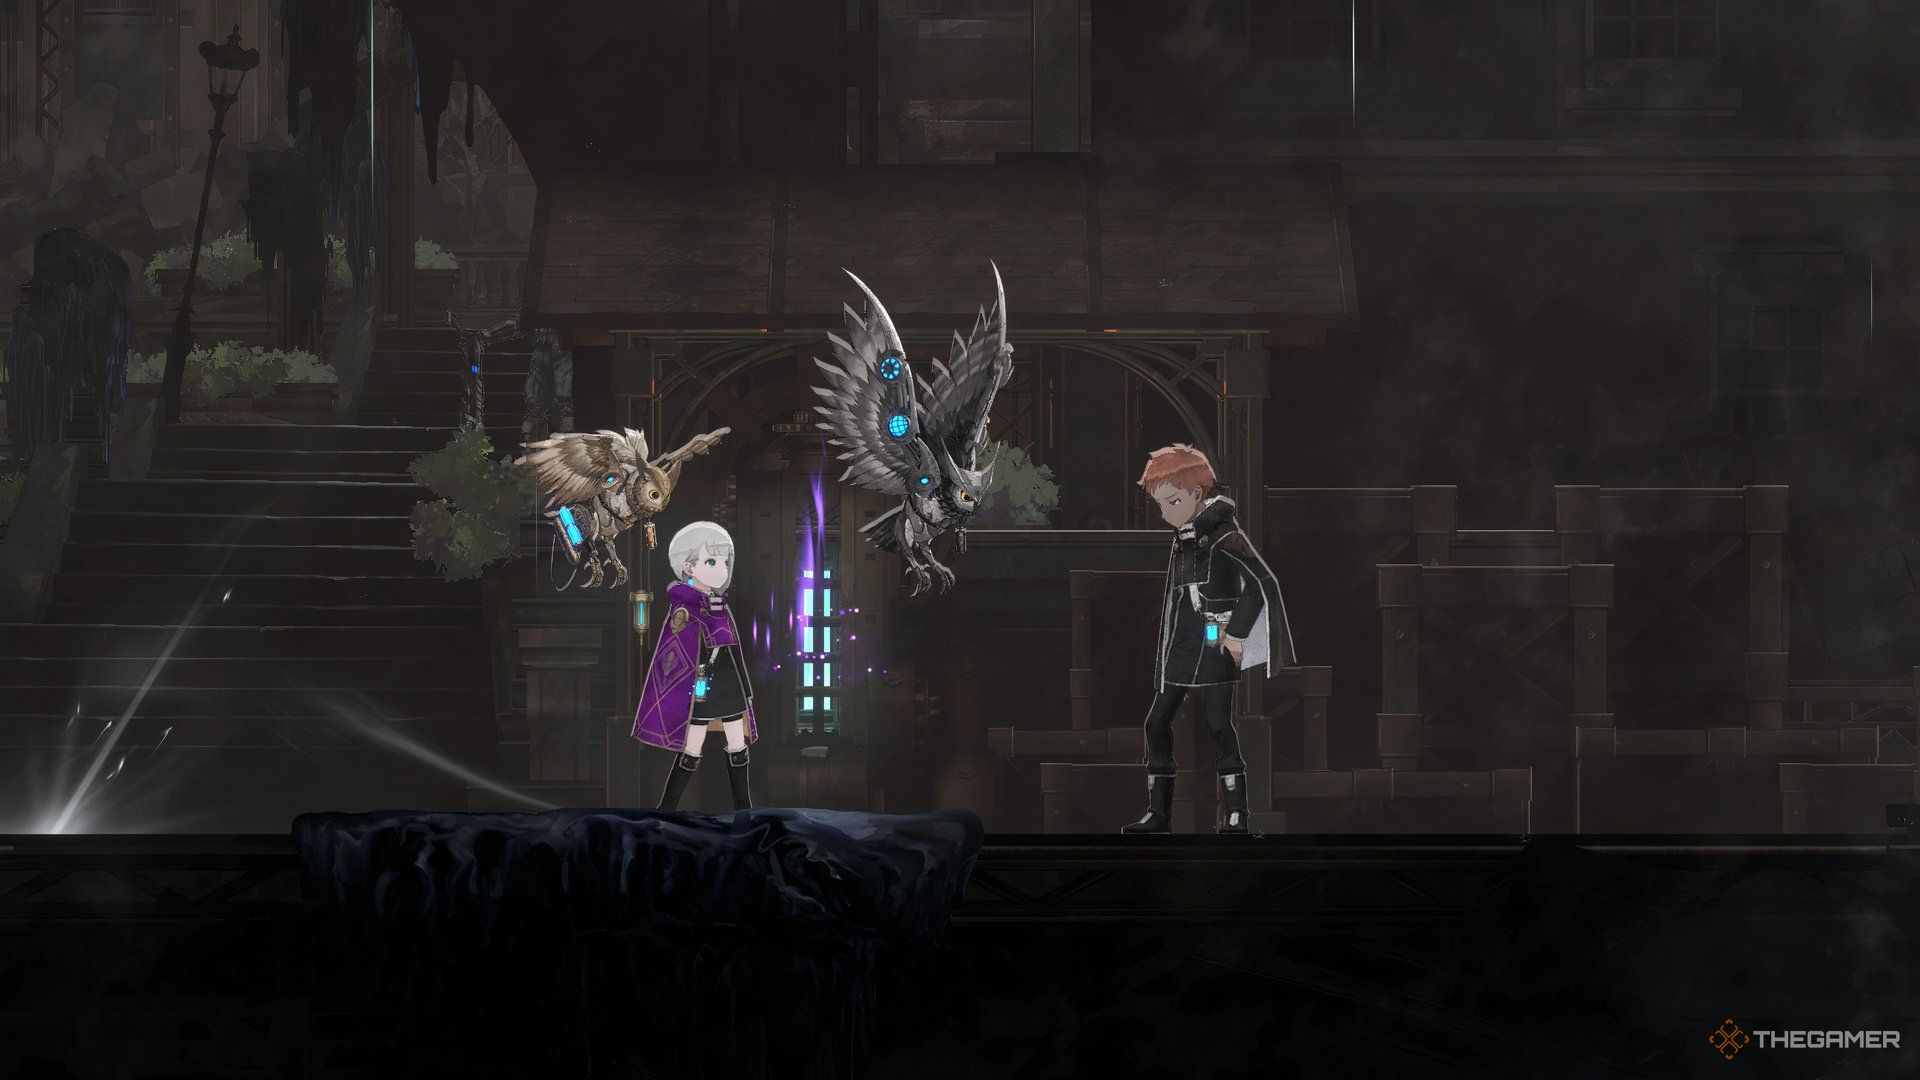
An owl Homunculus that attacks on her own with powerful tracking attacks. She’s the first Autonomous ability, and just turning it on lets her attack your enemies. Her attacks are not powerful, but require no effort on your part, and any extra passive damage is welcome.
You unlock Muninn by reaching the Rest Area respite in the Magicite Mine, where the Attuner Heath trusts you with her. Each of her attacks covers a different area, and she can inflict some Status Effects too.
Autonomous Homunculi are deactivated during cutscenes, so you have to use them again whenever you fight a main boss. Do it as soon as you finish the cutscene, and you’re good to go.
Shackled Beast
- Attack Type: Cooldown
- Attacks: Chain Whip, Charge, Benumbed Howl
- Obtained Through: Main Story
A powerful Homunculus that was abandoned by his difficult attitude. He’s willing to fight for Lilac, though, and protects her with his powerful Counters. Hit the button at the right time, and you’ll take no damage from incoming attacks, as well as deal massive damage back to opponents.
The Shackled Beast is the final boss of the Tethered Steeple, in front of the Forest Barrier – Entrance respite. Defeat it and its powers will be yours.
Carapaces also give you a Counter effect, and you can equip them alongside Shackled Beast. This combo is very useful for many bosses.
Reibolg
- Attack Type: Primary
- Attacks: Magic Tracer, Piercer Beam, Blast Volley
- Obtained Through: Side Quest
Reibolg is the Homunculus of Chief Attuner Joran, and works as a ranged Primary attacker, just like Nola.
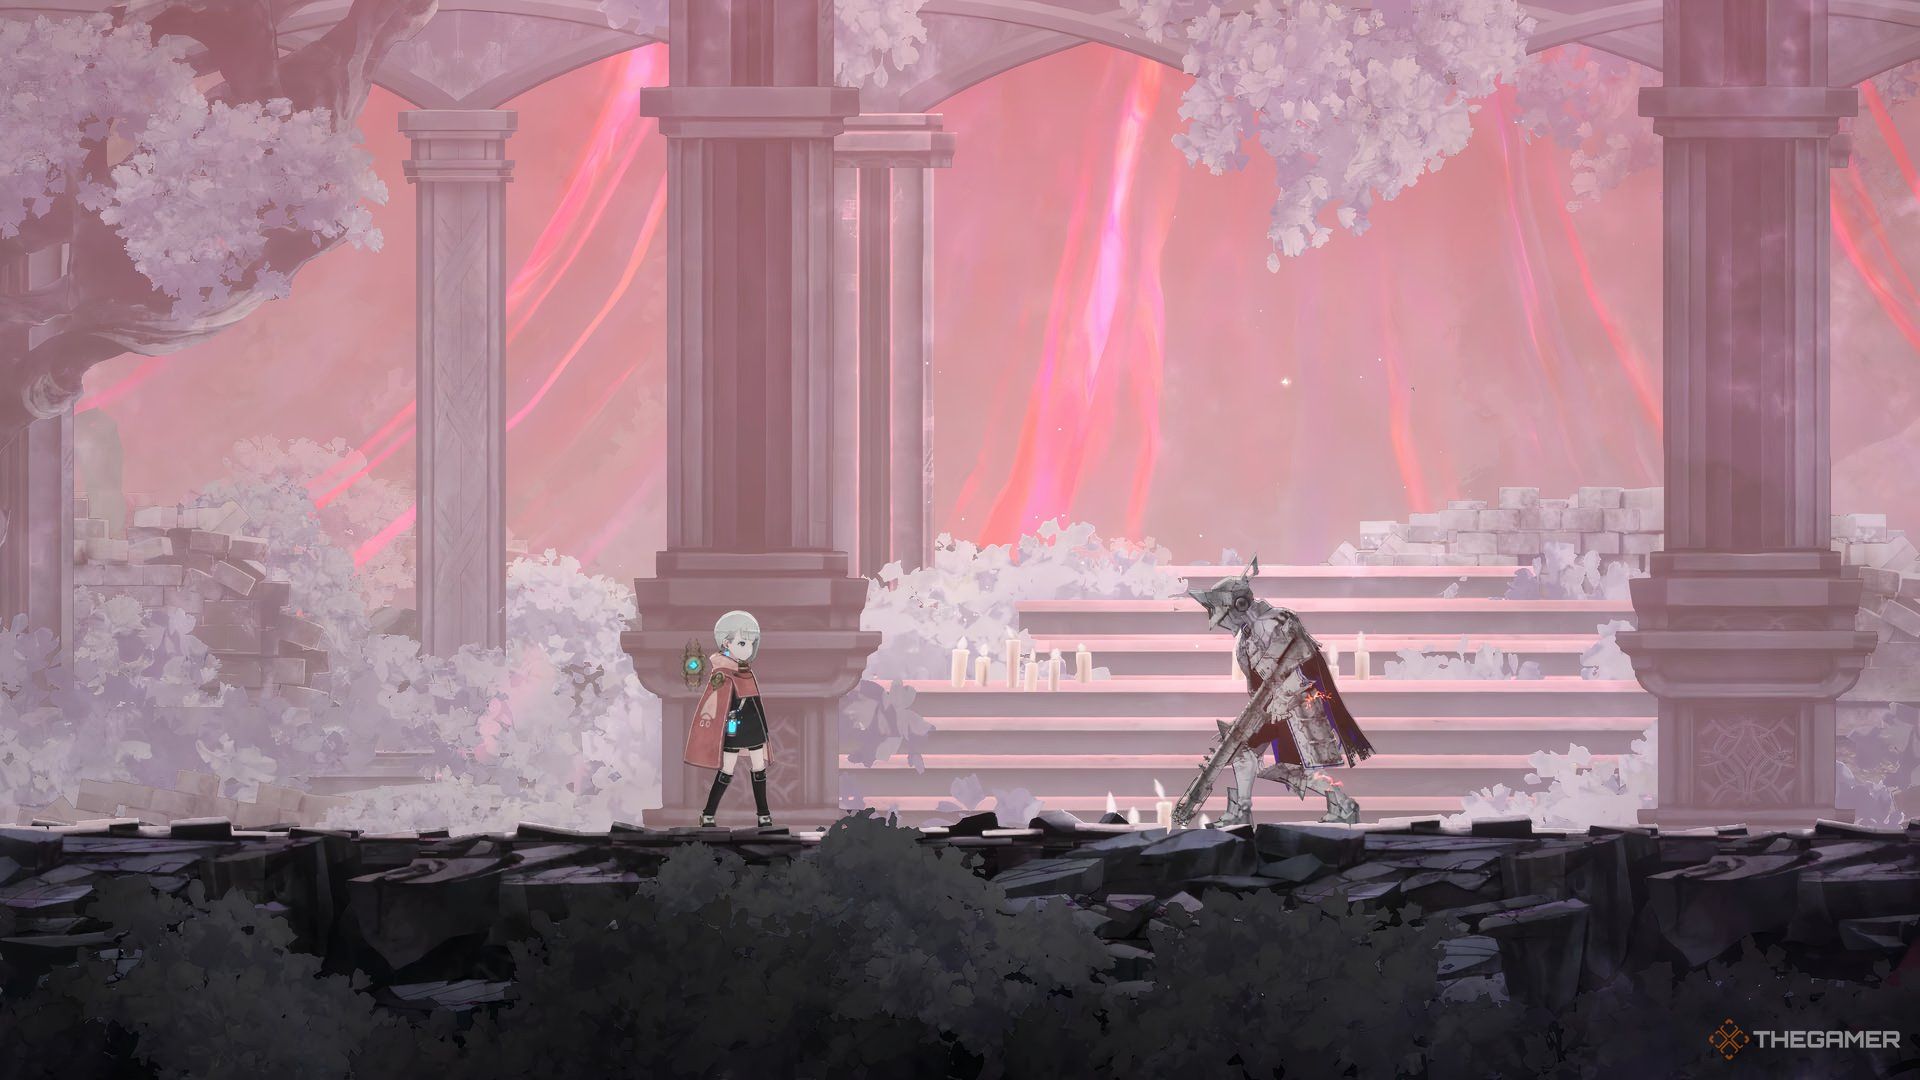
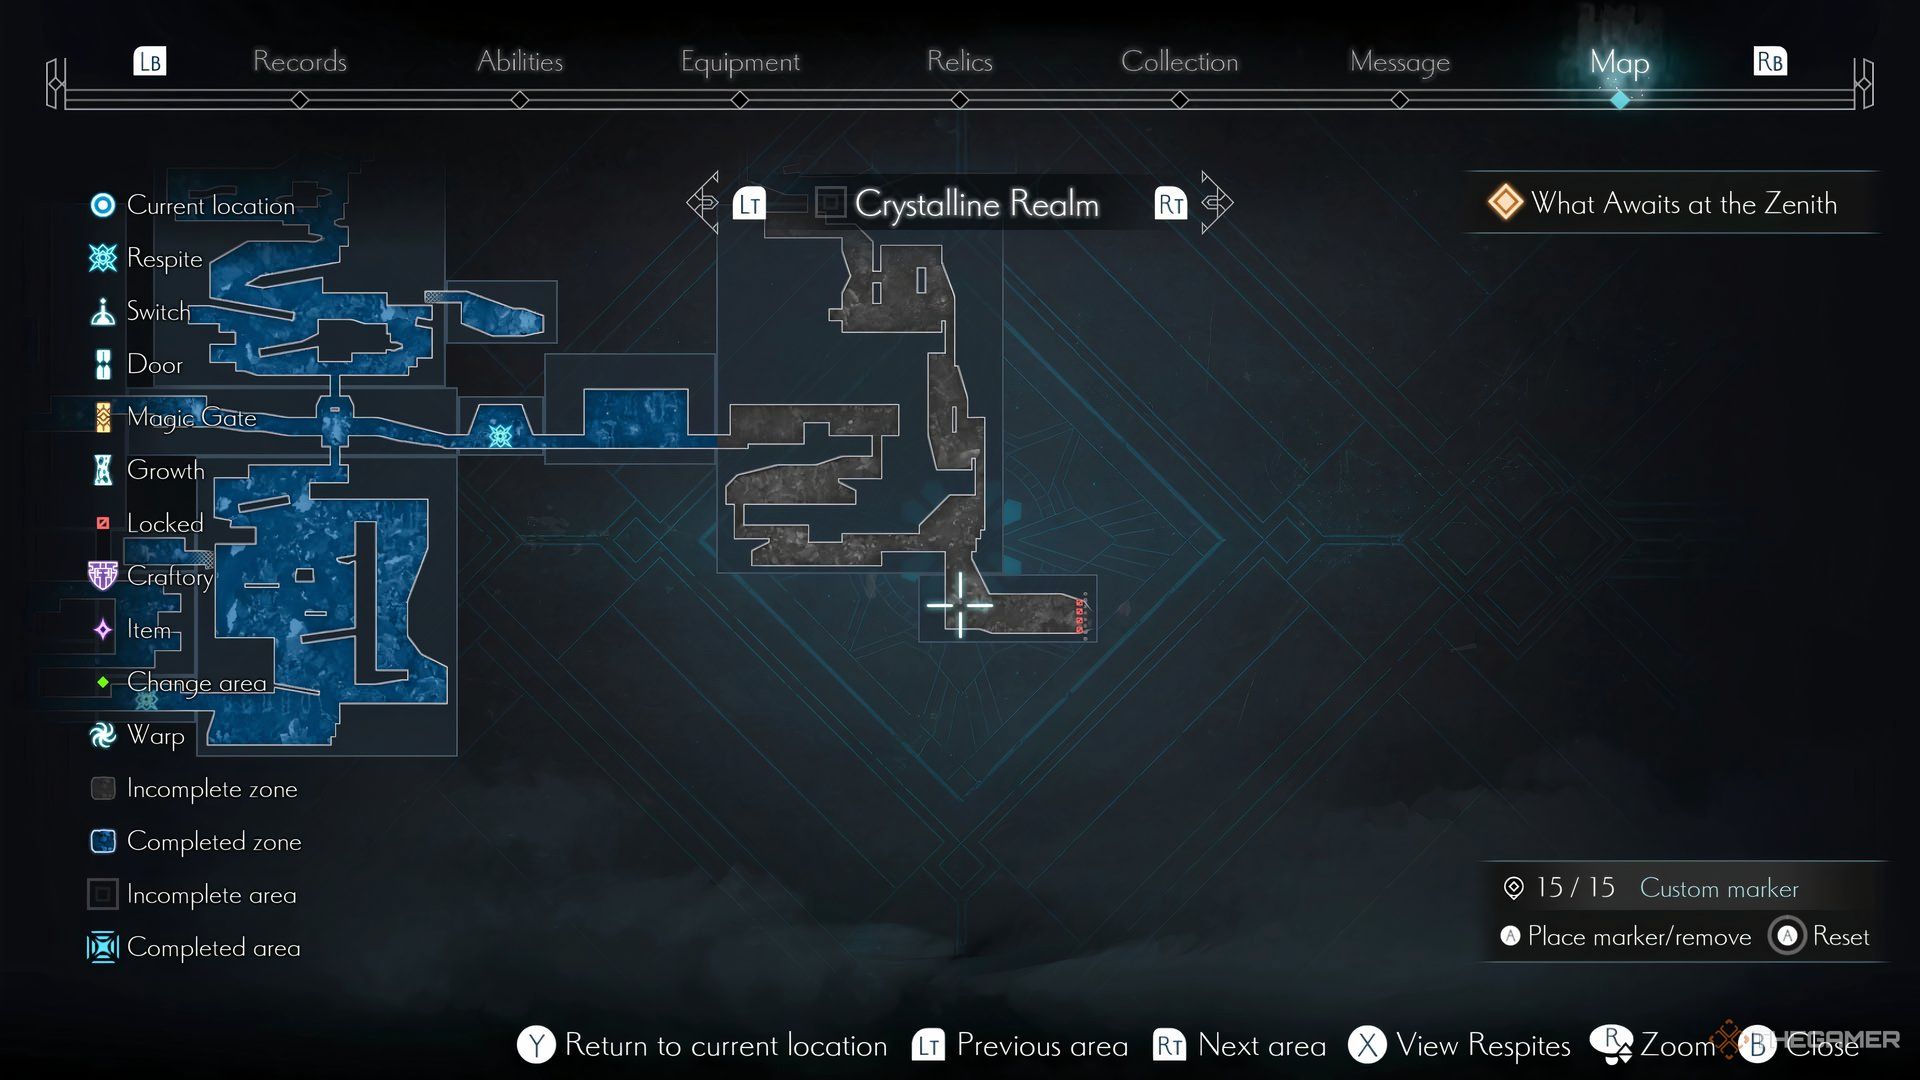
To obtain it, you must reach Central Stratum for the first time and meet Joran. After that, head back to the Crystalline Realm, in the Unblighted Path respite, and follow the way east. The barrier from before is now gone, so proceed.
You’ll meet Reibolg and fight him for the first time. Defeating him unlocks a new path to the Land of Origin. Follow the path to eventually find Joran (next to the Ancient Resting Place respite), who entrusts you with saving Reibolg. Enter the room ahead and defeat Reibolg again to unlock his Ability.
This is an optional Homunculus, just like everything else in the Land of Origin. However, obtaining Reibolg is mandatory for getting Ending B.
Luiseach
- Attack Type: Pressure
- Attacks: Volcanic, Whirlwind, Cocytus
- Obtained Through: Main Story
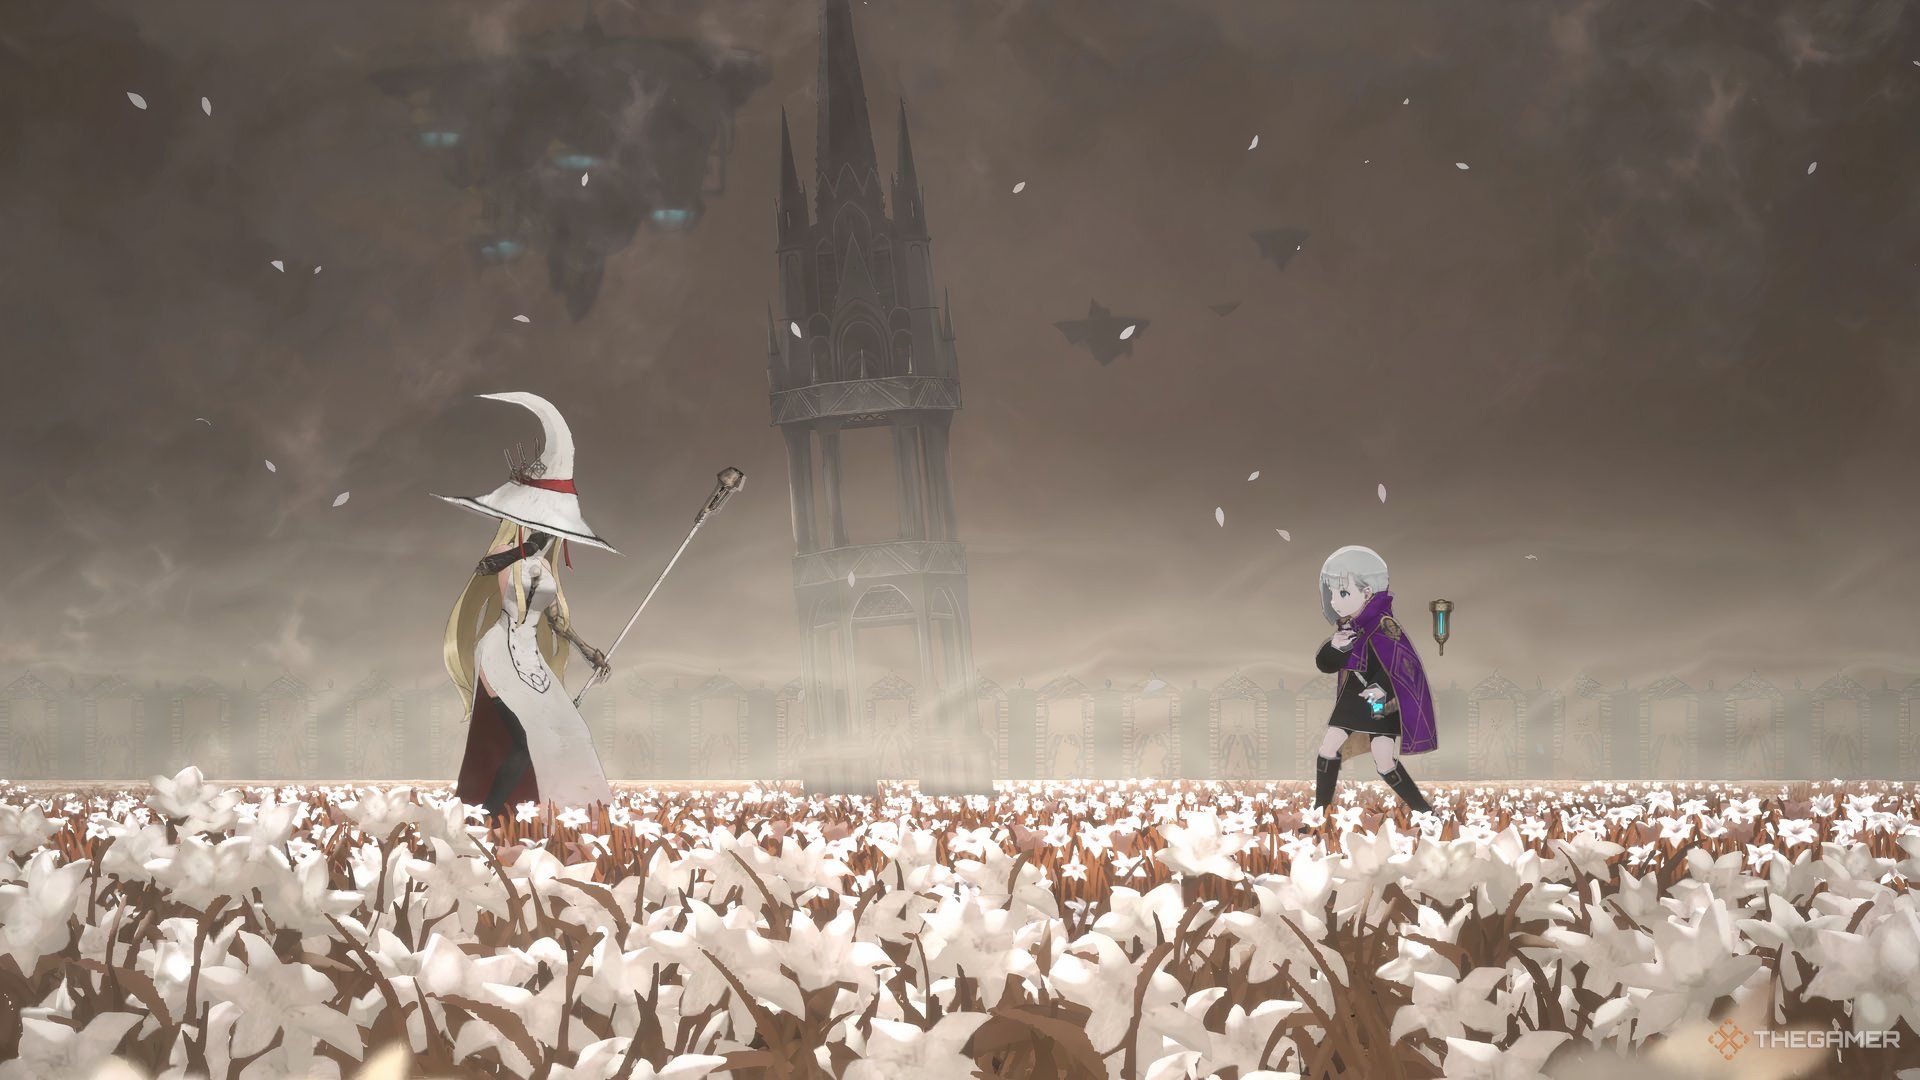
A Professor Homunculus from the Sorcerer Academy. She uses her magic to use Pressure attacks, similar to Yolvan. She’s slower than him at Breaking enemies, but has more direct damage. All of her attacks can inflict Status Effects.
You unlock Luiseach by defeating her at the top of the Sorcerer Academy, next to the Vacant Courtyard respite. Completing the Missing Students side quest is not necessary, but you’ll need to beat Professor Eliza before reaching her.
Huginn
- Attack Type: Autonomous
- Attacks: Gust Wing, Poison Cloud, Flaming Feather
- Obtained Through: Side Quest
Muninn’s brother. Your second owl Homunculus can be paired with his sister for a deadly Autonomous duo. He also works fairly well by himself, with attacks that cover different areas that Muninn doesn’t.
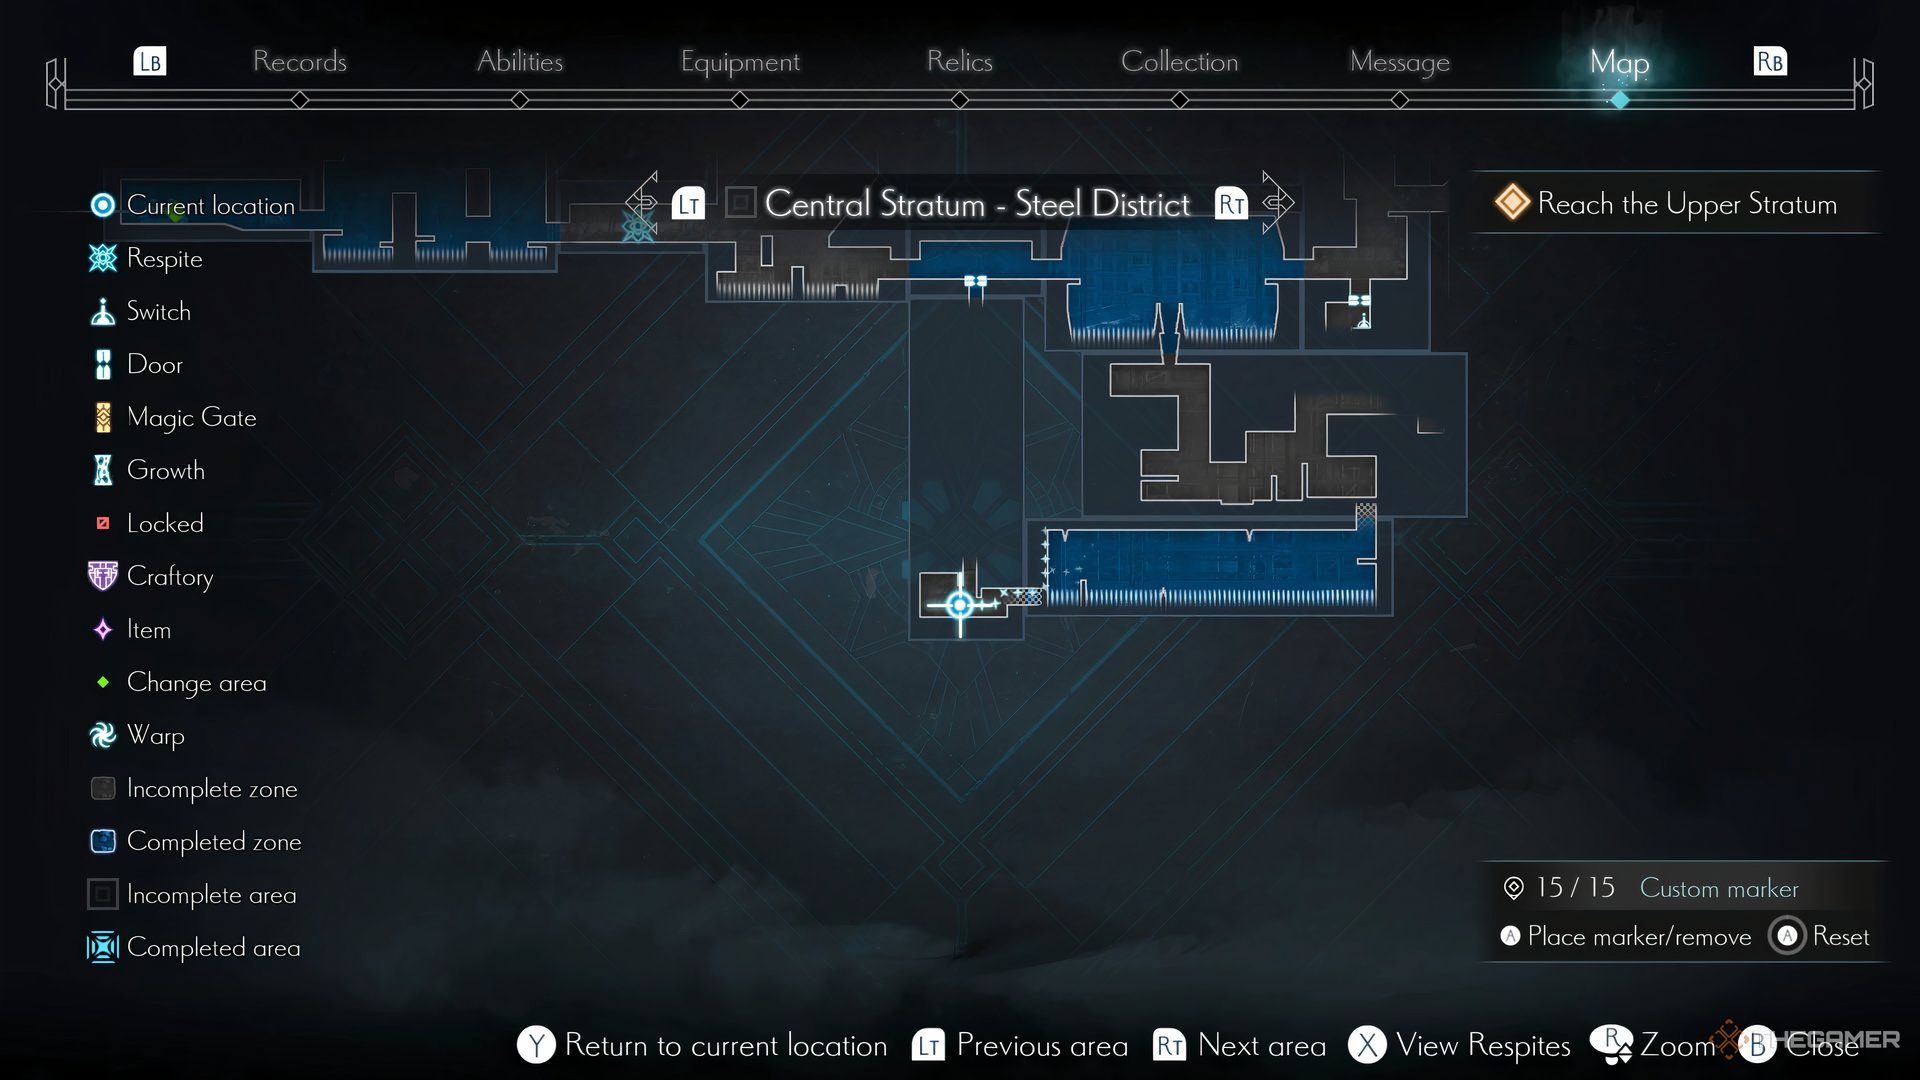
To get Huginn, you must first meet Levy in the Magicite Mine (requires Motley) and in the Crystalline Realm (on the way to the first respite). After that, head to the Steel District Bench respite, in the Steel District.
Drop down through the pipe in the room with the room above, then follow the path to find a hidden passage on the ground. Keep exploring this new area until you find Levy again.
She’ll give you the Avian Remains, so return to the Central City and speak with Heath next to the Relic Refinery. He’ll tell you about Huginn, and you’ll be able to tune it to use it as an ability from now on.
No. 7
- Attack Type: Cooldown
- Attacks: Lunar Manifestation, Hail Dance, Thunder Flower
- Obtained Through: Main Story
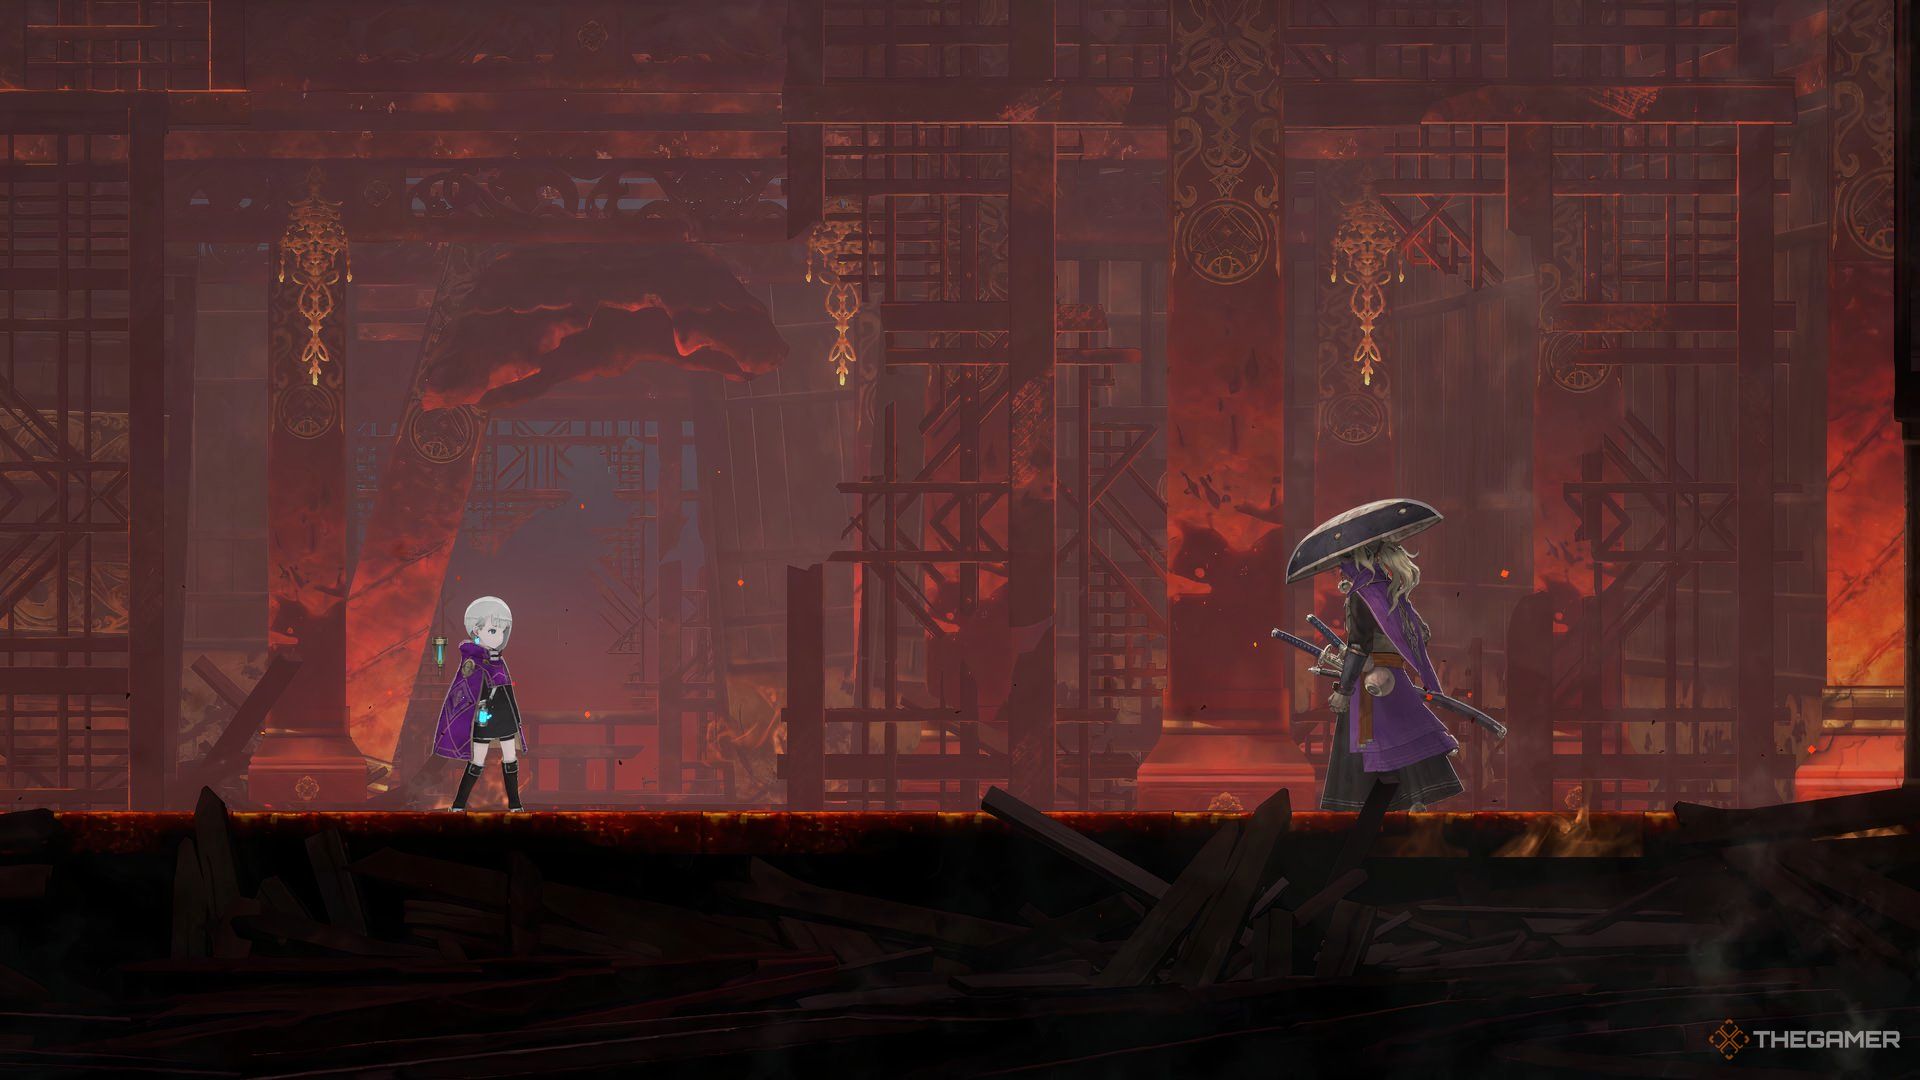
A Homunculus forced to fight in the Arena Tower. He deals quick slash attacks with his Cooldown attacks, and also can inflict some Status Effects along the way.
You unlock him by clearing the Arena Tower at the end of the Steel District. The Arena is a gauntlet with four consecutive matches against other slave Puppets. No.7 is waiting for you at the top, serving as the final boss of this section.
Aside from damage, No. 7’s Lunar Manifestation can be used to extend your jumps and dashes, allowing you to reach platforms you couldn’t before.
Lorna
- Attack Type: Autonomous
- Attacks: Gravity Field, Light Show, Wave Pulse
- Obtained Through: Main Story
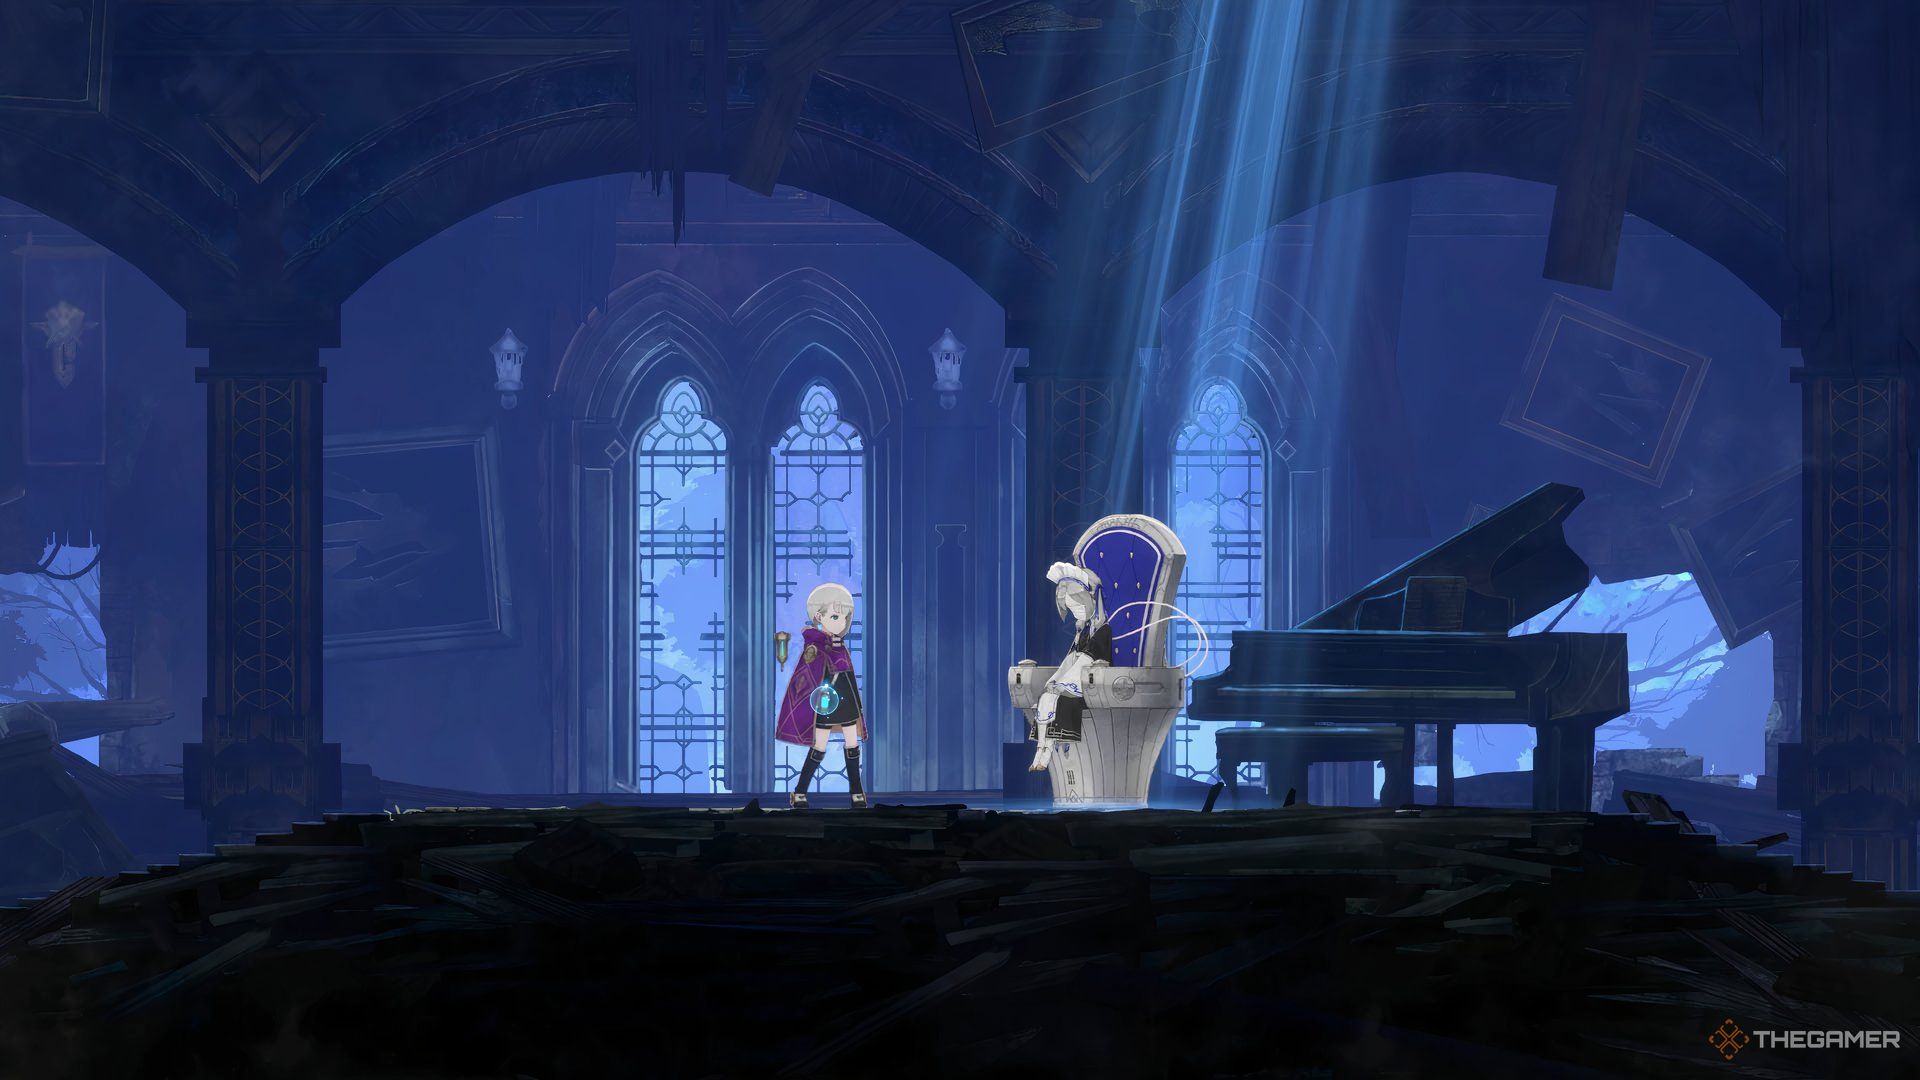
A Frost Homunculus that lives in penance, Lorna has powerful Autonomous attacks, but works slightly differently from the owls. After deploying Lorna, Lilac must stand near her, or she’ll deactivate. Her attacks cover a good area and are quite strong, but require constant repositioning.
You get her in the Frost Estate Ruins, above the Dust-covered Sofa respite. You can access this area after upgrading Motley in Declan Estate, right after defeating Declan himself.
Next
Ender Magnolia: Bloom In The Mist – How To Unlock More Relic Slots
Here’s how to unlock more Relic Slots in Ender Magnolia: Bloom In The Mist!




Leave a Reply