Diablo 4’s Seasonal changes, along with the game’s creative community, keep bringing players interesting new builds to try. One of the latest is the Shadow Blood Wave Necromancer, which dominates Speed Farming due to its high damage and large AoE. In addition, not only is the build powerful, but it is also visually satisfying due to the abilities’ animation. Players looking to try out the Shadow Blood Wave Necromancer for themselves are in for a treat.
To play a Shadow Blood Wave Necromancer, it is required to reach stat breakpoints in several areas, as well as farm Runes and Unique Items. Keep reading for a detailed explanation of how to put this build together, including Paragon Boards, Runes, Mercenaries, Seasonal Powers, and Gear.
Related
Diablo 4: Endgame Hammer of the Ancients Barbarian Build Guide (Patch 2.1.0)
In Diablo 4, Hammer of the Ancients can hit for absurd damage numbers when stacked to the absolute maximum. here’s a build centered around this skill.
The Power Of The Shadow Surfer Necromancer Build
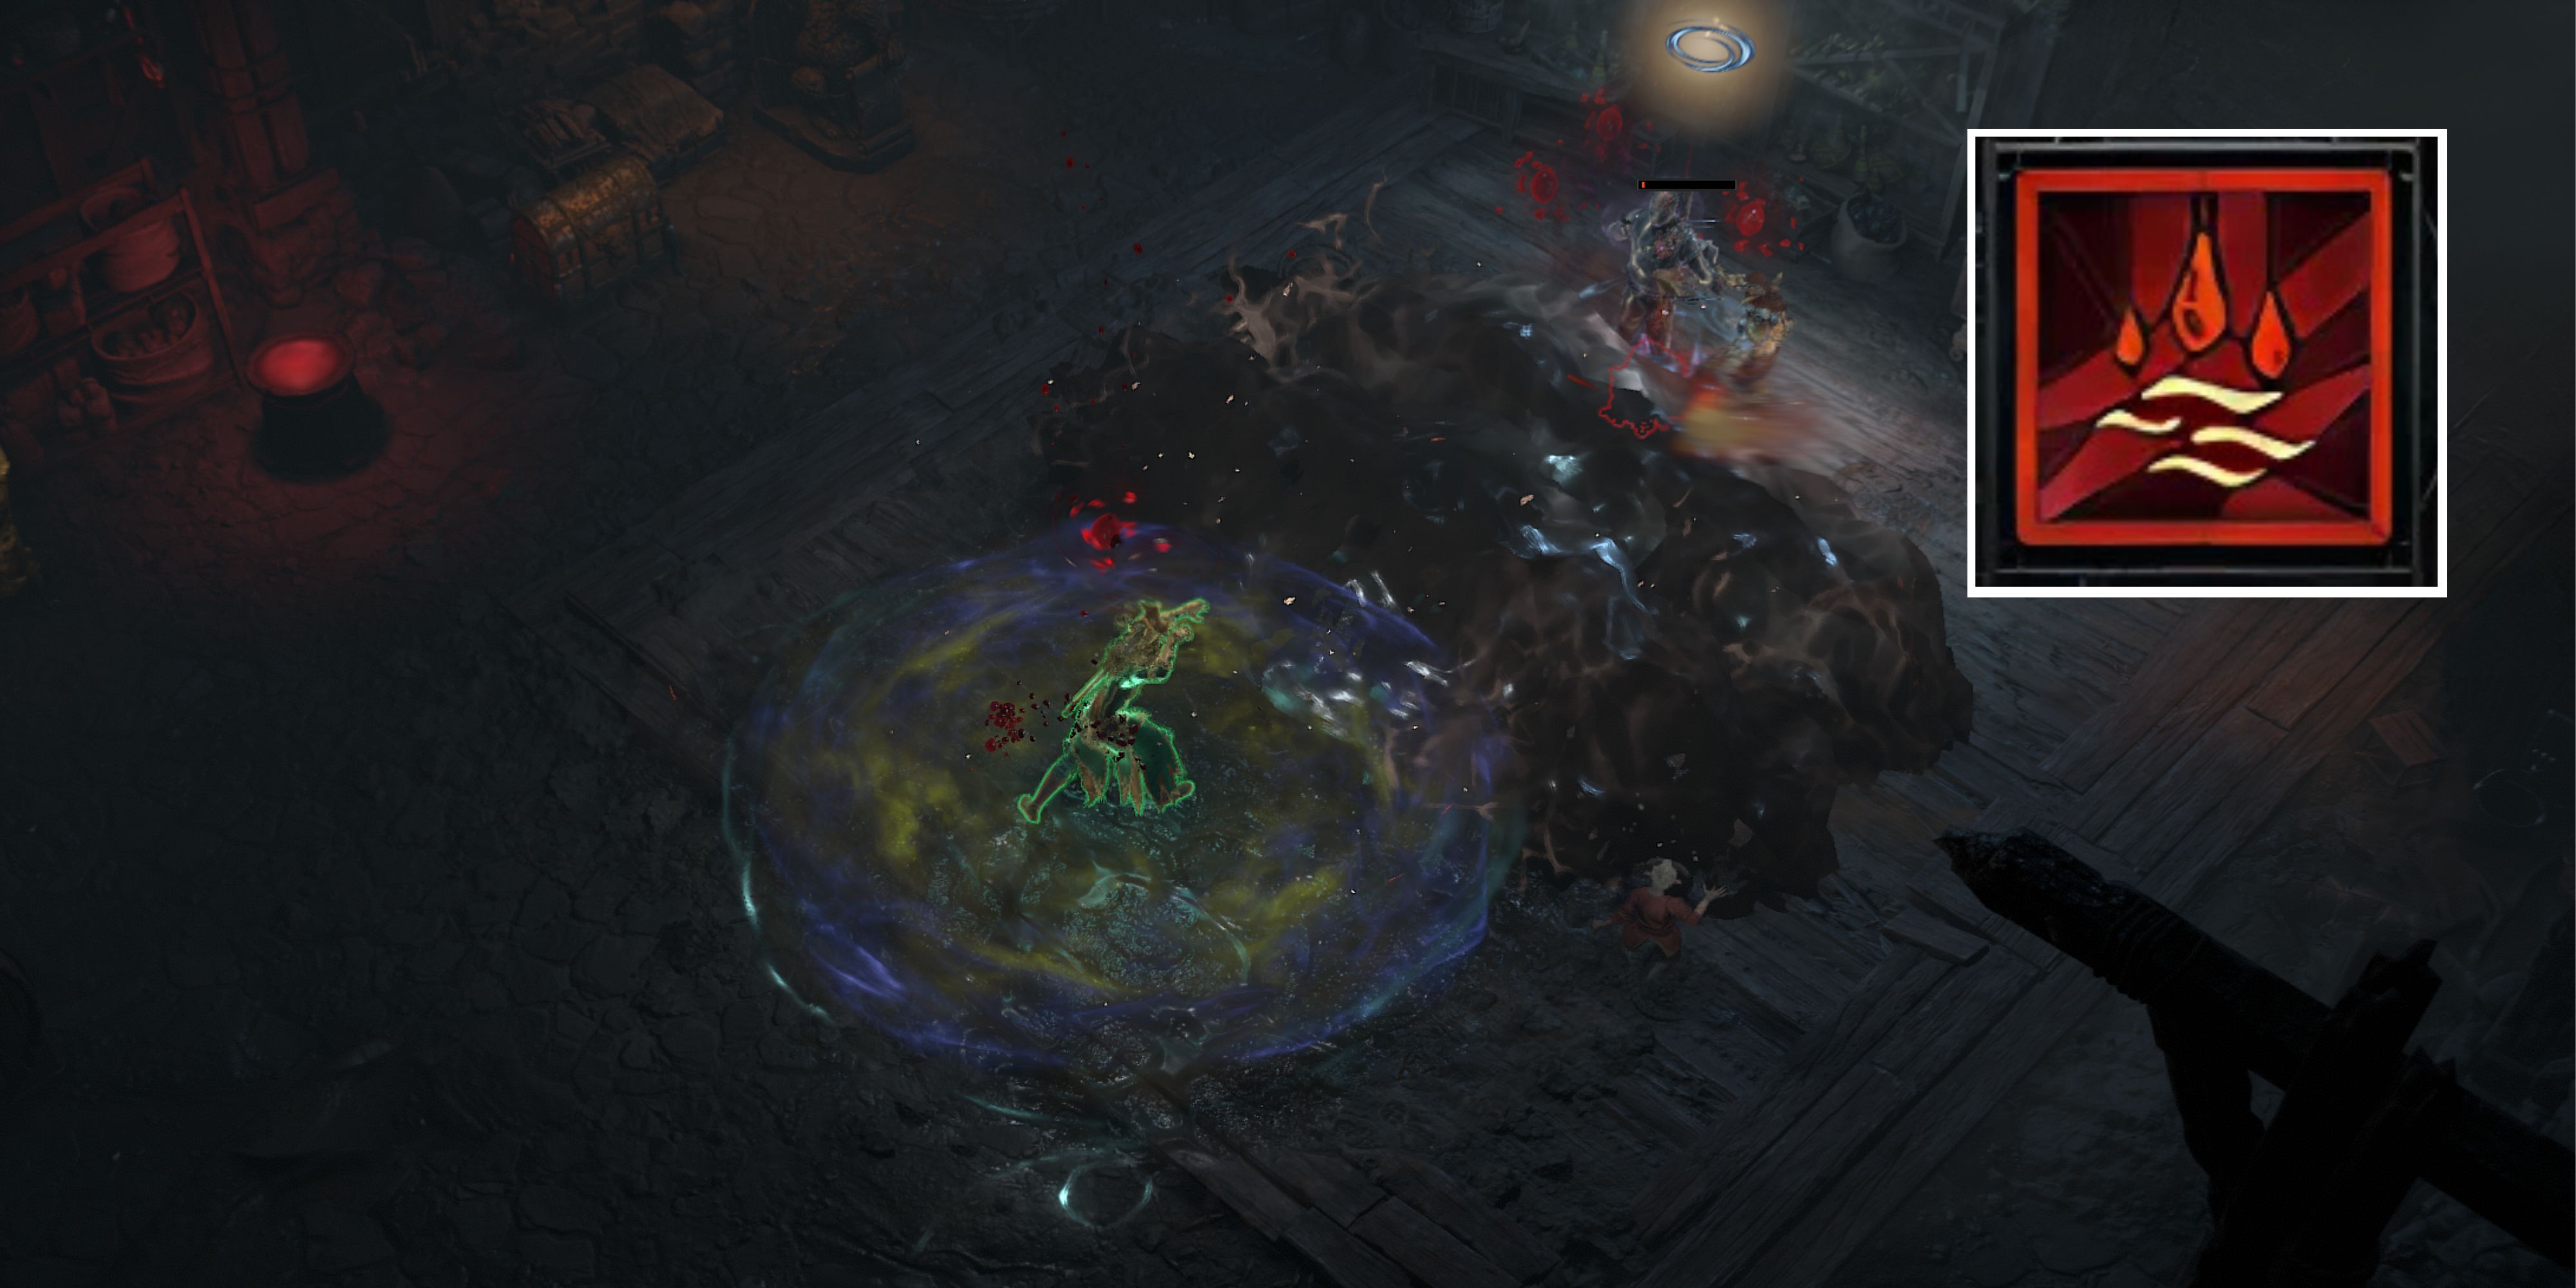
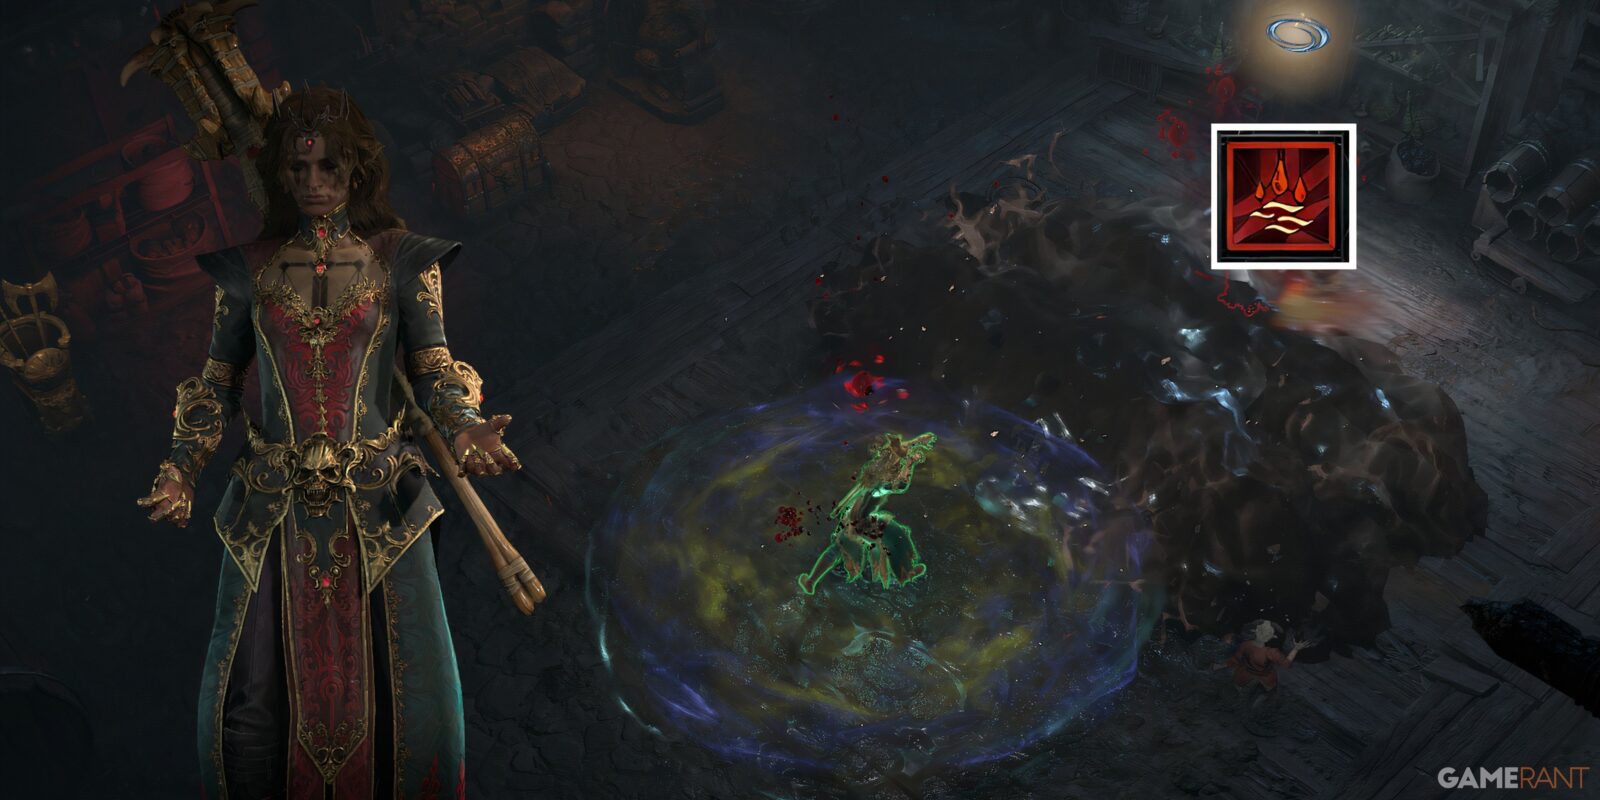
The Shadow Blood Wave Necromancer Build, also commonly called the Shadow Surfer Necro, is a build that utilizes the new Kessime’s Legacy Unique Pants and a metric ton of Cooldown Reduction to create a spammable, high-damage Blood Wave. As with many Blood Ability-reliant builds, this build thrives on Overpower damage. However, because Blood Wave also has the Darkness tag thanks to Aspect Of Ultimate Shadow , it can also benefit from Passives and Aspects normally reserved for Shadow Damage Builds.
To reach the end game in this build, players must reach critical break points in Critical Strike Chance, Cooldown Reduction, and Maximum Health. Otherwise, their damage will not match the health pools of enemies in higher Torment levels. In addition, survivability is often dicey, as the build relies on a massive health pool and Fortify to stay alive.
How To Play The Shadow Blood Wave Necromancer
To optimally play this build, players should draw the attention of several packs using Decompose at long range. This creates a corpse, which can immediately be used to group enemies with Corpse Tendril. Then, players should position themselves and cast Blood Wave on the gathered enemies.
During the cast time of Blood Wave, prioritize moving about to pick up Blood Orbs, which reduces Blood Wave’s cooldown and resets Rathma’s Vigor. If fighting bosses, use this time additionally to apply Supernatural Blight to the boss.
In this build, the Decrepify Curse does not need to be applied manually. Instead, it is applied automatically by the ZanWat Runeword. Prior to getting these runes, players should cast their Curse immediately after Corpse Tendrils and before Blood Wave.
How The Shadow Blood Wave Necromancer Compares To Other Endgame Builds
As of Season 7, this build is head and shoulders above the rest in terms of damage. It excels in environments where grouping packs of enemies and deleting them with AoE damage reins king. This means it performs best in Speedfarming and Pit Pushing while lagging slightly in Boss Fighting. Despite its’ incredible damage numbers, this build requires careful play in the highest content, as it is lighter on survivability than other Necromancer Builds such as the Infinimist or Soulrift Necromancer.
Related
Diablo 4: Endgame Bone Spear Necromancer Build (Patch 2.1.0)
Punch a hole through the hordes of Hell with this high-crit, high-damage endgame Bone Spear build for Necromancers in Diablo 4.
Skill Tree Point Allocation For The Shadow Blood Wave Necromancer
This build is an endgame build and assumes that players have access to 71 total ability points. The Shadow Blood Wave Necromancer pumps out high damage but is very reliant on passive skills to make the build work. This, in addition to using an Ultimate Ability as the primary damage dealer, makes it unsuitable for leveling.
Basic
This build can use either Decompose or Sever as its basic ability. This depends entirely on whether players find themselves in need of damage reduction, or more corpse generation. Sever is a good option for quick damage reduction, although it is short-range. Decompose can be used to tag enemies at a distance and generate corpses to be used with Corpse Tendrils and Corpse Explosion, but it results in a slightly squishier build. Regardless of which ability players choose, two points are required to unlock the Core Node.
Core
The Core Skill for this build is Blight, but players should refrain from putting too many points into it. Instead, it is used simply to gain a 20% damage buff by having enemies stand in it. The passive Hewed Flesh is also picked up to generate corpses.
-
Blight (1/5)
- Enhanced Blight
- Paranormal Blight
- Hewed Flesh (3/3)
Corpse & Macabre 1
In the first Corpse and Macabre Node, players need to pick up Blood Mist and Corpse Explosion. Neither are damage abilities in this build and thus only receive minimal points. Instead, Blood Mist is chosen as a method of becoming Unstoppable, and Corpse Explosion is used to activate Corpse Eater and Fueled by death, which we will use to increase damage.
-
Blood Mist (1/5)
- Enhanced Blood Mist
- Dreadful Blood Mist
-
Corpse Explosion
- Enhanced Corpse Explosion
- Blighted Corpse Explosion
- Necrotic Fortitude (2/3)
- Titan’s Fall (3/3)
- Fueled by Death (3/3)
- Spiked Armor (3/3)
Curse
The Decrepify Curse is utilized in this build via the Cursed Aura Aspect, although it won’t be on the HoT Bar. It provides some cooldown reduction as well as valuable CC, which this build lacks somewhat.
-
Decrepify (1/5)
- Enhanced Decrepify
- Horrid Decrepify
- Death’s Embrace (3/3)
- Amplify Damage (3/3)
- Precision Decay (3/3)
Corpse & Macabre 2
In the second Corpse and Macabre Node, players should take exclusively passives. This is very costly in terms of points because the Shadow Surfer Necromancer utilizes both Shadow and Blood Passives.
- Coalesced Blood
- Tides of Blood (3/3)
- Reaper’s Pursuit (3/3)
- Terror (3/3)
- Gloom (3/3)
Ultimate
Here we finally get the main damage ability of this build – Blood Wave. There are also several passives increasing our stats for having no minions active here.
-
Blood Wave (5/5)
- Prime Blood Wave
- Supreme Blood Wave
- Finality (3/3)
- Memento Mori (3/3)
- Stand Alone (3/3)
- Inspiring Leader (3/3)
Key Passive
Finally, this build uses Rathma’s Vigor for guaranteed Overpower hits on a timer.
Book Of The Dead Choices For The Shadow Blood Wave Necromancer
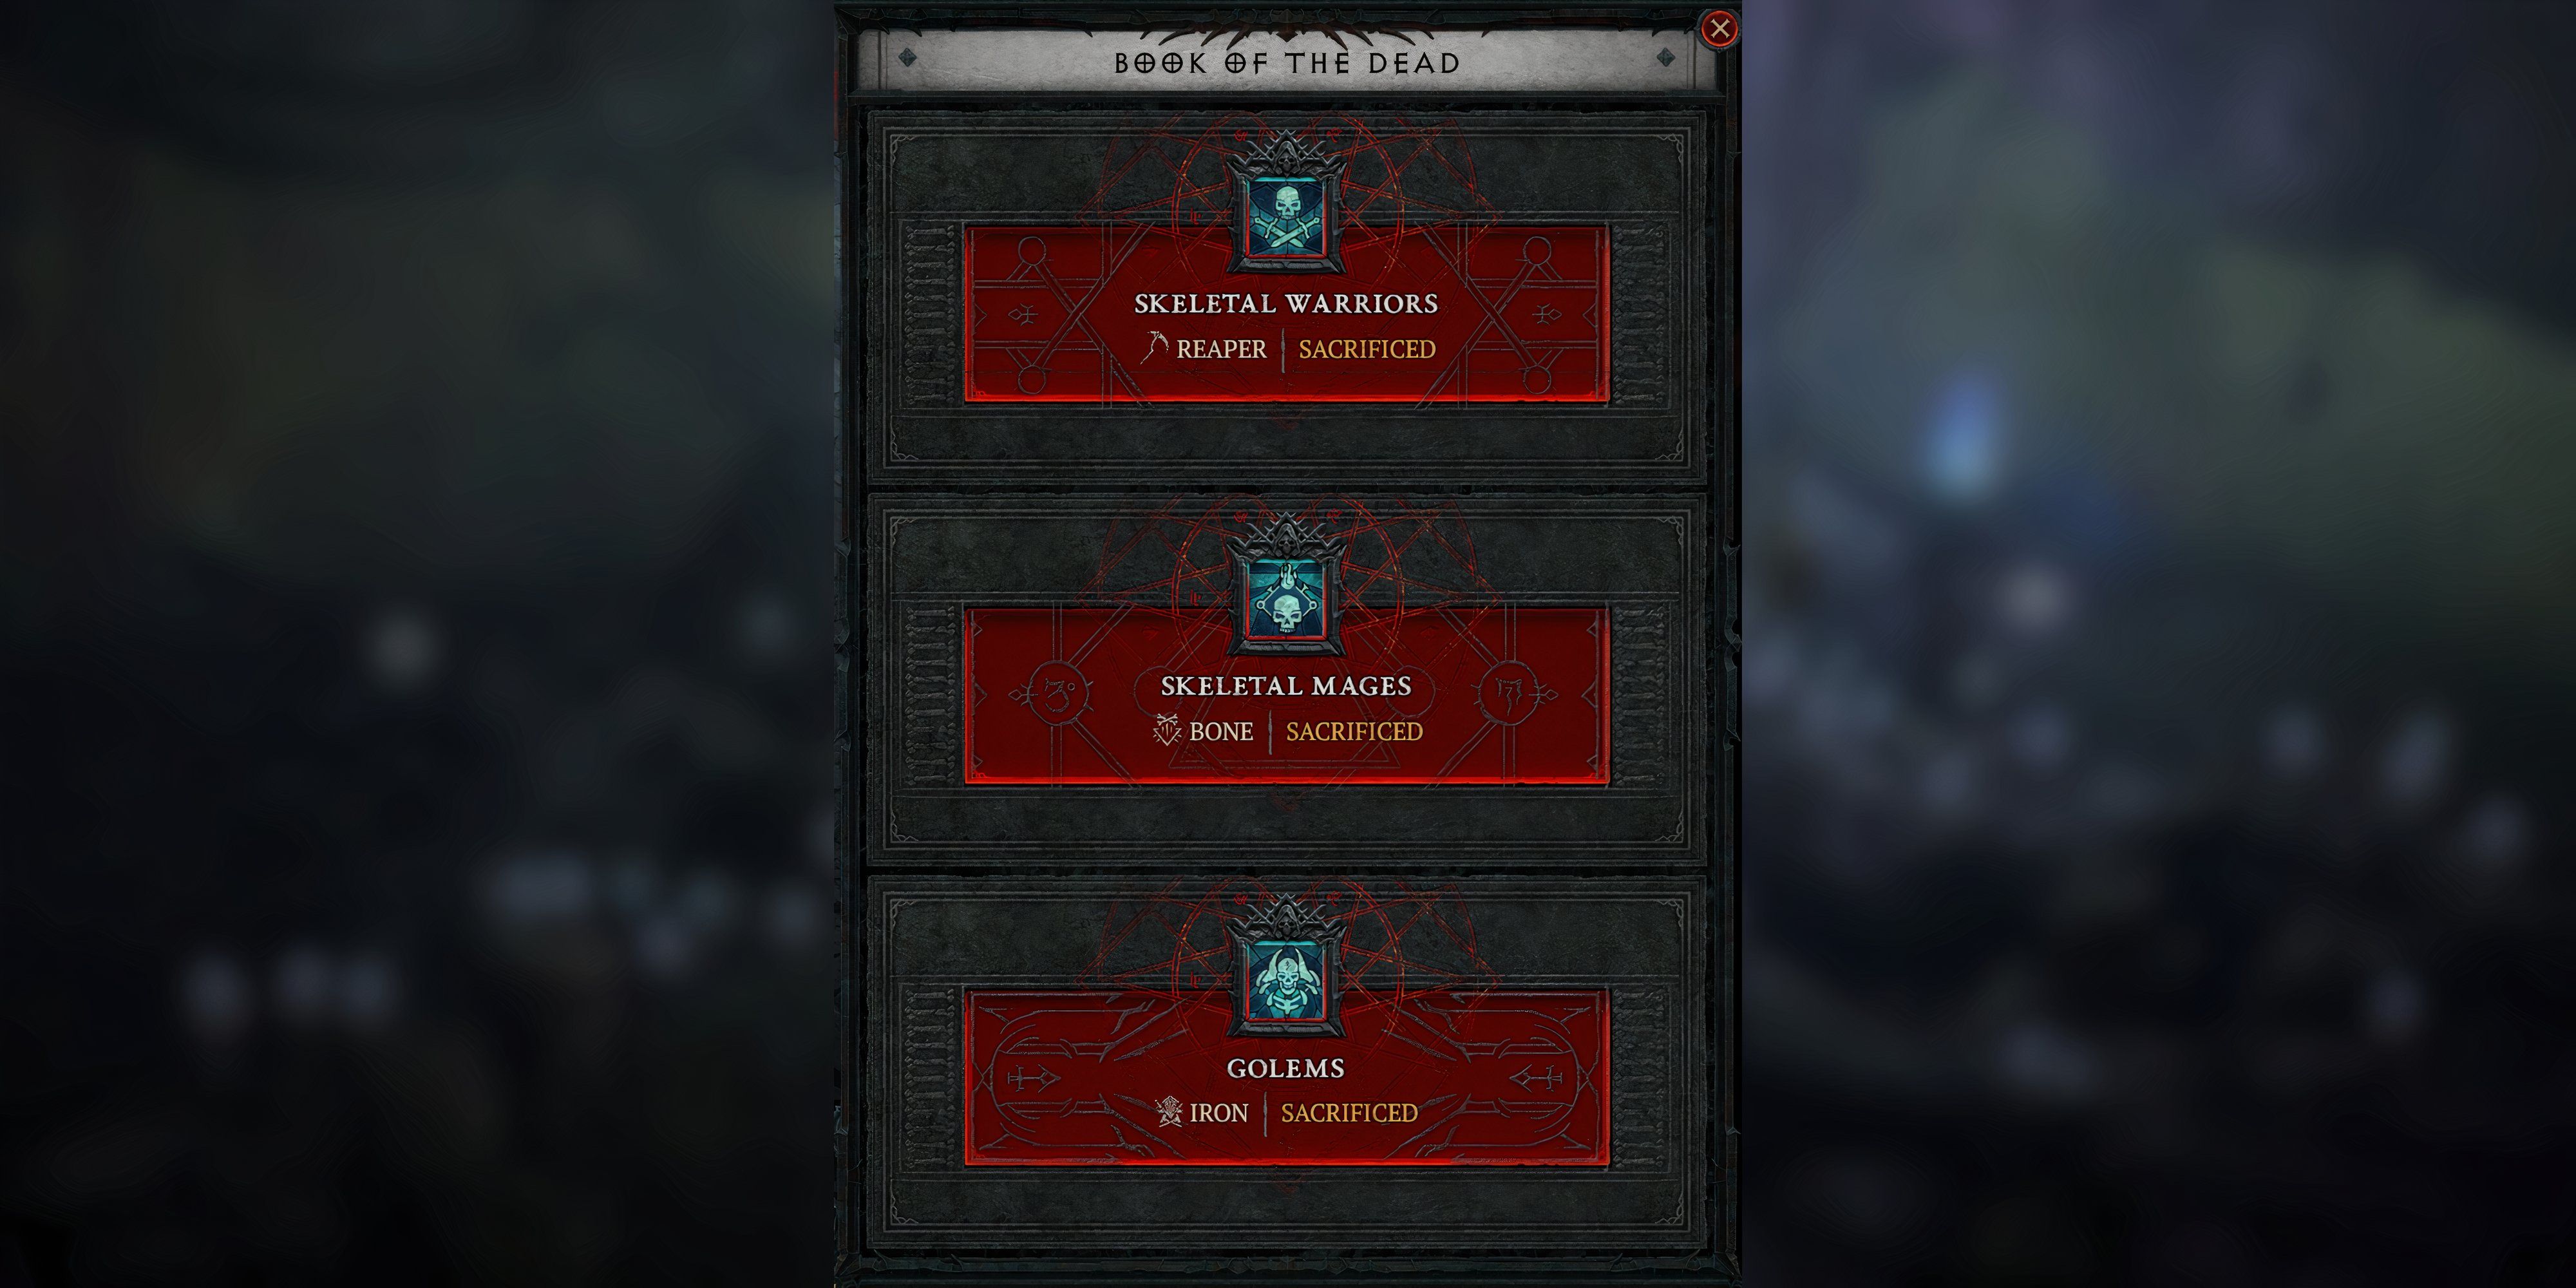
The Shadow Surfer Necromancer sacrifices all three minion types for personal stat boosts. Choose the following options:
- Sacrifice Reaper Warriors – increased Shadow damage
- Sacrifice Bone Mages – increased Overpower damage
- Sacrifice Iron Golem – increased Critical Strike damage
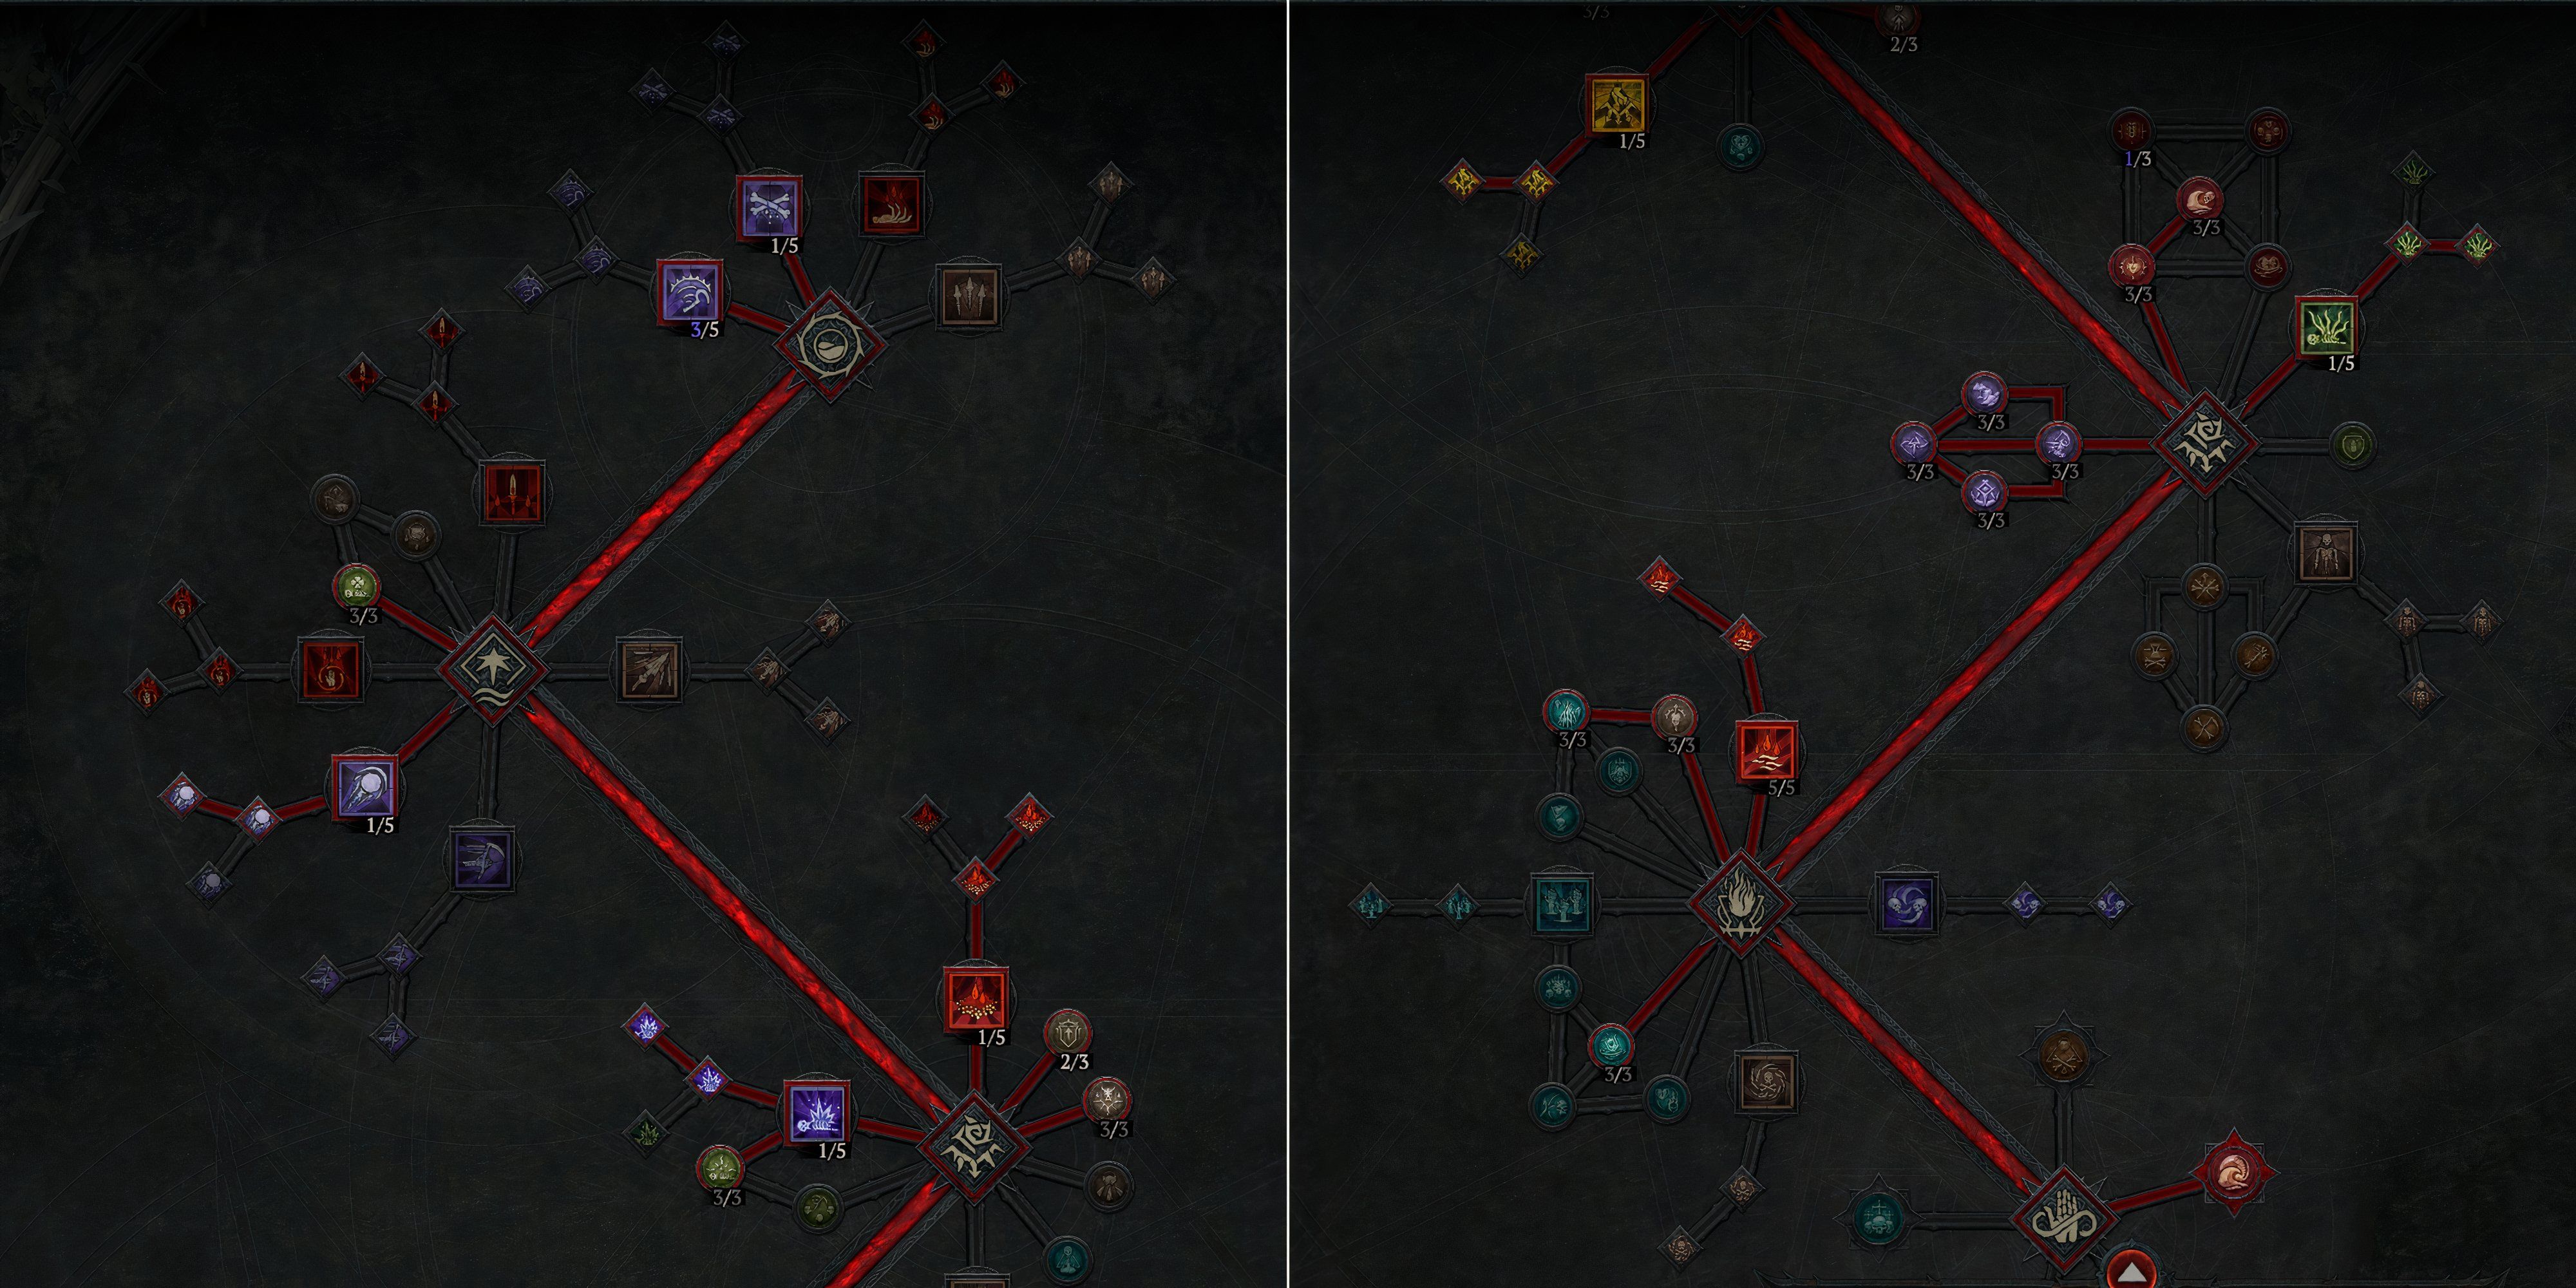
Paragon Boards & Glyphs For The Shadow Blood Wave Necromancer
This build is spoiled for choice in terms of glyphs and boards, due to the numerous tags Blood Wave can benefit from. However, the key choices for damage are the Sacrificial glyph and the Flesh-eater Board.
- Starting Board – Essence
- Blood Begets Blood – Sacrificial
- Bloodbath – Abyssal
- Flesh-eater – Dominate
- Frailty – Imbiber
This build focuses on Paragon Nodes, which highly impact the player’s power level. Once the boards are attached and built as shown, any excess Paragon Points can be used to fill out areas of the player’s choice.
Glyph Leveling Priority
|
Level 15 |
Level 46 |
|---|---|
|
|
Socketables: Runes & Gems For The Shadow Wave Necromancer

This build heavily focuses on Topaz in Armor Piece for Intelligence, and using Diamonds and Skulls to reach Defensive Stat caps. In addition, it sockets two Runewords – one in the Chest and one in the Weapon. These are:
- BacXal – Gain Offering for traveling 5 meters, gaining max health at 300 Offering.
- IgniQuax – Gain Offering for casting a non-basic skill, gaining increased damage at 400 Offering.
If the player does not have access to one or both of these Runewords, they can be substituted with more Topaz for the Chest Armor or Rubies for the Weapon. Alternatively, Bac and Igni can be switched out for Zan to create ZanXal and/or ZanQuax.
Item & Stat Priority For The Shadow Wave Necromancer
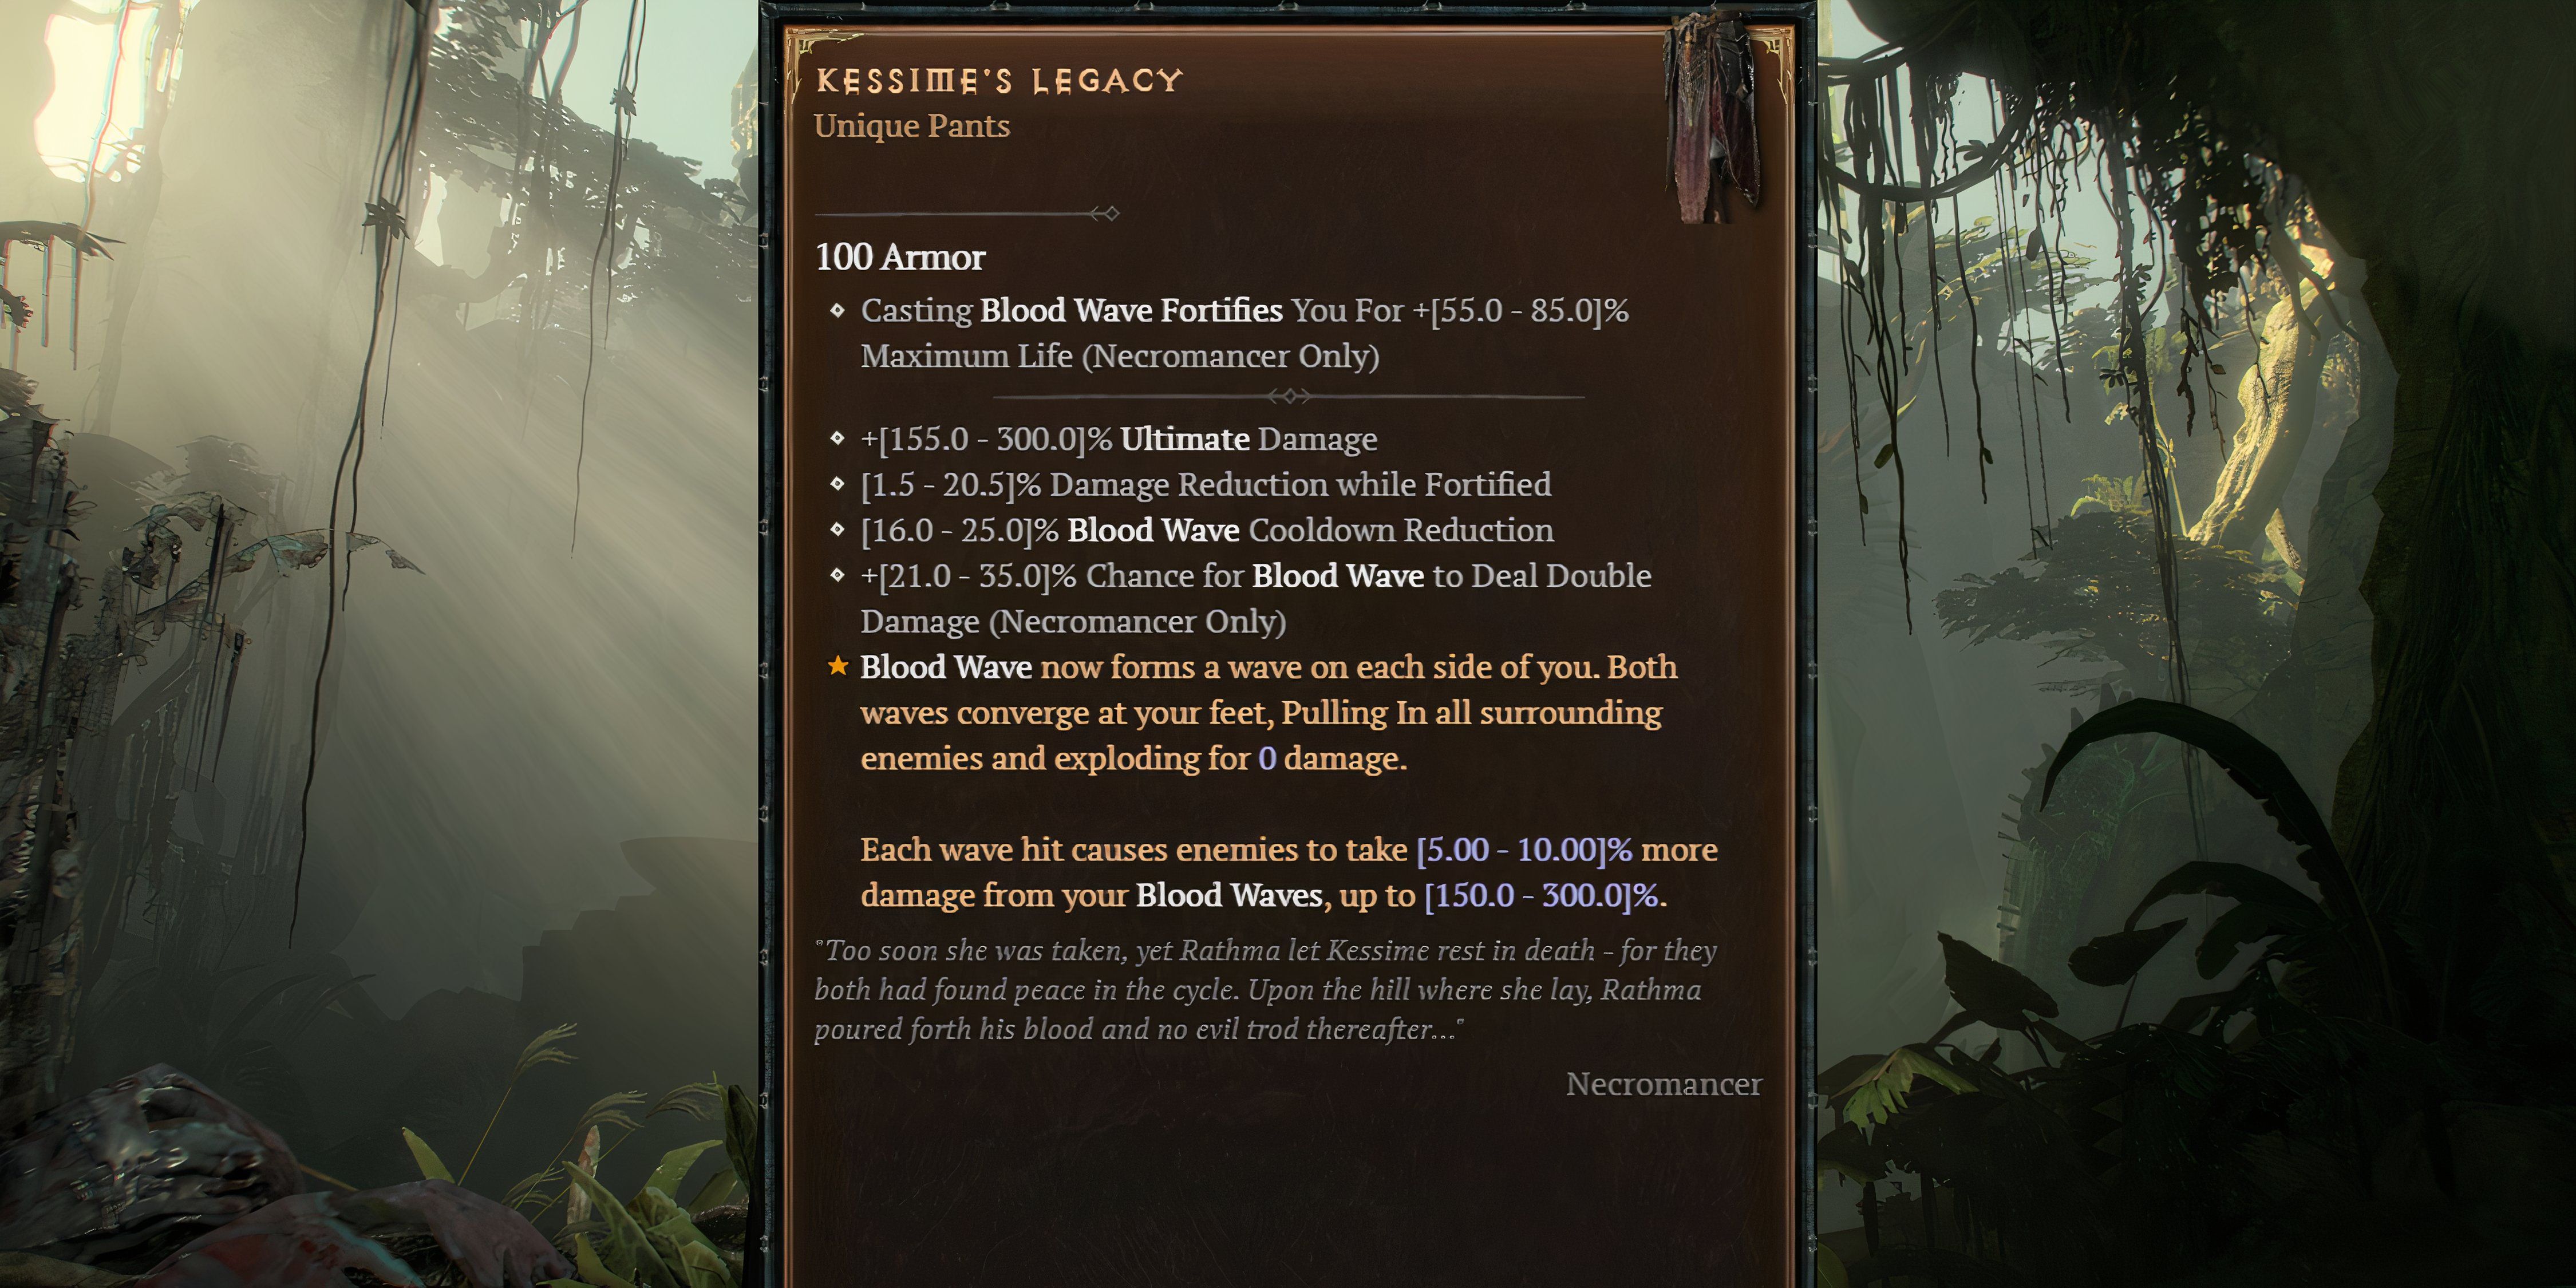
While the Shadow Blood Wave Build benefits from many items and aspects due to the many tags of Blood Wave, the most important item by far is the Unique Kessime’s Legacy. These pants make the entire build possible by making Blood Wave a Darkness Skill and provide core stats such as Ultimate Damage, Blood Wave Cooldown Reduction, and a chance for Blood Wave to deal double damage.
Uniques & Aspects
The Shadow Surfer Necromancer utilizes the following Unique Items:
- Kessime’s Legacy
- Heir of Perdition (a Mythic Unique, substituted with Legendary if unavailable.)
- Shroud of False Death (a Mythic Unique, substituted with Legendary if unavailable.)
In addition, the following Legendary Aspects are worn:
- Head (if not using Mythic Unique) – Aspect of Hardened Bones
- Chest (if not using Mythic Unique) – Aspect of the Embalmer
- Gloves – Aspect of Ultimate Shadow
- Legs – N/A
- Boots – Aspect of the Cursed Aura
- Weapon – Tidal Aspect
- Amulet – Sacrificial Aspect
- Ring 1 – Fastblood Aspect
- Ring 2 – Aspect of the Damned
Stat Priority
The most important stats are:
- Reaching 70% Cooldown Reduction
- 100% Critical Strike Chance
- Armor >1000
- Resistances Capped
- 94% Chance for Blood Wave to deal double damage
- Maximum Life >20,000
- Movement Speed until comfortable
- Ranks to Coalesced Blood on the Amulet
Other stats that this build benefits from, should the above be unavailable or already maxxed, is Intelligence, additional Shadow damage, and additional Overpower damage.
Tempering
Tempering for this build is quite specific, and should follow the table below. Obviously, the max roll on each Temper is ideal, but as long as players reach the stat caps listed in the previous section, they should be able to easily reach Torment IV.
|
Gear Piece |
Temper Results |
|---|---|
|
Head |
|
|
Chest |
|
|
Gloves |
|
|
Boots |
|
|
Weapon |
|
|
Amulet |
|
|
Ring 1 |
|
|
Ring 2 |
|
No Tempering instructions are given for the pants slot in this build, as all build variants should use Kessime’s Legacy – a Unique Item that cannot be Tempered.
Ideal Masterworking Crits
As with Tempering, Masterworking can very much increase the power level of this build. However, keep in mind that many Affixes cannot stack above 100% (ability size, chance to Critical Strike, ect.) and plan accordingly. The most important affix on each item is listed in the table below.
|
Gear Piece |
Ideal Masterworking Crit |
|---|---|
|
Head |
Cooldown Reduction |
|
Chest |
Maximum Life |
|
Gloves |
Critical Strike Chance |
|
Pants |
Chance for Blood Wave to deal double damage OR Blood Wave Cooldown Reduction |
|
Boots |
Maximum Life |
|
Weapon |
Maximum Life |
|
Amulet |
Ranks To Coalesced Blood OR Ranks to Tides of Blood |
|
Ring 1 |
Critical Strike Chance |
|
Ring 2 |
Critical Strike Chance |
Mercenaries
Mercenaries have minimal impact on this build, as it doesn’t require the combat buffs provided by any specific one. As a result, Mercenaries are selected for Utility. Players should recruit Subo and select Raheir as their Reinforcement.
Recruited Mercenary
Subo’s primary purpose is to provide additional map visibility, which is particularly useful in situations where finding enemies quickly is important – such as the Pit, Helltides, and Headhunt zones. His skill tree is secondary, but this build utilizes the Explosive Charges ability and Bargaining Chips improvement due to its synergy with Overpower attacks.
Reinforcement
Raheir is selected to provide additional defense for the player. The Shadow Surfer Necromancer lacks some survivability and CC in very high-level content, such as pit pushing, and Raheir can mitigate this. To set up recruitment, players should select the ability Bastion, and have Raheir cast it when they use Blood Wave.
Seasonal Powers
The Seasonal Powers in Season 7 fall into two categories – Witch Powers and Occult Gems. Both require the farming of Restless Rot. As unlocking and upgrading powers is a time-consuming task, it is advised to focus only on those that benefit the build, listed below.
Witch Powers
The Shadow Surfer utilizes many of the same powers as other Darkness Necromancer Builds, with the exception of two Unique powers unlocked only by encountering Forgotten Altars. The bought powers are:
- Purging Touch
- Soul Harvest
- Hex of Whispers
- Aura of Siphoning
Then, the BiS powers that must be found from Altars are Aura Specialization and Piranhado. Until players unlock these, they can replace them with Force of Will and The Cycle.
Occult Gems
Occult Gems are special Socketables that can replace gems in jewelry. They may require a multistep crafting process and are very late-game items. Until players have crafted the following Occult Gems, they can rely on the standard gems (Skulls and Diamonds) listed in the Socketables section.
- Voice of the Stars
- Friend of the Bog
- Phantom String

Action RPG
Hack and Slash


- Released
-
June 6, 2023
- ESRB
-
M For Mature 17+ // Blood and Gore, Intense Violence, Language
Source link