Every Destiny 2 Episode comes with an opening mission that introduces the story, featured location, and a bit about the mechanics we’ll be using to grind loot. While Episode: Heresy follows that pattern, it chooses to change things by dividing the opening into two missions rather just one.

Related
Destiny 2: Every New Weapon In Episode: Heresy
From Palindrome to Fatebringer, here is every new and returning weapon in Episode: Heresy.
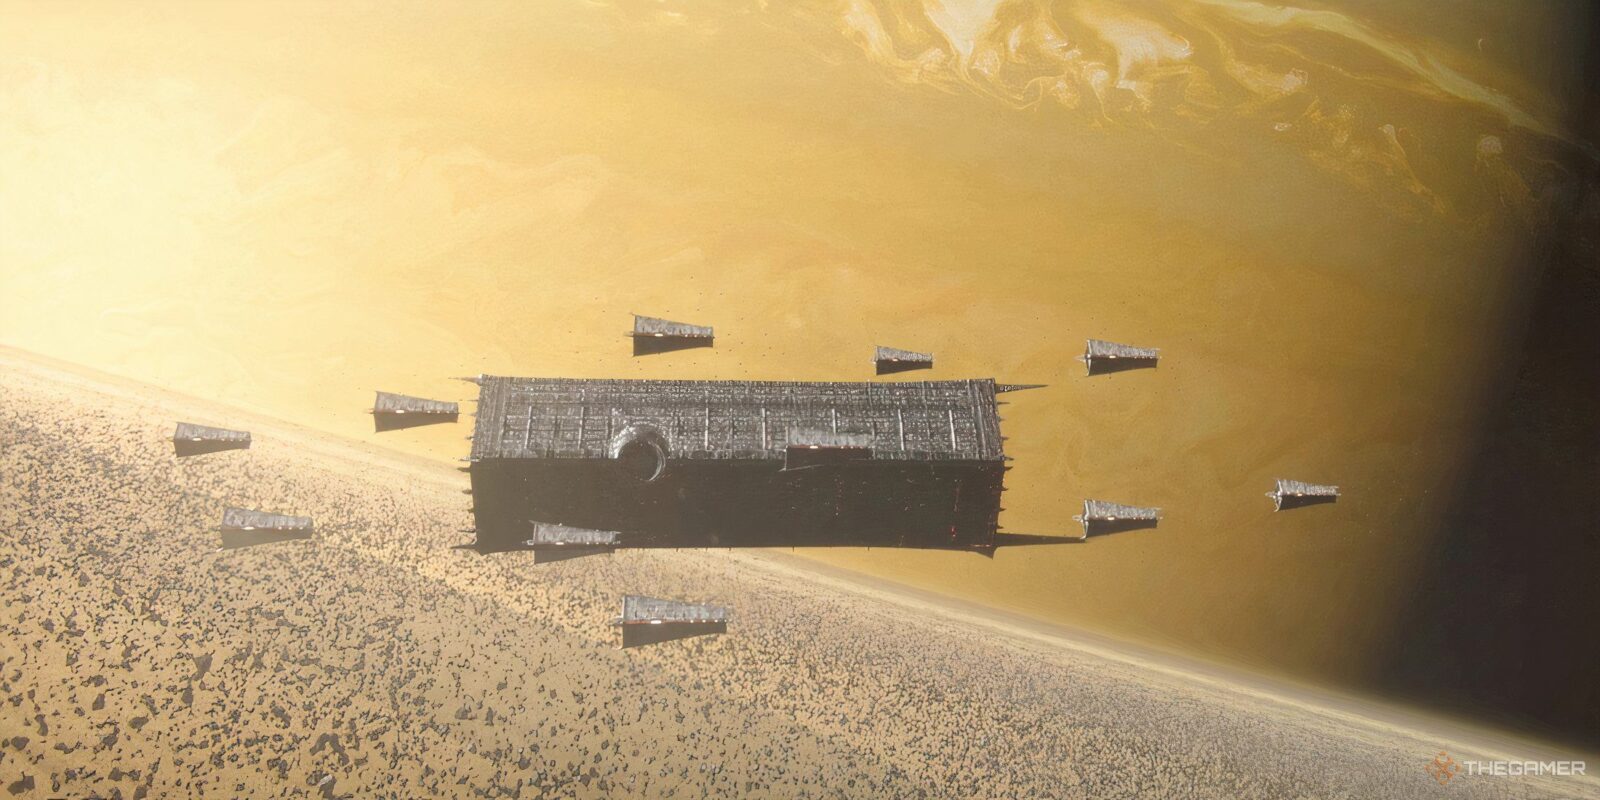
The first opening mission, Espial, gets us into the Dreadnaught, far away in Saturn’s orbit. The second sets the stage — and stakes — for the first Act of the Episode. Befitting our return to the eldrich horror that is Oryx’s flagship, things get dark, and quickly.
How To Complete The Espial Mission

Espial is the shorter of the two introductory missions in Heresy, and you’ll spend most of your time on your Sparrow or Skimmer. Follow these steps to progress:
- After landing, hop on your vehicle until you reach a large clearing with an empty fountain in the middle where Taken will spawn alongside three Darkness Rifts.
- You’ll find one rift on the side of the arena near the cliff, another on the highest part of the broken bridge, and the last near the rusted bus by the road.
- Destroy each rift by shooting it with whatever weapon you have handy. They don’t take more than a few bursts from an Outbreak Perfected to break, for instance.
- Ride your vehicle through the newly opened tunnel, keeping left at the first intersection.
- Once you reach the next open area, jump off the ledge to the right of the tunnel‘s entrance., then ride your vehicle to the left along the road.
- When the path splits, stay on the lower, right-hand roadway and follow it around until it hangs left.
- Your destination is the rusted-out complex covered in Taken corruption, where you’ll need to defeat your first boss: Gorkall the Gatekeeper.
How To Defeat Gorkall The Gatekeeper

Gorkall is a boss-level Taken Ogre with two phases separated by an immunity phase. You can damage it with whatever your best DPS option is. Linear Fusions, Outbreak Perfected, and other precision damage weapons are best, so long as you hit Gorkall’s crit spot in its eye.
Keep at ground level for this fight, as Gorkall’s eye beams can easily push you off high platforms or into other unfavorable positions.
At 50 percent HP, Gorkall will gain an immunity shield, and three more rifts will appear. The first is in the air above the boss, and the remaining two are on either side of the arena.

Gorkall will be vulnerable again when you destroy the last rift. There aren’t any more mechanics to deal with, and you can chunk the boss’s health bar with whatever you have ammo for.
Gorkall’s death opens the Taken anchor portal in the back right of the arena. It’s time to head to the Dreadnaught.

Related
Destiny 2: Heresy – The Nether Activity Guide
Learn how to overcome The Nether’s unique roguelite mechanics with this in-depth guide.
How To Complete The Recce Mission

Recce is a much longer mission. You start it as soon as you enter the portal in the Taken anchor in the EDZ. The first part is a lengthy platforming challenge.
- From your starting point, proceed onto the strange tentacles wrapping around the stone column to your right. You can jump onto one of the floating rocks nearby or walk along the tentacles to the top of the stone column.
- Look out into the darkness, and you’ll see another anchor lodged into more floating stone in the distance. Jump across to it, but be mindful of the Taken Hobgoblin on the platform.

- Walk onto the long tentacle rising into the distance, and head along until you can jump to a new platform with another Hobgoblin.
- Keep right and jump across the floating platforms until you reach a coiling tentacle around an anchor. You can walk along the tentacle‘s surface to reach the portal in the distance.
You’ll be on the Dreadnaught proper once you make it through the portal. For Destiny 1 veterans, the place should be familiar, as the basic layout of the level is mostly unchanged. There are, however, lots of tentacular growths…growing from many of its chitinous surfaces.
Proceed up the staircase to the left of where you entered and keep left through the opening. Make your way through the hallways and a few Taken until you reach the huge chasm. Hop across it using the now conveniently placed bridges and through the opening in the far wall.

The path through the broken left-hand wall is still present, so ignore the Taken at the end of the hall and head into the smaller tunnel.

Follow the path until you enter a cutscene with Eris and the Drifter, where things get more than a little desperate.
When you regain control of your character, head across the chitin bridges and up to your right, past the orange-bar Ogres. You can jump across the gap beyond the second Ogre if you have an Eager Edge Sword.
If you don’t have a Sword handy, keep right until you reach the starting area of the King’s Fall Raid. You’ll know it when you see the large hallway with six Hive totems. Head down the hallway to reach the ritual site.
How To Beat Felghul The Requisitioner

As soon as you reach the ritual site, the second boss encounter of this mission pair starts, this time against Felghul the Requisitioner. The fight takes place across three immune phases.
Felghul is a boss-level Taken Knight with a smaller health pool but plenty of help from trash mobs. He’ll go immune at two-thirds health, and you’ll need to defeat two Barrier Conjurer Taken Centurions to drop it.

You’ll repeat the process once more when you’ve done 66 percent of the boss’s health. The rough part is handling all the mobs, especially since the enemies in this encounter spawn infinitely.
Do damage whenever you find an opening, and once Felghul finally dies, grab the Tablet of Ruin artifact underneath the platform. From there, continue away from the ritual site across the bridges.
How To Complete The Final Encounter

Head through the green-tinted hallway in the distance and follow it to the right and around through the Hive tunnels. You’ll eventually reach a room with huge Taken eyes everywhere, giving you the Suffocating Terror debuff.
Turn immediately to your right and drop down when you see the eyes, as the debuff will kill you when it reaches ten stacks. The lower level is outside the eyes’ gaze and where you need to go to reach the end of the mission.
For the final encounter, you need to destroy the Pyramid structures by shooting the Taken Blights on their surface. The Blights appear in this order:
- Close right
- Mid-left (the Pyramid structure is closer to the ground)
- Far-right
- Mid-right
When all the Pyramid structures are dealt with, approach Eris and Drifter, lying near the back of the arena, for one of the more emotionally gutting Destiny 2 cutscenes in recent memory. There’s also a neat surprise at its end.

Next
Destiny 2: The 10 Best Arc Weapons, Ranked
Push Arc 3.0 to its limits by collecting the best Arc weapons.