Quick Links
Similar to the first game’s optional boss, Ratnor Rodentson, the Tails of Iron 2: Whiskers of Winter introduces its own challenging optional boss to fight. The battle against Harat Bluefang can be tough, especially on higher difficulties, but the real challenge lies in locating the four Runestone Keys needed to unlock the Tomb where he resides.
The Runestones are not only well hidden but also require significant story progression to access new quests and areas where they can be found. This guide provides details on the locations of the Runestone Keys and tips for defeating Harat Bluefang inside the Tomb.
3:13

Related
Tails Of Iron 2: Whiskers Of Winter – How To Complete The Missing Mole Meal Quest
The Missing Mole Meal is a side quest in Tails of Iron 2: Whiskers of Winter. Here is how players can find the meal and earn the Moledonalds Trophy.
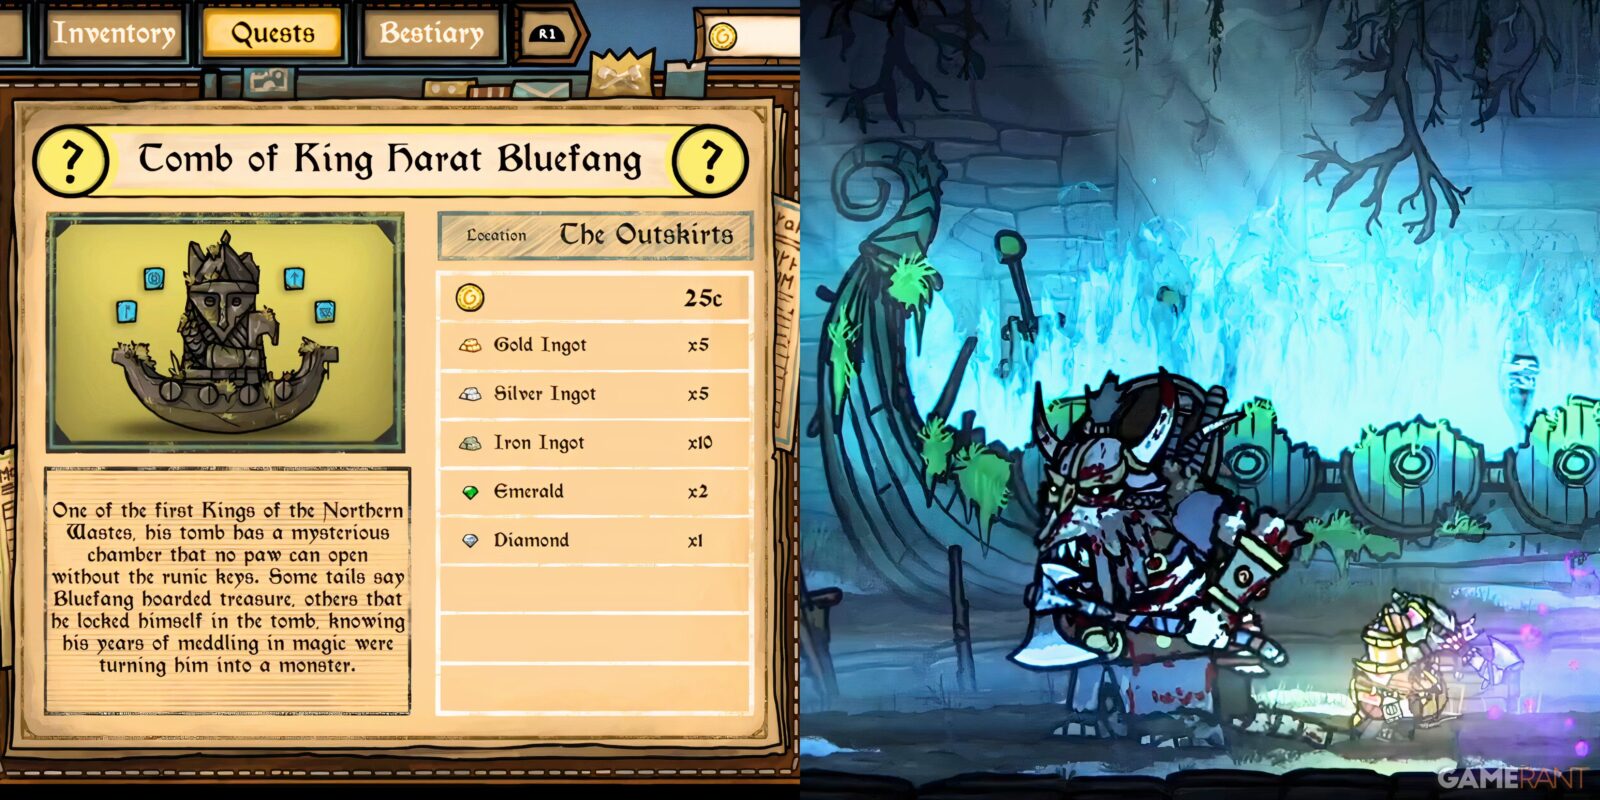
How To Find Harat Bluefang In Tails of Iron 2: Whiskers of Winter

There are four Runestone Keys located throughout the northern realms of Ratdom:
Silver Runestone Key Location
Ancient Runestone from a pillar that surrounds the Tomb. The worm symbol represents metal, or treasure.
The first Runestone Key is acquired automatically through the main story when you make your way to the left of the Castle gate in the Outskirts. Upon arriving at the Tomb for the first time, you’ll spot a blue shimmer on the ground—the Silver Runestone Key. You can insert the Runestone Key at any point during the game.
Earth Runestone Key Location
Ancient Runestone from a pillar that surrounds the Tomb. The worm symbol represents the deepth earth.
For the third Runestone Key, progress through the main story until you receive the “A Farmer for the Keep” main quest. This is a lengthy mission that involves rescuing a Badger. Upon completing the quest, you will acquire the Elder WereOwl Skull.
Fast travel to the Slither Scale Pit and take the left path until you reach a pedestal where you can place the Skull. This will open the door behind it, allowing you to grapple across and obtain the Earth Runestone Key. You can also open the chest on the lower platform to obtain a Saphire.
Death Runestone Key Location
Ancient Runestone from a pillar that surrounds the Tomb. The worm symbol represents the dead.
For the Death Runestone Key, complete the main quest “Tuck’s Emporium.” This unlocks the ability to build the Shop using the Builder, allowing you to purchase the Runestone from Tuck for 10 Coins. You can upgrade the Shop to the maximum level, which unlocks a Trophy/Achievement and also adds more items and gear available for purchase from Tuck.
Life Runestone Key Location
Ancient Runestone from a pillar that surrounds the Tomb. The worm symbol represents life.
For the last Runestone Key, collect all the Tarot Cards in the game and complete Merlin’s quest by returning them. Merlin will then reward you with the Life Runestone Key. Most of these Tarot Cards are purchasable from merchants across the different areas of the game, except for the Knight Card, which can be found on a corpse in The Rift. Some of the merchants will only become available once you have completed their designated quests.
Tips On Beating Harat Bluefang In Tails of Iron 2: Whiskers of Winter
Once you have acquired all the Runestone Keys, travel back to the Tomb of King Harat Bluefang and place the Runestones in their slots. This will unlock the door, allowing you to descend and face the boss. If you are attempting the fight after completing the main story and have level 3 gear, the battle will feel far less challenging. The boss deals poison and electric damage, so equip armor with resistance to those elements to minimize the impact of his attacks.
Harat Bluefang takes additional damage from fire, so switching to a high-level fire weapon and preparing fire traps will give you an advantage.
The boss is not very aggressive, with slow and simple attacks that can be easily avoided by dodging. However, watch out for Poison Spit, as it can cover a small area of the arena in poison for an extended time, limiting your movement. Your ranged weapon will be quite useful whenever the boss is far away from you.
As the boss loses health, he switches his weapon to a bow for ranged attacks and a Two-Handed Axe for close combat. He also calls down lightning strikes from the sky, which are fairly easy to dodge. Be cautious not to greed for extra hits, as the scariest aspect of this boss is how hard his attacks hit. If you are unable to close the distance while he’s shooting arrows, it’s better to use your Shield to continually block rather than risk taking damage.
At times, the boss will shout and follow it up with a charge forward. Make sure to dodge into the boss, not away from him, as dodging backward will still result in getting hit by the attack.
Once the boss has been defeated, he will drop the following rewards:
- Bluefang’s Axe (One-Handed Weapon)
- Steel Wall (Sheild)
- Iron Point (Two-Handed Weapon)
- Iron Sight (Ranged Weapon)
- Gold Horn (Helm)
- Gold Scale Armour (Cuirass)
- Iron Shoulders (Pauldrons)
- Coins x25
- Gold Ingot x5
- Silver Ingot x5
- Iron Ingot x10
- Diamond x2
- Saphire x1
- Ruby x1
- Emerald x3

- Released
-
January 28, 2025
- ESRB
-
T For Teen // Blood and Gore, Violence
- Developer(s)
-
Odd Bug Studio
- Number of Players
-
1
- PC Release Date
-
January 28, 2025
- PS5 Release Date
-
January 28, 2025
- Xbox Series X|S Release Date
-
January 28, 2025
- Nintendo Switch Release Date
-
January 28, 2025