There is a long line of Sniper Elite games in the franchise. Many of which have featured various kinds of collectibles, and Sniper Elite: Resistance is no exception. Players will find plenty of Personal Letters, Hidden Items, and Classified Documents. Some will be on tables, while others will be hidden inside safes. There are also Stone Eagles to seek out in high areas.
It is worth noting there are 2 special types of collectibles. These come in the form of Workbenches and Starting Locations. Each Workbench found will reward players with new weapon attachments, while Starting Locations will grant players new parts of the map to start at when they begin a mission.

Related
7 Best Third-Person Shooter Games For Fast-Paced Gameplay, Ranked
These third-person shooters are celebrated for delivering some of the most intense and fast-paced action combat in their genre.
Lock, Stock, and Barrels Collectibles for Sniper Elite: Resistance

Once players have finished hunting for collectibles in Mission 6, they can head on over to Lock, Stock, and Barrel. Below is each type of collectible, instructions for how to get them, and numbered maps. This lets players jump straight to the items they may be missing for their convenience. It is recommended that players select the Civilian difficulty. This will make it far easier to wipe out entire areas of enemies with little to no effort. Having enemies to deal with just makes hunting collectibles so much more infuriating.
All Stone Eagles for Mission 7 in Sniper Elite: Resistance

Stone Eagle 1
The first Stone Eagle can be seen right from the game’s starting location. It sits at the top middle of the building to the north. There will be an objective marker directly on this building. Stone Eagles are one of the most fun collectibles to hunt for, as they result in a satisfying explosion of stone.
Stone Eagle 2
The second Stone Eagle will be on top of the windmill. This is part of an optional objective to take out some snipers in the area. This means there will be a blue triangle marking this location on the west side of the map. Players will need to move to either side of the windmill from a distance to get a clear shot.
Stone Eagle 3
The final Stone Eagle will need players to progress the main objectives from “search the underground facility” to “Destroy the Zugwerfer Carriage” where the final Stone Eagle can be found. After players move through the metal doors, they will see the Stone Eagle on top of a chimney to the left of the objective marker.
4:13

Related
The Best Open-World Third-Person Shooter Games
Open-world games are inescapable, but which are the best titles that also have third-person shooter gameplay?
All Staring Locations Mission 7 in Sniper Elite: Resistance

Starting Location 1
Players will have learned a lot about how to play Sniper Elite: Resistance by this point, such as how useful it is to start from different points of the map. Players will want to make their way into the windmill that the second Stone Eagle sits on, as they will find a small pile of wood near the base of the wooden stairs. Lighting this pile of wood on fire will let players start at this location whenever they begin this map.
Starting Location 2
Follow along the right side of the map from the south to find a small house. On the outskirts of the map there will be a gate you can unlock to also unlock this Starting Location.
All Personal Letters for Mission 7 in Sniper Elite: Resistance

Personal Letter 1 – What Do They Want?
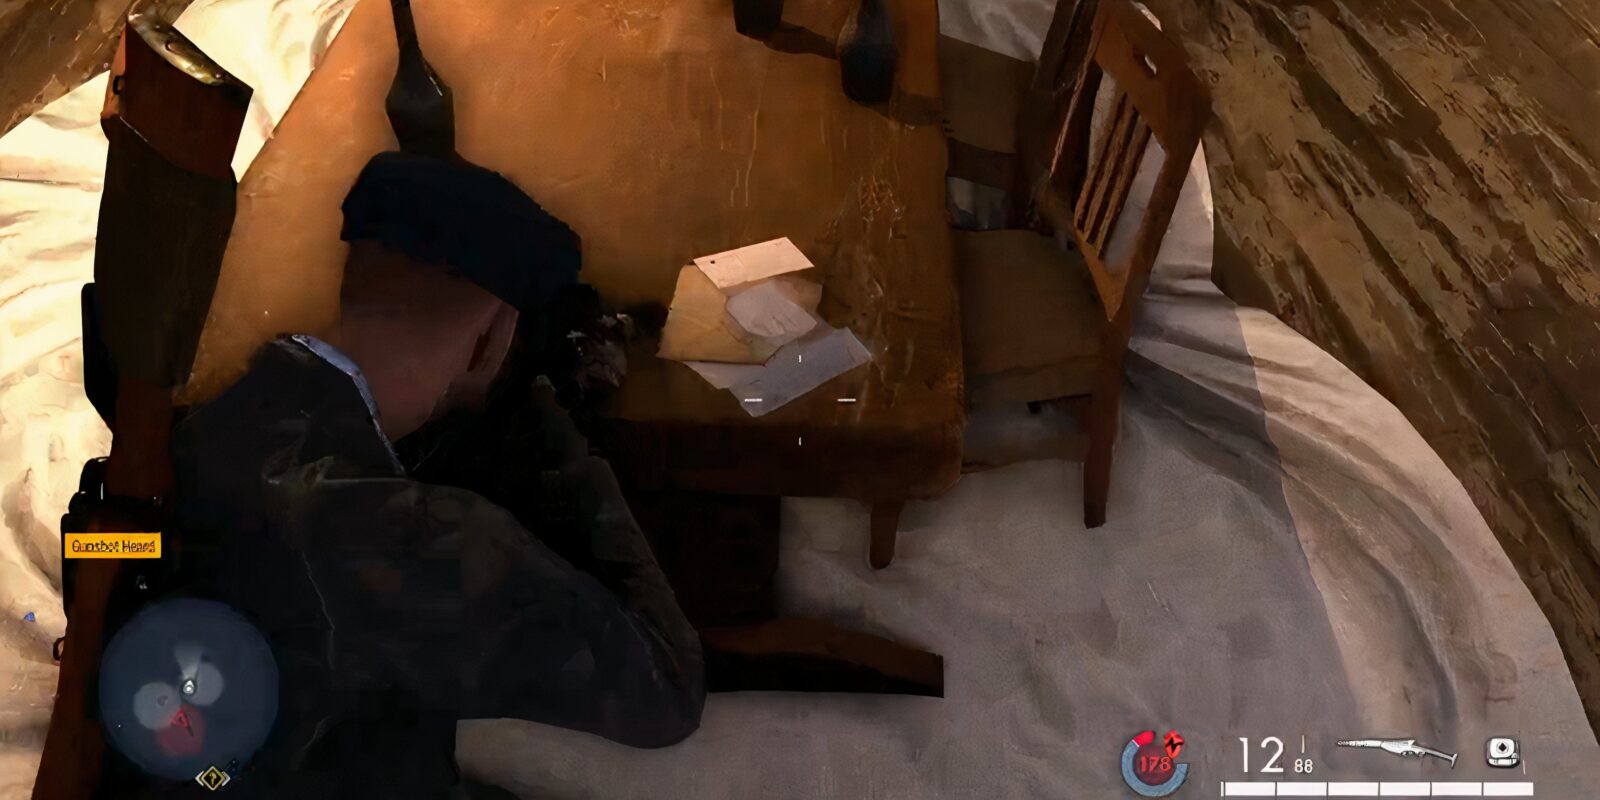
The first Personal Letter is on the left side of the map. From the starting location, players can make their way over the various bridges. There are snipers in high places and numerous enemies scattered around the area, and this makes playing on Sharpshooter a far more challenging affair. Players can invest in some Focus related skills early on to make hunting enemies easier. Players will find a dining room table in the middle of the room with the Personal Letter on it.
Players can pick up a workbench and one of the game’s Propaganda Posters by following the map north to a house with a water wheel. Getting them now means not having to run all the way back later.
Personal Letter 2 – Everything is Fine!
Directly north of the first personal letter will be the second one after the player has crossed some bridges and the fields. Players will find a stable with a generator inside. The Personal Letter is on a large cable spool. Players should be sure to loot enemies to stay stocked up on ammo.
Personal Letter 3 – I Feel Uneasy
Players will head into the center room of the house marked on the map. Here there will be a flight of stairs that leads into the attic. Head towards the window of this attic. The Personal Letter on a table with a lantern to the left of this window.
Personal Letter 4 – Do Not Worry, Mother
The next Personal Letter lies in the same complex as this mission’s Kill Challenge. Players can mark this off their Kill List by poisoning the water to kill Aldo Riese. The same room with the glass of water will have some stairs that lead up to Aldo’s study, where players can find the Personal Letter.
Personal Letter 5 – Lying is Necessary
The final Personal Letter marker will lead players to a block house with fencing around it. Use the building between the fencing and look to the right to find a small storage house. On the table in the right corner of this storage house is the Personal Letter.

Related
Great Third-Person Shooter Games You Cannot Buy Anymore
These beloved third-person shooter games can no longer be purchased officially.
All Classified Documents for Mission 7 in Sniper Elite: Resistance

Classified Documents 1 – Rocket Fuse Setup
Directly south of the final Personal Letter is where players can pick up the first Classified Document in a small compound. Taking on small compounds like this head on is great training for Suvival. Search the bodies of any officers you kill in this area as they will have the V1 Bunker Safe Key. Without this key, players will need a Satchel Charge to blow open the safe with these documents. Players can find the safe in a room to the left after entering the marked building’s left door.
There is a workbench nearby as shown on the map. Players can pick it up now to save them a trip later.
Classified Documents 2 – Hydraulics Concerns
Between Classified Documents 1 and 3 is a small block house with this collectible on a table inside. Players can just pan the camera after entering, and they will see a prompt appear over them.
Classified Documents 3 – A Service Hatch
Head to the main building where the first Stone Eagle was shot. From the front entrance, head through the foyer to a red carpet. Take the first door on the right to enter a room with a fireplace. The Classified Documents can be found on a table on the right wall.
Classified Documents 4 – Control Room Key
Players will pick this collectible up while they progress toward the main objectives for the mission. It can be found in a room to the right of 2 sealed doors in the underground facility. Players can access this facility through various entry points. This includes a stairway inside the main building, a hanger outside the building, and a ladder within an office.
Classified Documents 4 – Vulnerability Found
Progress the main objectives to “Search the Underground Facility” and head through the 2 large metal doors. After going down some stairs, players will encounter an officer. The Classified Documents are in the room with this Offiicer.

Related
5 Best Free Third-Person Shooter Games For Single-Player Content
Players looking for great third-person shooter action but don’t want to break the bank can enjoy the following titles for quite some time.
All Workbenches for Mission 7 in Sniper Elite: Resistance

Workbench 1 – Pistol Workbench
There are many great weapons in Sniper Elite: Resistance, and workbenches offer some great customization options for them. All the workbenches for this map are right where their markers say they are, but all 3 of them are 1 floor up. Climb up any of the metal ladders, and then make your way to the room with the marker.
Workbench 2 – Rifle Workbench
Players will arrive at a house with a water wheel. Take out the surrounding guards and then look for an open window on the first floor. There will be some vines players can climb to access it. Rifles are the most important weapon type, so be sure to get as many attachments for them as you can.
Workbench 3 – SMG Workbench
Near the second Starting Location players unlock, there will be a shed with a ladder inside. Climb up the ladder, and players will find the SMG Workbench.
All Hidden Items for Mission 7 in Sniper Elite: Resistance

Hidden Item 1 – Engraved Lighter
This is the Hidden Item that players can grab when they collect Starting Location 2. It is on a table inside the house by the Starting Location gate. While not a collectible, it is worth mentioning that there is a gnome by the tomato plants if players wish to test how well they can hit a small target.
Hidden Item 2 – Gold Pocket Watch
The second Hidden Item will be sitting on a desk inside a small shed. This shed is northwest of the main building.
Hidden Item 3 – Propaganda Poster
Along the southwest side of the map will be a house with a waterwheel. Players can pick up one of the game’s Propaganda Posters on the outer wall of this location.

Third-Person Shooter
Action
Adventure


- Released
-
January 30, 2025