The Dawntrail expansion for Final Fantasy 14 is notorious for its new approach to combat, with encounters being a considerable step up from what they were in previous expansions. Players can feel it from the very first dungeon, with more gimmicky and harder bosses. And of course, this is also reflected in larger-scale content.
Related
Final Fantasy 14: DPS Job Tier List
If you want to know which are the most useful and strongest DPS classes in FF14, we have your back with our tier list.
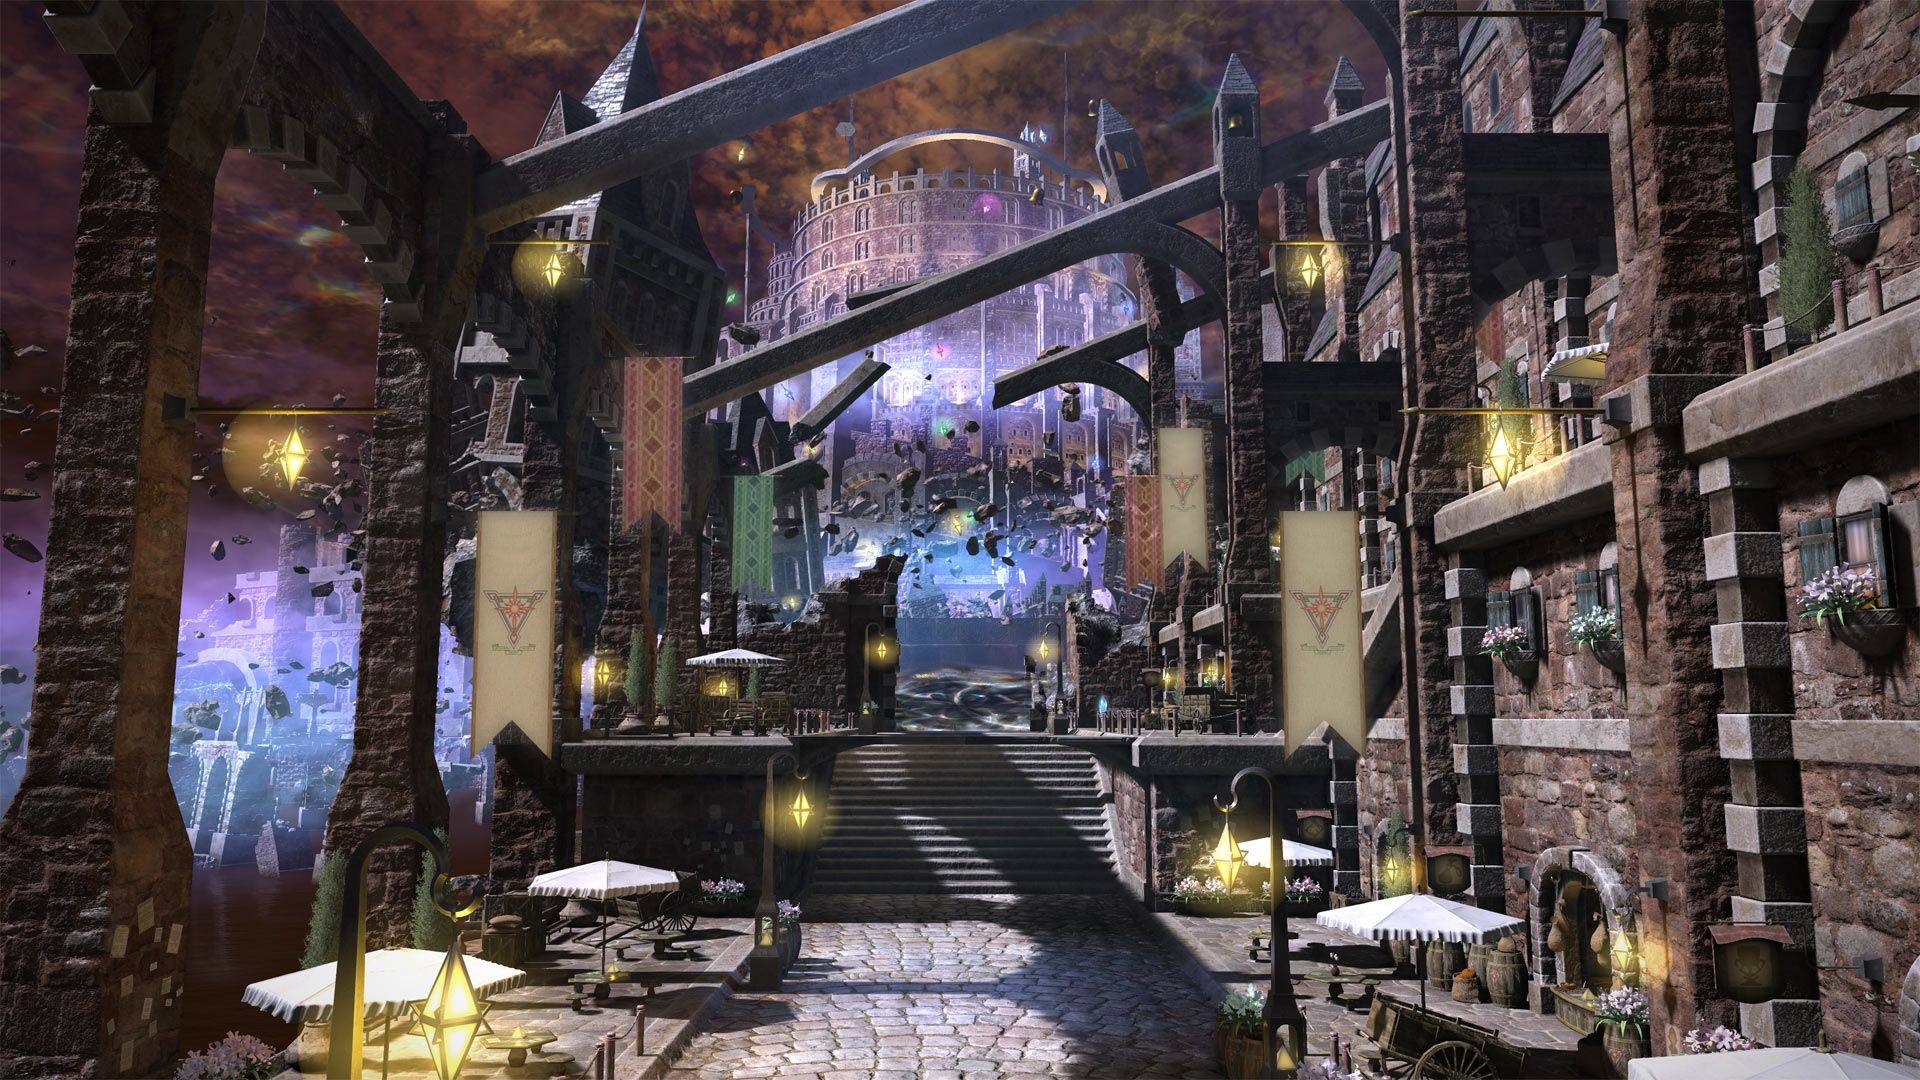
A good example is Jeuno: The First Walk. Players had a blast with the expansion’s first Alliance Raid and its unique encounters, each with its specific rules. The raid is also themed after the series’ first MMO, Final Fantasy 11, so get ready for some nostalgia.
How To Unlock Jeuno: The First Walk
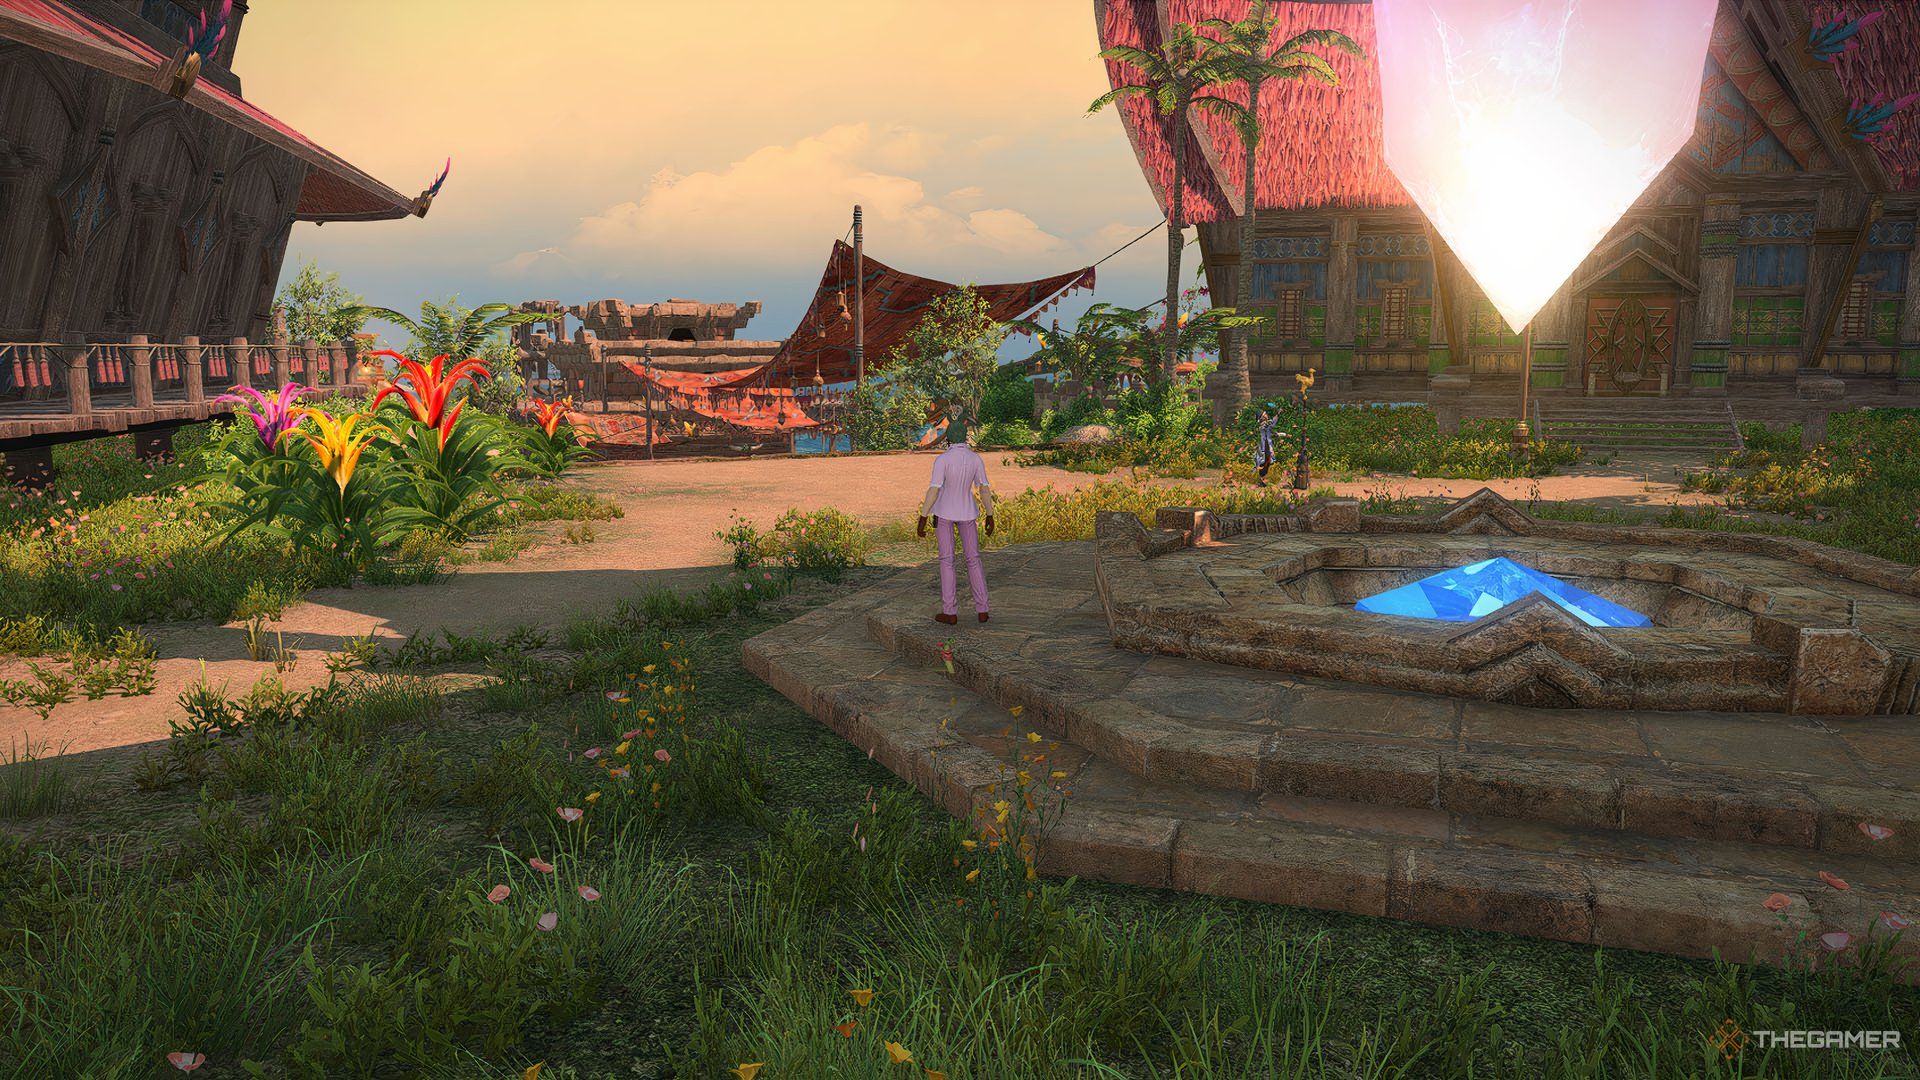
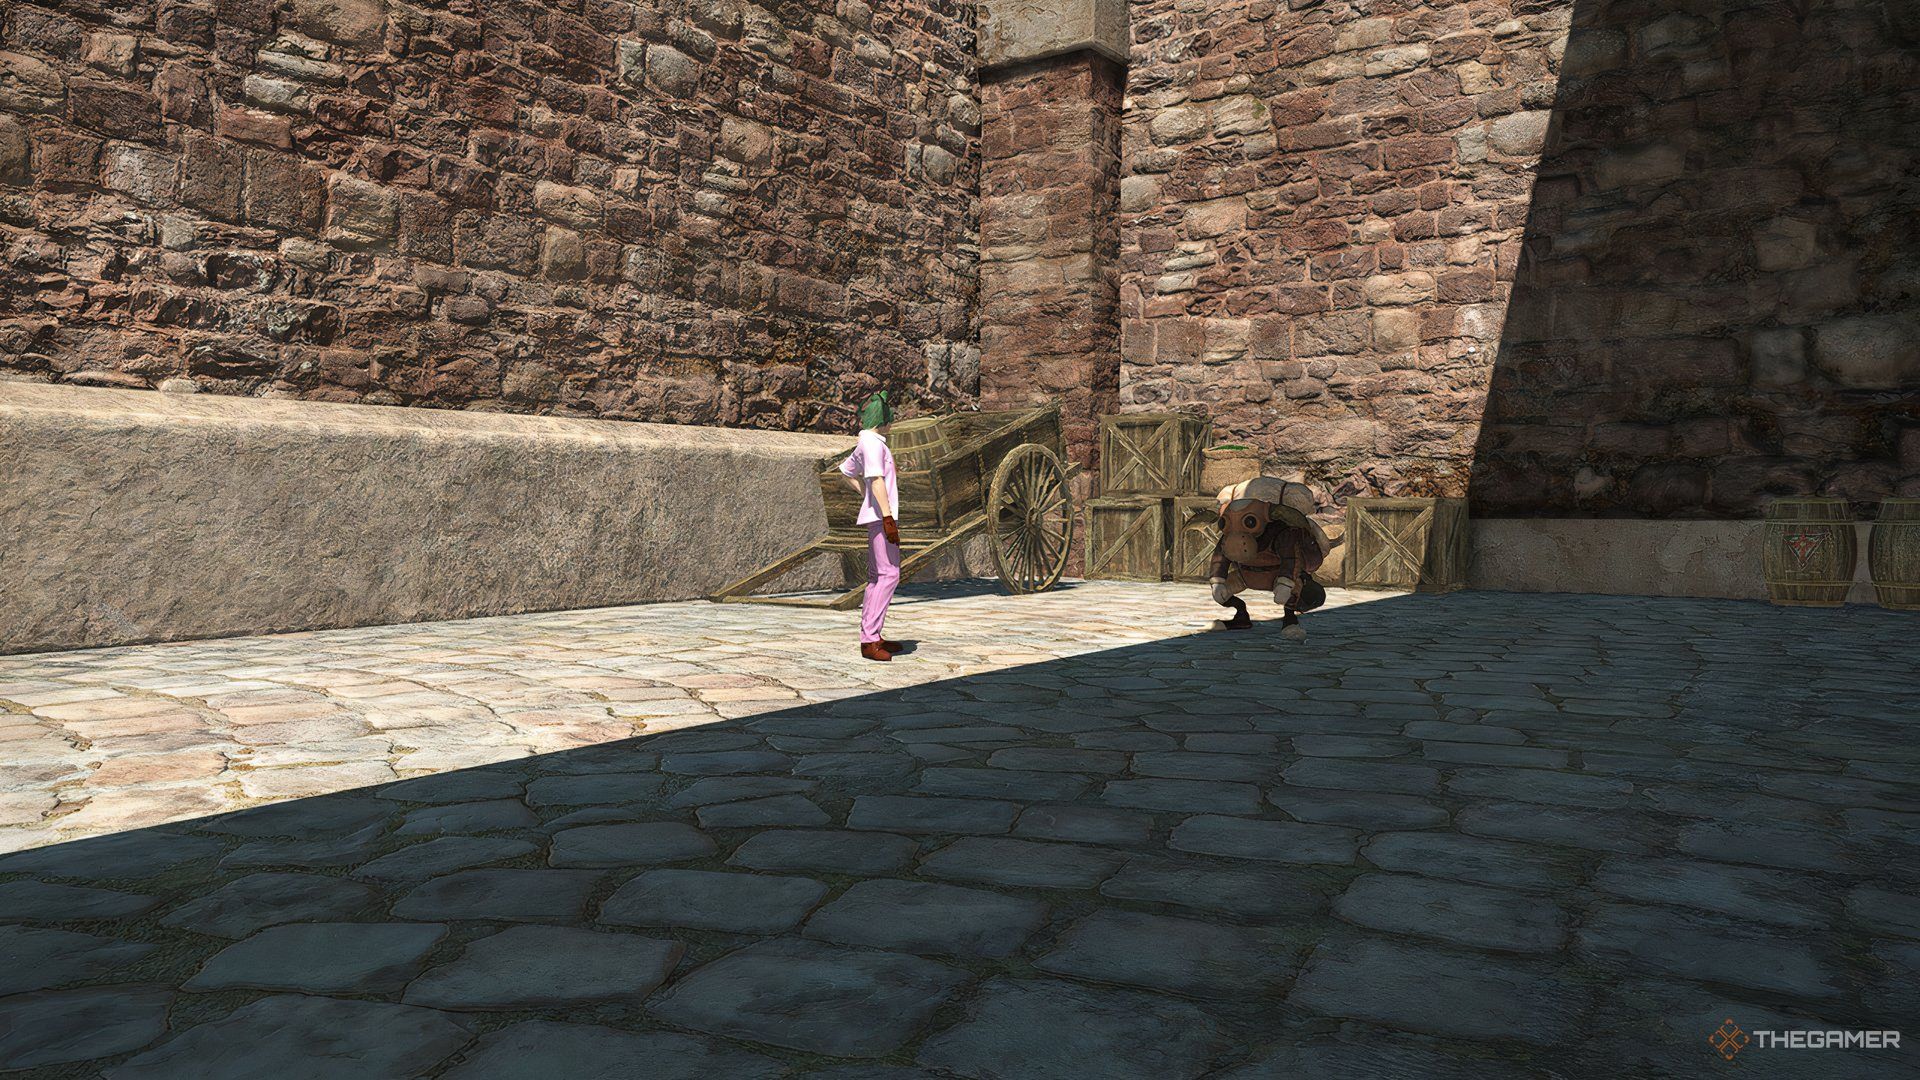
To unlock the Echoes of Vana’diel Alliance Raid series, you must complete the “Dawntrail” Main Scenario Quest, then speak with the Hoobigo Messager in Tuliyollal (X:13.0, Y:11.6) to get the quest “An Otherworldly Encounter”. After a few cutscenes, you’re sent to investigate Yak T’el, and the raid will be unlocked on the way.
The First Walk is a Level 100 duty for 24 players, divided into three Alliances (Full Parties) of 8 people each. As usual for these, each party consists of one Tank, two Healers, and 5 DPS. You need a minimum Item Level of 695 or higher to enter.
Jeuno: The First Walk Guide
The Raid is divided into four different boss fights with some mini encounters between them.
As soon as you first enter, you’ll meet the first pack of minor enemies. They aren’t much of a threat, so don’t worry. Avoid standing too long between them, or you might eat up some AoEs without noticing. Use your 1-minute cooldowns as soon as you can, and they should be back for the real boss fight.
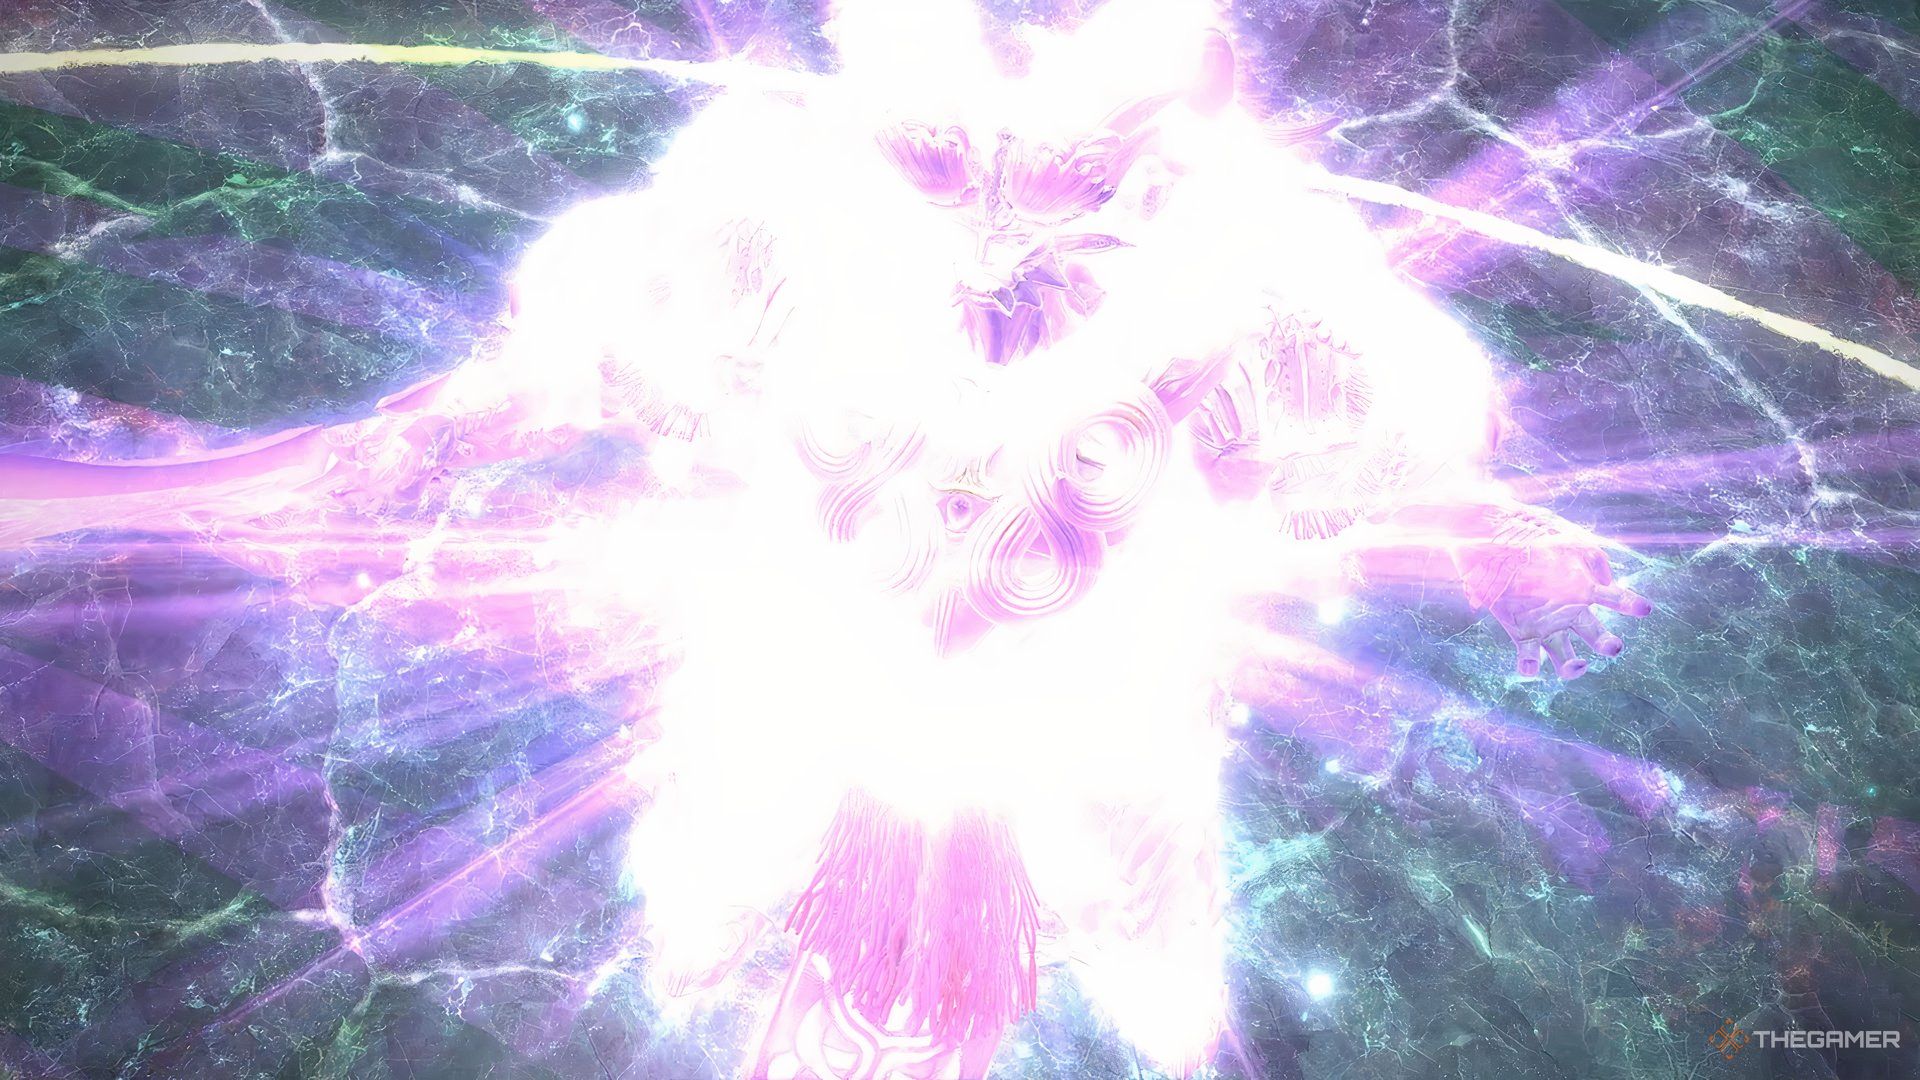
Prishe Of The Distant Chains
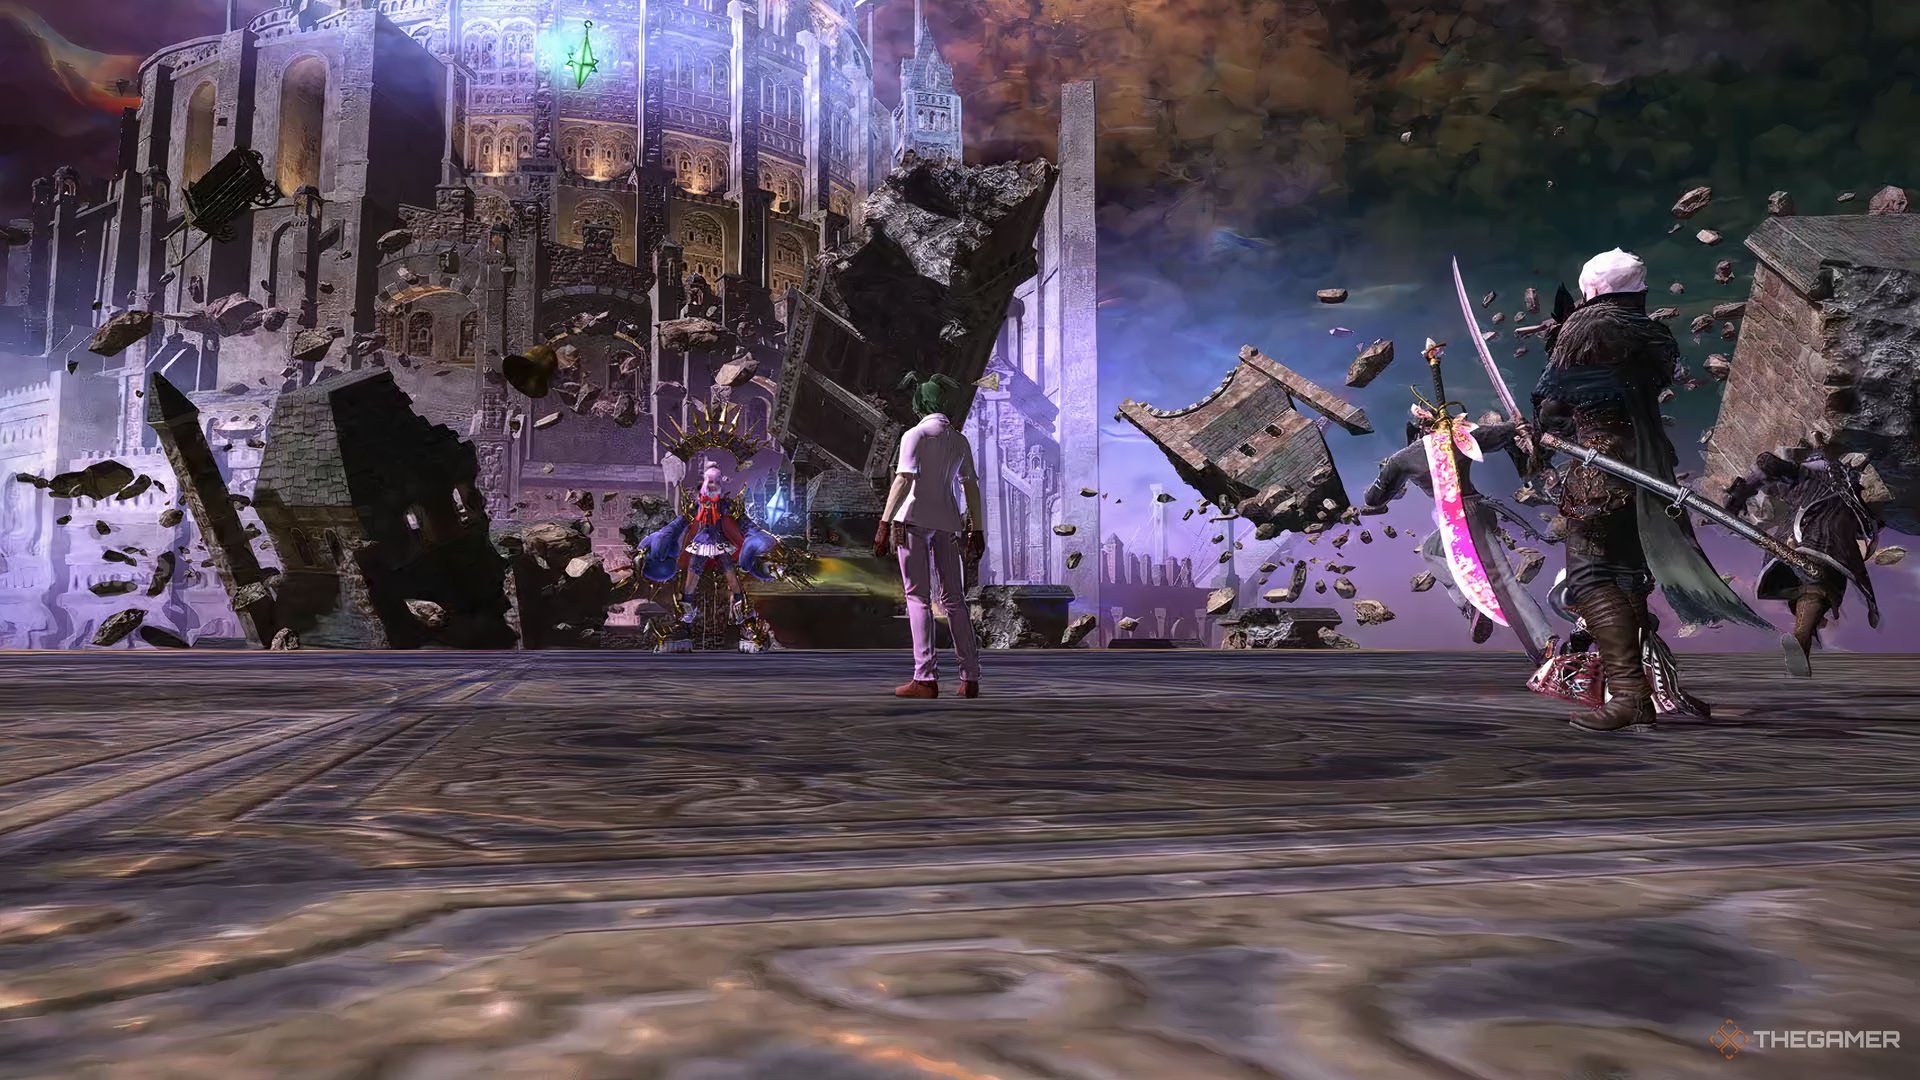
A well-known character from FF11, Prishe serves as the first encounter. Arguably the most straightforward fight in the raid, but still very interesting. Here are her moves:
|
Attack |
Type |
Description |
|---|---|---|
|
Banishga |
AoE |
Raidwide AoE. |
|
Knuckle Sandwich |
Special |
Prishe creates three circles of different sizes on the ground, the smaller ones inside the bigger ones, and prepares to punch them. The number of times she says “Wait for it…” determines which circle she’s hitting. If she says once, she’s hitting the first circle inside. Two times, the second circle. Three times is for the bigger, third circle. Pay attention to her voice line and stay next to the attacked circle. Once the impact hits, enter the circle immediately, as the outer area is hit right after. Applies a bleeding debuff if you’re hit. Repeats twice at the start of the battle. |
|
Nullifying Dropkick |
Shared tankbuster |
Tankbuster stack on a random tank. All tanks from the three alliances should stack to survive. |
|
Banish Storm |
Line AoE |
Summons two scepters around the arena with pointing arrows around them. The direction pointed by the arrows will be hit by a following line AoE attack. Find a safe place between all scepters where no arrows can hit you. |
|
Holy |
Spread |
Hits random players with a spread debuff. If you’re targeted, stay away from others with the same debuff. |
|
Crystalline Thorns |
Special |
Creates various spikes around the arena, leaving only some small safe areas. All players receive three tethers on their backs pointing in different directions. They have the same colors as the Knuckle Sandwich circles. She then starts casting Auroral Uppercut. |
|
Auroral Uppercut |
Special |
Knocks you in the direction of one of the three tethers on your back. Prishe starts saying “Wait for it…”, and the number of times she says it determines which tether you’ll be thrown to (exactly like in Knuckle Sandwich). If she says it twice, point the middle tether to the non-spike spots, for example. Be careful not to fall off the arena (instant death) or fall on the spikes (bleeding debuff). |
|
Banishga IV |
Orbs AoE |
Raidwide damage, then creates various orbs around the arena that damage you after they grow and explode. Look for a safe spot, or wait for a nearby orb to explode to stand where it was. |
|
Asuran Fists |
Tower AoE |
After using the Crystalline Thorns/Auroral Uppercut combo again, Prishe targets a tower where all players must stack to share damage. Heavy mitigations are needed here. |
After Asuran Fists, Prishe uses combos of previously seen mechanics with little to no surprises. The moves and combinations she can use are:
- Banish Storm (Three scepters) + Knuckle Sandwich.
- Nullifying Dropkick
- Banishga IV + Crystalline Thorns into Auroral Uppercut
- Holy IV
- Asuran Fists
After Asuran Fists, she cycles back to Banish Storm + Knuckle Sandwich until she’s defeated.
Once Prishe is down, you and Bakool Ja Ja encounter a forest with more regular enemies. Take care of them in packs as usual, but save your cooldowns for the big fight right in front of you.
Fafnir The Forgotten
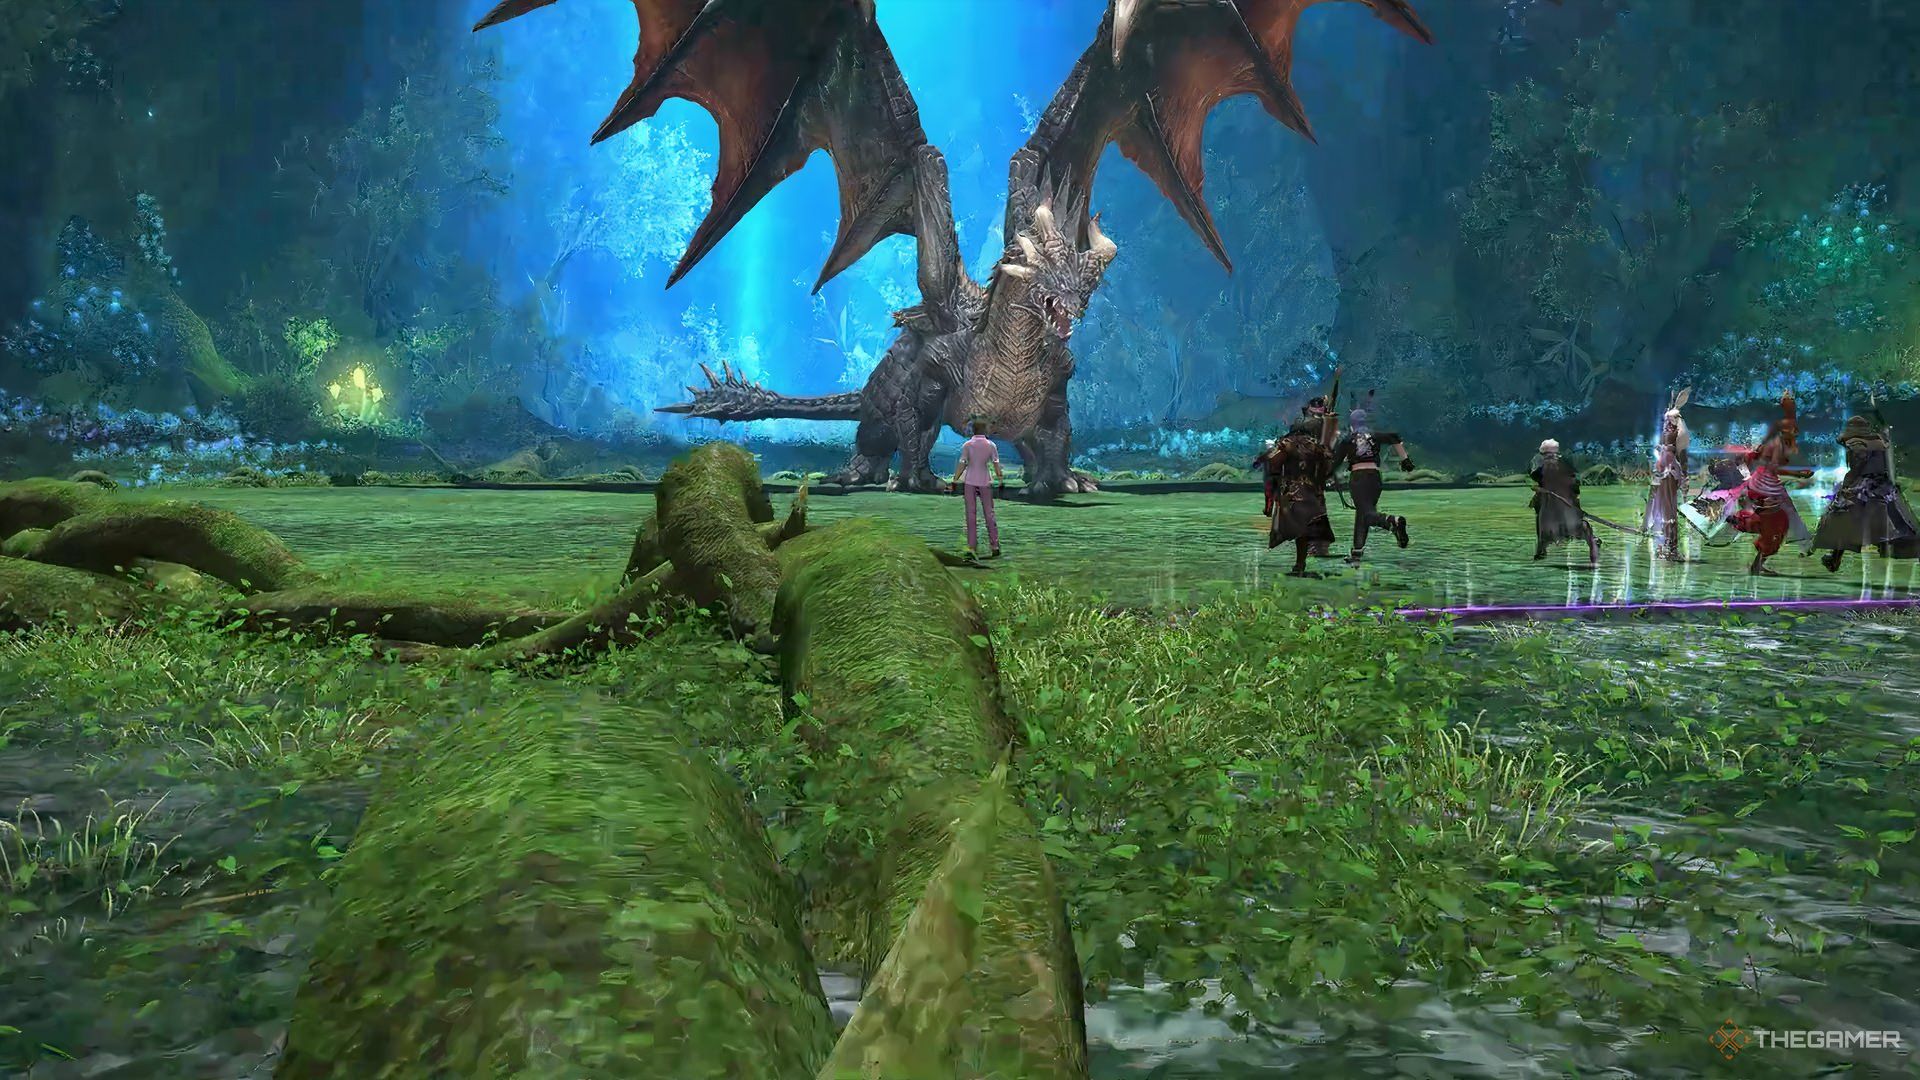
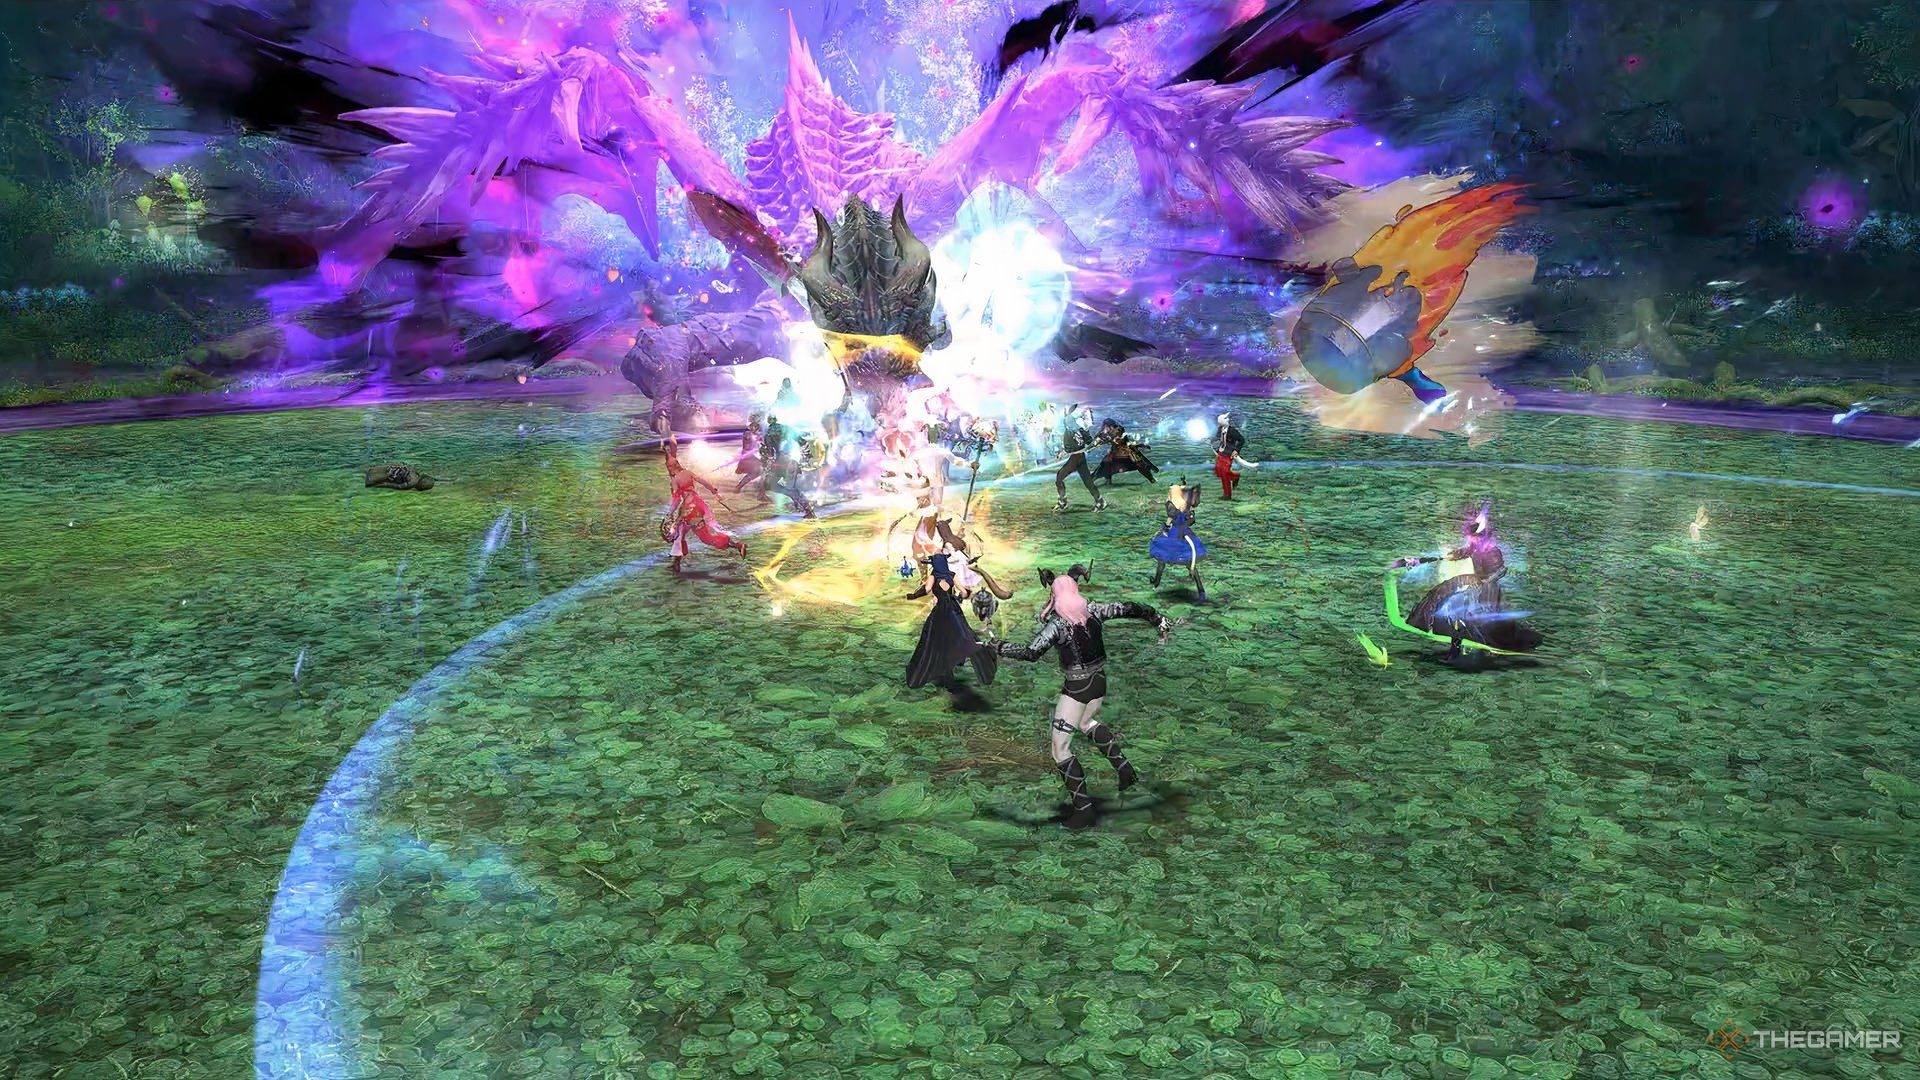
It wouldn’t be a Final Fantasy raid without a good dragon to fight. Fafnir has the following attacks:
|
Attack |
Type |
Description |
|---|---|---|
|
Dark Matter Blast |
AoE |
Raidwide damage. Creates a purple venomous circle around the arena, which is deadly for anyone who steps on it. |
|
Offensive Posture |
Special |
Fafnir starts glowing in a certain part of its body, indicating where its attack is aimed. There are three variations, and they always happen in the following order: Fafnir’s tail starts glowing. The safe area is in front of Fafnir. Fafnir’s claws start glowing and it starts to fly. The safe area is outside his hitbox, almost touching the purple zone. Fafnir’s mouth starts glowing. The safe area is inside his hitbox, as he burns the whole arena. The fire vanishes in the same direction it was applied. Fafnir immediately follows up with the claw posture, so get away from his hitbox as soon as the fire is gone. He finishes with another tail posture. Being hit by any of these attacks inflicts a Vulnerability Up and a stun debuff. |
|
Baleful Breath |
Stack AoE |
Targets a Healer for a stack AoE. The whole raid must stack with heavy mitigation. |
|
Sharp Spike |
Triple tankbuster |
Attacks all Tanks with an AoE tankbuster which they must mitigate heavily. Stay away from the Tanks so you won’t get hit by accident. |
As soon as the tankbusters hit, Darters will start appearing in the arena. A Tank that isn’t tanking Fafnir should maintain them around the center, so everyone can use their AoEs to kill them quickly. Be careful with their Pestilent Sphere and their AoEs, which can hurt you severely if they hit.
At the same time, Fafnir enters a new phase.
|
Attack |
Type |
Description |
|---|---|---|
|
Hurricane Wing |
Special |
Fafnir flaps its wings, dealing damage to all players with each flap. After it stops, various tornados appear around the arena and start spinning around it. Smaller tornados knock you up slightly and give you a Vulnerability Up, while bigger tornados give you much more damage. Both inflict a bleeding debuff. At the same time, either an expanding AoE fires off from the middle or a receding AoE comes off from the borders of the arena. You must dodge the tornados as well as the AoE simultaneously. Wait for the AoE to expand, then immediately enter the area that was just hit to be safe. This AoE fires three, so be careful. |
|
Horrid Roar |
AoE |
After the second expanding AoE finishes, Fafnir targets three players with an unavoidable spread AoE. A red puddle drops beneath it, and everyone has to wait until it vanishes. Touching the puddle inflicts Hysteria, making you walk in random directions. |
|
Offensive Posture |
Special |
Same as before, but the posture used is random, so be careful. |
|
Baleful Breath |
Stack AoE |
Targets a Healer for a stack AoE. The whole raid must stack with heavy mitigation. |
Healers can save Hysteria-afflicted targets from walking into the dead wall with Rescue, but you gotta be quick to notice it.
Once the final repeated attack is done, Fafnir goes to a corner of the arena and stays there for a while. During this time, Melees won’t have to worry about positional requirements. More Darters appear, and Fafnir uses either:
|
Attack |
Type |
Description |
|---|---|---|
|
Absolute Terror |
AoE |
Fafnir glows its body in purple and hits directly in its front. |
|
Winged Terror |
AoE |
Fafnir glows its wings and hits directly in front of them. |
Once the Terrors are done and the Darters are killed, Fafnir starts repeating all moves from the first phase until it’s defeated. Grab your loot and keep moving ahead.
The next zone has a few more dangerous enemies. The first pack of mobs can use gaze attacks. If you look at them, you get a Blind debuff (which can be removed).
The Despot in the final pack has a pull-in attack, but you can use your knockback immunity to resist it.
Once they’re all gone, it’s time for the most unique encounter in the raid.
Ark Angels
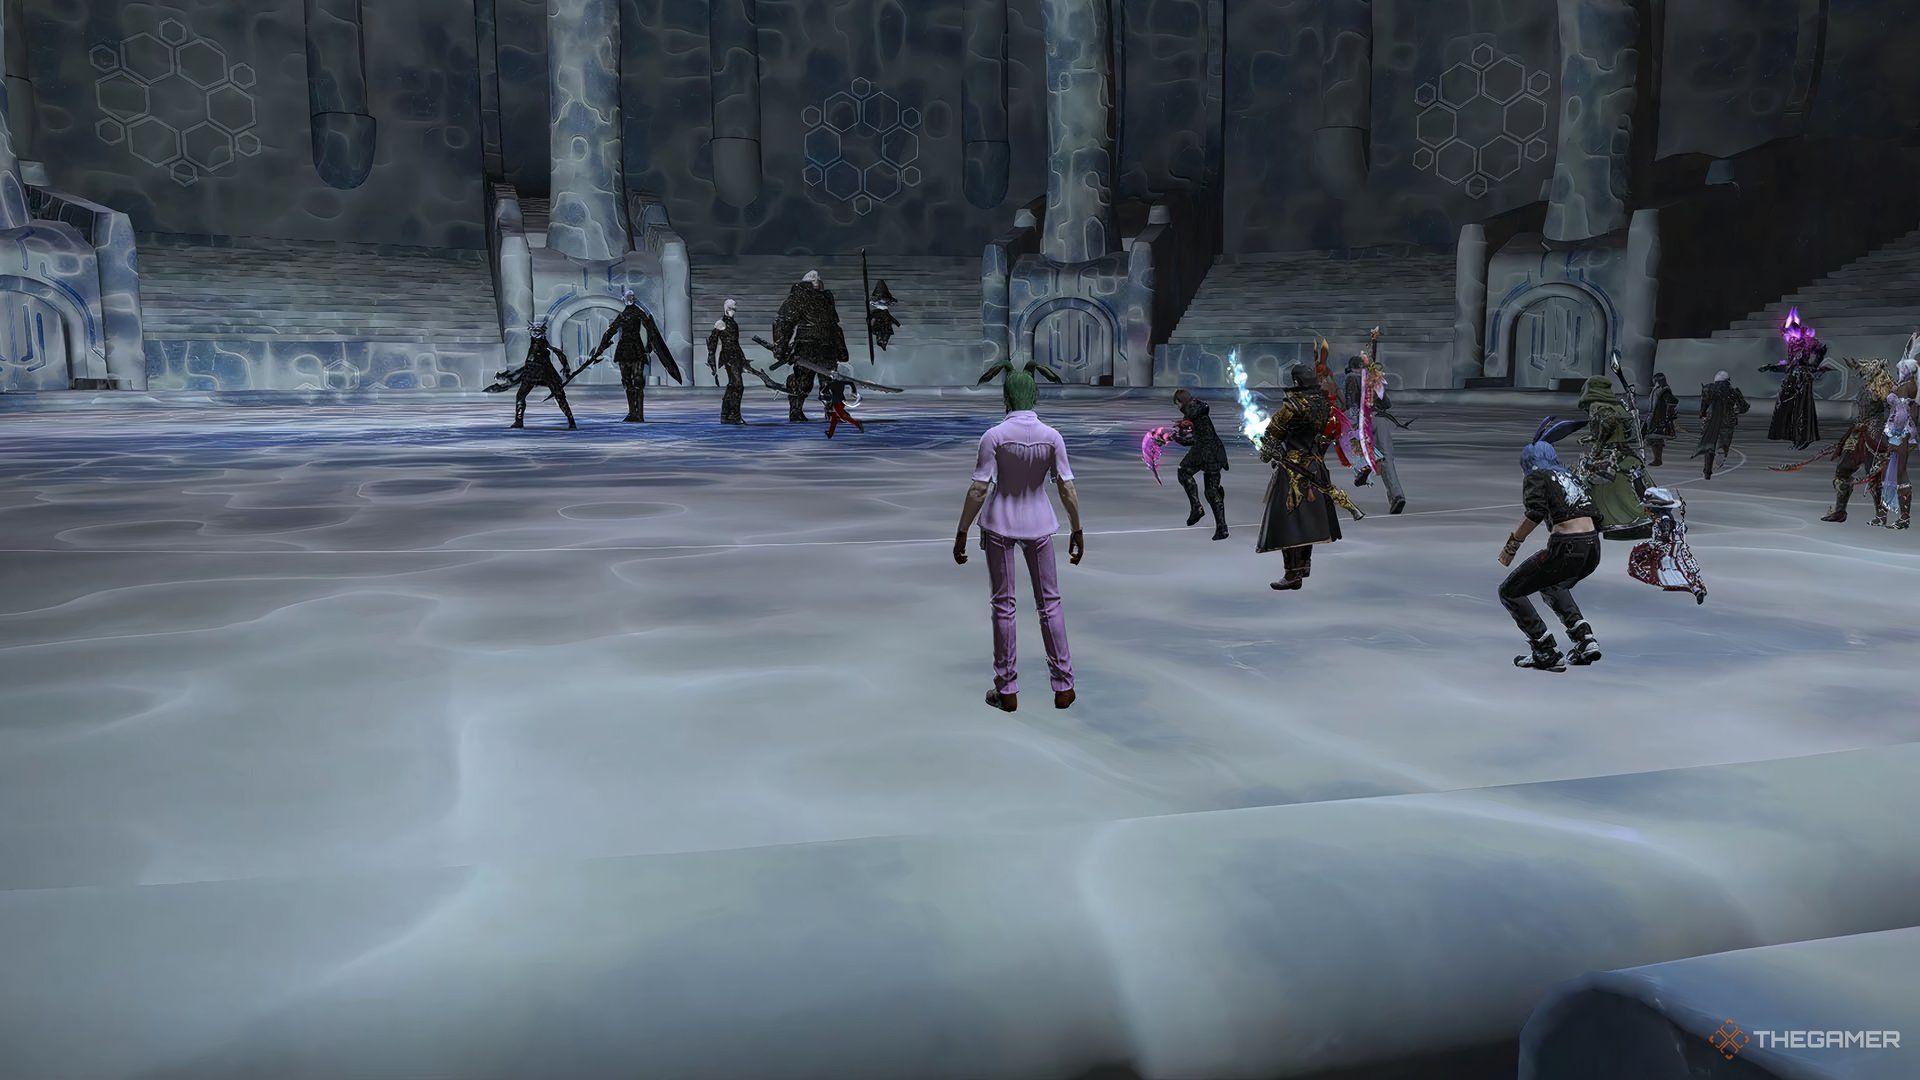
Instead of a single boss, you’ll be fighting five warriors at once, representing each playable race in FF11. This fight has three special rules:
- At the start of the battle, you’ll be tethered to one of three bosses. You and your alliance can only deal damage to the linked boss. If you lose your target for some reason, look for the boss with the same debuff color as yours. The debuff disappears after the three bosses vanish halfway through the encounter.
- AoE attacks only damage its priority target (either the closest enemy or the enemy you’re targeting). Attacks that also hit enemies around the main target (such as Reaper’s Communio) only work on the main target. This happens regardless of your having the color debuff or not.
- During the final phase, all bosses will be targetable, but you still can’t use AoEs. Focus on whichever single boss you can hit. They transfer health to each other once either of them gets too low, so they’ll have roughly the same health throughout the rest of the fight.
With these rules in mind, we can go over the bosses’ special moves.
|
Attack |
Type |
Description |
|---|---|---|
|
The Decisive Battle |
Special |
Links you and your alliance to one of the three initial bosses. |
|
Cloudsplitter |
Tankbuster |
Ark Angel MR targets all Tanks with an AoE tankbuster. Stay away from them, and use your mitigations if you’re a Tank. |
|
Meikyo Shisui |
Special |
Ark Angel GK summons various ice lines around the arena, only leaving a few squares as safe areas, as well as setting a gaze at some point of it. The ice lines hit twice, and the gaze fires off after the second line hits. Make sure you’re looking away when dodging it. After the gaze hits, Ark Angels MR hits the arena with various cone AoEs. A pink circle AoE also appears, so dodge these as well. After the AoE explodes, the whole arena is unsafe, except for a small circle where the AoE first appeared. Wait for the AoE to explode, then enter the safe spot while dodging the cleaves. |
|
Meteor |
Raidwide AoE |
Ark Angel TT starts casting a Meteor that wipes the whole raid. Tanks or Physical Rangeds must use Interject/Head Graze to stop him. |
|
Havoc Spiral |
Spinning Cone AoE |
Ark Angel MR jumps to the center and uses the same cleaves from before, but this time spinning. Spin in the same direction alongside her to be safe. Ends with Spiral Finish, which knocks players back. You can use knockback immunity on it. |
|
Dragonfall |
Stack AoE |
GK marks a random Healer of each alliance and jumps to them. At least four other players must stack with the Healer to save them. |
|
Guillotine |
AoE |
TT covers the whole arena with a spell that deals constant damage, except for the zone behind him. Run to him as soon as you hear him saying “Cowardice dismembers!”. |
After this onslaught, the three bosses will jump away, and Ark Angels EV and HM take their place. The debuffs are gone, so you can hit whichever you want.
|
Attack |
Type |
Description |
|---|---|---|
|
Dominion Slash |
AoE |
Raidwide AoE that leaves puddles on the ground for a while. They damage anyone who steps on them. |
|
Utsusemi |
Special |
Starts with a raidwide AoE, then HM marks random players with a special tether with a running person icon. The marked players will be chased by HM clones, so keep running until they vanish. |
|
Cross Reavers |
Line AoE |
HM marks a cross on the arena that expands, so stay on one of the four safe corners. |
|
Holy |
AoE |
Raidwide damage to all players. |
|
Mijin Gakure |
Special |
HM starts casting a long spell while EV holds a shield protecting them, making HM invulnerable. Destroy the shield to interrupt HM’s cast, which wipes the party if left alone. |
|
Rampage |
Special AoE |
MR returns to the field and starts dashing through the arena, finishing with a big circle AoE hit. Dodge to a safe spot away from the lines and the final hit. |
|
Guillotine |
AoE |
TT covers the whole arena with a spell, except for the zone behind him. Run to him as soon as you hear him saying “Cowardice dismembers!”. |
|
Meikyo Shisui |
Special |
Same as before, but combined with Critical Reaver (Cross Reavers but as Critical Hits) and Meteor. |
|
Cross Reaver |
AoE |
After using Critical Reaver, HM starts channeling another Cross Reaver that can be interrupted. Not interrupting it wipes the party. |
From here, any remaining Ark Angel will simply repeat their previous attacks until they’re gone. As they share health, it won’t take long until they’re all down, and you’re ready for the final big boss.
Shadow Lord
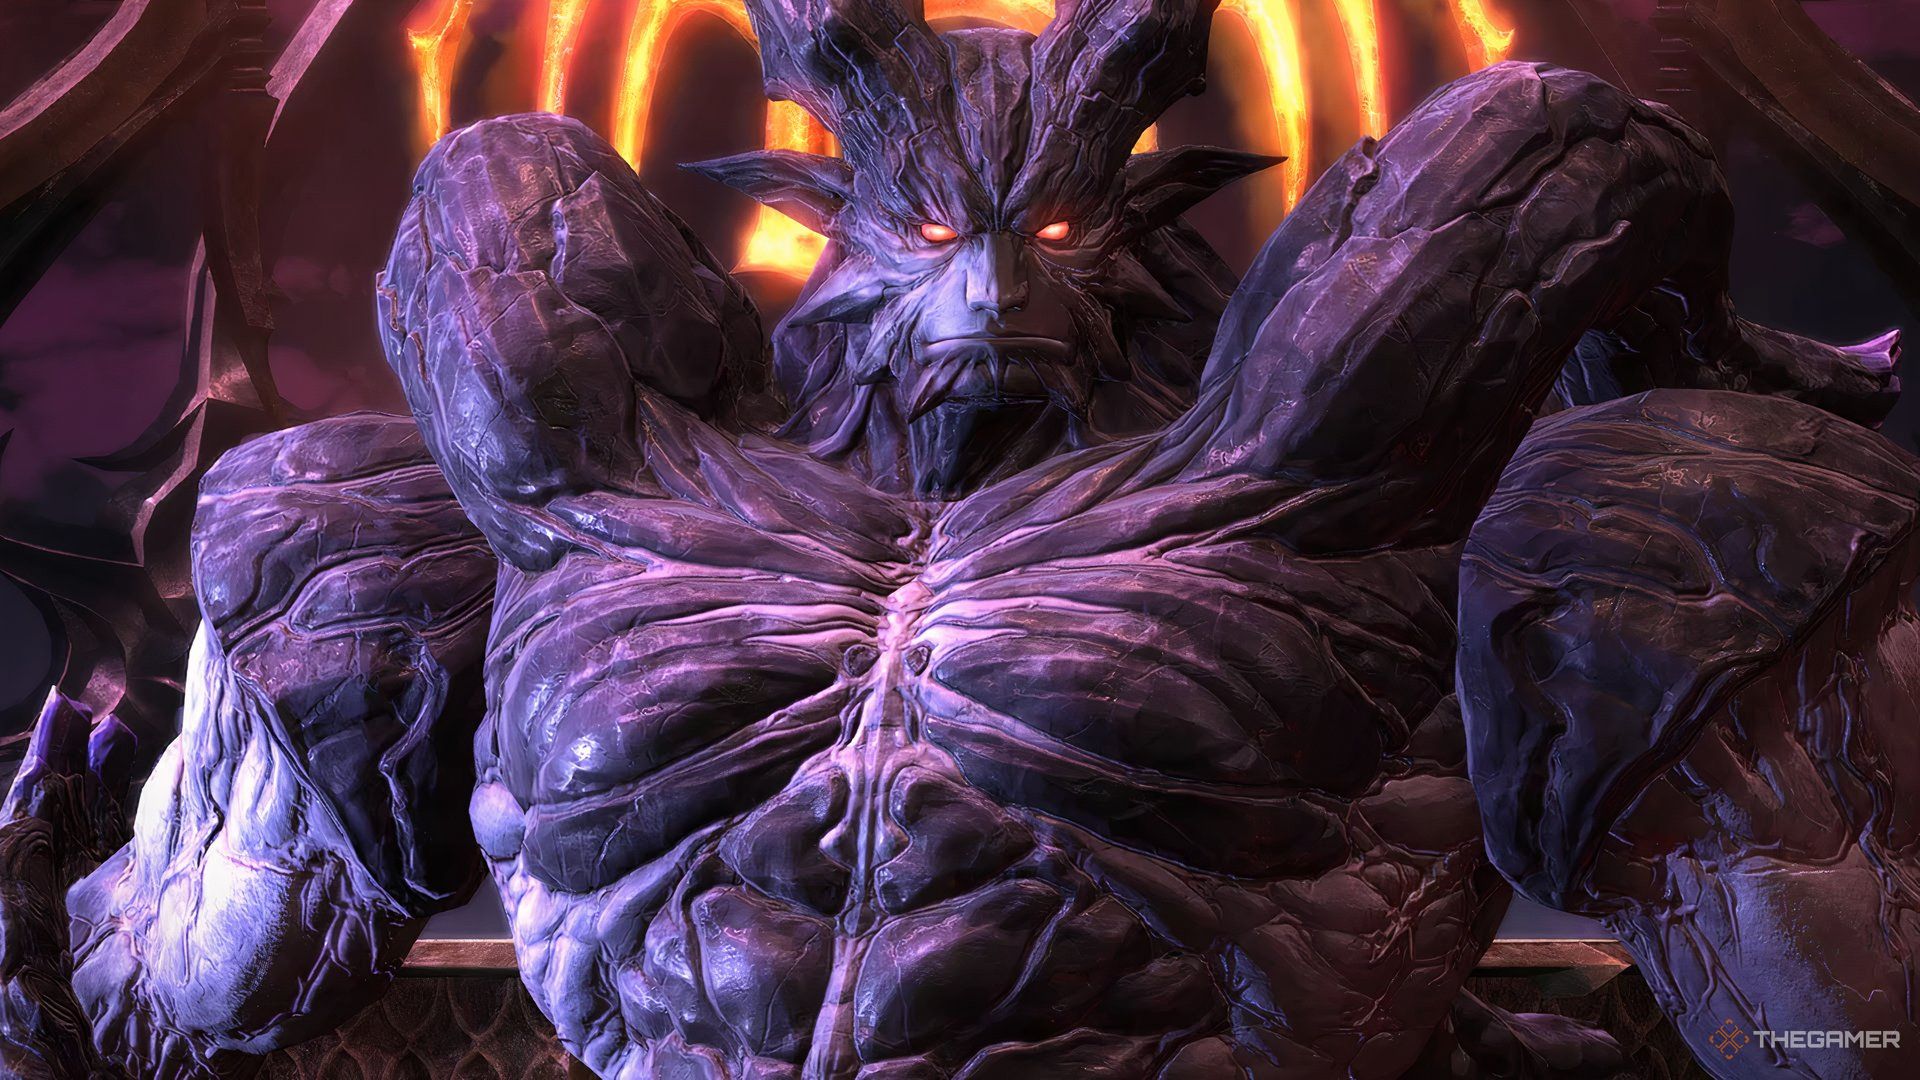
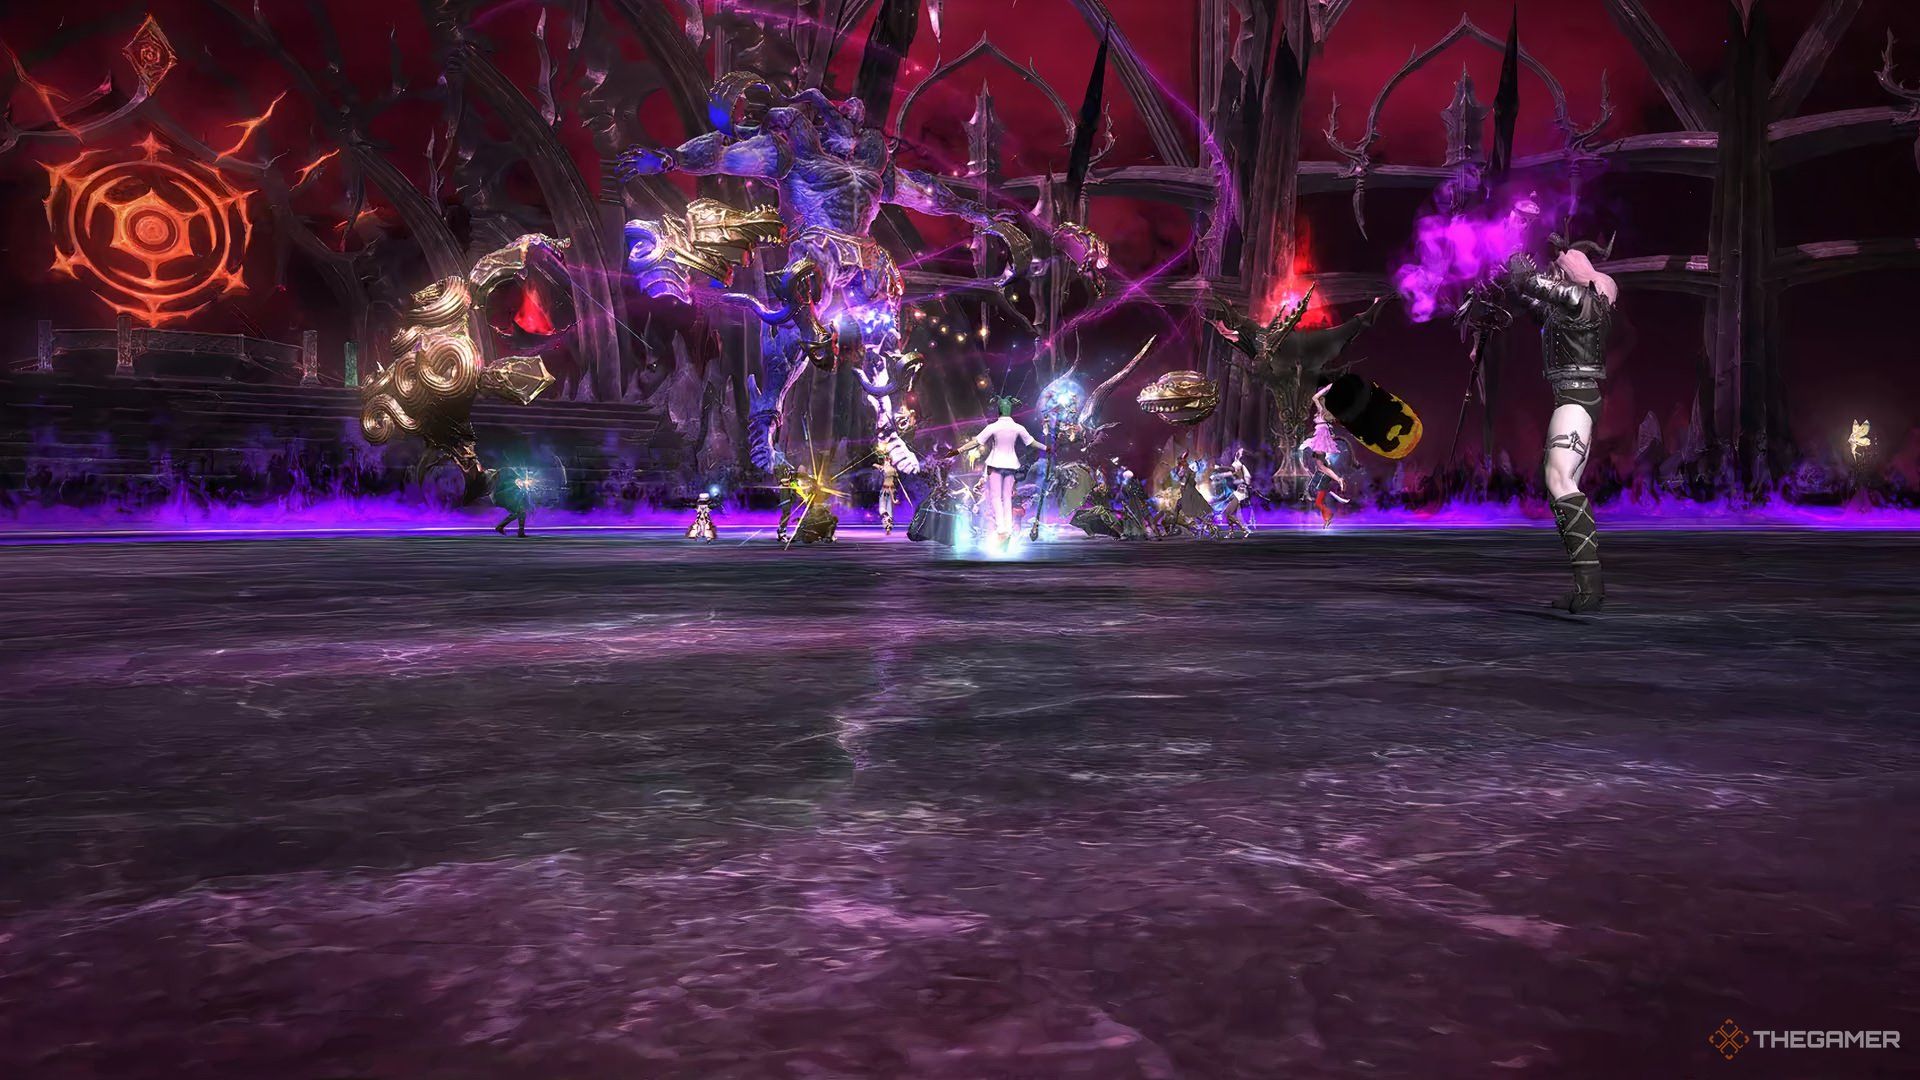
The Shadow Lord comes as the Alliance’s final encounter, complete with his unending bravado and edgy battle cries. His moves are easy to follow, but can be deadly if you’re not paying attention.
|
Attack |
Type |
Description |
|---|---|---|
|
Giga Slash |
AoE |
The Shadow Lord creates an illusion of his sword slashing an area around him, then repeats it in the opposite direction. He then cleaves the areas shown in that order. Stand in the safe spot for the first slash (a small slice), then go immediately to the other side. |
|
Umbra Slash |
Line AoE |
The Shadow Lord slashes all four directions once, with smaller AoEs appearing in sequence later. Dodge the first big AoE and enter the slashed zone immediately, then prepare to dodge the smaller lines. He follows up with another Giga Slash. |
|
Flames of Hatred |
AoE |
Raidwide damage. |
|
Implosion |
Circle + Half-arena AoE |
Summons two fire orbs in his hands. One of these orbs will grow, indicating the half of the arena that will be hit. He also summons an AoE around himself. Stay away from the boss, then stand on the safe half. |
|
Cthonic Fury |
Special |
Transforms the arena into a four-circled zone with lines connecting them, while also dealing raidwide damage. Touching the flames outside the zone gives you a damage over time debuff. |
|
Hatred Sigils |
Special |
Summons sigils around the new arena, pointing inward or outward to the circle areas.
|
|
Dark Nebula |
Knockback |
Knockback from one side of the arena to another. Position yourself perfectly between the lines to avoid being pushed into flames, and land on the circles. |
|
Implosion |
Circle + Half-arena AoE |
Same as before, but you’ll be forcibly close to Shadow Lord, so be careful. |
|
Hatred Sigils |
Special |
Similar to before, but there are extra sigils this time. Circles are always unsafe, and the new sigils are hitting either the upper or lower portion of the lines, so stand on the safe half. |
|
Echoes of Agony |
Stack AoE |
Multiple AoE hits on a random player. The whole raid must stack with them. |
|
Cthonic Fury |
Special |
Reverts the arena to normal, while also dealing raidwide damage. |
After returning the arena to normal, the Shadow Lord jumps to the wall and casts Nightfall. While in Nightfall, he has no positional requirements (like Fafnir) and will charge Tera Slash for 15 seconds. Tera Slash deals large raidwide damage, so mitigate accordingly. After he returns the normal, the Nightfall phase begins.
|
Attack |
Type |
Description |
|---|---|---|
|
Giga Slash: Nightfall |
AoE |
Same as Giga Slash, but Shadow Lord adds a third, smaller slash at the end pointed either north or south. Be ready to move one more time. |
|
Shadow Spawn |
Special |
Summons two clones of himself. These clones repeat his attacks, so be careful with his next attacks. |
|
Giga Slash: Nightfall |
AoE |
Same as before, but after the third slash, go inside his clone to dodge another Giga Slash. The clone only slashes twice. |
|
Implosion |
AoE |
Same as before but with a clone in the background. After dodging the original Shadow Lord, position yourself in a way that you can easily dodge the clone too. |
|
Unbridled Rage |
Tankbuster |
A line tankbuster on the three Tanks. Stay away from them if you’re not a Tank, and remember to mitigate if you’re one. |
|
Echoes of Agony |
Stack AoE |
Same as before, but with extra hits. |
|
Binding Sigil |
Ensnaring AoE |
Summons three sets of AoEs on the ground. Being caught by one of them binds you to the ground, making you take extra damage later. Dodging in the direction of one of the first AoEs after they’re fired off usually works. |
|
Damning Strikes |
Stacking AoE |
Summons three towers that must be soaked by each of the Alliances. They deal heavy damage, so be ready to heal and mitigate. |
|
Cthonic Fury |
Special |
Transforms the arena into a four-circled zone with lines connecting them, while also dealing raidwide damage. Touching the flames outside the zone gives you a damage over time debuff. |
|
Dark Nebula |
Knockback |
Same as before, but now repeated four times. Make sure you’re always being thrown into a safe zone and never outside the arena. |
|
Giga Slash: Nightfall |
AoE |
Identical to the others, but the cast starts while you’re still being knocked back, so be ready to dodge. |
|
Hatred Sigils |
Special |
Same as the third Hatred Sigil from before. Stand in the line and look for the safe half. |
|
Cthonic Fury |
Special |
Reverts the arena to normal, while also dealing raidwide damage. |
|
Shadow Spawn |
Special |
Summons another clone, identical to before. |
|
Umbra Slash |
Line AoE |
The same line AoEs from before, but now with a clone copying its attacks, so extra dodges are needed. |
|
Doom Arc |
AoE |
Inflicts raidwide damage and a bleeding debuff to all players. The Shadow Lord also gets a permanent damage buff. |
Shadow Lord will only repeat his Nightfall phase mechanics until he’s defeated. Be careful, as his damage buff will make this repeated assault more deadly.
Fortunately, he should be low on health by this moment. If you ever see him casting Doom Arc, it shouldn’t take much longer to kill him.
Jeuno: The First Walk Rewards
All players get two Cracked Novaclusters and one Ordelle Coin. Novaclusters can be used to buy Level 100 Materia, while Ordelle Coins are used to buy Augmentation items for Tomestones of Heliometry equipment at Uah’shepya in Solution Nine (X:8.6 Y:13.5).
Each boss drops a Treasure Chest, containing two random pieces of equipment from the Raid. Equipment loot is rolled separately between Alliances.
The final boss has extra chests with special loot, rolled between all 24 players. He also drops four pieces of equipment at once.
Here is a full list of obtainable items:
|
Item |
Type |
|---|---|
|
Nano Lord |
Minion |
|
Shadow Lord Card (x3) |
Triple Triad Card |
|
Tattered Sheet Music (x3) |
Exchange |
|
Royal Damask |
Material |
|
Ark Angel’s Circlet of Aiming |
Equipment |
|
Ark Angel’s Circlet of Fending |
Equipment |
|
Ark Angel’s Circlet of Healing |
Equipment |
|
Ark Angel’s Visor of Maiming |
Equipment |
|
Ark Angel’s Visor of Scouting |
Equipment |
|
Ark Angel’s Face Guard of Striking |
Equipment |
|
Ark Angel’s Pesatos of Casting |
Equipment |
|
Ark Angel’s Coat of Casting |
Equipment |
|
Ark Angel’s Corselet of Aiming |
Equipment |
|
Ark Angel’s Corselet of Scouting |
Equipment |
|
Ark Angel’s Cuirass of Maiming |
Equipment |
|
Ark Angel’s Cuirass of Striking |
Equipment |
|
Ark Angel’s Tunic of Fending |
Equipment |
|
Ark Angel’s Tunic of Healing |
Equipment |
|
Ark Angel’s Armguards of Fending |
Equipment |
|
Ark Angel’s Armguards of Healing |
Equipment |
|
Ark Angel’s Gauntlets of Maiming |
Equipment |
|
Ark Angel’s Gauntlets of Striking |
Equipment |
|
Ark Angel’s Gloves of Casting |
Equipment |
|
Ark Angel’s Vambraces of Aiming |
Equipment |
|
Ark Angel’s Vambraces of Scouting |
Equipment |
|
Ark Angel’s Breeches of Fending |
Equipment |
|
Ark Angel’s Breeches of Healing |
Equipment |
|
Ark Angel’s Breeches of Maiming |
Equipment |
|
Ark Angel’s Breeches of Scouting |
Equipment |
|
Ark Angel’s Breeches of Striking |
Equipment |
|
Ark Angel’s Poleyns of Aiming |
Equipment |
|
Ark Angel’s Slops of Casting |
Equipment |
|
Ark Angel’s Boots of Casting |
Equipment |
|
Ark Angel’s Greaves of Scouting |
Equipment |
|
Ark Angel’s Sabatons of Aiming |
Equipment |
|
Ark Angel’s Thighboots of Fending |
Equipment |
|
Ark Angel’s Thighboots of Healing |
Equipment |
|
Ark Angel’s Thighboots of Maiming |
Equipment |
|
Ark Angel’s Thighboots of Striking |
Equipment |
Tattered Music Sheets can be exchanged for the Raid’s music in Lower Jeuno (X:6.5 Y:5.2), with the Peculiar Goblin.
As of Patch 7.1, players can only get one Ordelle Coin and one piece of equipment per week. The limit will be removed in future updates.
Next
Final Fantasy 14: Dawntrail – The Minstrel’s Ballad: Sphene’s Burden Trial Guide
Here’s how to beat Queen Sphene’s ultra-powerful form in this FF14 Extreme trial.






Leave a Reply