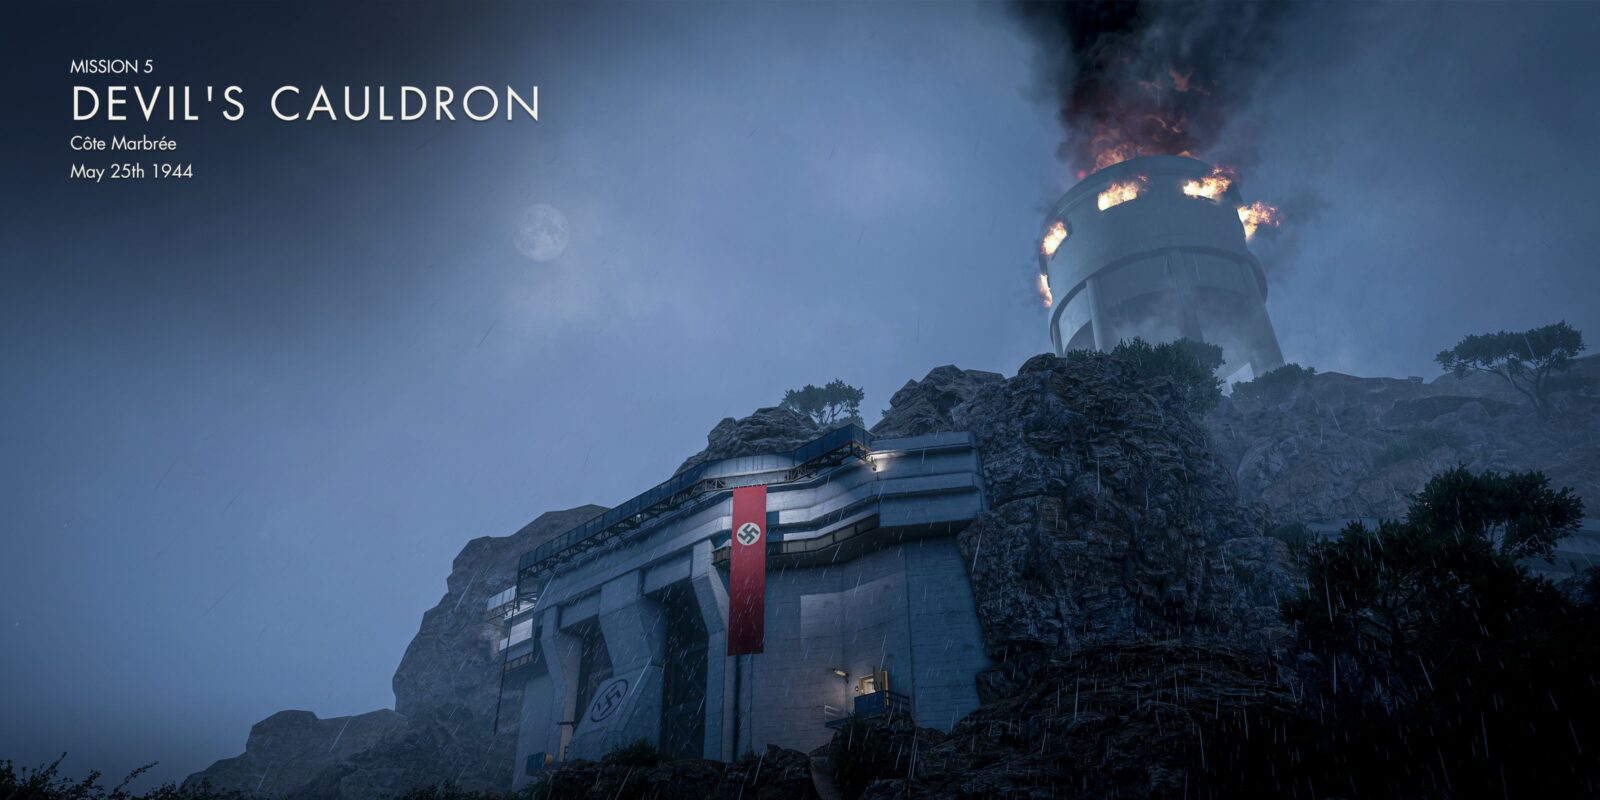
There are 19 collectibles in Devil’s Cauldron, the fifth mission in Sniper Elite: Resistance. Among those collecibles are Classified Documents, Personal Letters, and more, and some players will undoubtedly want to find them all. This guide is written with those players in mind, and it details the location of every collectible in Sniper Elite: Resistance‘s Mission 5.
The orientation of the levels in Sniper Elite: Resistance can be a bit confusing, as north is not always at the top of the map. As such, this guide has opted to use the terms “top,” “bottom,” “left, and “right” instead of the cardinal direction when describing locations.
8:09

Related
Sniper Elite Resistance: All Mission 4 Collectible Locations (Collision Course)
There are 19 collectibles in Collision Course, the fourth mission in Sniper Elite: Resistance, and this guide will help players find all of them.
Sniper Elite Resistance: All Devil’s Cauldron Collectible Locations
The position of every collectible in Sniper Elite: Resistance‘s fifth mission has been marked on the following map. Additional information about those positions can be found in the sections that are below the map, and players who need futher assistance are advised to reference those sections.
- Classified Documents (Classified Cargo)
- Personal Letters (A Childish Party!)
- SMG Workbench
- Personal Letters (Location Exposed)
- Hidden Items (Le Maquis Voit Tout Propaganda Poster)
- Rifle Workbench
- Personal Letters (It Is All In Ruins)
- Personal Letters (I Miss You So Much)
- Stone Eagle
- Classified Documents (Wilhelm’s Folly)
- Stone Eagle
- Hidden Items (Playing Cards)
- Hidden Items (Laboratory ID)
- Classified Documents (Intruder Spotted)
- Personal Letters (Be a Man, Not a Boy)
- Stone Eagle
- Pistol Workbench
- Classified Documents (Scuttle Instructions)
- Classified Documents (Scuttle Orders)
1. Classified Documents (Classified Cargo)
This Classified Document is on a desk on the second floor of the Overseer’s Building, a large structure that players will encounter not long after leaving the East Checkpoint starting location.
2. Personal Letters (A Childish Party!)
Players can find this Personal Letter in the small structure at the checkpoint that is just up from the Overseer’s Building.
3. SMG Workbench
Players who are looking for this collectible should begin by entering the tunnel to the right of the Overseer’s Building. Fans who stick to the left side of this tunnel will enter a small room with this SMG Workbench in Sniper Elite: Resistance.
4. Personal Letters (Location Exposed)
This Personal Letter is sitting atop a crate that is pushed against a stone wall.
5. Hidden Items (Le Maquis Voit Tout Propaganda Poster)
While players are visiting the Church in the bottom-left quadrant of the map, they should look for this Propaganda Poster in Sniper Elite: Resistance, which is tacked to the building’s bottom exterior wall.
6. Rifle Workbench
There is a locked blue door on the first floor of the Church, and there is a Rifle Workbench in the cellar that is beyond that door.
7. Personal Letters (It Is All In Ruins)
Players should now make their way to the building where they are to kill Eloi Coste with an LMG. There is a small bedroom on the second floor of this building, and this Personal Letter is on a table next to the bed in that room.
8. Personal Letters (I Miss You So Much)
There is a path just below the building where players are to kill Eloi Coste with an LMG, and it leads directly to a canopy. This Personal Letter is on a bench under that canopy.
9. Stone Eagle
After collecting I Miss You So Much, players should turn their attention to the lighthouse in the water. There is a Stone Eagle perched on top of that lighthouse, and fans can destroy it with one of Sniper Elite: Resistance‘s sniper rifles.
10. Classified Documents (Wilhelm’s Folly)
Players should now make their way to the bottom-right corner of the building where they are to find a way to destroy the U-Boat. Fans should use the ladder in this position to reach the building’s second floor, pass through the door to the left, and continue forward to enter an office. This Classified Document is on the table in the middle of that room.
11. Stone Eagle
There is a tunnel to the right of the building where players are to find a way to destroy the U-Boat, and a Stone Eagle is perched on the right side of its entrance. While fans can make their way up to the eagle, they can also shoot the statue from any position that has a view of the tunnel.
12. Hidden Items (Playing Cards)
Players will encounter a checkpoint as they follow the winding path near the center of the map. There is a stack of crates across the road from that checkpiont, and this Hidden Item is sitting on top of it.
13. Hidden Items (Laboratory ID)
As players continue to follow the aforementioned winding road, they will find a checkpoint barrier in the down position. Sniper Elite fans should go prone and crawl underneath that barrier, and then take these actions to find this Hidden Item:
- Enter the tunnel that is ahead.
- Pass through the yellow door on the left.
- Follow the hallway until it makes a 90 degree turn.
- At the turn, look right and enter a small room.
- Check the table.
14. Classified Documents (Intruder Spotted)
Players who are looking for this collectible should make their way to the stairs that are marked on the preceding map. Fans should then follow these steps:
- Descend the stairs.
- Descend the stairs at the bottom of the first flight.
- Walk forward and descend the stairs on the right.
- Walk forward to approach a door that can be destroyed with a Satchel Charge.
- Enter the room to the left, and check the table.
15. Personal Letters (Be a Man, Not a Boy)
This Personal Letter is on a desk in the building. Notably, the Factory Maintenance Key is also on that desk.
16. Stone Eagle
This Stone Eagle is perched at the top of the crane near the building where players collected Be a Man, Not a Boy.
17. Pistol Workbench
Sniper Elite: Resistance players should now make their way to the tunnel that is used to enter the area where they must locate the Production Facility. Upon entering the tunnel, fans should take these actions:
- Follow the ramp down, and go left at the bottom.
- Enter the green doors on the left, climb the stairs, and enter the yellow door on the left.
- Open the vent in the room, go prone, and crawl through to reach the room where the Pistol Workbench is housed.
18. Classified Documents (Scuttle Instructions)
After locating the Production Facility, players will be instructed to find a way to disable production. To do this, fans must open the Factory Safe, which is near some wooden shelving on the first floor of the area. That safe can be opened with a Satchel Charge or the Factory Safe Key, which is looted from a Sniper Elite: Resistance enemy with a white coat that roams the factory, and the Classified Document is inside.
19. Classified Documents (Scuttle Orders)
With the Scuttle Instructions in hand, players should take these actions to find the level’s final collectible:
- Climb the metal stairs that are across from the Factory Safe.
- Follow the walkway at the top, and turn left at the dead end to enter an office.
- Look at the table on the left side of the office.


Leave a Reply