Summary
- Learning Sova lineups on Lotus can provide valuable intel for your team on both attack and defense.
- These lineups can be effective for pre-plant and post-plant scenarios, making Sova a versatile choice on the map.
- Mastering these lineups may take time and practice, but they are simple and effective tools to gain an advantage.
Sova is one of the finest Initiators in Valorant, and he can prove to be effective on most maps in the game. Although he isn’t the top preference on Lotus, the agent can still perform decently if you are well-equipped with the different lineups to surprise your opponents.

Related
Valorant: 10 Best Agents To Play On Abyss
We take a look at all the best agents to get more wins on Abyss. If you’re looking to help your team, take these agents with you.
Essentially, learning lineups for properly utilizing his Reveal can provide much-needed information to your team. Nonetheless, searching and getting familiar with them could be time-consuming, and you would have to spend hours practicing them in custom games. To simplify it, the following section contains a list of some of the best ones you can learn.
This list is in no particular order.
Updated on January 31, 2025, by Daniyal Sultan Malik: Although Lotus hasn’t seen any updates to its layout, the community has discovered new ways to utilize Sova on the map, particularly on sites A and C. What makes these new lineups special are their ease and versatility, securing valuable intel in pre-plant and post-plant scenarios. Of course, you can also customize them to your needs, trying alternate angles to reveal different areas, but the result will remain tried and true.
13
B Site Reveal (Attack)

- Bounce Required: None
- Charge State: One bar
When your team plans to commit to the B Site during the attack, this Reveal lineup can significantly help you. Learning this might not seem very easy, but you can practice for five or ten minutes to get the hang of it.
To start, you must position yourself on top of the first box in front of the attacker spawn and stick to the wall. After you do so, you must align the Owl Drone icon as shown in the image with one bar for the dart. This will reveal the Site.
12
B Site Retake Reveal (Defense)

- Bounce Required: Single
- Charge State: Full
The B Site Retake Reveal from B Upper is a simple yet effective lineup. This would unveil the positions of every opponent on the Site, and you would only have to worry about the enemies present towards A Main and A Link.
If you are trying to perform this, you can take a slight peek from B Upper and release the dart at full charge to complete the effortless lineup. However, you must be careful, as going a little wider could expose you from B Main, and an opponent holding your angle could easily kill you.
11
B Site Complete Reveal (Attack And Defense)

- Bounce Required: Single
- Charge State: Full
This is one of the few Sova lineups you can use on Lotus regardless of which side you’re on. You can use it for kiting, rotating, retaking, or just general intel, depending on how you want to gain an advantage. Additionally, it’s incredibly simple with no detailed precision, so it’s even a great choice for beginners.
For this, you must stand on A Link and point the arrow where the sunlight directly converges to a single point. After that, shoot your full-charged single-bounce dart and watch it fully reveal all of B Site. However, do note that you won’t find enemies deep in either B Main or C Link.
10
A Site Tree Reveal (Attack)

- Bounce Required: Double
- Charge State: One bar
The Tree is where you can usually find defenders sitting, so learning a Reveal for the same could do wonders when your team is planning to execute the A site. Upon using this, your teammates can open the door and swing if an opponent is playing in a particular location.
To learn the A Site Tree Reveal, peek a little from the right side of A Rubble and place your crosshair on the greenish pattern you find on the wall opposite to you. You can then fully charge the dart and use it with double bounce.
9
A Backsite Reveal (Attack)
- Bounce Required: None
- Charge State: Full
In case you don’t find any defenders near Tree on A site, there’s a good chance they’re hiding on Backsite, trying to lure you in. With this lineup, you can reveal the entire grounded Backsite and a small portion of Heaven behind the area. However, remember that this lineup is extremely precise, so you’ll need tons of practice or a scoped weapon to position your dart properly.
Once you’re at A Root, stand in the far right corner and aim your dart at the leaves above. If you use a sniper rifle, you’ll notice a distinct opening near A Door. Then, when you’re ready, fully charge the dart and shoot it.
8
A Main Reveal (Defense)

- Bounce Required: None
- Charge State: Full
This is the most basic A Main Reveal for the Lotus map in Valorant, and you can use it as soon as the round starts to prepare your team for a possible A execute from the attackers. If any opponents get revealed close to the revolving door, your teammate can spam through it and even notch a kill.

Related
Valorant: Best Initiators For Every Map
When it comes to taking space, there is an Initiator for the job in each map in Valorant.
At the start of the round, move slightly right from the wall in front of you and do a full charge reveal. Usually, opponents will not be able to catch hold of this, but after a few rounds, you must mix up the things as they might expect you to use this.
7
A Tree Retake Reveal (Defense)

- Bounce Required: None
- Charge State: Below one bar
Retaking A can be difficult in a post-plant situation, and your team must meticulously clear the angles to achieve it. Having the A Retake Reveal in your playbook could come in the clutch as it would provide you with the opponents’ locations on the Site.
To perform this, stick at the beginning of the left side of the wall and set your crosshair between the leaf patches. The problematic element here would be to jump first and then release the dart with a single tap without any significant charge.
6
A Main Reveal (Attack)

- Bounce Required: None
- Charge State: Two bars
Many players on defense tend to play aggressively on the A Site and try to push A Main at the start of the round. As a result, learning this A Main Reveal could help you know the positions of those who are ready to go on the front foot.
To line up the dart, stick to the left side of the round-start barrier and aim at the bottom of the leaf-like structure. In terms of the charge, you must ensure that you do a two-bar, as going anything under or over would mean that you will miss the target.
5
C Site Reveal (Attack)

- Bounce Required: Double
- Charge State: Full
As your team prepares to rush the C Site, you must know the C Site Reveal to provide vital information about the opponents present on it. Learning a lineup for it would lower the number of angles you would have to check.

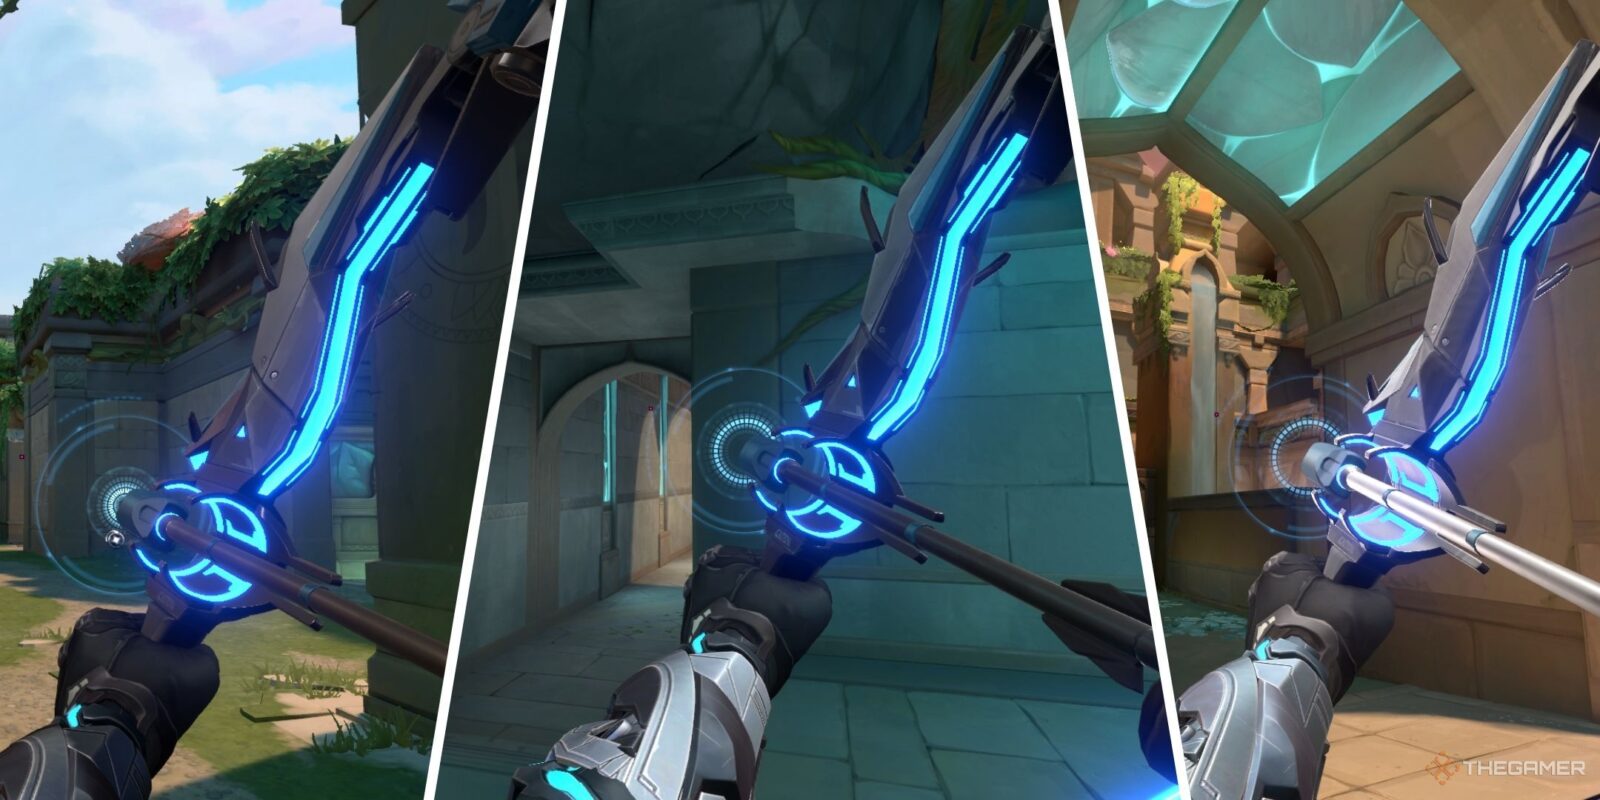
This Reveal is comparatively more straightforward than most of the other ones, and you must go to the corner of the boxes present on C Main. Then, position the crosshair towards the entrance, as shown in the above photo, and finally, perform the lineup by doing a full charge with two bounces.
4
C Main Reveal (Defense)

- Bounce Required: None
- Charge State: Full
Doing an early C Main Reveal could be helpful to determine enemy presence towards the C Site. You can employ the easy lineup to achieve the same, and you would otherwise have the option to learn the other running variant.
For the more straightforward and commonly used one, you can position yourself towards the round-start barrier and peek towards the left until you see the pixels of the leaves on the screen. Subsequently, after your crosshair is appropriately placed, you may do a full charge release of the dart.
3
C Backsite Reveal (Attack)

- Bounce Required: Single
- Charge State: Full
Apart from the C Site Reveal mentioned above, you can learn the C Backsite Reveal to know if any opponents are waiting for you in the back of the site area. That is particularly a stingy location to clear, and using this Reveal, your teammates will know what they will have to face.
This lineup starts from a similar position to the C Site one, and you must move ahead a little until you see the wall on the other side. After that, you may simply use the dart at full charge with one bounce.
2
C Site Retake From Main (Defense)

- Bounce Required: Double
- Charge State: Full
If you are approaching the C Site for a Retake from the Waterfall side, you should use this incredible Reveal to aid your team. Your teammates and you can then employ the flashes in an attempt to gain back control of the Site and defuse the Spike.
While attempting to perform this, you must stick to the wall and move slightly toward the left until you see the water pouring down. Once you align the crosshair correctly, do a two-bounce full-charge release to discover the opponents’ locations on the Site.
1
C Site Retake From CT (Defense)

- Bounce Required: Single
- Charge State: Full
Rotating from CT is a common tactic, especially if you were previously defending A Backsite or B Backsite. For Sova, this simply means another easy-to-use dart to reveal for a retake in a post-plant scenario.
For this lineup, get atop the ledge, stick close to the wall, and head further into C Site until you see the end of the first waterfall on the wall. Once you visibly locate the waterfall’s opposite end, aim your dart at that end’s center point, fully charge it, and shoot it with one bounce. Doing so will give you intel from C Main to C Bend, which you can use for your Shock Darts or Ult.


- Released
-
June 2, 2020
- Multiplayer
-
Online Multiplayer
- Engine
-
Unreal Engine 4
- ESRB
-
T for Teen: Blood, Language, Violence
- OpenCritic Rating
-
Strong
- Cross Save
-
Yes
- Cross-Platform Play
-
PS5 & Xbox Series X/S