Quick Links
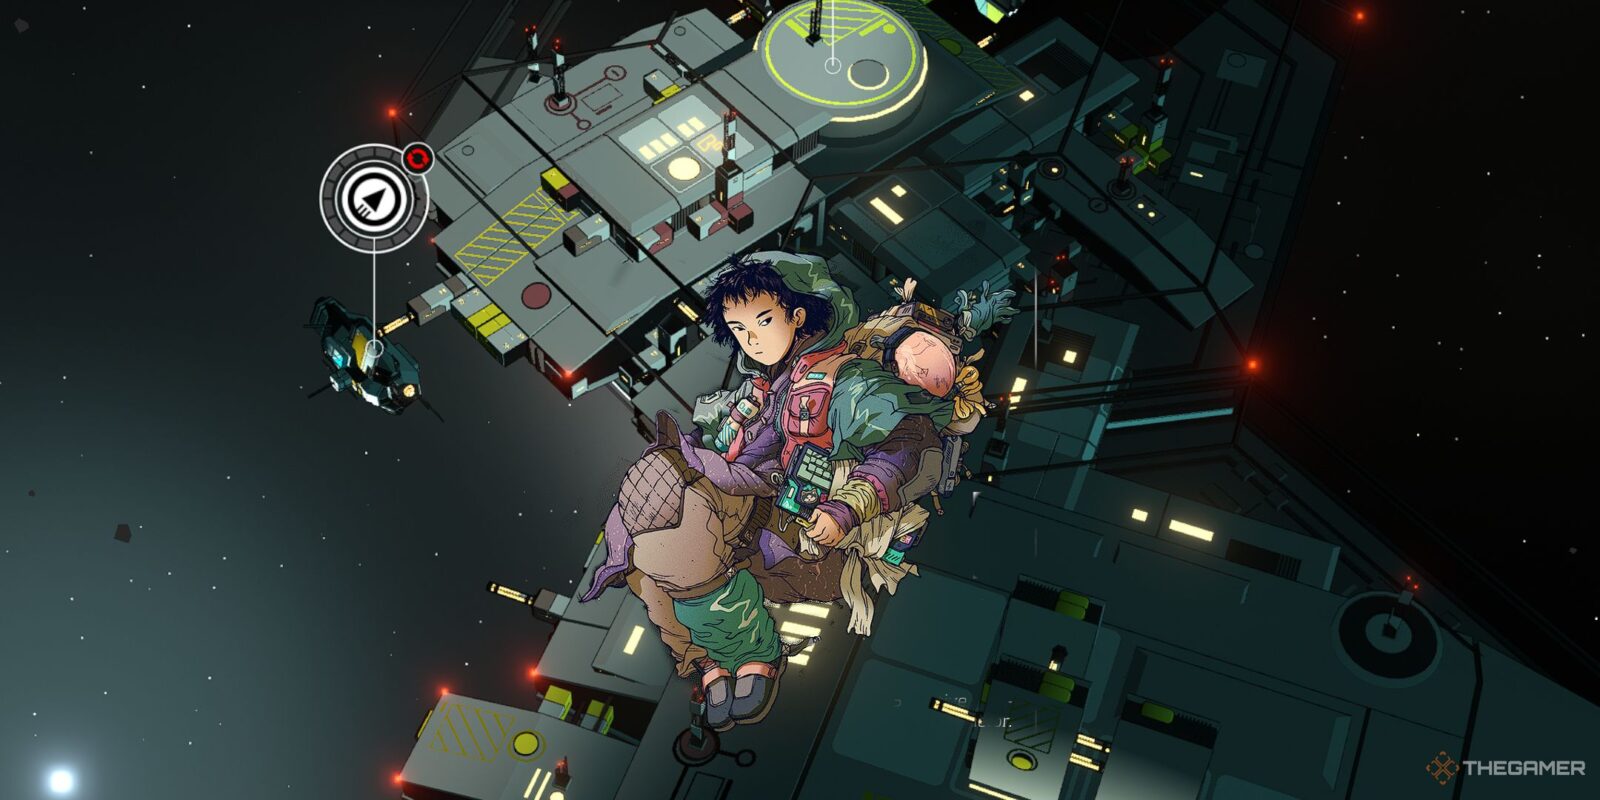
The Hexport Space Station will be the first location you explore in Citizen Sleeper 2: Starward Vector. While this is most certainly a smaller port of call, it can still be a little confusing to navigate your first time through. And even though you could absolutely stumble through it, Citizen Sleeper 2 is all about efficiency, so you’ll want to know what you are doing.

Related
5 Games To Play If You Like Citizen Sleeper
If you’ve loved your time with Citizen Sleeper, here are some games to check out next!
This guide will help you identify all the available contracts, show you how to unlock every location, and give you a rundown of all the recruitable crewmates. This information will give you everything you need to leave the Hexport station with a pocket full of Cryo and a fully-staffed ship.
Every Hexport Location And How To Unlock Them

Upon arriving at Hexport, you’ll start with only two locations to explore: the Hexport Docks and the Hexport Exchange. However, as you spend your dice working your way through these locations, you’ll gradually unlock more places to explore. We’ve provided a detailed breakdown of each below.
Hexport Docks

The Hexport Docks is one of two locations that are initially available (alongside your spacecraft, that is). You’ll unlock a new location with every two points you gain in the “Hexport Connections” objective. The first two points will unlock The Bends, and the next two will unlock The Warehouse.
|
Location |
Options |
Type/Cost |
|---|---|---|
|
Hexport Docks |
Chat to crews |
Engage |
|
Explore the docks |
Intuit |
|
|
The Bends |
Play Star And Stoker |
Intuit |
|
Buy a “Bends Fry” |
7 Cryo |
|
|
The Warehouse |
Freight Loading |
Endure |
Once you fill the “Hexport Connections” meter, in the Hexport Docks, you’ll unlock a character event with Femi and Nia, which will allow you to recruit Nia (by completing the Conway Signal Contract).
Hexport Exchange

The Hexport Exchange is the other area available from the onset. The first two points in the … objective will open up the Hexport Canteen (where you can grab a meal for cheaper than the cost of supplies). The next two points will unlock the Hexport Trade Hall.
|
Location |
Options |
Type/Cost |
|---|---|---|
|
Hexport Exchange |
Trade Scrap |
Engineer |
|
Impress The Brokers |
Interface |
|
|
Hexport Canteen |
Eat At The Canteen |
13 Cryo |
|
Hexport Trade Hall |
Buy Fuel |
5 Cryo |
|
Fill Fuel |
25 Cryo |
|
|
Buy Supplies |
15 Cryo |
|
|
Fill Supplies |
75 Cryo |
Factory Row

Factory Row will become available after you have experienced one cycle at the Hexport Station – used all your dice, returned to the ship, and selected the… option. The primary objective here is to locate the Feed Lines, but the Factory Row district also opens up a money-making method for Intuit and Endure-based character builds.
|
Location |
Options |
Type/Cost |
|---|---|---|
|
Factory Row |
Search The Row |
Intuit |
|
Haul Materials |
Endure |
|
|
Swift Scrap Solutions |
Data Defusal Shift |
Interface |
|
Scrapyard Shift |
Engineer |
|
|
Sell Raw Scrap |
1 Scrap |
Trusted Supplier – Unlocks Karstens Supplies and starts the event with Karsten (necessary for the fuel lines)
Every Hexport Crew Member And How To Recruit Them

There are two crew mates available to be recruited in The Hexport Station: Nia and Juni. Detailed instructions on how to acquire these two characters is listed down below.
Acquiring Nia

As mentioned in the Hexport Trade Hall section above, you’ll need to fill the “Hexport Connections” meter, in the Hexport Docks, in order to unlock the event with Femi and Nia. Once you’ve done so, locate Karsten’s Supplies, speak to Karsten, he’ll tell you about the job he wants you to do, then, head back to your ship. Talk to Serafin and he will tell you to look into odd jobs, of which only one will be available: the Conway Signal Contract.
Complete the Conway Signal Contract with Nia on your team – you’ll need two fuel to make the trip. When you are confronted by Femi, pay Nia her share for the job. With that, you’ll acquire her as a permanent crew member.
We’d go into more depth into how to complete the Conway Signal Contract, but this one is pretty easy to do. Even if you fail to disarm the ship, and trigger its self-destruct mechanism, you’ll still complete the contract and get paid.
Acquiring Juni – Part 1

You’ll encounter Juni while acquiring the Feed Lines from Karsten. She’ll force her way onto your team for the Solheim HS22 contract. You don’t need to bring her along for the Solheim contract in order to recruit her, but she is an invaluable asset for that mission, so I’d strongly recommend you do. Now, one of two things may happen.
- You complete the mission and acquire the core.
- You fail the mission and the core is lost.
If you acquire the core, Juni will want to recover the data. Allow her to do so. Then, when you get back to Hexport, agree to work alongside Juni to get those Feed Lines. You’ll need to either Servail Karsten, or hack his security system. Once you’ve completed the “Karsten Cracked” objective, you’ll be given the Katzen Jammer. Head to Karsten’s shop, use the jammer, and you’ll nab the Feed Lines. Juni will escape Hexport alongside you, and you’ll take the first step in acquiring her as a companion (though you will part ways temporarily once you reach the next space station)
Do NOT pay for the Feed Lines (unless you are after the achievement). If you do so, you’ll leave Hexport without Juni. Also, you’ll lose the 400 Cryo. Karsten will attempt to backstab you anyway, so there is no need to feel bad about stealing from him.

Next
Get your neuralware tech equipped because your next cyberpunk adventure awaits!