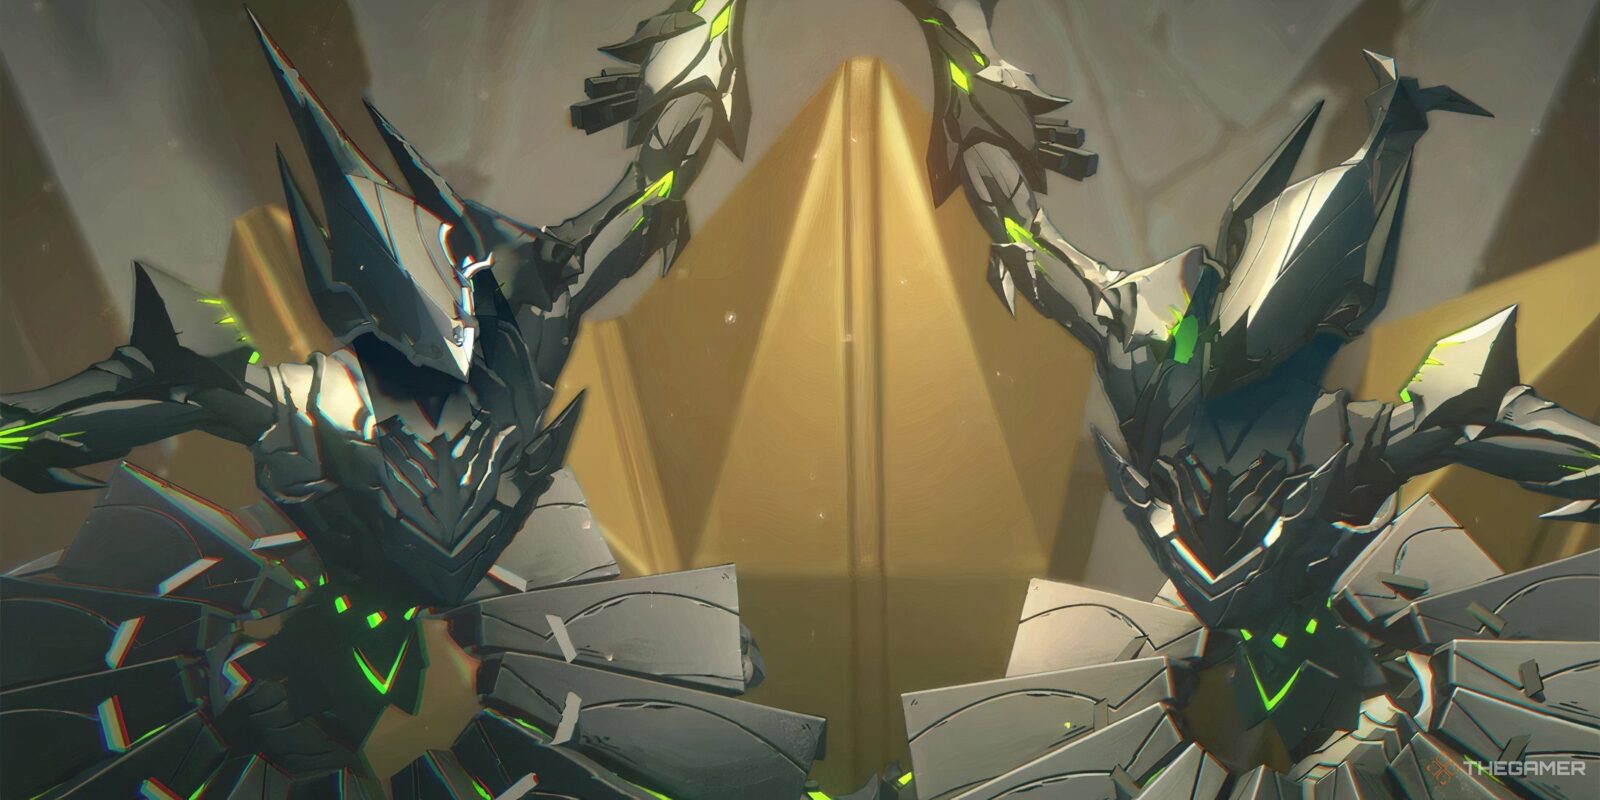
The culmination of the first story arc in Zenless Zone Zero takes place in the Ballet Twins, a derelict hotel buried in a Hollow, and the end boss is the Twin Marionettes, a pair of dancing Ethereals intent on not just expelling you but putting you in an early grave. For the unprepared, this fight can be a nightmare.
Related
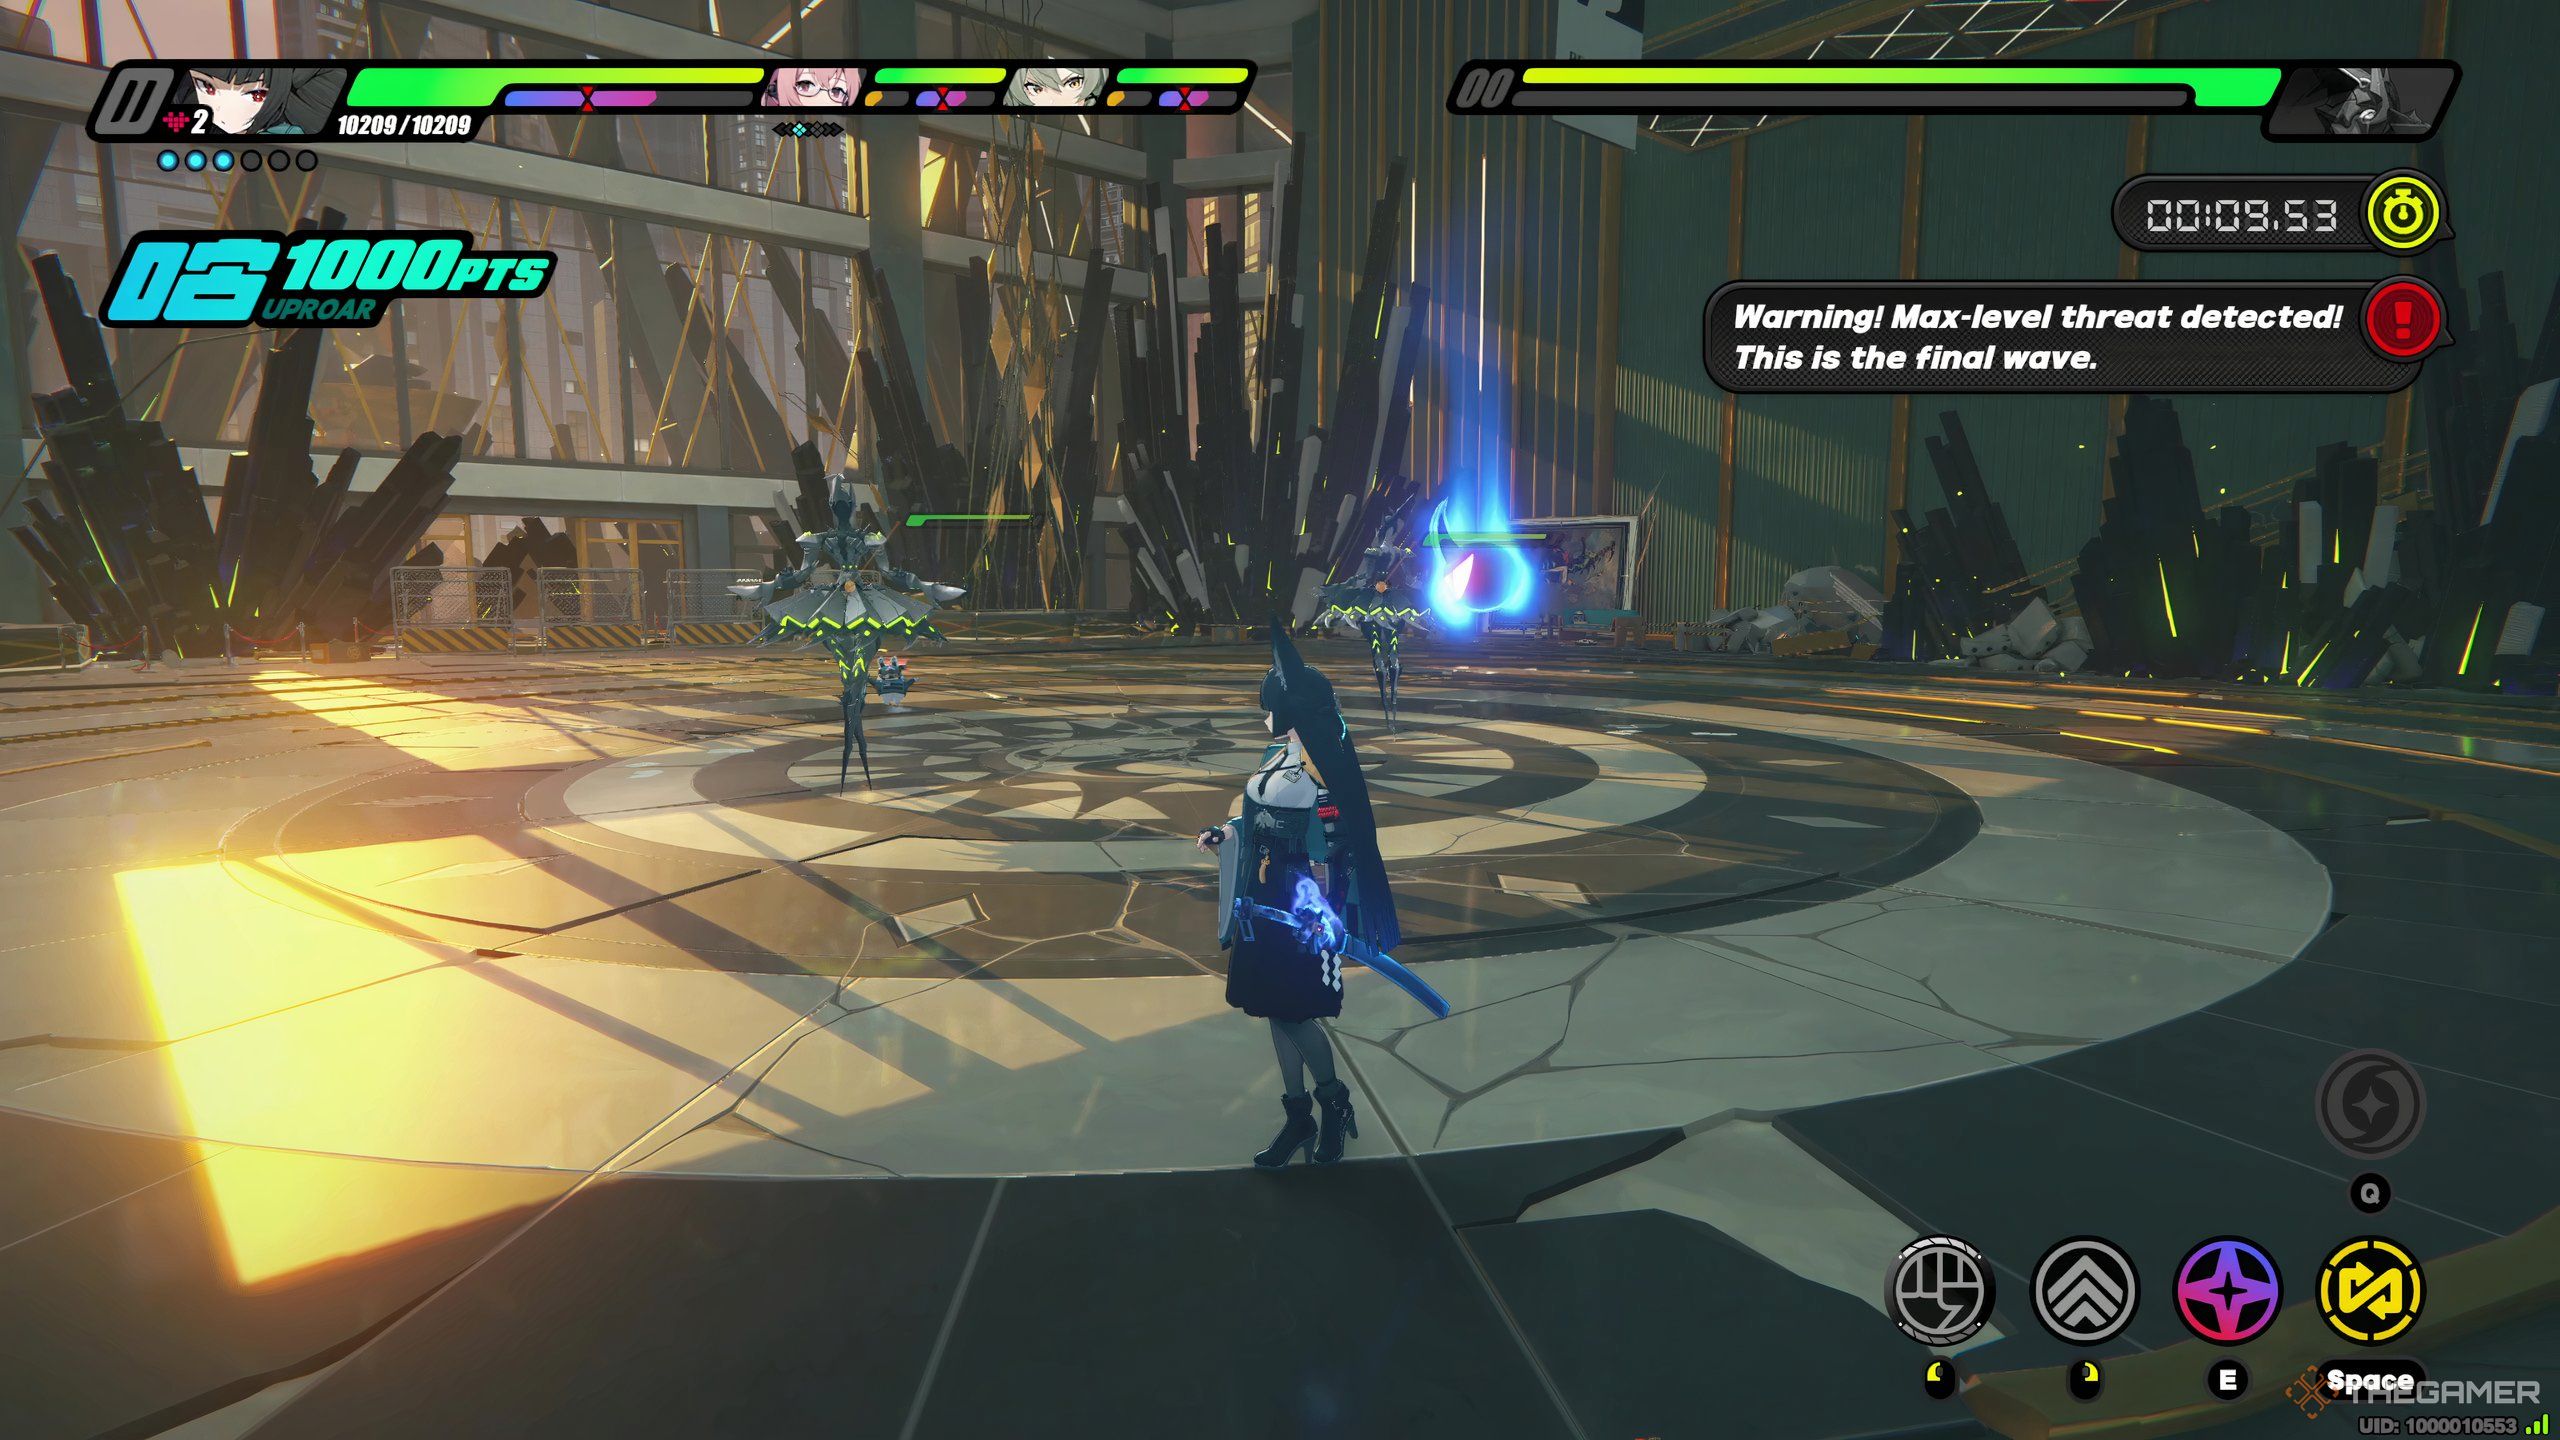
Beating the Twin Marionettes is as much a dance as it is a fight, befitting their appearances. It’s also a DPS-management sim because the Marionettes each have their own health bars, and you need to defeat both of them in quick succession.
All Twin Marionnette Attacks
The Twin Marionettes don’t have the longest attack list, nor do they have a second phase, as you’re fighting two boss-level enemies at once. However, that doesn’t mean their bladed tutus can’t shred your entire party in a few swipes.
|
Attack |
Can Be Parried or Dodged? |
Description |
How to Deal With/Avoid |
|---|---|---|---|
|
Triple Kick Into Dive Kick |
All hits of the attack can be parried and dodged. |
Each Marionette teleports to you and tries to kick you, then one of them kicks a third time, jumps into the air, and uses a dive kick. |
Because this attack is so fast, reaction parrying it is tough, and you should only parry the final attack to keep from using too many Perfect Assist tokens. When you see the first attack coming, dodge immediately, then wait a beat, dodge again, then repeat. |
|
Spinning Tutu Blades |
Can be dodged but not parried. |
After briefly raising their right hands above their heads, both Marionettes will produce several blades from their tutus and spin for several seconds. |
The easiest way to avoid this attack is to simply run away, as it doesn’t track and has abysmal range. It does, however, have a few seconds of recovery to let you get in free damage. |
|
Twirl |
The attack can be parried and dodged. |
The Marionettes will lock hands and the one will begin to twirl the other for several seconds, kicking with bladed legs the whole way. |
Like the spinning tutu blades attack, you can easily run away from this attack, as it lacks any tracking or range. The recovery is almost five seconds, as well. |
|
Twirl and Toss |
Can be dodged but not parried. |
For this attack, the Marionettes will teleport to the center of the arena and begin to twirl. They’ll then both lunge at you and spin their blades three times. |
Your best bet here is to start running perpendicular to the bosses and dodge just after they generate a large purple flash. Caesar’s Skill can “parry” the attack, but other characters will just need to dodge. Like the smaller twirl attack, this one has a long recovery. |
|
Synchronized Dive Kick |
Can be dodged but not parried. |
The Marionettes will come together and jump high in the air, coming down in a dive kick as a pair. |
As with the Twirl and Toss, the Marionettes will flash just before the attack goes off, giving you a marker for when to dodge. |
|
Silvered Leg Slashes |
Can be dodged but not parried. |
In this attack, the Marionettes get up on one leg one at a time and slash at you. Each slash leaves a silver trail in the air. The first strike only slashes once. The second set slashes once, then spins twice. |
Each slash has a brief windup, and dodging a half-second after each windup will allow you to avoid the attack. |
|
Synchronized Silver Slashes |
Can be dodged but not parried. |
After coming together and holding hands for a moment, the red unblockable light will shine and both Marionettes will start to spin, leaving a silver trail where their legs travel. |
As soon as this attack starts, dodge out of the way and wait for it to end. It has minimal tracking and no forward momentum. |
|
Deadly Dance |
Can be dodged but not parried. |
The more dangerous version of the twirl and toss, here the Marionettes return to the center of the arena and turn into beams of energy that cross the space seven times. |
Watch the lines that appear on the ground, as these will tell you where the Marionettes will cross. Dodge about a half-second after the lines appear to avoid that strike. |
Best Teams And Strategies
The Marionettes, as launch window bosses, are weak to both Ice and Ether damage, and lack any significant resistances, making them fairly easy to build for. However, you should still keep the following in mind:
- You need to defeat both Marionettes close to one another, as if one goes down the other will attempt to revive its partner at 30% health. This process repeats infinitely until both go down.
- Most of the Marionettes’ attacks have long recovery windows as they bow to you or one another. Use these to your advantage.
- Dealing with many of the Marionette’s attacks requires you to wait a beat. Don’t spam dodge, or they’ll punish you.
- Beware of the camera during the attacks where the Marionettes go to the center of the arena, as it will sometimes recentre improperly.
- Don’t lock onto either Marionette. This is ill-advised, as you’ll likely lose track of the other one as they dance around the arena.
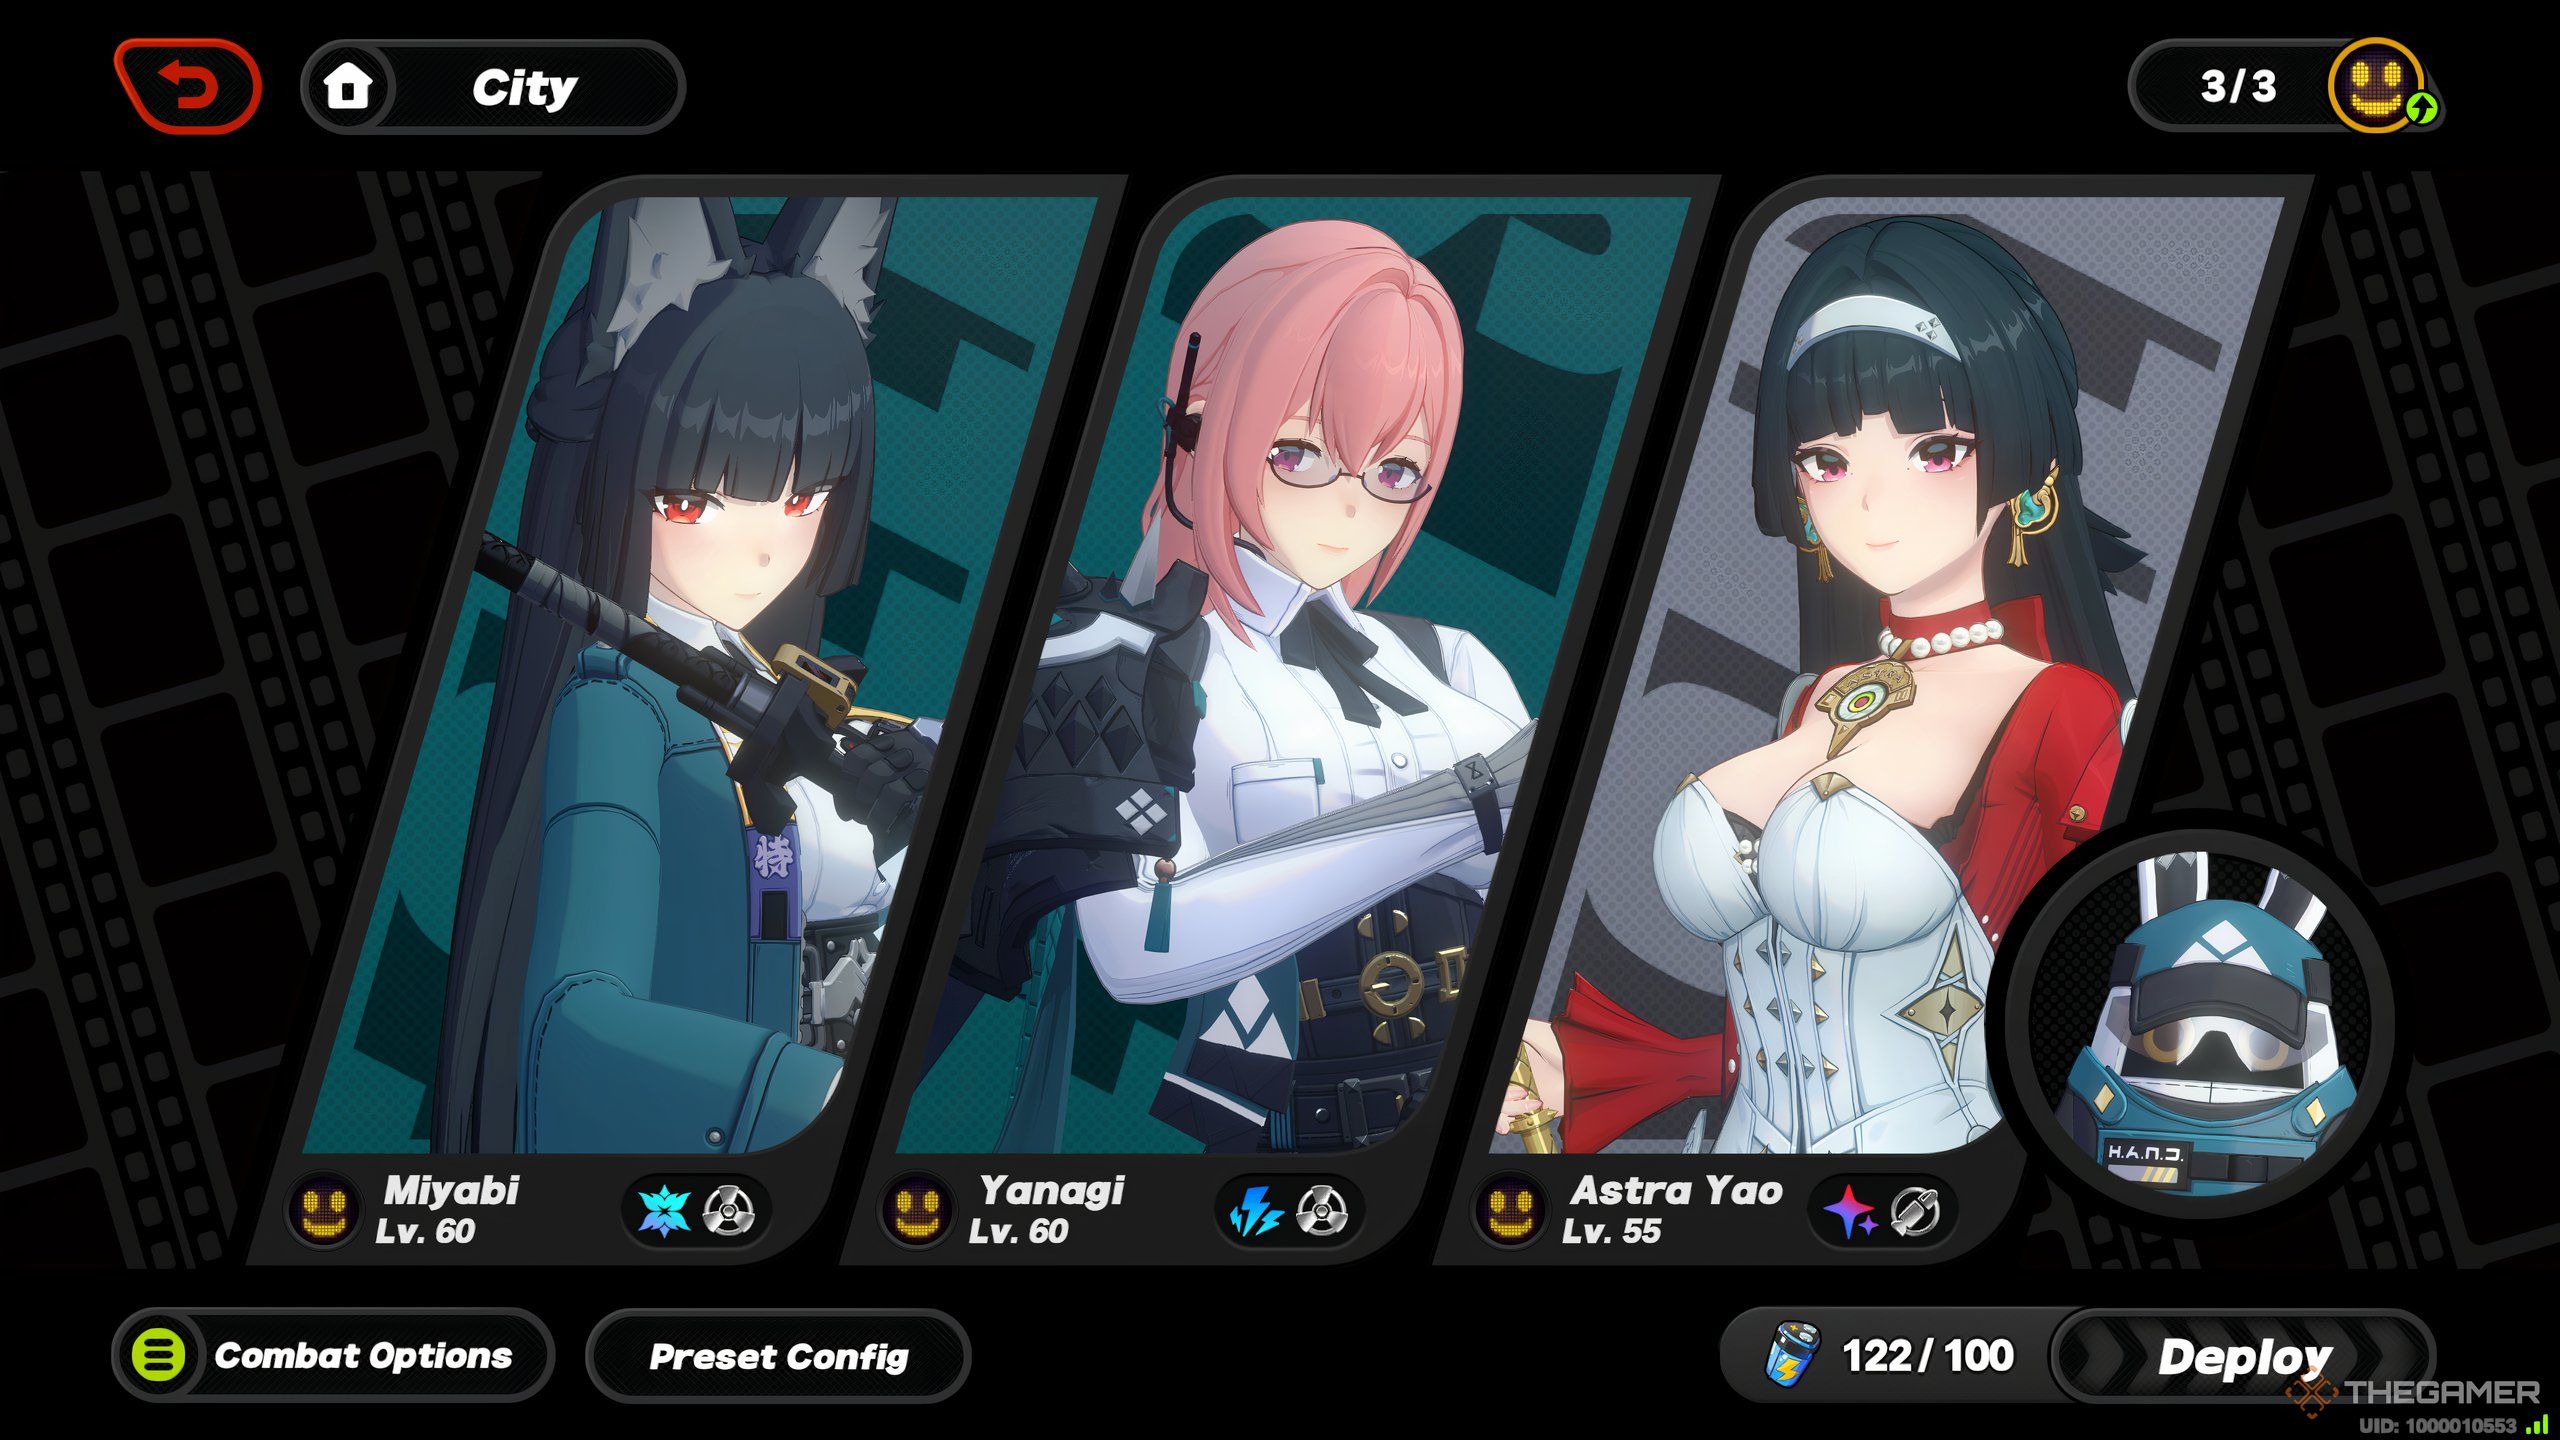
Premium Team
|
Character |
Rank |
Type |
Role |
|---|---|---|---|
|
Miyabi |
S-Rank |
Anomaly |
Main DPS |
|
Yanagi |
S-Rank |
Anomaly |
Secondary DPS |
|
Astra Yao |
S-Rank |
Anomaly |
Support |
|
Bangboo |
S-Rank |
Damage |
Agent Gulliver |
To say Miyabi cracks the game open like an egg is an understatement. She reduces it to atoms, and with Yanagi providing Disorder activations and Astra Yao’s massive buffs, heals, and supplemental Ether damage, don’t expect the Marionettes to take much effort at all. Specifically:
- Miyabi takes full advantage of the Marionettes’ Ice Weakness, and between her massive damage output and mobility, even the twin dancers will have trouble keeping up. Miyabi’s attacks also have a large area of effect, especially her fully-charged heavy attack, which makes damaging both Marionettes an easier task than with other DPS units. And because you need to down both bosses in quick succession, the size of her blade storms is especially helpful.
- Yanagi is the perfect pairing for Miyabi for a few reasons. One of the best is how Yanagi’s Enhanced Skill can generate both larger and smaller Disorders, both of which can fuel Miyabi’s Fallen Frost charged heavy attack while she’s off-field. That’s not accounting for Yanagi’s personal damage, which, while not on the level of Miyabi’s, is nothing to scoff at.
- Adding Astra Yao to Miyabi’s team is a blanket buff to all involved. So long as Astra’s Skill is active, the whole party gets a bonus to their Attack stat, and her Ultimate provides additional bonuses and heals the team. She’s also easy to build and simple to play, and she turns the already borderline overpowered Miyabi into a character that shatters any sense of balance that Zenless Zone Zero might have had.
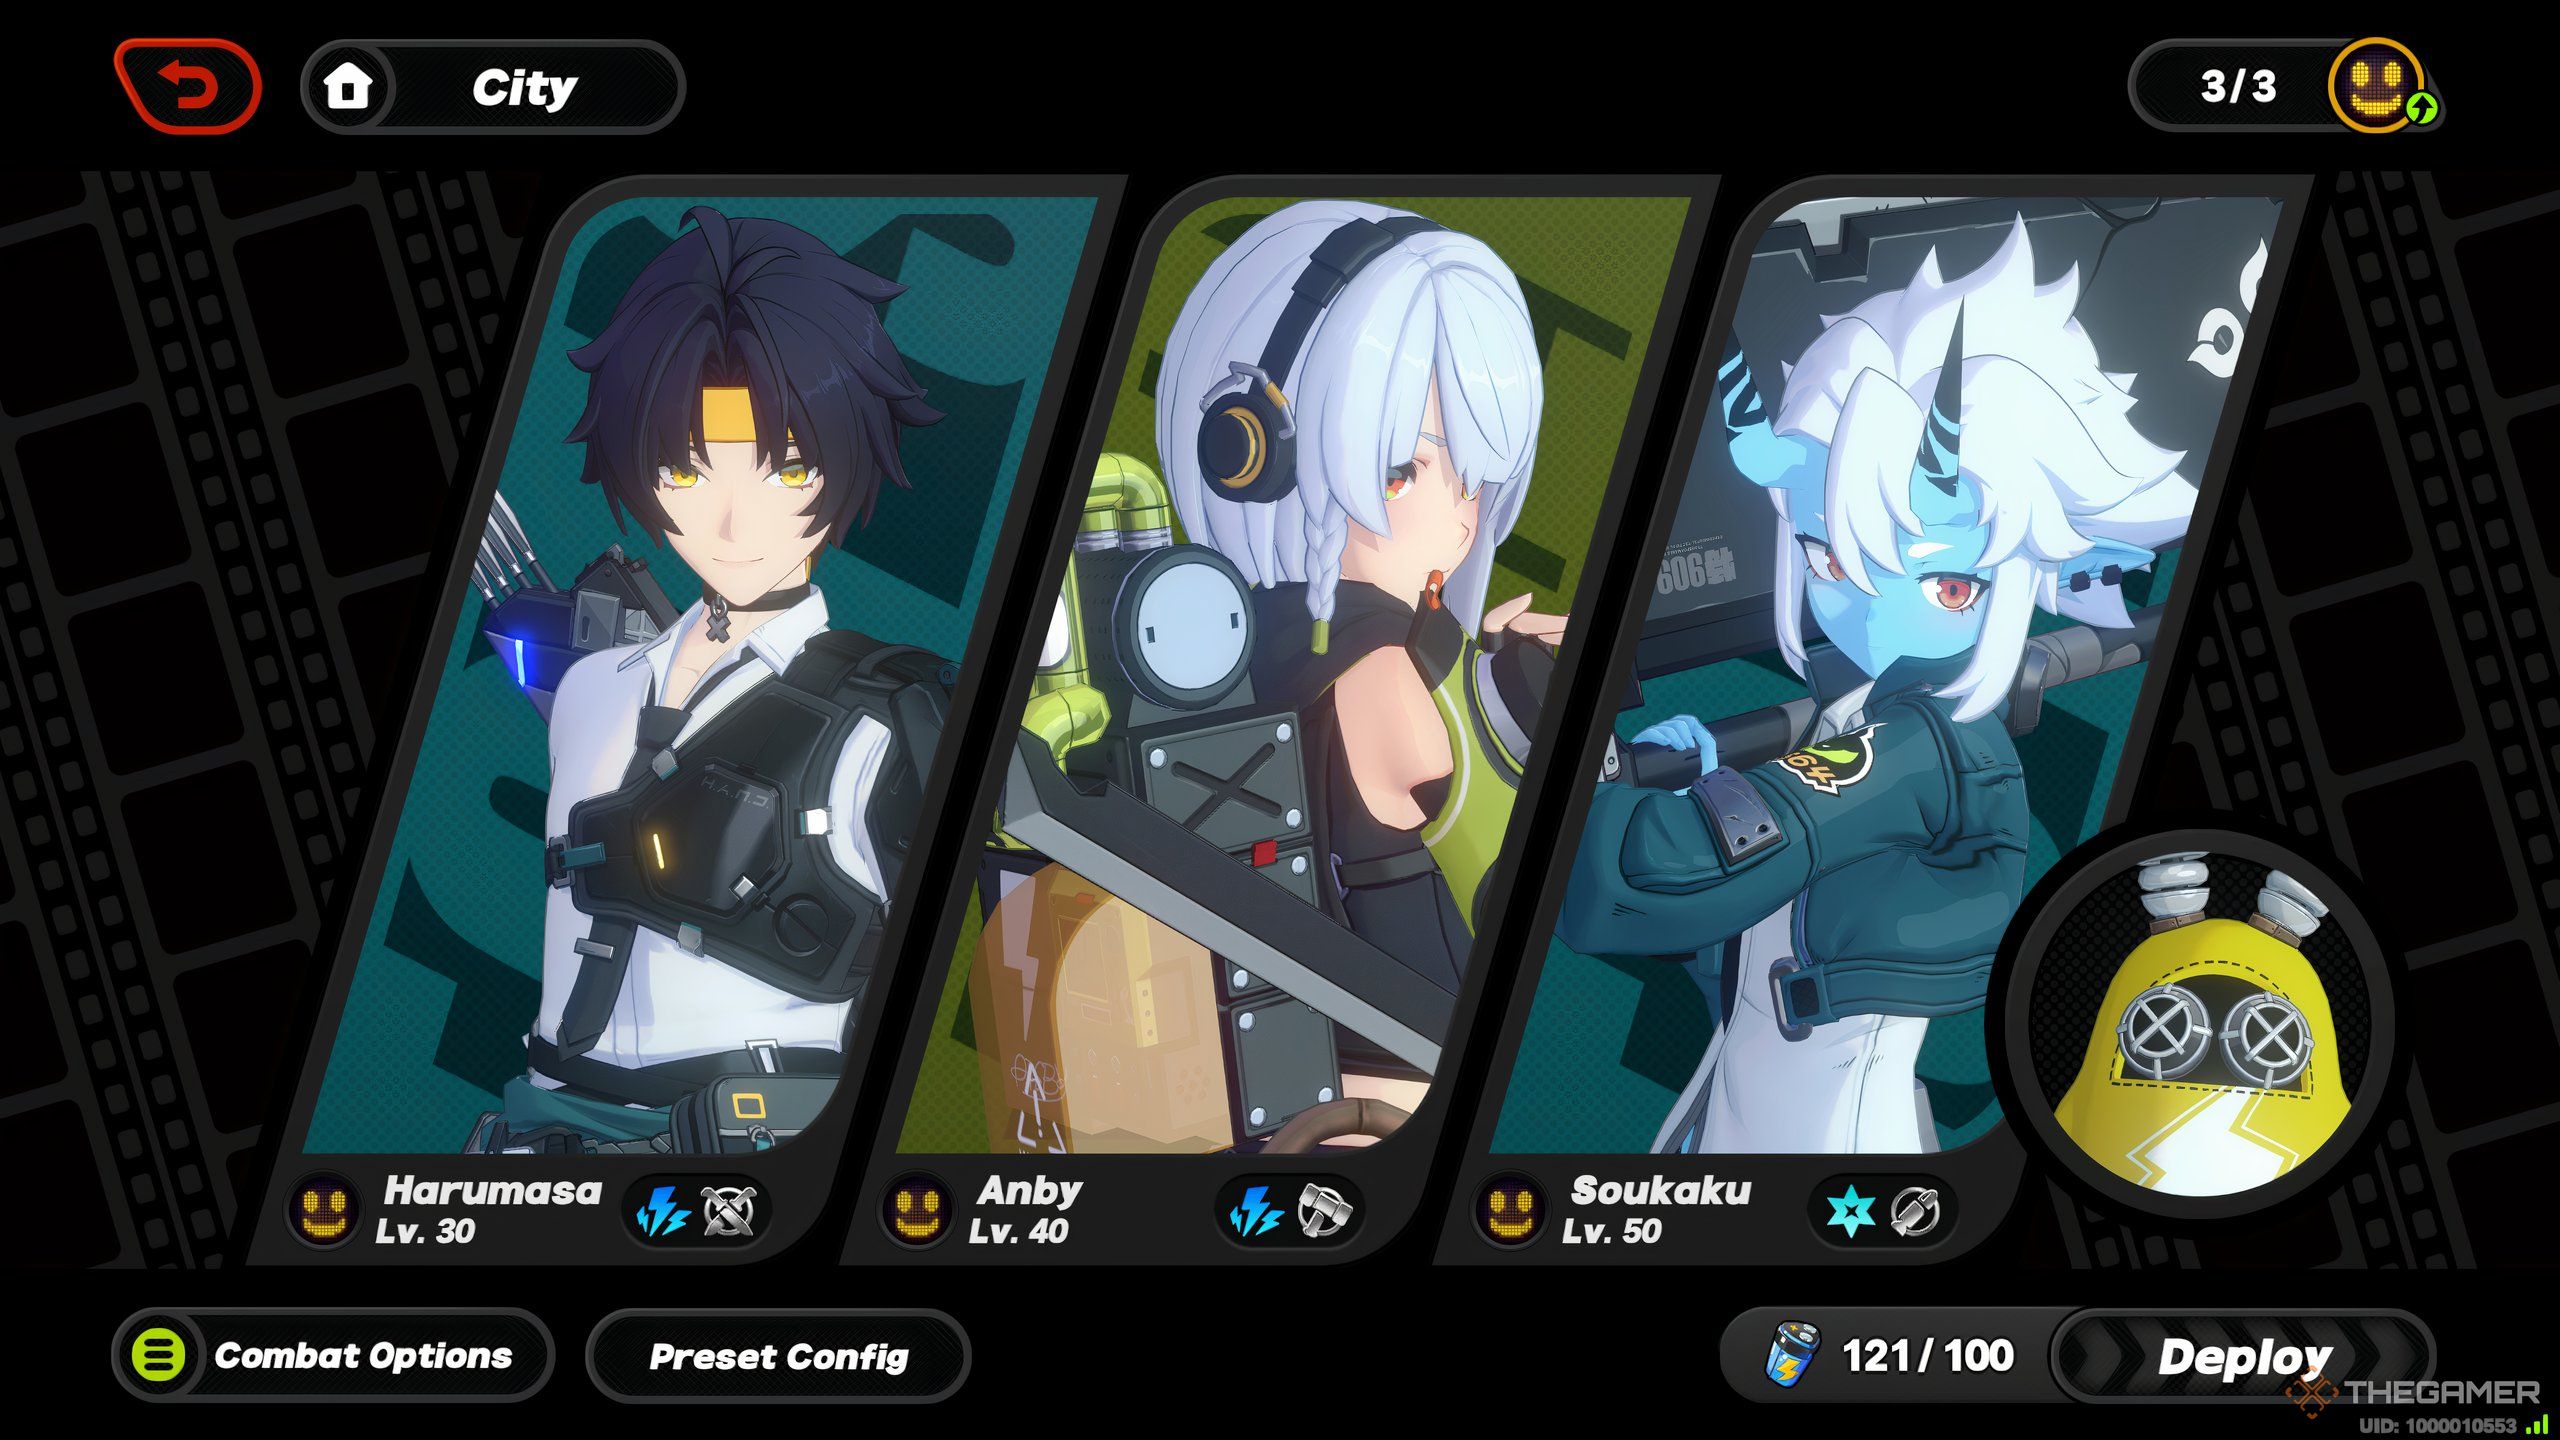
S-Rank Team
|
Character |
Rank |
Type |
Role |
|---|---|---|---|
|
Harumasa |
S-Rank |
Attack |
Main DPS |
|
Anby |
A-Rank |
Stun |
Sub-DPS |
|
Soukaku |
A-rank |
Support |
Short-term on-field Support |
|
Electroboo |
A-Rank |
Damage |
Bangboo |
This team assumes you’ve done at least a few pulls on some limited S-Rank banners, but don’t have access to the full suite of top-tier options. However, it’s still more than capable of taking on the Marionettes because:
- Harumasa might not be Miyabi, but for a free unit, he easily sits as a solid meta option regardless of the team he’s in. Like most Section Six characters, mobility is at the center of Harumasa’s kit, and though his Electric element doesn’t work against the Marionette’s weakness, it isn’t diminished either. With respectable damage, the ability to deal that damage from a safer distance, and synergy with almost any team setup around, you’d be hard-pressed to go wrong with Harumasa.
- Even as an A-Rank, Anby is a fantastic Stun and supplemental DPS unit who provides additional Shock application, and is highly mobile herself. She’s much easier to add to your squad than the likes of even Lycaon or Koleda and doesn’t sacrifice too much in terms of Stun and damage potential.
- Soukaku is part of this team for two reasons. First, she ensures you get the Section Six faction bonus with Harumasa. Second, and more importantly, she can buff Harumasa with up to 1,000 extra points in his Attack stat while the buff lasts, skyrocketing his damage output. She’s also easy to build, simple to play, and can apply a surprising amount of Ice Anomaly and Stun buildup for a Support unit.
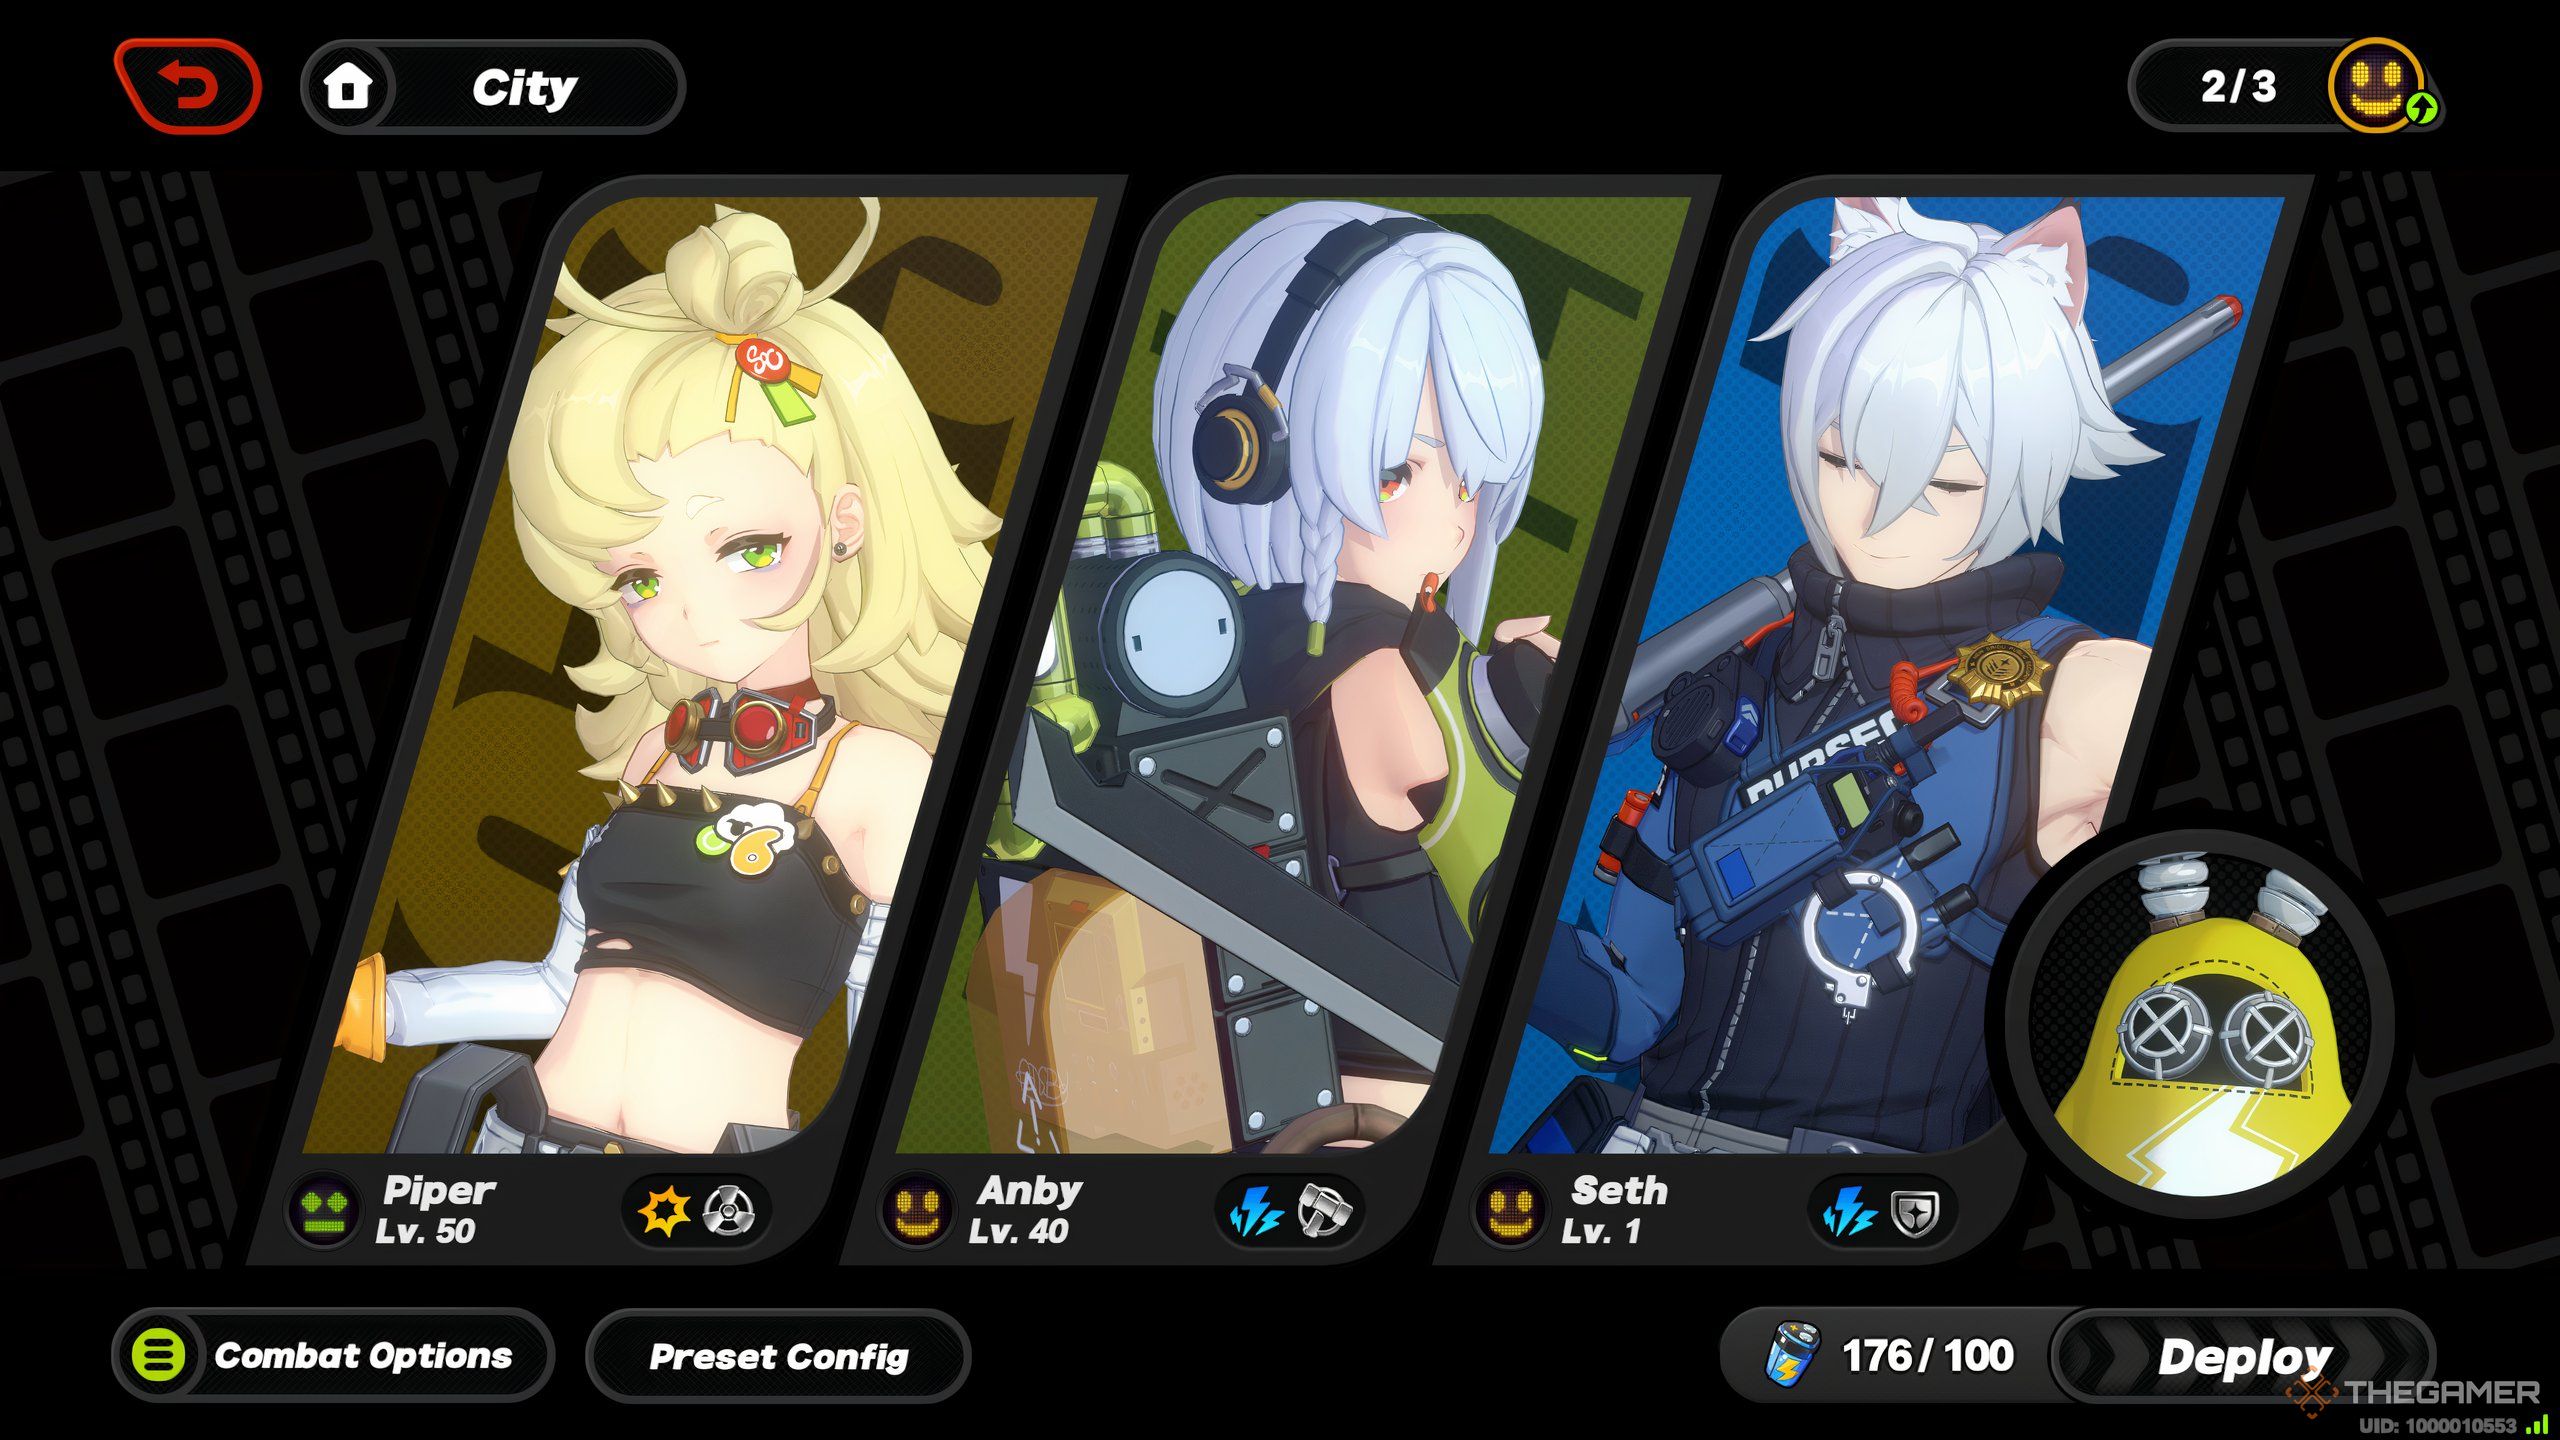
Free-to-Play Team
|
Character |
Rank |
Type |
Role |
|---|---|---|---|
|
Piper |
A-Rank |
Anomaly |
Main DPS |
|
Anby |
A-Rank |
Stun |
Sub-DPS |
|
Seth |
A-Rank |
Defense |
Buffs and shields |
|
Bangboo |
A-Rank |
Damage |
Electroboo, Brawlerboo, Luckyboo |
While you shouldn’t expect this team to have nearly as comfortable a time as any team with an S-Rank, the community has been making Piper into an endgame-shredding powerhouse since launch, and that’s unlikely to change.
- Piper is a startlingly powerful Anomaly unit for an A-Rank, despite her need for lots of field time. Her spin-to-win attack can easily activate the Assault Anomaly and, paired with Anby and Seth, can just as quickly get Disorder activations rolling. Piper’s also very straightforward to play: build up her Skill gauge, use her Skill until the gauge is empty, and repeat.
- Anby serves two purposes in this team. First is to act as a Stunner, as her unit type would assume. The second is to enable the same attribute type bonus with Seth. This team can’t activate the faction bonus, as all three characters come from different factions. Free-to-play teams need to make use of every advantage they can, and each character in this team gets a modest bonus to their abilities so long as Anby and Seth are in it.
- Seth is on this team for two reasons as well. His Shield effects might not be on the level of Caesar’s, but any shield acts as effective hit points that you can freely spend before a character would ever need healing. Seth is also here to debuff enemies and reduce their Anomaly Resistance, helping Piper get more out of her kit.





Leave a Reply