Quick Links
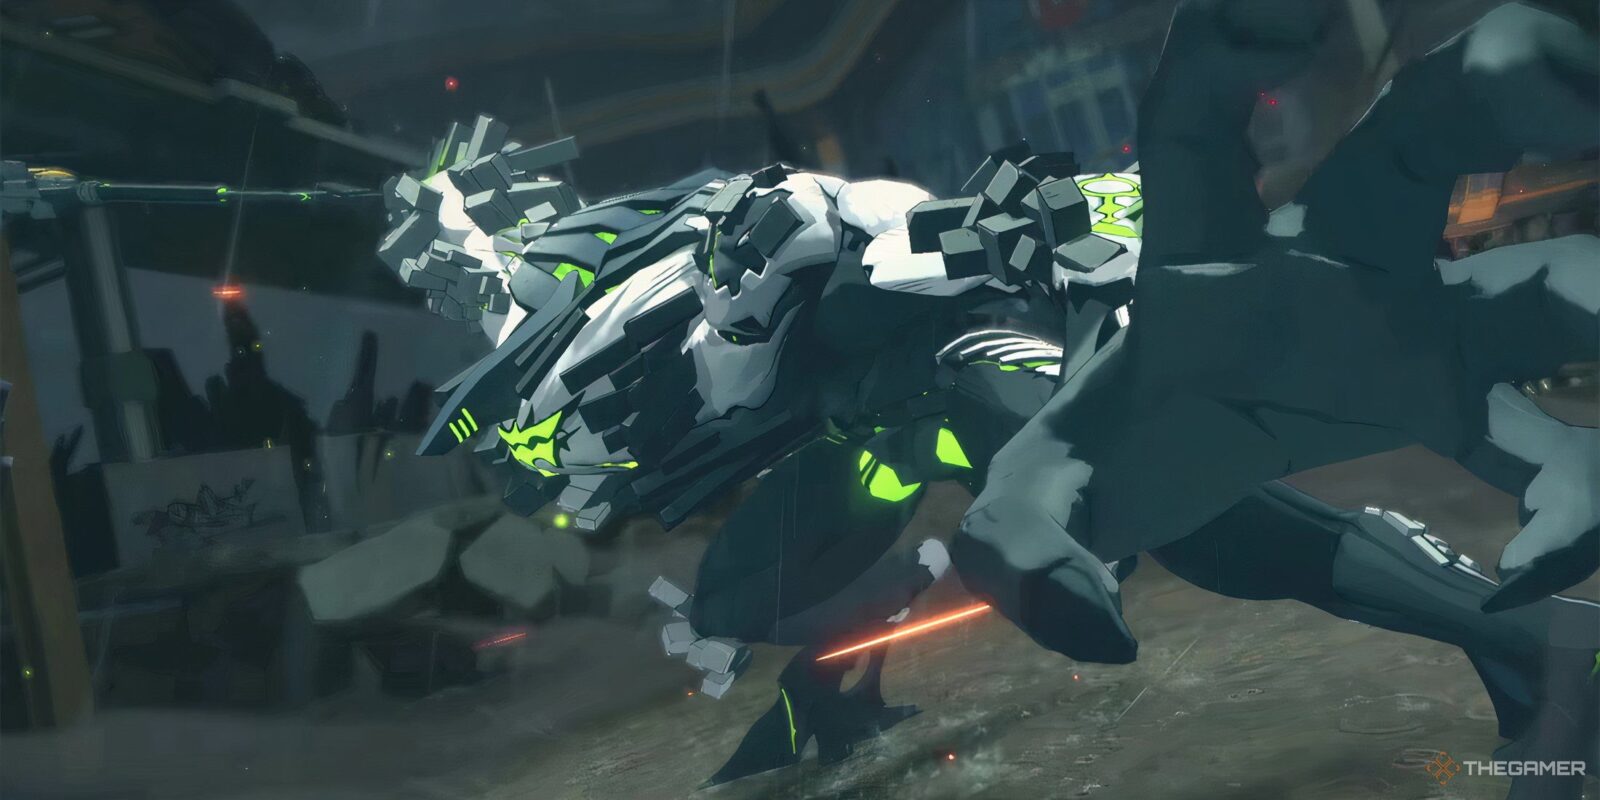
The Dead End Butcher is the first major story boss in Zenless Zone Zero and can easily be the first major roadblock for anyone who’s behind on upgrading and outfitting their characters. Beating this monstrosity can become a matter of course, but your first encounters with it are bound to be tough.

Related
Zenless Zone Zero: Hoshimi Miyabi Agent Guide
Get the most out of Hoshimi Miyabi in Zenless Zone Zero.
And because you can expect to fight the Dead End Butcher plenty as you progress in the game, knowing how to beat it consistently and with which teams is invaluable. You’ll find out about all that and more today.
All Phase One Attacks

Each fight against the Dead End Butcher takes place across two phases. The first phase is very much a warm-up, as the boss gains a second set of arms and a ton of additional damage and aggression in its second phase. It shares a few attacks between phases, but for the most part, understanding one does not immediately grant you mastery of the other. Here’s everything you need to watch out for when taking on the Dead End Butcher.
|
Attack |
Can Be Parried? |
Description |
How to Deal With/Avoid |
|---|---|---|---|
|
Jumping Thrust and Sweep |
The first attack can be parried. Both can be dodged. |
The Butcher jumps across the arena and thrusts its spear into the ground at your location. The boss then sweeps the area behind itself. |
If you have the resources, parrying this attack is viable, but if not, dodging to one side or behind the boss avoids it easily. If you’re not out of range of the follow-up, you’ll need to dodge twice. |
|
Three Hit Combo and Slam |
The first attack can be parried. Both can be dodged. |
After a brief windup, the Butcher swings its spear across its body twice, then charges energy into its weapon’s blade and slams the ground, causing an explosion shortly after. |
Parrying the first attack of the combo gives you breathing room to dodge the second and third hits. As the attack doesn’t have much forward momentum, dodging away lets you avoid it entirely. |
|
Spinning Four-Hit Combo |
The first and third attacks can be parried. All can be dodged. |
The Butcher winds up the spear behind itself, then swings once before grabbing the shaft with both hands and swinging vertically, then horizontally in a spin. The spin can hit twice. |
You need to parry this attack on the first and third swings to neutralize it, and because of the forward momentum, you’ll need to dodge at least twice to get away from it. |
|
Stomp |
Can be parried and dodged. |
One of its rarer attacks, the Dead End Butcher raises its left leg and stomps the ground. |
This attack has a small AoE, but being even a few feet away avoids it, as does parrying. |
All Phase Two Attacks

Phase two of the Dead End Butcher fight is a much more challenging experience, as the boss hits harder and faster and has a wider variety of attacks.
|
Attack |
Can Be Dodged or Parried? |
Description |
How to Deal With/Avoid |
|---|---|---|---|
|
Jumping Slam |
Can be dodged but not parried. |
If you’re too far from the boss, it will briefly push three of its hands into the ground, then launch itself across the arena, slamming down where it lands. |
If you’re facing the Dead End Butcher when this attack starts, you can dodge directly toward it to get underneath the jump arc and avoid it. |
|
Charge and Claws |
The charge can be dodged and parried. The claws must be dodged. |
Another attack that occurs at a longer range, the Butcher hugs its upper arms around itself and charges at you. At the end of the charge, or when it hits you, it will swipe with its claws in an arc. |
Your best bet to avoid this attack is dodging twice to either side, as the charge and swipe have light but still noticeable tracking. |
|
Six-hit Ground Swipe Combo |
The first, third, and fifth attacks can be parried. All attacks can be dodged. |
This multipart combo starts with the Butcher bringing back its upper-right arm and swiping across its body, followed by:
|
You’ll can parry three out of this attack’s six hits, but we don’t recommend taking the Perfect Assist immediately, as the timing is tricky. Dodging to the side is a good way to deal with it. |
|
Seven-hit Slam Combo |
The first, fourth, and sixth hits can be parried. All attacks can be dodged. |
This attack starts with the Butcher trembling as it winds up its upper-right arm, then chases you down over six slam attacks, followed by a spin that ends in a seventh slam. Note the seventh slam has a large recovery window for damage. |
Each slam has significant tracking, but not quite enough to track behind the boss’s body, so getting behind is safest if you don’t want to parry. You can also dodge away to avoid it. |
|
Two-handed Stab into Three-Hit Combo and Explosion |
The first and second hits can be parried. All attacks can be dodged. |
The Butcher winds up its upper arms, causing them to turn bright pink, then stabs with its claws. It follows up with a claw swipe and a spin move, ending with a slam that generates a large explosion. |
Your best action here is to parry the first two attacks, then dodge directly into the Butcher to get behind it. You can also try dodging in circles around the boss to avoid the attacks. |
|
Three Slams into Explosion |
The first hit can be parried. All attacks can be dodged. |
The Butcher raises its arms and slams its lower ones into the ground, followed by its upper ones, before raising its arms once again, gathering energy, and slamming them into the floor. The ground explodes shortly after. |
Parrying the first hit does little to deal with this attack, as you’ll still need to dodge around the subsequent slams and the explosion. Get either far away from or behind the boss. |
|
Laser Sweep |
Cannot be parried, but can be dodged. |
The Butcher fires a laser from one eye from right to left. |
You’ll need to dodge the laser, preferably by dodging into its arc, to avoid getting caught as it travels. |
|
Rising Laser |
Cannot be parried, but can be dodged. |
The Butcher powers up its eye and then shoots a laser vertically from the ground. |
While powering its eye, the Butcher will track your movements. Once the laser fires, tracking ends, so dodge just before it would fire. |
|
Gore |
You can parry and dodge this attack. |
This attack sees the Butcher briefly bringing its arms behind it before thrusting them forward. If it connects, it tries to rip at you with both its upper claws. |
Parrying this attack neutralizes it, as does dodging to the side and behind the boss. |

Related
Best Teams And Strategies

The Dead End Butcher is weak to Ice and Ether damage, meaning there are several teams you can use to make the fight more comfortable. As for strategies, keep the following in mind:
- Dodging is more useful in the second phase, as most of the Dead End Butcher’s attacks have multiple parry windows that quickly eat up Perfect Assist tokens.
- Be much more careful in the second phase, as a single combo can easily take out a character.
- The Butcher’s most powerful attacks leave it vulnerable for three to five seconds. Stick close to the boss to make the most out of these opportunities.
- Staying behind the Butcher is an easy way to avoid most of its attacks.
- Ice-element characters are your best bet for optimal DPS, and there are plenty of them available; however, they aren’t necessary, as the Butcher has no resistances.
Premium Team

|
Character |
Rank |
Type |
Role |
|---|---|---|---|
|
Miyabi |
S-Rank |
Anomaly |
Main DPS |
|
Yanagi |
S-Rank |
Anomaly |
Secondary DPS |
|
Astra Yao |
S-Rank |
Support |
Off-field Support |
|
Agent Gulliver |
S-Rank |
Damage |
Bangboo |
The premium Miyabi team with Astra Yao will make the fight against the Dead End Butcher laughably easy. You get Miyabi’s massive damage, Yanagi enabling Miyabi and supplying top-tier damage of her own, and Astra’s buffs for the whole team. In short, don’t expect a fight with this team to last long. Specifically:
- Miyabi is the premiere Ice-damage unit in the game, and between her abilities and massive damage multipliers, she could easily solo the Butcher if she needed to. Beyond her DPS potential, Miyabi’s greatest strength is her Mobilty. Her extended dodge, Enhanced Skill, and Dodge Counters give her free reign of the battlefield, letting you run literal circles around the Butcher. And while she can stack Fallen Frost on her own, adding Yanagi to the team makes it much easier.
- Yanagi isn’t just a Miaybi enabler here. She’s arguably a better Anomaly-specific unit, and each time she triggers a Disorder, whether with her Core Passive or otherwise, she adds a stack of Fallen Frost for Miyabi to use on her next charged Basic. Feel free to use Yanagi’s Ultimate as it’s available for additional Shock buildup and supplemental damage.
- Astra Yao’s buffs provide Miyabi with even more raw damage, and you’ll always want to start a fight with her Skill, then swap to Miyabi to take full advantage of the damage bonuses. Astra’s Ultimate adds even more bonuses to the team and even heals, keeping everyone ready to fight.
S-Rank Team

|
Character |
Rank |
Type |
Role |
|---|---|---|---|
|
Ellen Joe |
S-Rank |
Attack |
Main DPS |
|
Lycaon |
S-Rank |
Stun |
Sub-DPS |
|
Soukaku |
A-Rank |
Support |
Short-term on-field Support |
|
Butler |
S-Rank |
Support |
Bangboo |
Though she’s not the powerhouse she was during the launch window, Ellen remains a fantastic Ice damage unit who’s easy to play and build around. And with the Dead End Buthcer’s Ice weakness, this team is well-suited to the fight. Specifically:
- Ellen not only provides the Ice damage to take advantage of the Dead End Butcher’s weakness, but her mobility and ease of use ensure you can always be one step ahead of the boss’s movements. You’ll want to keep her Flash Freeze stacks active to continue doing Ice damage, and Ellen plays best when you’re constantly on the move with Dodge Counters. Save her Ultimate for the Stun window, and you’ll be able to watch the Butcher’s health bar vanish.
- Lycaon is the best accessible top-tier Stun unit in the game, capable of not only triggering more Stun windows but also enhancing those windows and rebuffing the enemy. His Enhanced Skill shreds an enemy’s Ice resistance, already the Butcher’s weak point, and he can also increase the Stun damage bonus. What he can’t do is buff his allies directly.
- Soukaku is part of the core Ellen mono-Ice team, and has been since the launch of Zenless Zone Zero. Not only can she do a respectable amount of Ice Anomaly and Stun buildup for a Support, her Skill can grant an ally up to 1,000 points of extra Attack. While that doesn’t quite bridge the gap between Ellen and Miyabi, it does take a bit out of it.
Free-to-Play Team

|
Character |
Rank |
Type |
Role |
|---|---|---|---|
|
Anton |
A-Rank |
Attack |
Main DPS |
|
Anby |
A-Rank |
Stun |
Stun |
|
Nicole |
A-Rank |
Support |
Short-term on-field Support |
|
Electroboo |
A-Rank |
Damage |
Bangboo |
If you don’t have many S-rank characters, this free-to-play team can get the job done, though expect to fight a bit harder for victory. Anton is a very straightforward DPS and benefits from long Stun windows, which Anby can provide. Nicole ensures you get the Cunning Hares team bonus. Specifically:
- Anton is one of the easiest-to-understand DPS units in the game. Charge his Skill, use his Skill, repeat. You’ll want to start the fight with him and use enough normal attacks to get his Skill gauge as full as possible, then swap out to your Stun unit to get that damage bonus rolling.
- Anby remains the most accessible Stun unit in the game. She’s not the best accessible unit (that crown is still Lycaon’s), but she can hold her own in almost any team. She’s mobile, builds up Stun effectively, and has surprisingly okay damage for a unit of her type. Swap to her once Anton is ready to go, Stun the Butcher, then change to Nicole.
- Nicole is mostly here for the Cunning Hares faction bonus, but you’ll also want to use her Enhanced Skill just before you swap back to Anton. He’ll need the three and a half second Defense debuff Nicole provides, so do your best to make use of it.

Next
Zenless Zone Zero: Asaba Harumasa Agent Guide
Looking for tips on building Asaba Harumasa in ZZZ? We’ve got all the information you could ever need.