Nazis are up to no good again, and it’s your job to stop them in Sniper Elite: Resistance. This time, the stakes are higher as whispers of a superweapon project send you deep into enemy territory. Your mission? Sabotage Gestapo operations, uncover their sinister plans, and ensure their highly suspicious cargo never reaches its destination.

Related
The 10 Best Multiplayer Tactical Shooters
Here are the best multiplayer tactical shooter video games!
Along the way, you’ll infiltrate safehouses, decode secrets, and bring your sniper skills to bear against key targets — all while navigating a map teeming with dangers. This mission offers plenty of tense moments and tactical challenges. Ready to disrupt the enemy’s plans and make your escape? Let’s break down everything you need to know.
Find The Missing Resistance Cell
Although this first objective is optional, we recommend starting here as it’ll be the closest to your starting location.
Investigate The Safehouse For Clues
From your spawn point, head southeast, following the stairs down the trail to the left. Use the surrounding foliage for cover to avoid detection. As you descend, you’ll encounter two enemies patrolling the area. Eliminate them to clear your path. Continue down the stairs and cross the road, staying flush against the wall. Eventually, you’ll reach stairs leading up to the safehouse.
Outside of this safehouse, you’ll find one of the Propaganda Posters on the outer walls.
After entering, grab the crowbar you see on a wooden crate on the first floor. Then, head upstairs and cross to the far side of the house to find documents on a table. Pick them up to complete this objective.
Find The Second Safehouse
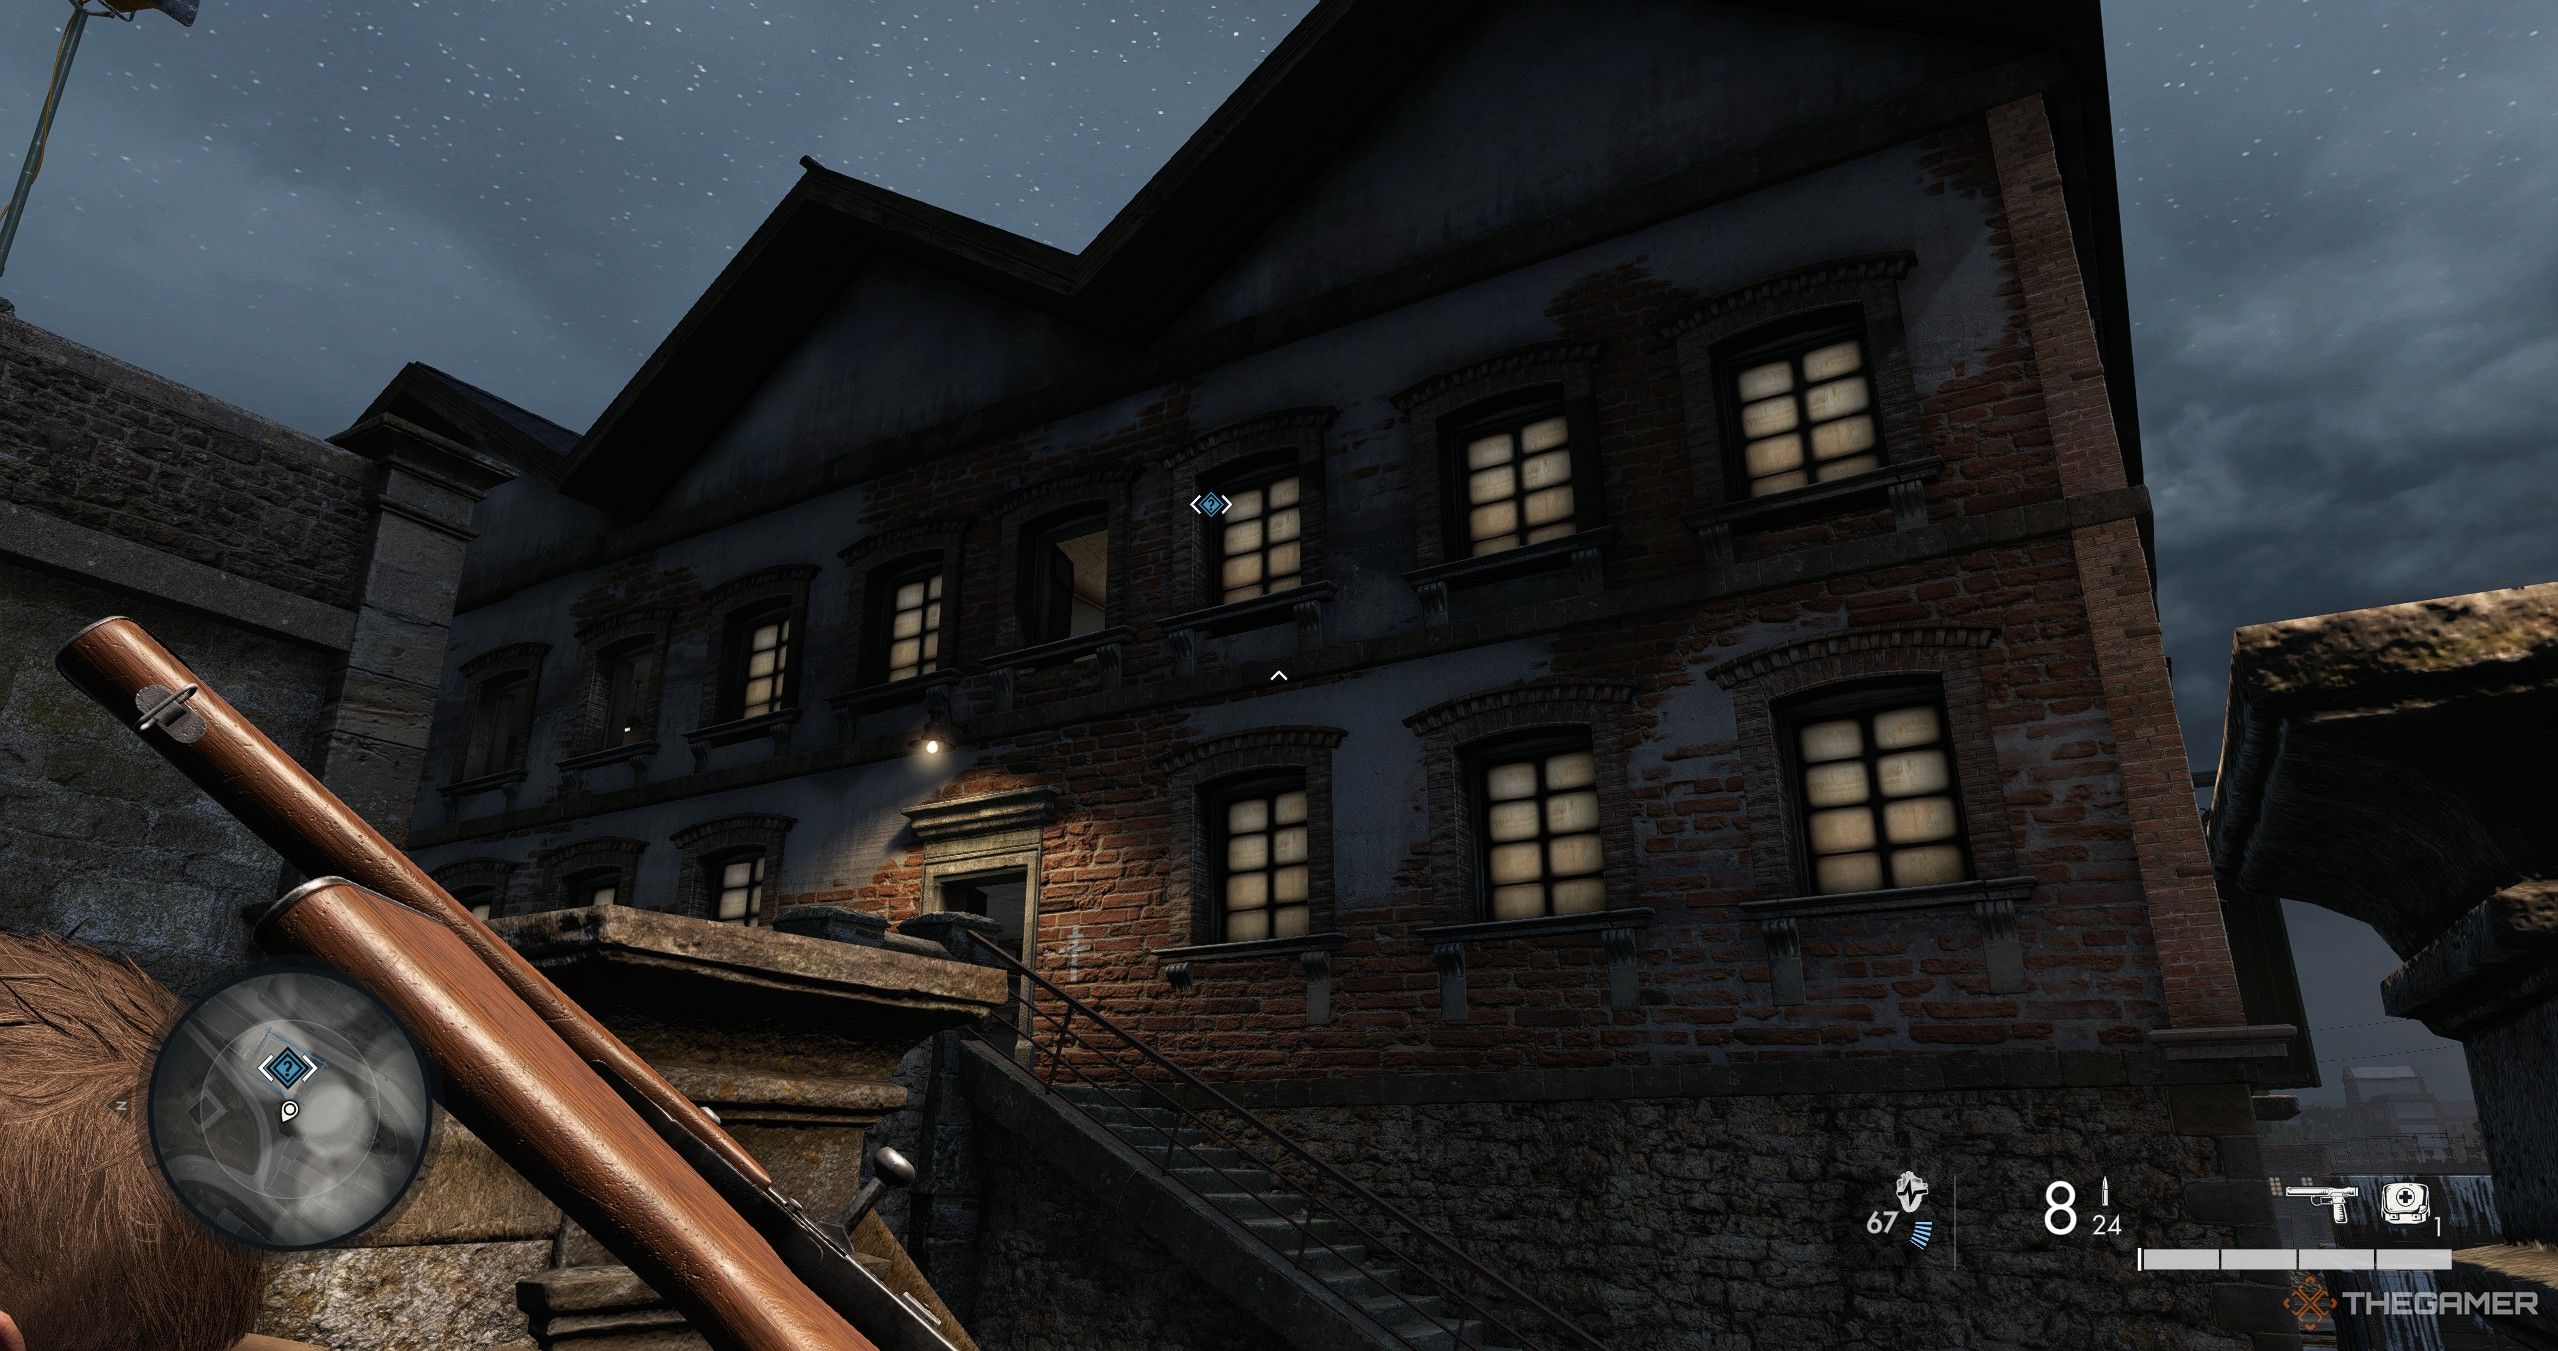
Afterward, proceed to the balcony and use the zipline to reach the bridge. Disable the alarm near the marked safehouse just past the bridge, then circle behind the building to locate stairs leading to the bottom-floor entrance. Instead of using this route, climb the pole next to it and enter through the top-floor window. Once inside, continue until you meet the resistance members to complete this objective.
Be sure to pick up any Satchels you find along the way. There are plenty around, and you’ll need them for two objectives in this mission.
Identify What The Gestapo Are Hiding
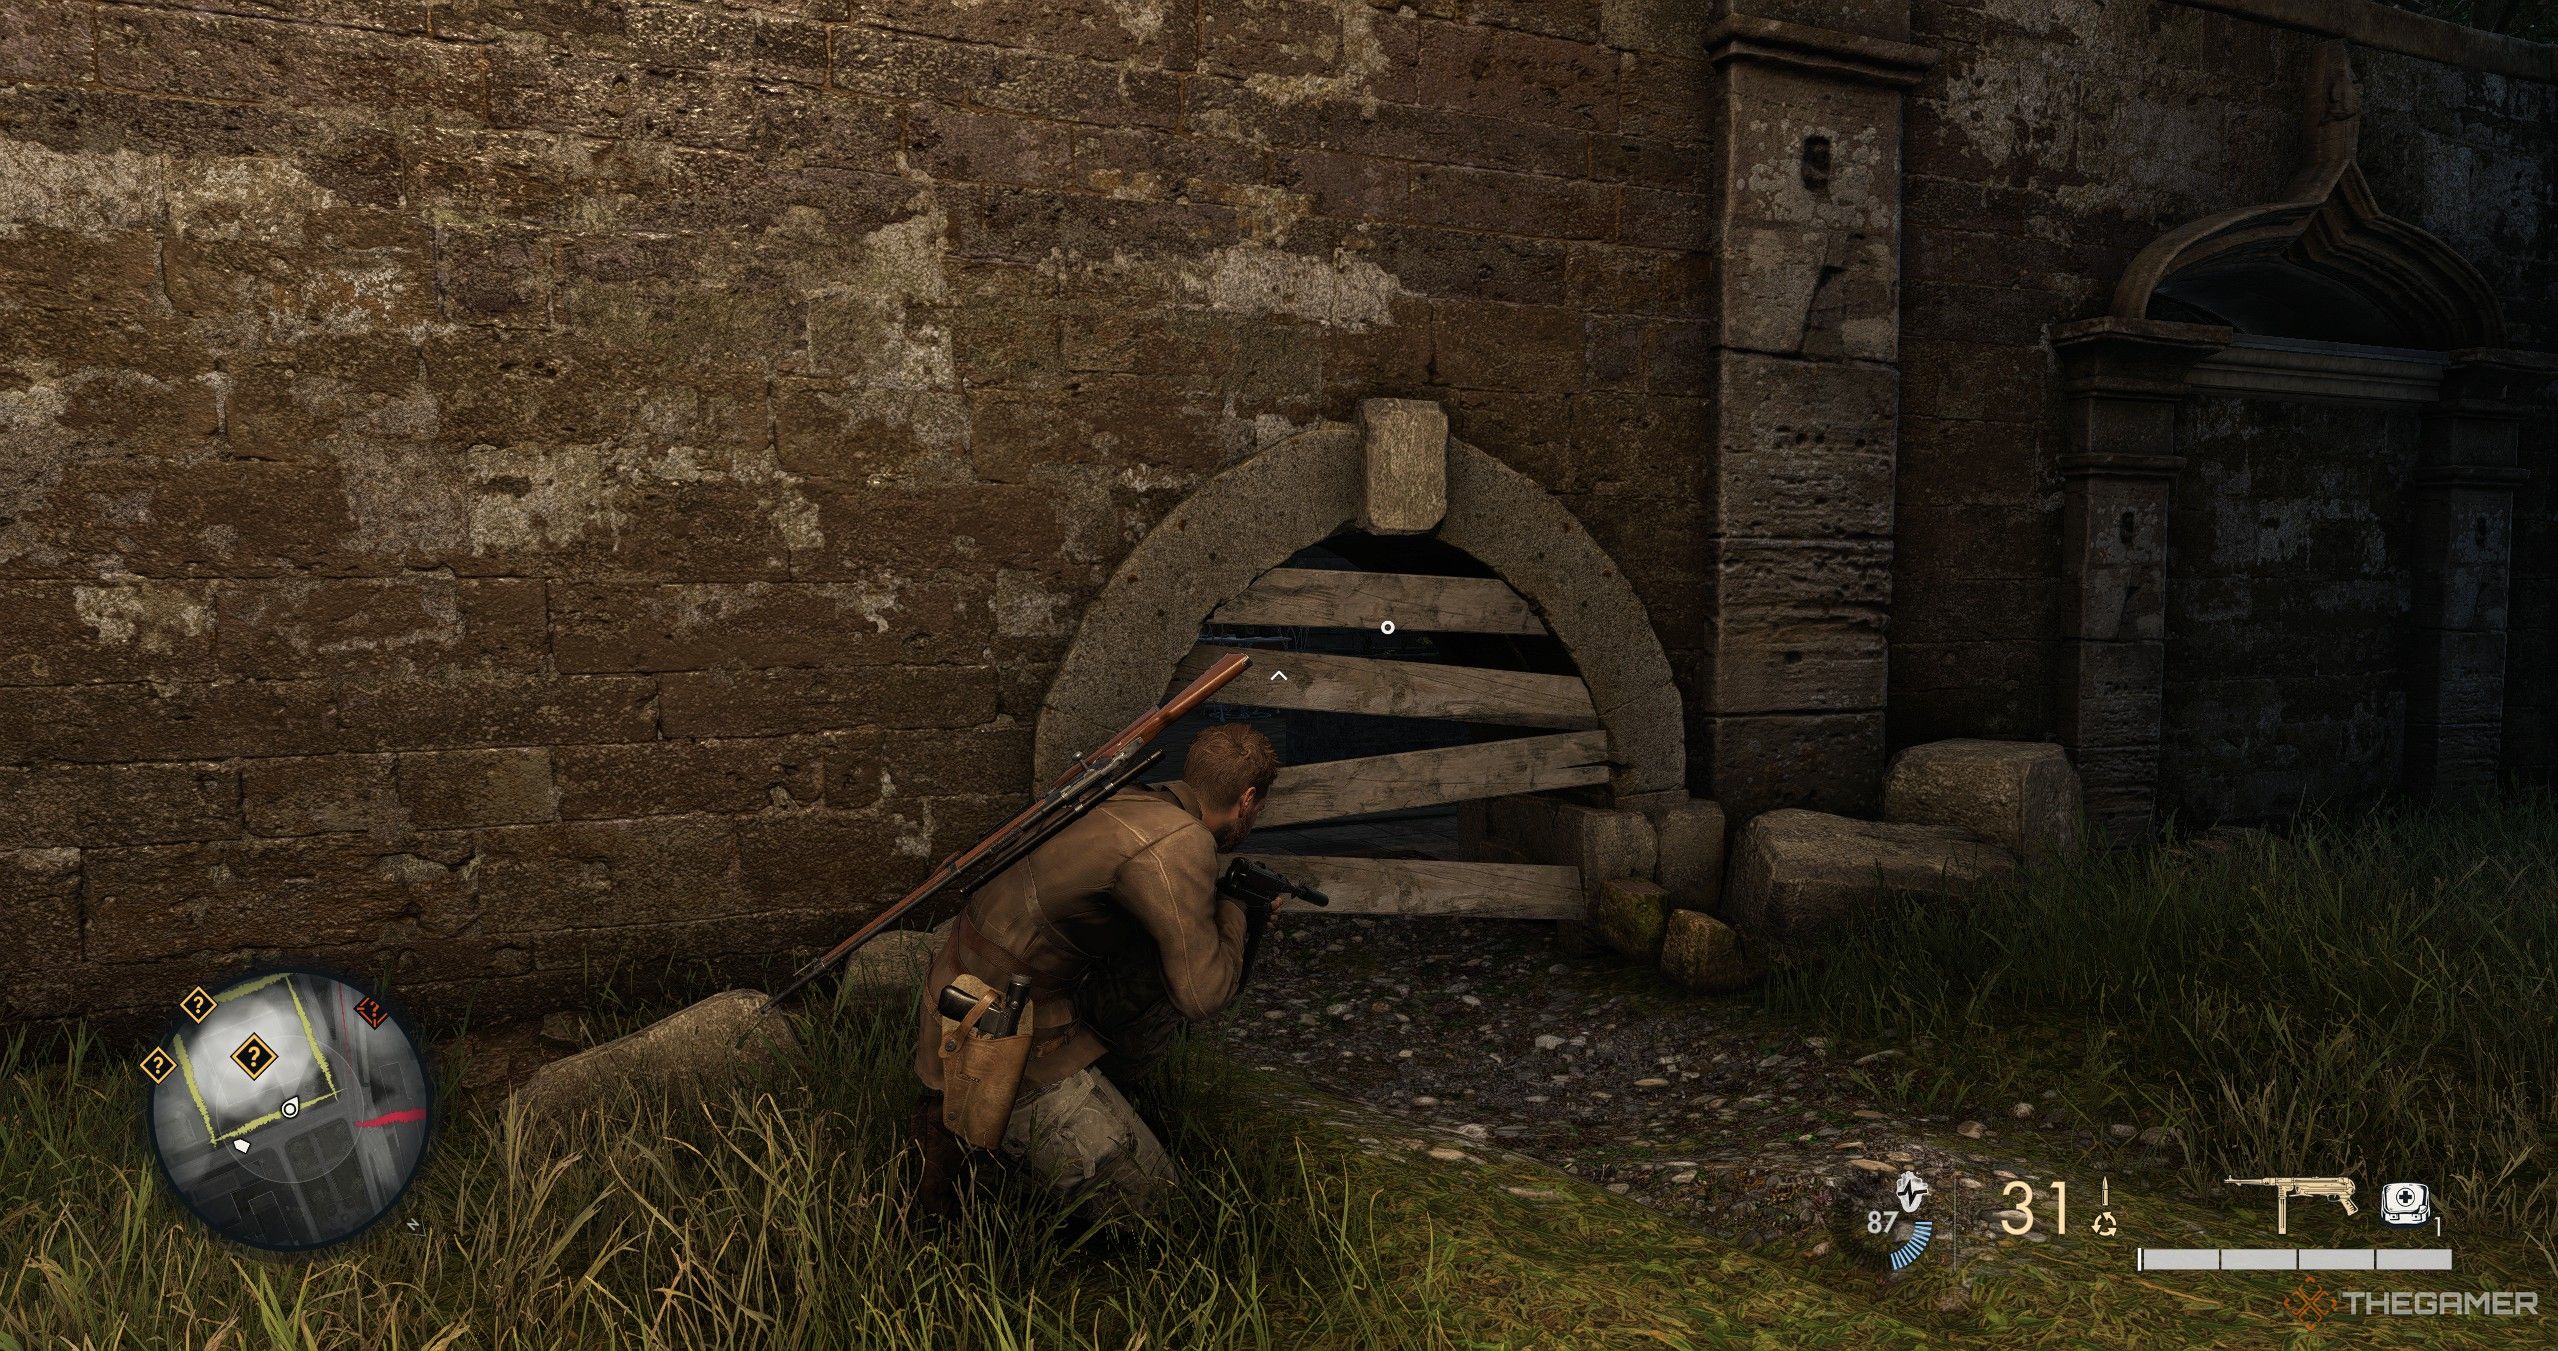
To uncover what the Gestapo is hiding, head to the hotel marked on your map. Start by examining the area outside; on the outer south wall, locate a boarded-up entrance. Use the crowbar you collected earlier at the first safehouse to pry it open. Enter the hotel and deal with any enemies inside.
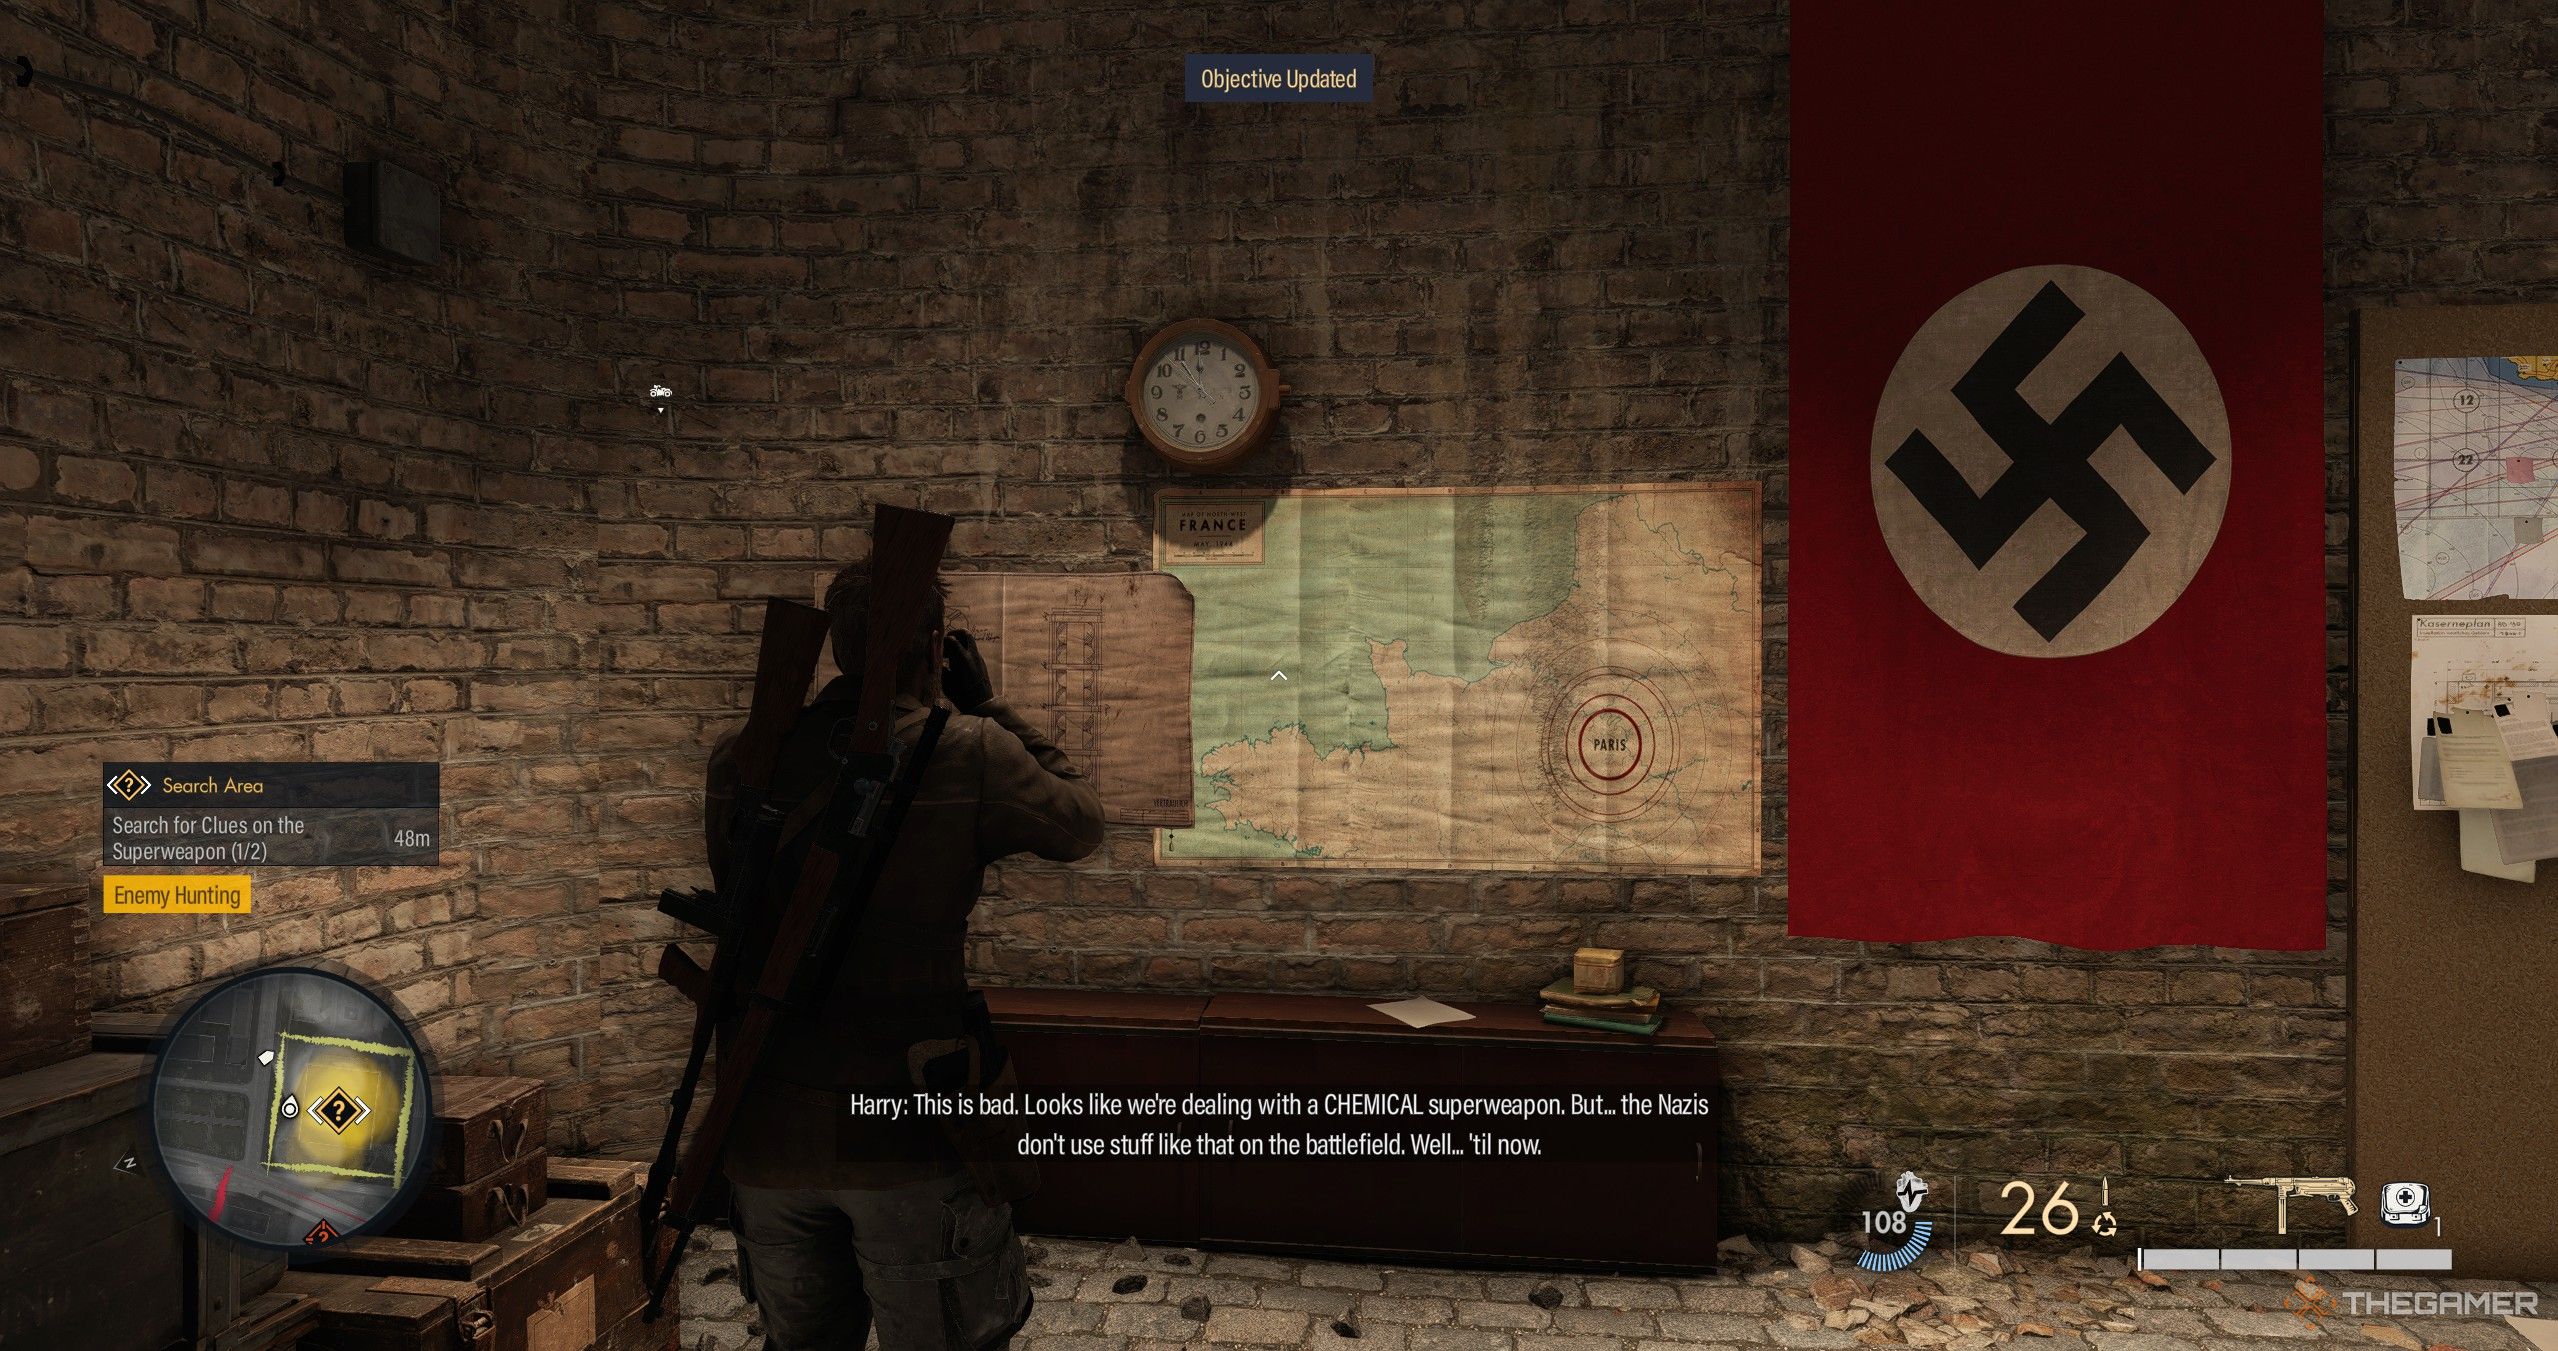
From there, make your way to the basement via the open elevator shaft. Investigate the basement thoroughly to find clues on the walls, and take photos of these discoveries.
Next, move up to the floor just below the top level of the hotel using the hotel’s stairs. Climb out of the open window on this level and use the adjacent pipe to climb towards the roof. Enter the top floor through the window until you reach a locked door requiring a Satchel charge. Use the charge to breach the door and collect evidence from the table inside. This will complete the objective.
Investigate The Train Station
Once you make your way to the Train Station marked on your map, your goal is to search for cargo transportation documents. Enter through the front door on the marked objective and ascend the stairs. Pass the room with benches and proceed to a smaller room containing a desk.
Search the desk for the documents to complete this task.
Investigate The Railyard
The Railyard is your next stop, where you need to identify potential threats to the resistance. Make your way to the parked train adorned with a camouflage pattern within the marked objective. You’ll find it in the middle track just near the overhead bridge. Once you’ve located it, plant a Satchel charge on the train and detonate it.
The explosion will destroy the train and complete this objective.
Kill List: Claude La Ronde
Claude La Ronde can be found within the marked area on your map. We spotted him on the street near the red-marked building just before you descend into the area. He’ll be surrounded by a barricade of sandbags. Keep an eye out for him as you approach, and take the shot when you have a clear view. We found it easiest to shoot him from the bottom of the descending ramp, as it gave us plenty of cover. Eliminating him will fulfill the kill list objective.
You’ll also find the Rifle Workbench for this mission in the long building just next to where Claude La Ronde is. Enter through the south door to find it.
Exfiltrate
With all your objectives complete, it’s time to exfiltrate. There are three exfiltration points available: one near your starting location, one in the middle of the map near the river, and another furthest away from the starting location. Select the point closest to your current position and make your way there.
Stealth is not a requirement at this stage, as you only need to survive and extract successfully. Even if you’re injured or enemies are alerted, reaching the exfiltration point will end the mission.
Next
The Best Third-Person Shooters, Ranked
We rank the best third-person shooters out there, spanning multiple console generations. Did your favorite make the list?






Leave a Reply